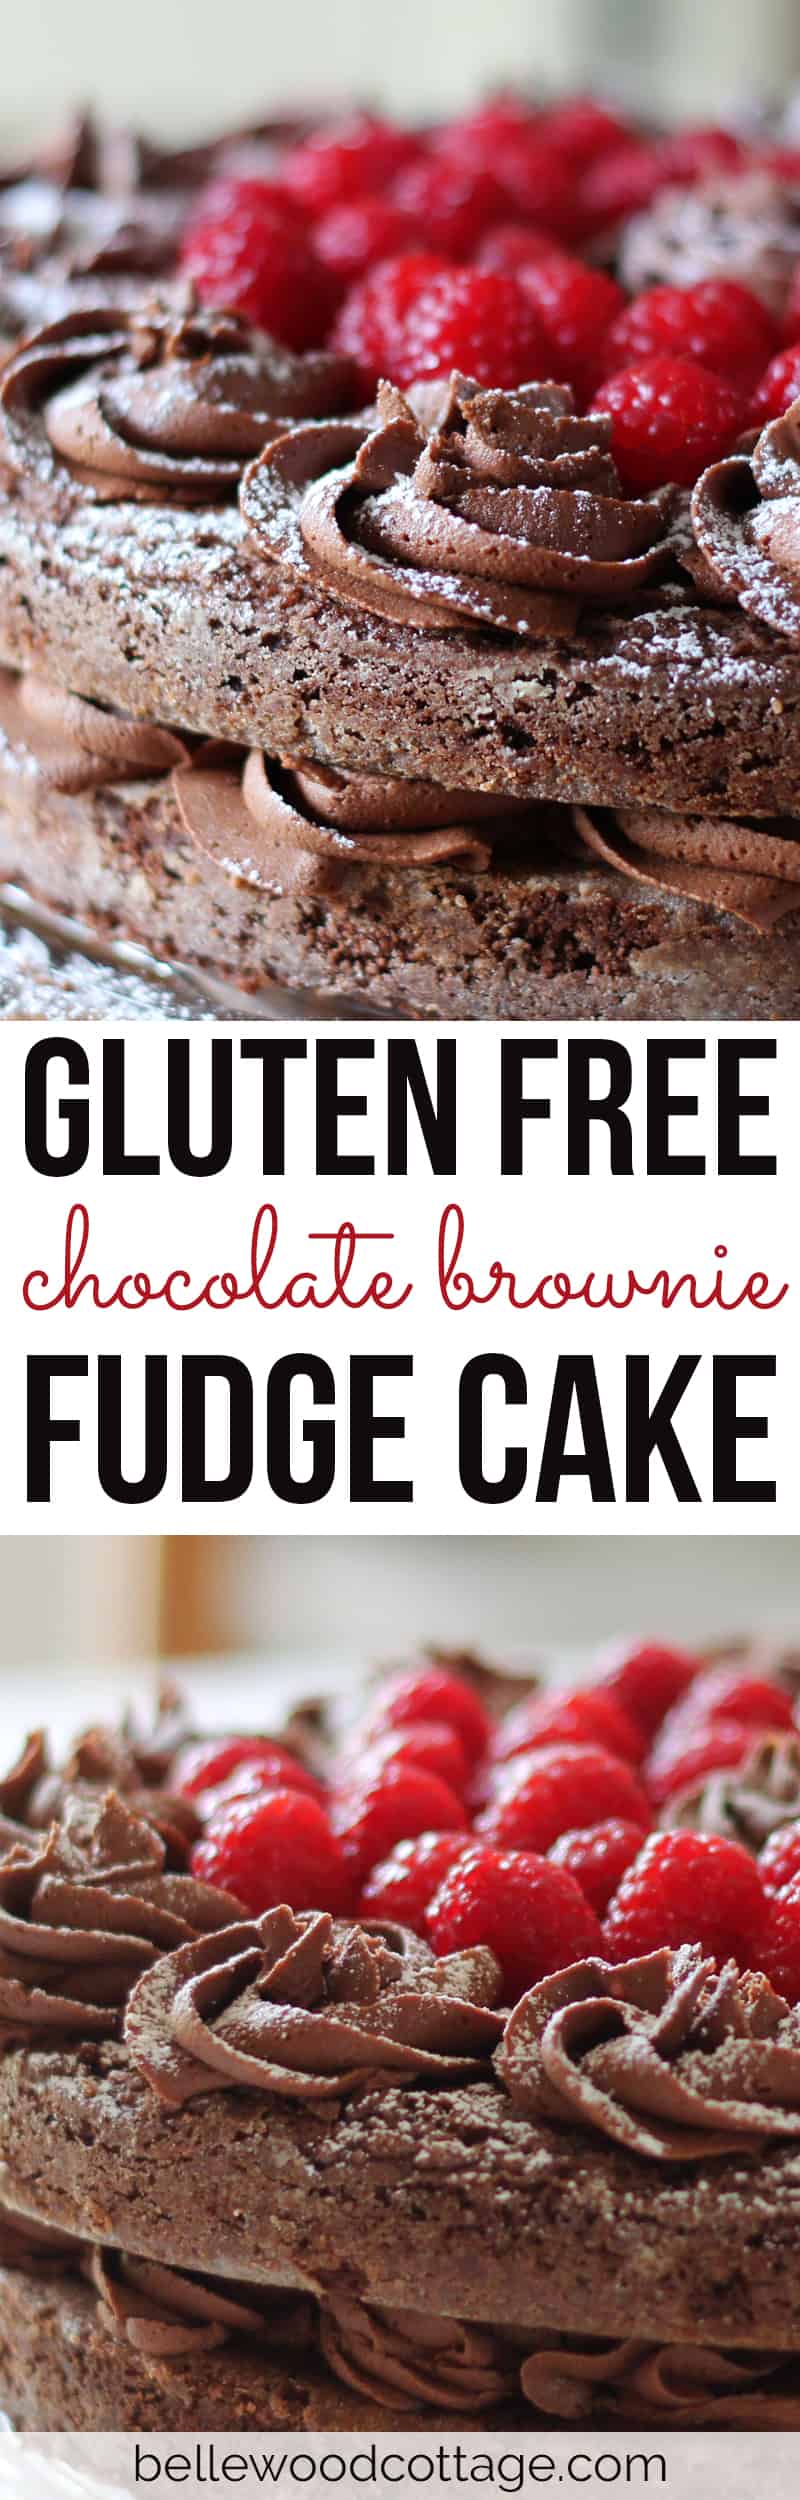
Gluten Free Chocolate Brownie Fudge Cake
I’ve mentioned before on the blog that I am obsessed with the Great British Bake-Off. The bakers, the recipes, and the creativity has me overwhelmed with baking inspiration. My obsession of course means that there is a lot more baking happening around my kitchen, and today I wanted to share one of my favorite recipes I’ve cobbled together recently.
This cake is entirely gluten free and actually uses my go-to brownie recipe. So yes, it’s definitely rich. But don’t let that stop you. Tempered with a small scoop of vanilla ice cream, the creamy frosting and decadent layers are absolute chocolate-y perfection.
On board yet?
I thought so.
First off, this recipe is basically a re-invention of my favorite brownie+frosting pairing. I wanted to get creative with the recipe and make a dessert that is a bit over-the-top and celebratory.
Here are the components:
1 – Brownie recipe from Namaste flour (doubled)
2 – Chocolate frosting recipe from Smitten Kitchen (Frosting recipe only! Double the recipe if you want to frost the whole cake, otherwise the original amount is plenty for a naked layer cake)
3 – Berries (strawberries or raspberries) mixed with a little sugar to make them sweet and syrupy.
Note on the gluten free flour: I love this brownie recipe and it always works great for me (and no one ever guesses it’s gluten free), but if you want to try it with a different gluten-free flour, I would just suggest sticking with a cup-for-cup gluten free flour (like the Namaste version is). If you try it with something else, let me know how it goes!

Ready for the step by step?
1 – The cakes: Prepare two 9″ round cake pans as follows. Cut circles from parchment paper to fit inside the bottom of each pan (hint: don’t skip this step or the cake will be difficult, if not impossible, to remove from the pans). Grease each pan with butter. Lay a parchment circle into each pan, grease circle with more butter and add a tablespoon of gluten-free flour to each pan. Shake the pan gently to distribute the flour on the sides and across the bottom of each pan. Preheat your oven to 350 degrees Fahrenheit. Double the brownie recipe and prepare following the instructions. Divide the brownie batter between each pan. Bake pans for 20-25 minutes, rotating halfway through baking time. Cakes are done when a toothpick inserted into the center comes out clean. Avoid over-baking.
Let cakes cool in the pans for about 10-20 minutes and then turn the cakes out onto a cooling rack to cool to room temperature. If you have trouble extracting the cake from the pan, gently ease the edges away from the side of a pan with a butter knife or spatula (for non-stick pans). Tip: if you are nervous about working with the layers, you can set your cooling rack+cakes on a baking tray and move the whole thing into the freezer and freeze until the layers are firm (usually around 1 hour). Work with the layers right out of the freezer and they should be a bit more sturdy.
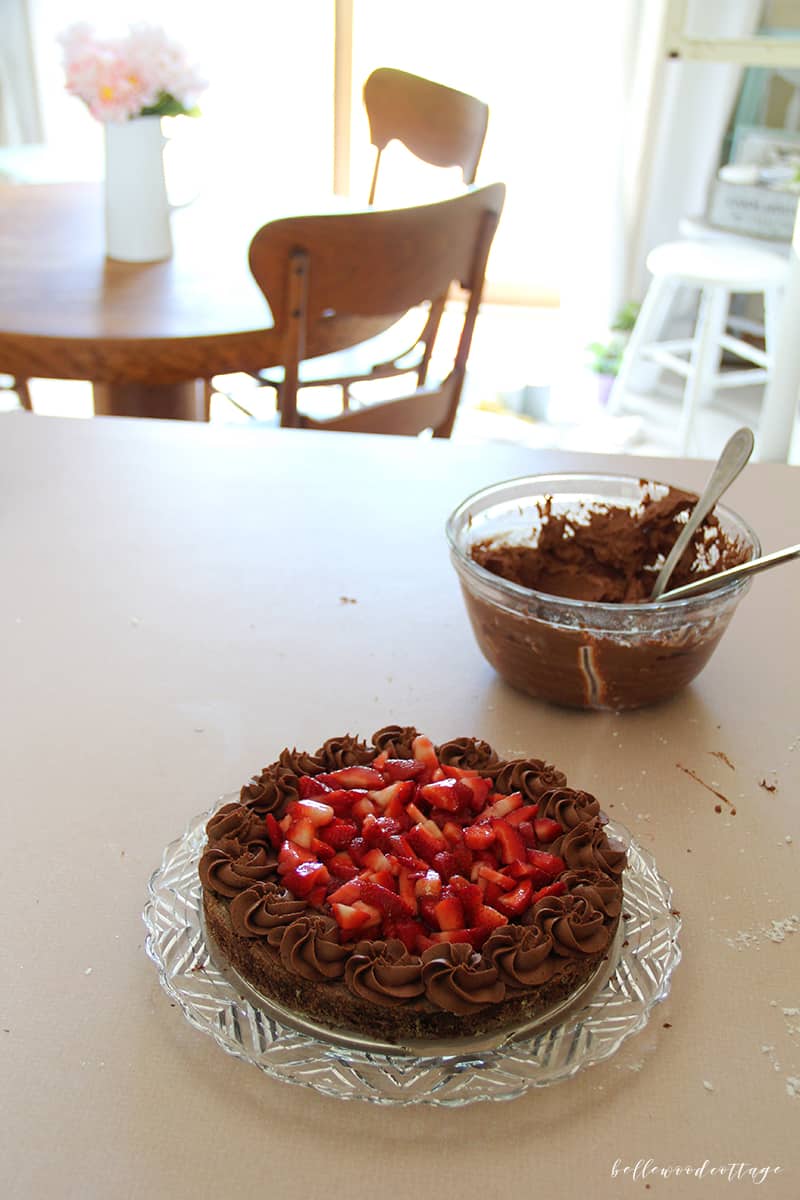
2 – The frosting: After the cakes are cool, grab some store-bought chocolate frosting or prepare the frosting found here from Smitten Kitchen. If you don’t want the “naked cake” look, double the recipe to have enough to frost the outsides.
3 – The fruit: Mix 12-16 oz of raspberries or strawberries (or a mix of the two) with a tablespoon of sugar. Let this mixture sit for about five minutes until syrupy.

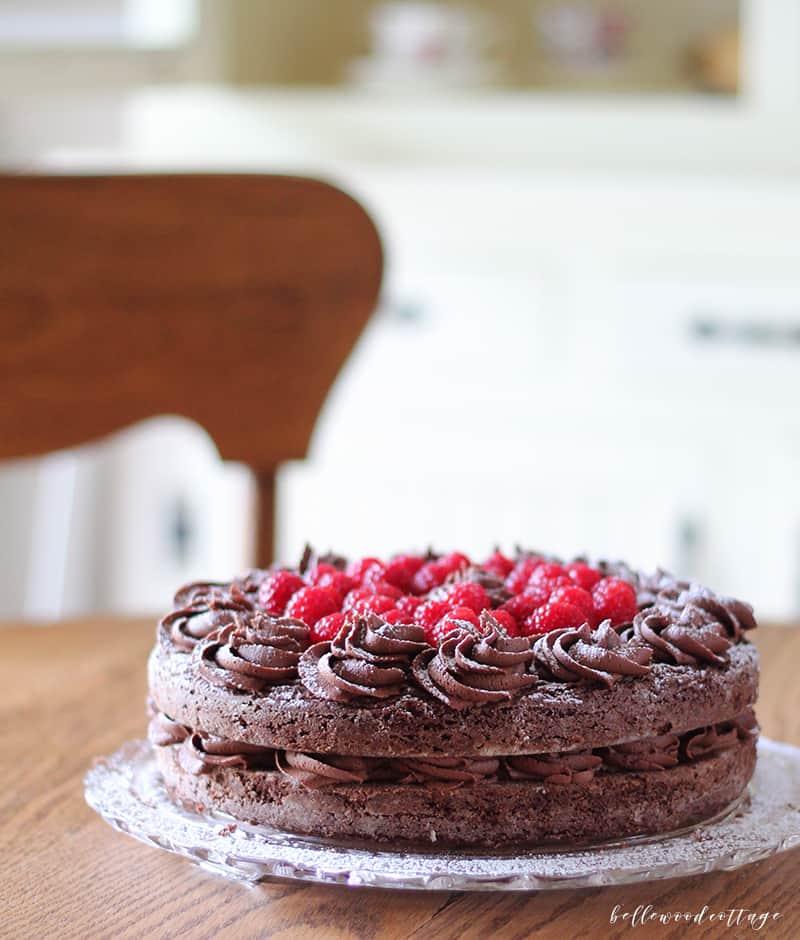
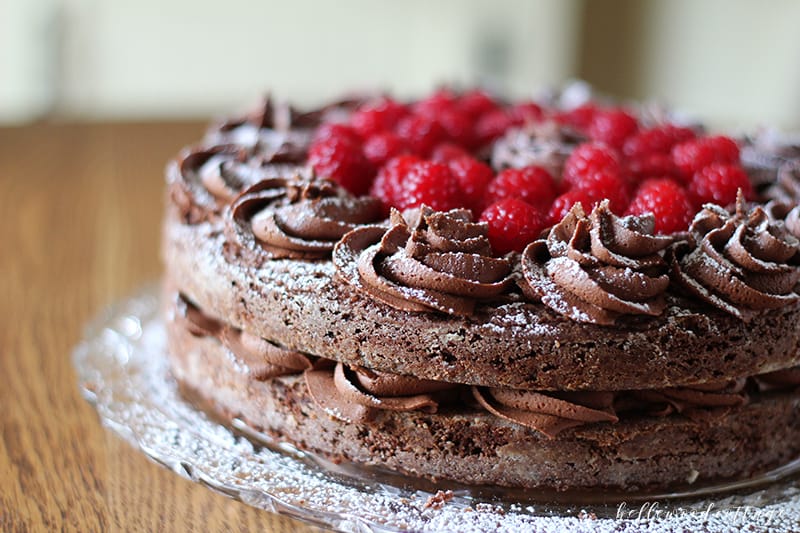
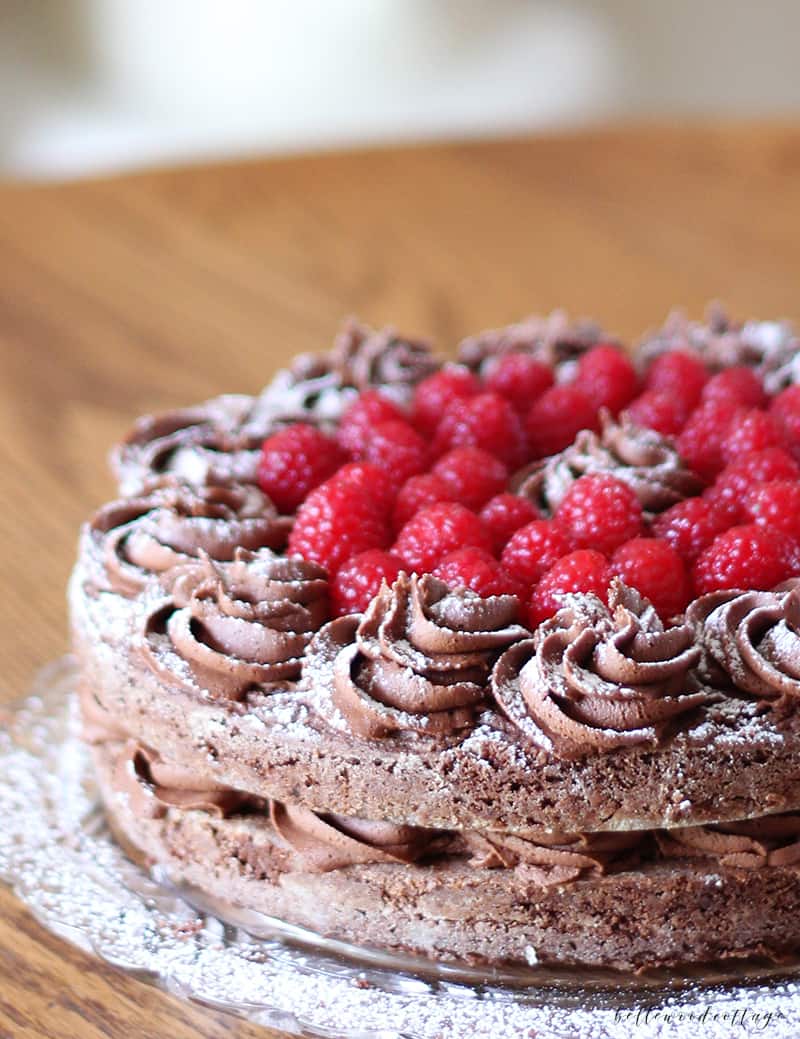
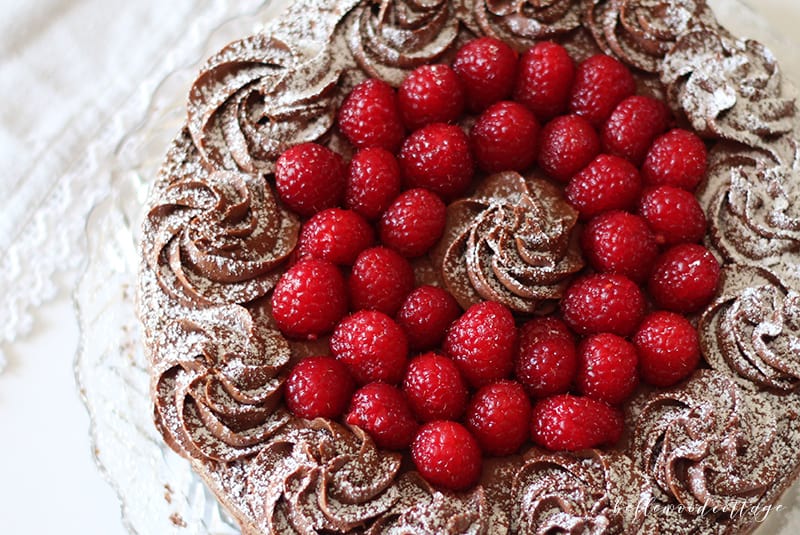
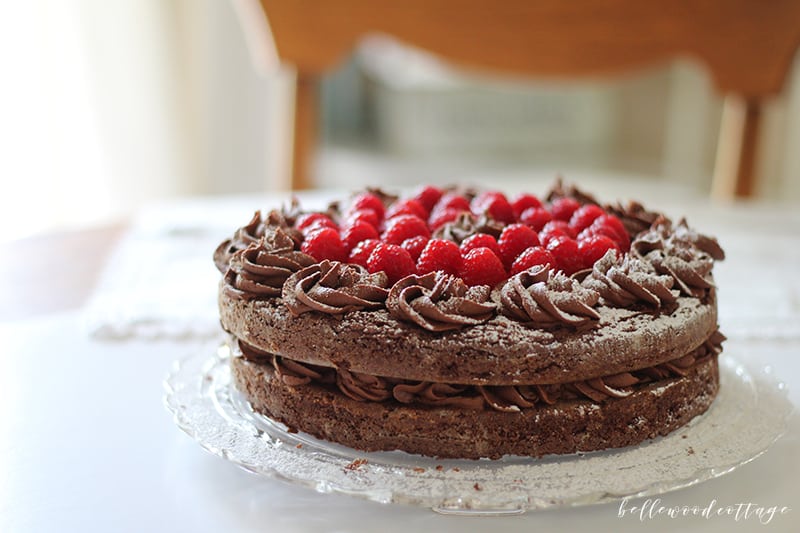
4 – Assembly: Grab a cake stand or plate and dollop a little frosting in the center for the first layer of cake to stick to (I didn’t do this and I rued the day). Center the first cake layer on the plate. Fit a piping bag with a large start tip (I use a 1M open star, but a smaller tip will work in a pinch) and pipe rosettes along the outer rim of the cake. Note: the photo shows that I also did a thin coat of frosting across the entire layer first, but I do not recommend that. The frosting prevented the fruit from soaking into the cake which made for a pretty significant leak. #oops
Fill the center with half the berry mixture, being careful how much syrup comes along with the berries to avoid a leaky cake. (Note my pink counters; I do not endorse them by any stretch of the word).
Place the second cake layer on top, pipe more rosettes around the edge, and fill the center with the remaining berries. When finished, gently sift confectioner’s sugar over the top for a pretty finish.
And there you have it! Enjoy your gluten free masterpiece!

Wow! This is so completely gorgeous! Pinning this right now to make at a time when I’m craving some chocolate 😉
Thanks so much Jessie! 🙂