How to Use a Seam Ripper – Three Easy Methods!
Love sewing? Need to learn how to rip out a seam? Learn how to use a seam ripper with these three easy methods!
Please note that this post contains affiliate links which allow me to earn a small commission when a purchase is made at no additional cost to you. Read more here.
Ever wondered how to rip a seam? Maybe you aren’t quite sure how to use a seam ripper? Let me show you three quick ways to rip a seam like a pro.
If you are new to sewing (or even if you are a longtime sewist!) there comes a time when it is necessary to rip a seam. Maybe pieces didn’t align correctly, maybe (gasp) you sewed a right side to a wrong side, or who knows! The fact is, knowing how to rip seams quickly and efficiently is a skill to know.
Where to Buy a Seam Ripper?
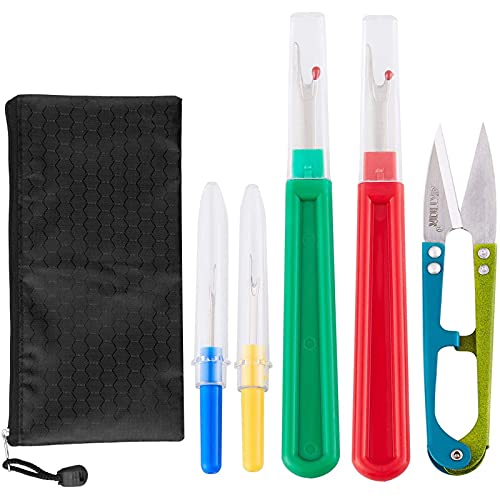
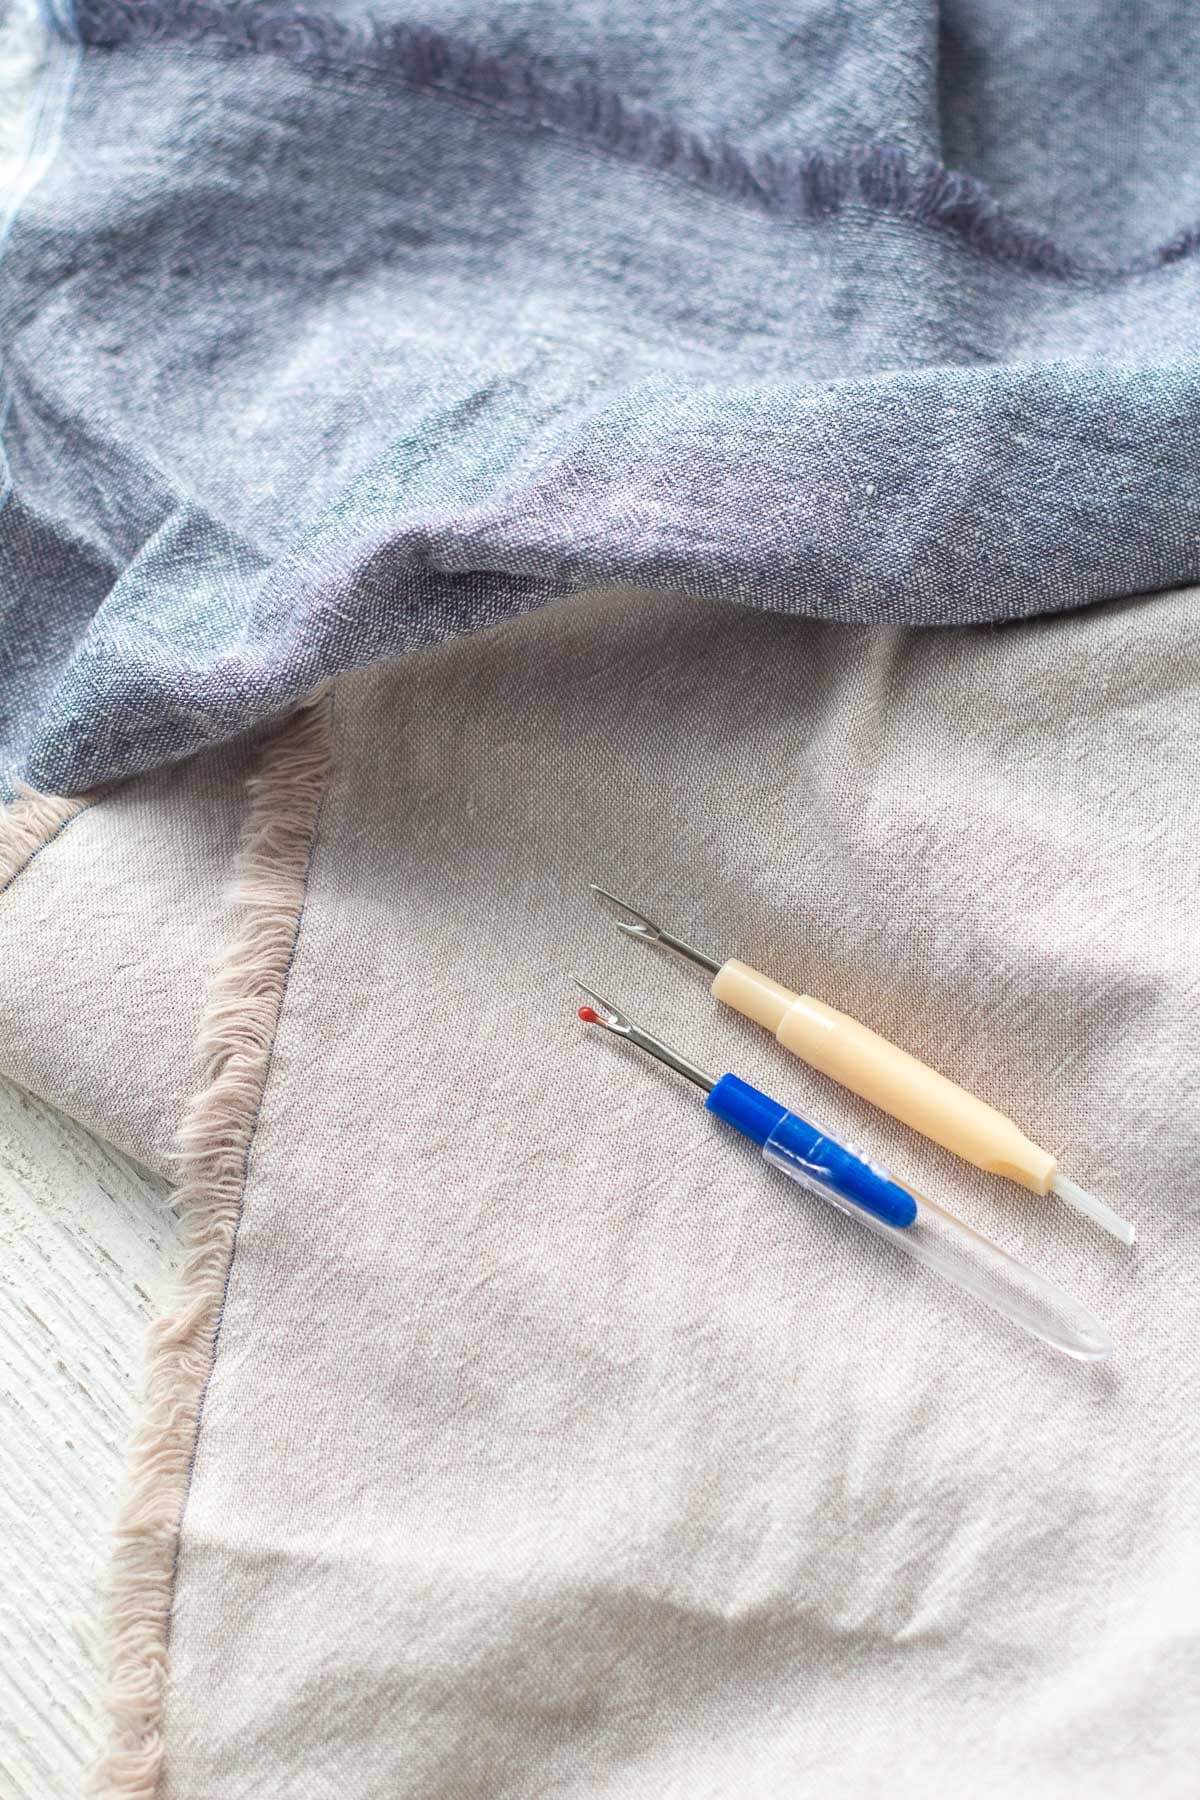
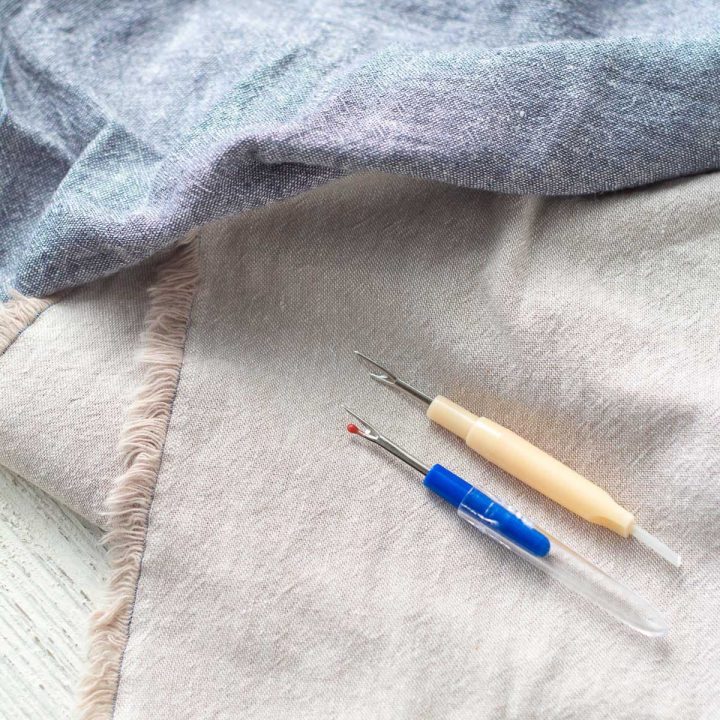
If you own a sewing machine, you likely received a seam ripper too. The ones that come with a machine can do the job, but you can also pick up more ergonomically friendly tools online. I find it handy to keep a seam ripper in a few places around the house as they tend to go missing when I most need one!
- SINGER Comfort Grip Seam Ripper, Blue/White 2 Piece
- Seam Ripper and Thread Remover Kit
- Sewing Tools Kit (Tailors Chalk, Quilting Clips, Seam Ripper)
Now, let’s get started and learn how to use a seam ripper!
How to Rip a Seam: Unpick the Backstitching First
Before starting any seam removal technique, you will want to gently unpick the backstitching at the beginning (and end if the seam was completed) of your seam. Every good machine-sewn seam starts with a quick reverse or two of the machine to make sure that the stitches are tacked down securely. This security takes a bit more work to remove, so do so carefully.
You can gently push the sharp edge of the seam ripper under the stitches and pull up to cut the threads. Repeat until all the backstitching has been removed. Always be careful of tearing your fabric, which leads me to my next point:
How to Use a Seam Ripper: Don’t Tear the Fabric
Because you will be removing stitching right on the seamline, it’s not a great spot for an oopsie. If you tear the seamline as you rip out a seam, generally the entire piece will need to be recut. In some cases, like say you are making a simple drawstring bag like this tutorial, you may just be able to trim the piece and make a smaller item. However, in most cases, a tear will require more fabric and re-cutting the torn piece.
Consider Your Fabric Content
When working with lightweight and delicate fabrics, go slowly and carefully to prevent damage. When ripping out a seam from delicate fabric I like to use the 1st method I show you on the video. In this method you release the backstitching and then cut every third (or fourth or fifth) stitch with your seam ripper all the way down the seam. Then grab the (now loose) thread and pull it out.
Note: For delicate fabric, you will want to cut the maximum number of stitches (every third stitch).
I’m excited to show you all three easy methods for ripping out a seam, just check out the video or print the handy instructions below!
How To Use a Seam Ripper to Rip Out a Seam
Learn how to use a seam ripper to rip out seams quickly and easily! In this quick sewing lesson, I'll show you three methods to try.
Materials
- -seam ripper
- -fabric/project/etc.
Instructions
First Method of Seam Ripping
- First, unpick the backstitching (all methods). Insert the blade of the seam ripper underneath a stitch and slowly push the blade upwards to cut the stitch. Repeat until backstitching is removed.
- Now, use the seam ripper to slice every 3rd, 4th, or 5th stitch (you can do this on either side of the seam).
- Reverse your fabric. The thread on this side of the seam will now be released. Just grab the thread and pull it away. Brush away excess thread trimmings.
Second Method of Seam Ripping
- As before, unpick the backstitching as explained in method 1.
- Unpick a few more stitches to get things started. Now, pull the two pieces of fabric apart and insert the seam ripper through the stitches that have appeared, grabbing them with the blade, and pushing the blade through to cut. Continue to pull apart the fabric and cut the stitches until the seam is completely removed.
- With this method, be careful to avoid stretching your fabric as you pull apart the seam.
Third Method of Seam Ripping
- Unpick the backstitched sections as described in method 1.
- Insert your seam ripper with the blunt end down between the two pieces of fabric. Holding the fabric taut, push the seam ripper forward and slightly to the left (helps to gain traction) and run it straight through the seam until the end.
- This method creates lots of tiny little thread pieces. It can also be a bit dangerous the first few times you try it. I usually choose one of the other methods if I am removing a seam from a delicate project or something I absolutely can't (or don't want to) cut again.
Notes
Choose the method you like best or whichever seems most suited to your fabric. For instance, the third method is fast and easy to do, but it's also a bit risky if you are using a delicate fabric.
All methods: When in doubt, go slow!
Recommended Products
As an Amazon Associate and member of other affiliate programs, I earn from qualifying purchases.