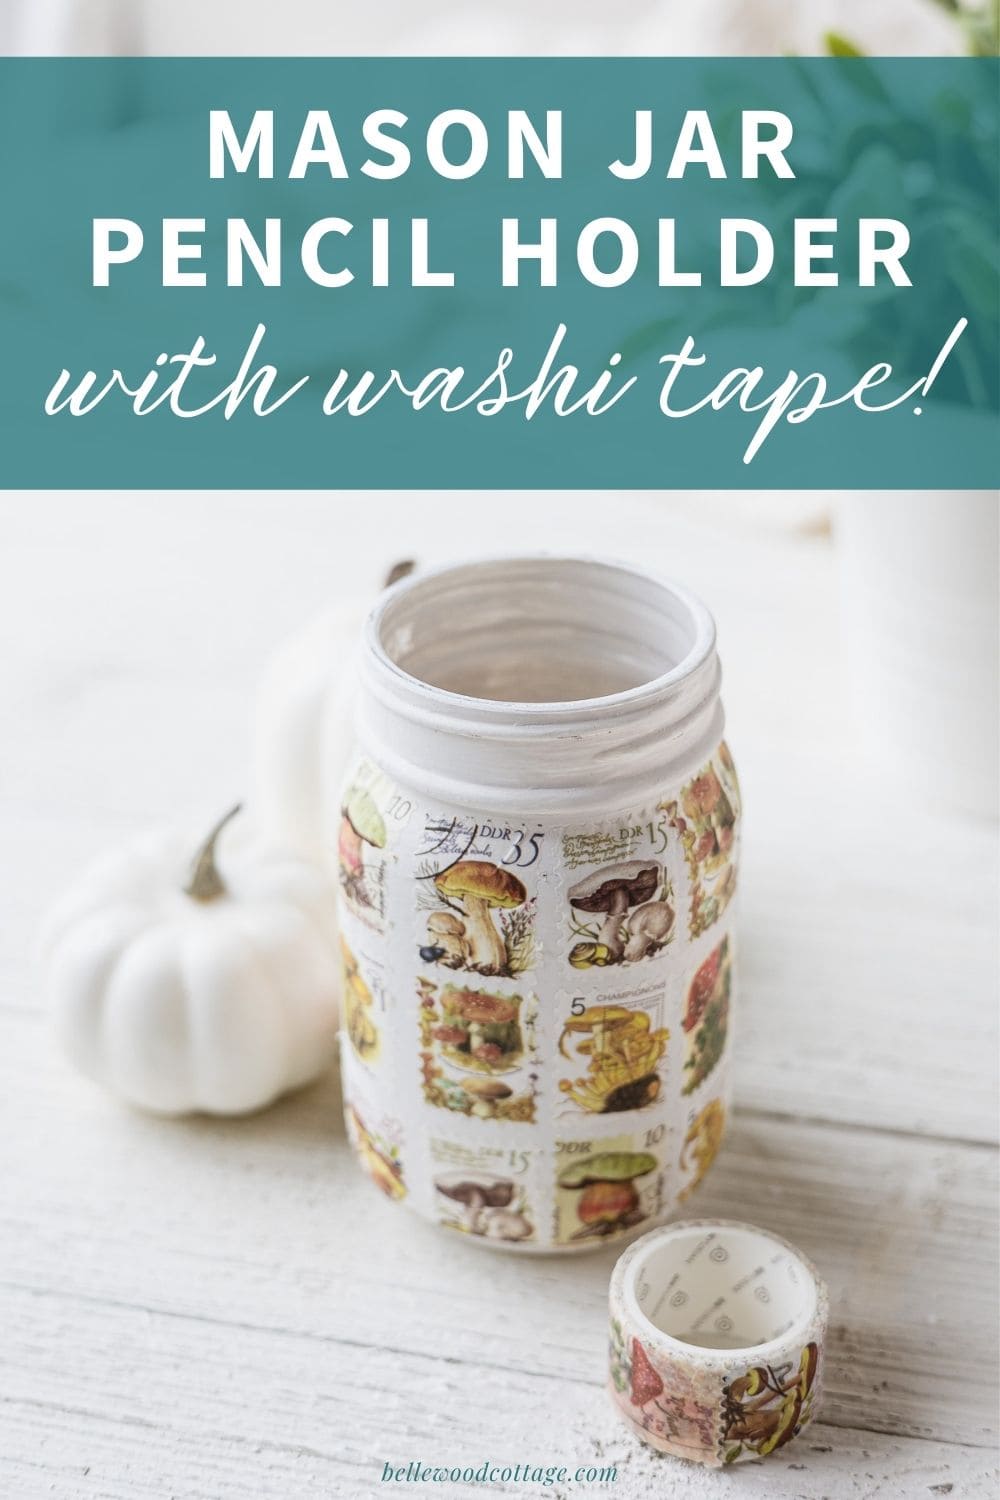
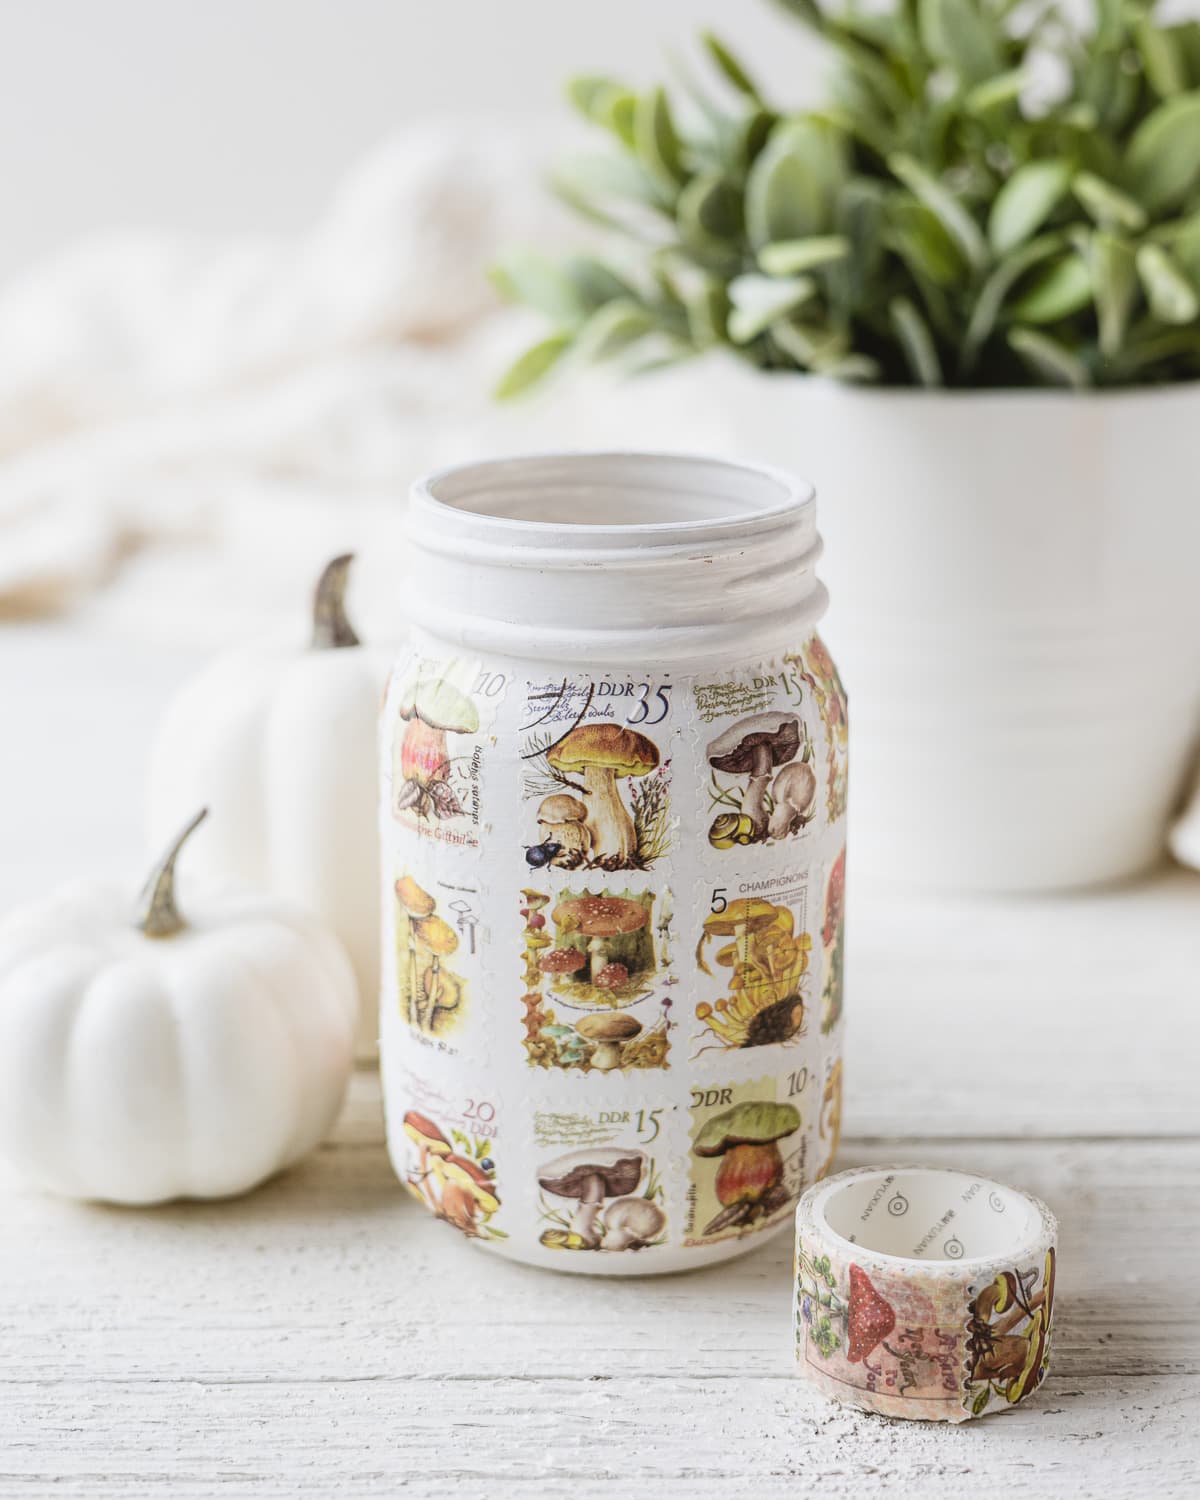
Mason Jar “Postage Stamp” Pencil Holder with Washi Tape
Make a cute mason jar “postage stamp” pencil holder with pretty vintage style washi tape and chalk paint. An easy craft that makes a great pencil holder, vase, or desk organizer.
Please note that this post contains affiliate links which allow me to earn a small commission when a purchase is made at no additional cost to you. Read more here.
When I first found this postage stamp washi tape I knew I had to add some to my washi tape stash. The question was, what to do with it?
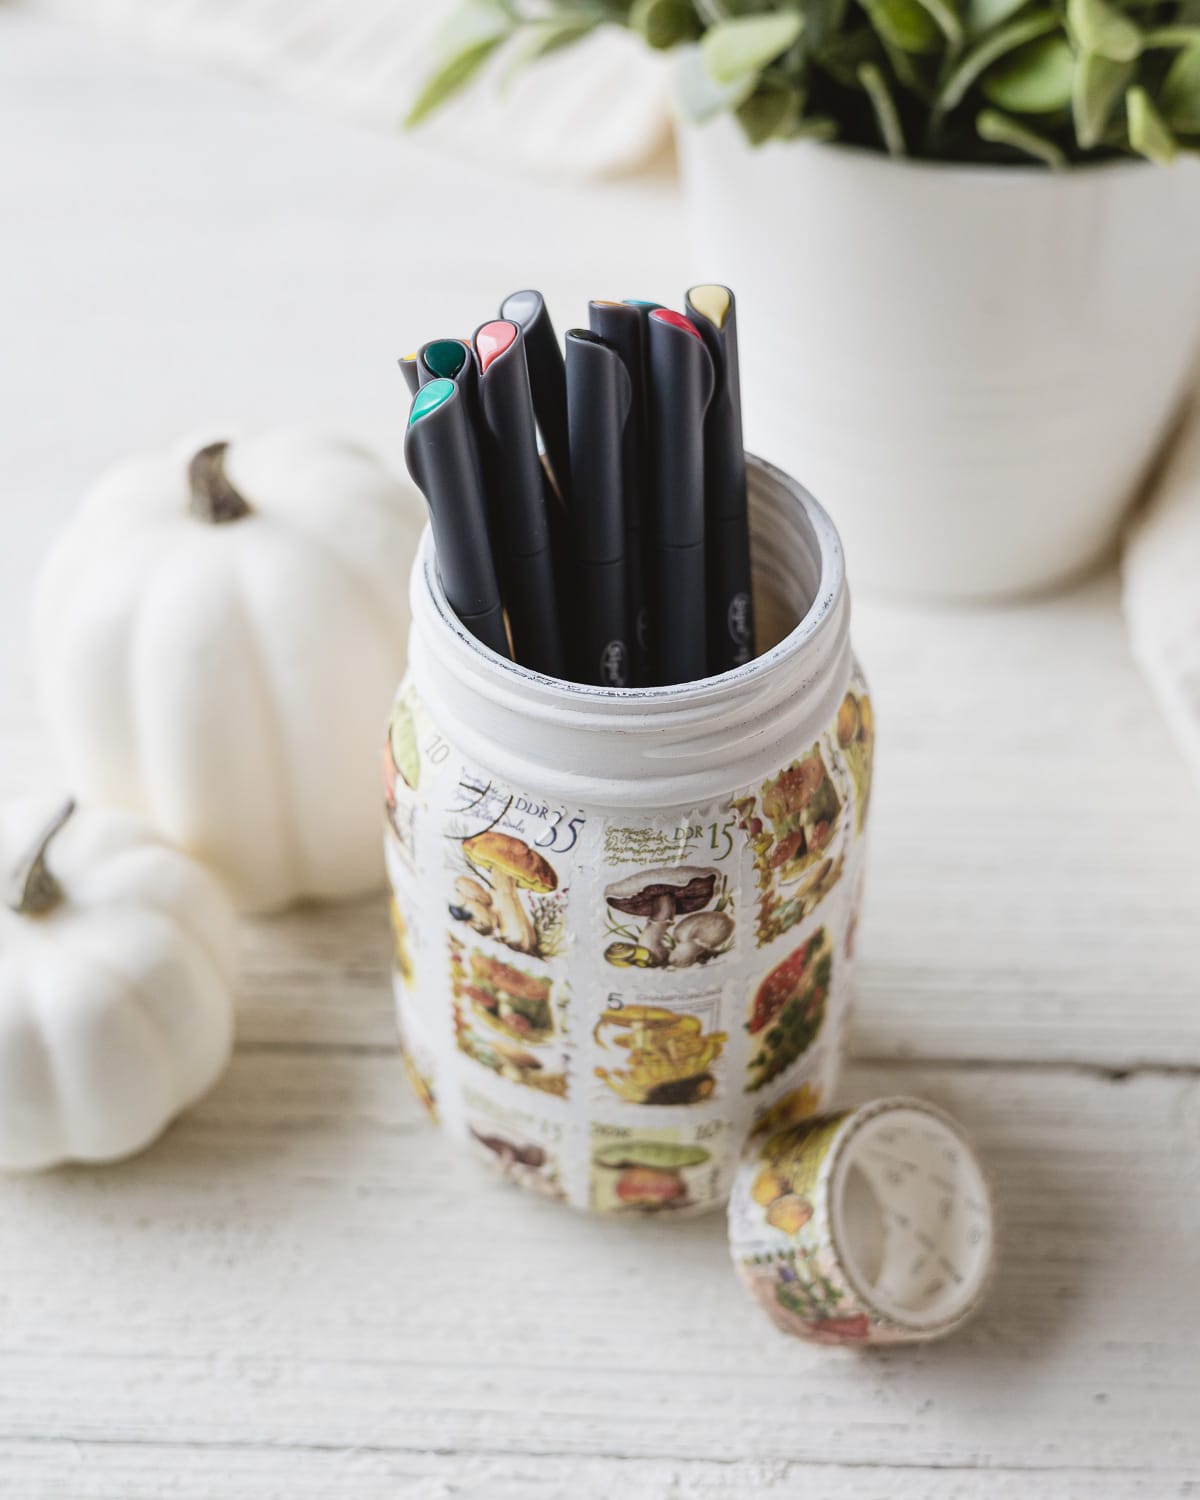
I decided to make a project that could feature all the stamp designs and be useful too. So I settled on a simple pencil holder. I started with a painted mason jar and just covered it with the individual postage stamp designs.
Where to Buy “Postage Stamp” Washi Tape
Whether you want to use this pretty washi tape for cards, crafts, or bullet journaling, it’s definitely one of my favorite designs. There are a few places to find it.
SHEIN: You can find single rolls on SHEIN, but you can’t pick the design you want. This is what I did and I ended up with mushrooms. They are cute, but not my favorite of the designs, so it’s a bit of a gamble.
Amazon: There are several sets of postage stamp washi tape available on Amazon. This set of tape includes the mushrooms and also a cute coffee/café roll (eight different rolls total). This set and this set are very cute too.
Etsy: There’s always lots to discover on Etsy and there’s plenty of pretty postage stamp washi tape options there as well.

How to Make This Mason Jar “Postage Stamp” Pencil Holder
First things first, grab a mason jar. I used a pint-size mason jar for this project, but if you have larger tools (like paintbrushes or something like that) you are needing to store, consider using a quart size jar.
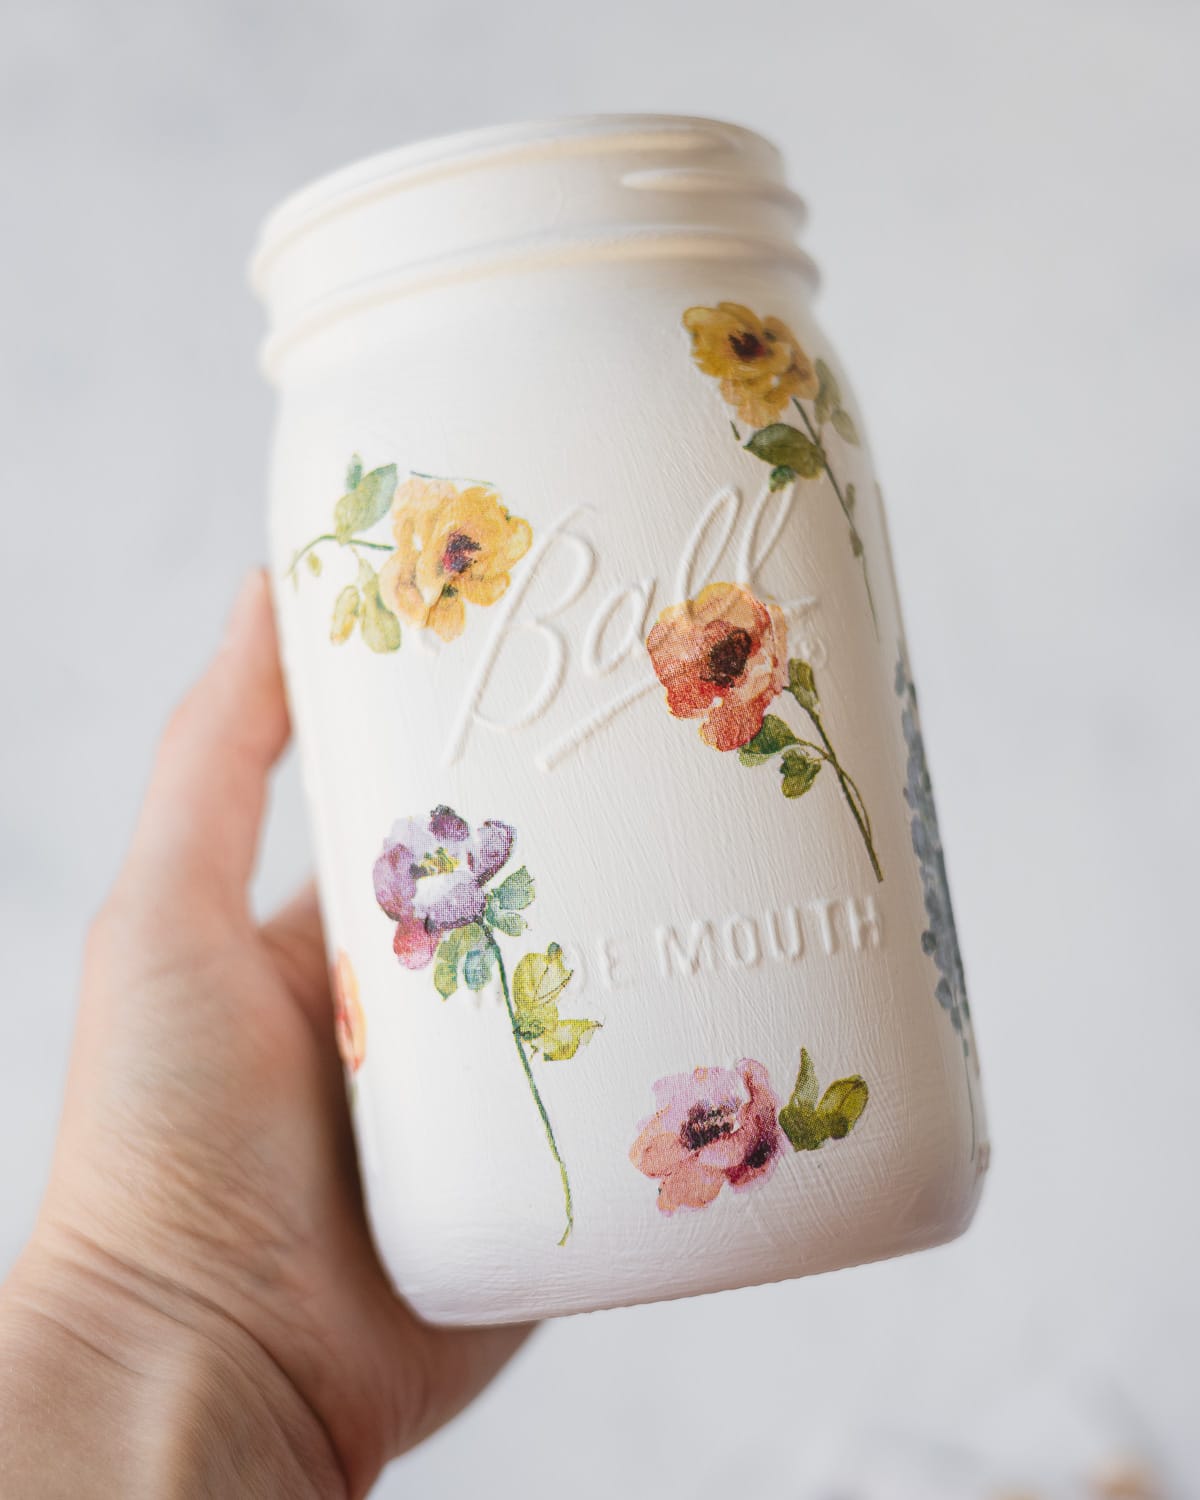
I chose a jar without the raised lettering (found at Hobby Lobby), but you can also find these plain jars on Amazon. I recommend the smooth jar because it’s easier to get the washi tape to stick and remain mostly unwrinkled.
Paint Mason Jar
Next up, paint the jar. I have a complete tutorial on how to paint mason jars, but it’s pretty straightforward. Grab a chalk style paint (these adhere better than just a regular latex/acrylic paint so you can skip a primer coat) like Rust-Oleum Chalk Paint (craft store chalk paints like FolkArt should work too).
For this jar I painted three coats of paint. An important step is to let everything dry completely between coats. Usually two to four hours between coats is the suggestion, but check your can of paint. If you start another coat too soon the paint will pull away from the jar.
Wrap with Washi Tape
After the jar is completely dry, it’s time to adhere the washi tape. I measured my individual postage stamps and my jar so that I could figure out how many stamps would fit before I started sticking them down.
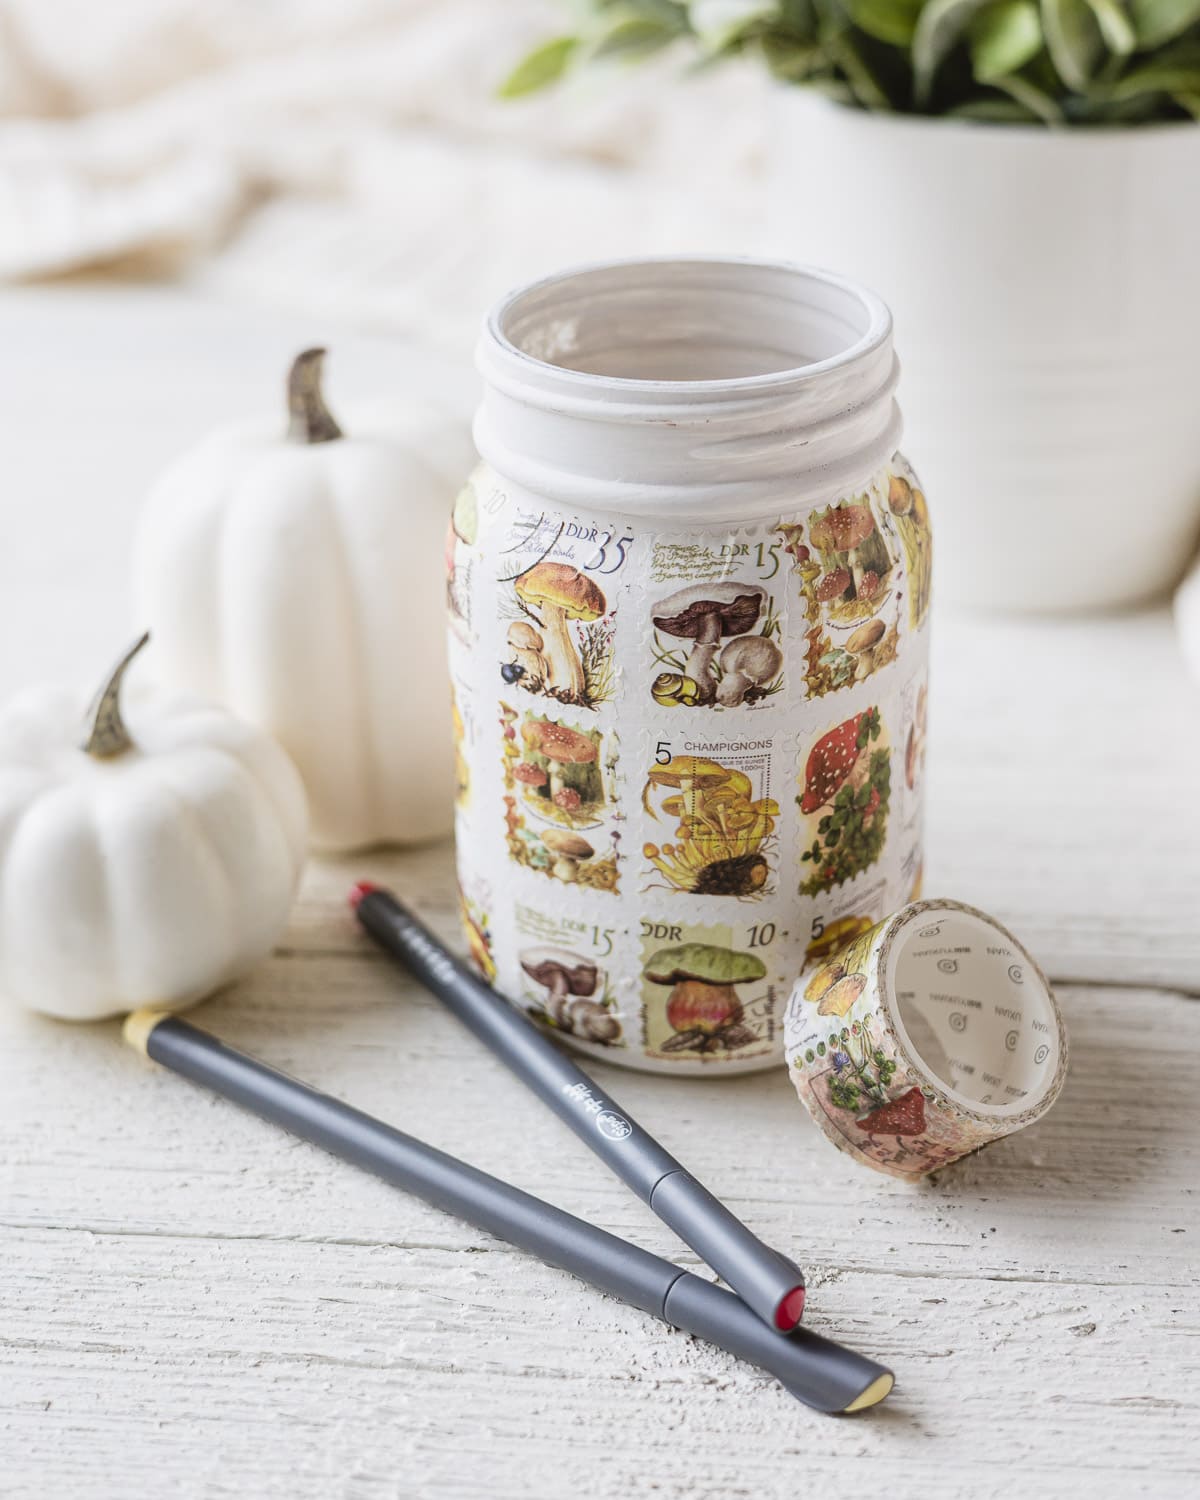
I applied one column going up the jar and one row around the jar (without completely sticking the tape down) to double check I did my math right. Then I pressed them down and added the rest.
Note that the postage stamp washi tapes are delicate so take your time peeling them away from the roll.
Securing the Tape
You can heat-set washi tape by applying a little heat from a hairdryer (keep your hairdryer a safe distance away) for about 15-30 seconds around the jar. And/or, you can apply a simple matte clear coat. Sometimes clear coats can yellow things, so it’s great if you can test it on the underside of the vase. Otherwise, just go for it and embrace the vintage look.
And that’s all there is to it! Have fun creating your own pretty washi tape pencil holder!

More Washi Tape Crafts
- What Is Washi Tape? Plus, the Best Ways to Use It!
- Home State Washi Tape Wall Art
- How to Make Washi Tape Christmas Ornaments
- How to Cover Mason Jar Lids with Washi Tape
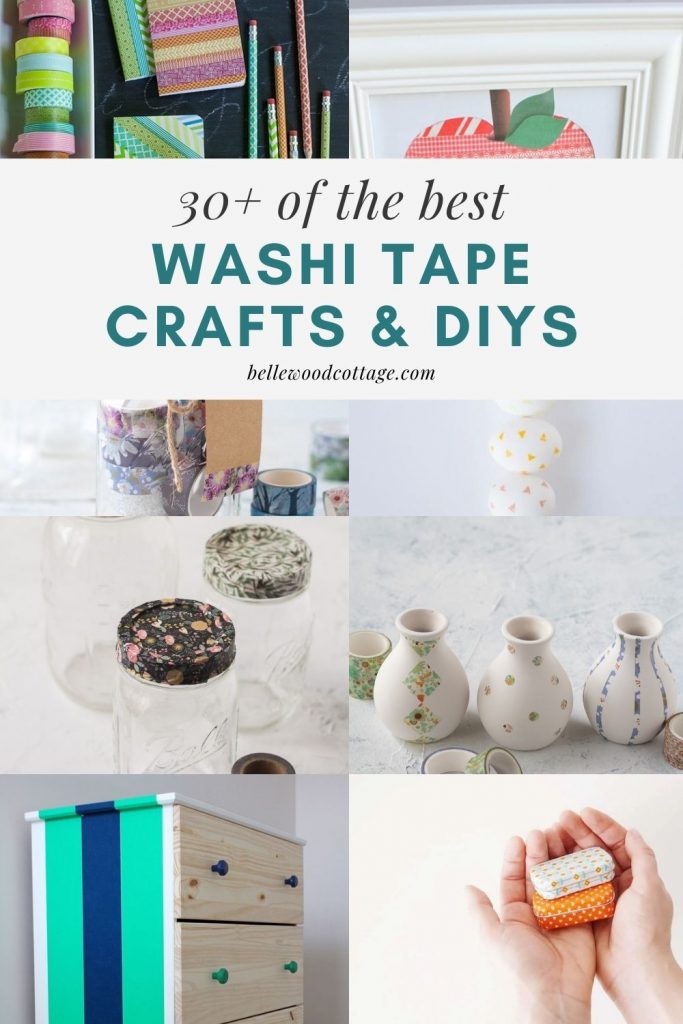
Want More Washi Tape Ideas?
Visit my roundup post of 30+ of the best washi tape crafts and DIYs around the web for tutorials and inspiration!