Miss Mustard Seed’s Milk Paint Before and After: Antique Nightstand
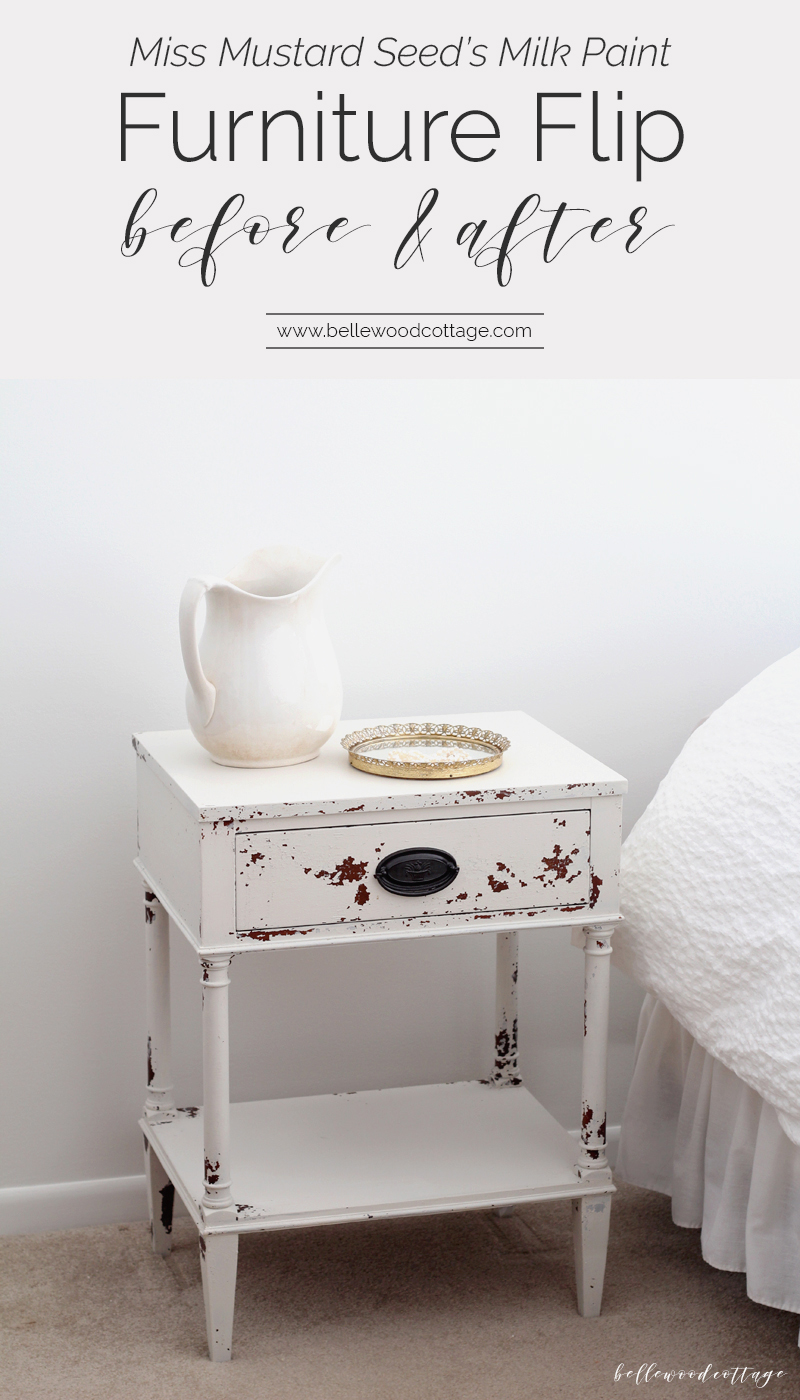 This was one of those projects that I should have been able to finish in a few hours on a weekend, but you know how it goes sometimes! I’m really excited to FINALLY share this milk paint before and after, because I had a lot of fun working on it. Each piece of furniture will take milk paint differently, but I love how this nightstand got chippy and old-looking. Super easy way to add some vintage charm to any piece.
Please note: This post contains affiliate links which allow me to earn a small commission when a purchase is made. Read more here.
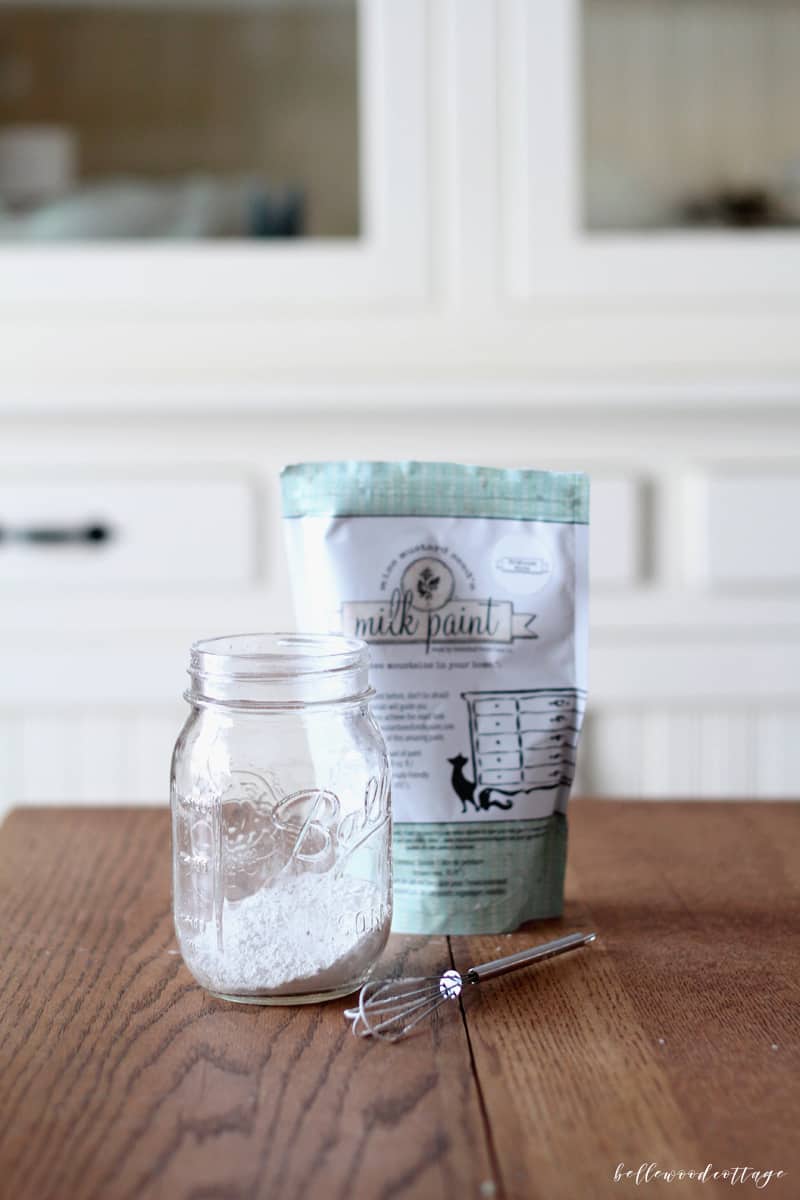
First off, if you are unfamiliar with Miss Mustard Seed’s Milk Paint, it’s a five-ingredient environmentally-friendly paint that can be used to create vintage/chippy/distressed pieces or pieces that are smooth and polished. It actually comes in a powder form which is mixed with water to create the paint. There is lots more info on Miss Mustard Seed’s Milk Paint website.
How to prep your furniture for milk paint
The amount of prep work you do for a milk paint furniture flip really depends on the desired finished look. Since I was hoping to get a chippy/aged look on this nightstand, I actually didn’t want the paint to adhere perfectly.
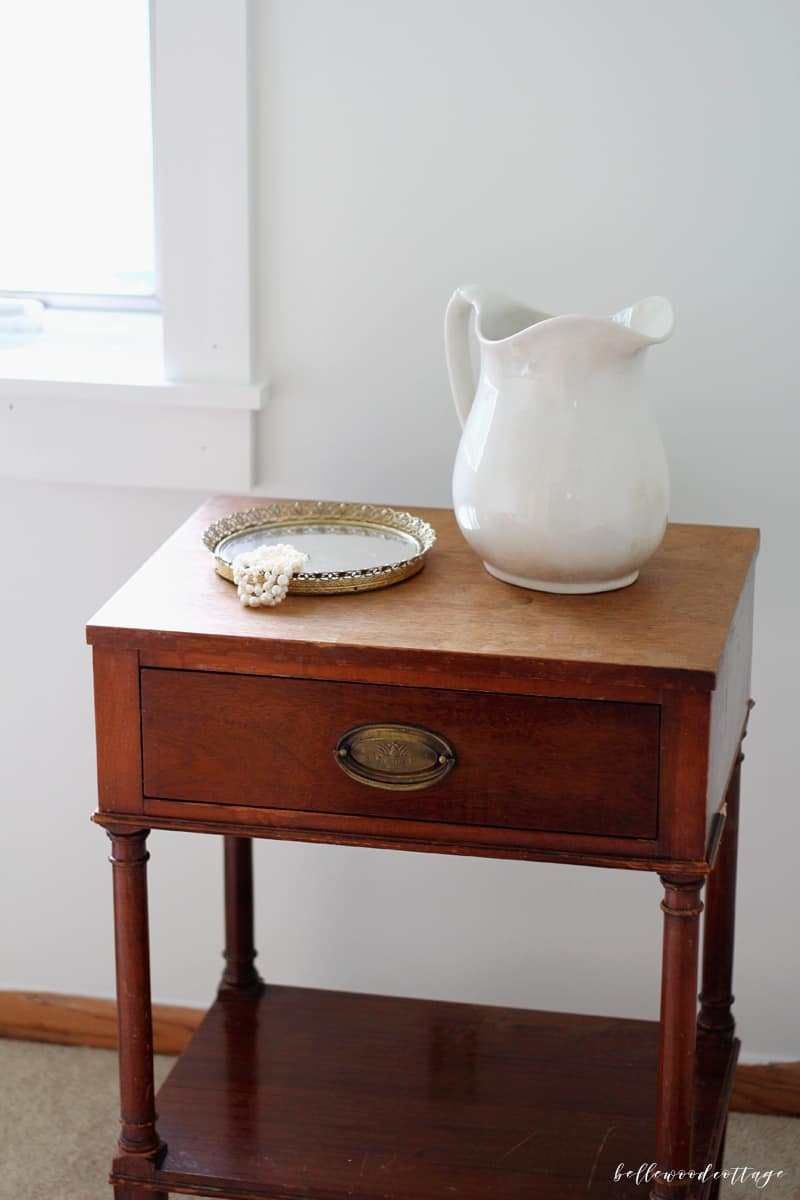
How I prepped my nightstand for painting:
- Remove hardware/make any repairs (or fill old hardware holes)
- Wipe down piece to clean (I usually just use a little soap and water).
- Sand lightly with a medium grit sanding block. Basically I just ran it over the whole piece once. Super quick. You can do more if you are hoping to avoid too much chipping.
- Wipe up the sanding dust. I use a tack cloth followed by a damp cloth to remove any straggling dust.
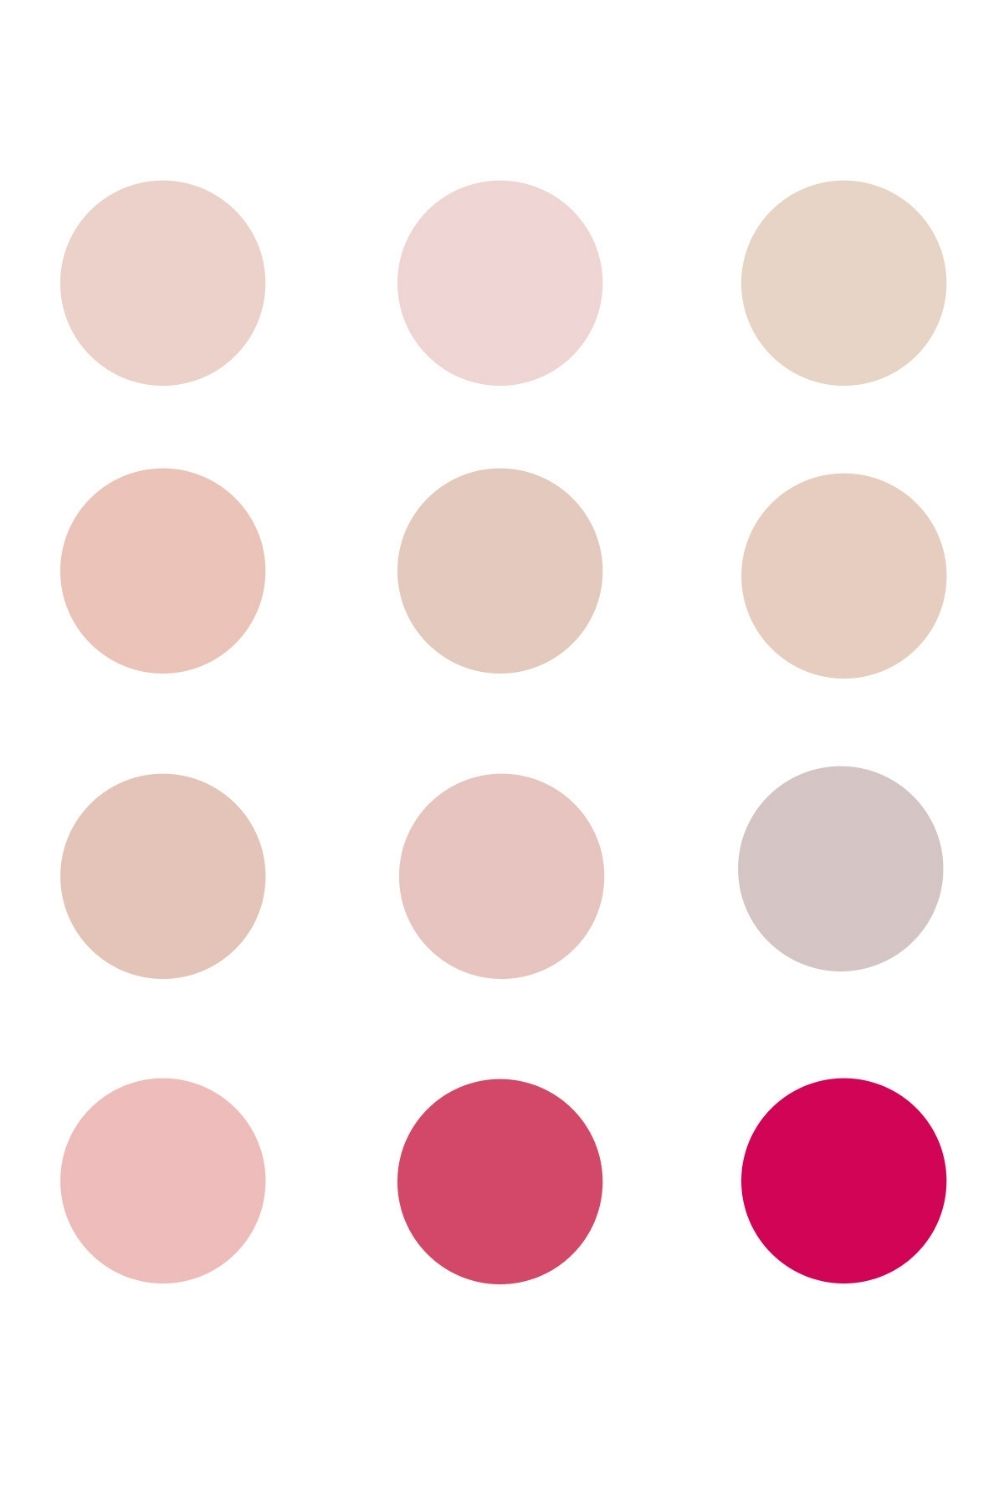
Miss Mustard Seed milk paint colors
Before we get into the painting process, can I just gush about the Miss Mustard Seed paint colors for a second? The paint itself is great to use (though there are definitely some tips and tricks that make it easier!), but the colors are why I will keep coming back to MMSMP. Each color (even yes, the white!) has actual color variety in the powder. The depth this gives in the final piece is remarkable. Kind of hard to explain, but you’ll see tiny particles of other colors besides “white” for example in your white paint.

![]()
I chose Farmhouse White (purchased from Amazon) for this piece and it is a lovely soft white.
Look at all these pretties! I’ll take one of each please.
(photo from Miss Mustard Seed’s Milk Paint)

How to paint with milk paint
Again, every piece is different, but here’s the step-by-step process I used to get the chippy look on this nightstand.
For me, the trickiest part of milk paint is mixing the consistency correctly. Since the paint begins as a powder, you mix it up yourself. I ended up painting three coats on this piece and each one was a slightly different consistency. I found that I preferred using a more runny paint. Much easier to spread across the piece. And on a piece this size, doing a third coat didn’t take long at all.

My suggestions for making the painting process smoother:
- Mix your paint and then be sure to wait the requisite 10-15 minutes before using it. Otherwise you will find little hints of undissolved powder while you paint.
- Mix your paint WELL and continue to mix as you paint so the paint doesn’t settle.
- Use a cup without grooves in the bottom. The powder can get trapped in the grooves of plastic disposable cups and let me tell you it is really annoying!
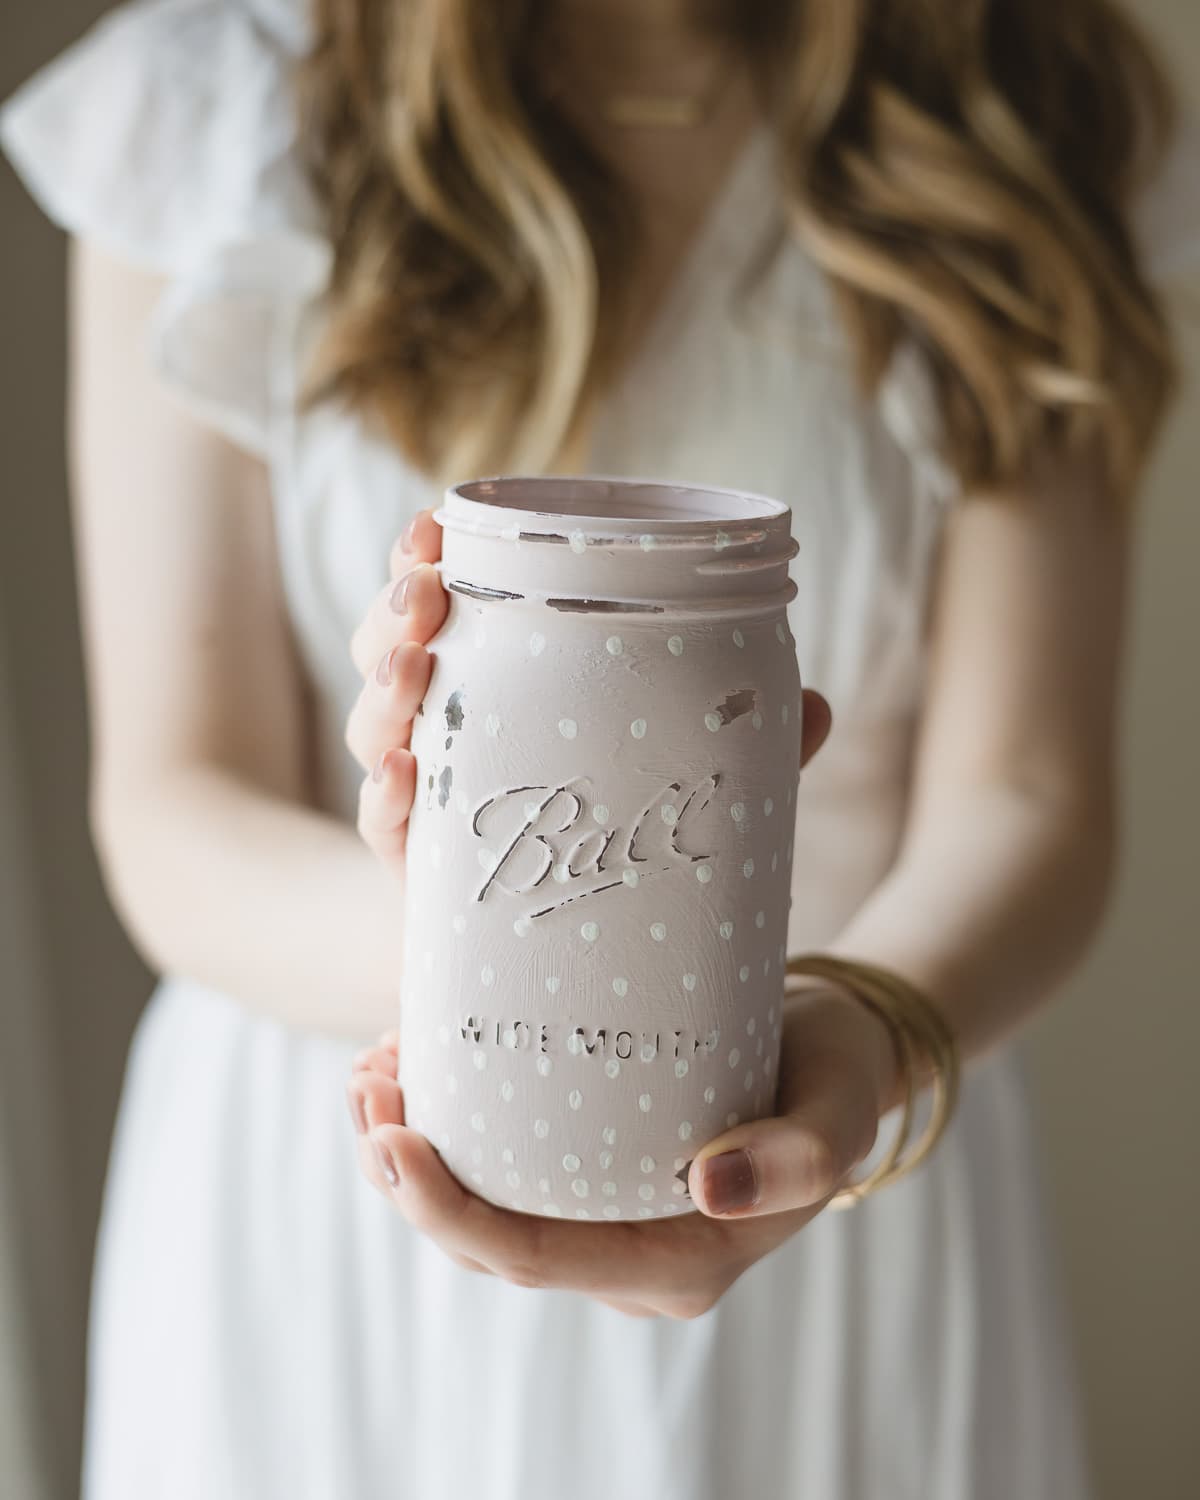
- Instead of a disposable cup, I’m going to just grab some plain glass tumblers from the thrift store for next time. I also tried a mason jar which was cute, but not practical.
How to get the chippy look
Sometimes getting the chippy look can actually be a challenge!
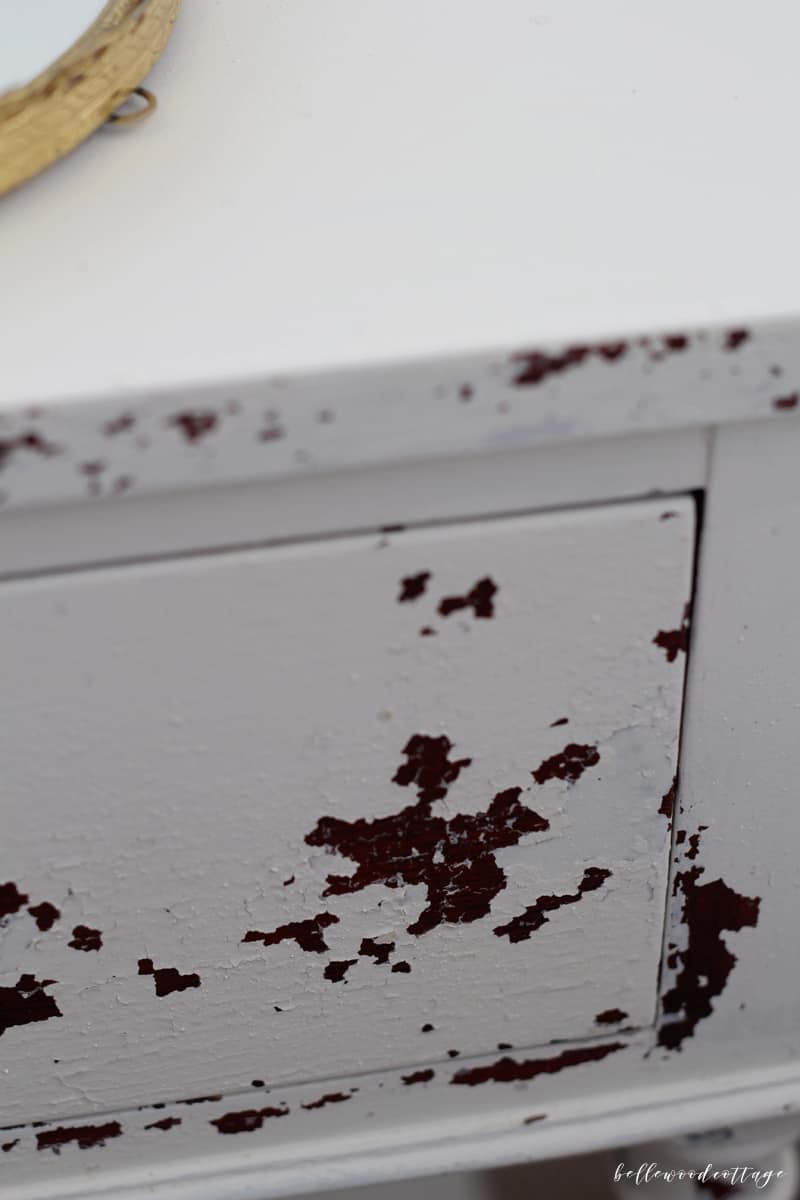
If you are attempting a milk paint before and after, and hoping for your piece to chip, here is what I would do. First, sand the piece very minimally. Then, I would recommend painting all of your coats of paint in very quick succession. Like, literally as soon as the first is dry to the touch, go in for your second (or third) coat. If you wait until after the first coat is dry and starts chipping, adding additional coats gets a little tricky. It can be hard to remove all the loose flaking before starting the next coat, which means that chips/particles will get caught in your next coat.
Additionally, since the paint won’t always chip in the same spots, you also run the risk that some spots will end up covered with one coat of paint while the rest of the piece has the full two/three coats. This looks a little untidy versus looking authentically aged.
Another tip: To remove the loose paint chips before sealing (or in case you had chipping between coats), just run the fuzzy vacuum attachment over your piece. I don’t even know what you call that piece? Like the brush type one for dusting stuff. I found that mine picked up the loose chips really well. Obviously if you have a powerful vacuum it might pick up TOO much, so test it in an inconspicuous area first.
How to seal Miss Mustard Seed’s Milk Paint
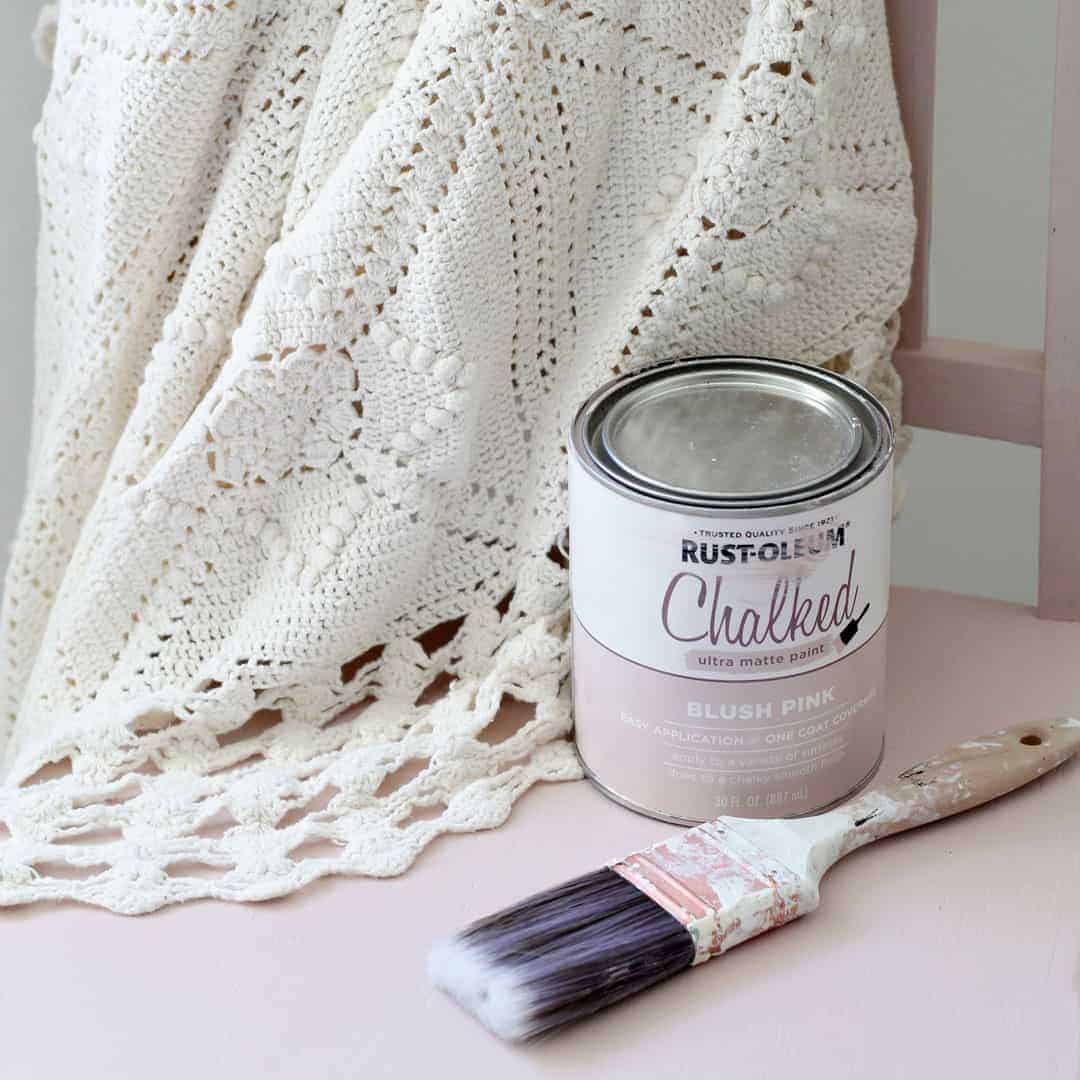
It’s recommended by Miss Mustard Seed to use Tough Coat to seal your piece (though you don’t have to seal at all necessarily), but I didn’t have any on hand so I used my go-to, Rust-oleum’s Chalked Matte Clear. Two coats did the trick!
Tough Coat:

![]() Rust-oleum Matte Clear:
Rust-oleum Matte Clear:

![]()
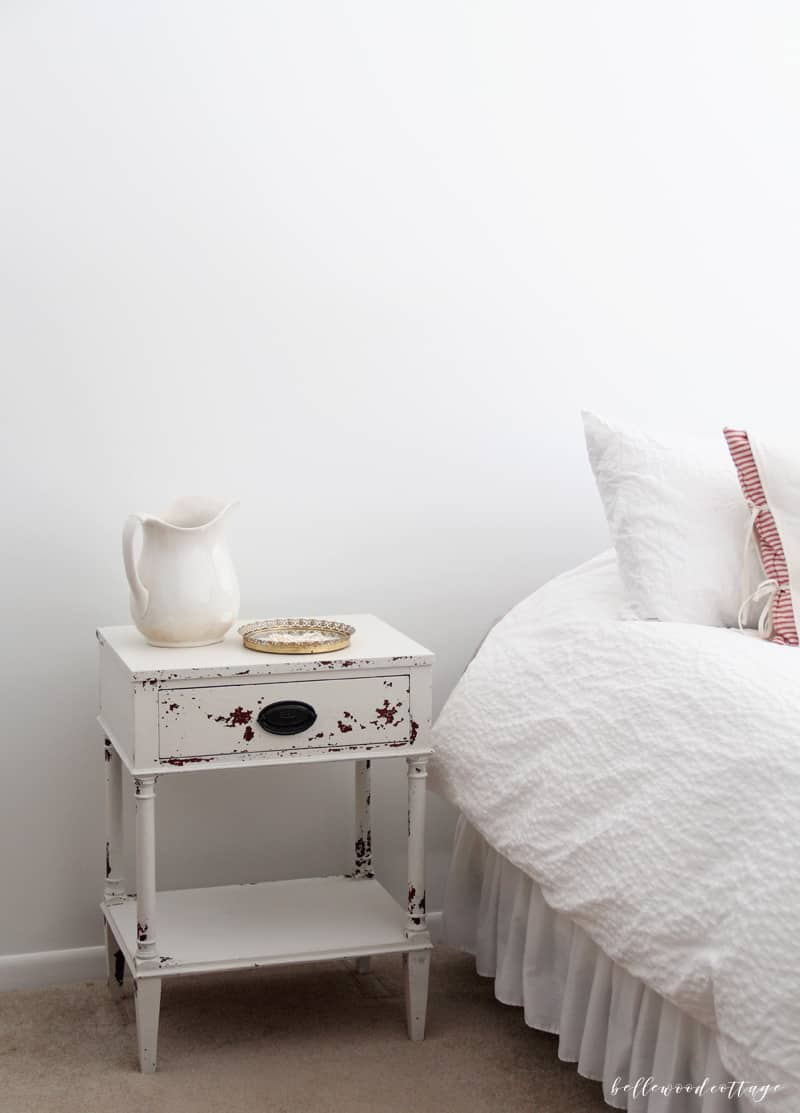
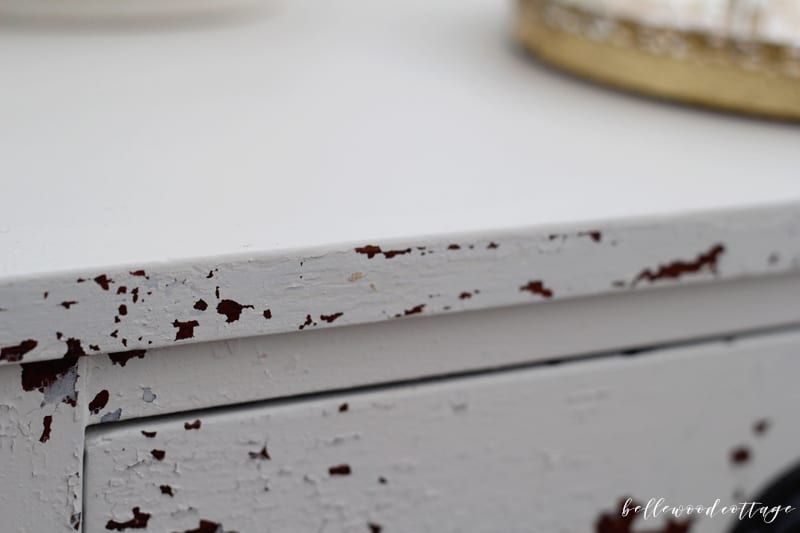
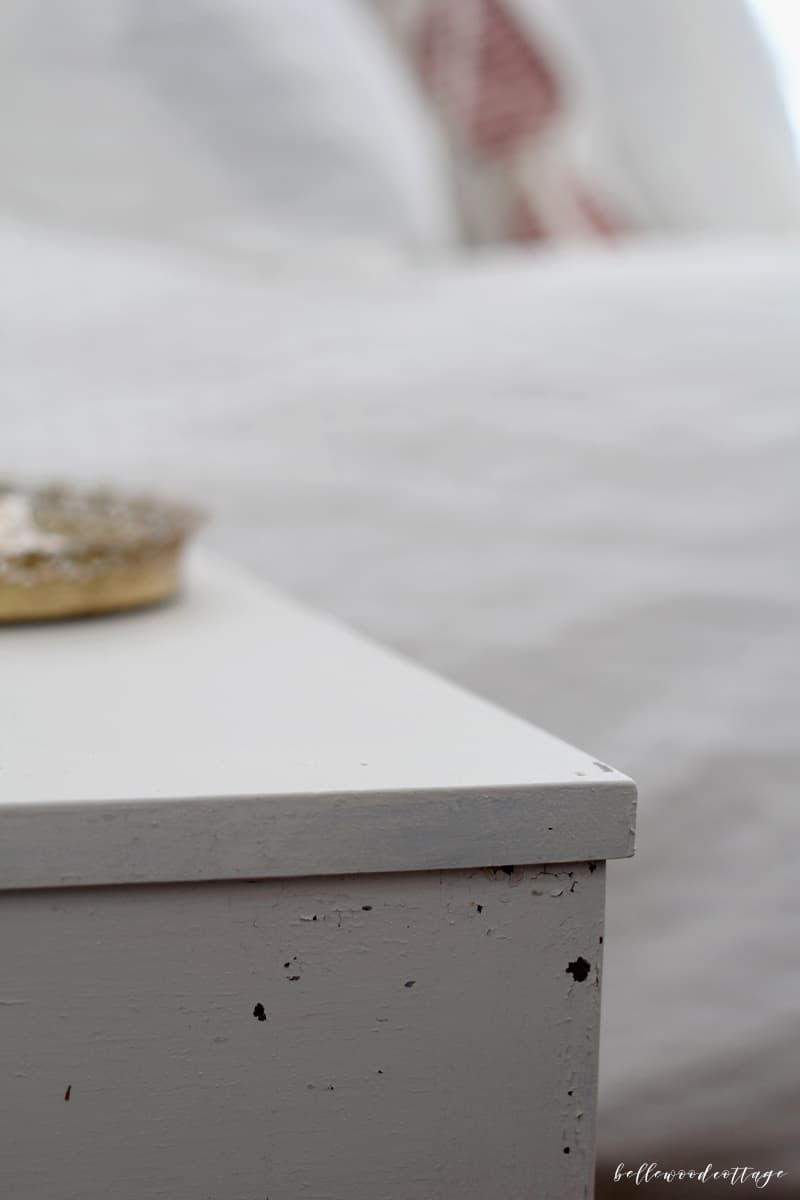
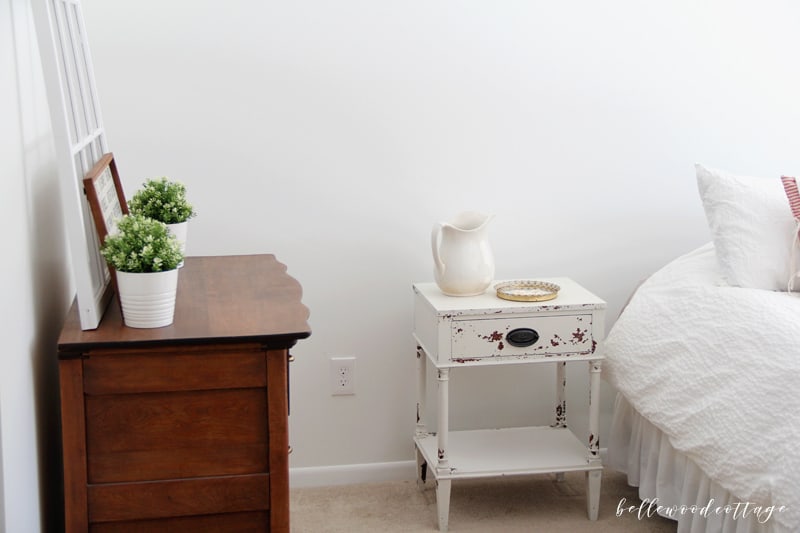
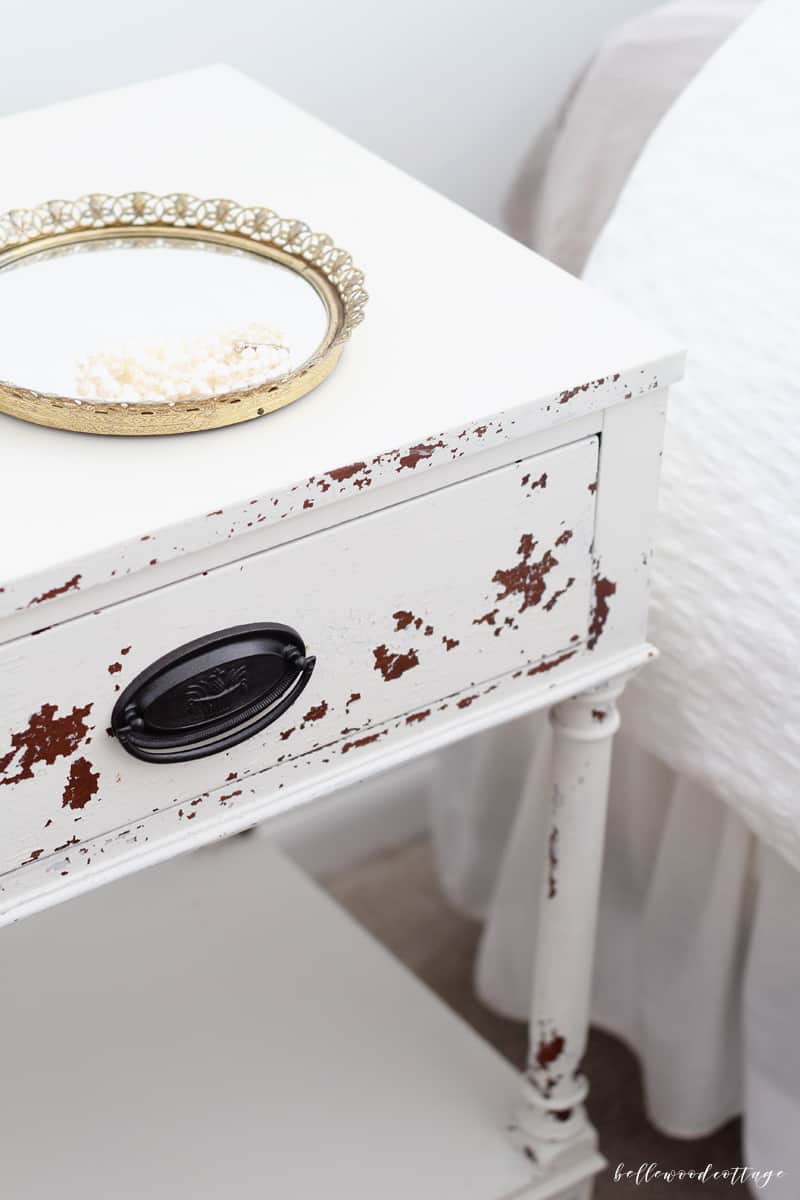
Miss Mustard Seed’s Milk Paint before and after
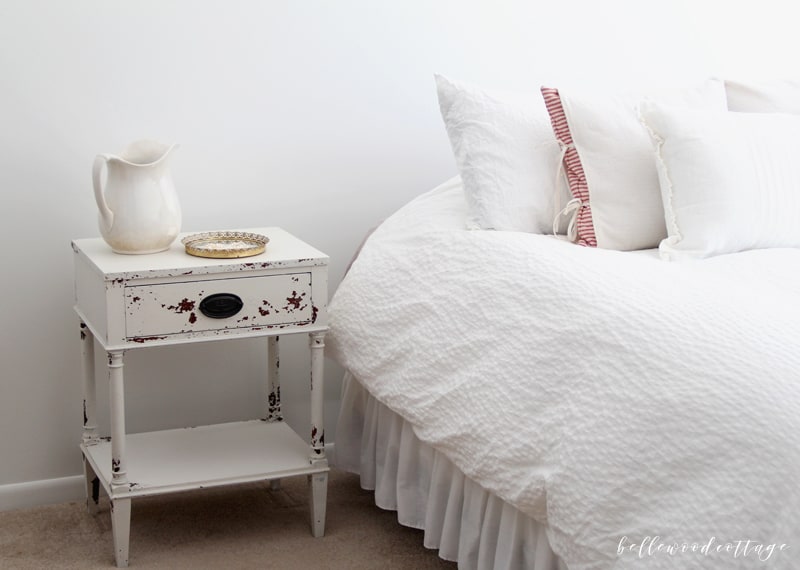
And again, here is the final look! My one regret with this furniture flip is that I didn’t change out the hardware. The piece actually had developed a ridge underneath the plate of the drawer pull, so I figured it would be easiest to just leave it. Plus, it has a pineapple on it, which is cool. I ended up spray painting the hardware with some oil-rubbed bronze spray paint, though I kind of just wish I had a glass handle on there! Next time!
I’m so happy to have this piece in our master bedroom. We are one step closer to the final look. Can’t wait!
I’d love to hear if you have used milk paint before and what you thought! I have a pretty significant queue of projects I want to try it out on at this point.