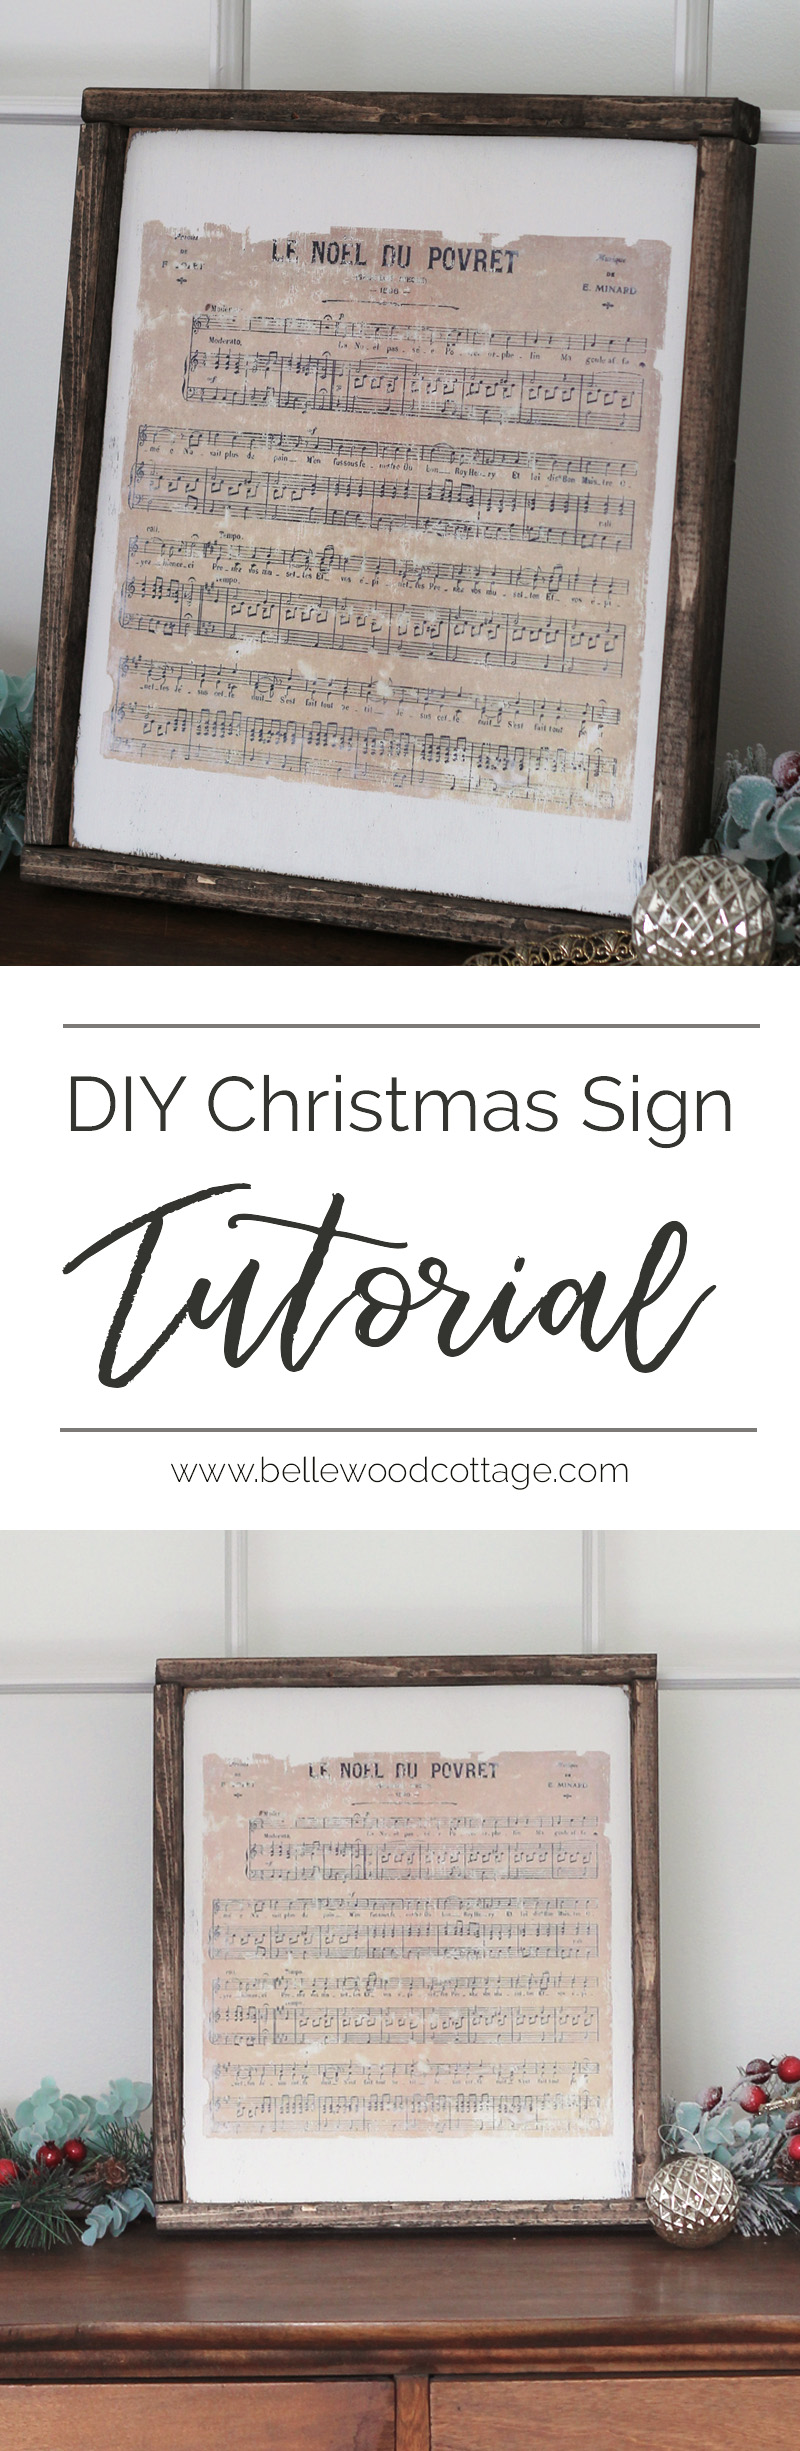
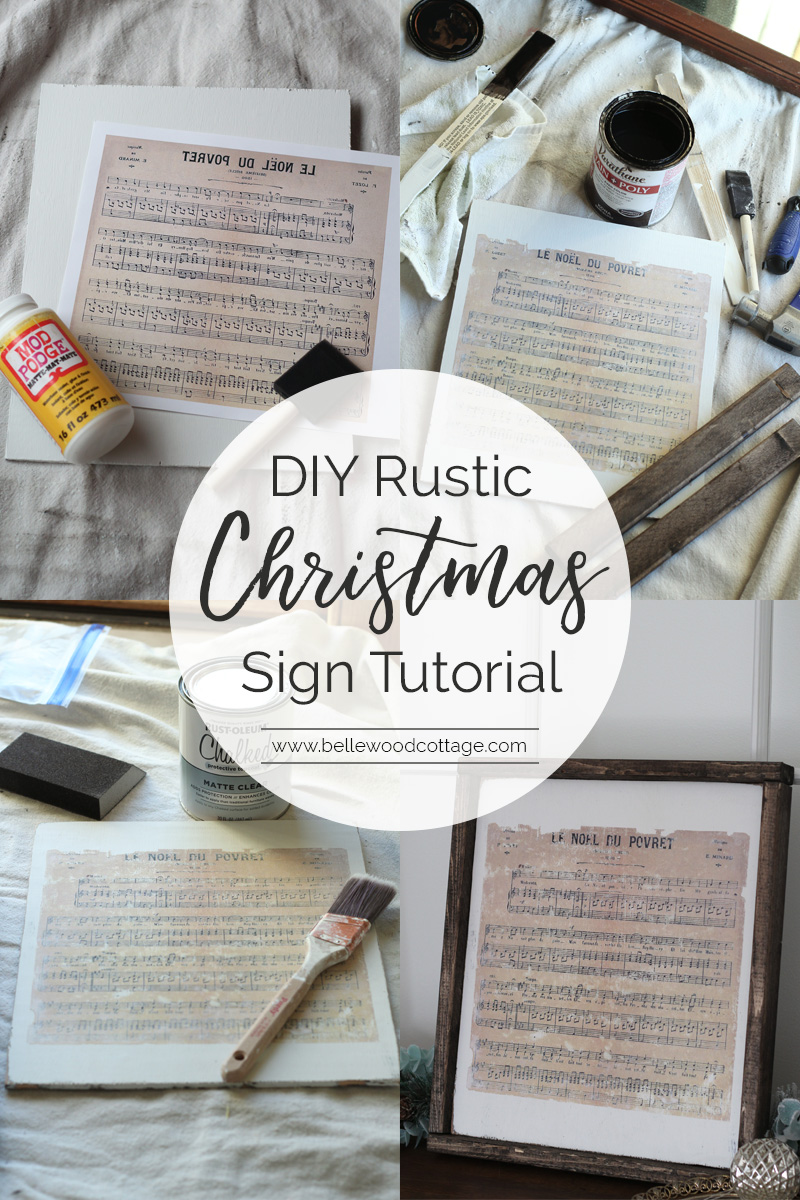
Rustic DIY Christmas Sign Tutorial

Good morning and happy Monday my friends!
Well, as we all know, Thanksgiving is this week and I am officially pumped. The holiday season surrounding Christmas and Thanksgiving is my absolute favorite and I can’t wait to dig into all the yummy food this Thursday. Another thing I am so excited for is Christmas decorating! I have been doing a few things behind the scenes, but haven’t really started decorating yet. Weeell, I did audition some garland and ornaments around the house for this photoshoot…but that doesn’t really count, does it?
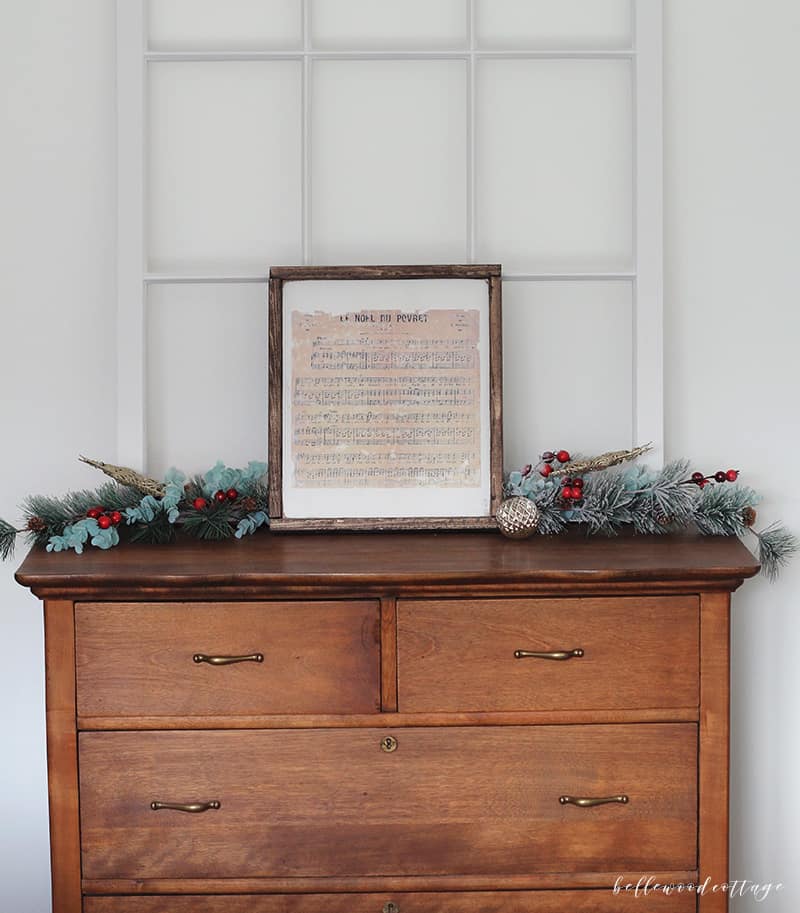
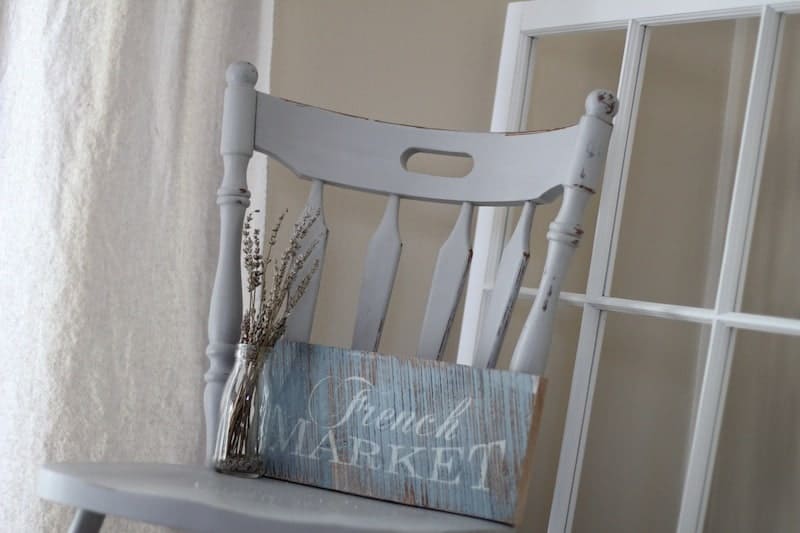
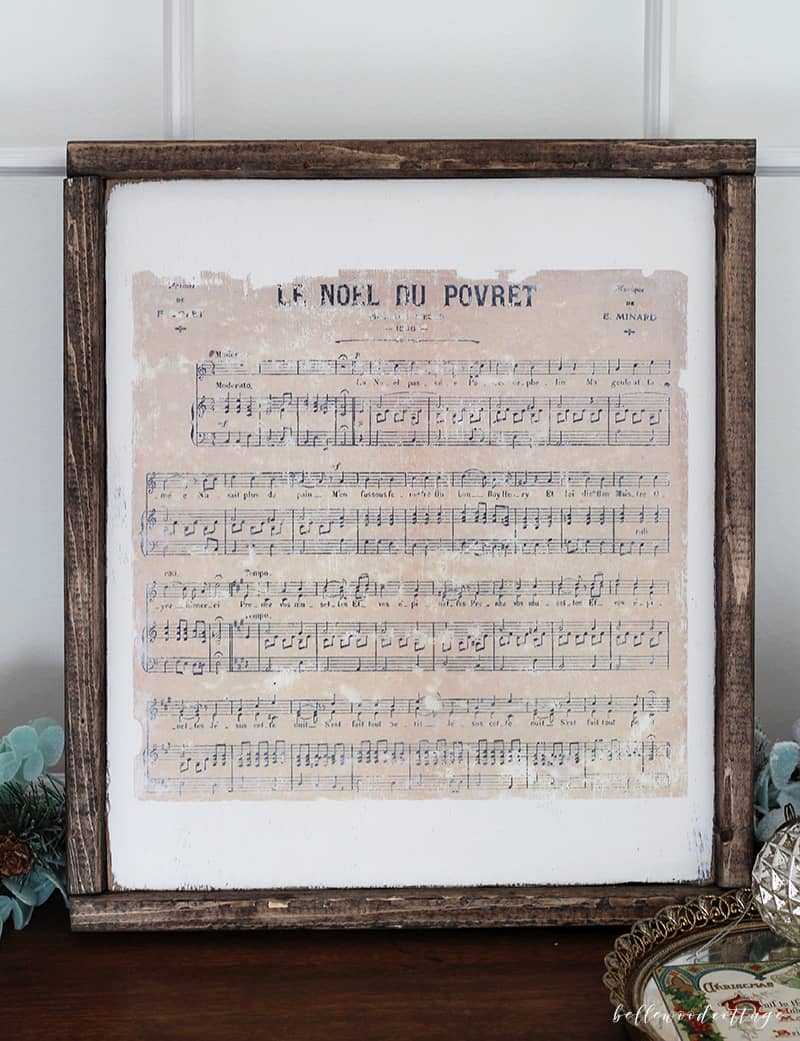
I wanted to get this rustic DIY Christmas sign tutorial up on the blog asap because you will find that it is relatively quick to make, budget-friendly, and it has so many possibilities to match various decor styles. You will love it with your Christmas decorations! I am thrilled with how my French sheet music version turned out and can’t wait to try this out around the house once I really get started decorating after Thanksgiving hits.
The main idea of this project is to create an image transfer onto a piece of wood and then distress it and frame it in with simple furring strips from the home improvement store. So easy!
Supplies:
A mirror-image photocopy (you want to avoid inkjet printers for this one!) of a graphic/photo/design you want for your sign (see below for the one I used)
A piece of plywood, beadboard, or other scrap wood (this is what you will transfer the photocopy to)
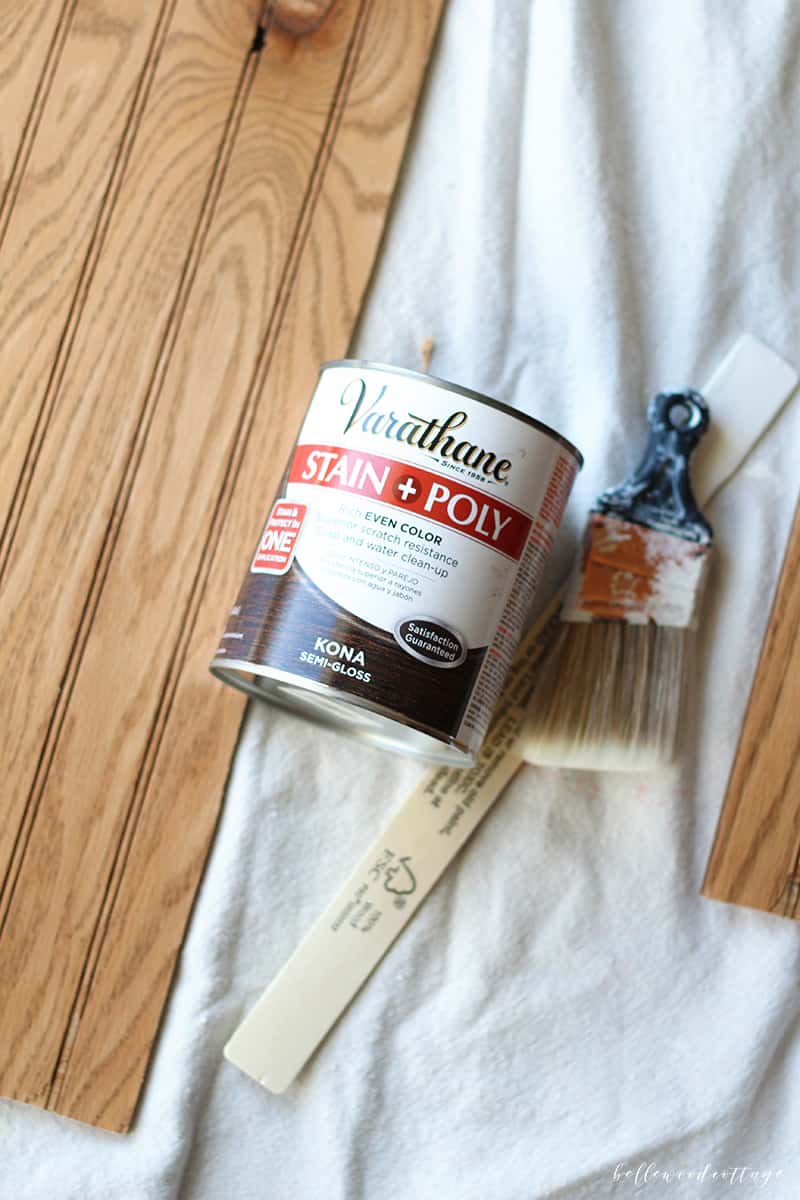
Wood stain (optional; I used this one)
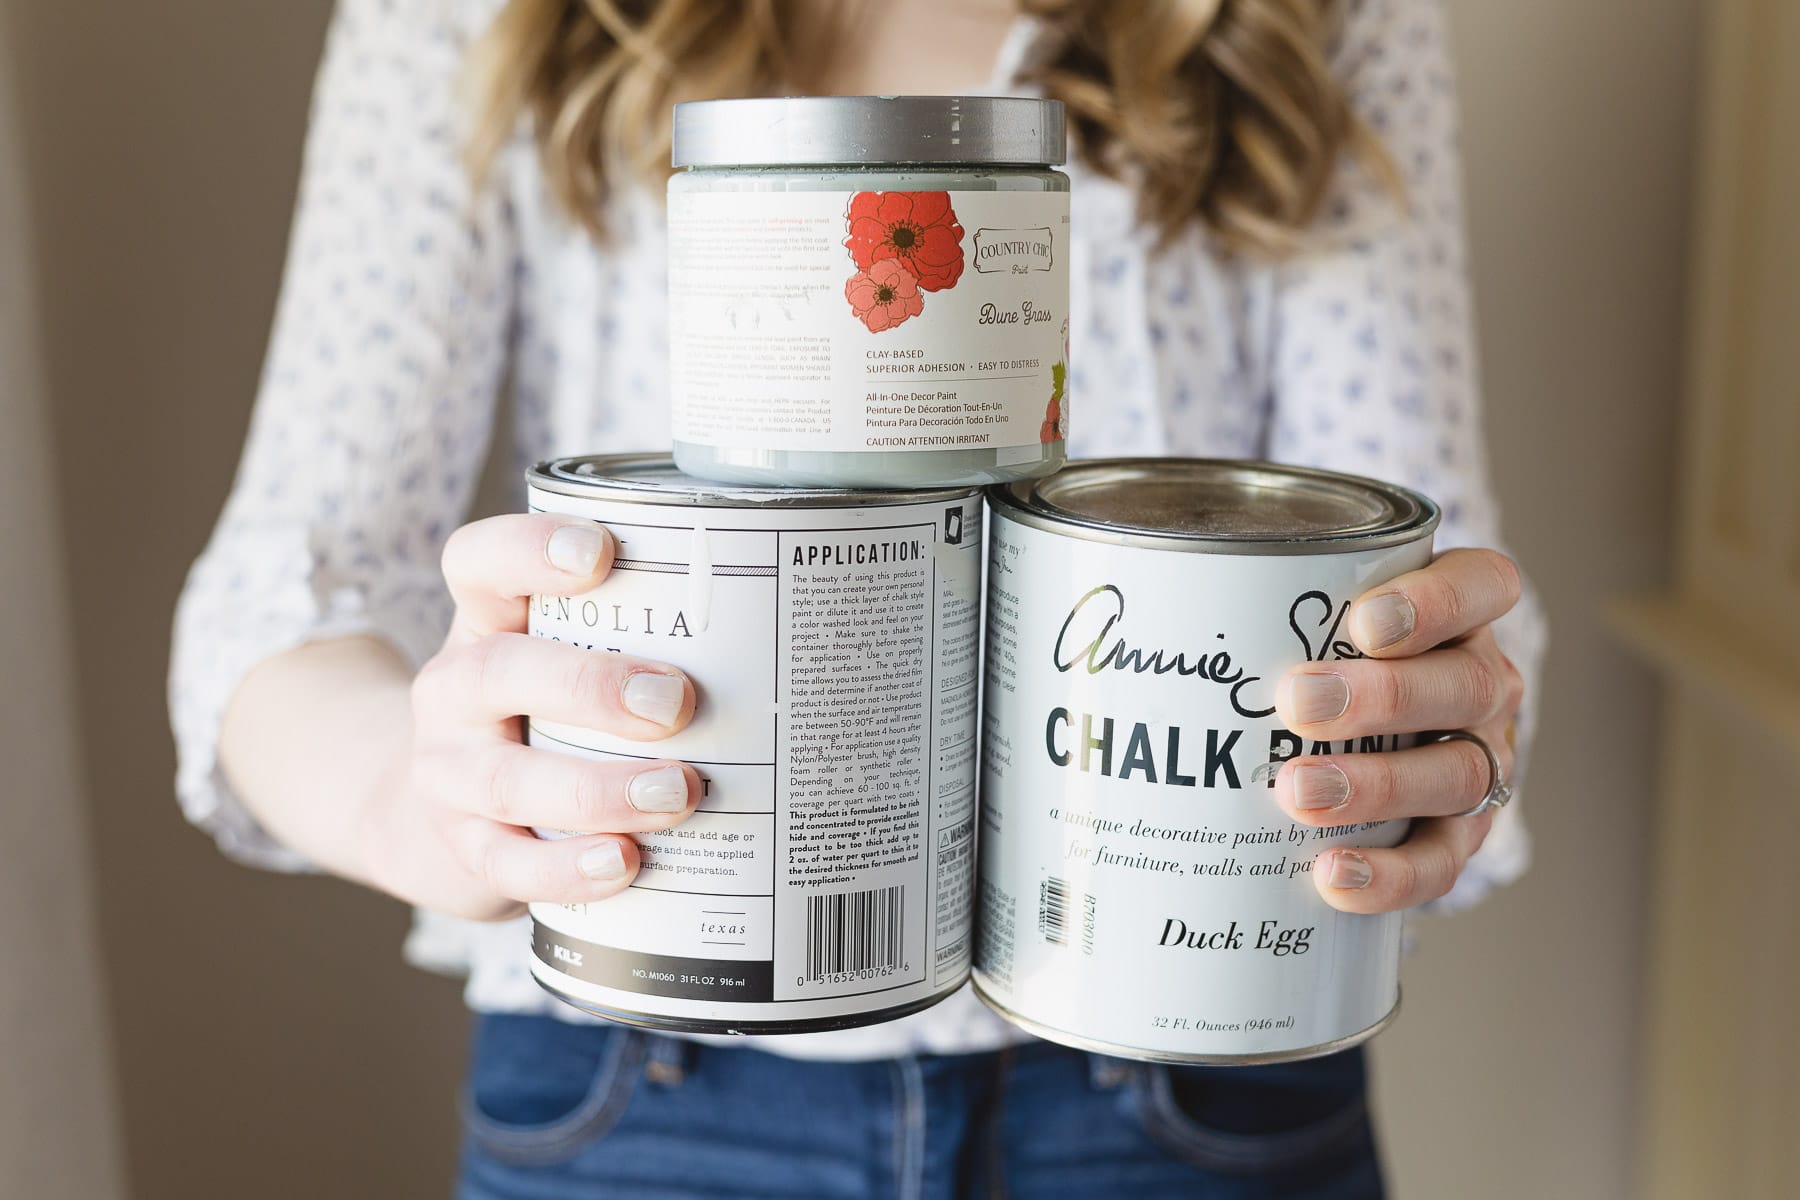
White chalk-style paint (such as this)
Polycrylic or wax to seal the chalk paint (I used this, but a variety of products will work)
Paintbrush
Modge Podge Matte
Foam Brush
Sponge
Fine sanding block (optional; for distressing)
Furring strips cut to the size of your art (to frame it)
Wood glue
Rustic DIY Christmas Sign
First off, choose an image and make a mirror image photocopy. If you don’t have a photo-editing program on your computer, you can easily do this in PicMonkey.
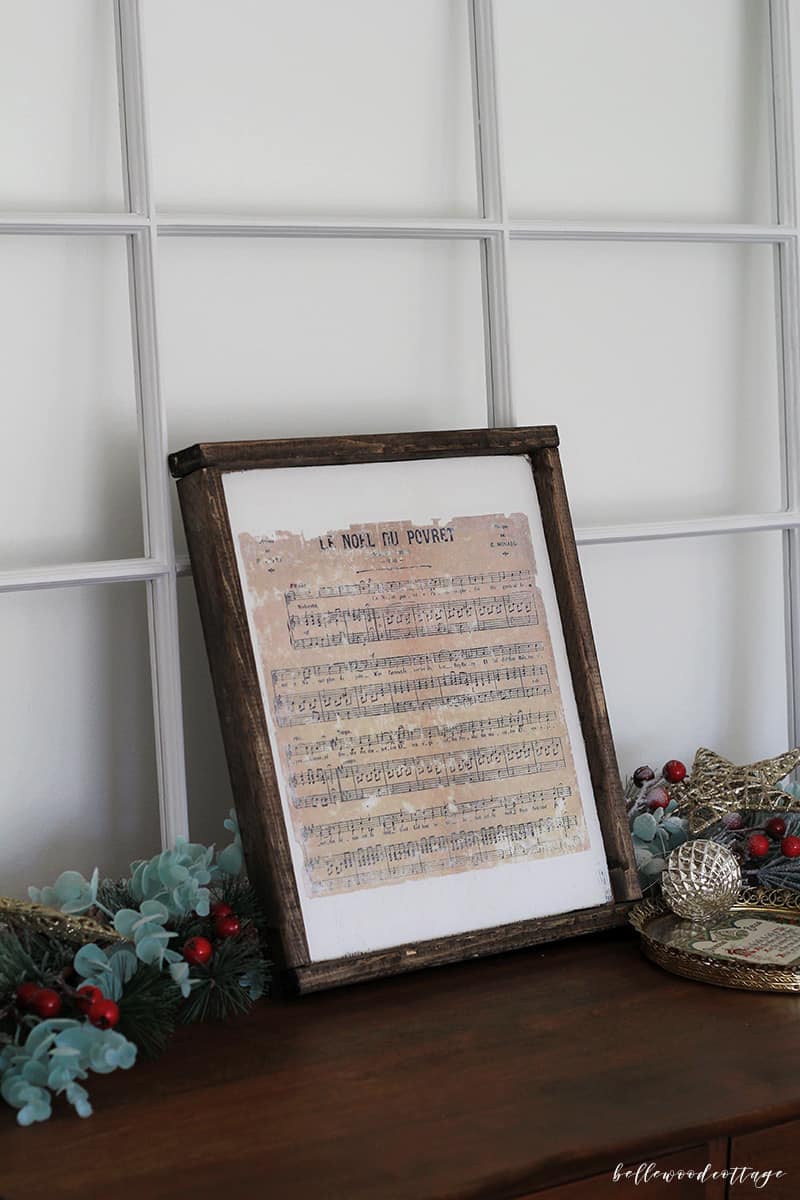
I used this beautiful scan of a piece of French sheet music from The Graphics Fairy. You can find it here.
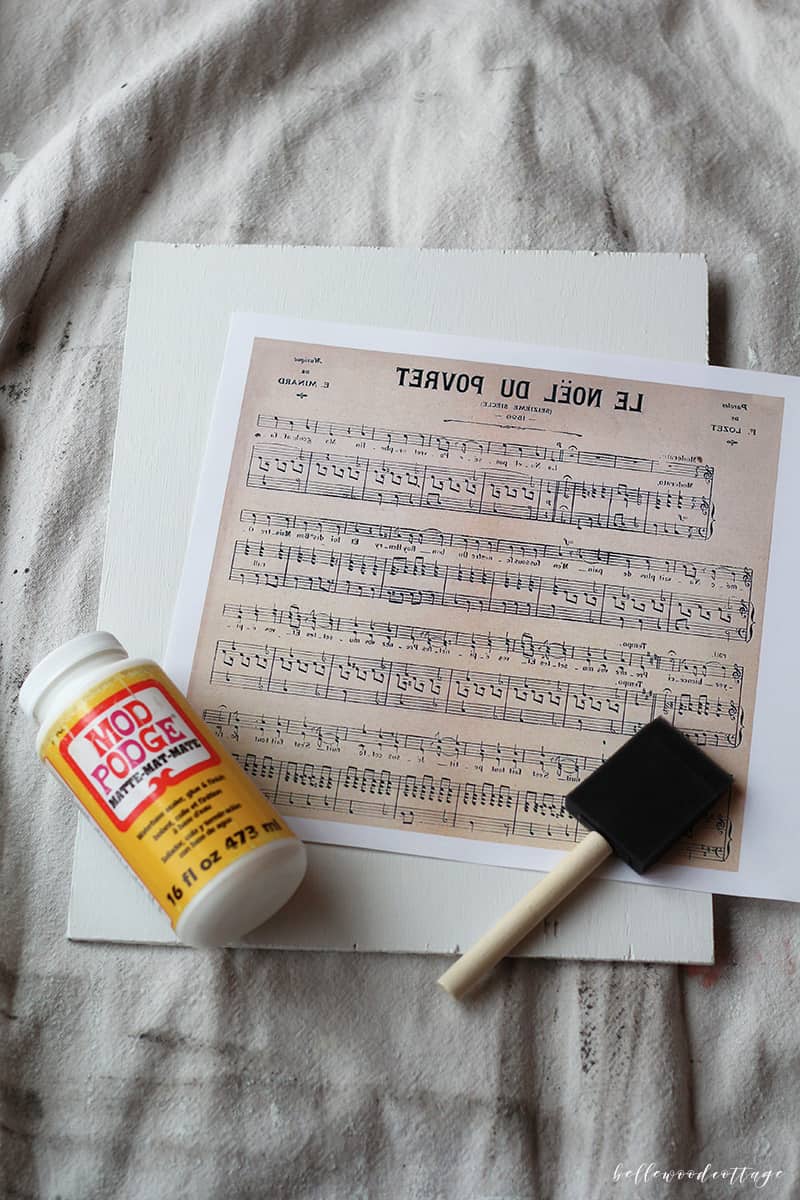
After flipping my image, I sized it to fit an 11″ x 17″ sheet of paper (I think it ended up being something like 11″ x 13″) and printed it out. You need to make sure not to use an inkjet printer for your print-out/photocopy. The ink can bleed when it is exposed to water later in the sign-making process.
Prep and paint the art board
Once you have your image, trim your piece of wood to an appropriate size (including borders around the image if you like that). If you don’t have a method of cutting wood, stores like the Home Depot can cut it for you (there is a small fee). A tip is to ask for a large piece of wood to be cut into 4, 6, etc equal-size pieces. This is cost-effective and gives you plenty of supplies to make all the signs you could want.
Now it’s time to prep your wood. I am going to share a scary little secret with you now.
I used…
Wait for it…
The cut up remains of the old bead-board paneling in our basement.
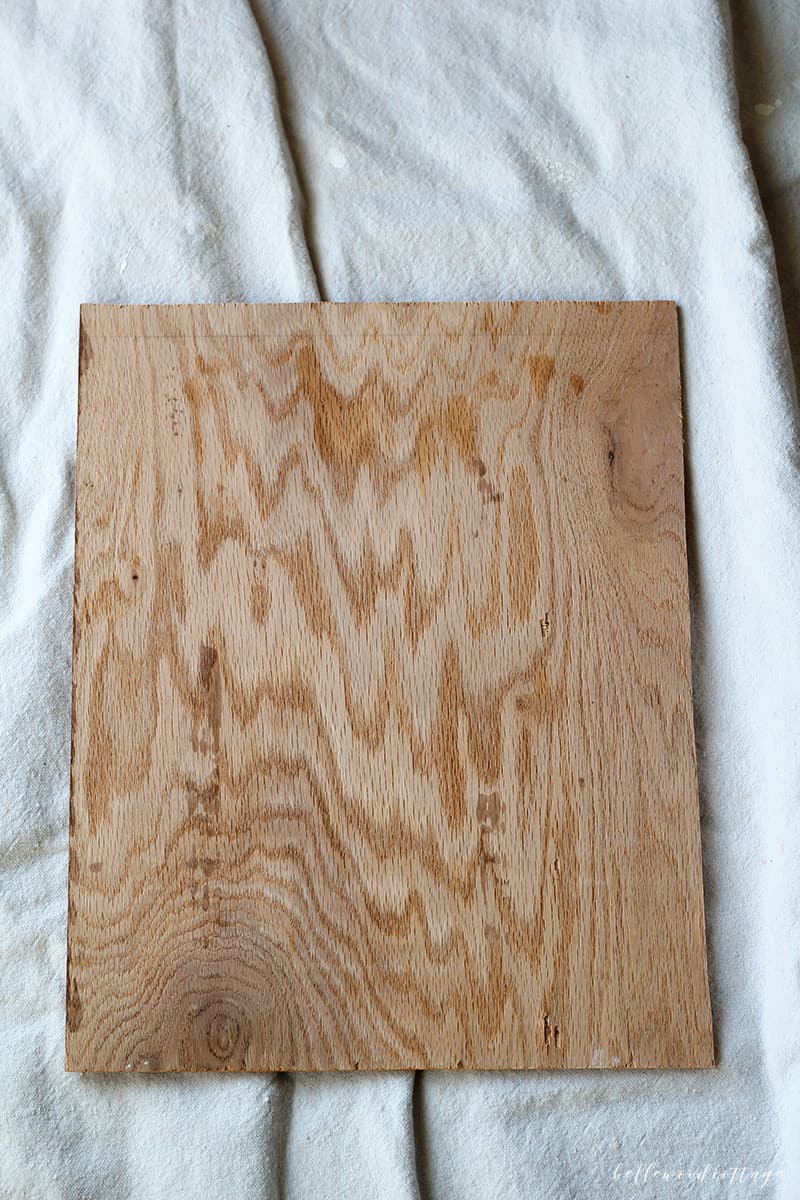
I know, I know. A little gross. BUT. The stuff was still perfectly good and I cleaned it on up and decided it would make good “practice” boards. And it actually ended up working pretty well!
The next step is optional. If you plan to distress the finished sign, staining the wood at this point will give you some more depth. I used this stain & poly from Varathane (color: Kona)…bonus, it cleans up with soap and water!
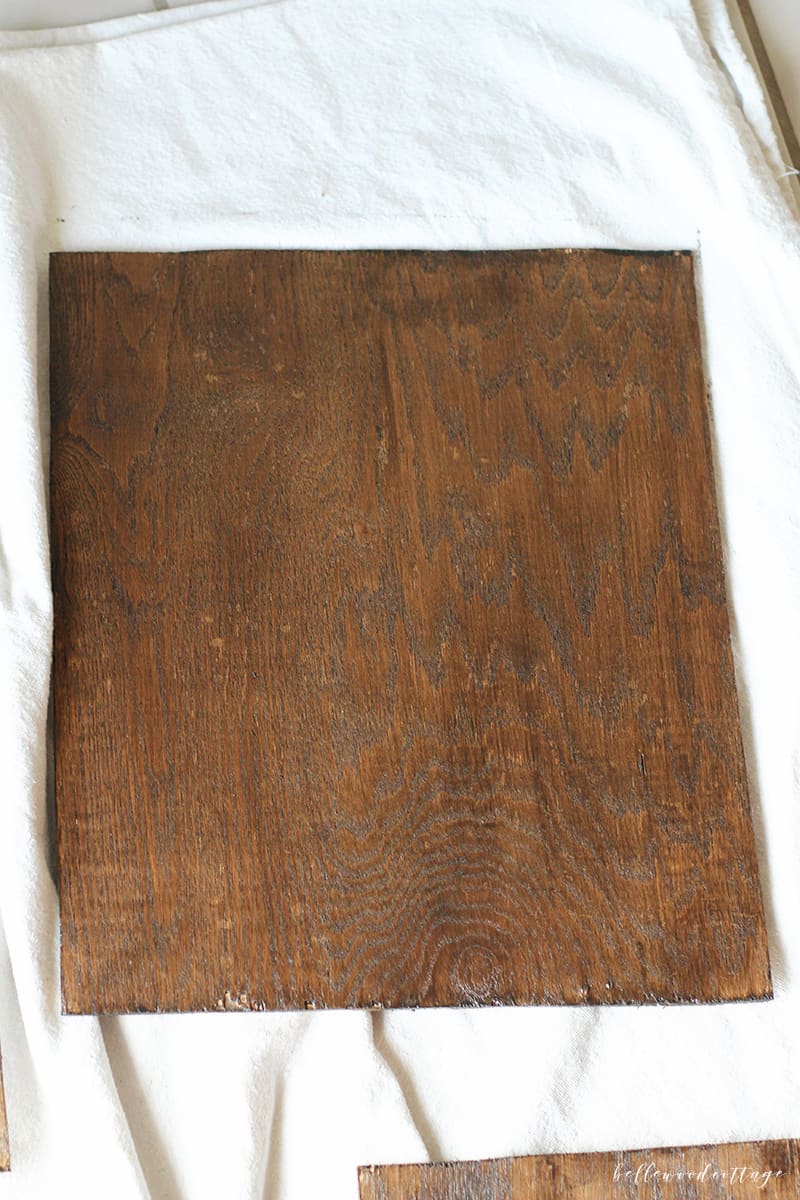
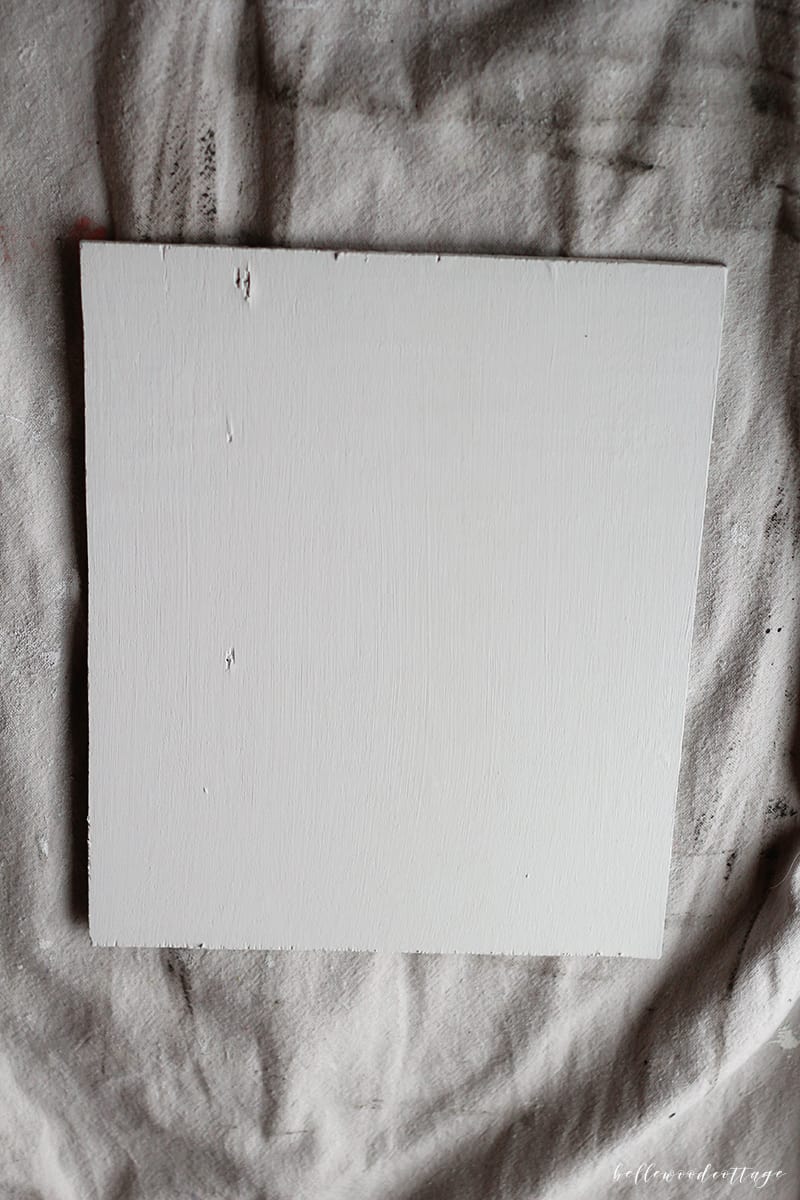
Now paint your wood with chalk-style paint. For this project, I used three coats of Rusto-leum Chalked Paint in Linen White.
Transfer the photocopy
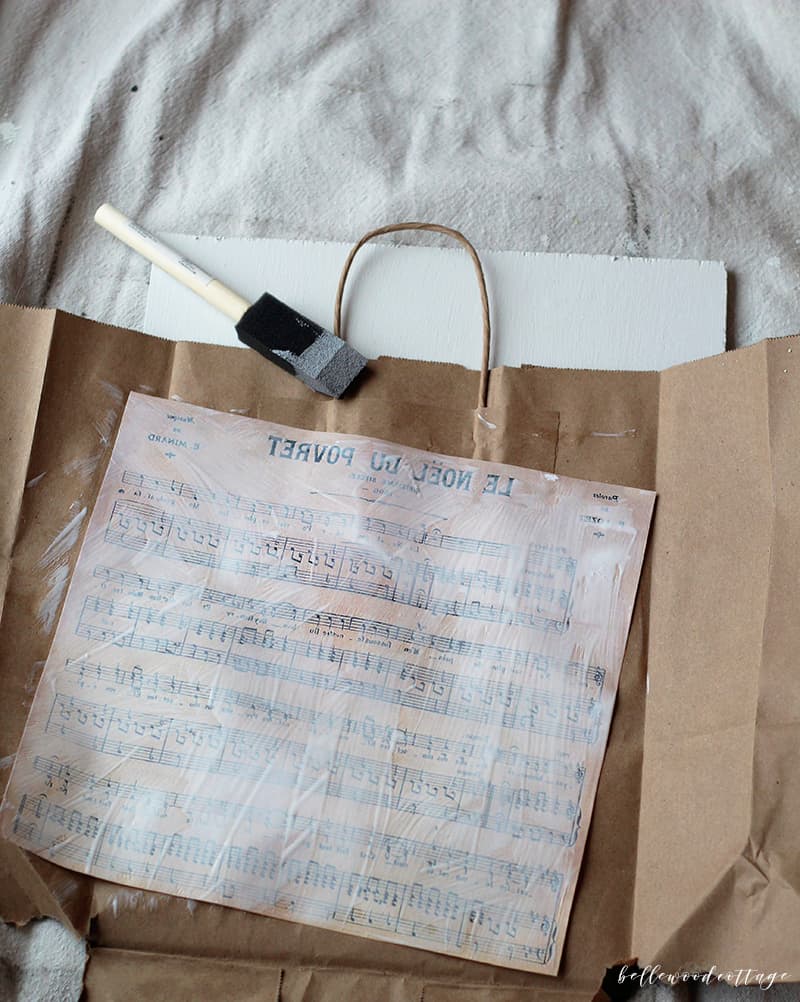
Trim the white edges from your photocopy and use a foam brush to coat the printed side with a nice thick layer of Modge Podge Matte. I got my layer thick by painting on a layer and then quickly painting a second layer on top of that (don’t let it dry in between or anything like that, at this point you are basically just slapping it on).
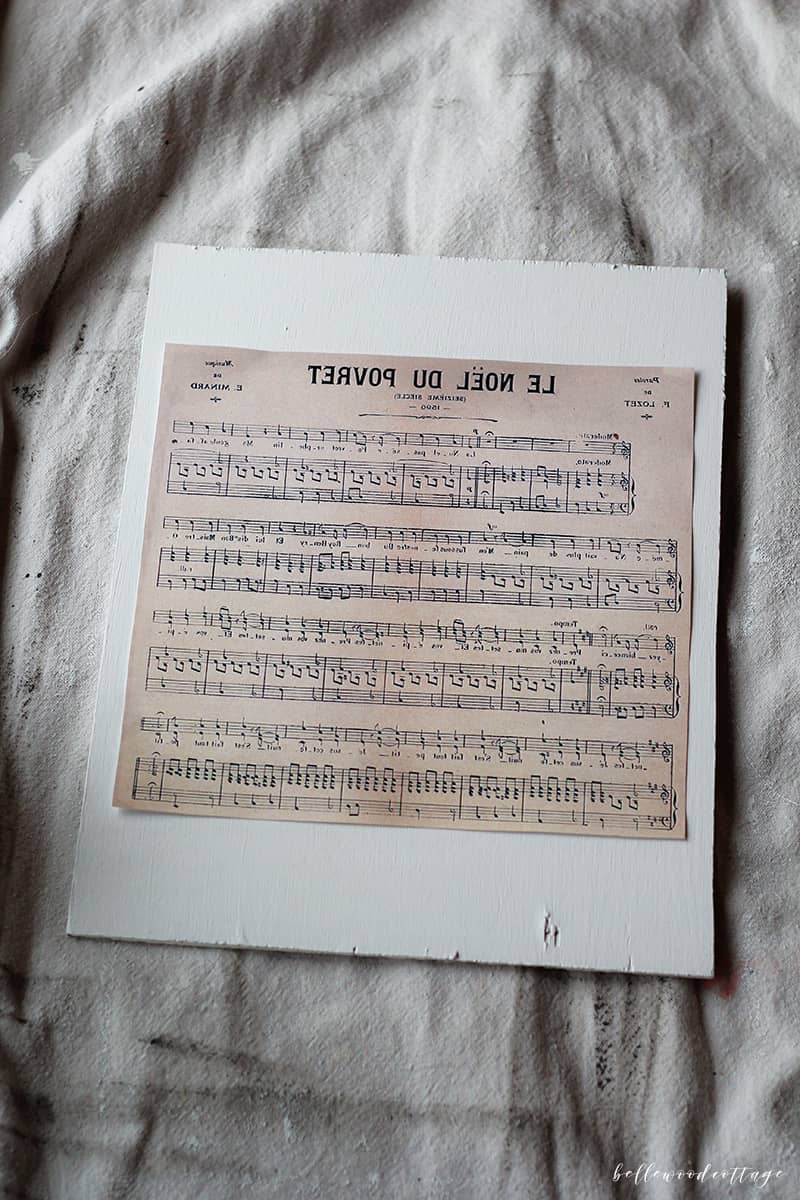
Carefully apply the photocopy (Modge Podge side down) to the wood piece, pushing out any air bubbles as you go. It can be tricky to get all the air bubbles out, but be persistent. A few won’t do much harm, but they can affect the finished look if there are too many. The photocopy will be delicate with all that Modge Podge, so make sure you get accurate placement the first time.

Let it dry thoroughly. I was impatient of course, but I opted to wait overnight and I think that’s a good length to wait. You want the glue to be thoroughly dry before you start applying water.
Remove the excess paper layers
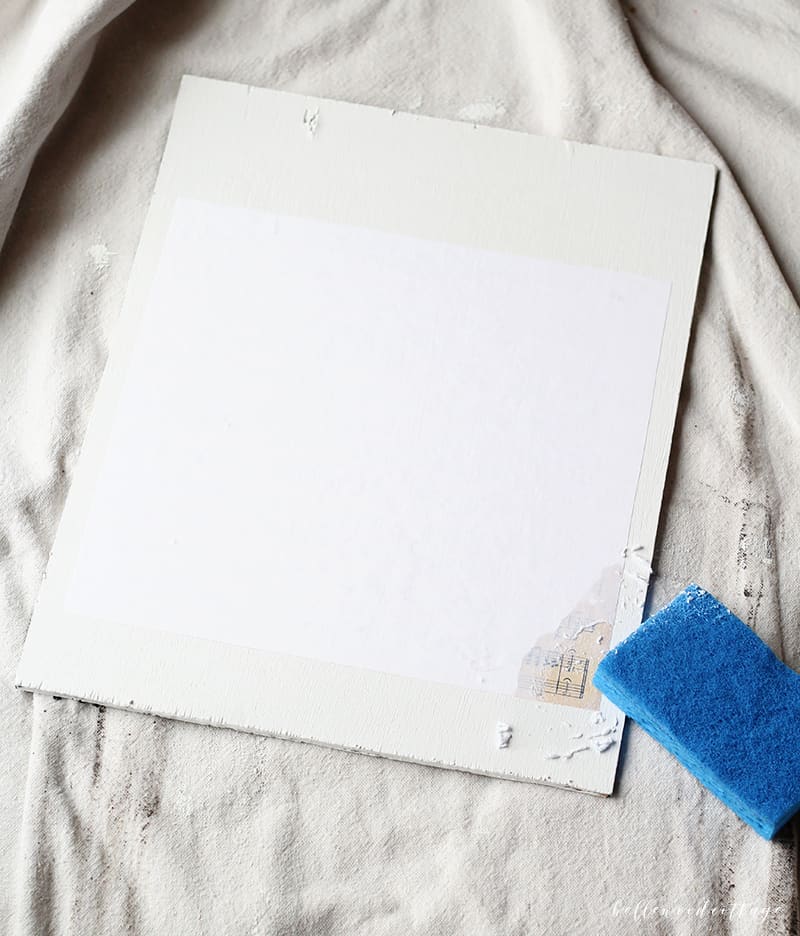
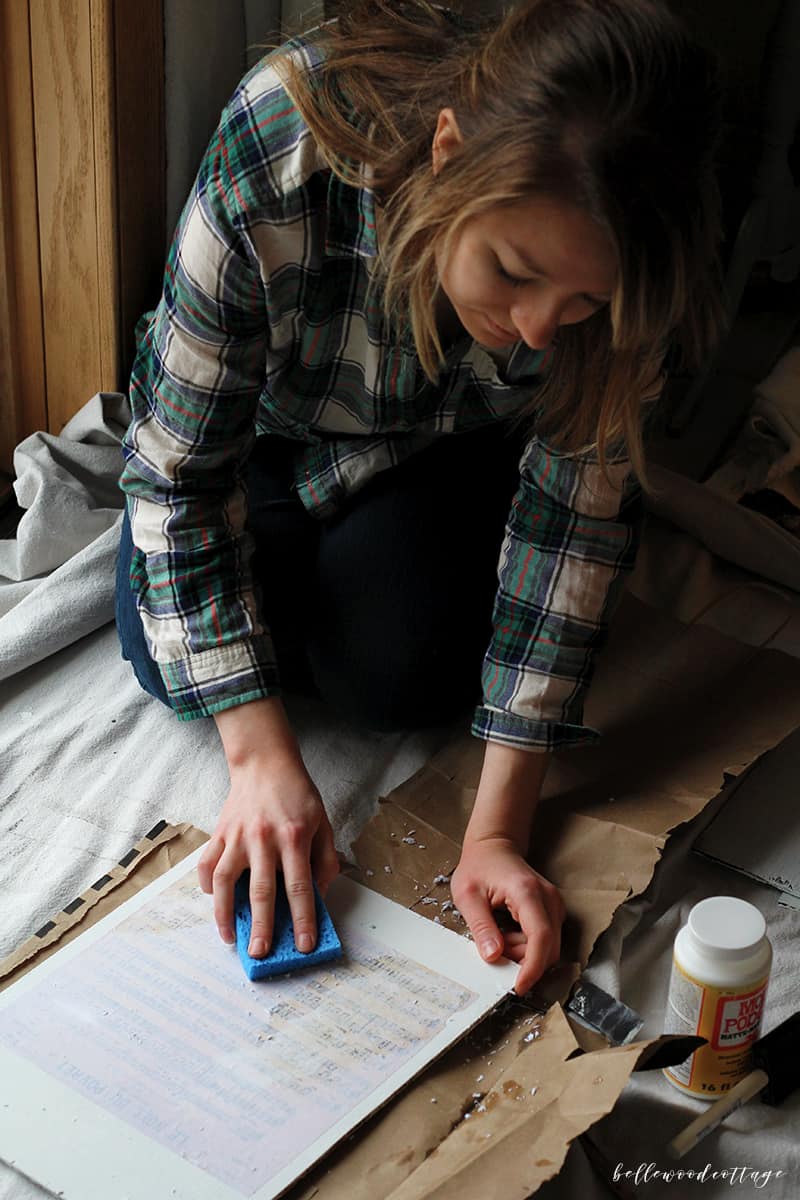
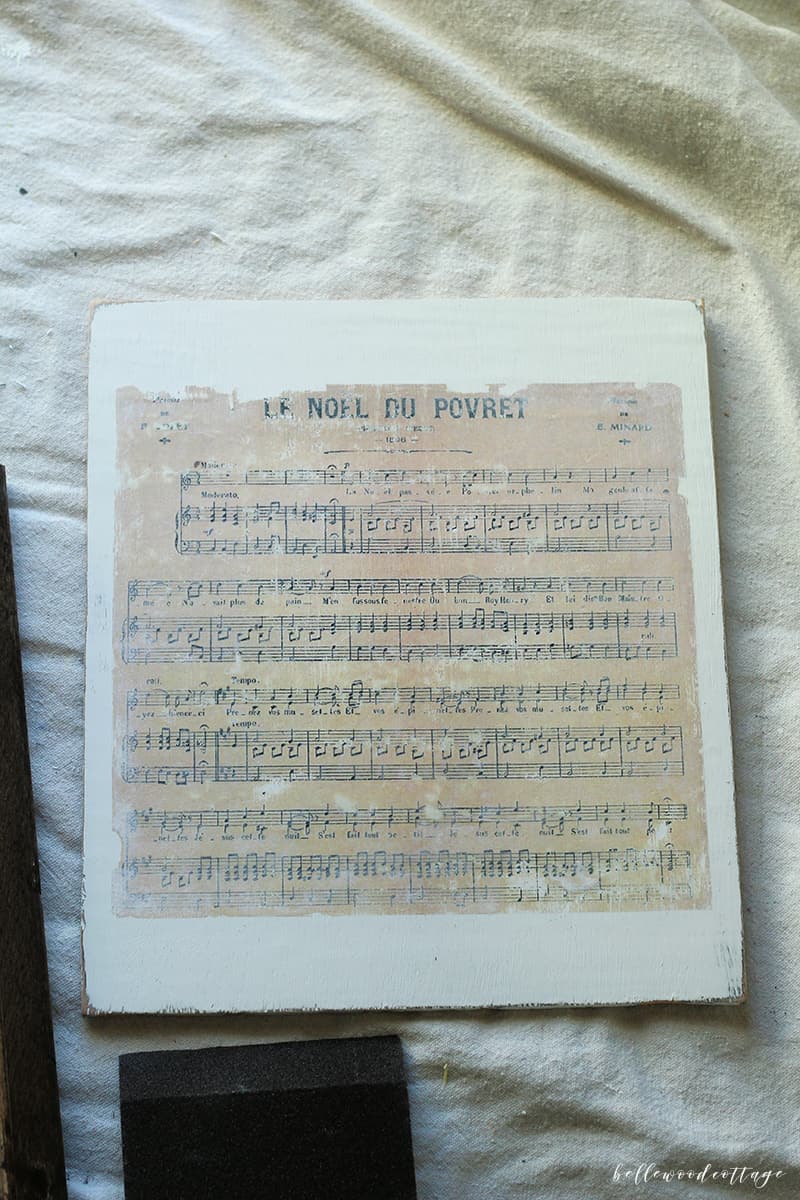
This is the fun part. Wet a sponge and gently apply the damp sponge to the photocopy. Working in small sections, gently begin to rub off the top layers of paper. As you work, you will want to be careful not to scrape off the layer of your actual print. It’s fun to distress it in a few spots, but just rub it away with caution.
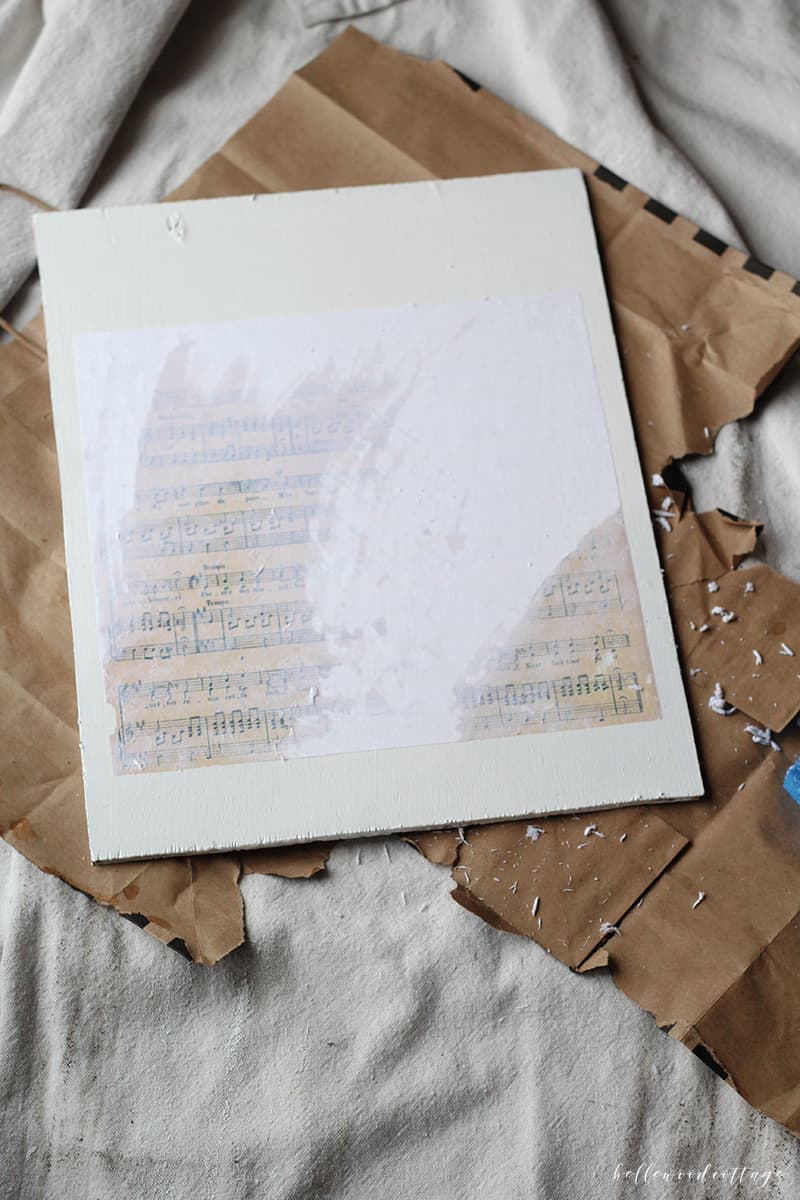
At this point, I like to let the photocopy dry and then I repeat the sponge process. You can also brush the paper off with your fingers and I found that was a bit faster than the sponge.
Now let it dry again. You might find that there are still some spots where the paper layers didn’t come completely off. The polycrylic will help smooth some of that out, but I love the distressed feel that it adds.
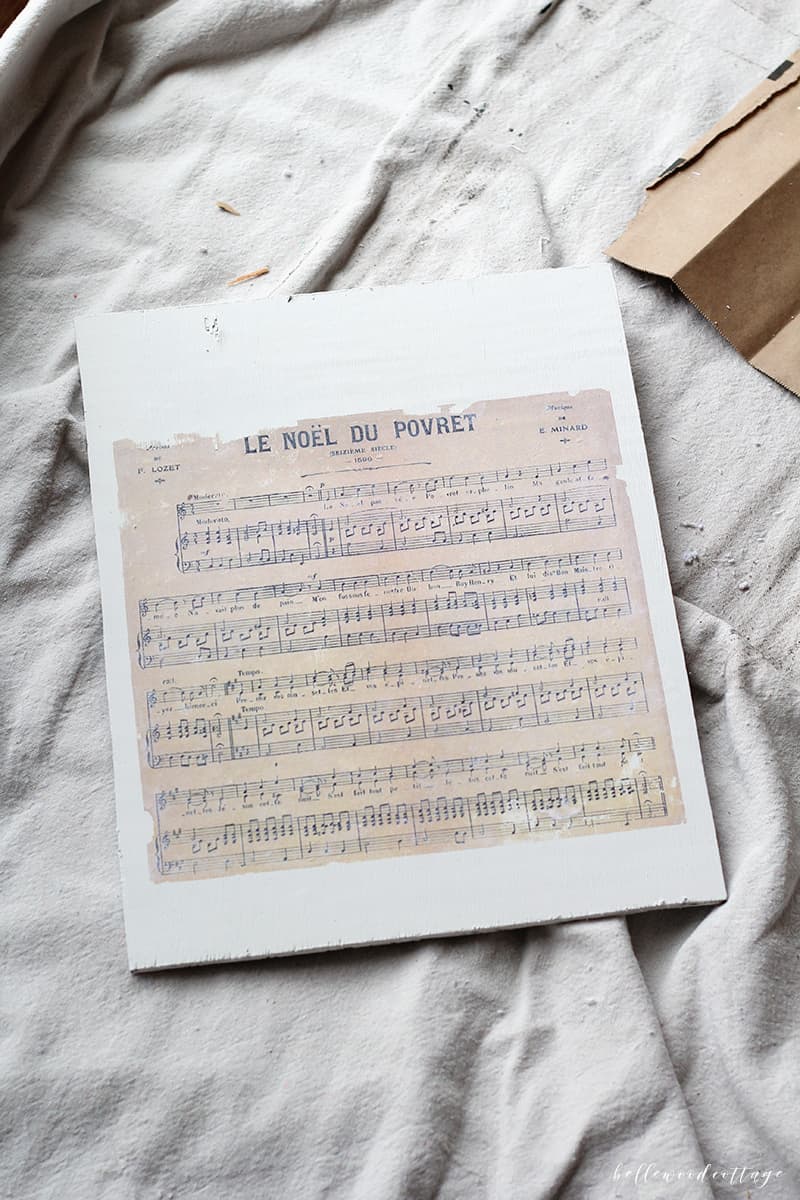
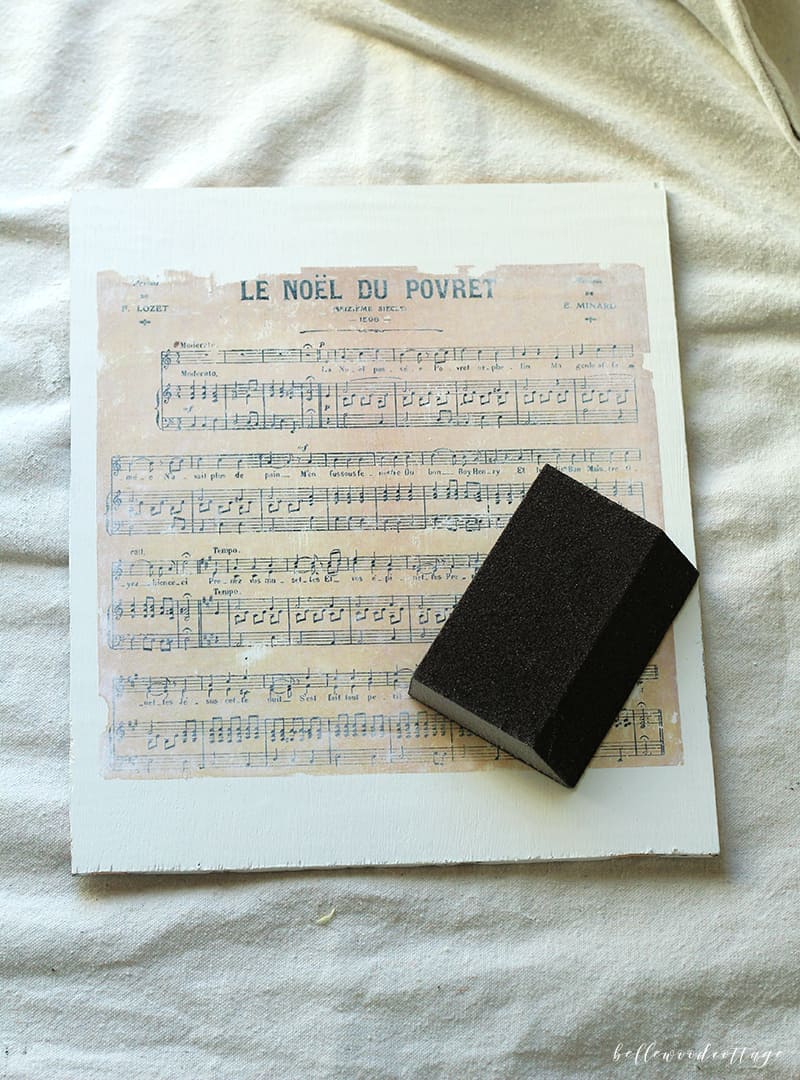
(Optional next step) Use a fine sanding block to distress the edges of your sign or any spots you want to add a little more character to. Here’s how mine looked after sanding. I got a little carried away around the title of the piece, but I still like the way it looks!
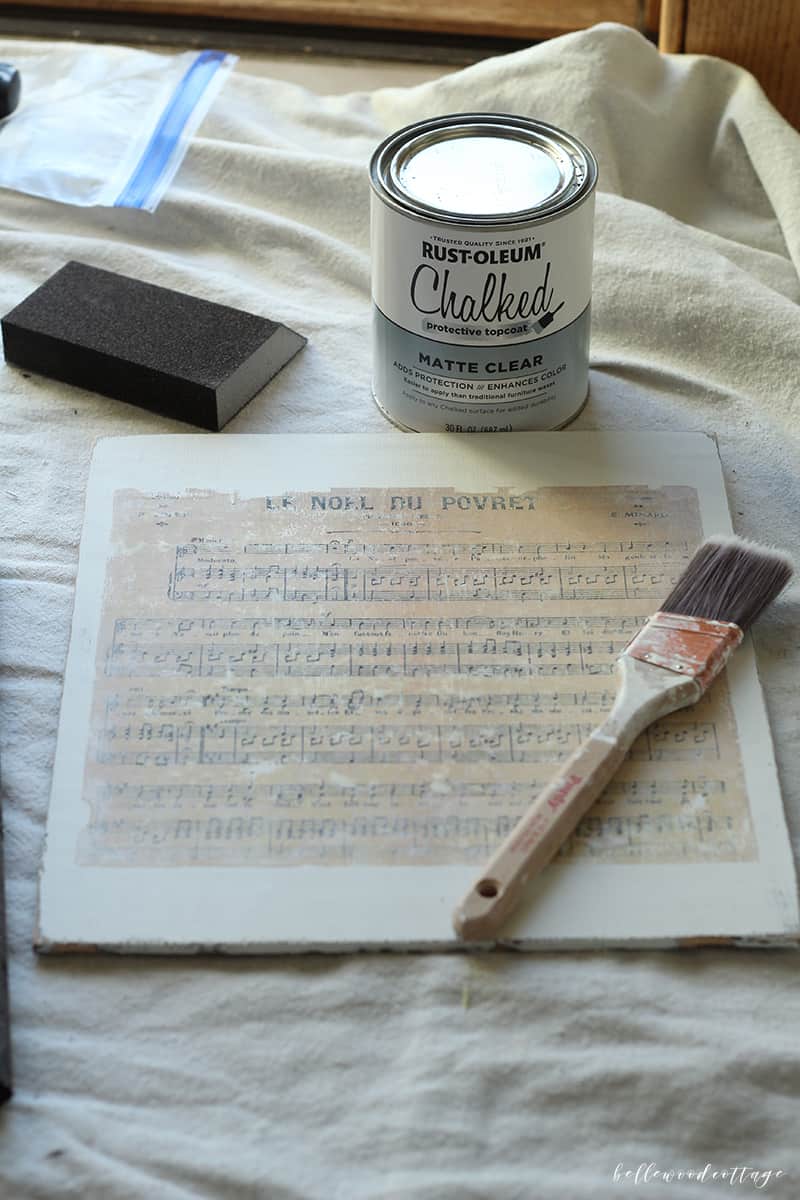
After sanding, finish your piece with a polycrylic or wax. I used what I had on hand, which was this matte clear topcoat from Rust-oleum.
Frame the sign
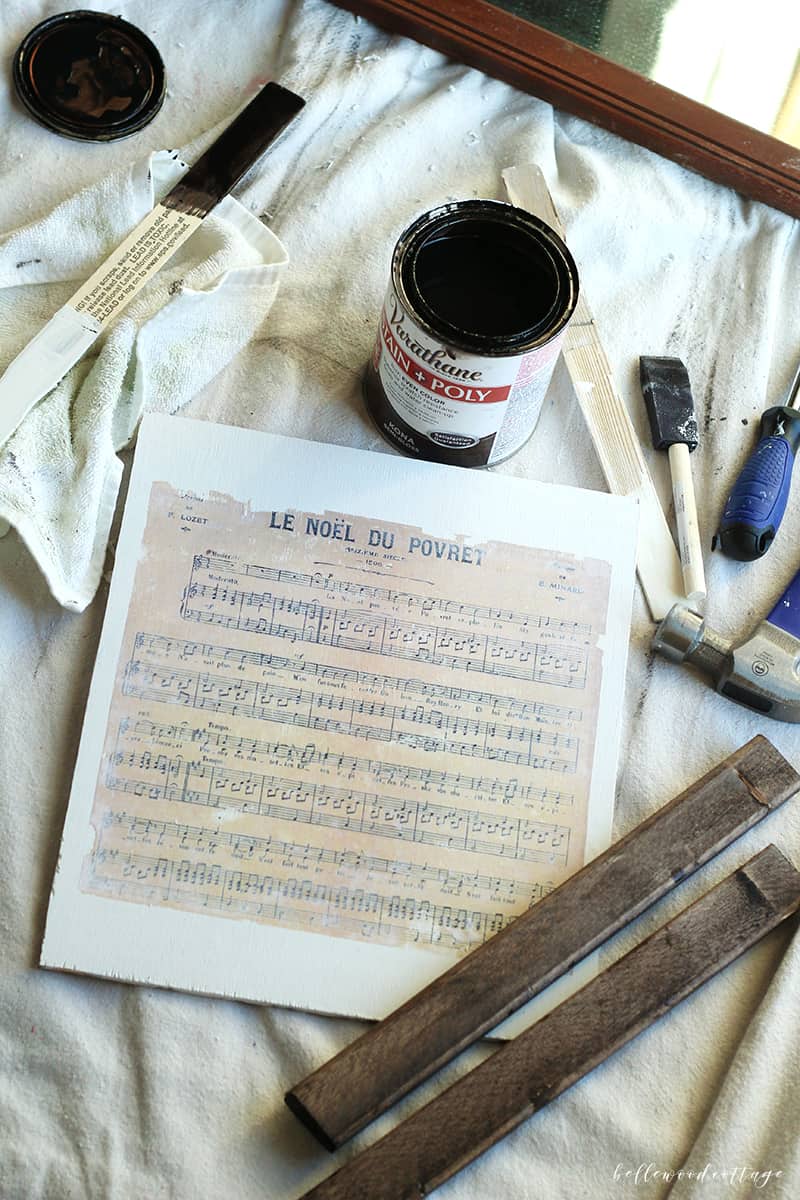
The final step is to make your frame. Cut furring strips to fit around your finished piece as shown in the photo below (the top and bottom pieces overlap the side pieces). Apply a wood stain of choice to the furring strips. I used one coat of the Varathane stain that I used on the art board itself.
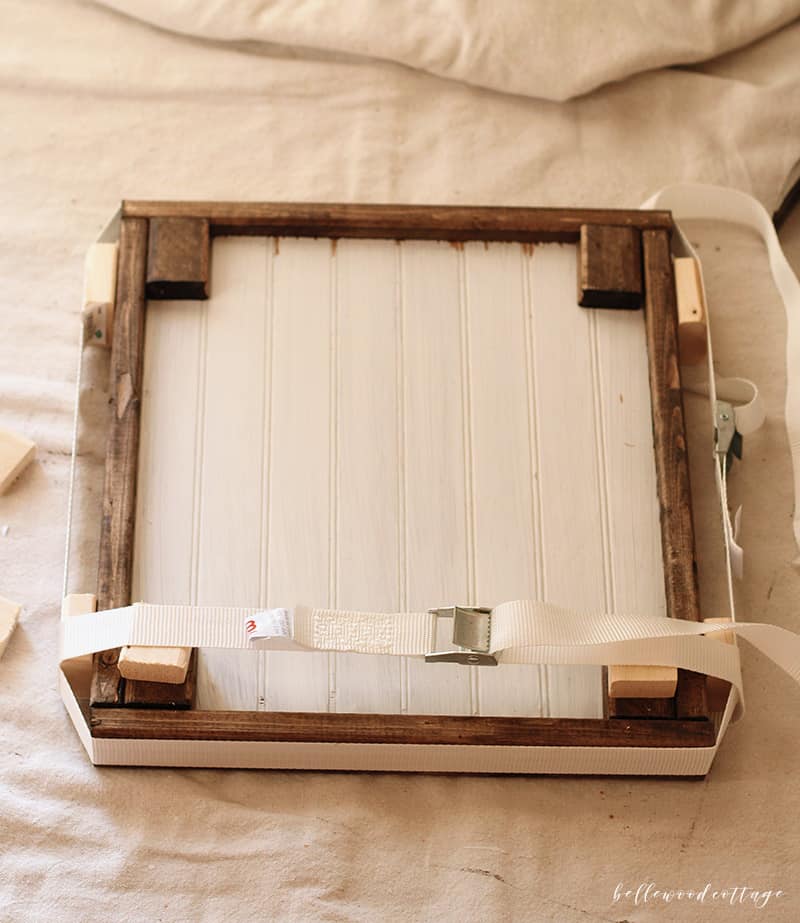
Once everything is dry, use wood glue to glue the strips around the artwork. This can be a little tricky to do, and I actually would suggest a nail gun with finish nails, but you can definitely make it work with what you have.
My hubby rigged up this method to keep all the strips intact as they dried:
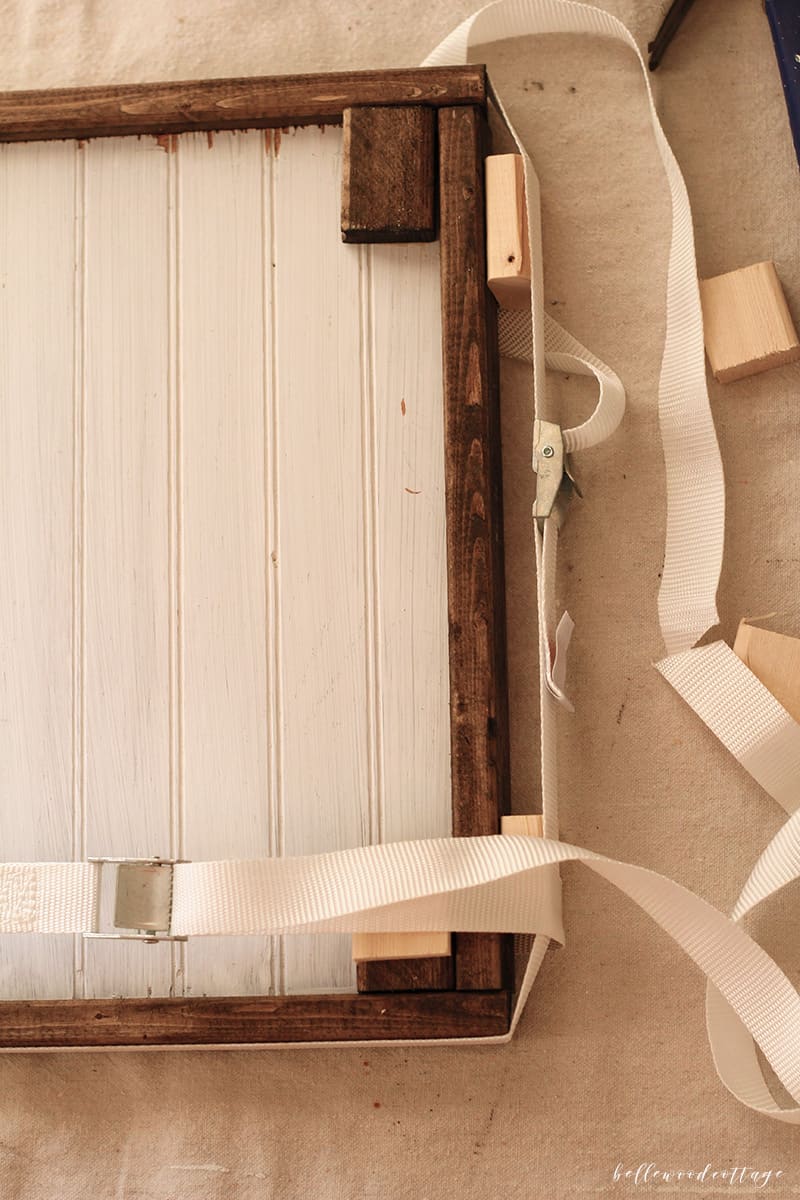
If you’d like to install hardware on the back of your sign to hang it up, you can do that at this point as well.
I don’t have a method to cut furring strips…what to do?
Idea 1: As I mentioned above, you can get wood cut for you at many home improvement stores. That can certainly be a bit of a hassle though, and it does add some expense to the project, so here are two more ideas for you:
Idea 2: I found these plywood slats at Joanns, and I bet they could be cut without a saw. I would maybe adjust the framing style of this piece though. Add a wider margin around your art and glue these strips to the top of your art, rather than around the sides.
Idea 3: If you don’t want to cut furring strips, but still want a beautiful frame for your piece, I recommend picking up a thrift store frame before you begin your project. Choose a pretty wood frame, remove the old glass and photo, and paint it with chalk paint. Then get your board cut to size so that it can be glued to the back of the frame without peeking out the sides. I wish I had an example to show you, but I do think this would be a good option.
Your DIY Christmas sign is finished!
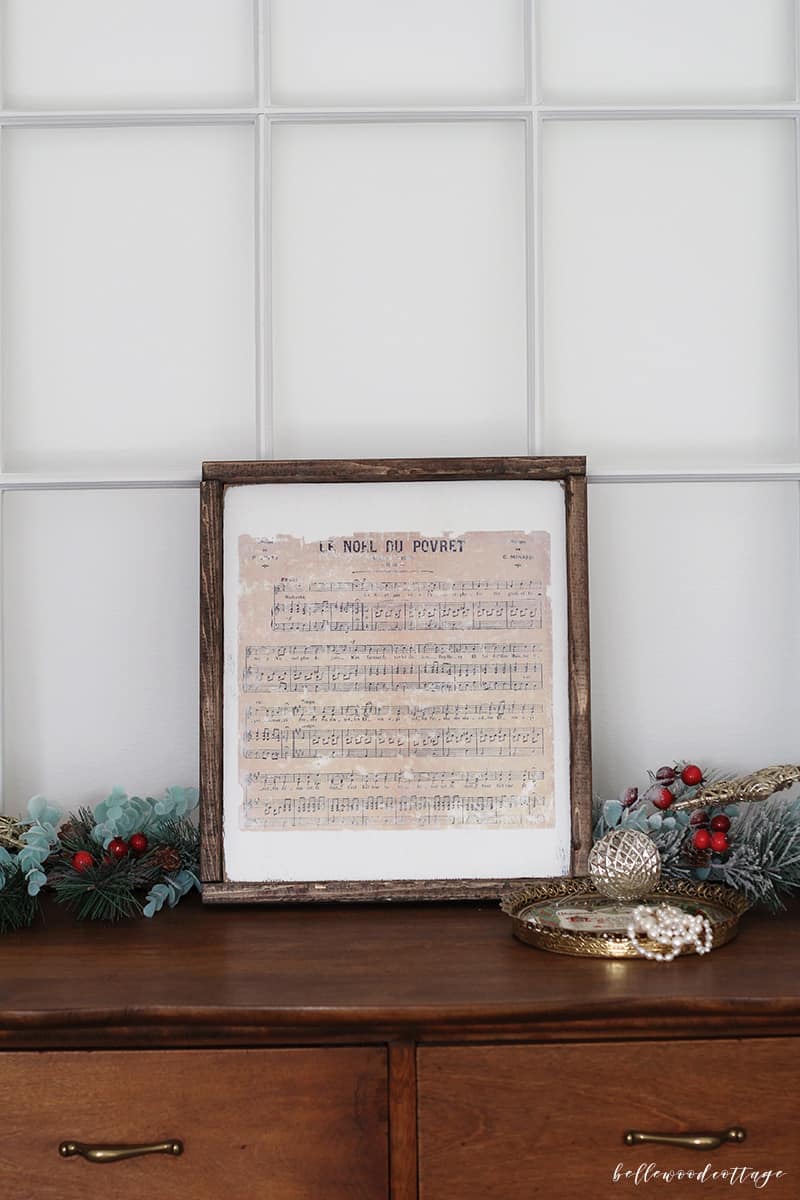


And that’s it! If you’re like me, you now have ideas for about 100 more of these. This DIY Christmas sign is seriously such a fun project and it was super easy to do. I’d love to hear if you give this tutorial a try! Drop a note in the comments and let me know what you think.
More Christmas inspiration from Bellewood Cottage:
Budget Friendly Christmas Decor $30 or Less
Quick and Easy Farmhouse Table Centerpiece