French Country Dresser – Before and After
Good morning!
Today I’m sharing the before and after of one of my recent furniture rehab projects: a French Country dresser.
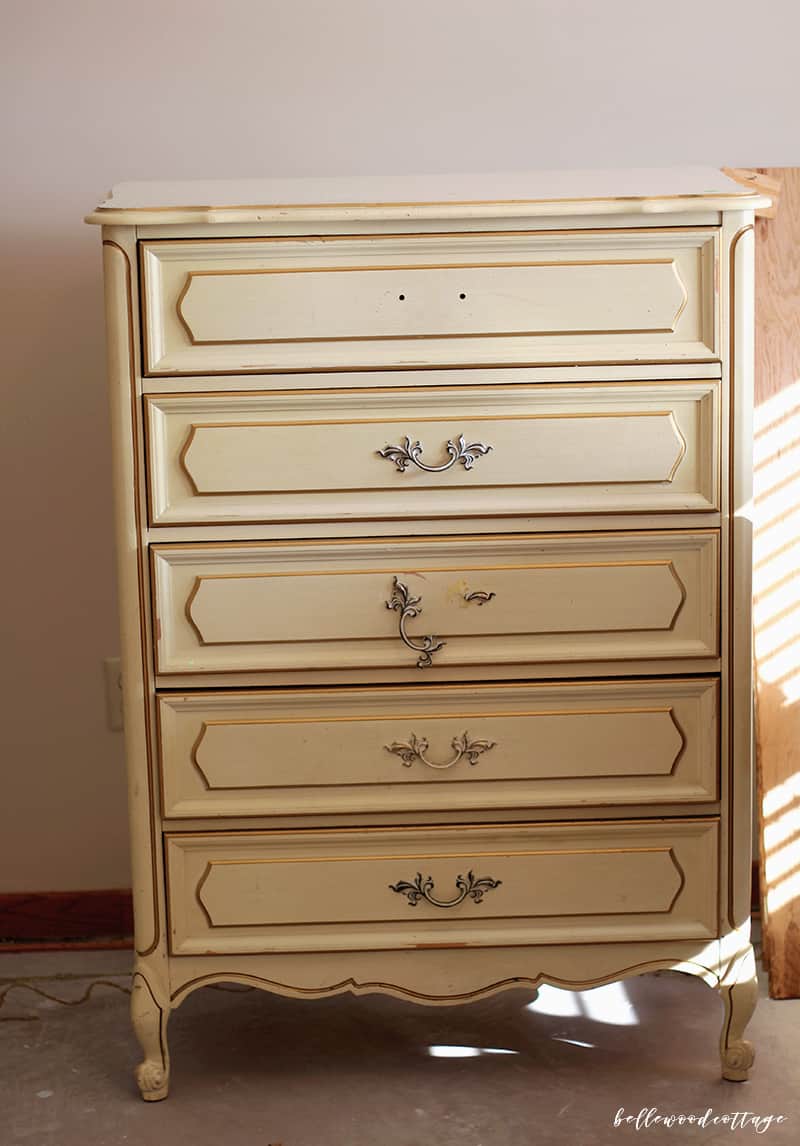
Here is the $10 dresser before, fresh from a garage sale:
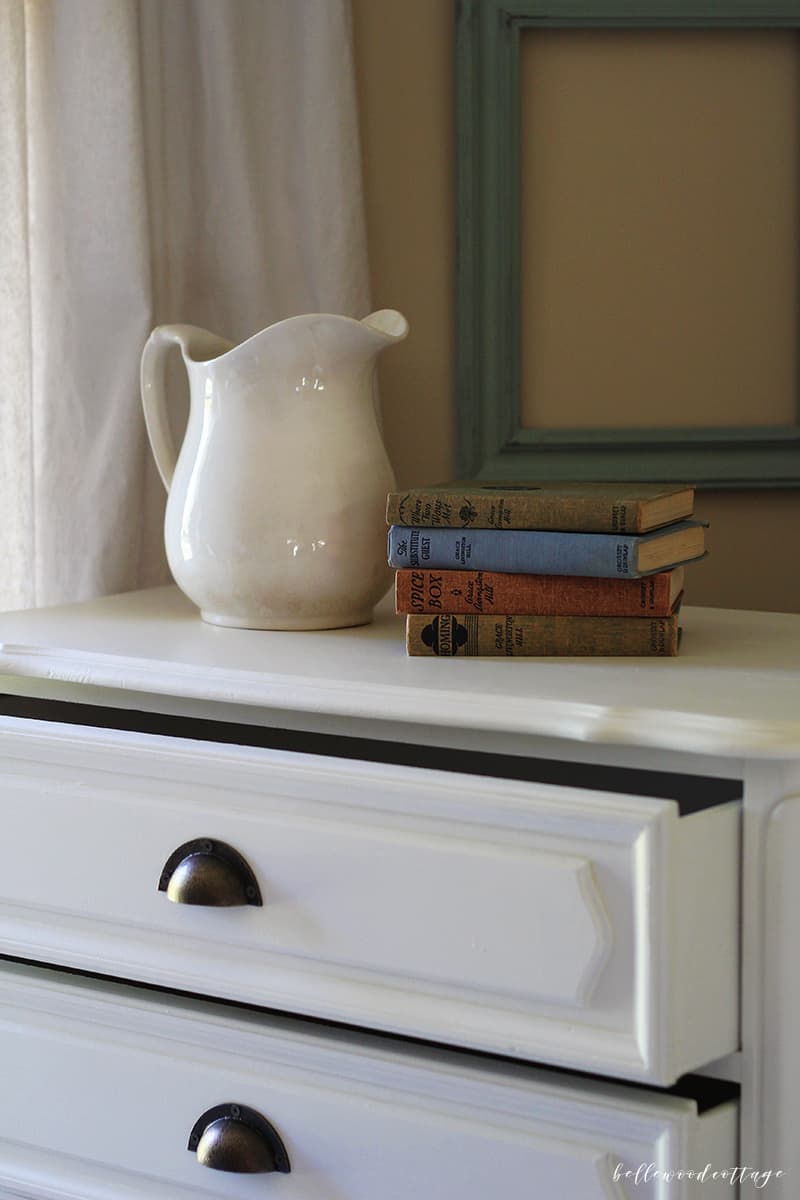
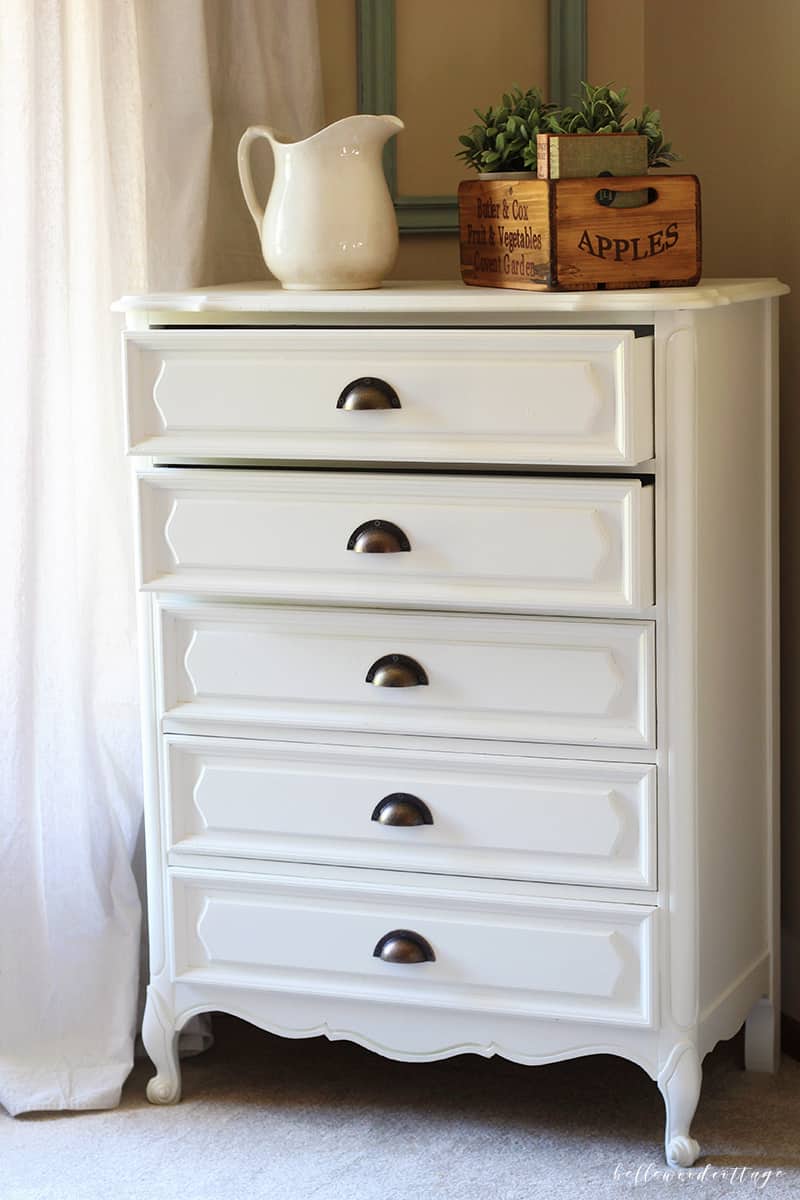
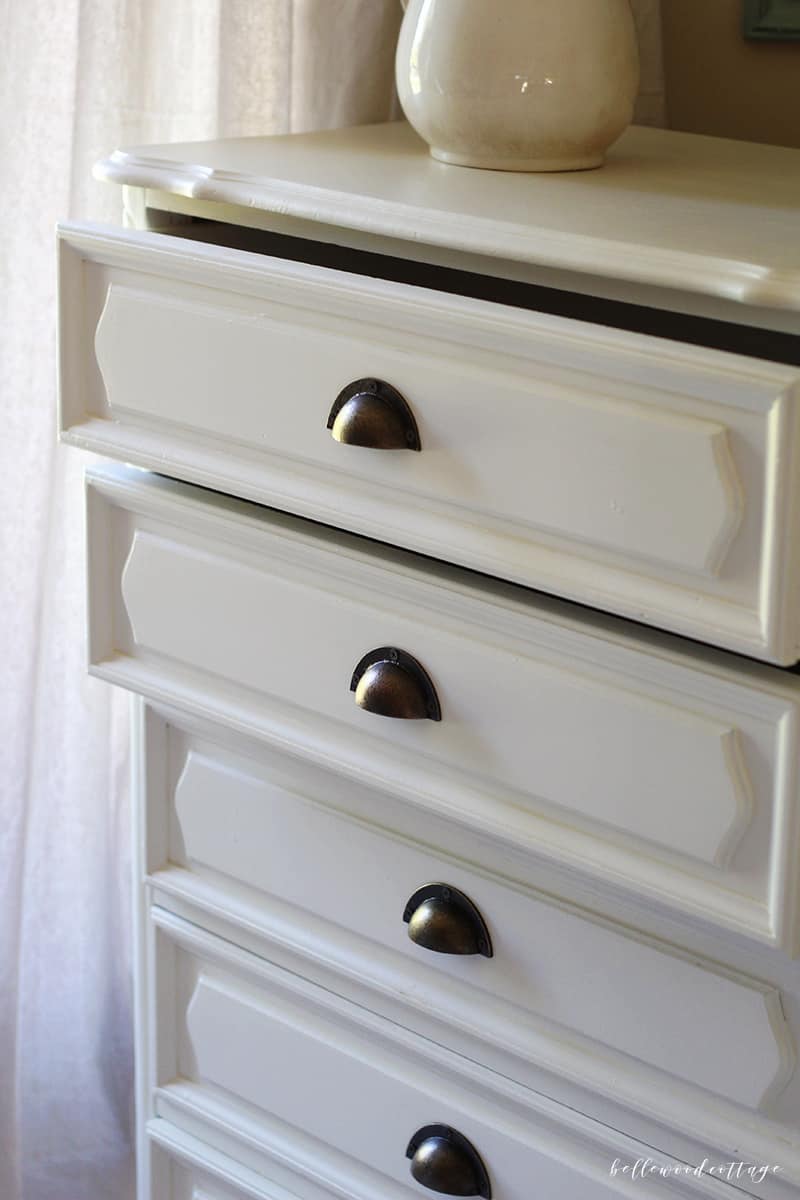
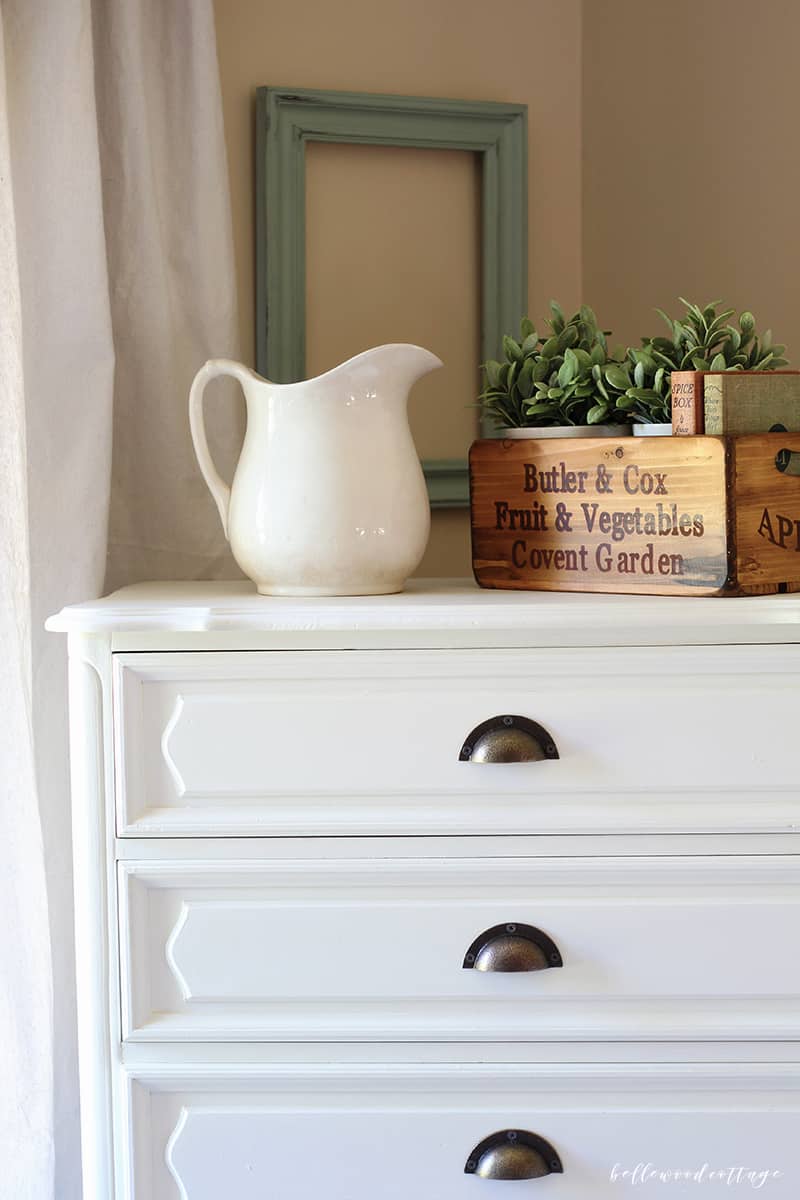
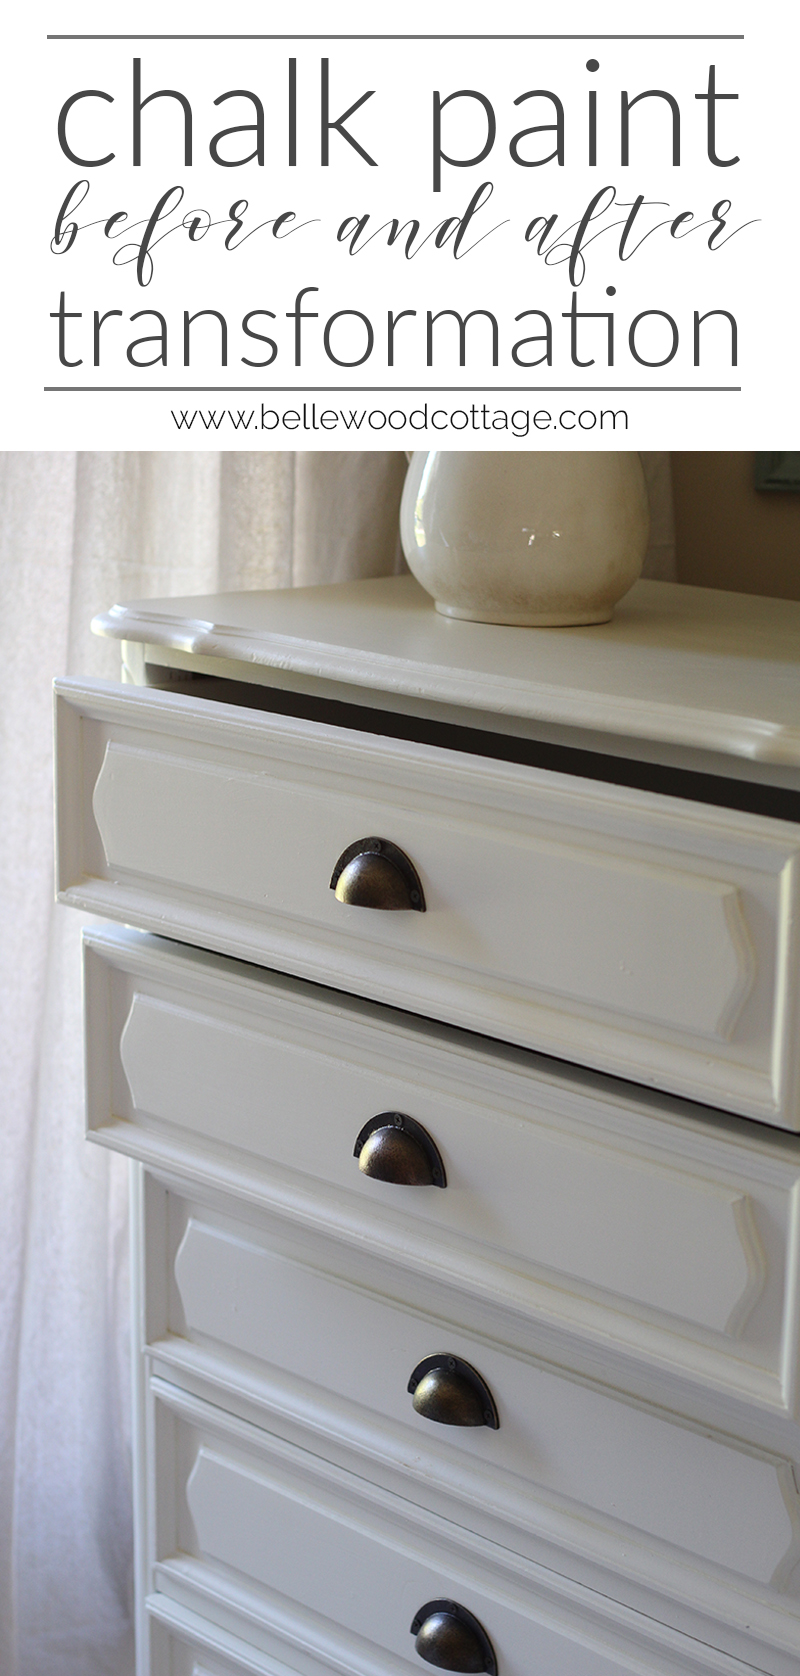
And the updated white version with fresh paint and hardware:
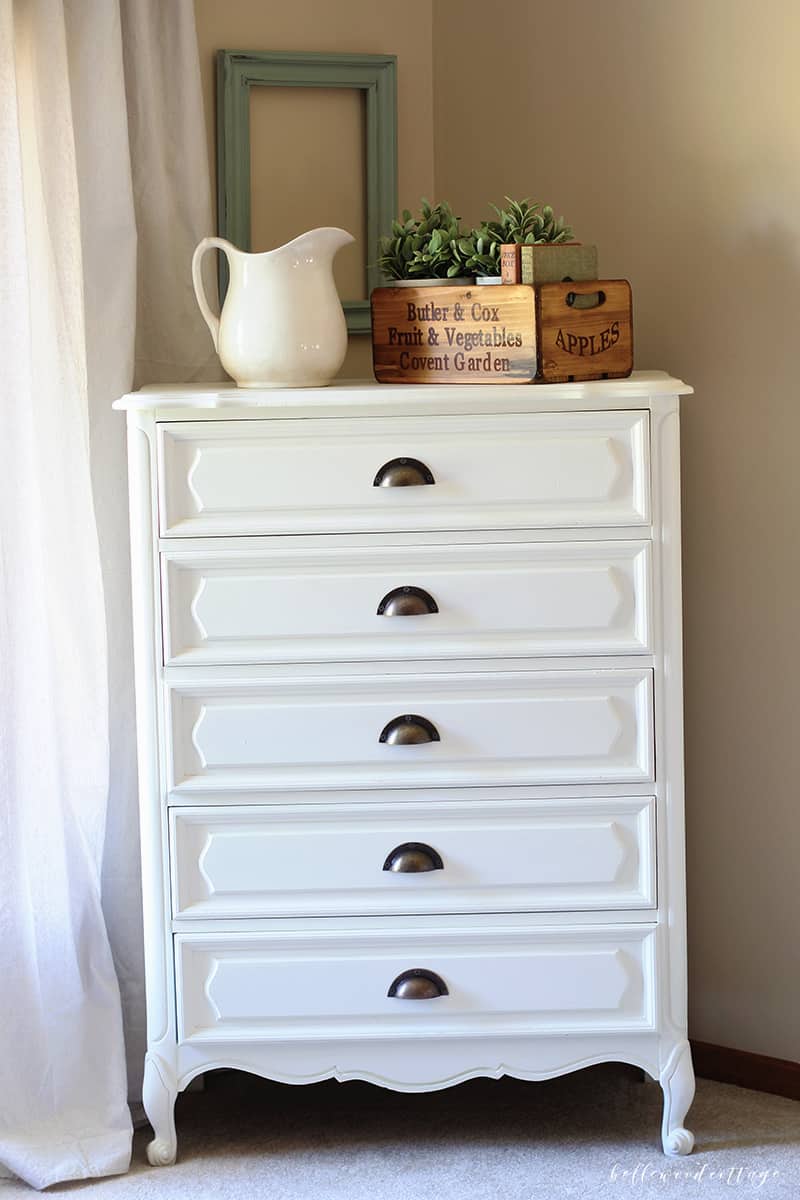
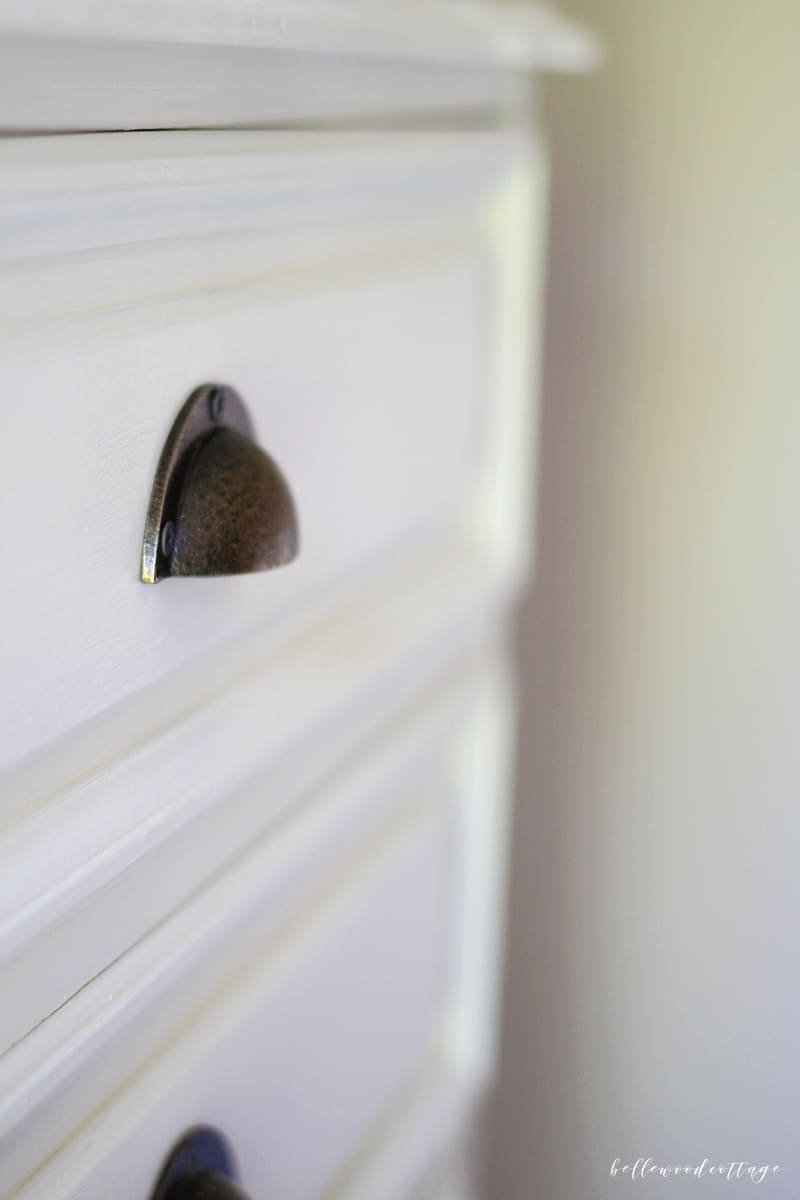
It was so rewarding to see this dresser move from tacky (and a little ugly) to a beautiful statement piece. I have been eagerly waiting to get “after” photos up on the blog, but I could not find hardware I liked for the life of me! Finally a few weeks ago, I saw this style at Hobby Lobby and knew it was perfect. Whew. Time to check off this project from the list.
After finishing my hutch, painting this dresser was a snap. I filled in the old hardware holes, but otherwise didn’t bother with any prep. The chalk paint adhered beautifully and left this dresser looking bright and fresh. I love how white paint can completely transform a formerly “blah” piece.
Curious how I did it?
This piece was literally just paint and go. I cleaned it off, skipped any sanding or priming (I generally do tend to prep, even when using chalk paint), and started painting. I used two coats of a custom blend color of chalk paint followed by my go-to top coat of Rust-Oleum Matte Clear.
As far as color, I love the Rust-Oleum Chalked line of paint for an affordable option, but they do have limited colors. I wanted a soft white for this project, so I actually used my leftovers from the hutch (Annie Sloan in Old White) and mixed it up with the Linen White color from Rust-Oleum. I probably used about 40% Old White and 60% Linen White.
As I was painting away, I also decided I wanted to paint the interior of the drawers. Sometimes I think it’s nice to leave the interior alone, but in this case the drawers needed to be refreshed. Unfortunately, I knew I hadn’t mixed enough chalk paint to get me through the extra surface area (and I had no Old White left). So I went over to Sherwin Williams and had them match the color I mixed in a sample quart of paint. It was only about $6 and got me through all the drawers with plenty to spare.
Time will tell if it holds up, but I think it was a good solution to keep this project to a low budget.
Total project cost:
Dresser – $10
Hardware – $10 (plus tax, so somewhere around there)
Interior paint (used in the drawers) – Latex sample from Sherwin Williams – about $6
Chalk paint – used leftovers (but if you don’t have any around, grab a can of Rust-Oleum for about $16)
This means, I have an updated dresser for about $26. I’d say that’s pretty darn budget-friendly. Even if I include the cost of a full can of paint, the cost is still under $50.

If you’re hoping to transform your home, and really don’t have money for updated furniture, turn to paint! Especially if you already have pieces on hand that you can transform. White paint is a miracle-worker and most pieces can be completed in a weekend. Win, win.

Hope you all enjoyed this little before and after! See ya on Friday!


