DIY Christmas Window Ornament Using Chalk-Style Paint
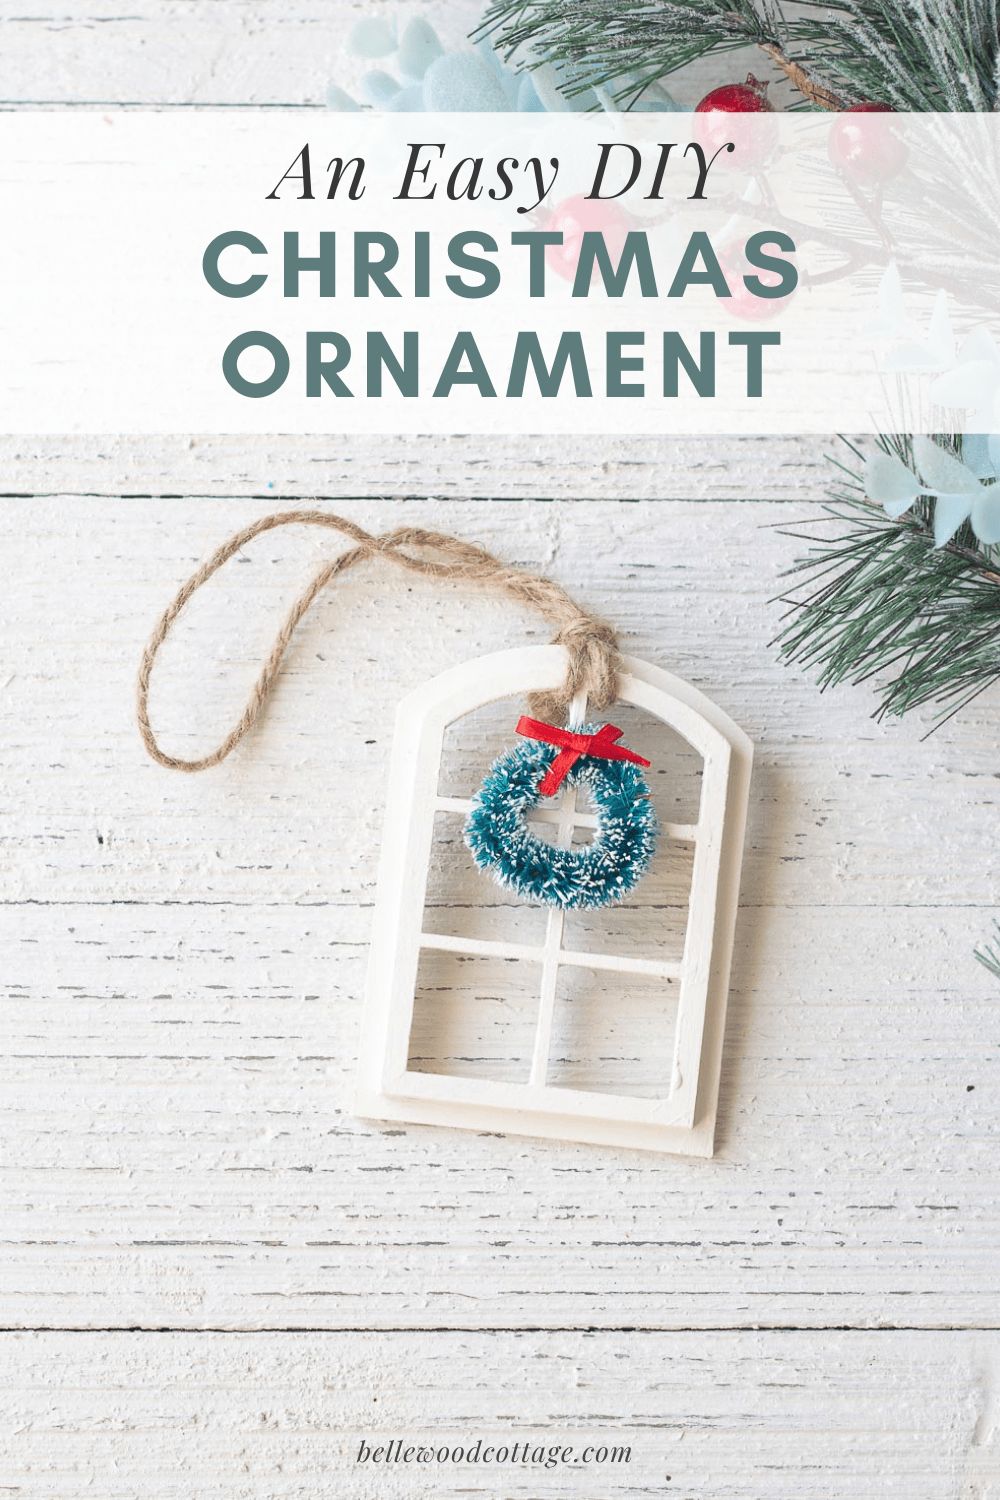
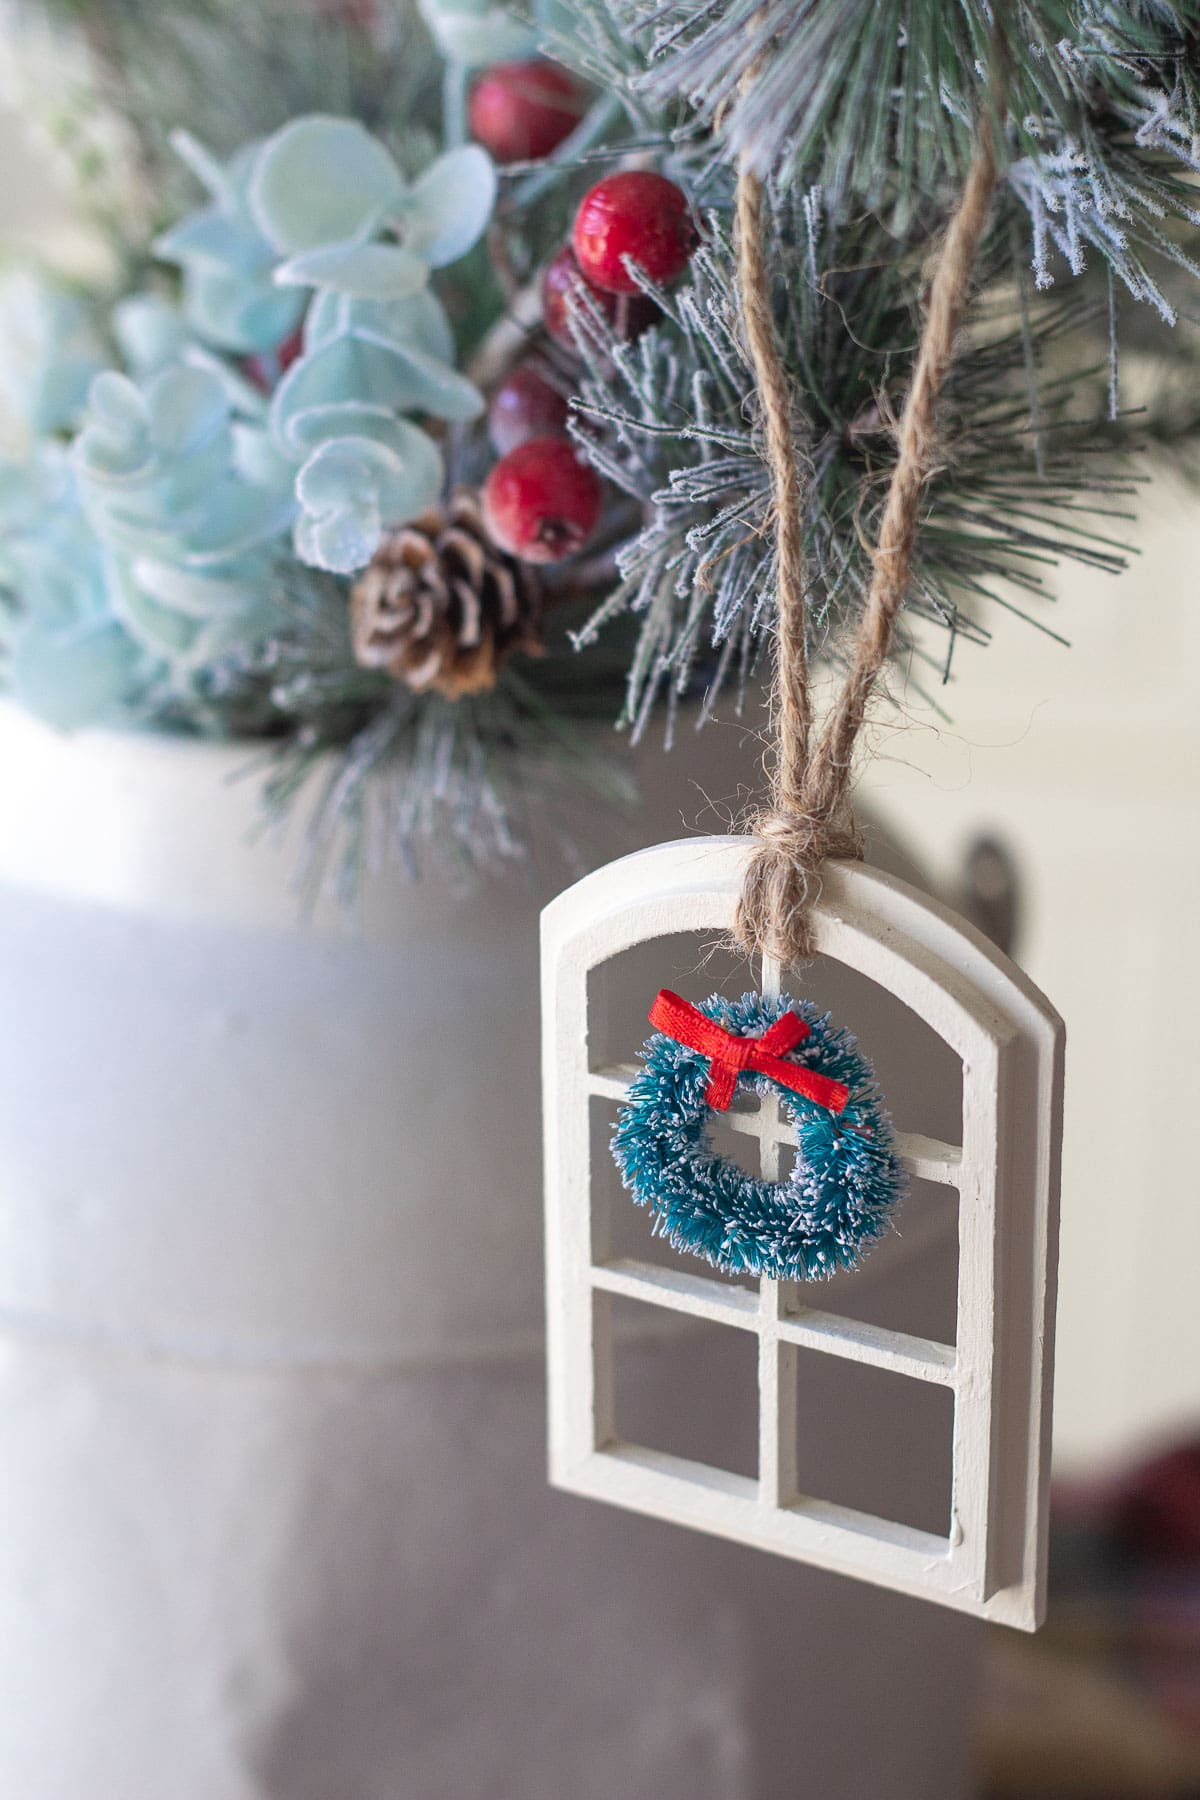
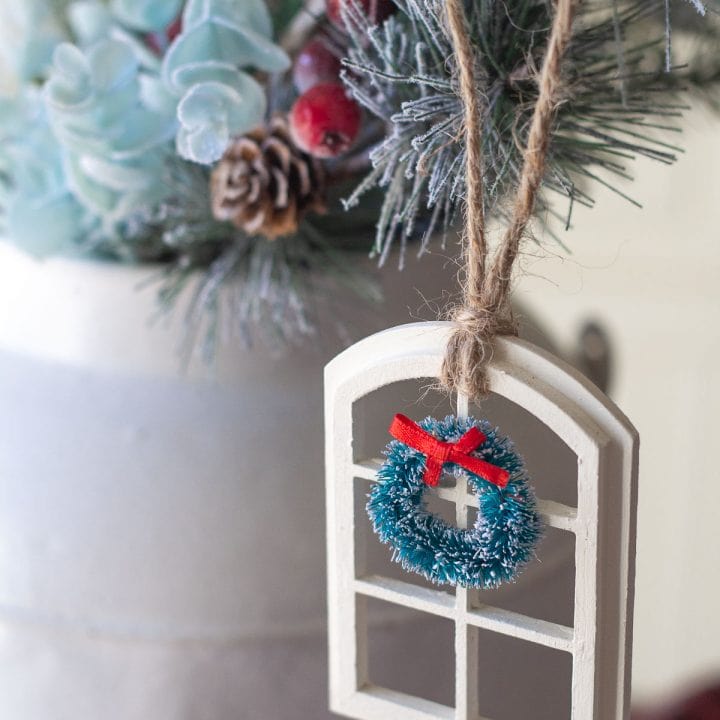
Love Christmas crafts? Me too! Try this easy DIY Christmas Window Ornament using chalk-style paint and a miniature window. Whether your Christmas décor is farmhouse, traditional, or something in between, this sweet ornament will be so cute on your Christmas tree!
Please note that this post contains affiliate links which allow me to earn a small commission when a purchase is made at no additional cost to you. Read more here.
DIY Christmas Window Ornament
I love creating DIY Christmas ornaments. It’s so fun to craft something where the sole purpose is simply to make something cute.
This particular idea came to me while I was wandering through Hobby Lobby a few years back and I thought, surely someone else has tried this already! Well, fast forward a few years, I still hadn’t made one (or seen one on Pinterest). This was the year!
How to Make the Ornament
How to make this cute little window? Start with a small wooden miniature/dollhouse window from the craft store. While you are there, grab some holiday wreaths too (also in the miniatures/dollhouse section).
You can paint the window any way you like. I used some creamy colored chalk-style paint and polycrylic top coat I had hanging around from all my various chalk painting ventures.
You can grab some FolkArt (or similar) acrylic craft paint and skip the top coat if you like. The window is small enough that the subtle differences aren’t very noticeable.
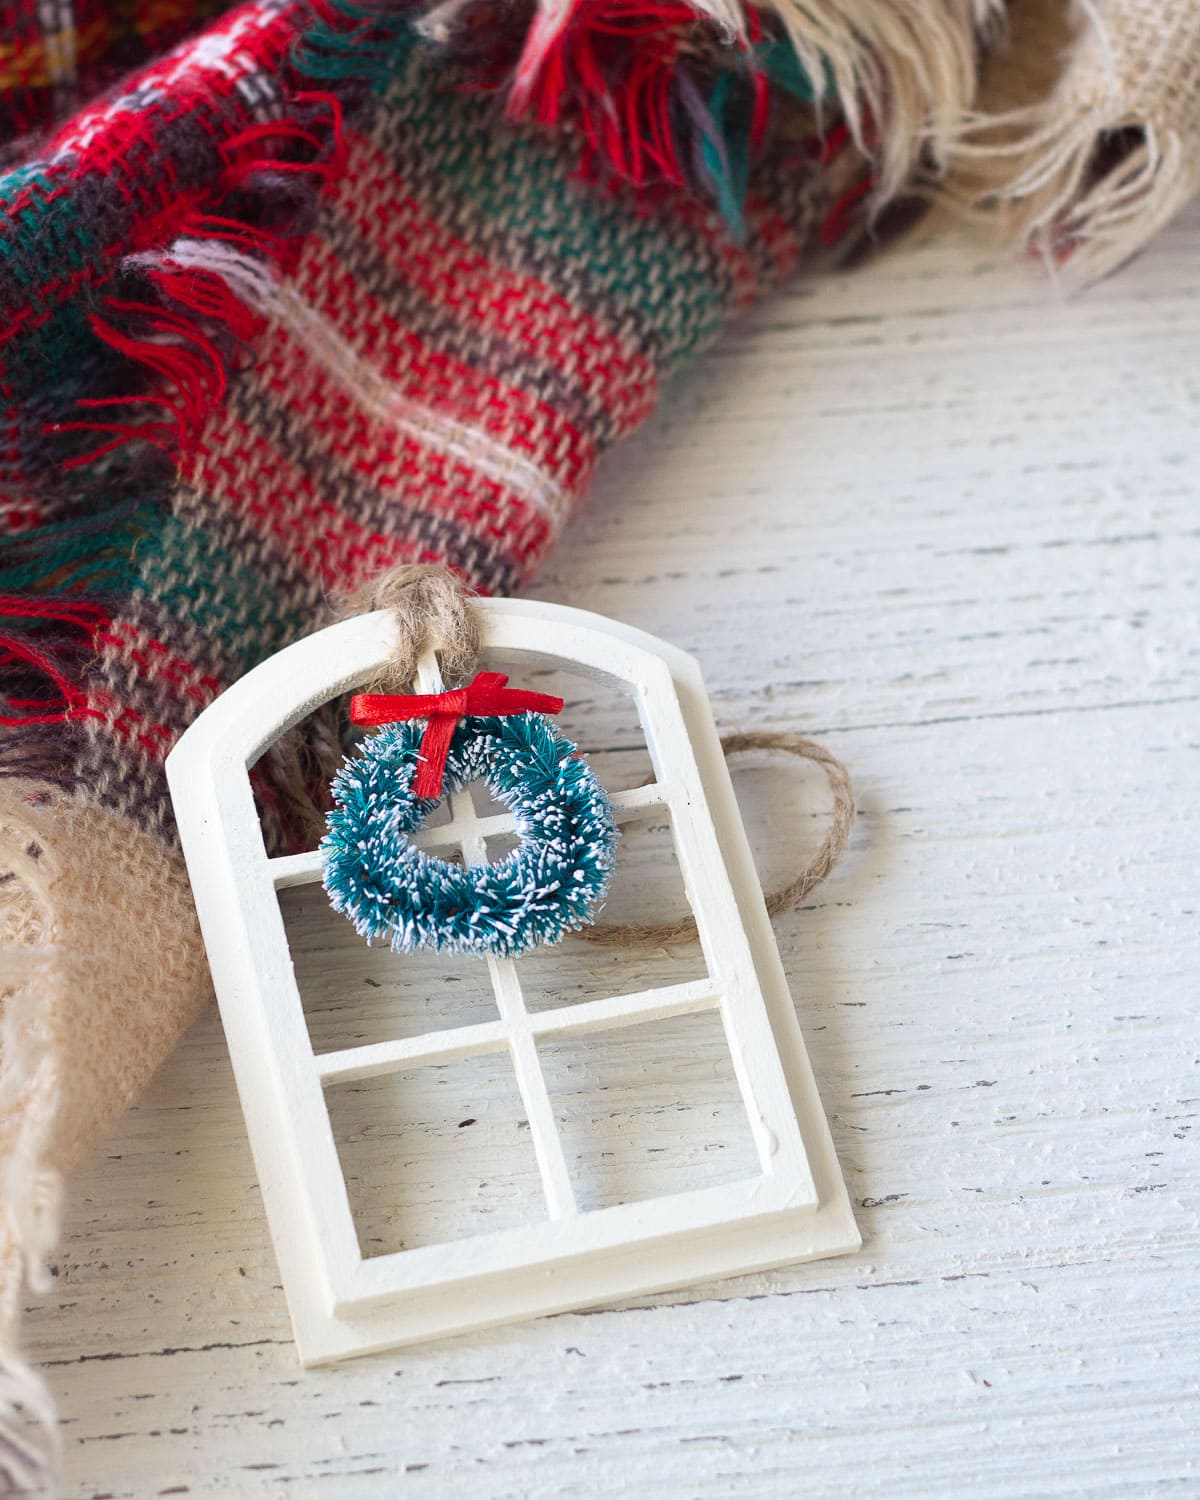
After everything is dry, attach a twine hanger and hot glue a miniature wreath to the front of the window.
P.S. If you want to make a lot of these, you could use spray paint (I really like Rust-Oleum Chalked) to speed up the painting process.
Supplies You Need to Make This DIY Christmas Window Ornament
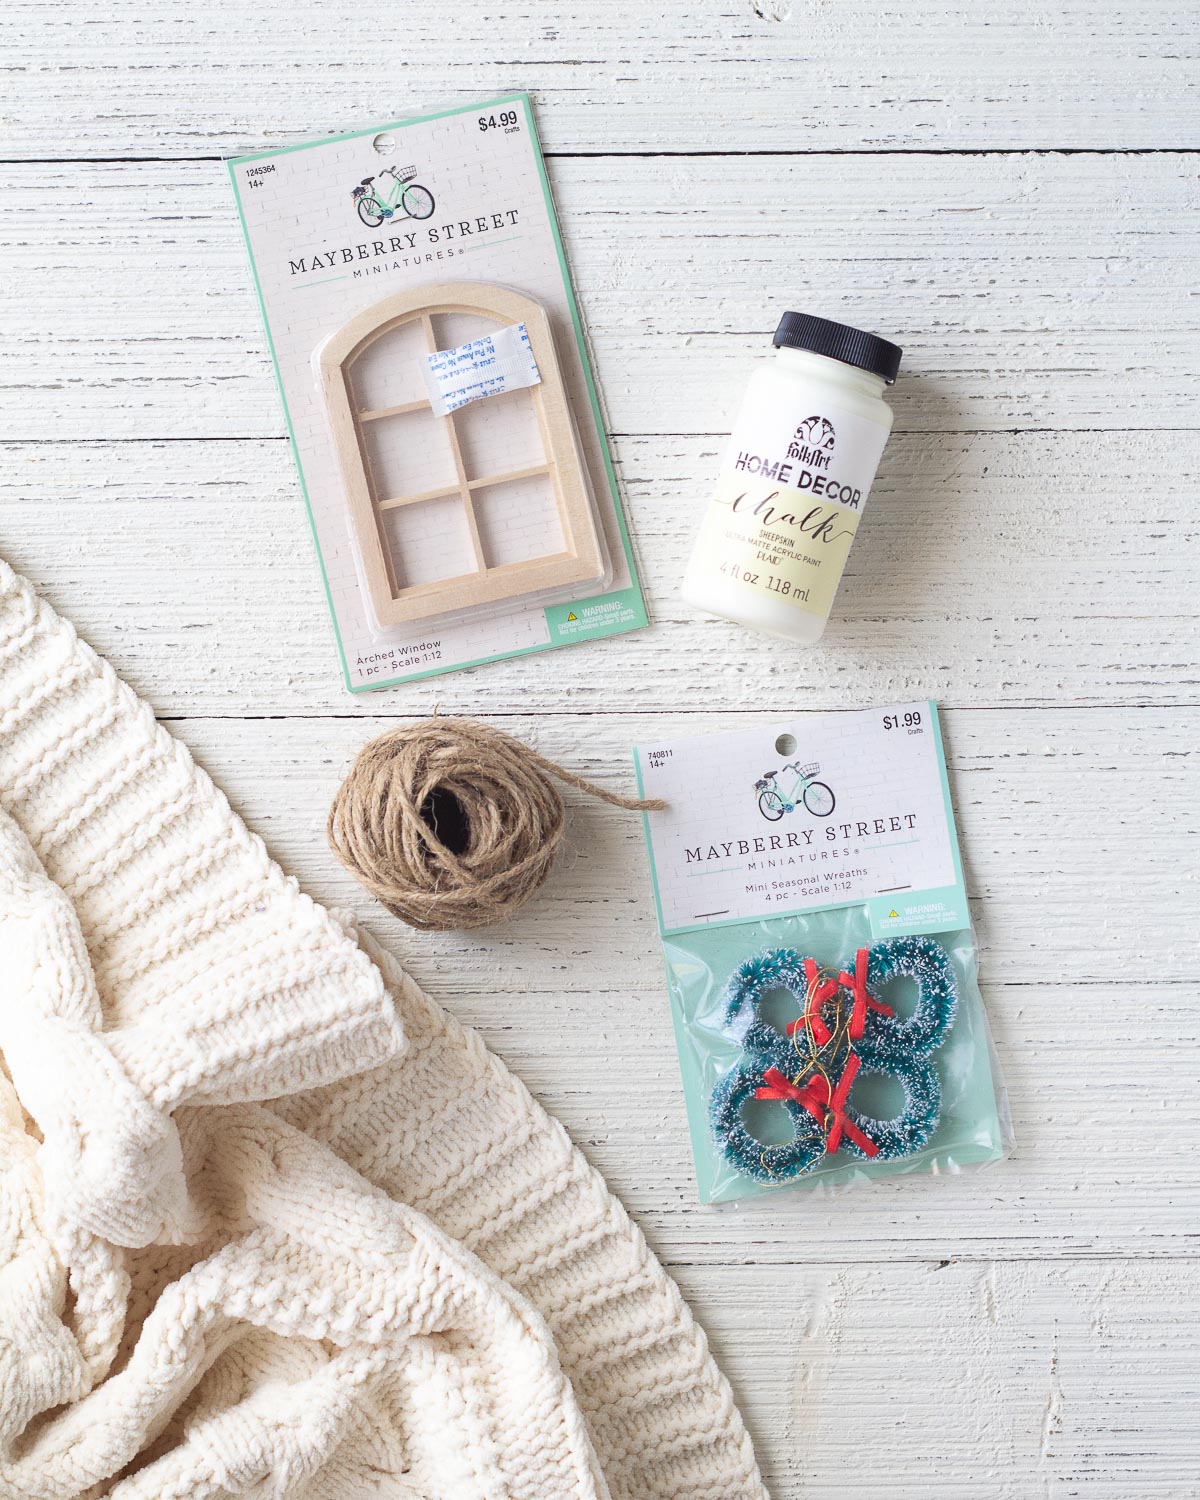
- A wooden dollhouse window in 1:12 scale (Amazon // also this one)
- Chalk style paint (or some acrylic craft paint)
- Polycrylic or wax to finish your chalk paint (optional, see instructions)
- A package of dollhouse wreaths in 1:12 scale
- A small hot glue gun
- Twine
Which Side to Put the Wreath On?
Oops! I photographed these pictures and then realized the wreath is probably technically on what would be the inside of window. Face palm.
Oh well. You can hang a wreath on either side of a window I guess? Pick whichever looks best to you. And let us all bid farewell to perfectionism together!
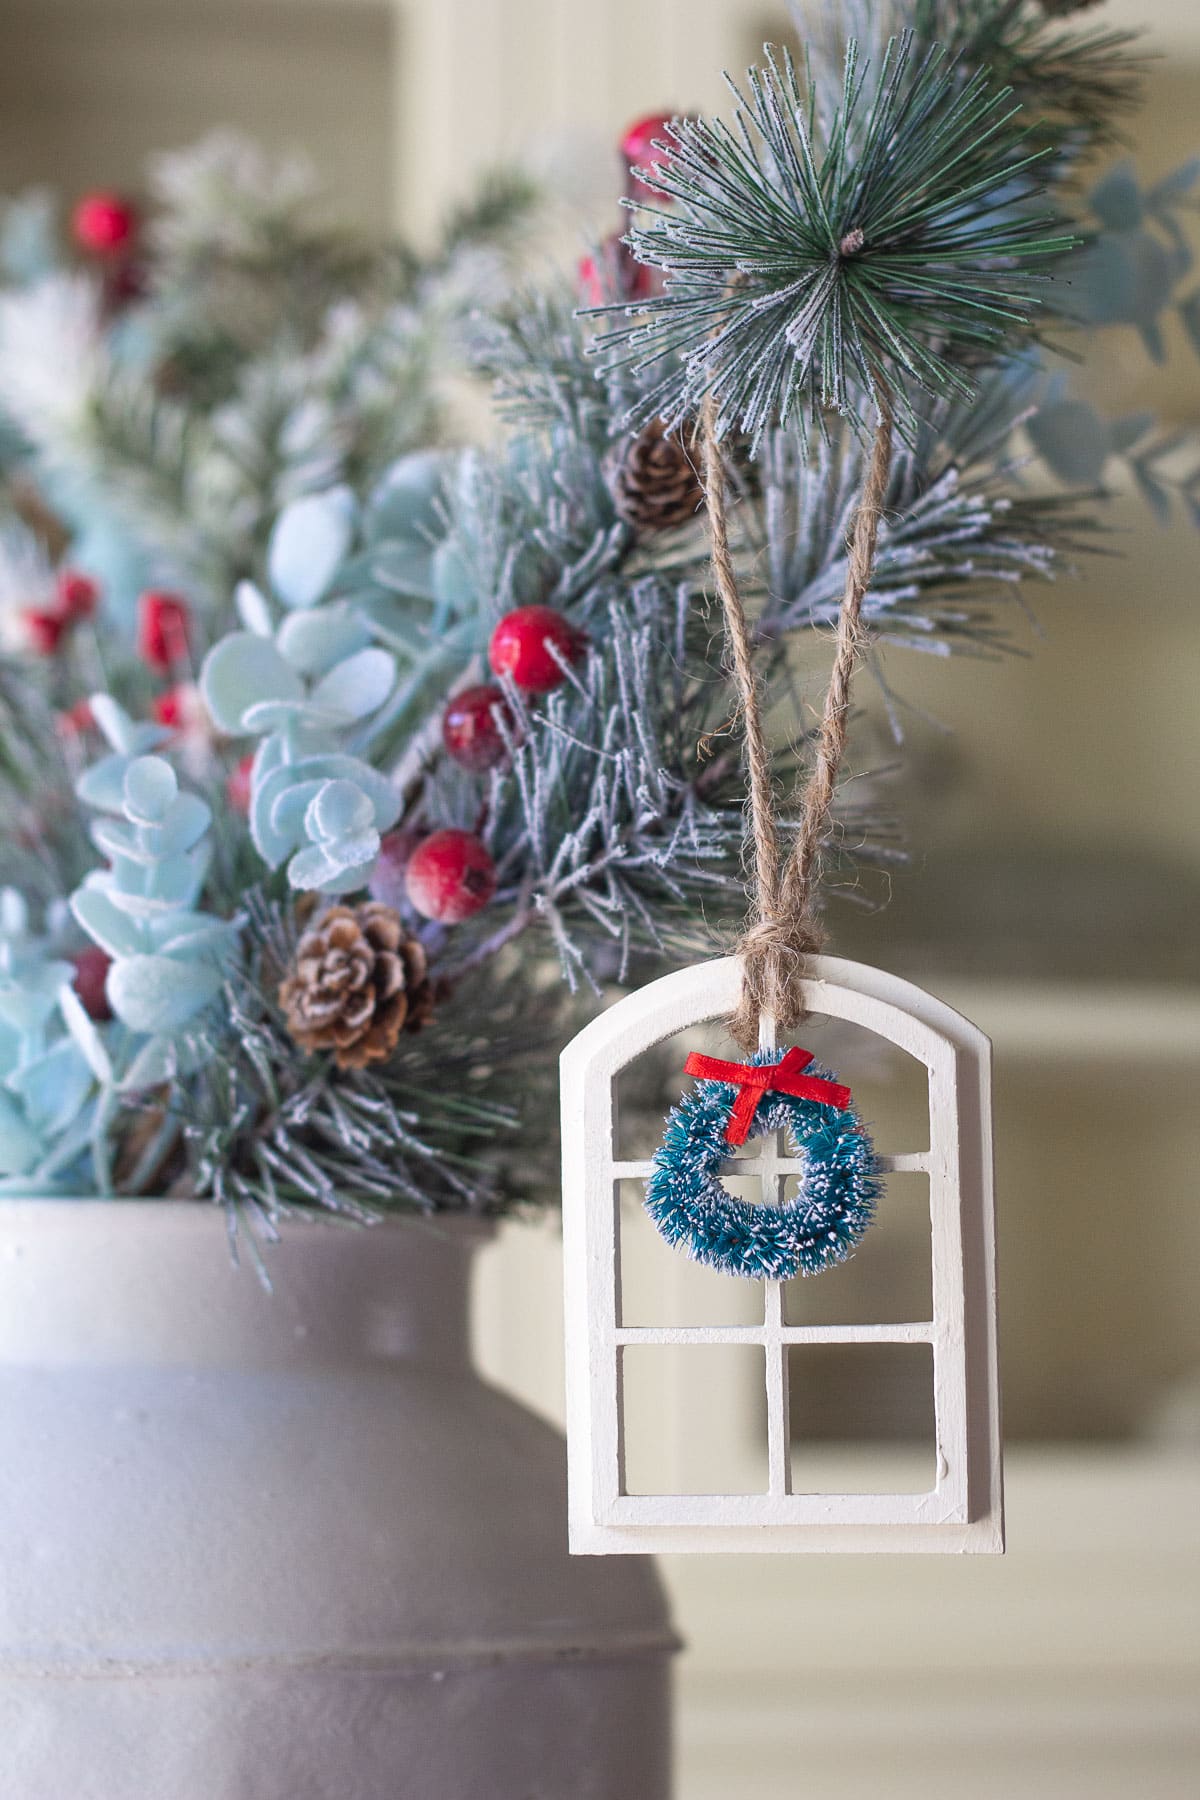
DIY Christmas Window Ornament
Materials
- A wooden dollhouse window in 1:12 scale (also this one)
- Chalk style paint (or just some acrylic craft paint)
- Polycrylic or wax to finish your chalk paint (optional, see instructions)
- A package of dollhouse wreaths in 1:12 scale
- Twine
Tools
- Small paintbrush
- Small hot glue gun
- Scissors
Instructions
- Remove the wooden window from its packaging, stir your paint, and begin painting the window. You'll have to do this in stages so it can dry (it's very small so it dries quickly). Watch out for drips in the corners and on the side you aren't currently painting.
- After window is completely dry, apply another coat of paint. Two coats total.
- Optional: If you used chalk style paint, you may like to coat with wax to protect the finish and give it a hint of shine. I used some Rust-Oleum Matte Clear (sold with their "Chalked" line) that I had on hand. You can use whatever you like (see links in the post) or skip it altogether if you used a standard acrylic craft paint. Let dry.
- Cut a 19" piece of twine and fold in half. With the top "muntin" (vertical piece of wooden that would divide the glass in a real window) in between the ends of the twine, tie a knot. Now pass the loop of twine under the knotted section and pull tight, pushing the knot to the back of the ornament (see the video for clarity). Trim the knot.
- Allow a small glue gun to heat up. Remove one of the wreaths from the package and trim away the attached hanger (if present). Place hot glue where the top and bottom of the wreath will be placed on the window. Secure the wreath and press down gently until the glue is dried.
Notes
How to fix a drip that dried already? If you have a bit of fine grit sandpaper on hand use that to even out the drip. Or, if it is inconspicuous, just leave it!
Do I need wax? No, not really. If you have it on hand, then great! If you opt to use a chalk style paint, the wax will give it a little shine and protect the finish. If you use Folk Art Acrylic paint (not "Chalk style") then you really don't need wax.
Where do I find these dollhouse windows? You can find them on Amazon, or you can purchase from your local craft store. Make sure your store has a miniatures/dollhouse department. While you are there, look for a 1:12 scale wooden window.


