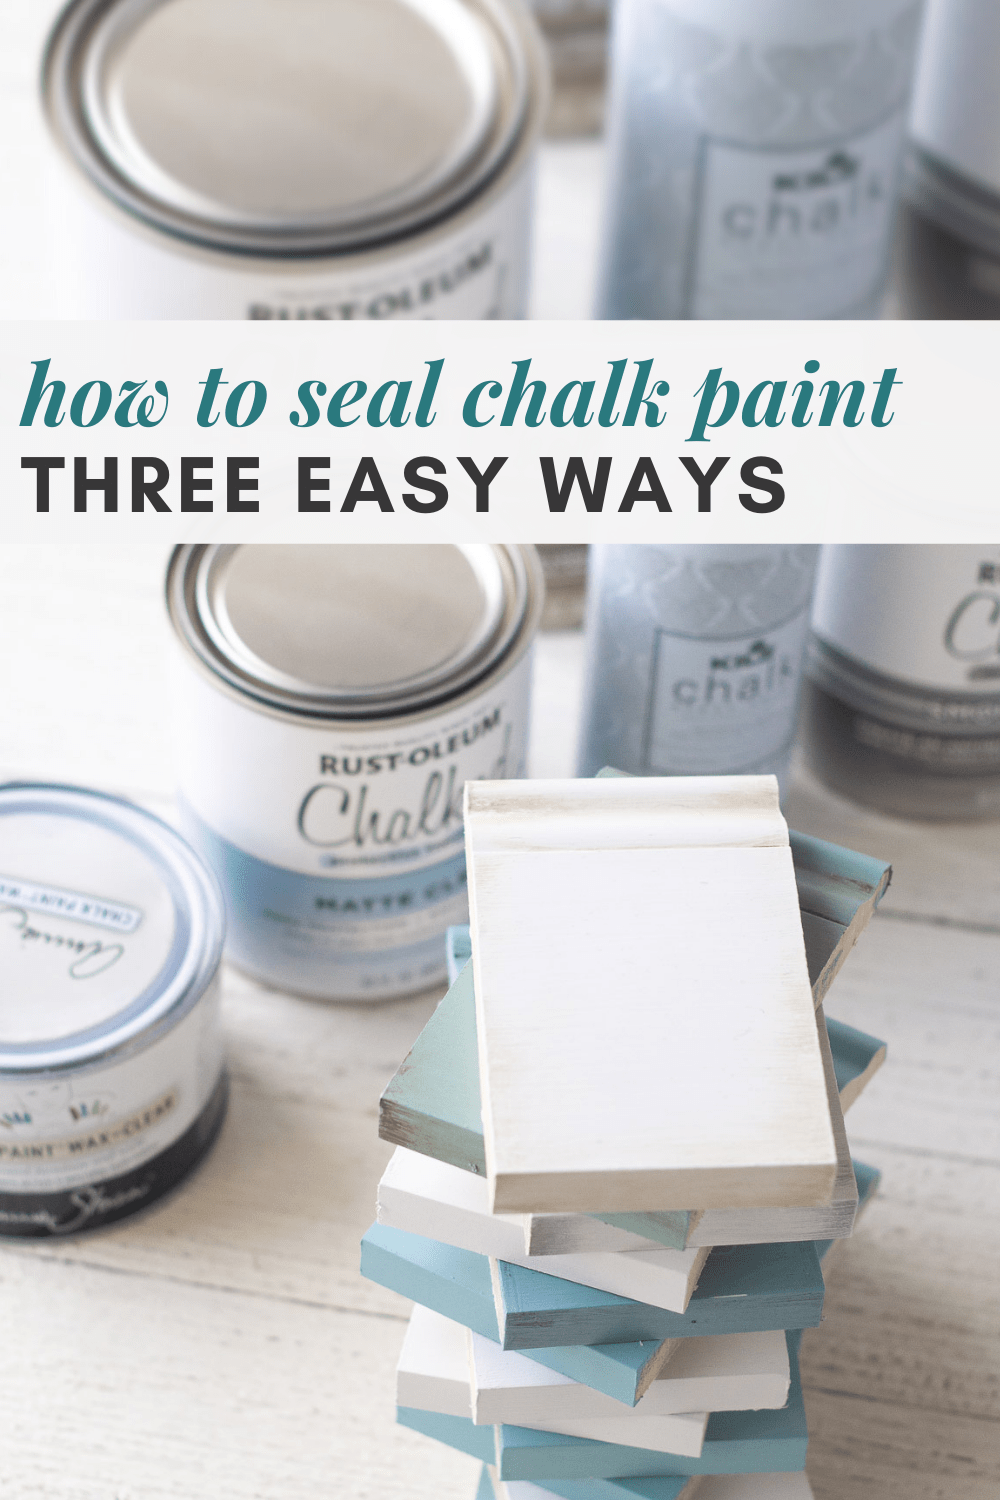
How to Seal Chalk Paint
Learn how to seal chalk paint and chalk style paint in this overview of different methods of finishing chalk painted pieces. I’ll cover wax, spray finishes, matte polycrylic, and options for creating a vintage/aged look.
Please note that this post contains affiliate links which allow me to earn a small commission when a purchase is made at no additional cost to you. As an Amazon Associate I earn from qualifying purchases. Read more here.
Ever wondered how to seal chalk paint? What are the best top coats to use? Well, there are three main ways to seal chalk paint. Today I’m sharing the pros and cons of each one!
What is Chalk Paint?
Chalk Paint is the original creation of Annie Sloan. It’s a matte-finish furniture paint designed to be distressed easily and adhere to surfaces without sanding first. Since Annie created her Chalk Paint, a number of similar products have hit the market, but Chalk Paint itself remains a registered trademark of Annie Sloan.
Weekly Crafting Fun!
Join my list and get a weekly email with relaxing craft ideas, freebies, sewing tutorials, and more!
The paint ranges in price from the Annie Sloan paints (roughly $40 per quart) to the lower-price imitator chalk-style paint finishes (usually about $20 a quart). Other brands of chalk style paints include Rust-Oleum, KILZ, Behr, and more.
Do You Have to Seal Chalk Paint?
In order to prevent staining, damage, or excessive wear-and-tear, chalk paint ought to be sealed with a top coat. Additionally, the feel of the finished piece is improved with a top coat since uncoated chalk paint tends to feel, well, chalky.
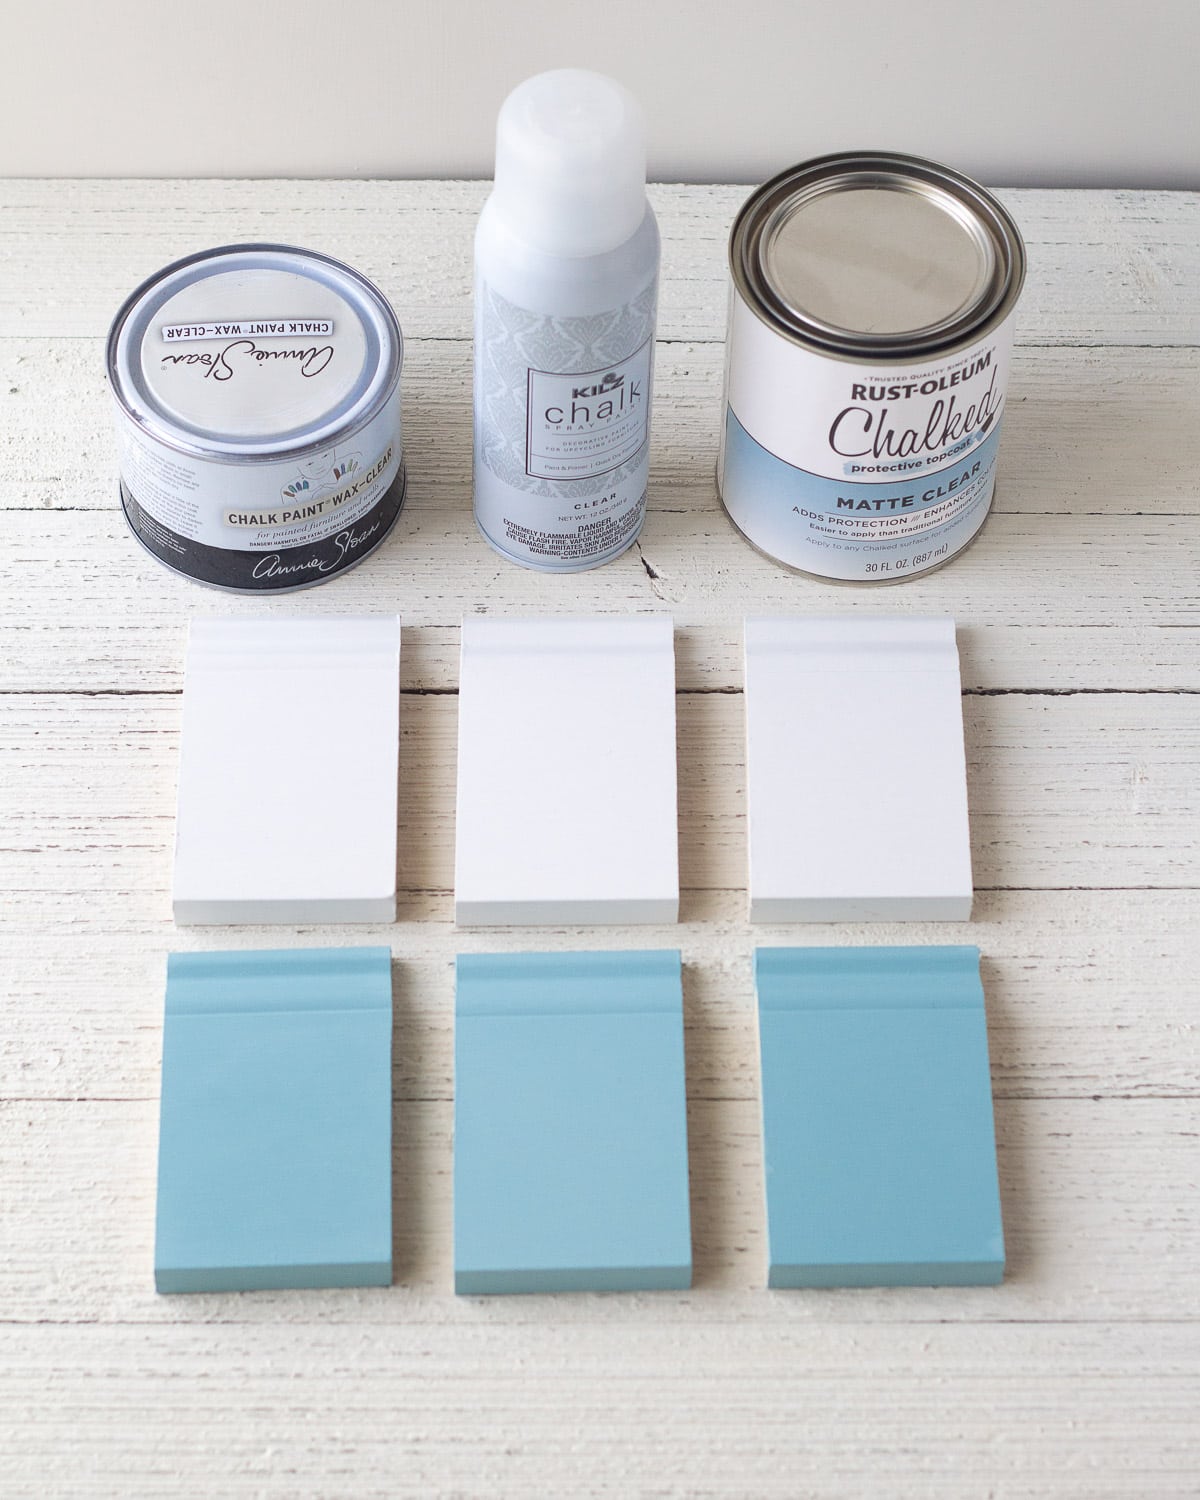
Top coat options include wax, spray clear coats, and paint-on polycrylics.
Note: Here I’ve chosen to talk through top coats that provide a matte finish, in keeping with one of the hallmarks of chalk paint. If you would like a glossy finish or similar, the possibilities open up even further, but I won’t cover those products here today.
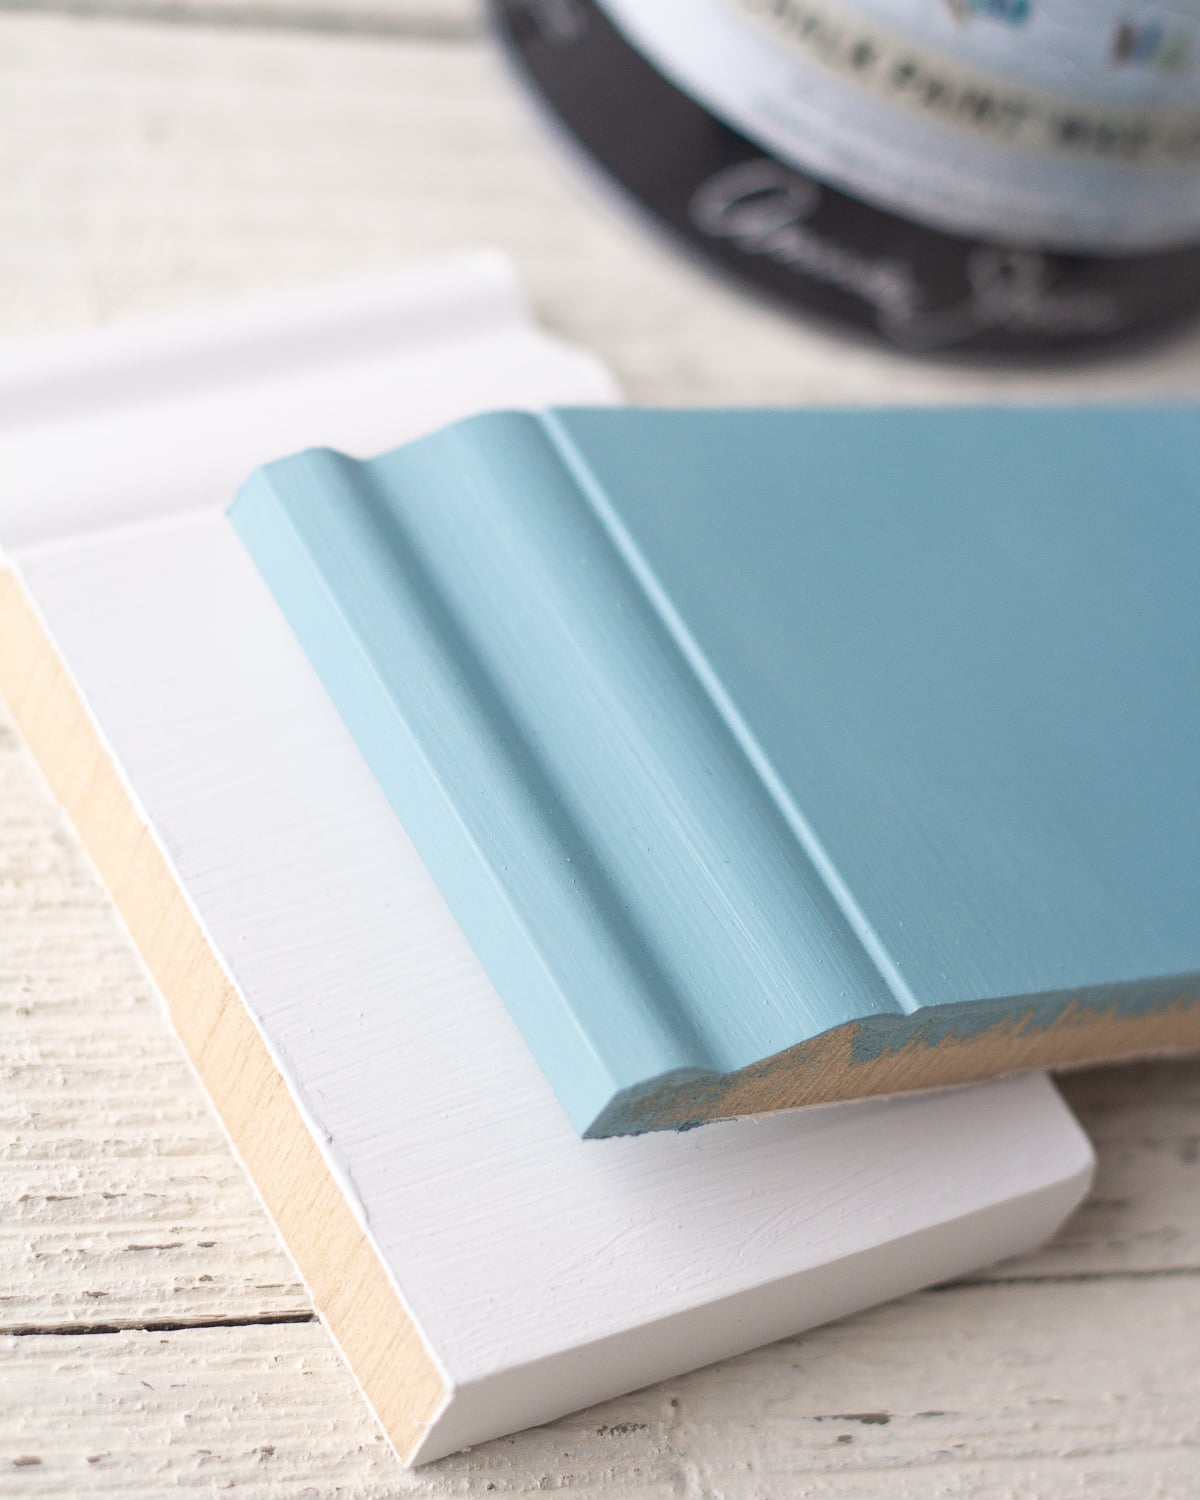
Here are samples of unsealed chalk paint (these have been lightly buffed, see note below):

How to buff chalk style paint: If you are making a craft project (or even painting a piece of furniture) where you specifically want to leave the paint unsealed for some reason, you can also buff the paint to a smooth finish. Buffing helps get rid of that “nails on a chalkboard” feeling, but it won’t provide any protection to a piece.
What Is the Best Top Coat for Sealing Chalk Style Paint?
The best top coat for sealing chalk paint is the one that protects your painted piece and provides the desired finish. Top coats for chalk paint include waxes, spray clear coats, and polycrylics.
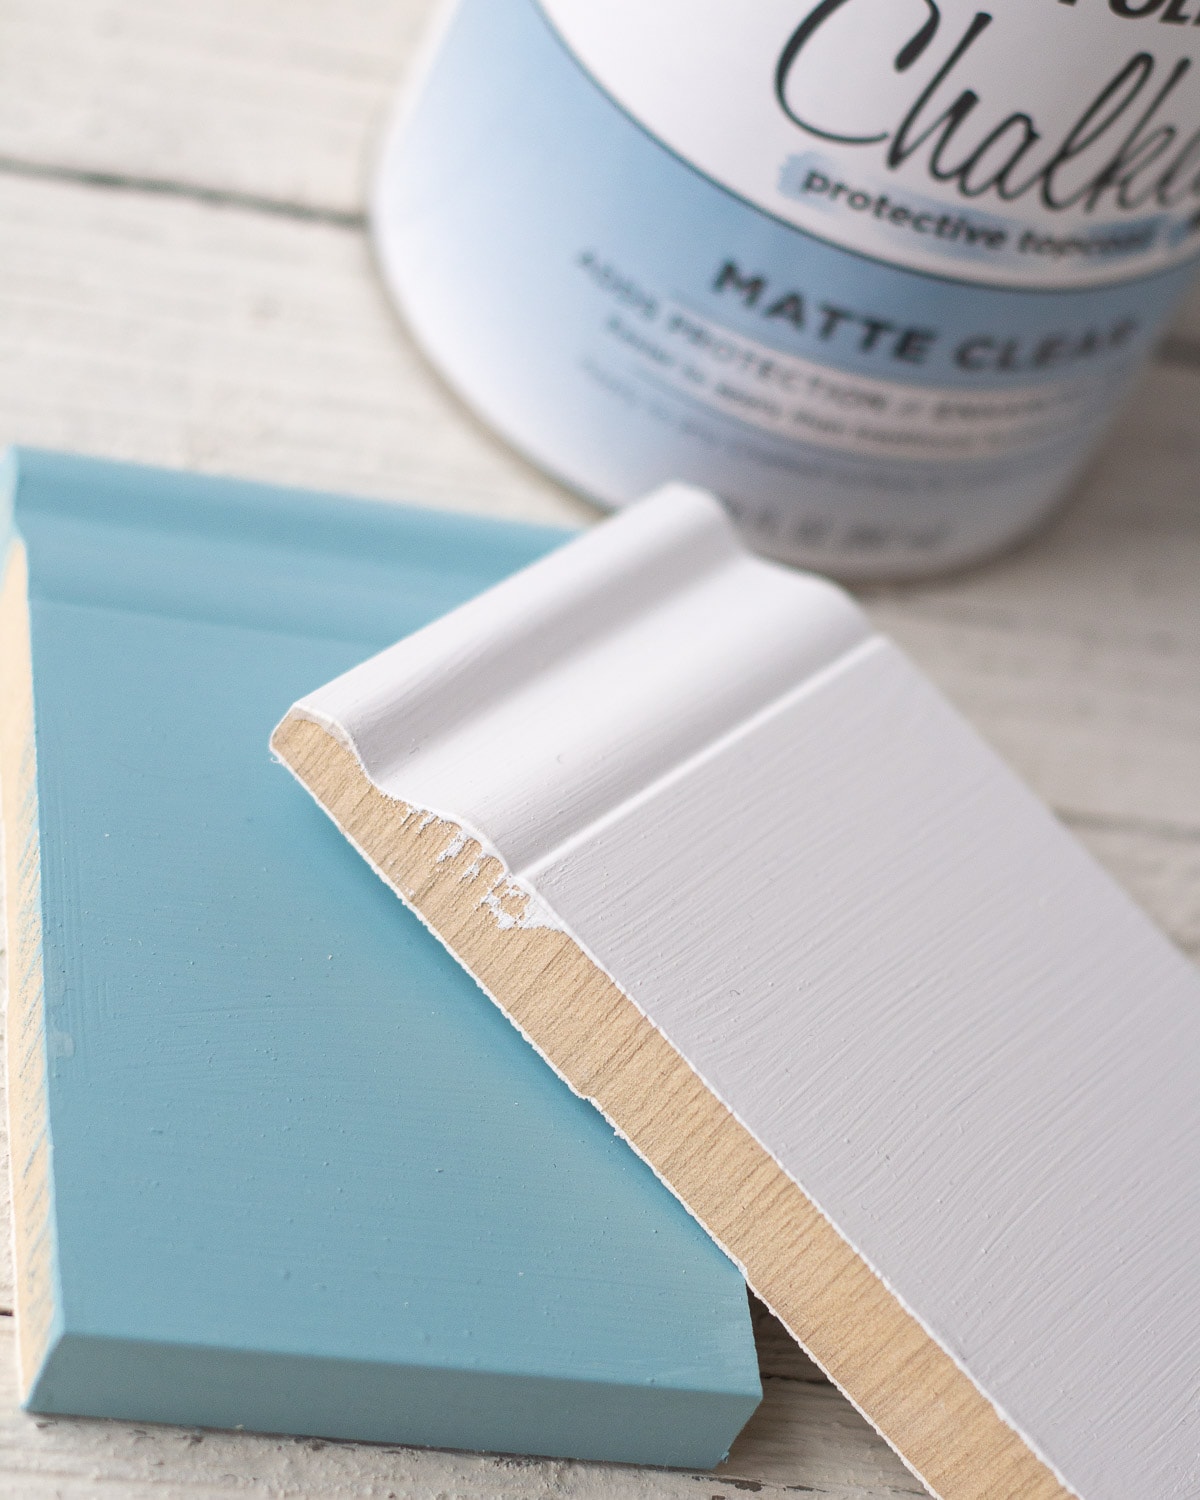
I happen to love Rust-Oleum Matte Clear, a milky polycrylic that is kind of a mix between a wax and a poly. It’s easily applied with a paintbrush (like my favorite one here). Note that any top coat must be compatible with the paint you’ve chosen. Always read both cans (your paint and your sealer) and test first!
I highly (highly!) recommend testing a sample of your top coat paired with your paint on some scraps FIRST. Sometimes things can get funky, and it’s best to know before you start sealing that vintage dresser you’ve worked on for three weekends in a row.
Now, if you are using a paint + top coat that are specifically manufactured for each other, you can probably skip this testing step, but I usually test at least once for insurance. I have provided my own experience in this post, but sometimes formulas change, antique furniture is always unique, and we all have our own painting styles and preferences. The best way to learn is to test!
Examples: Using KILZ Chalk Style Paint with KILZ Clear Coat?…probably don’t need to test. Using Annie Sloan Paint with Minwax Matte Polycrylic?…test it first!
One thing to always remember about chalk painting is that half the battle is simply testing products to find what you like–and what works on the types furniture you like painting. There will always be surprises, but that is part of the fun in a lot of ways too. Enjoy the learning process!
Alright, with that, let’s dive in!
1 – Sealing Chalk Paint with Wax
Finishing a chalk painted piece with wax is a popular option, however wax can have a big learning curve.
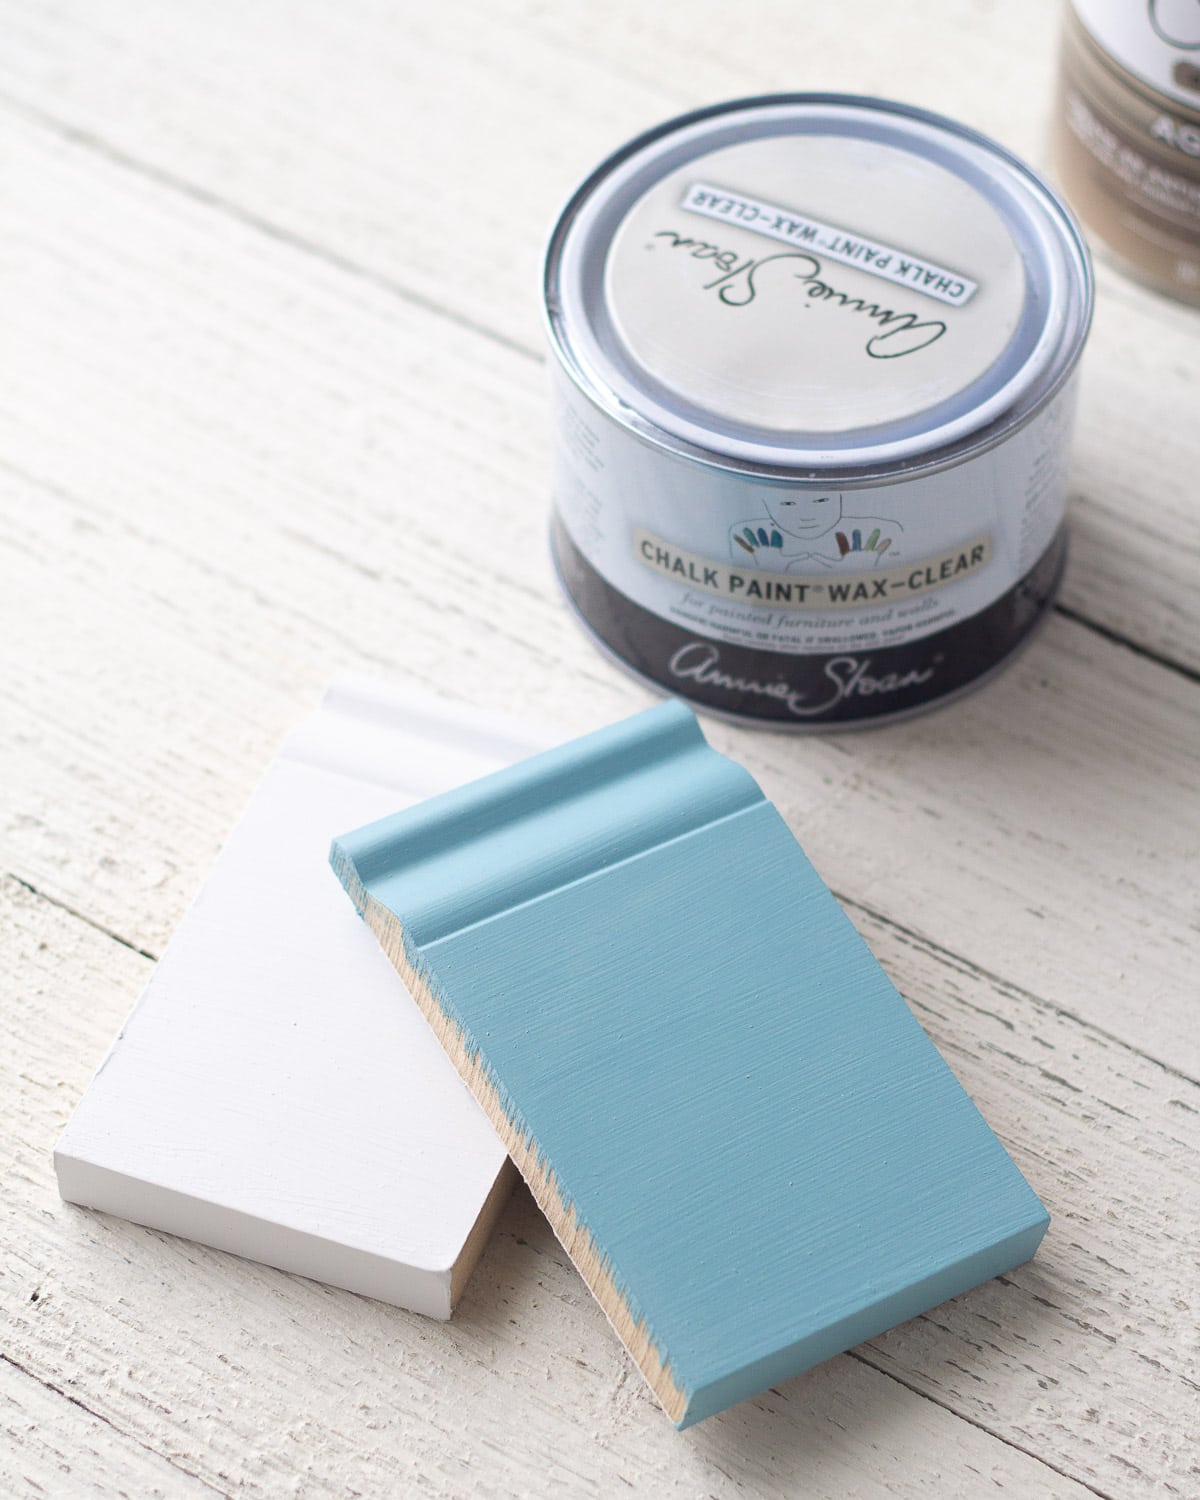
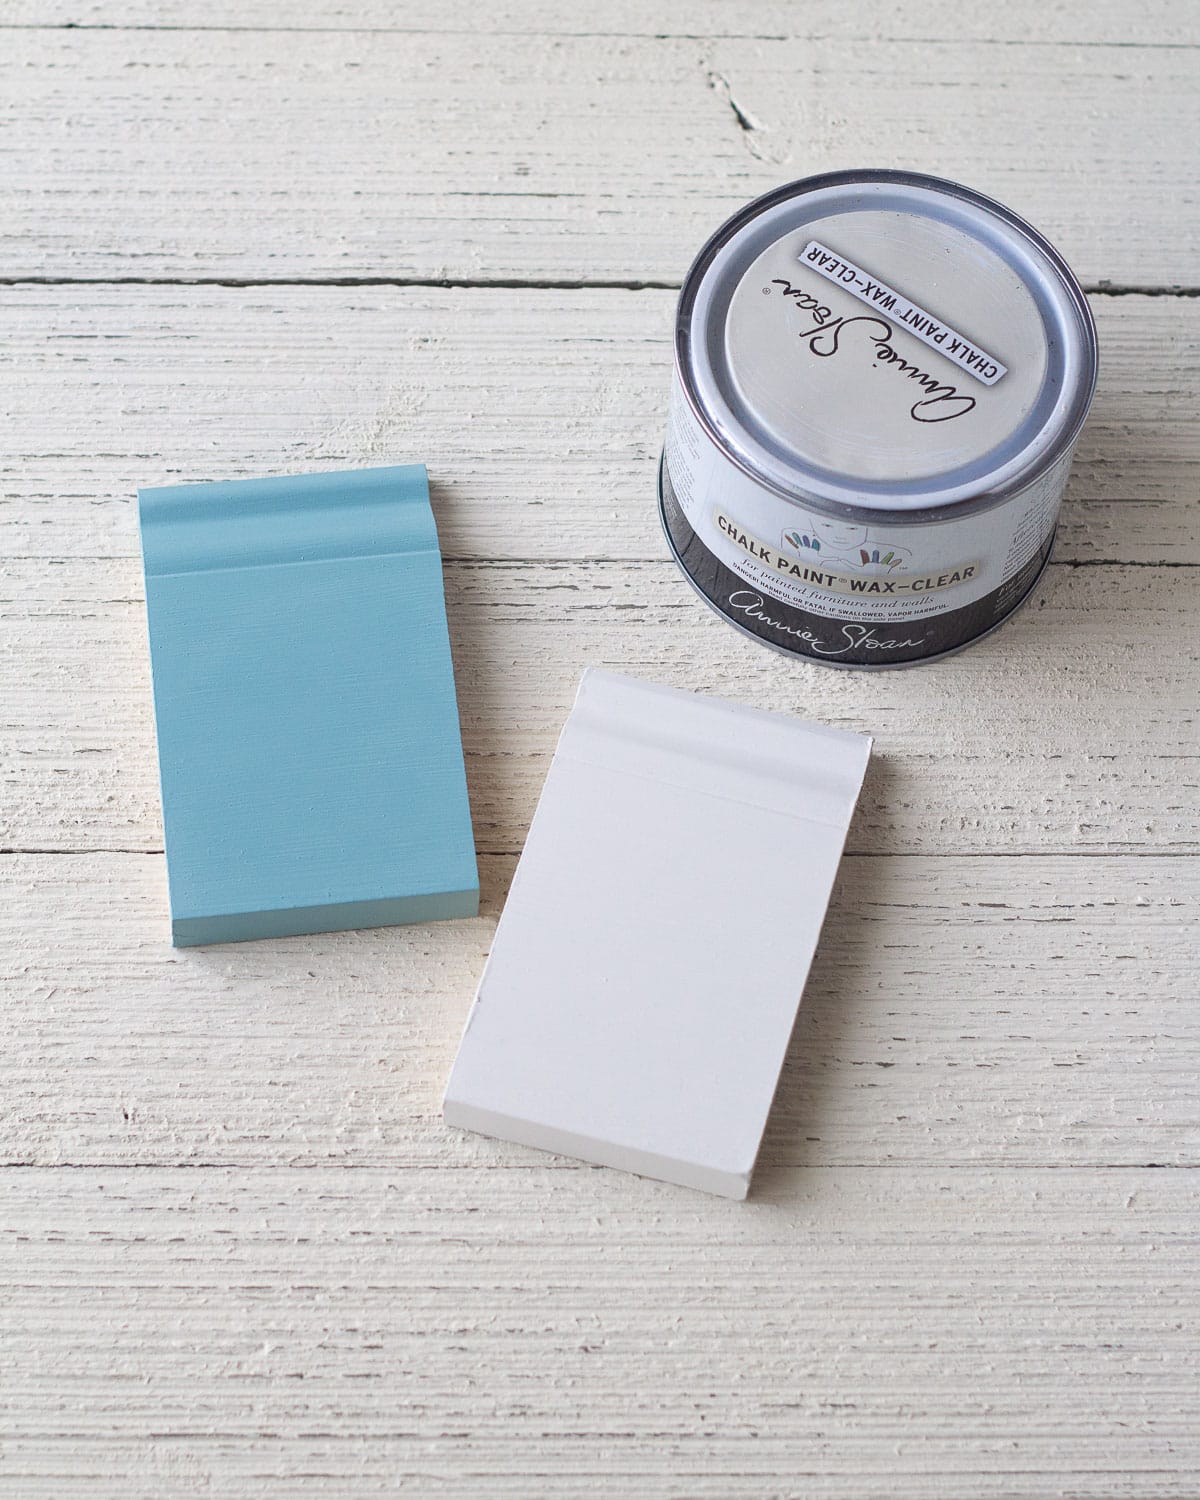
Here are samples of a wax finish (blue is KILZ Chalk Style Paint and white is Rust-Oleum Chalked Paint):
Pros of Using a Wax Finish
Wax leaves a lovely soft finish that evokes that vintage, hand-crafted feel. For distressed/aged styles, you can also apply dark wax or an aging glaze (more on that later) for added depth.
Annie Sloan sells different waxes including clear, dark, black, and white. Lots of options for layering and creating different looks there!
Cons of Using a Wax Finish
Waxes can be a bit tricky to apply correctly. If too much wax is left on, a piece can feel sticky. The process of applying the wax can be time-consuming. Wax is most easily applied with a wax brush like the one that Annie Sloan sells, but it is pricey investment (there are other options on Amazon though with some mixed reviews). While you can use old t-shirts to apply the wax, I’ve found it’s hard to spread that way.
After applying the wax, you need to let it dry and buff it if you want a polished look. This additional step can be time-consuming! Then, the wax needs to cure for 2 or 3 weeks.
Unfortunately even after curing, wax leaves a delicate surface that doesn’t work well for heavily used pieces of furniture. And, if you were thinking of using wax on your bathroom or kitchen cabinets, a quick Google search will likely convince you otherwise! Note that wax also may require re-application from time to time.
How to apply it: If you need some step-by-step help for how to apply wax, Annie Sloan has a nice tutorial here.
Waxes to Try:
- Annie Sloan Clear Wax (also White, Dark, and Black Wax),
- KILZ Wax and Dark Wax
- The Spruce Best Home Sealing Wax by KILZ
- Behr Wax (Clear, White, Dark)
- Magnolia Home Wax (again, by KILZ)
- Wax brush
2 – Sealing Chalk Style Paint with an Aerosol Clear Coat
Now, on the other side of the convenience spectrum: A spray clear coat. So fast, so easy! This won’t be appropriate for every project of course, but it’s certainly an option.
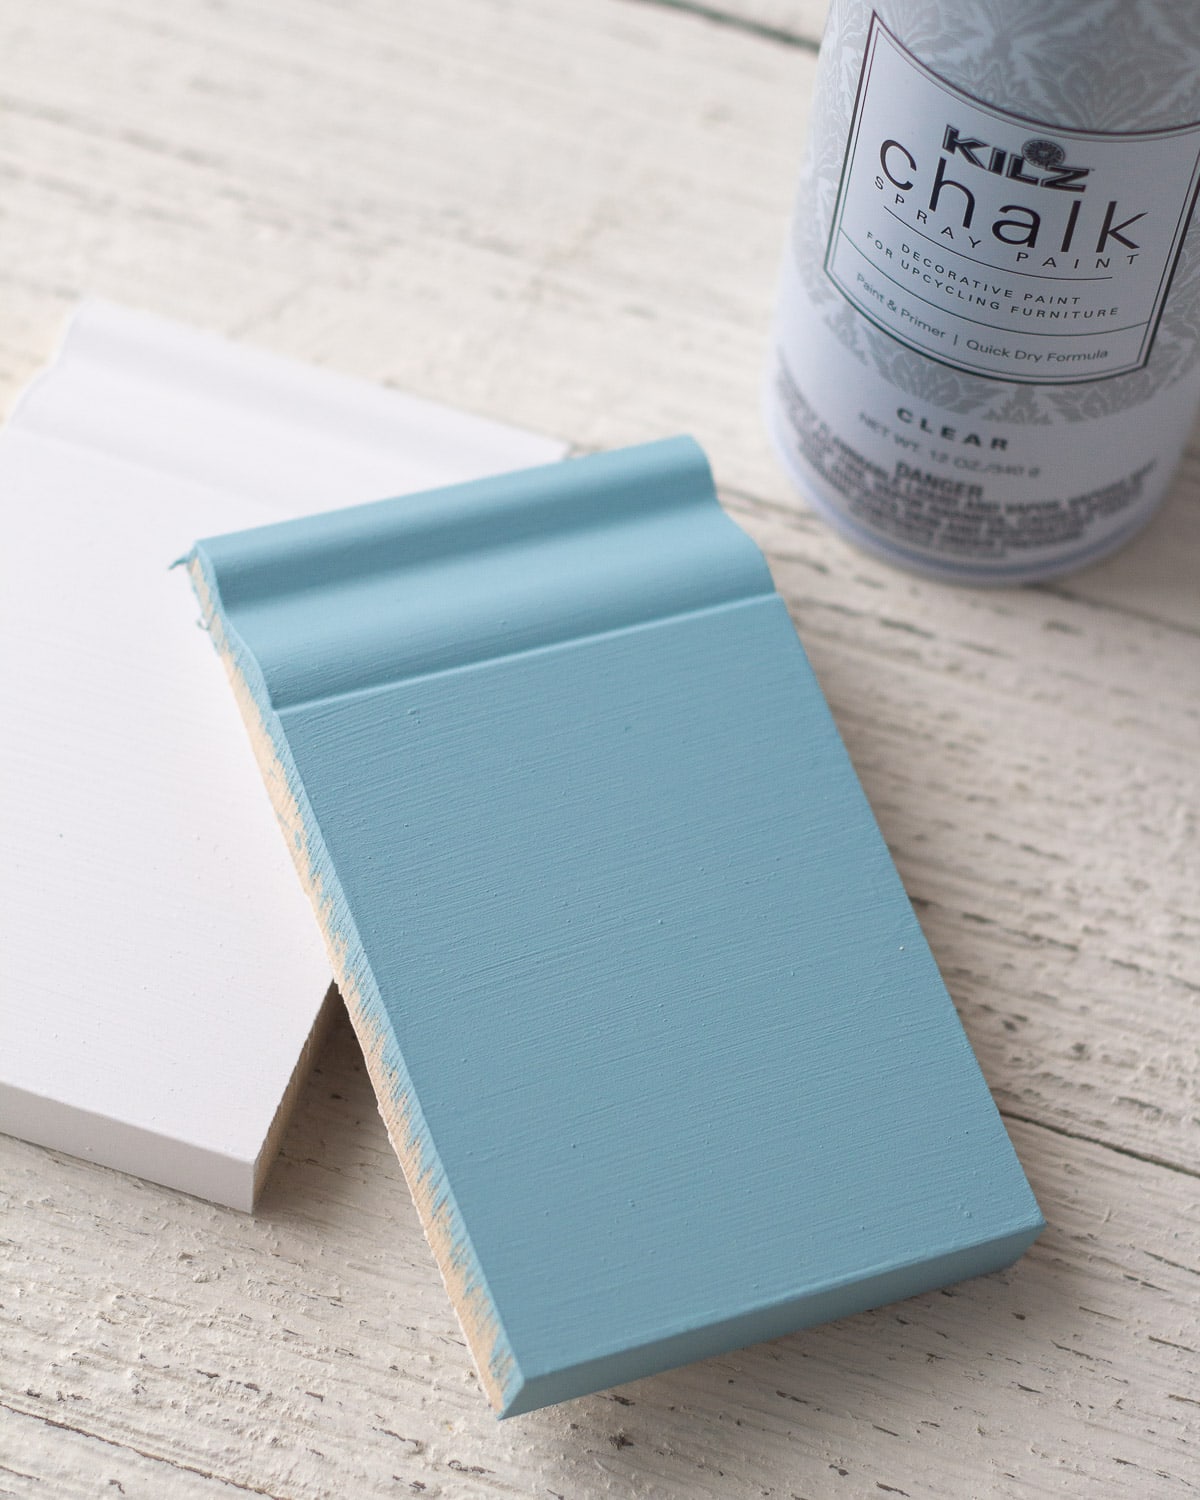
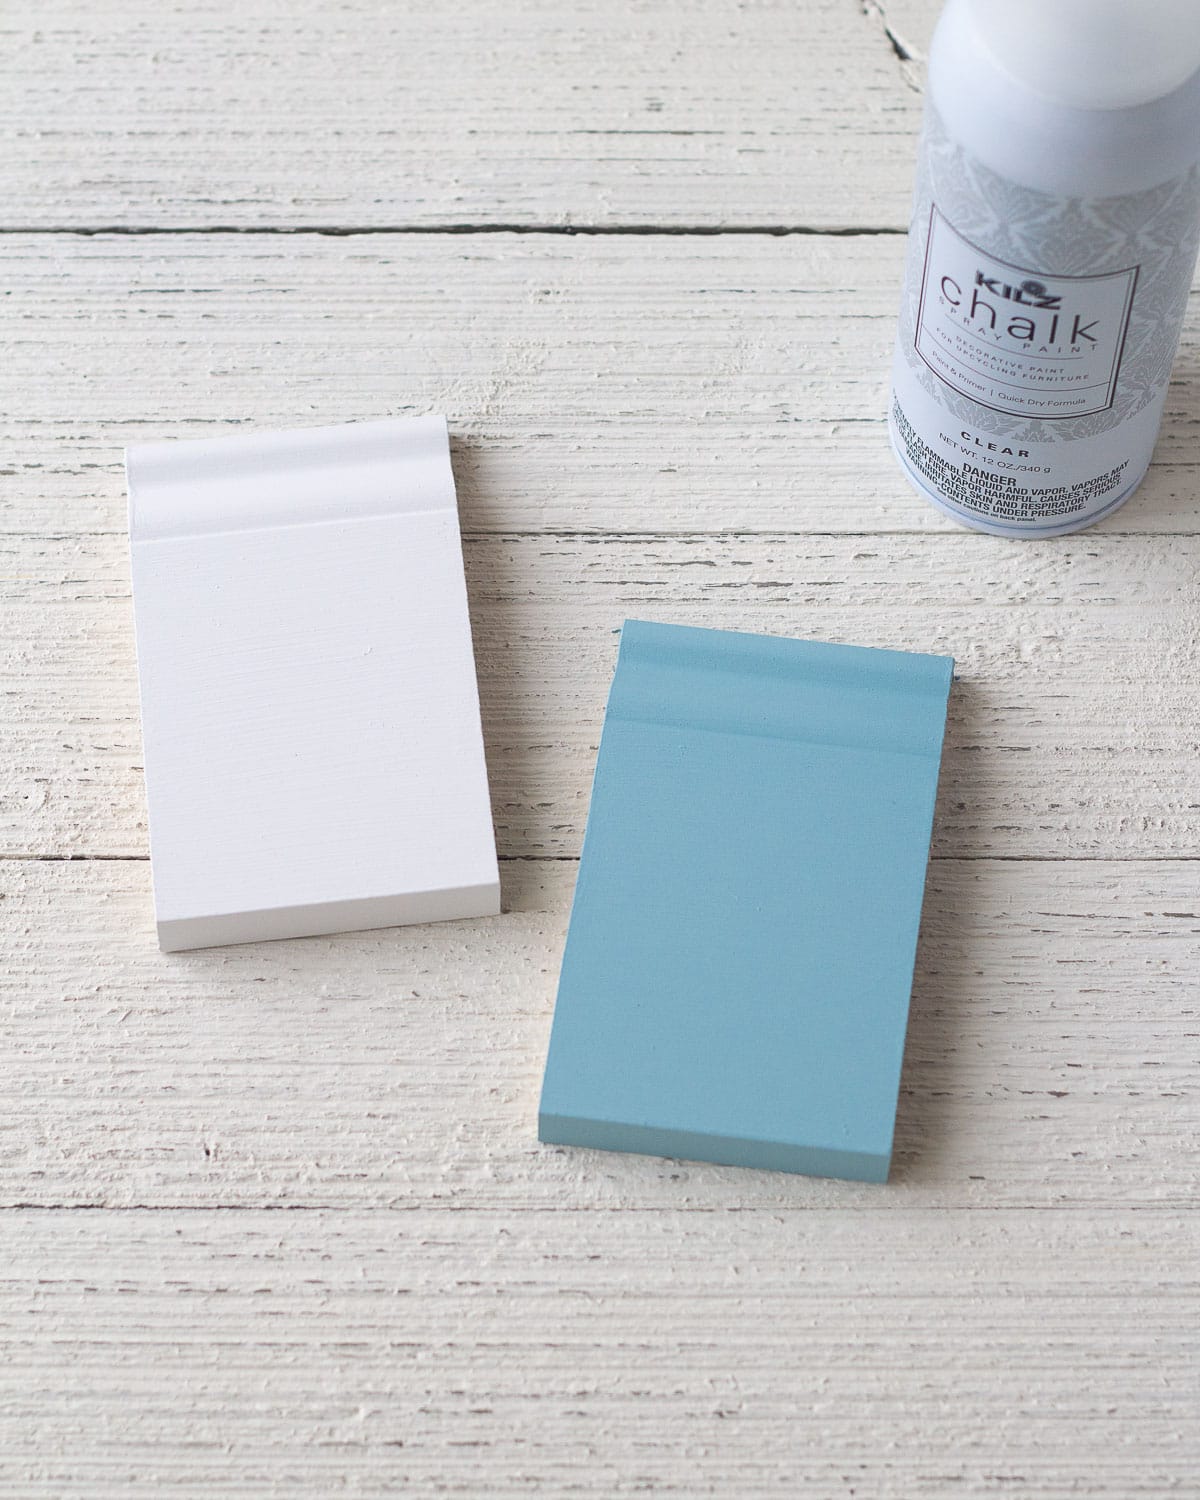
Here are a few samples sealed with an aerosol clear coat (blue is KILZ Chalk Style Paint and white is Rust-Oleum Chalked Paint):
Pros of Using a Spray Clear Coat (Matte Finish)
I recently painted my IKEA Play Kitchen Hack using KILZ Chalk Style Paint and KILZ Matte Clear Coat for the sealer and I’m happy with the results. As I noted over in my KILZ Chalk Style Paint Review, I’ve even attempted scraping my piece with my fingernail and haven’t left a mark (this is after allowing everything to cure for a few weeks–I forgot to test it earlier).
A spray clear coat is great if you are painting something with lots of nooks and crannies. And of course, a spray top coat wins for speed every time!
Cons of Using a Spray Clear Coat (Matte Finish)
Now, let’s chat about the downsides to a spray clear coat. Firstly, a can doesn’t go too far. I used probably 2/3 of can spraying two coats just on that small play kitchen. If I planned to spray something larger, I would buy two cans.
Another downside is the strong odor. You’ll want to be in a very well-ventilated area (outdoors).
Finally, choosing a spray top coat loses some of that hand-crafted feel–something that is generally important if you have chosen to use chalk paint on a piece. For me, using a spray finish (even a matte one) doesn’t have the same aged feel as a wax (or polycrylic that mimics wax like Rust-Oleum Matte Clear).
As an example, I noticed on my play kitchen update that the Kilz Chalk Style Clear Coat left almost a tiny bit of rough texture behind, versus the silky finish I get with a brush-on finish or wax.
How to Use It: Read the instructions on your can for specifics. After your piece is completely dry (always important!) spray one light coat of finish all over your piece. After the piece has dried long enough (check can), spray again with another light coat. Using a light spray is important as it prevents dripping and a poor finish.
Spray Clear Coats to Try
3 – Sealing Chalk Paint with a Matte Polycrylic
Using a water-based polycrylic is my favorite method to finish a chalk painted piece. Rust-Oleum Matte Clear has been my product of choice for a few years now and I love the finish it gives.
Here’s some samples finished in Rust-Oleum Matte Clear (blue is KILZ Chalk Style Paint and white is Rust-Oleum Chalked Paint):
Pros of Using a Polycrylic
It’s easy to brush-on (I love this brush), gives great results, and maintains some of the softness of wax without the hassle. I have used Rust-Oleum Matte Clear as a top coat over both the Rust-Oleum Chalked line and over Annie Sloan’s Chalk Paint to great success. It’s easy to apply and leaves a soft matte finish.
When you open the can, the product has a milky look, but it will dry clear. I love the buttery finish of this product.
I’ve also heard good things about Minwax matte polycrylic, but it is still on my list to try. I particularly want to test it on white paint as it can be tricky to find top coats that apply onto white paint without turning it yellow! I’ll update this post when I have some pieces to show you.
Cons of Using a Polycrylic
Now, an important note. You have to be careful what you choose here because anything labeled “polyurethane”, or “oil-based” can turn white chalk paint yellow (note that this can also include some water-based polys too). Not good! That’s why I like using Rust-Oleum Matte Clear since it is designed to seal chalk style paint. I’m also curious to try Annie’s Sloan’s Lacquer finish.
Another thing to note. Sometimes polycrylics have the unfortunate result of pulling tannins from your piece (even if you haven’t noticed any staining after chalk painting) when the top coat is applied. When I have encountered staining it’s always immediately after applying the chalk paint coat, so it wouldn’t have made a difference which top coat I chose.
However, I have heard about this “top coat affect” from other chalk painters and it’s something to be aware of. You can usually prevent staining with a very strong stain-blocking primer if you encounter bleed-through on a piece.
Even though I have used Rust-Oleum Matte Clear on many projects, I do suggest giving it a test before you dive into your project. Unexpected results can happen and it’s best that those occur away from your finished piece! Note that I have used Rust-Oleum Matte Clear on top of bright white Rust-Oleum Chalked paint (and Annie Sloan’s “Old White” color) and experienced zero yellowing–not to say it isn’t possible, but my projects have always turned out in that respect.
How to Use It: After your piece is completely dry (always important!), use a good brush to apply your top coat (Matte Clear is the one I am most familiar with). You want to get a good amount on your brush and spread it without over-brushing. I make sure to take long brushstrokes and keep the application as smooth as possible. I sometimes apply two coats, but one usually seems like enough to get the piece protected.
Polycrylics to Try:
- Annie Sloan Lacquer
- Rust-Oleum Matte Clear
- General Finishes Flat-Out Flat Top Coat (products notes it will yellow bright white paints, and slightly yellow lighter colors)
- Minwax Polycrylic Matte
4 – Using Aging Glazes Instead of Dark Wax for a Vintage Look
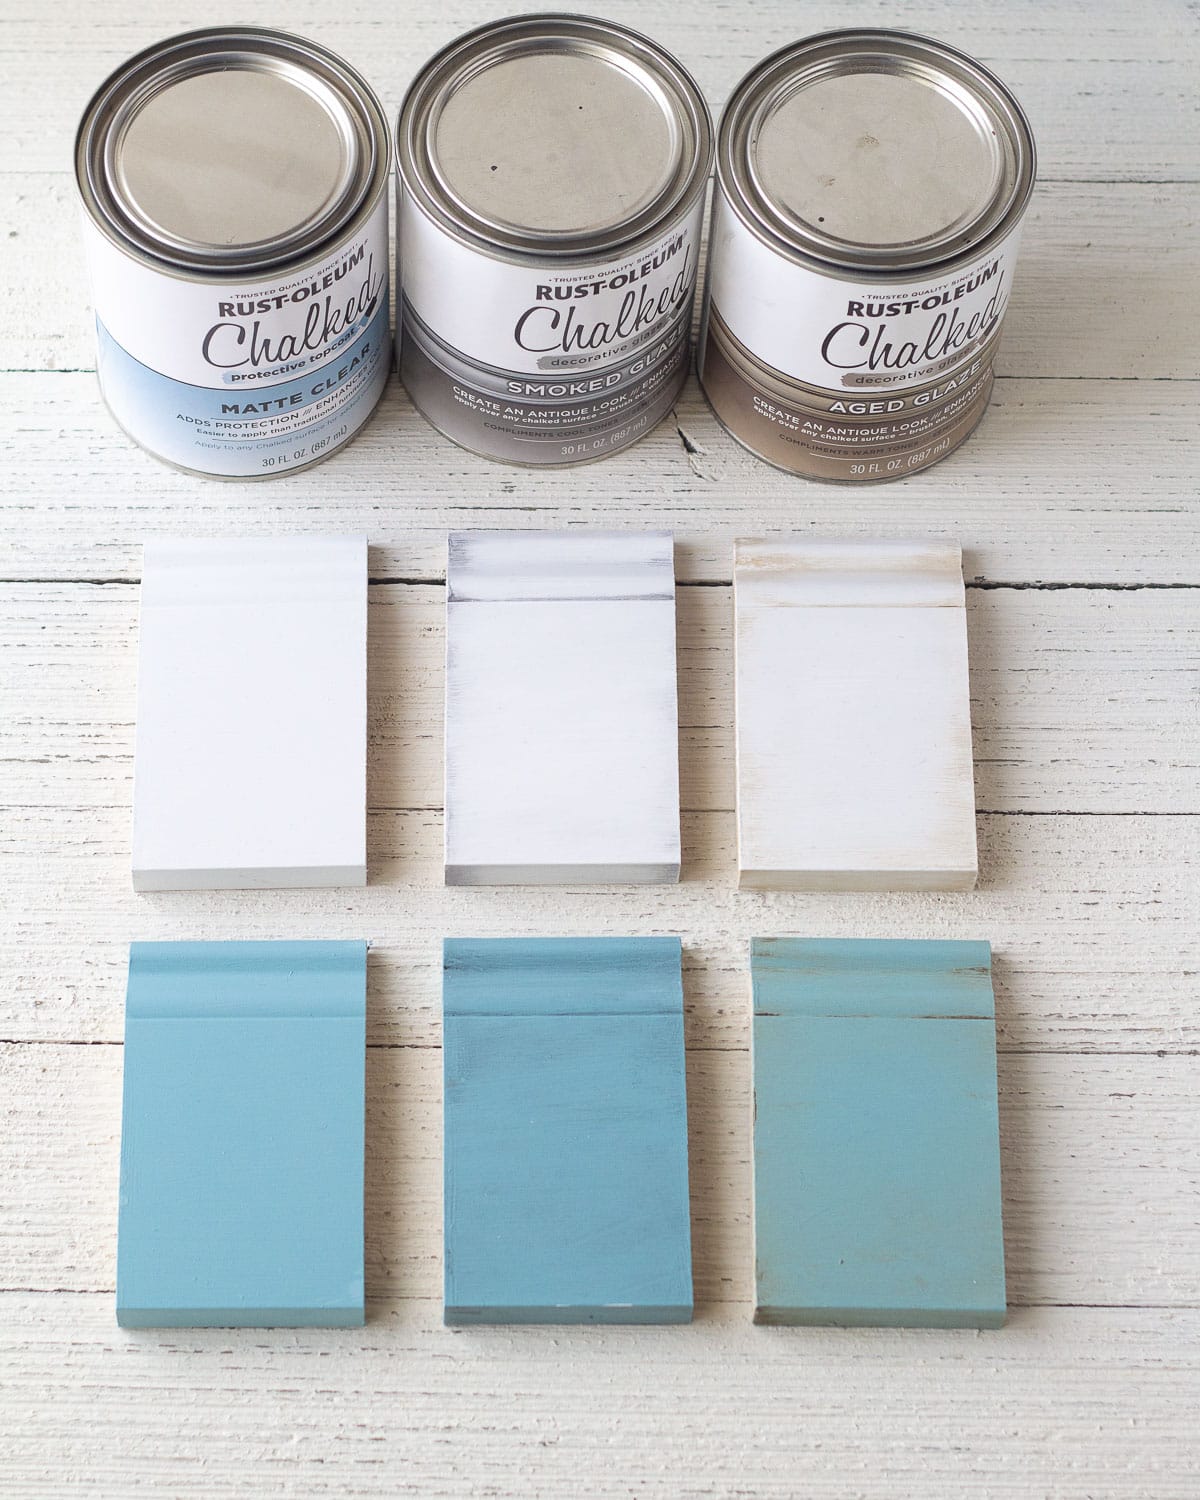
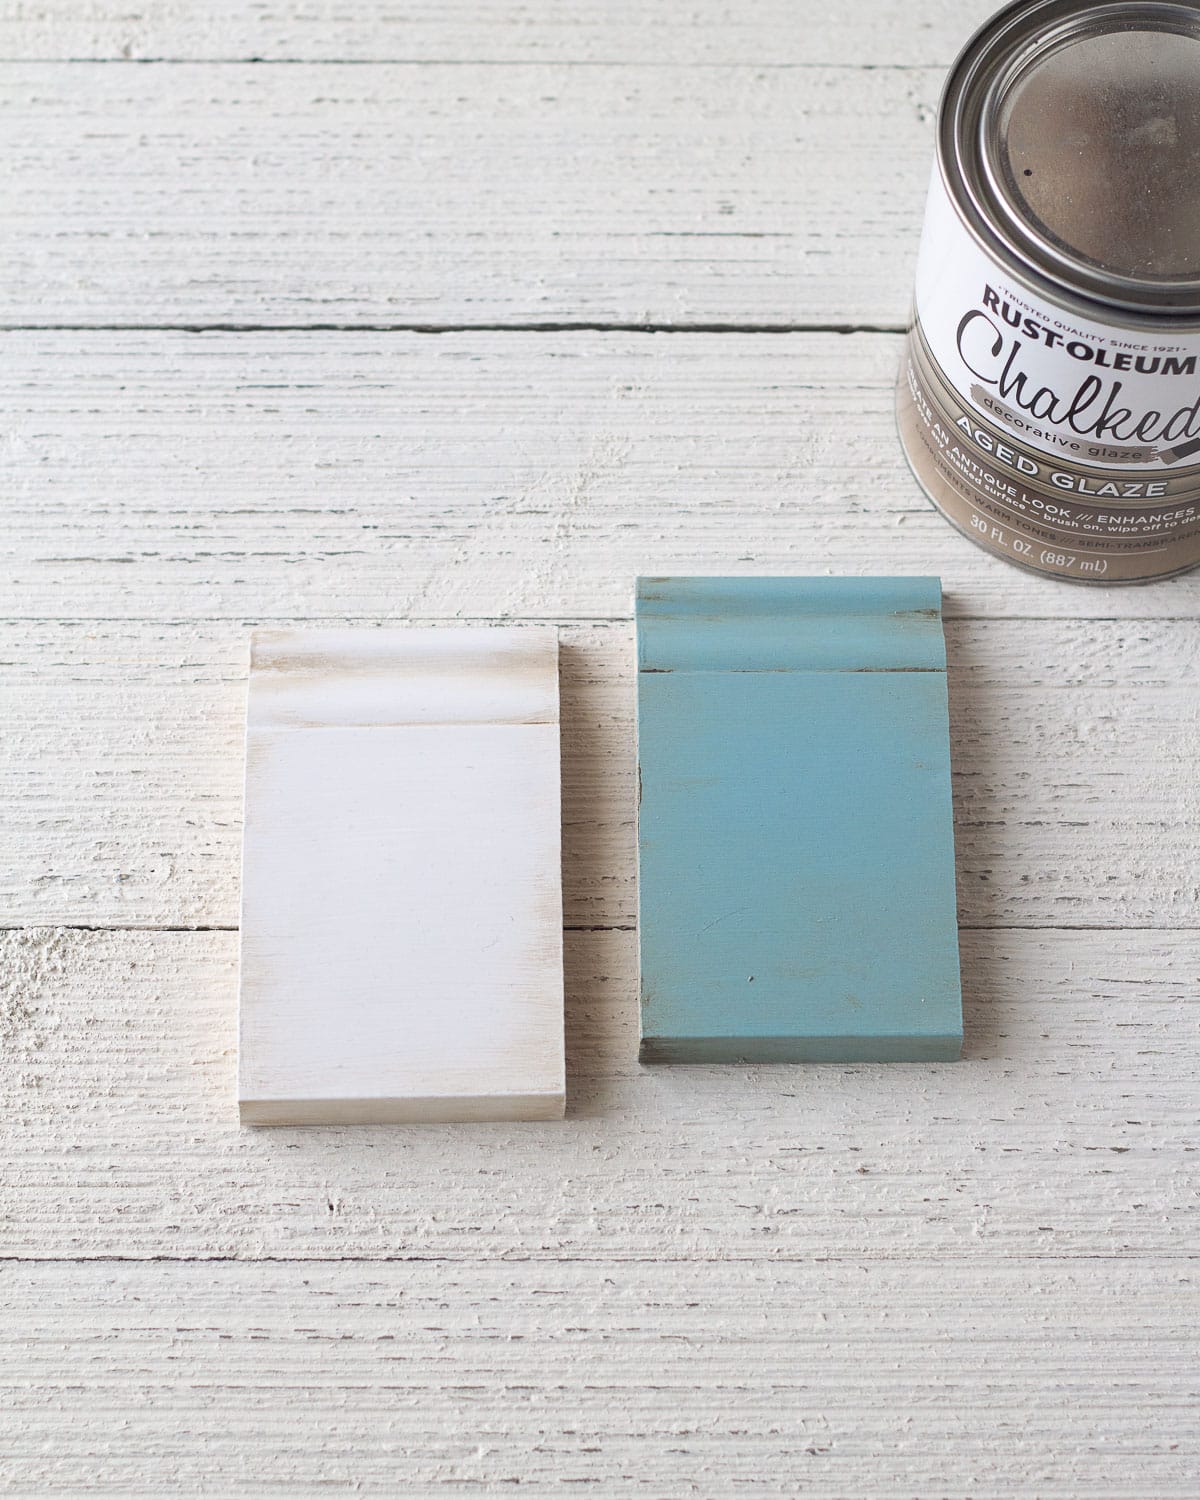
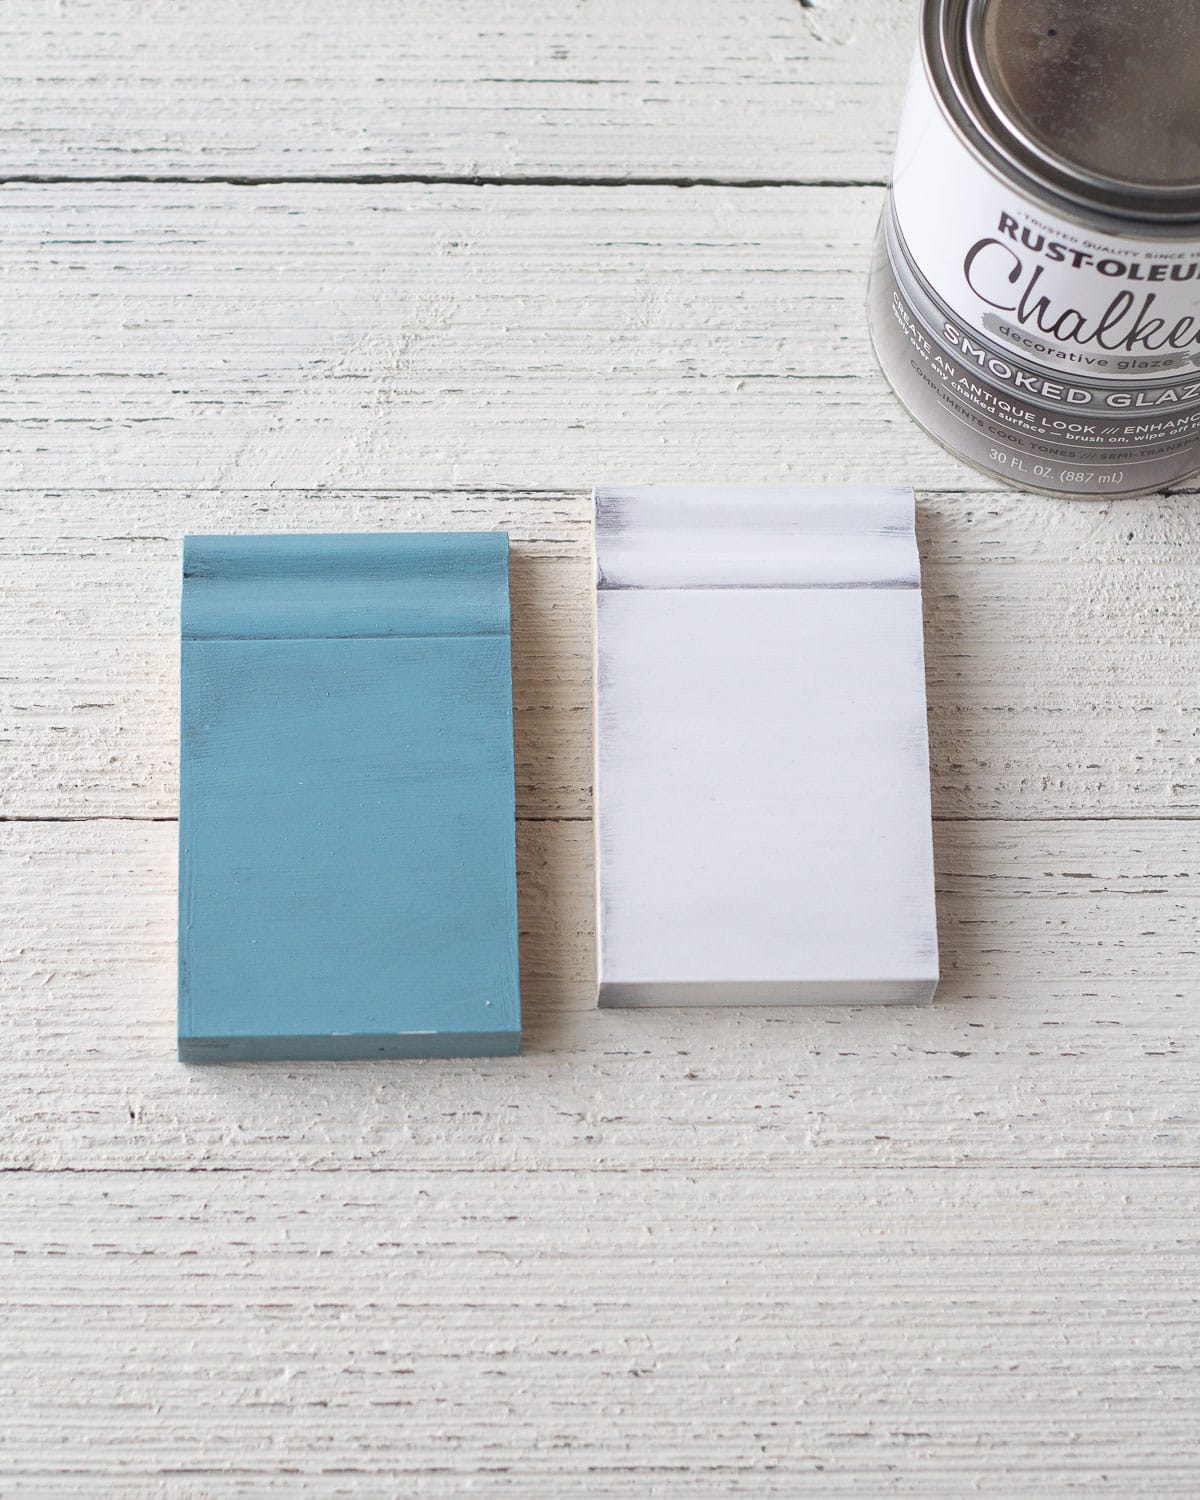
Now, if you love the aged wax look, but don’t enjoy working with wax, there is another fun product out there you might want to look into. The Rust-Oleum Chalked line offer two aging glazes, called “Aged Glaze” (a warm brown) and “Smoked Glaze” (soft gray).
A lot could be done with these! After applying the glazes you should still plan to apply a top coat to your project, like Rust-Oleum Matte Clear.
Here’s a quick glimpse of the finishes (blue samples are KILZ Chalk Style Paint and white samples are Rust-Oleum Chalked Paint):
The finish is a liquid (similar to stain) that can be brushed onto your piece. You will want some damp painting washcloths handy.
Apply the stain to areas of your piece that you would like to add some color to and then immediately wipe it away with a dry or wet cloth. As you wipe it away, you can use varying degrees of pressure to leave more glaze on in some spots and less in others.
I find that using a wet cloth is best. Otherwise, it’s easy to leave too much glaze behind and it looks kind of overdone. Test this product and technique on a piece of furniture you are not too attached to first!
And remember after adding the aging glaze to top coat your finished piece.
Chalk Paint Top Coats in Review
So today we covered three main methods for how to seal chalk paint. From wax, to spray finish, to paint-on polycrylics, there’s plenty of top coats to choose from. And that’s not even including the variety of individual products available!
Remember, each product gives a slightly different look and as always, test your choices on scraps, not on your favorite furniture piece. Chalk painting is such a creative hobby and the possibilities are endless. Enjoy experimenting and painting!

More Craft Ideas from Bellewood Cottage
- KILZ Chalk Style Paint Review
- What Is So Great About Chalk Paint?
- How To Bleach Drop Cloths Successfully
- Mint Green Milk Paint Chair Flip
- How to Make Drop Cloth Curtains
Weekly Crafting Fun!
Join my list and get a weekly email with relaxing craft ideas, freebies, sewing tutorials, and more!

Hello – I used Rustoleum Aged Gray chalk paint and then their ultra clear matte top coat and of course it yellowed immediately – I know I know – I should have tested it – but what can I do now? Should I mix some of the aged gray with the top coat to tint it and try another coat? Should I put another coat of aged gray on top and then try sealing again? What’s your recommendation? Thanks!
Oh no, I’m so sorry! What I would do is sand off the top coat completely. Then, touch up the gray chalk paint as needed. I would try another good top coat like Minwax Polycrylic in Matte (you can get tiny containers of this if you just want to try it). The downside of the Minwax is that it is a bit shinier than I would expect a matte to be. I’ve also really liked the spray-on top coat that KILZ sells with their chalk style paint line:
https://www.amazon.com/L541046-Upcycling-Furniture-Aerosol-Poppyseed/dp/B07N9HCJCC/
Did you prime the piece by any chance? Sometimes the top coat can draw up the tannins in the wood and cause yellowing and it doesn’t actually have anything to do with the top coat choice, but the wood itself. If this was the case, I’d suggest a really good stain-blocking primer or sealer (like Zinsser BIN Shellac) and then you’ll have to repaint over the primer coats. But hopefully just switching to a different top coat option will solve the problem for you!
Let me know how it goes!
Ellen
Hi I had 2 dark wood end tables that I sanded to the lighter grain. I then painted them with white linen chalk paint. I am wanting to use the smokey aged grey just for the top part and accents around the table.
Hi Ellen,
I just finished chalk painting in white, one of my 2 bathroom vanities and followed up with 2 applications of AS clear wax. I love the way it looks , but after reading many comments and blogs, I am thinking I should have used polycrylic for my top coat. I am thinking of painting one more coast of AS paint over the wax and then after 24 hrs, follow-up with using polycrylic in Matte for my top coat. (My shower does not create a lot of steam). Can you let me know your thoughts. Thanks, Cindy
Hi Cindy,
Hmm, that’s a tough one! Now, you could certainly just wait and see how it holds up. If your bathroom has good airflow and doesn’t receive a lot of use on the vanities it might work out okay with some touchups here and there. You are right though that a polycrylic will give you a LOT more durability. If you try it, definitely test first (maybe on the inside on one of the vanity doors) to check for yellowing. I’ve had a few issues lately with the Rust-Oleum Matte Clear, so I’d probably start with Minwax Matte Polycrylic and test that.
You can also remove the wax completely with mineral spirits before trying the poly–The following article I’m linking has more tips and tricks: https://www.thepurplepaintedlady.com/2013/06/how-long-should-you-wait-to-paint-over-freshly-waxed-pieces/
Hoping everything turns out beautifully and let us know how it goes!
~Ellen
What brush to you recommend for the rust-oleum matte clear?
I usually just use my Wooster Short-Cut brush which is a really affordable (about $6) brush that you can buy on Amazon or at any home improvement store. The main thing is to not over-brush as you apply the matte clear.
Hope that helps! =)
~Ellen
Hi there,
I used the matte top coat and it dried with dark spots. It almost looks wet.. I don’t know what happened! Any advice? I used a Wooster paint brush to apply. The dark spots aren’t coming out on the legs which have detail but only on the flat top surface.
Shoot! Sounds like you’ve encountered bleed through. It’s common that the bleed through will be irregular (as you noted it’s only on the flat top of the piece). My best course of action here would probably be to sand away the top coat, apply a good stain-blocking primer (try Zinsser Shellac or Zinsser Shellac Primer) and then repaint. Bleed through is definitely one of the most frustrating furniture painting situations!
Hope that helps! =)