How to Freeze Whipped Cream
Can you freeze homemade whipped cream? Yes! Here’s how to freeze whipped cream and everything you need to know before you do.
Please note that this post contains affiliate links which allow me to earn a small commission when a purchase is made at no additional cost to you. As an Amazon Associate I earn from qualifying purchases. Read more here.
There’s many great reasons why you might wish to freeze homemade whipped cream. Perhaps you simply have leftovers and don’t want them to go to waste. Or maybe, you’d like to top off your coffee with a scoop each morning, but don’t want to be whipping up a fresh batches constantly. In some cases the whipped cream might be an element of a larger dessert (like a cheesecake) that you wish to freeze for later.
Fellow Crumbl Fans!
Join my list and get a weekly email with fresh Crumbl news, delicious copycat recipes, and more!
Got whipped cream questions? Check out my post of Frequently Asked Questions About Whipped Cream!
Regardless the reason, here’s all the info on how to freeze whipped cream and what you need to know before you store it in the freezer.
How to Freeze Whipped Cream
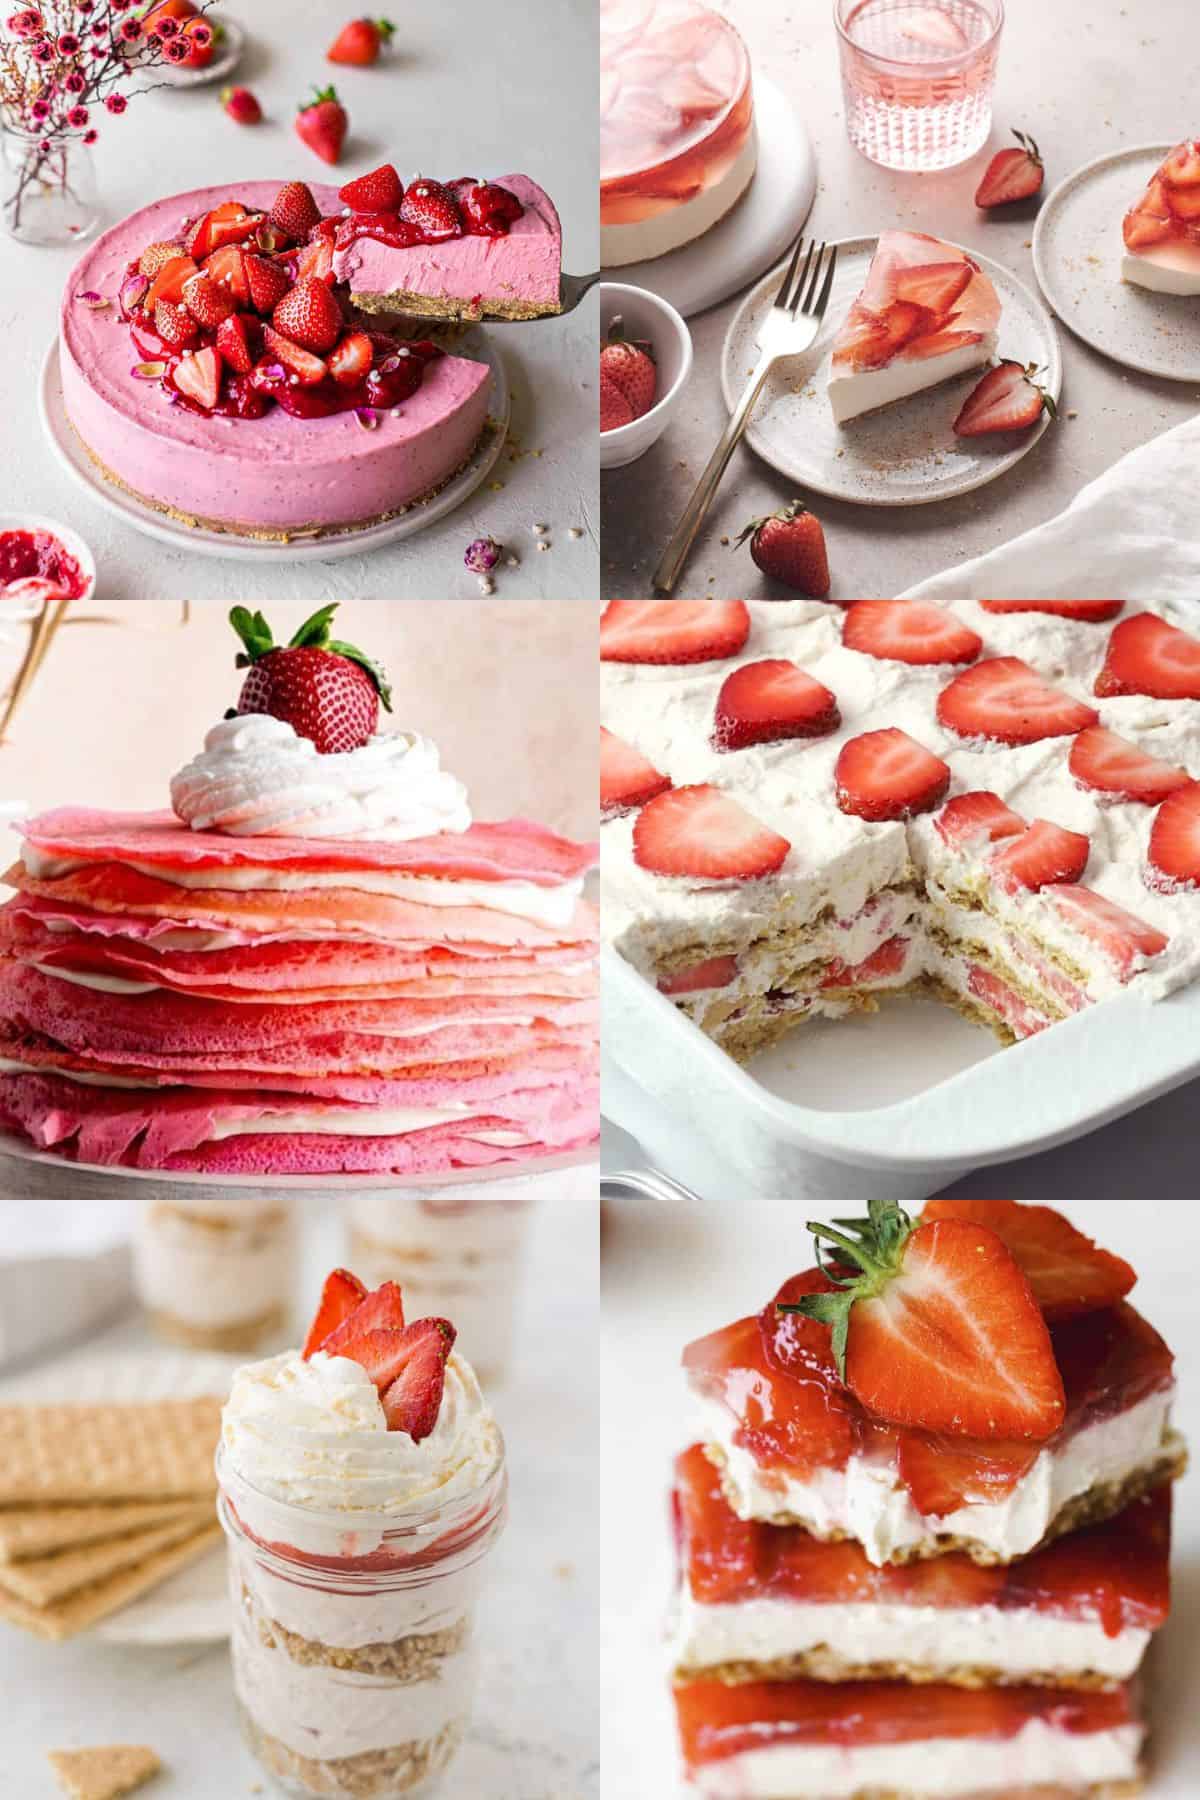
Looking for a great homemade whipped cream recipe? Try my Homemade Whipped Cream or my tutorial for Mason Jar Whipped Cream (no electricity required!).
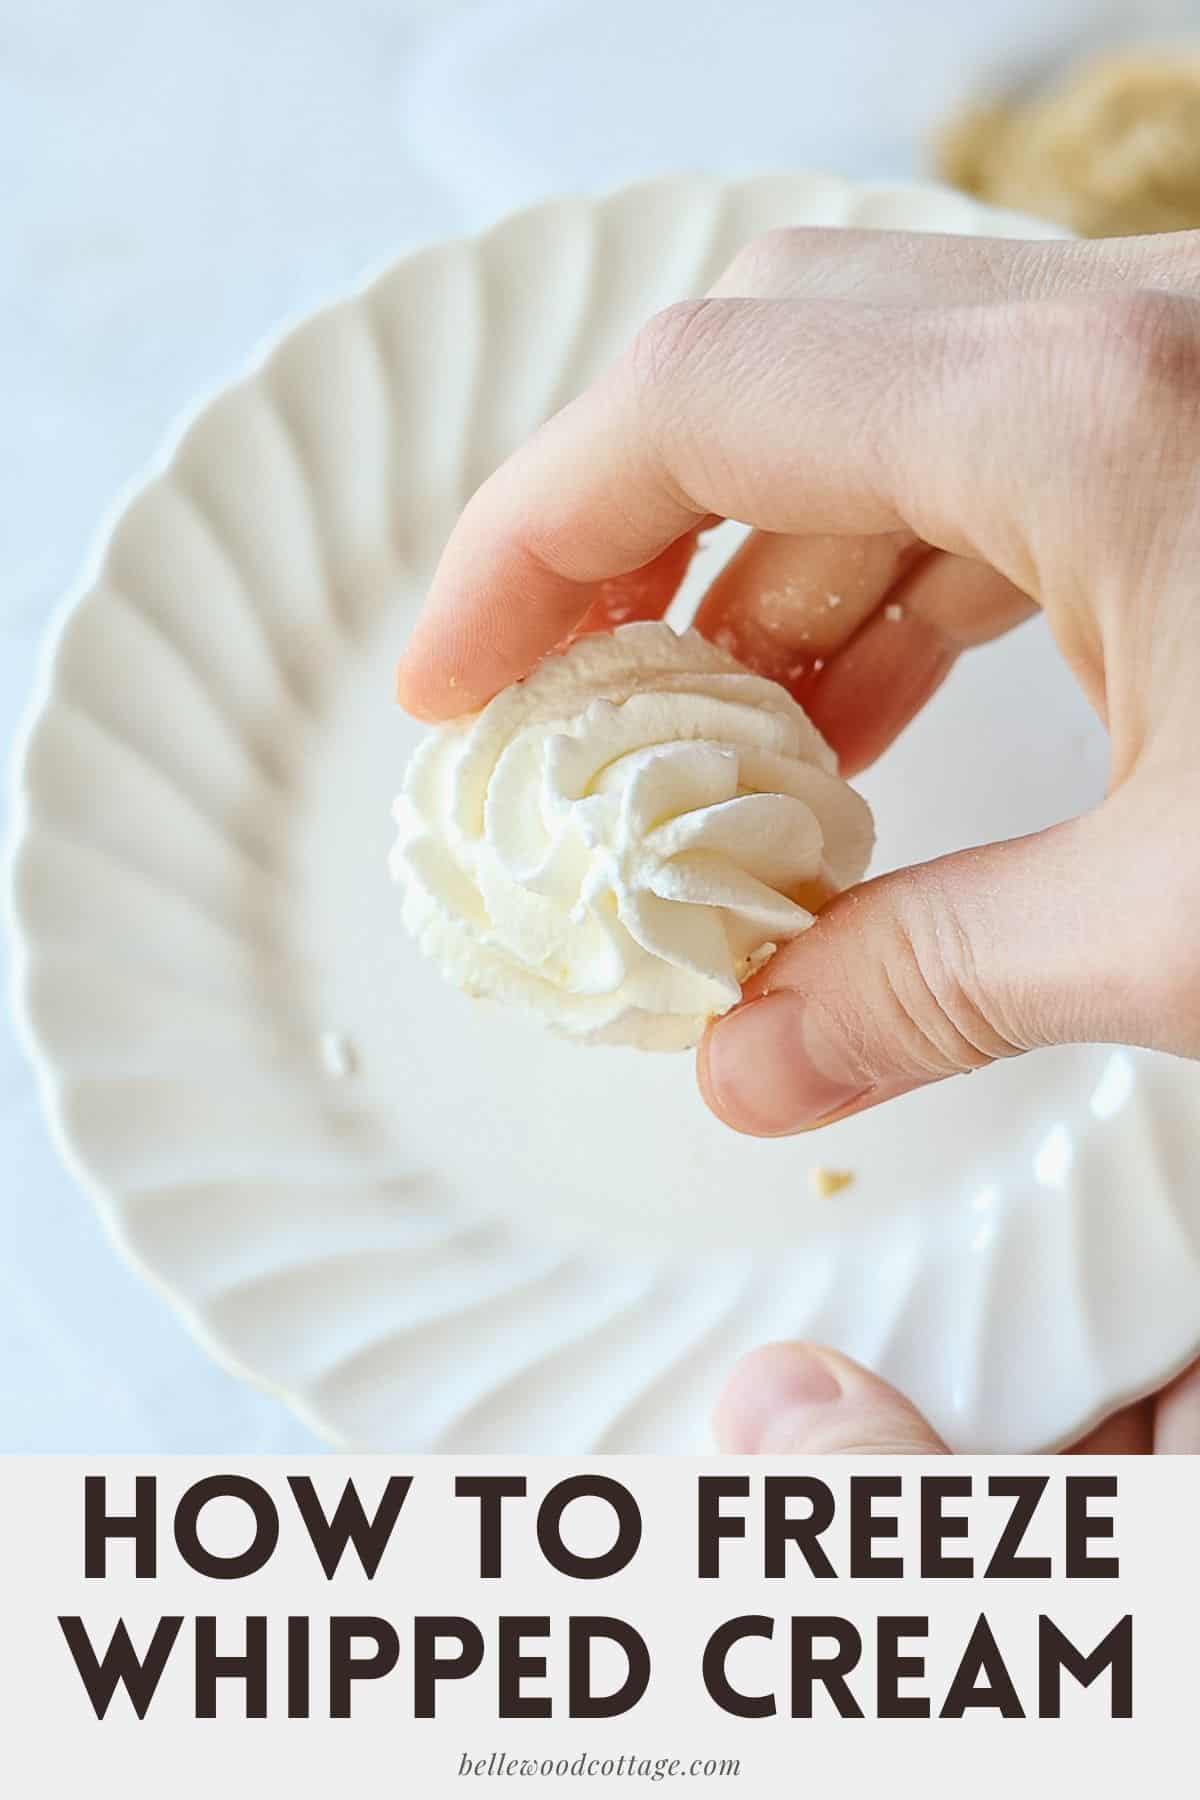
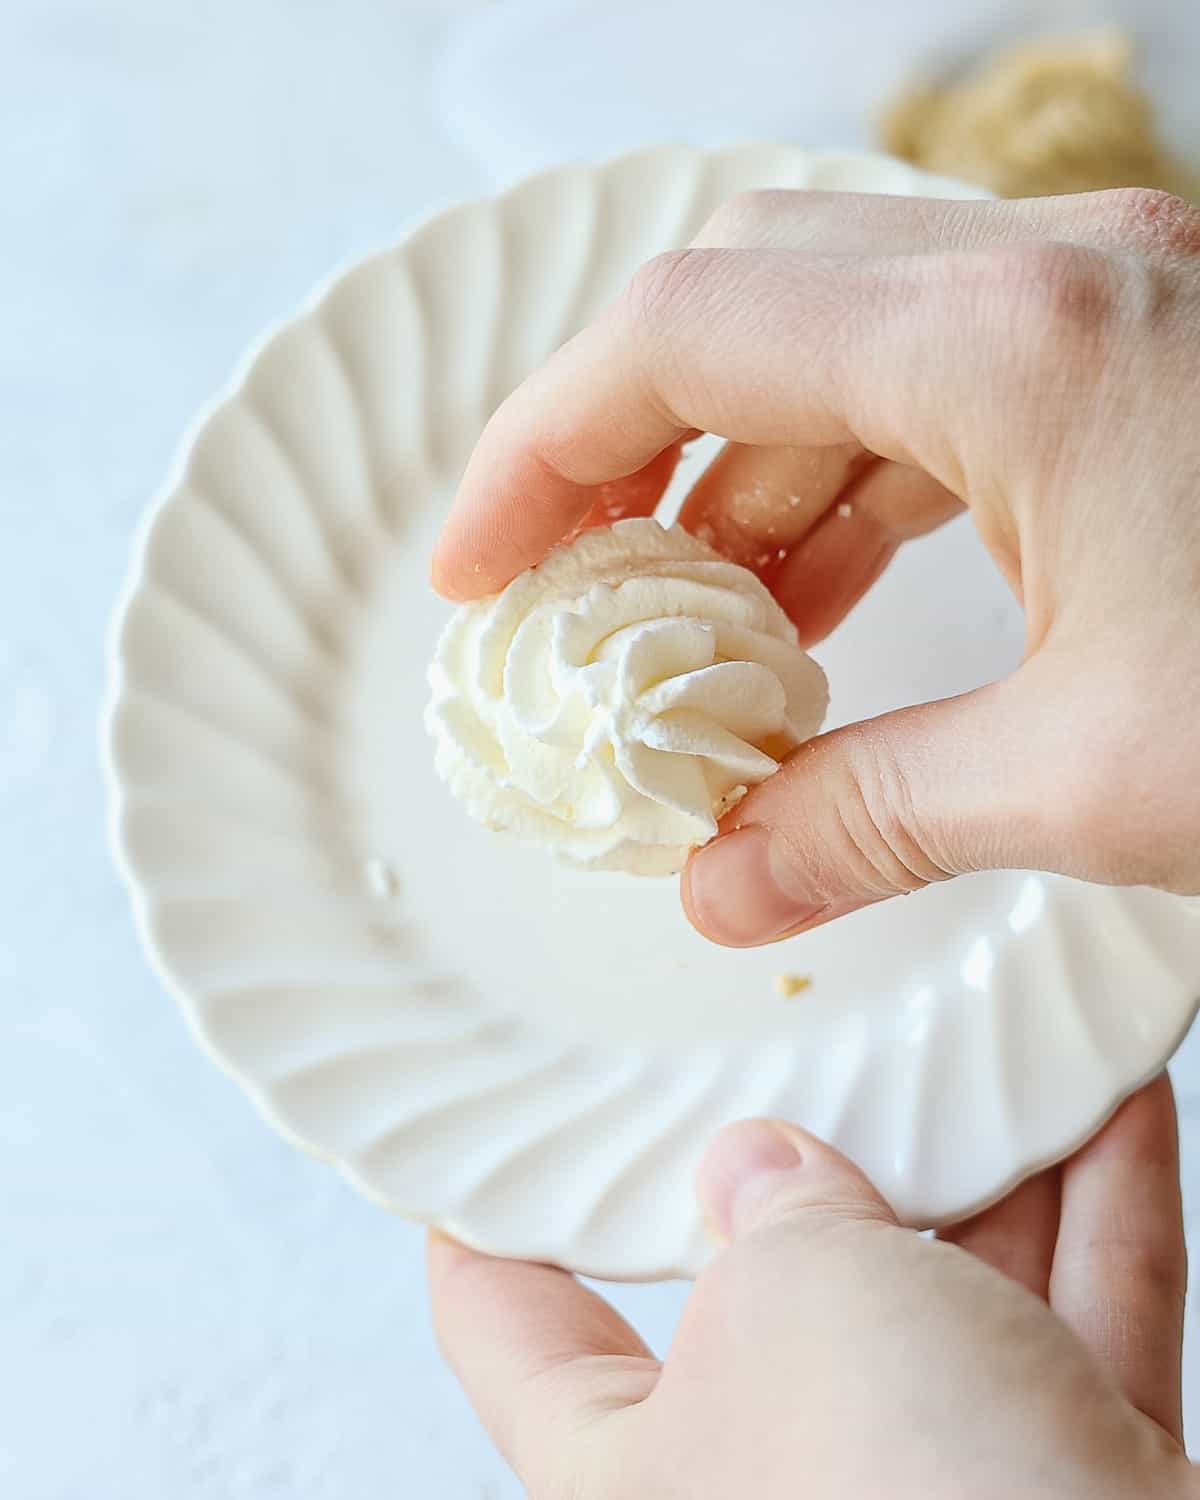
Whipped Cream Rosettes for Coffee and More
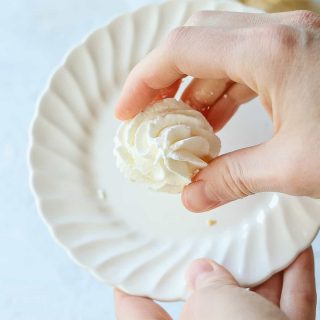
If you enjoy a little whipped cream on your coffee in the morning (or serve a lot of desserts), these handy make-ahead rosettes are a cute trick.
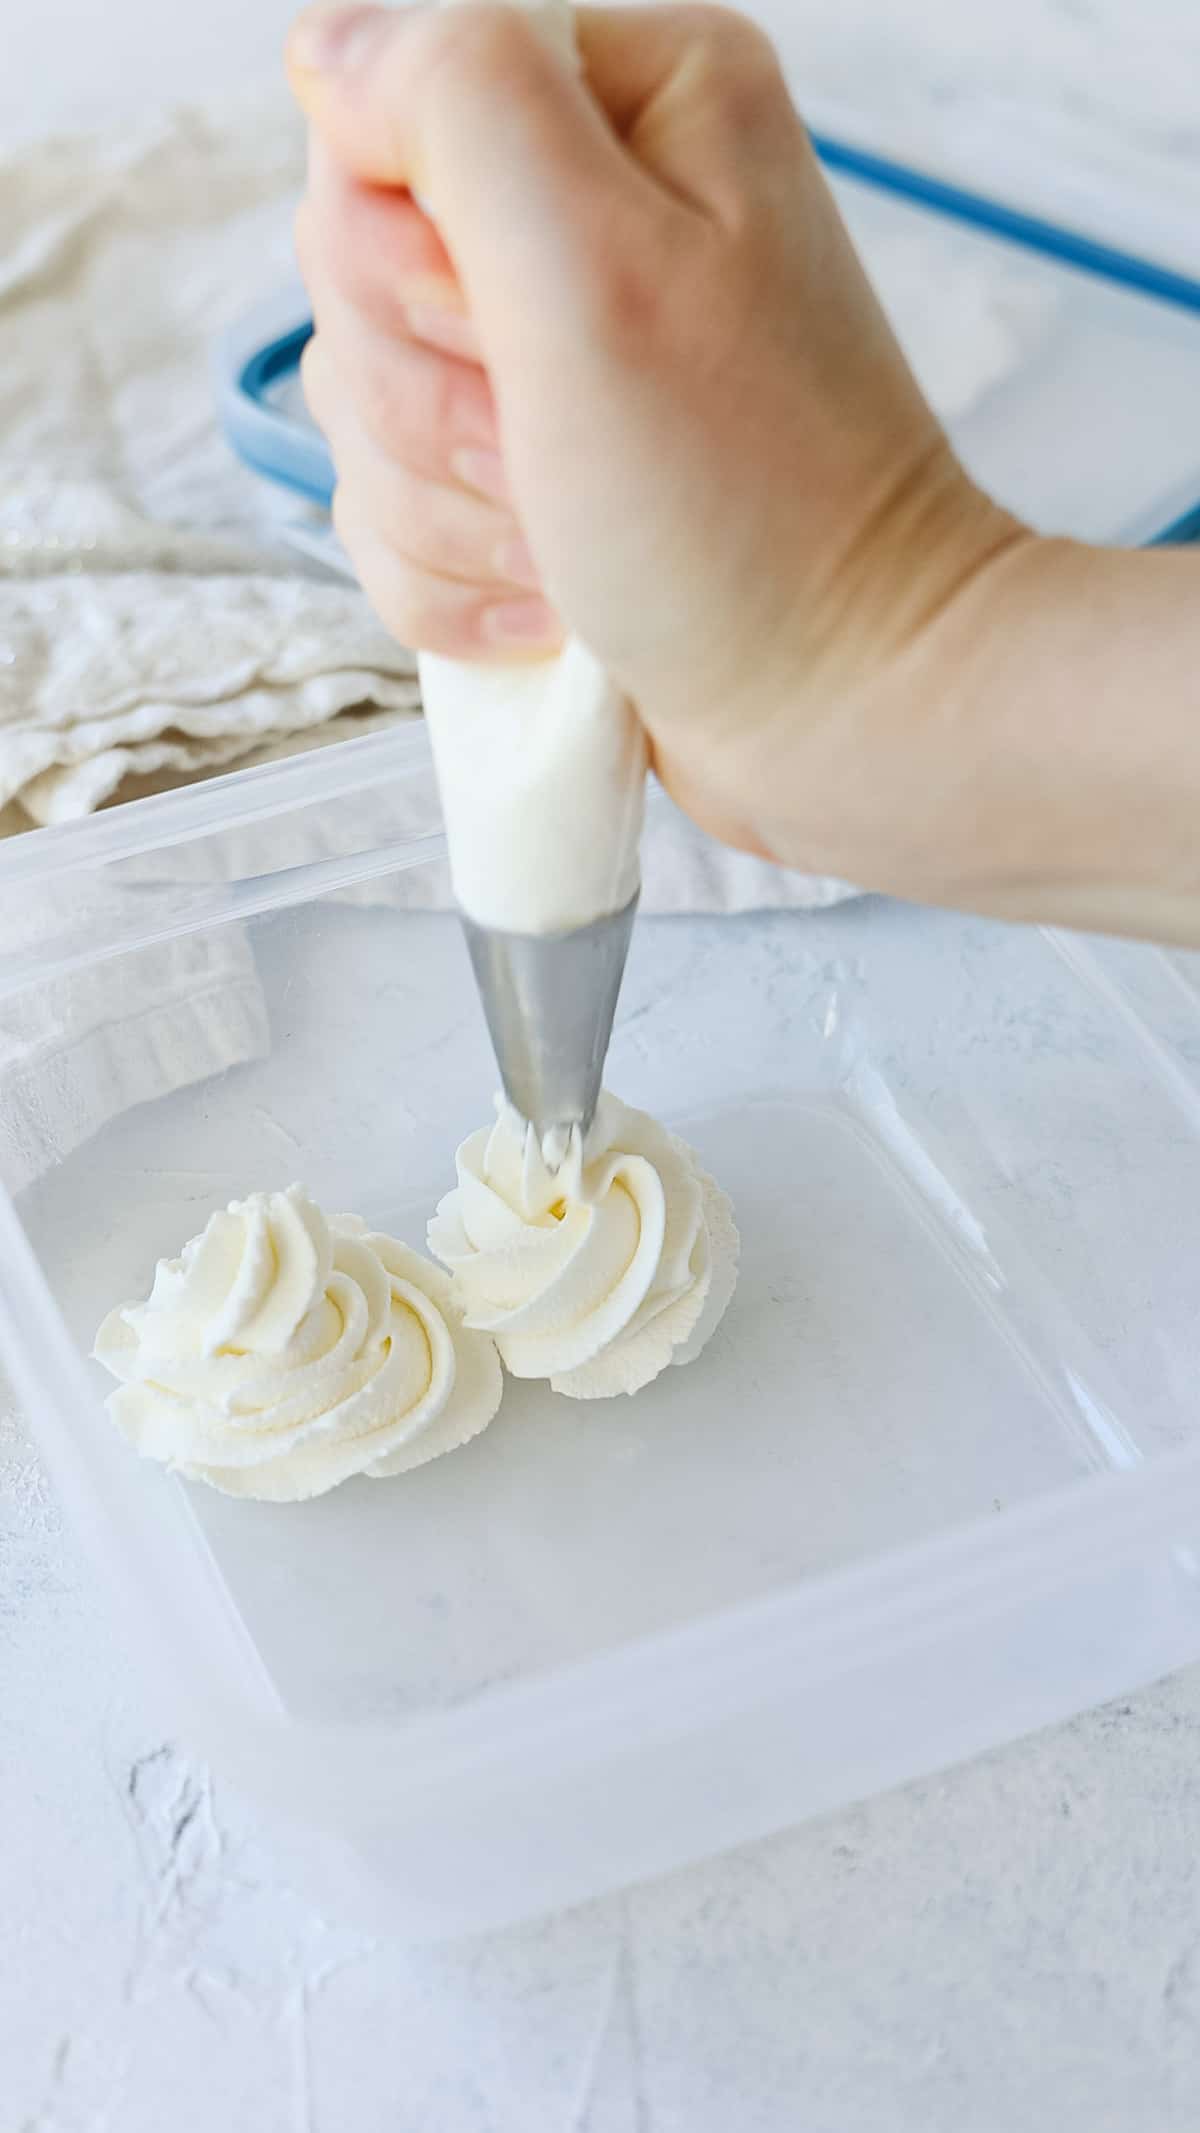
Line a baking sheet (be sure it’ll fit in your freezer–see following note) with wax paper. Fill a piping bag fitted with a star tip with freshly made homemade whipped cream. Ideally the texture of the whipped cream will be at medium or stiff peaks.
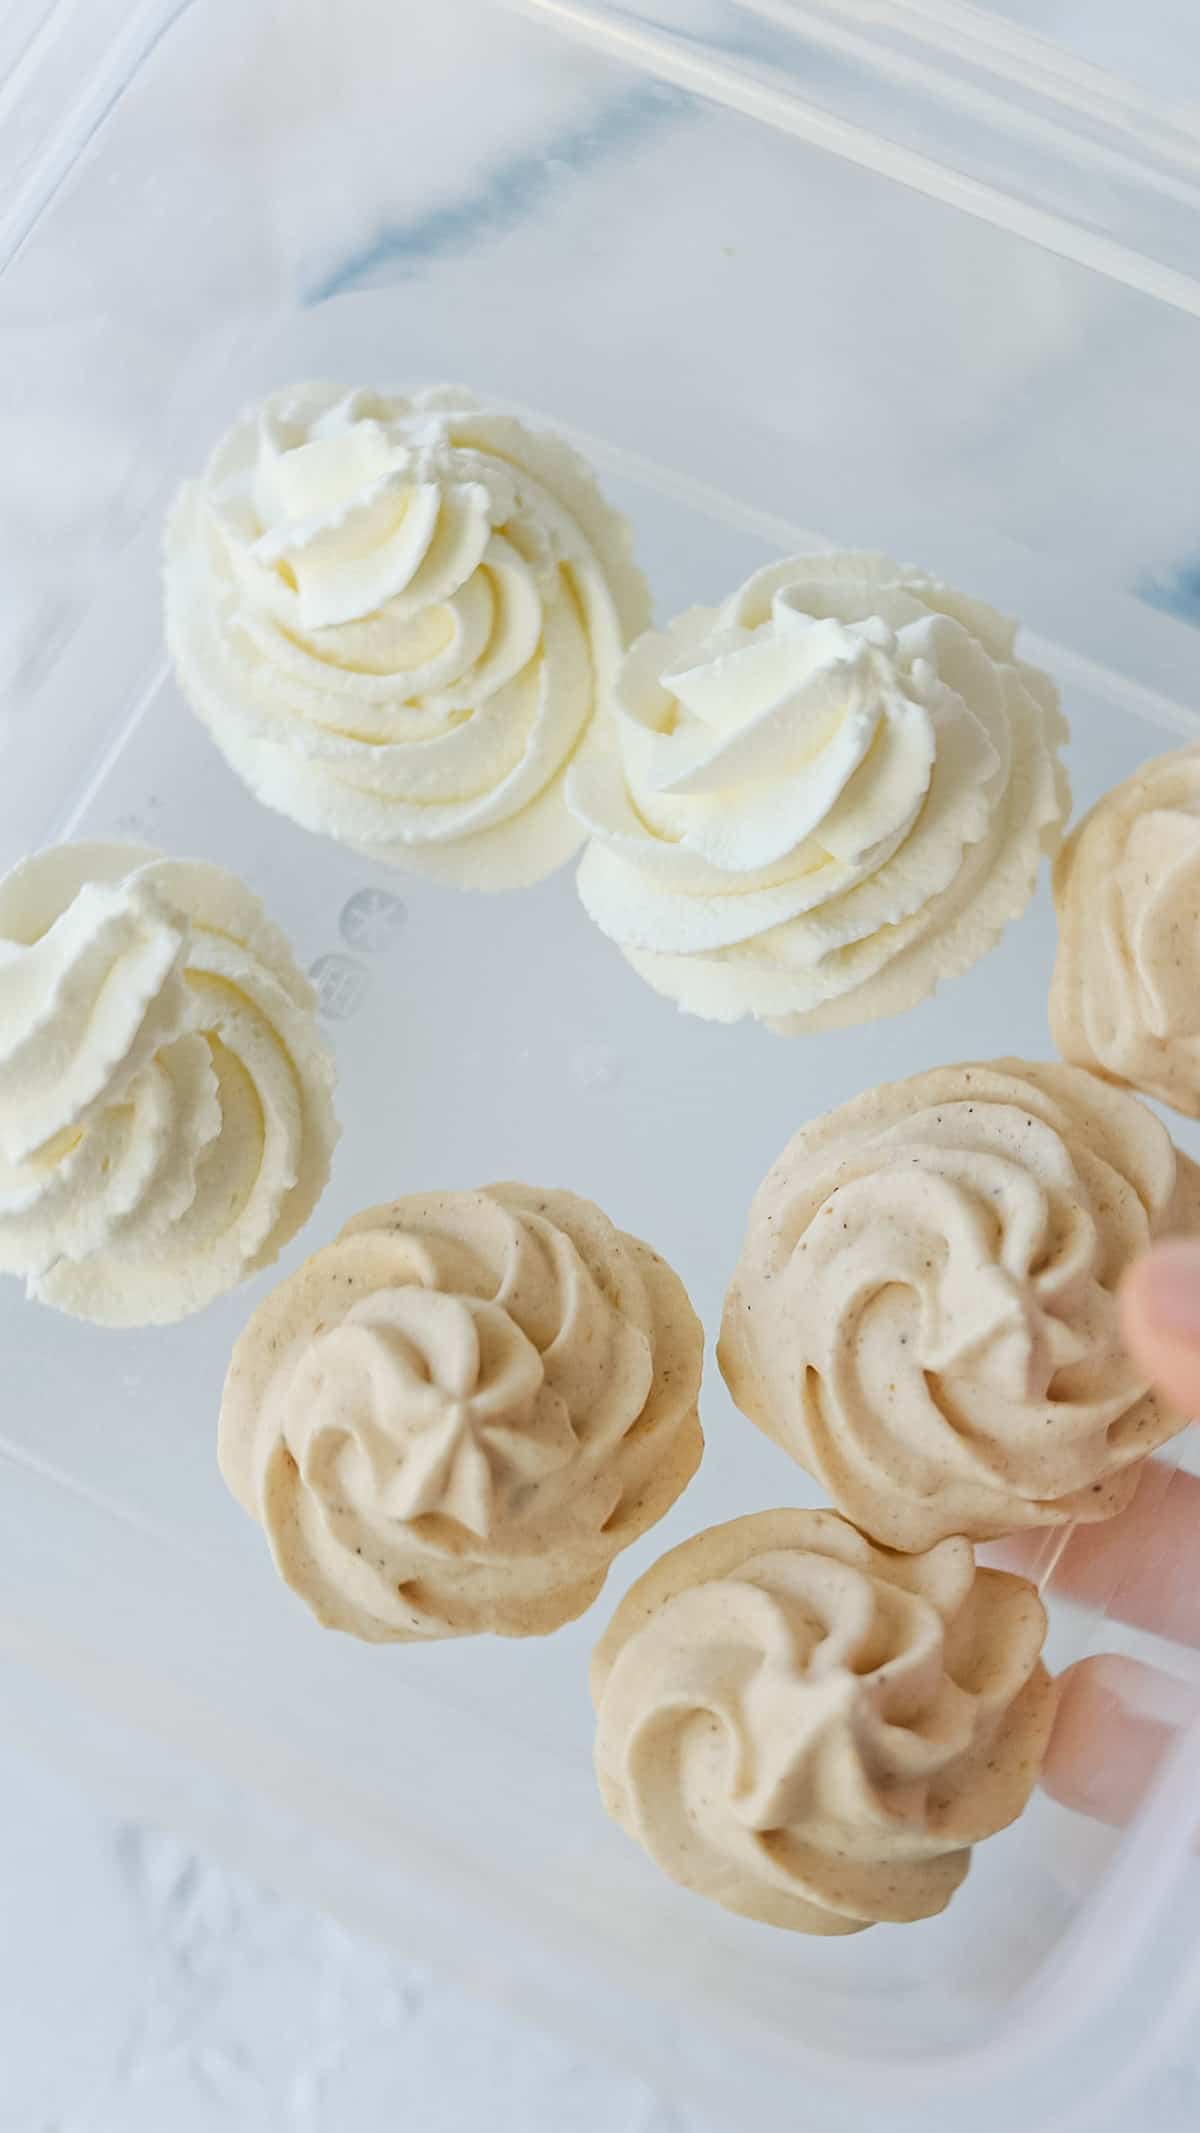
Pipe rosettes onto the baking sheet. You can do “mug-size” or small rosettes for topping mini desserts or cheesecakes–whatever you need.
Flash freeze on a baking sheet until frozen solid. Then, carefully transfer to a freezer-safe storage container. May be gently stacked separated with wax paper.
If you are using a baking tray to flash freeze, you’ll need a good amount of freezer space. So alternatively, use a large but shallow food storage container with a lid. Line with wax paper and pipe right into the container and add the lid. Now, the whipped cream can stack with ease alongside everything else in your freezer.
No wax paper? Use parchment instead, but don’t skip it! The whipped cream will stick.
Freeze a Whole Batch
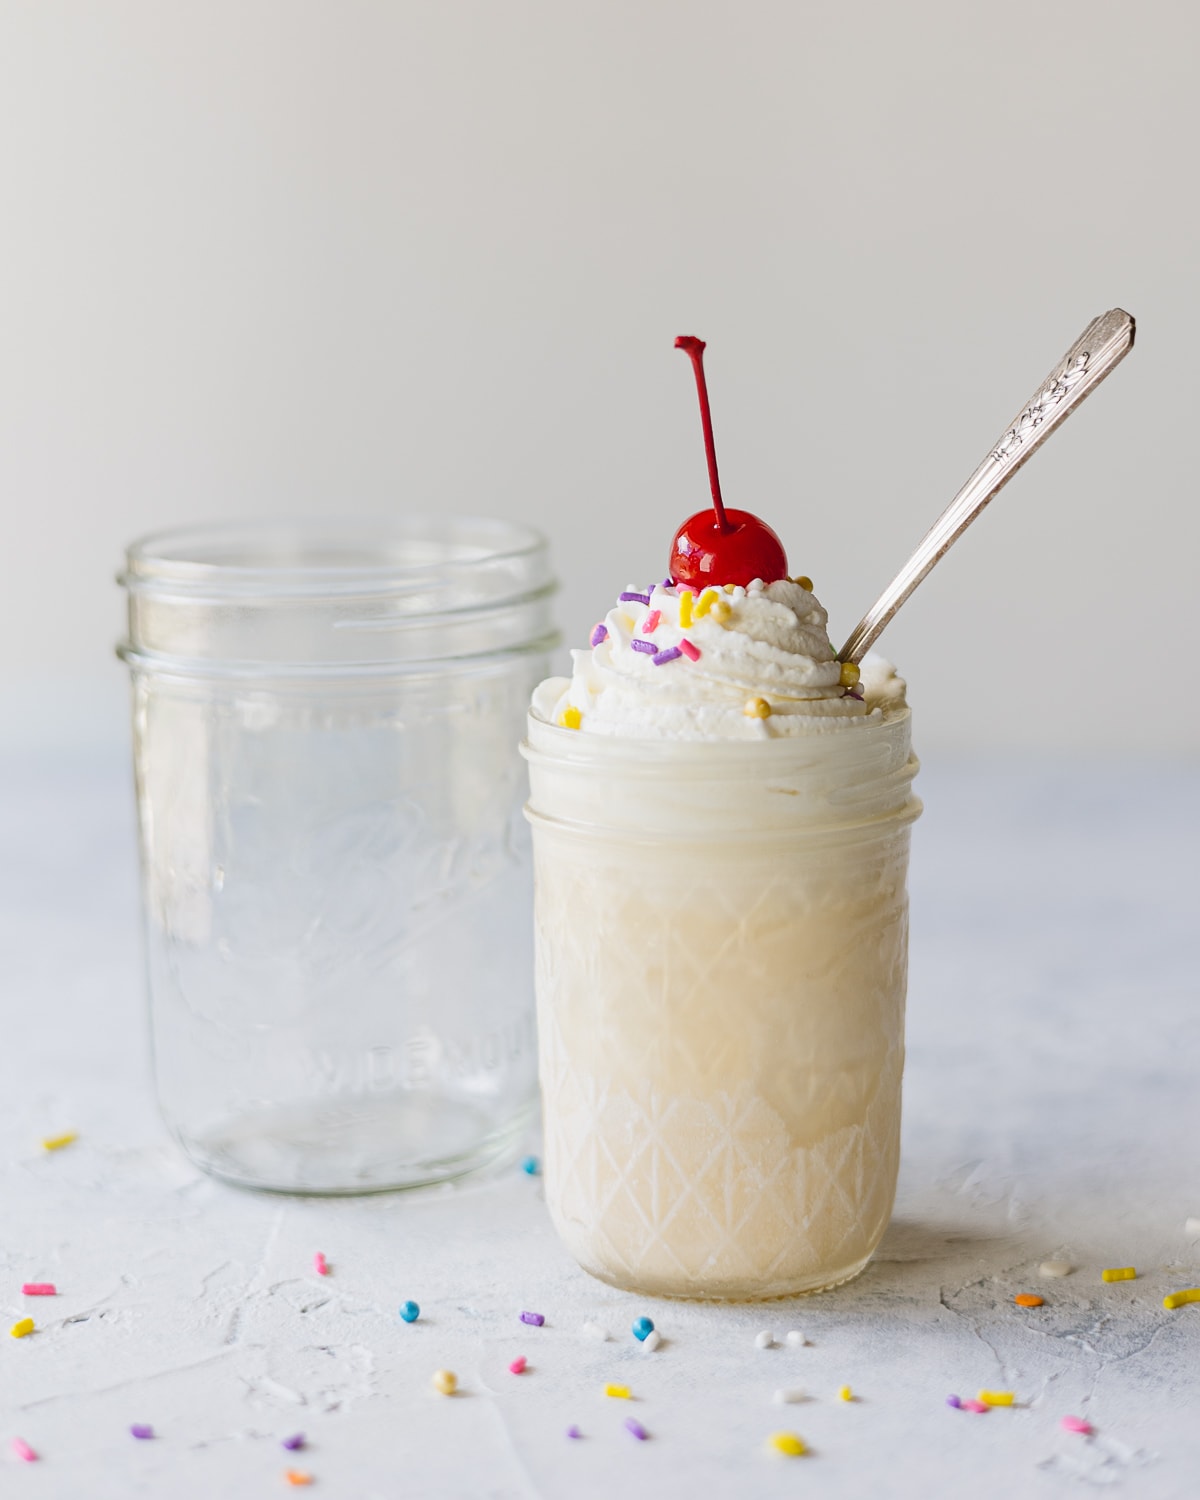
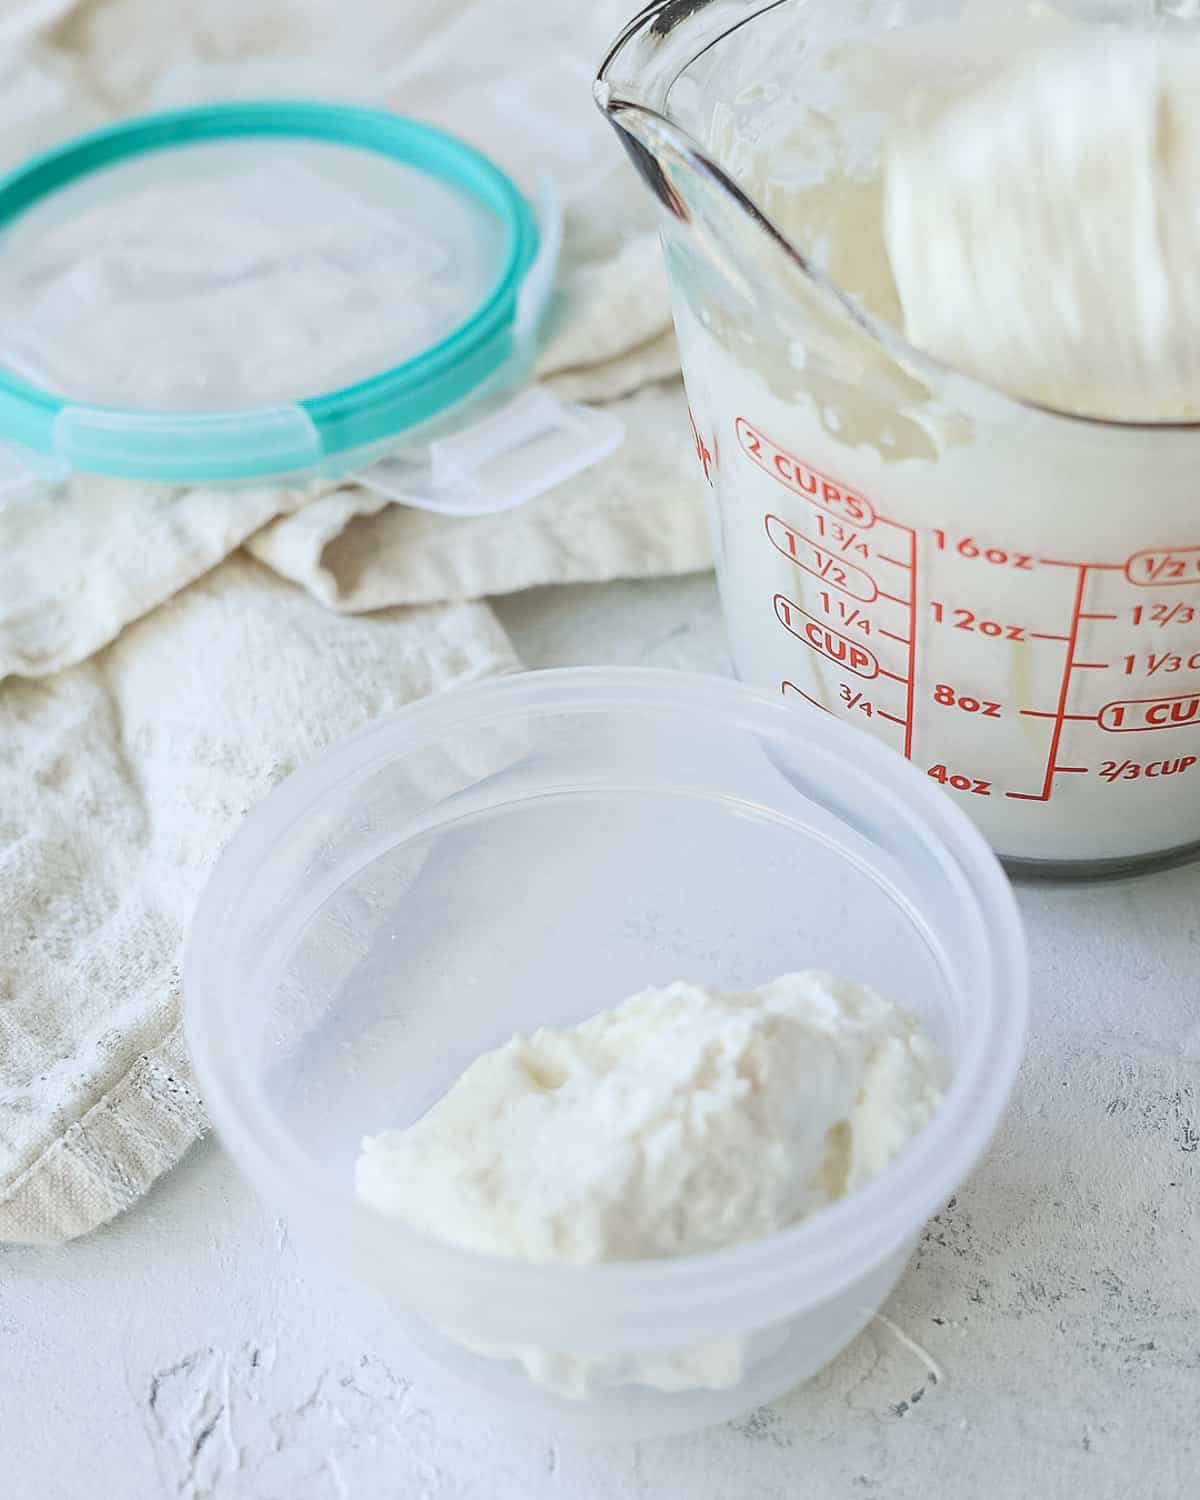
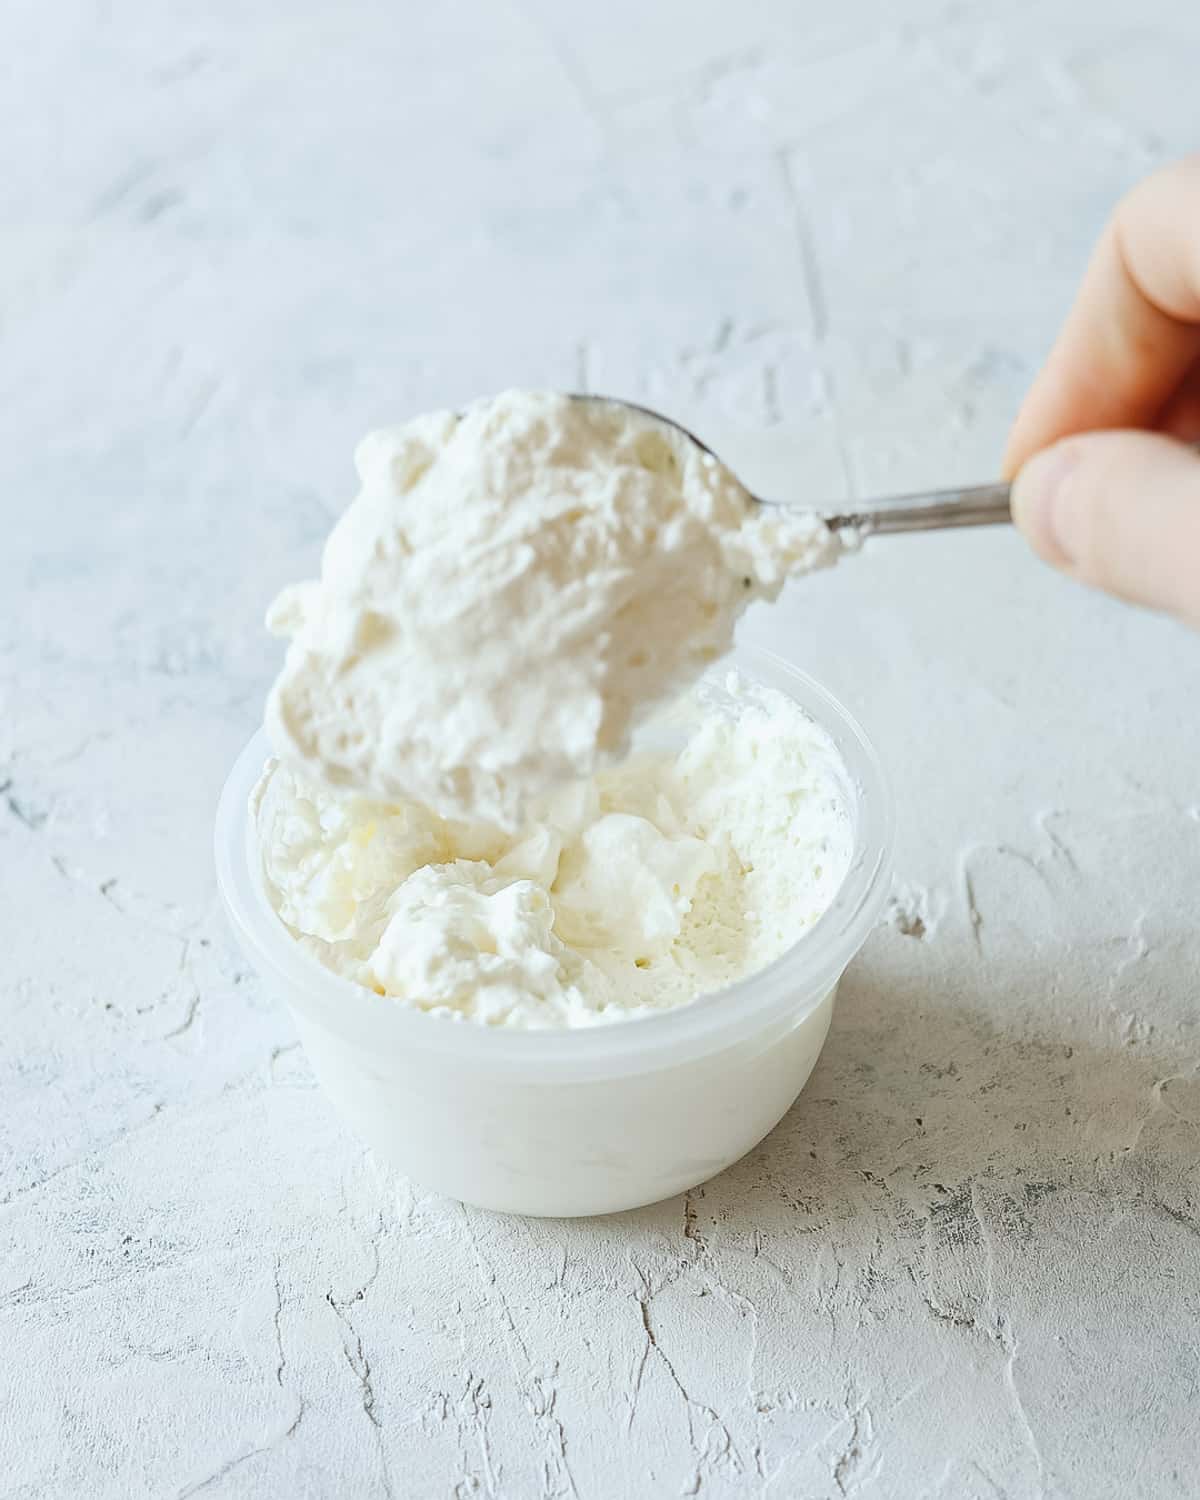
If you have a lot of leftover whipped cream, you can spoon it all into a freezer-safe container and simply freeze. Thaw overnight in the fridge. The texture will not be perfect, but it’ll still be nice and certainly usable for casual meals or desserts with family and friends.
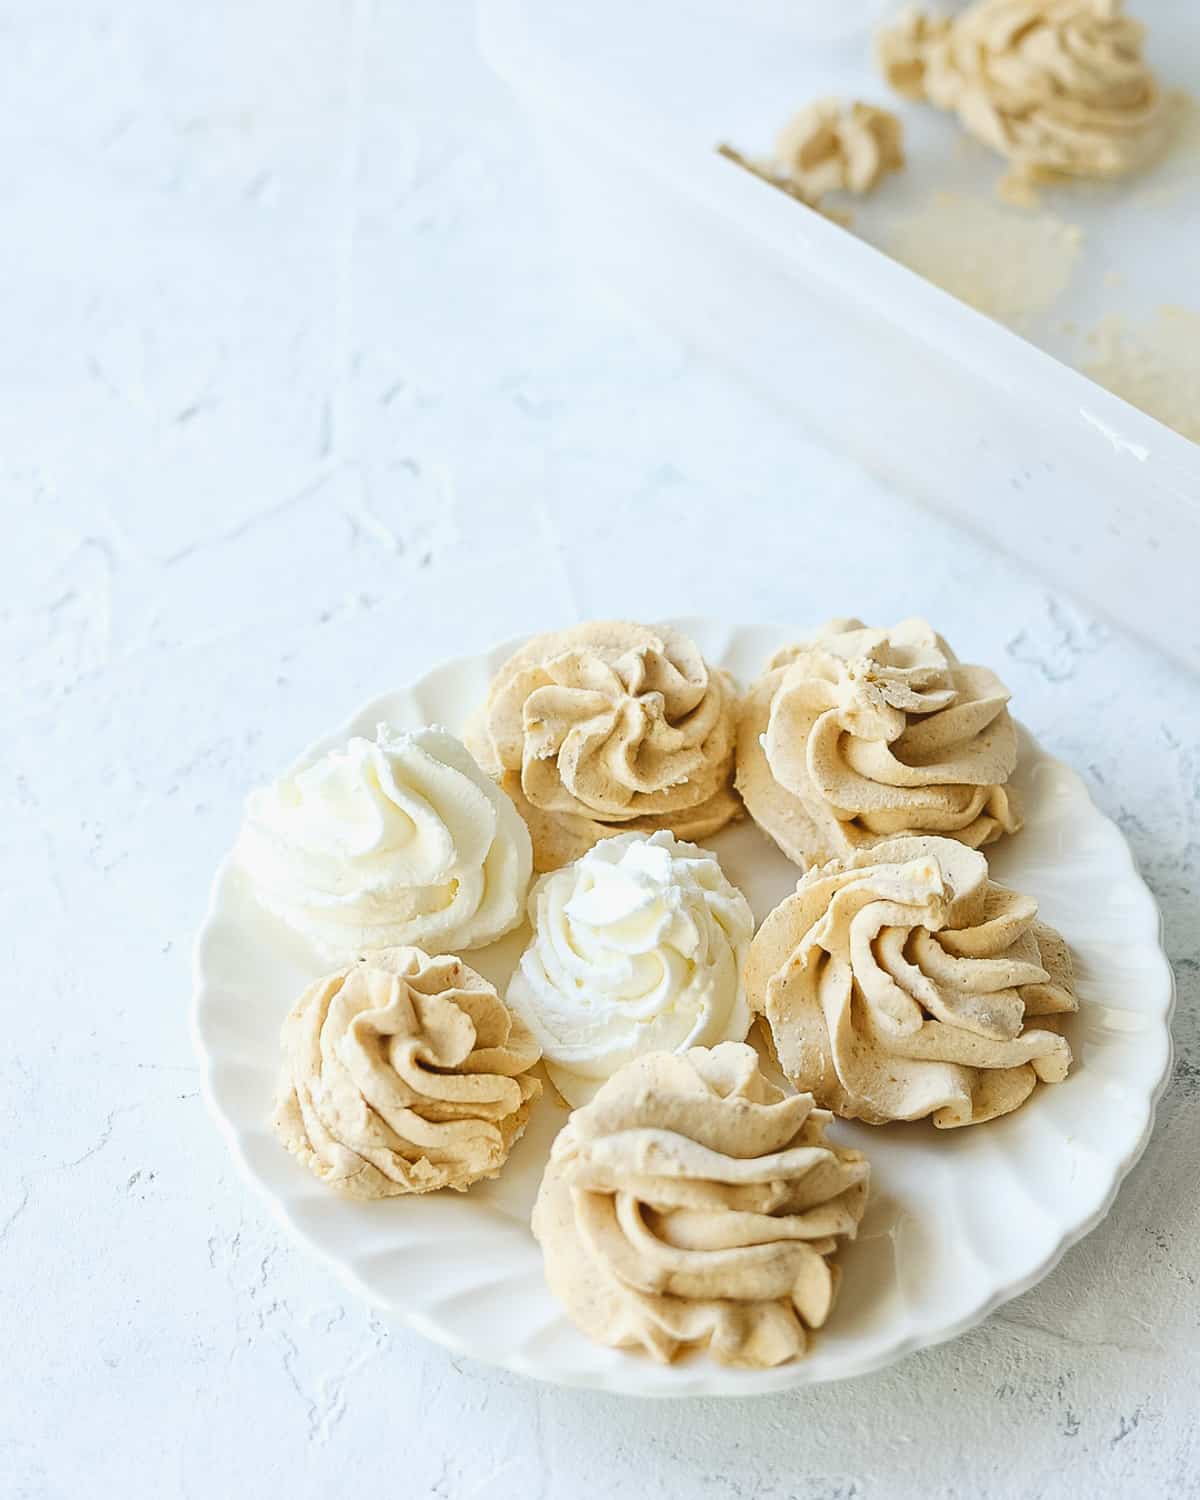
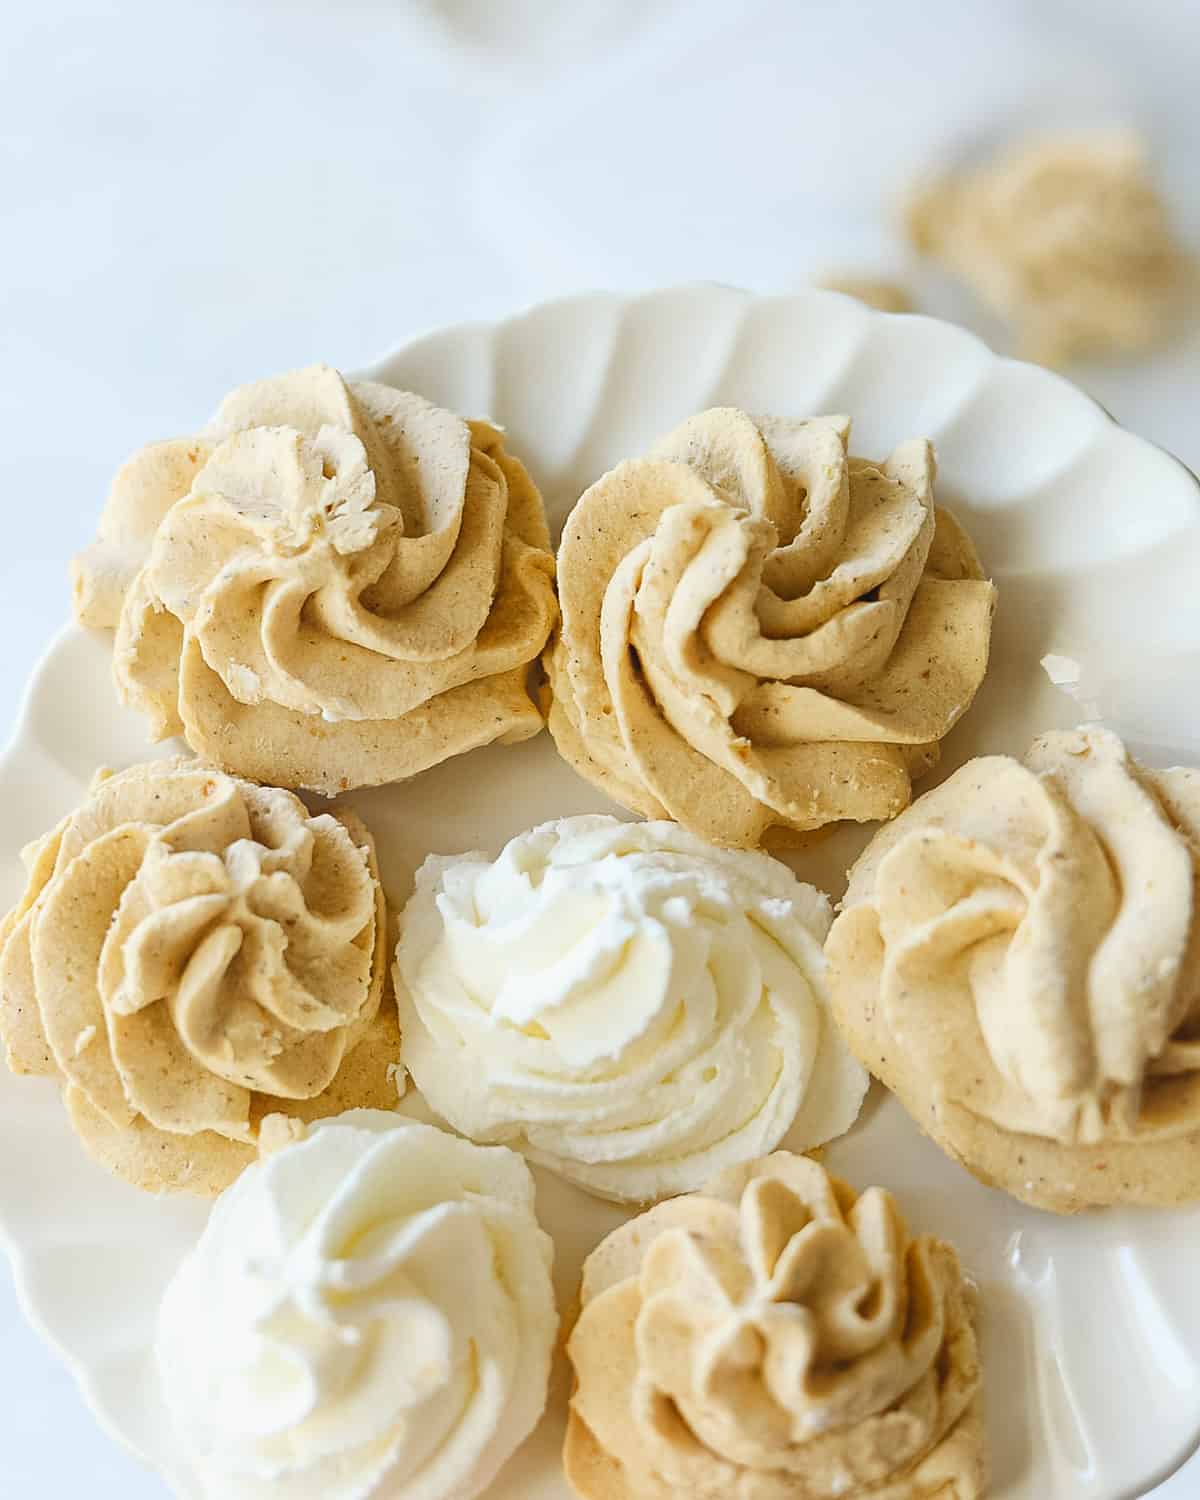
This works with plain whipped cream and other varieties too–I just tested it with my Pumpkin Whipped Cream recipe and it worked great.
Here’s a quick look at the texture after freezing and thawing:
Freezing With Other Desserts
If you have incorporated homemade whipped cream into another dessert (for instance, swirls on top of a cheesecake), go ahead and freeze the whole dessert as usual. To preserve any piping as best you can, try flash freezing the dessert.
Place the dessert (let’s use slices of cheesecake as our example) on a baking tray lined with wax paper and freeze until solid. Wrap dessert gently with plastic wrap and store in a freezer-safe container or bag.
This is a great way to save leftover desserts. If you are trying to “make ahead” desserts this way, I would proceed with caution and give it a test before you prepare a full-size dessert for an event or special occasion.
More Whipped Cream Recipes
- Strawberry Whipped Cream
- Mason Jar Whipped Cream
- Coffee Whipped Cream Recipe
- Honey Whipped Cream
- Candy Cane Whipped Cream
How to Freeze Whipped Cream
Ingredients
- fresh homemade whipped cream (any quantity)
Instructions
Whipped Cream Rosettes for Coffee and More
- Line a baking sheet (that will fit in your freezer) with wax paper. Fill a piping bag fitted with a star tip with freshly made homemade whipped cream (preferable whipped to medium or stiff peaks).
- Pipe desired size of rosettes onto the baking sheet. Alternatively, use a freezer-safe container lined with wax paper and freeze right in the container.
- Flash freeze on a baking sheet until frozen solid and then carefully transfer to a freezer-safe storage container. May be gently stacked separated with wax paper.Top desserts or place right on coffee from frozen (rosettes take 10-20 minutes to thaw depending on size).
Freeze a Whole Batch
- Lots of leftover whipped cream? Just place it all into a freezer-safe container and simply freeze. Thaw overnight in the fridge. The texture will not be perfect, but it'll still be tasty!
Freezing With Other Desserts
- If you have incorporated homemade whipped cream into another dessert (for instance, swirls on top of a cheesecake), go ahead and freeze the whole dessert as usual. To preserve any piping as best you can, try flash freezing the dessert.
- Place the dessert (let's use slices of cheesecake as our example) on a baking tray lined with wax paper and freeze until solid. Wrap dessert gently with plastic wrap and store in a freezer-safe container or bag. This is a great solution for leftovers, but I recommend testing first if you are looking for a "make-ahead" solution. Depending on the dessert, the thawed version may be unpredictable.
Fellow Crumbl Fans!
Join my list and get a weekly email with fresh Crumbl news, delicious copycat recipes, and more!