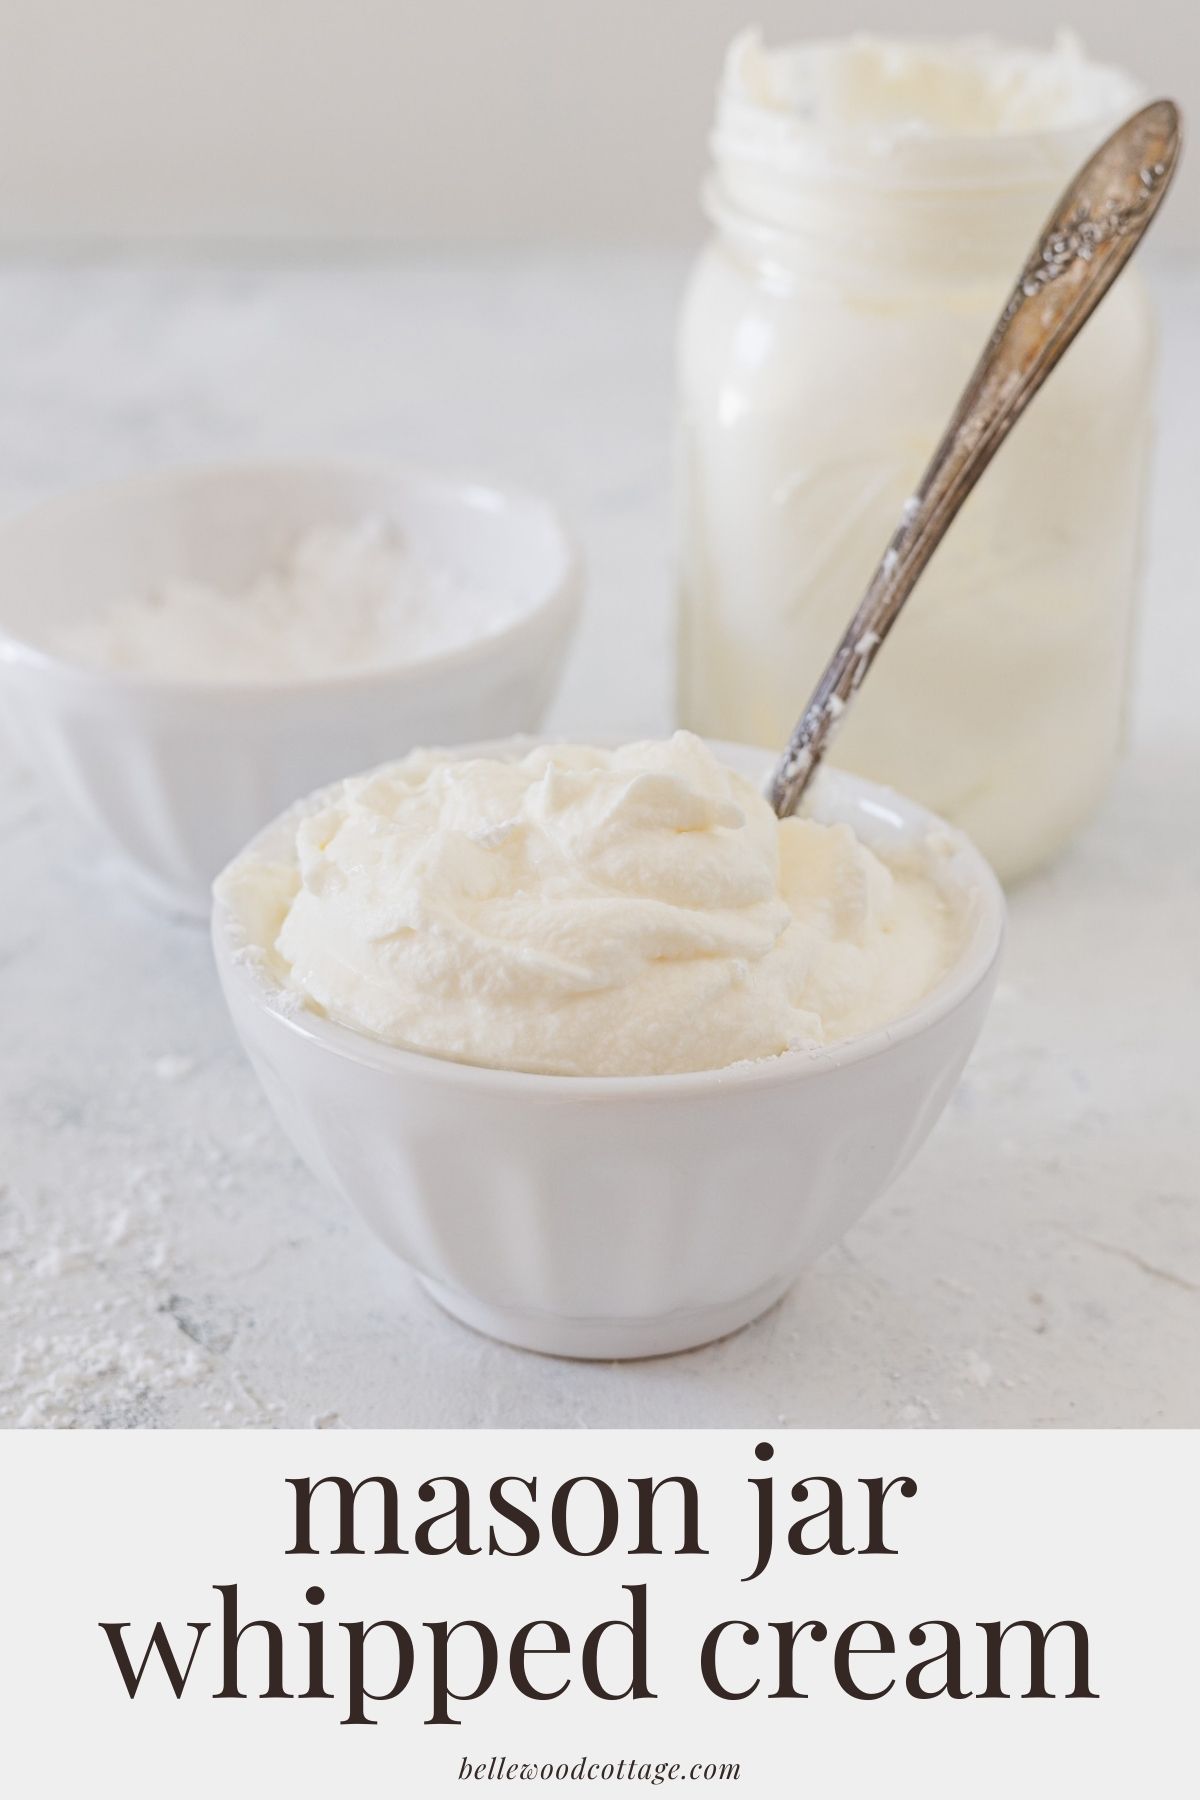
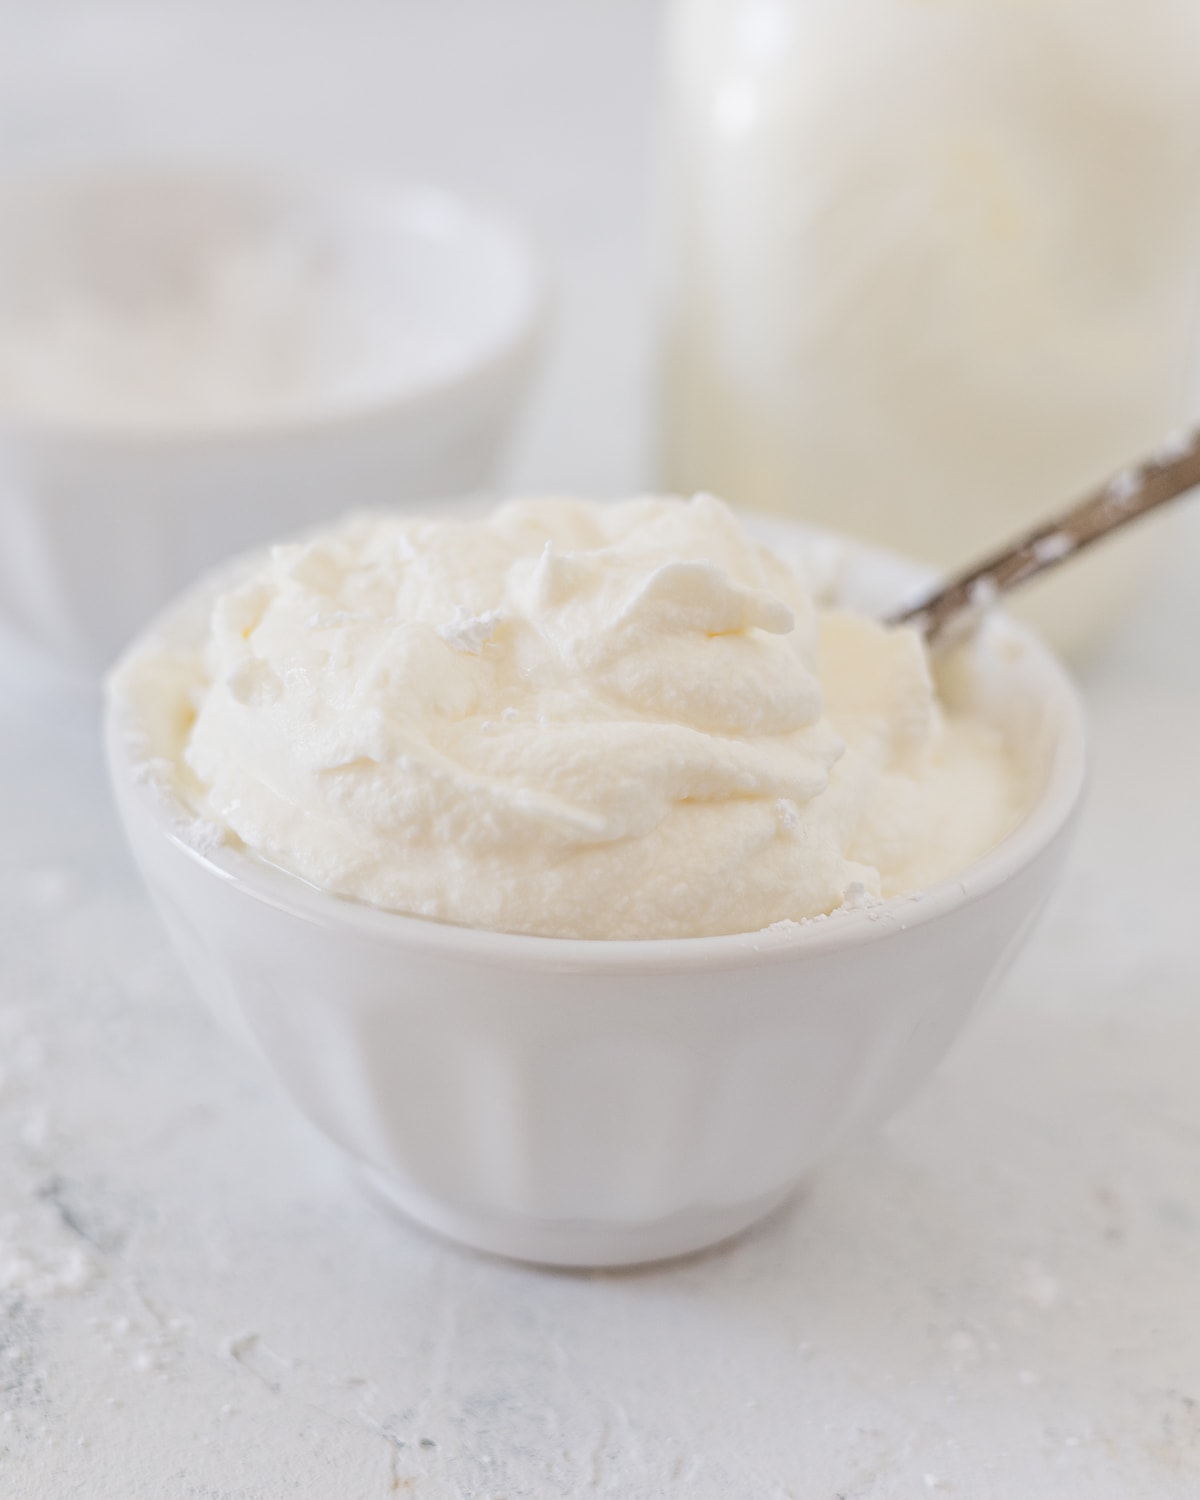
Mason Jar Whipped Cream
Learn how to make Mason Jar Whipped Cream! This fun hack is great for kids and adults alike. Wondering if you can make whipped cream without an electric mixer? Yes, you absolutely can! Grab a mason jar and let’s get started.
I remember one Thanksgiving our family wondered how long it would take to whip a bowl of whipped cream by hand. We poured all the ingredients in a big bowl and took turns whipping it with a large whisk as the bowl passed along the table.
I don’t remember quite how long it took, but it worked! This method using a mason jar is just as simple, but perhaps a little less of a work out. It’s also a fun way for kids to get involved in the kitchen. It’s magical watching liquid cream turn into a fluffy treat!
Fellow Crumbl Fans!
Join my list and get a weekly email with fresh Crumbl news, delicious copycat recipes, and more!
How to Whip Whipped Cream Without a Mixer
So, if you too are stuck in a whipped cream-less world without the help of an electric mixer to create the indulgent topping, no worries. While my basic homemade whipped cream recipe uses a mixer, you can actually make whipped cream without an electric mixer of any kind (or even a whisk). Just grab a mason jar with a tight fitting lid!
All you do is fill the jar with your ingredients (choose a jar large enough for expansion), close it, and shake!
This would be a great activity to do with kids (old enough to handle/shake a glass jar) around the holidays. Get a couple of jars going and give them an easy task that’ll be delicious served with the pies later.
Don’t have a mason jar?
Alright, I don’t know if I should be encouraging this, but if you have a really really good tupperware-type container (and I mean, SUPER reliable lid) you could also whip it/shake it in that. I once did this to whip a very small amount for my coffee and it worked. It really does have to be a super secure lid though!
Obviously, there’s some risks here. Use caution, and if you end up with heavy cream spattered across your shirt (and kitchen…and everything…), I warned you!
Note: Even if you are using a mason jar, it’s best to start slow with the shaking in case things aren’t as secure as you thought!
Got questions? Check out my post of Frequently Asked Questions About Whipped Cream!
Ingredients You’ll Need
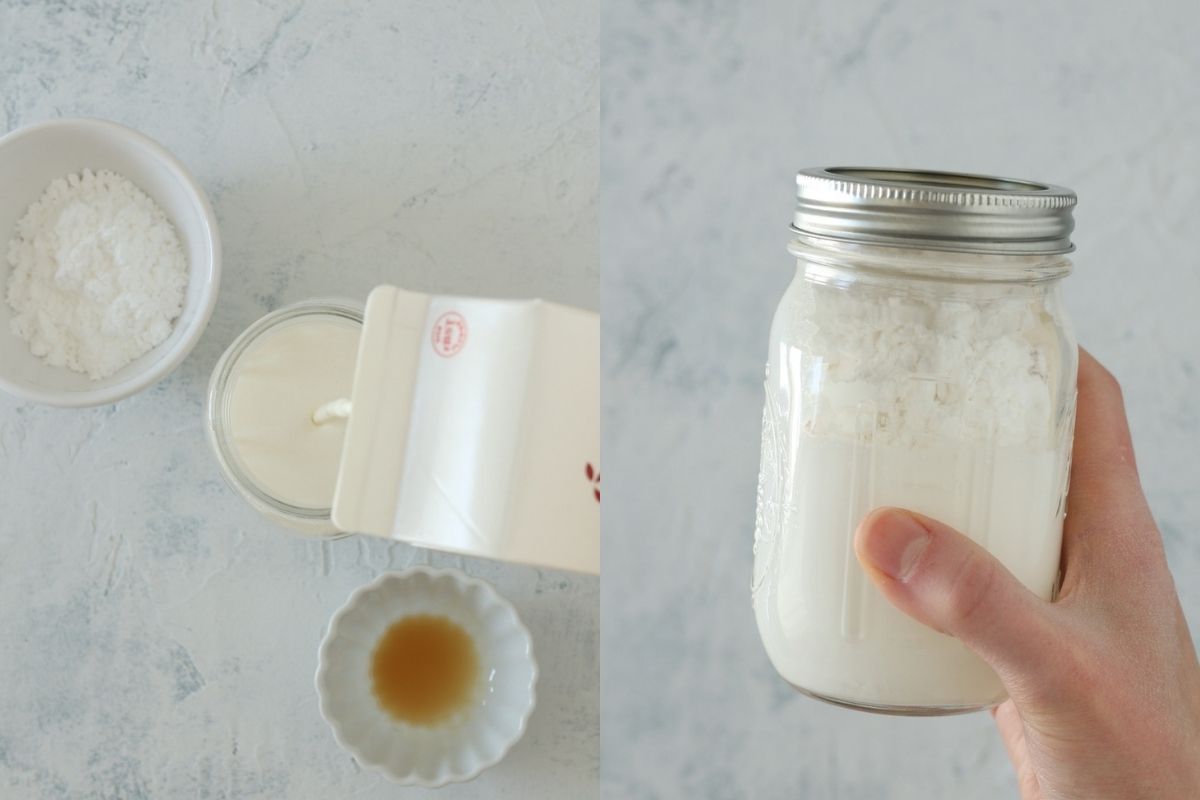
Before you start making whipped cream in a jar, you’ll need to gather your ingredients. These are just the same as a standard recipe, but this time we’re skipping the beaters (or whisk) and shaking it up in a jar.
Heavy Whipping Cream – Keep heavy whipping cream well-chilled before whipping for the best results.
Confectioners’ Sugar – Use confectioners’ (or “powdered”) sugar here. I sometimes use granulated when I whip whipped cream, but I haven’t tried that yet with the mason jar method. There could be issues with the sugar dissolving, but if you try it let me know.
Vanilla Extract – A good vanilla extract is all you need.
Mason Jar – At least a 1 pint (16 ounce) mason jar with tight-fitting lid.
How to Make Mason Jar Whipped Cream
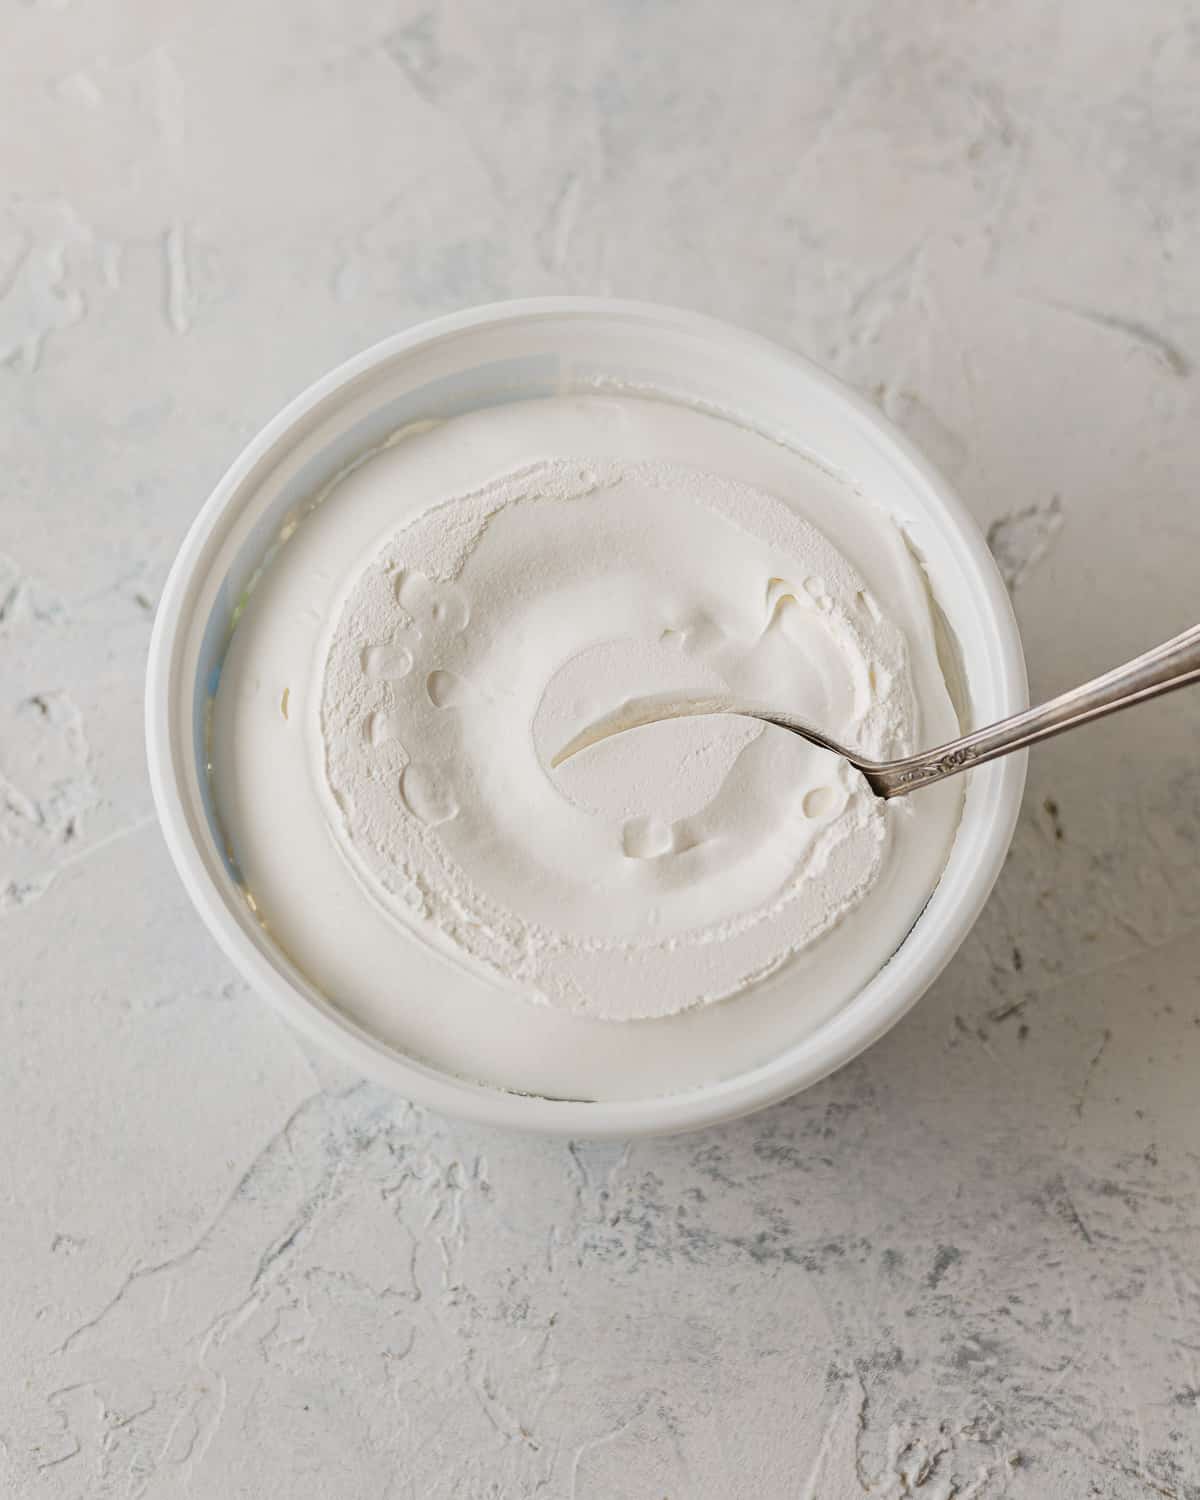
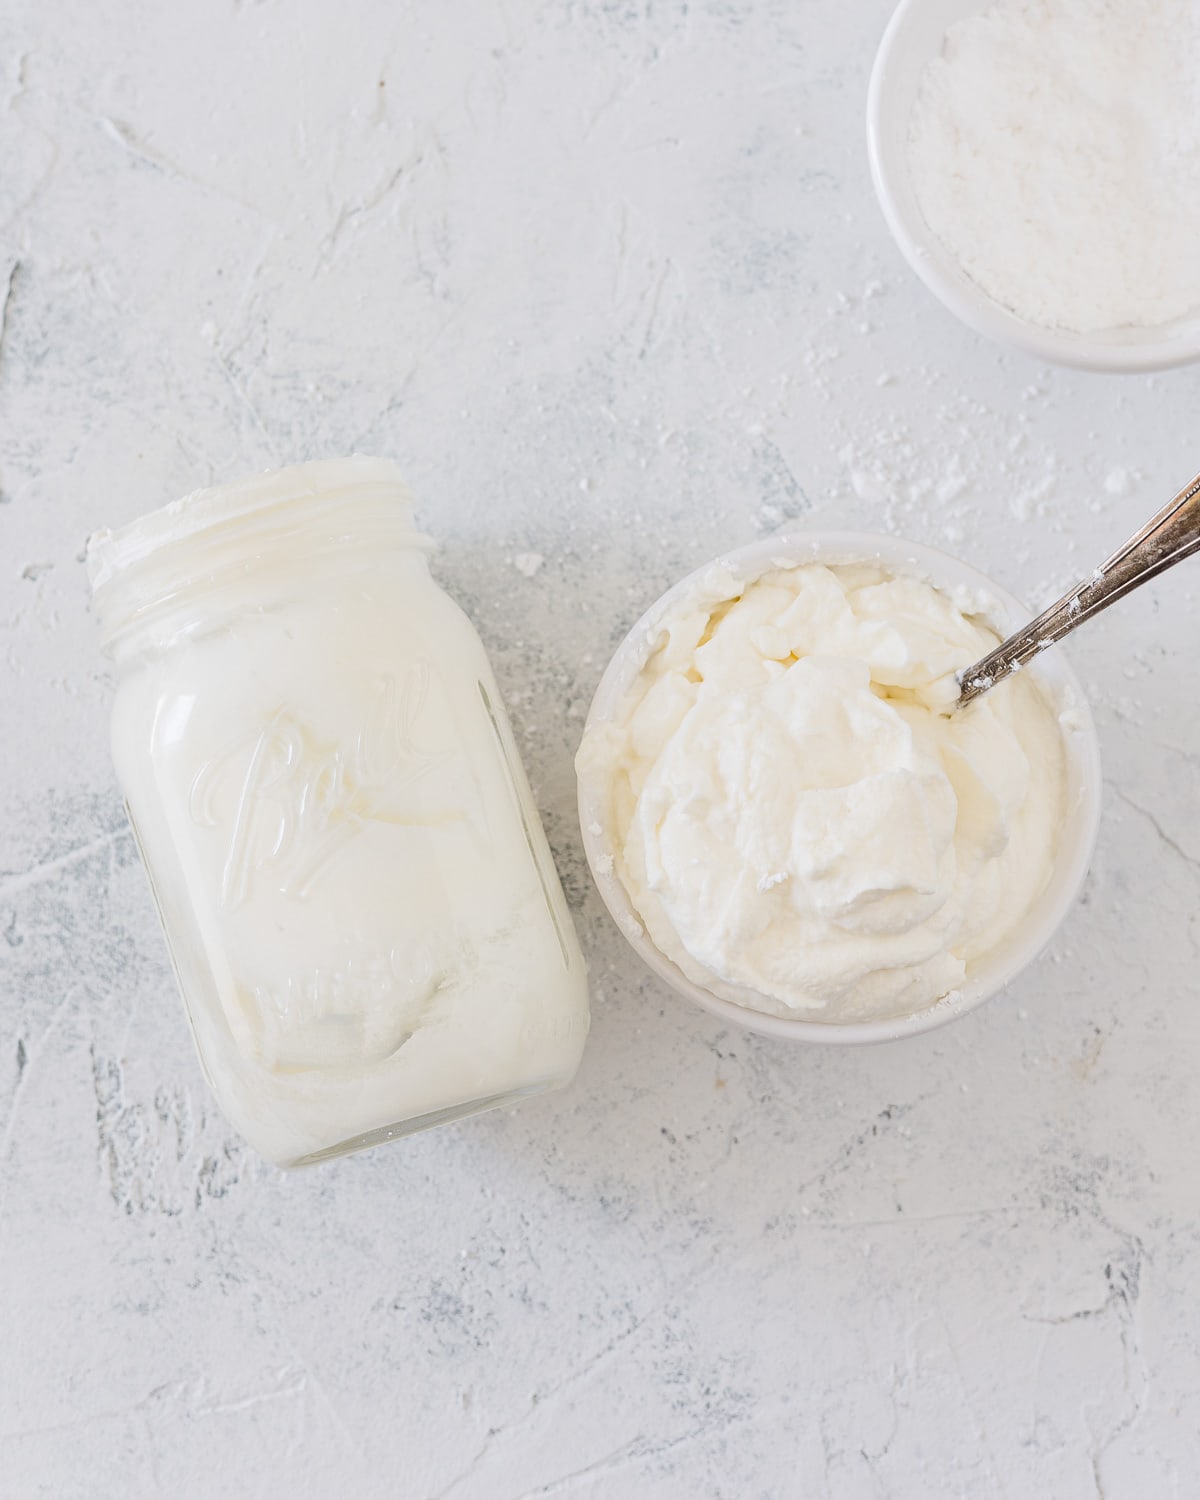
First, combine the heavy whipping cream, confectioners’ sugar, and vanilla extract into a 1 pint (16 ounce) mason jar with a tight-fitting lid.
Note: If you’d like to make more whipped cream you can use a quart-size jar (which will of course work with the smaller amounts too). Your jar should only be about 1/2 full to allow for expansion.
Close the lid tightly and begin to shake.
While some recipes say it only takes 60-90 seconds to whip up a jar of homemade whipped cream, in my experience it’s closer to about 8 minutes. It’ll depend a bit on how much cream you are whipping as well as the energy levels of those shaking the jar.
How to Tell If It’s Ready
The best thing to do is to LISTEN to the cream. It’ll sound light and sloshy at first. Soon it’ll get thicker and you’ll start to hear the difference. When it’s whipped or nearly whipped, it will be basically quiet and you won’t feel much (if any) movement inside the jar.
When the cream become very quiet, this is when I start opening the jar to check on it. You might want to get a spoon in there to double check the texture. Wipe the lid off, replace it, and keep shaking as needed.
Be warned that once it’s in a whipped state it can go very quickly into butter territory so that’s when you’ll want to check it more frequently. You can opt to stop whipping when the texture is anywhere from soft peaks to stiff peaks.
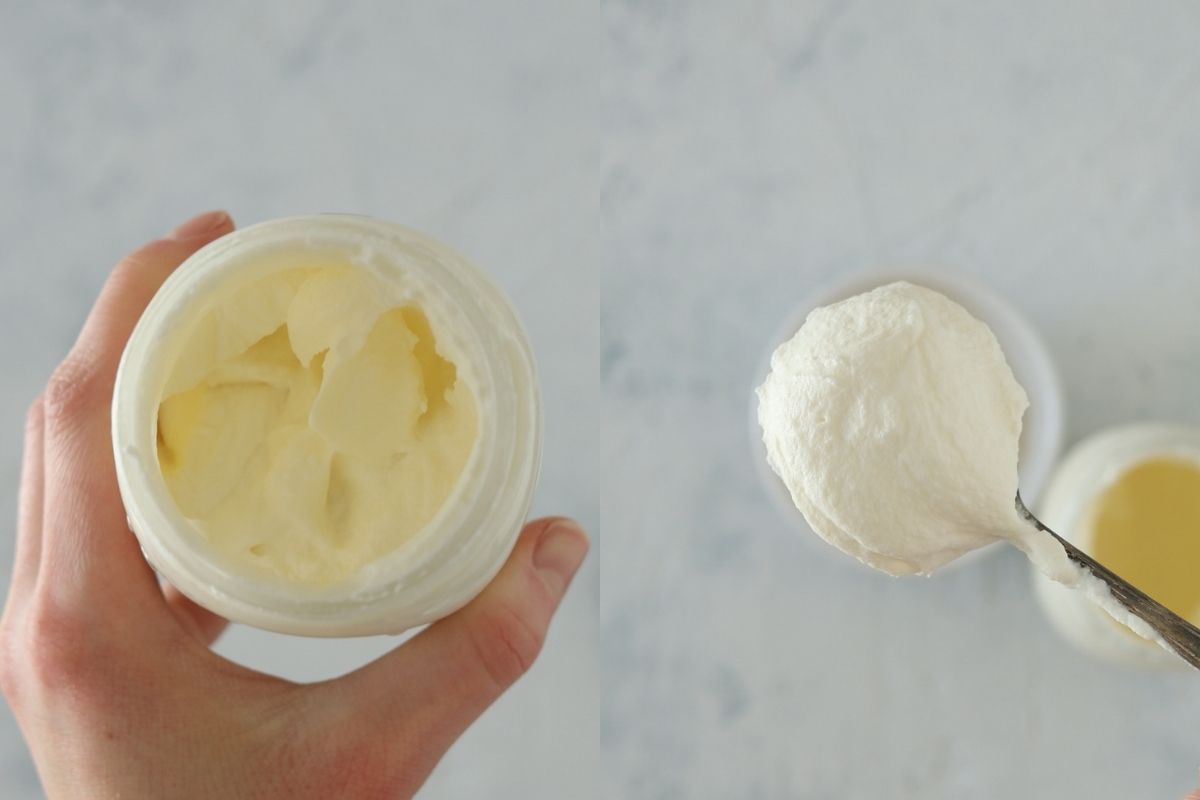
Soon enough, you’ll have a jar full of luscious homemade whipped cream. And you didn’t need a stand mixer, hand mixer, or even a whisk to make it happen!
Print the recipe card + watch the video below!
FAQs
While some recipes say it takes only 60-90 seconds to make mason jar whipped cream, I did not have that experience! Rather, my jar (starting with 1 cup of whipped cream) took about 8 minutes to whip completely and then a bit longer to get the texture to stiff peaks.
I can’t guarantee how long your jar will take, so my best advice is to listen! If the cream is still sloshing around in the jar, you’ve got awhile left to go. If it’s getting quiet or heavy sounding, it’s time to start checking in. Once the cream is “whipped” it can go from soft peaks to stiff peaks (and quickly to butter) very speedily, so that’s the time when you’ll want to open the jar up frequently to check on things.
Yes, mason jar whipped cream will taste just the same as homemade whipped cream made with a mixer. I do notice that the confectioners’ sugar doesn’t dissolve quite the same as when the mixture is whipped though. This version has a bit of texture to it, but nothing alarming. This slight texture is visible on my photos in this post.
Also note, you can adjust the recipe too if you prefer more/less sweetness (though using less sugar can lessen the stability) or a different extract flavoring.
Try serving up your homemade whipped cream with just about anything including pancakes, waffles, crepes, cake, cupcakes, pie (yes, definitely pie!), your morning latte and anything else that catches your fancy. This whipped cream is nice and stable so it can be used to informally swirl or pipe on top of desserts (do this right before serving) much like a frosting.
More Yummy Dessert Recipes
Whipped Cream Recipes
Nutella Whipped Cream Recipe
Honey Whipped Cream
Strawberry Cheesecake in a Jar (No Bake!)
No Bake Oreo Cheesecake in a Jar
If you loved this recipe, leave a 5-star rating! I would so appreciate it!

Mason Jar Whipped Cream
Ingredients
- 1 cup heavy whipping cream well chilled
- 1/4 cup confectioners' sugar
- 1/4 teaspoon vanilla extract
Equipment
- 1 16 ounce mason jar (with secure lid; quart jars are ok too)
Instructions
- Combine all ingredients in a 16 ounce (1 pint) mason jar. Cover securely with lid. Give a few test shakes to make sure there are no leaks, and then shake, shake, shake.
- How long to shake? Rather than relying on time guidelines, listen for the sound of the whipping cream. It'll go from liquid, to sloshy, to thicker sounding. It won't really make a sound at all when it's ready (or close to ready) so it's important to check it frequently when jar is "mostly quiet" while being shaken.Though some recipe say this whole process will happen in about 60 seconds, I found it was actually closer to 8 minutes.The whipped cream can go from "soft peaks" to "stiff peaks" (and then to butter!) very quickly once it's finally whipped, so tread carefully here. Once I've hit soft peaks, I check it every 30 seconds or so. You might want a spoon handy since it can be hard to tell how runny it is when it's coating the jar.
- Once you've reached the desired texture, the whipped cream is ready to eat! Serve as desired and store leftovers in the fridge. SO good.
Video
Notes
Fellow Crumbl Fans!
Join my list and get a weekly email with fresh Crumbl news, delicious copycat recipes, and more!