How to Make Homemade Whipped Cream
Making fresh homemade whipped cream is easy and delicious. Make it with a hand mixer, stand mixer, or even a bowl and whisk. Learn how to make perfect Homemade Whipped Cream with this step-by-step tutorial.
Please note that this post contains affiliate links which allow me to earn a small commission when a purchase is made at no additional cost to you. As an Amazon Associate I earn from qualifying purchases. Read more here.
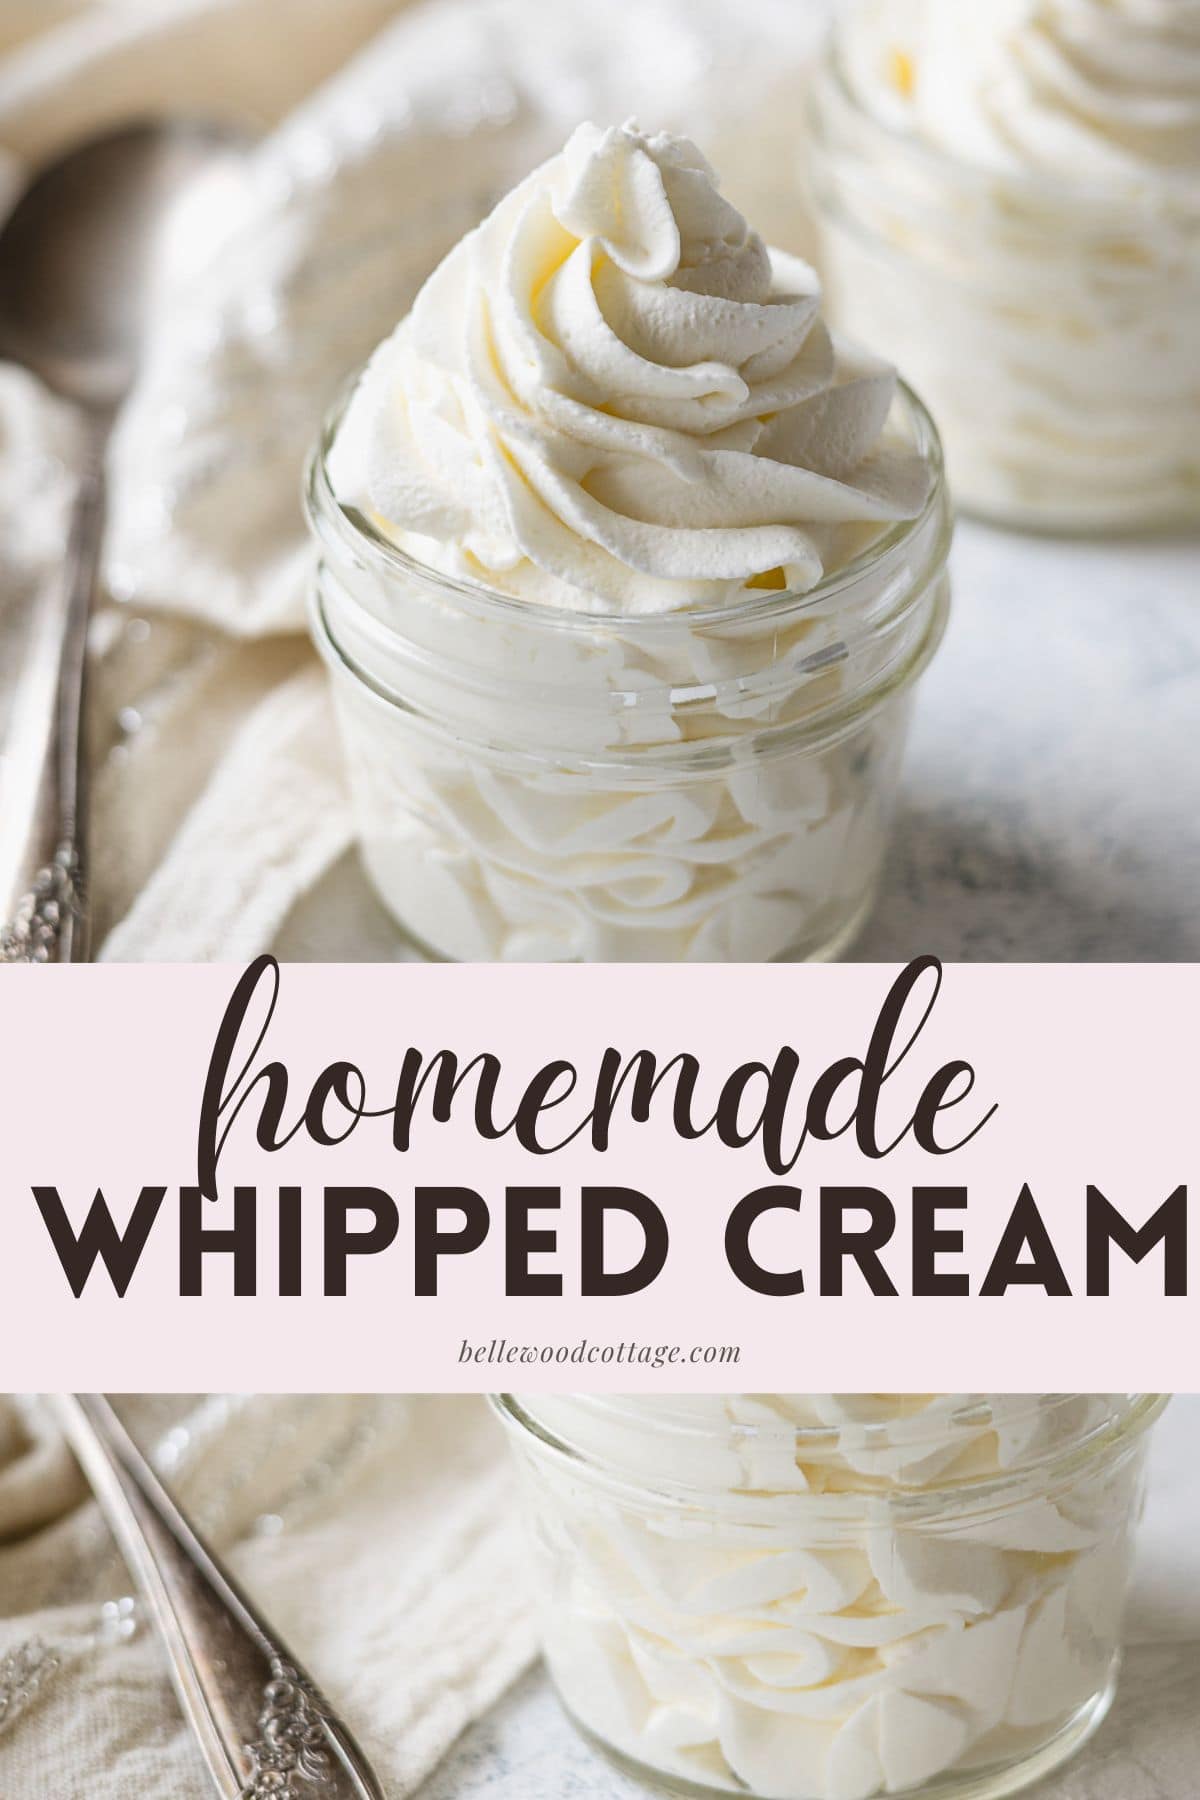
Soft billowy homemade whipped cream is such a treat. It’s truly easy to make and during the summer especially I love a scoop on top of fresh berries or simple desserts like fruit crumbles and cobblers.
Fellow Crumbl Fans!
Join my list and get a weekly email with fresh Crumbl news, delicious copycat recipes, and more!
I also use it all the time for mason jar desserts, breakfast-for-dinner, and of course, topping my coffee.
I usually use a hand mixer for making whipped cream, but you can also use a stand mixer, or even just a whisk and a metal bowl. I have absolutely whipped up whipped cream by hand before and while it’s a bit of a workout (grab a friend or two to alternate whisking with!) it’s totally doable.
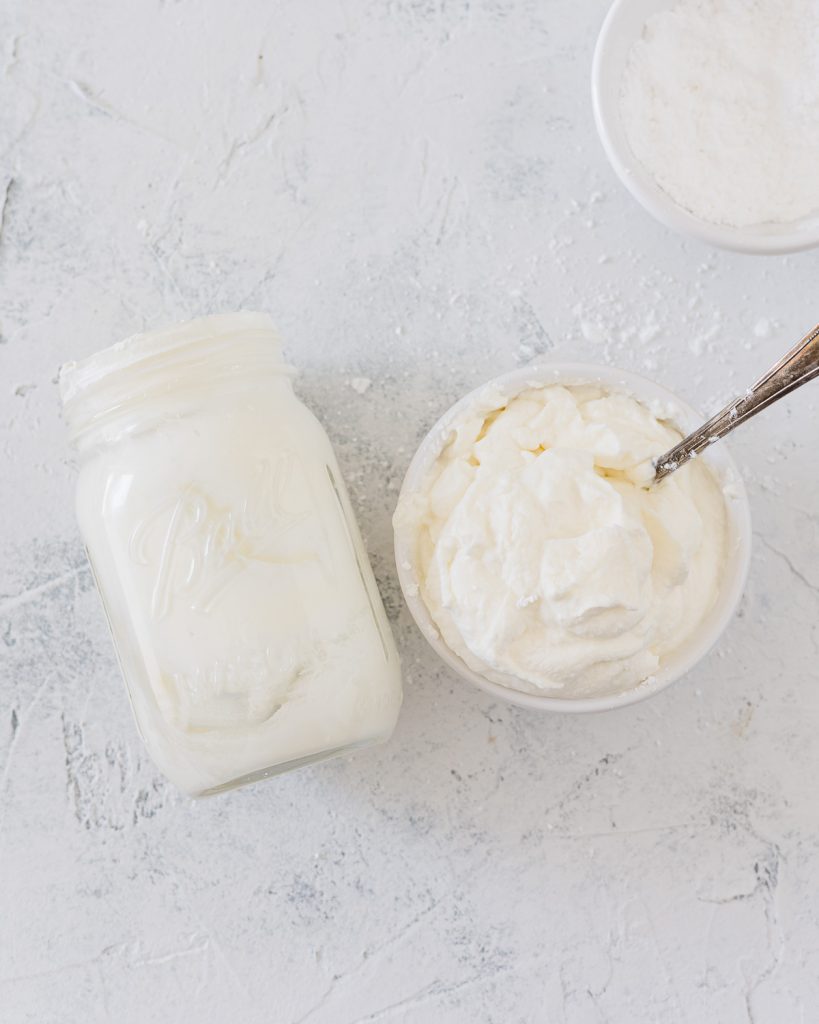
Or, you can try one of my favorite hacks: Mason Jar Whipped Cream. This is great for when you just want a small amount–or if you don’t have an electric mixer available. It takes some time (usually 8-10 minutes for me) and you’ll have to commit to shaking the jar throughout the process, but it’s a great option to have in your dessert toolbox!
Got questions? Check out my post of Frequently Asked Questions About Whipped Cream!
Ingredients You’ll Need
To make whipped cream at home, all you really need is heavy whipping cream. It should be fresh and very cold–straight from the fridge. Don’t let it sit out on the counter while you prep other things–even a slight increase in temperature will affect how well it whips up.
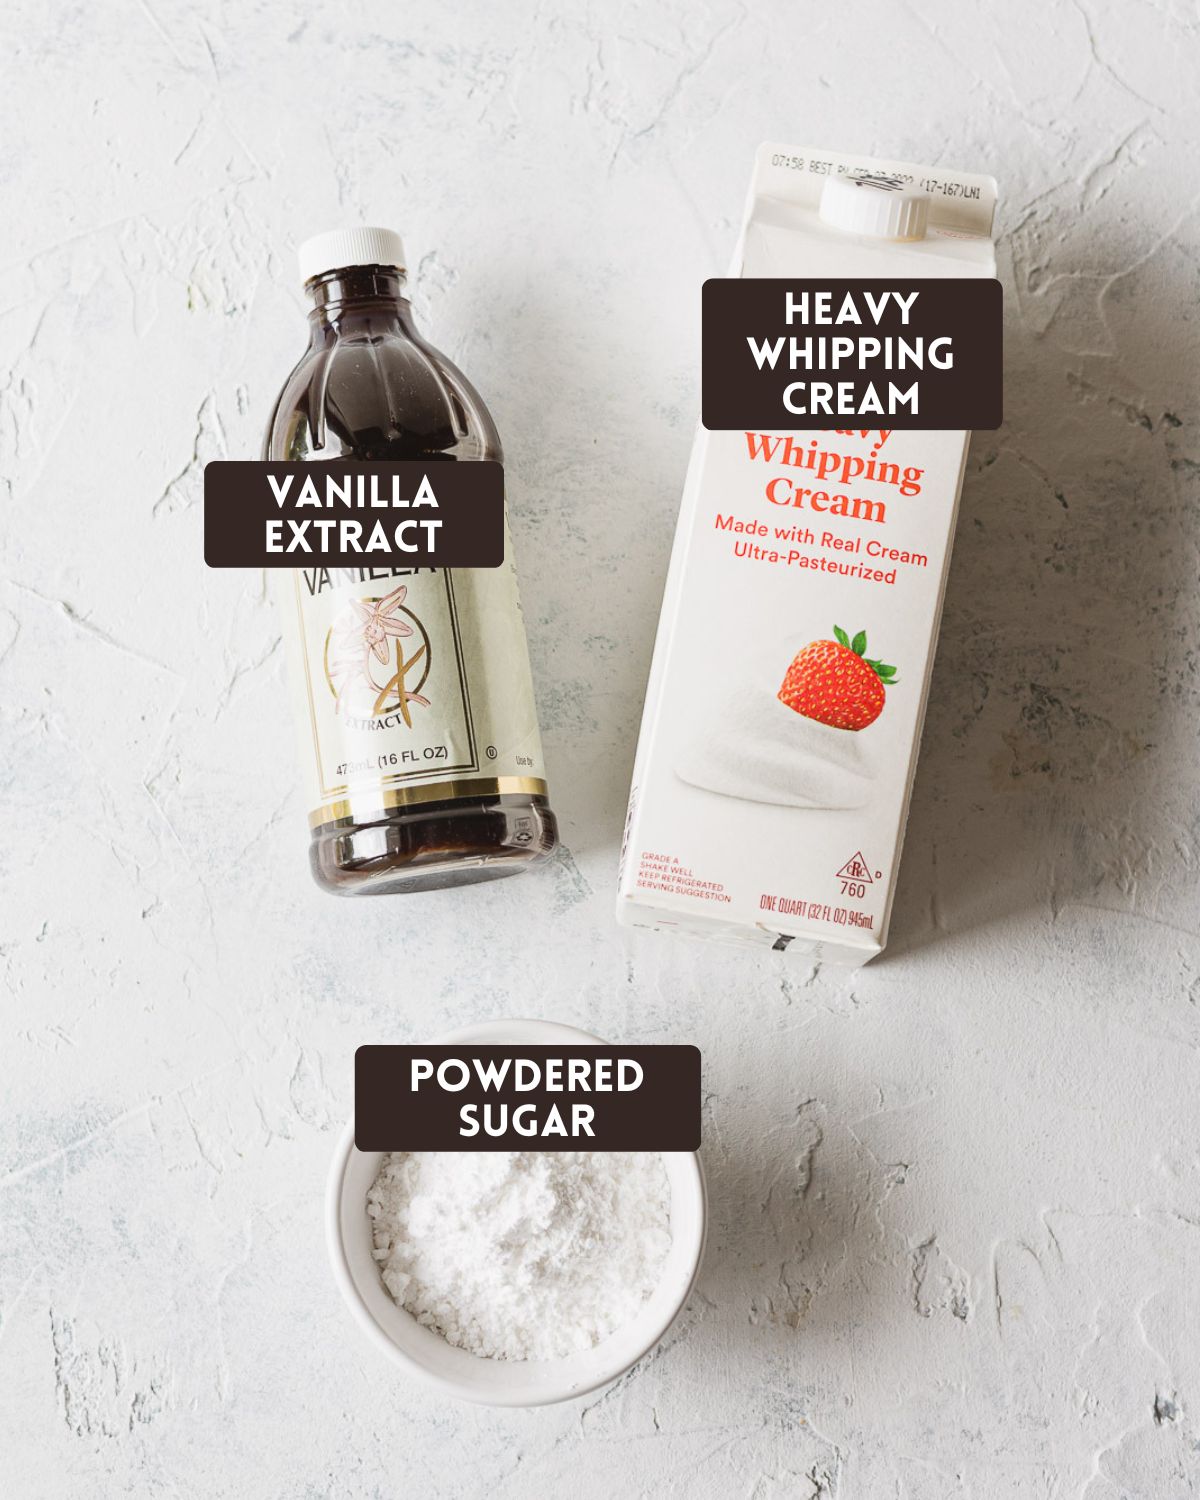
Now, I like my whipped cream to have a little sweetness and just a hint of vanilla flavor. I use vanilla extract (this is the time to use the good stuff!) and powdered sugar. Powdered sugar contains cornstarch which enhances the stability of the whipped cream.
My whipped cream recipe makes a nice sweet cream, so feel free to adjust the sugar (perhaps starting with half the amount) if you’d like a less-sweet option.
Can I use granulated sugar instead?
Yes! You can indeed. I do this often in fact. Now, I’ve only ever had the need to whip up a few cups of heavy cream at a time, so it’s possible that the granulated sugar wouldn’t dissolve as well in large batches, but I can attest it does dissolve well for average-size batches (a few cups or so).
Note that granulated sugar does not have cornstarch in it, so you’ll miss a bit of that stabilizing action from the cornstarch if you use granulated instead.
Whipping Cream, Heavy Cream, and Heavy Whipping Cream – What’s the Difference?
You want to purchase “Heavy Cream” or “Heavy Whipping Cream” to make homemade whipped cream. Why? This product has a higher fat content (36%+), which is what we want for that gorgeous billowy whipped cream (that holds its shape!).
“Whipping Cream” sounds like a good choice, but it’s actually a lower fat product (30-36%) which can yield lackluster results.
Whenever I have a kitchen question like this, I often check with one of my favorite resources–America’s Test Kitchen. They have a great article that explains more!
Why You Should Chill the Bowl and Beaters/Whisk
Okay, okay…I don’t do this every time I make whipped cream. But when I do? It’s actually yes, a very tangible difference!
Especially since I photograph my whipped cream recipes for this site, I notice immediately when the cream begins to deflate. Using a chilled bowl and whisk attachment helps the whipped cream stay stable for far longer. No drooping or deflating before serving. Note that whipped cream should still be refrigerated if not serving right away.
I just pop a metal bowl and the whisk for my hand mixer in the freezer for fifteen minutes before whipping up the heavy cream.
Do you have to? No, but if you have time, definitely do. Note that you could even pop the actual heavy cream in the freezer for ten minutes–just don’t forget about it.
How to Make Whipped Cream Step By Step
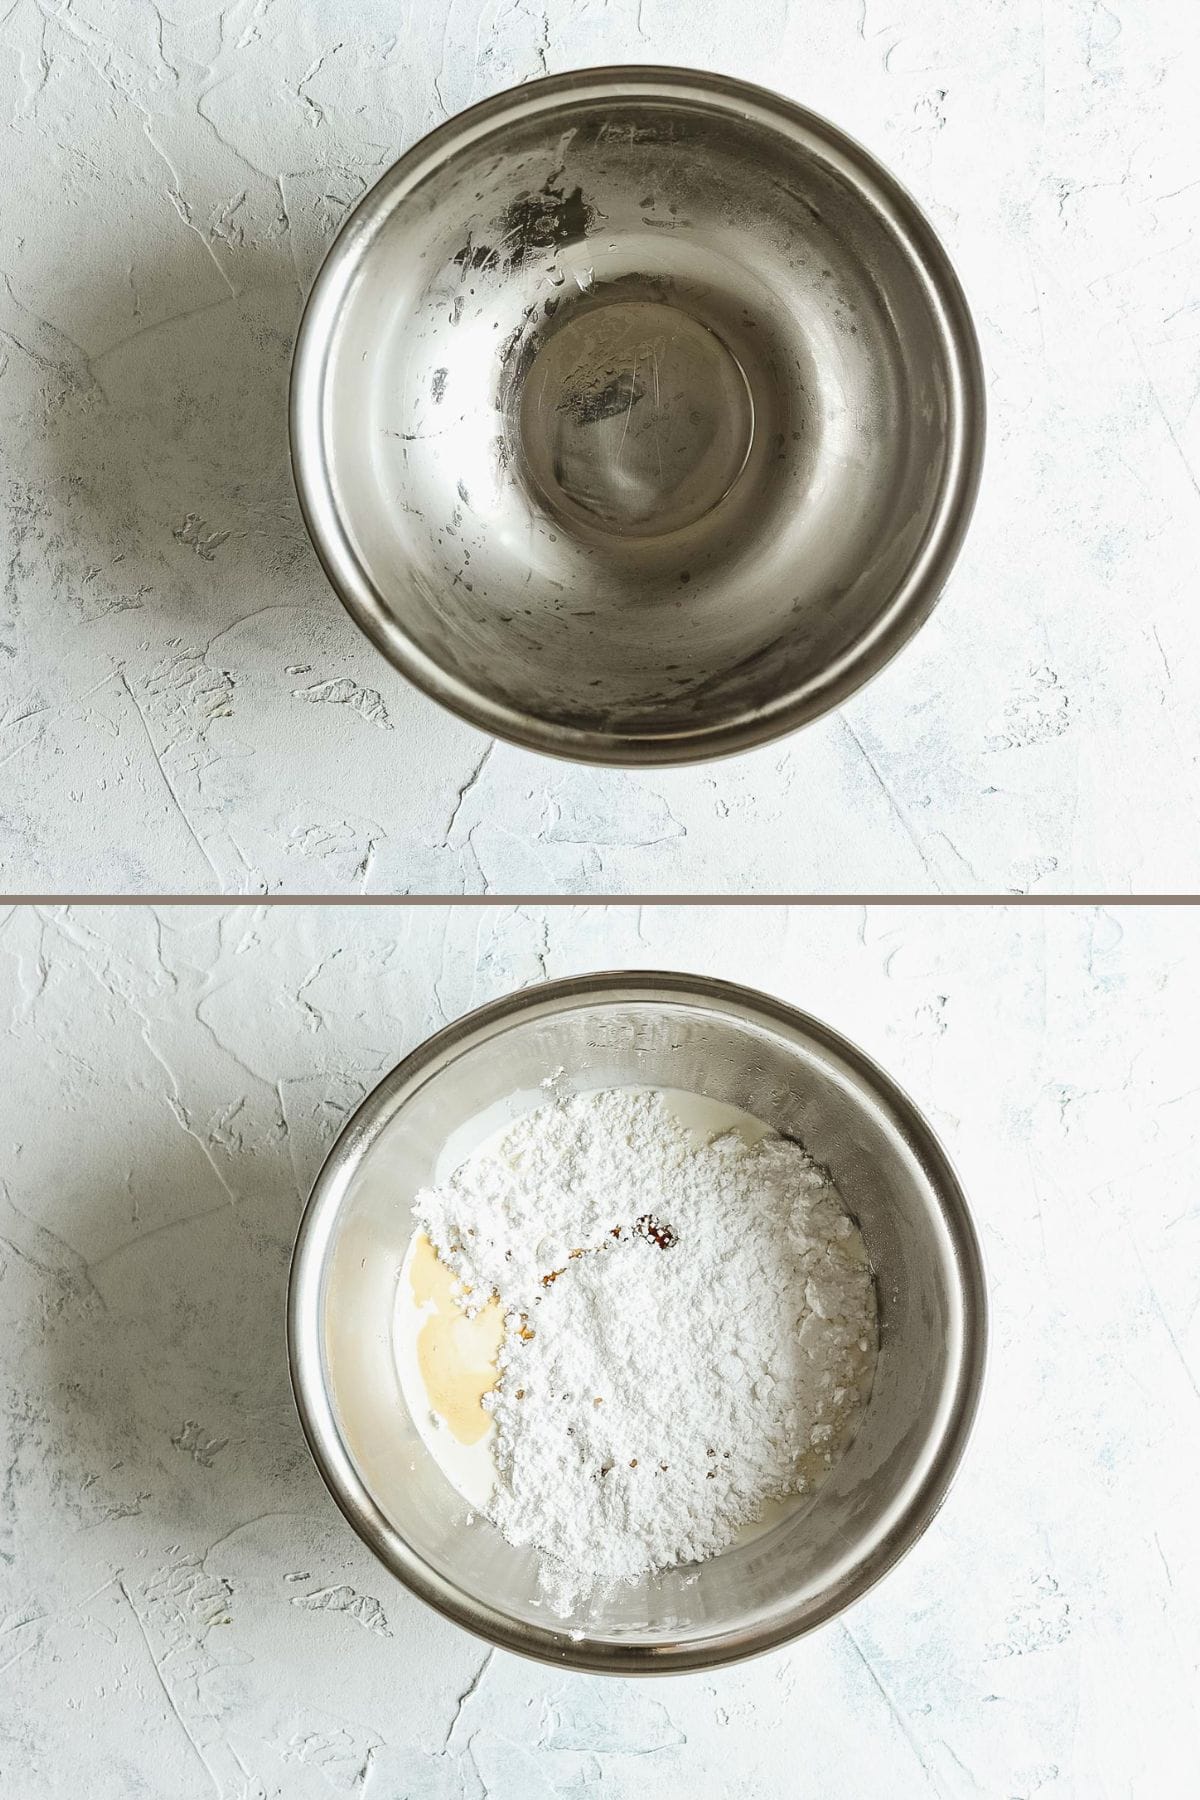
First, grab your chilled bowl and whisk attachment out of the freezer (I occasionally use the beater attachments for my hand mixer and those work too). If there’s any drippy condensation you can wipe that away with a towel.
Pour in well-chilled heavy cream, sugar, and vanilla extract.
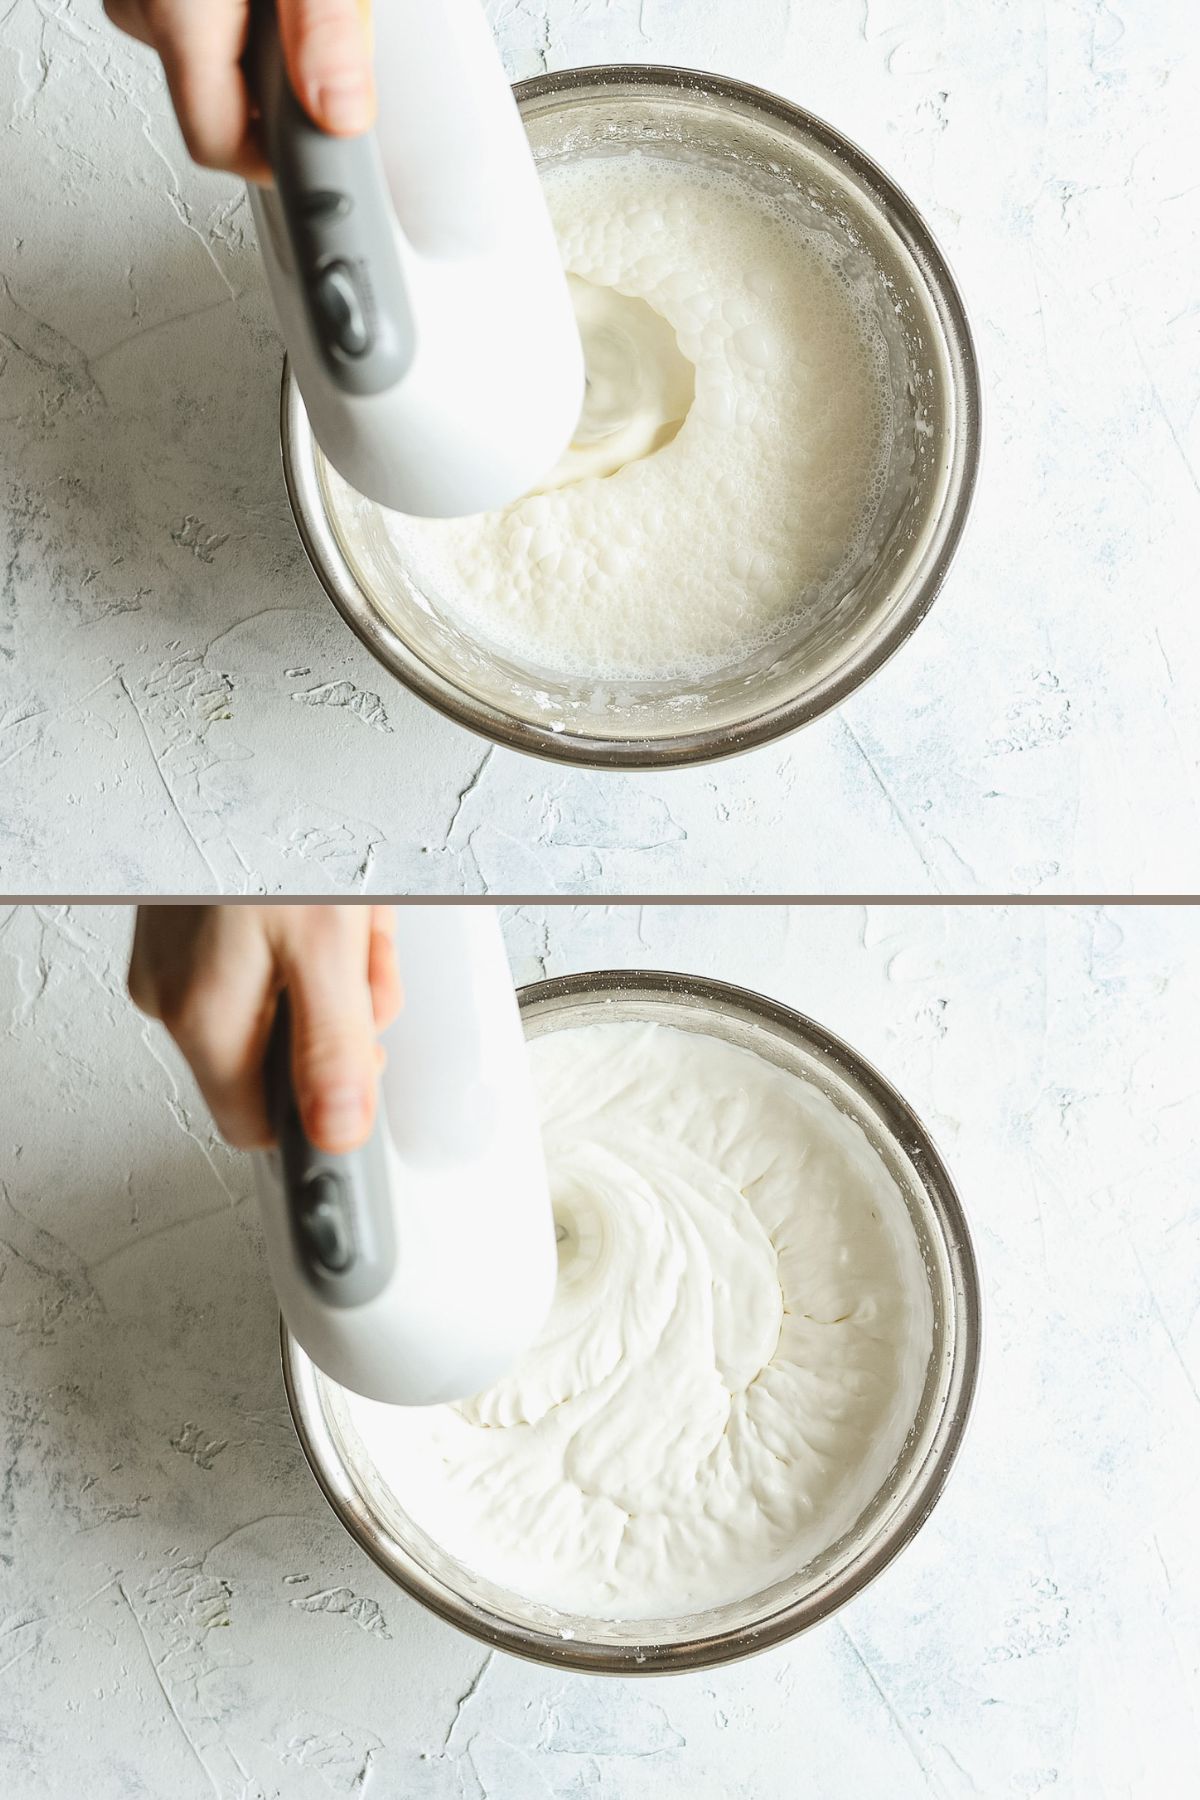
Begin to beat with the whisk attachment on low speed. When cream is foamy and all the sugar is incorporated, move the mixer speed up to medium.
If using a stand mixer, don’t walk away! It might feel like it’s taking forever at first, but once the cream is nearly ready it can turn to over-whipped so quickly. So keep a close eye. Obviously, if using a hand mixer, you are going to be well-attached to your bowl!
Using a whisk? It’ll be a workout for sure, but you also will get a great sense of when the whipped cream is ready and the changes as it moves from soft, medium, and stiff peaks. If you really want to become a whipped cream expert, try it with a whisk and bowl for the experience!
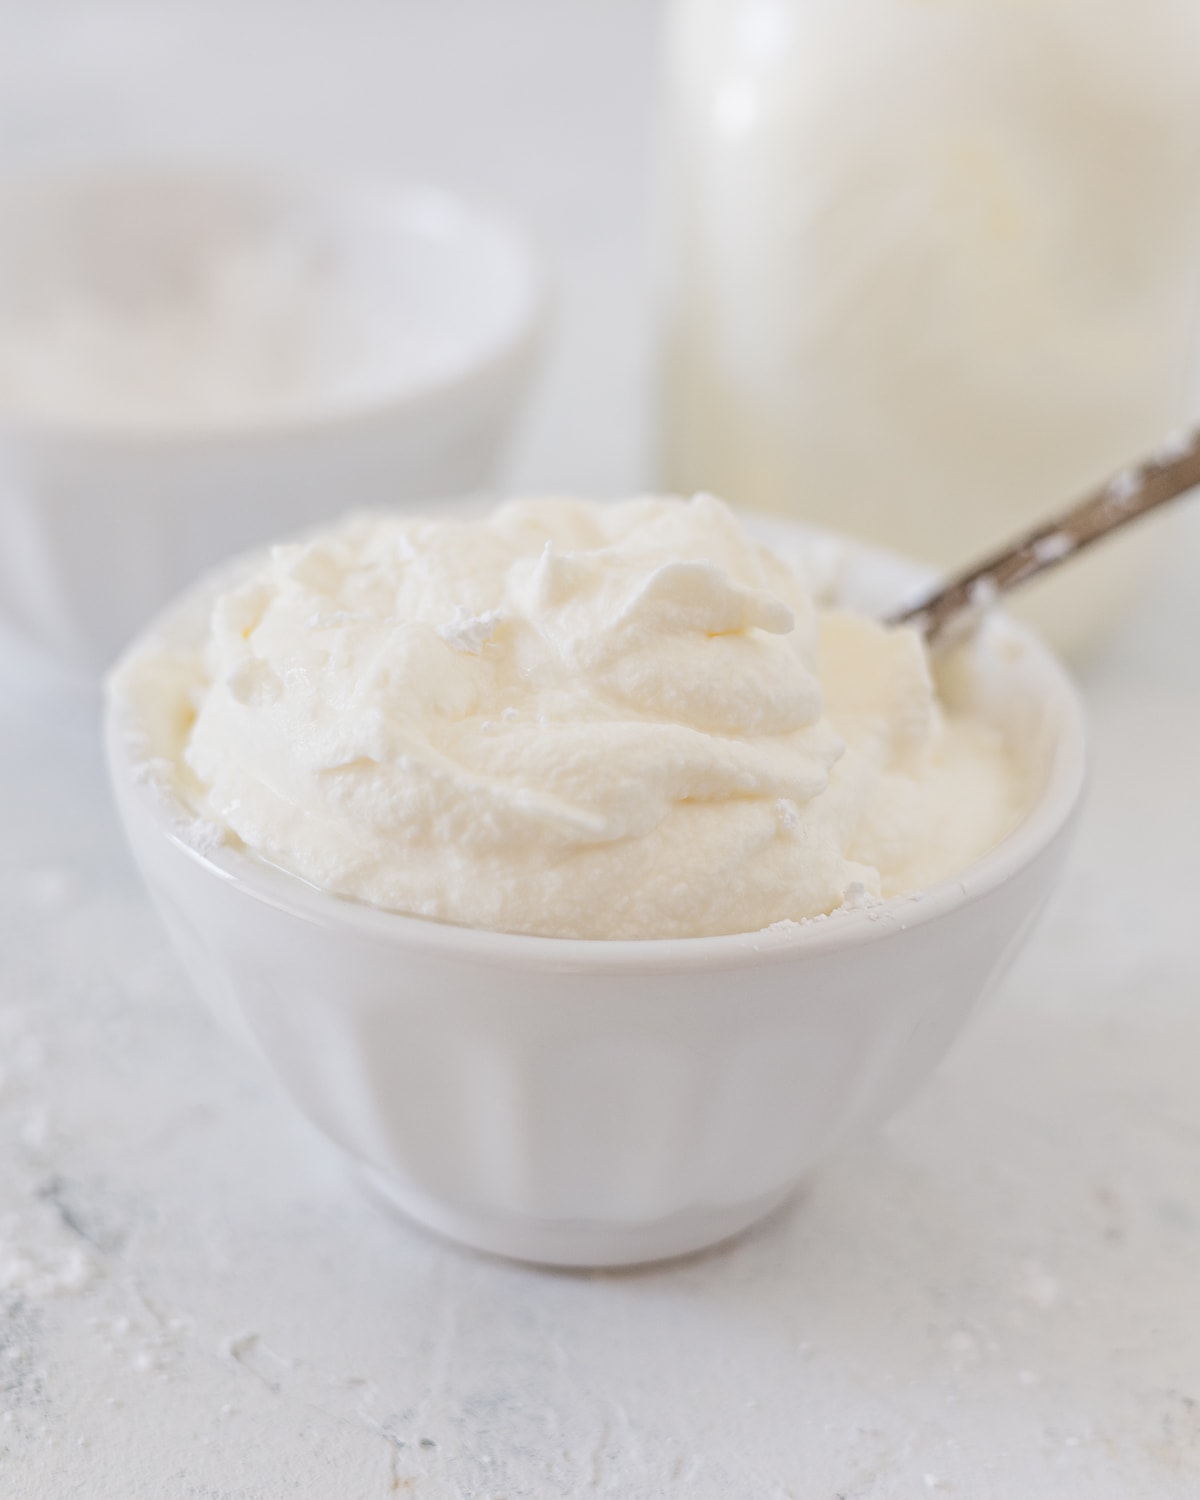
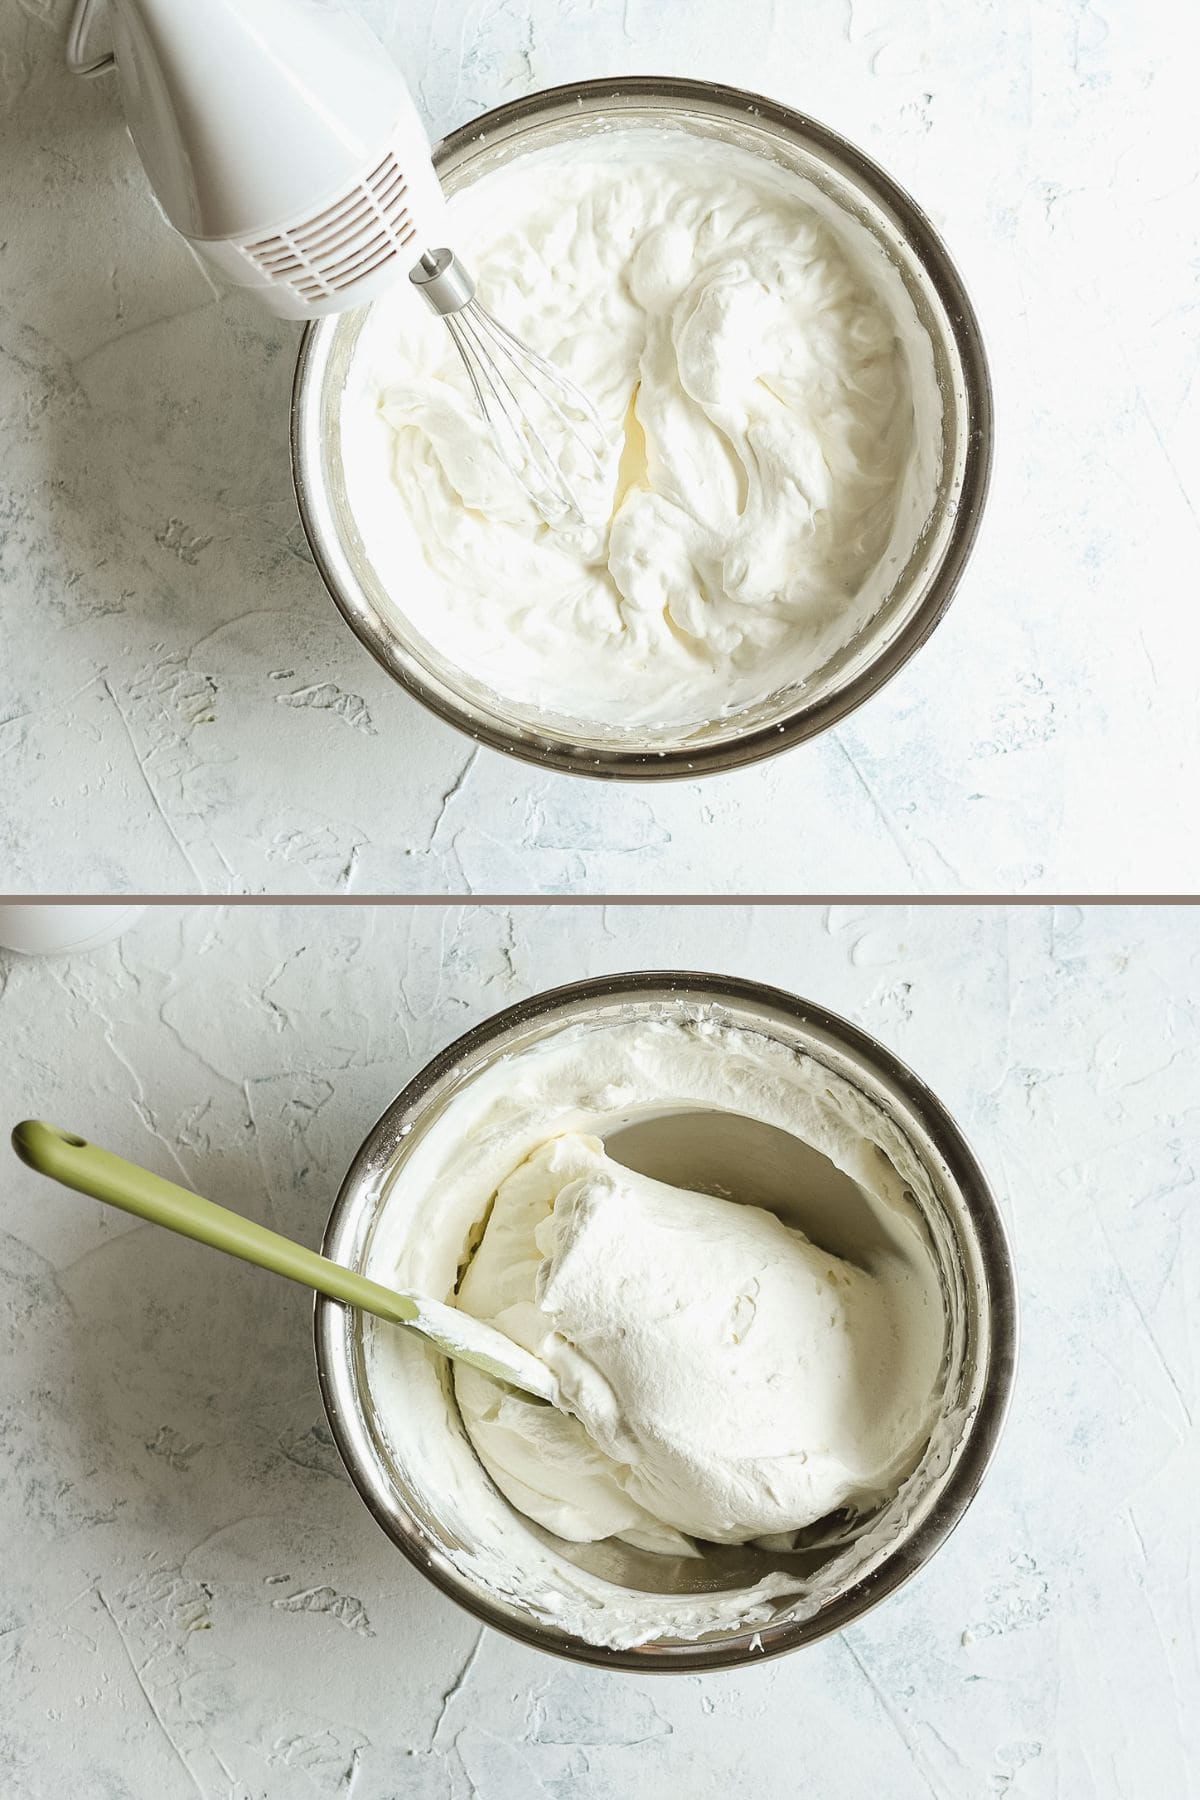
Beat until the whipped cream is beginning to show defined tracks as you move the mixer around and it feels/look thick. This may take a few minutes, usually 3-4 minutes. Begin checking the whipped cream by stopping your mixer and checking for “peaks”. Most recipes will suggest looking for soft, medium, or stiff peaks depending on how the whipped cream will be used.
Larger amounts of whipped cream take longer to whip. If you double this recipe, you might be whipping for a few extra minutes.
For myself, I usually whip to soft or medium peaks (see explanation below) checking frequently by pausing the mixer (or finishing up by hand with a whisk).
What are peaks?
A peak is simply the visual of what’s on the end of the whisk when you turn off the mixer and either raise the mixer head or pull the hand mixer away from the bowl.
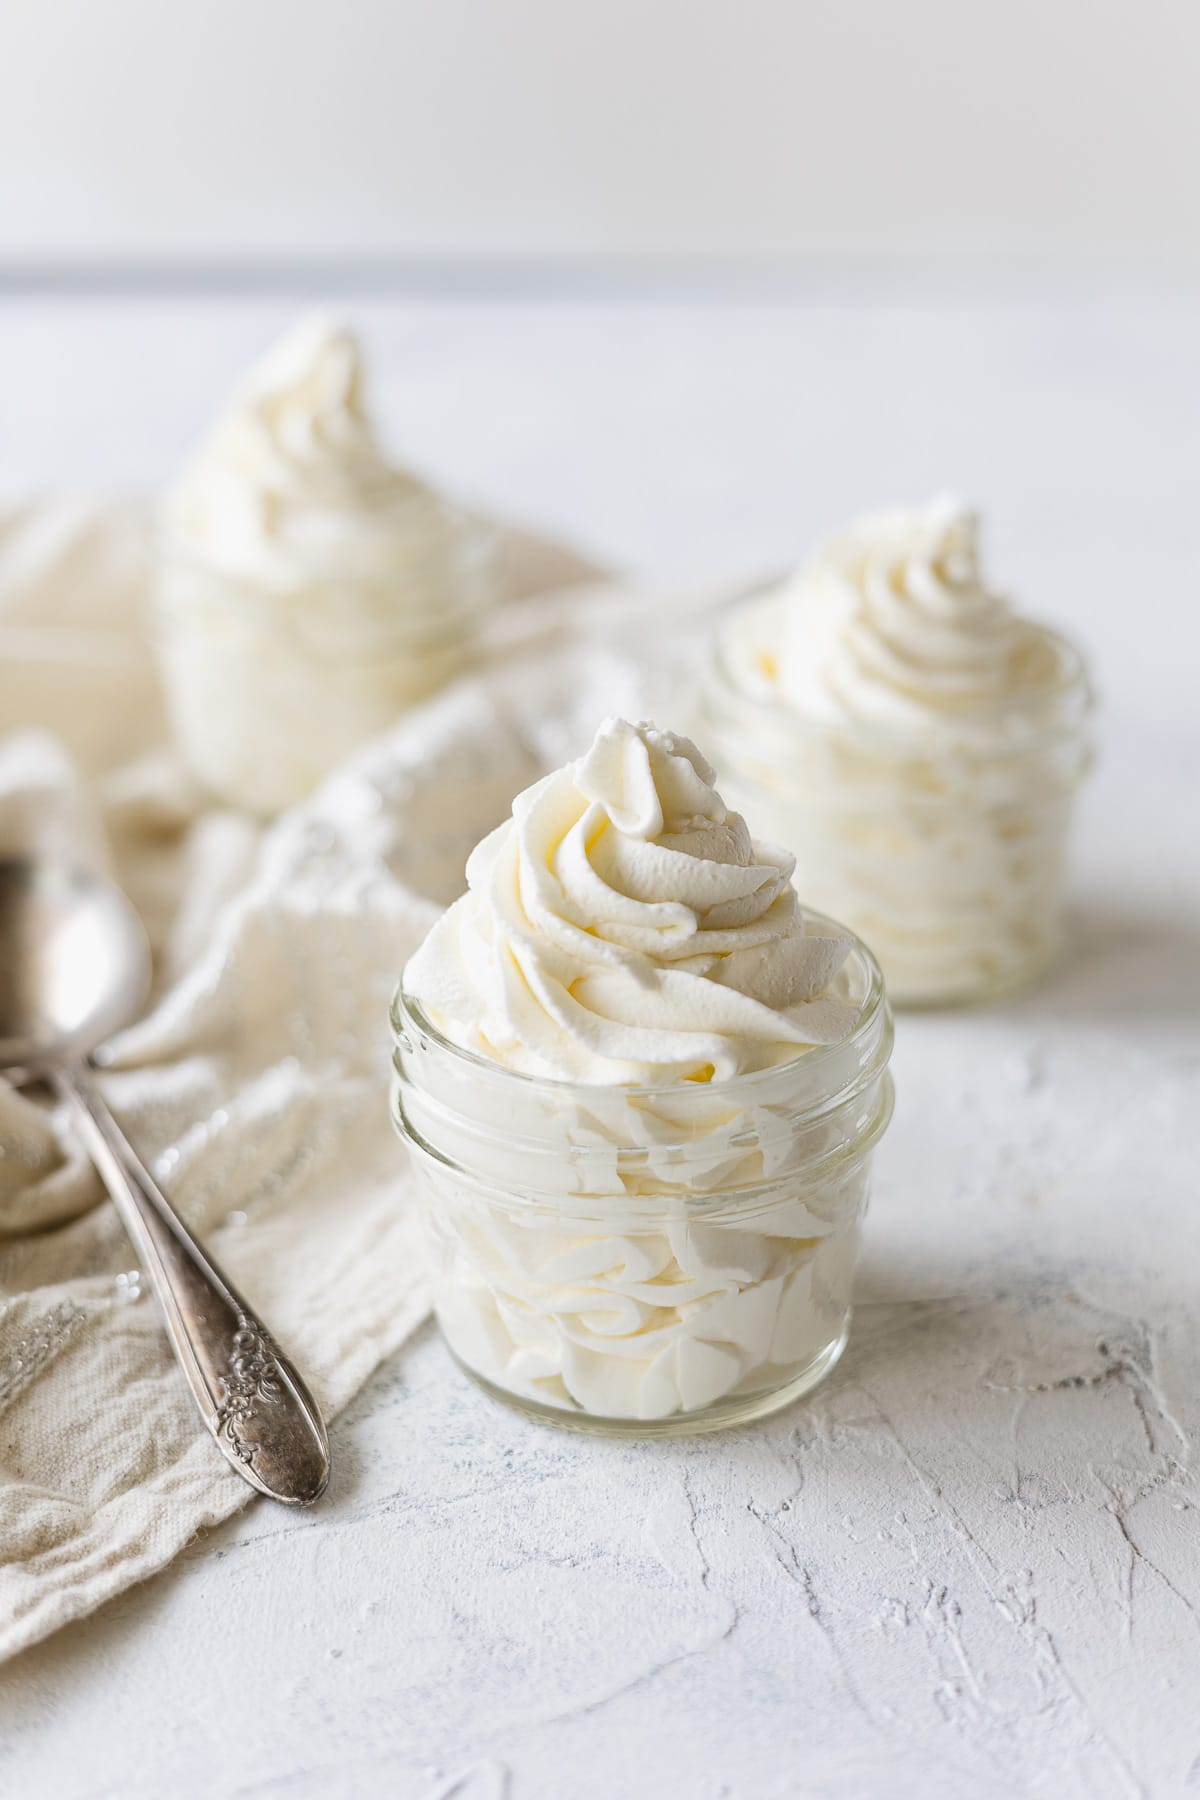
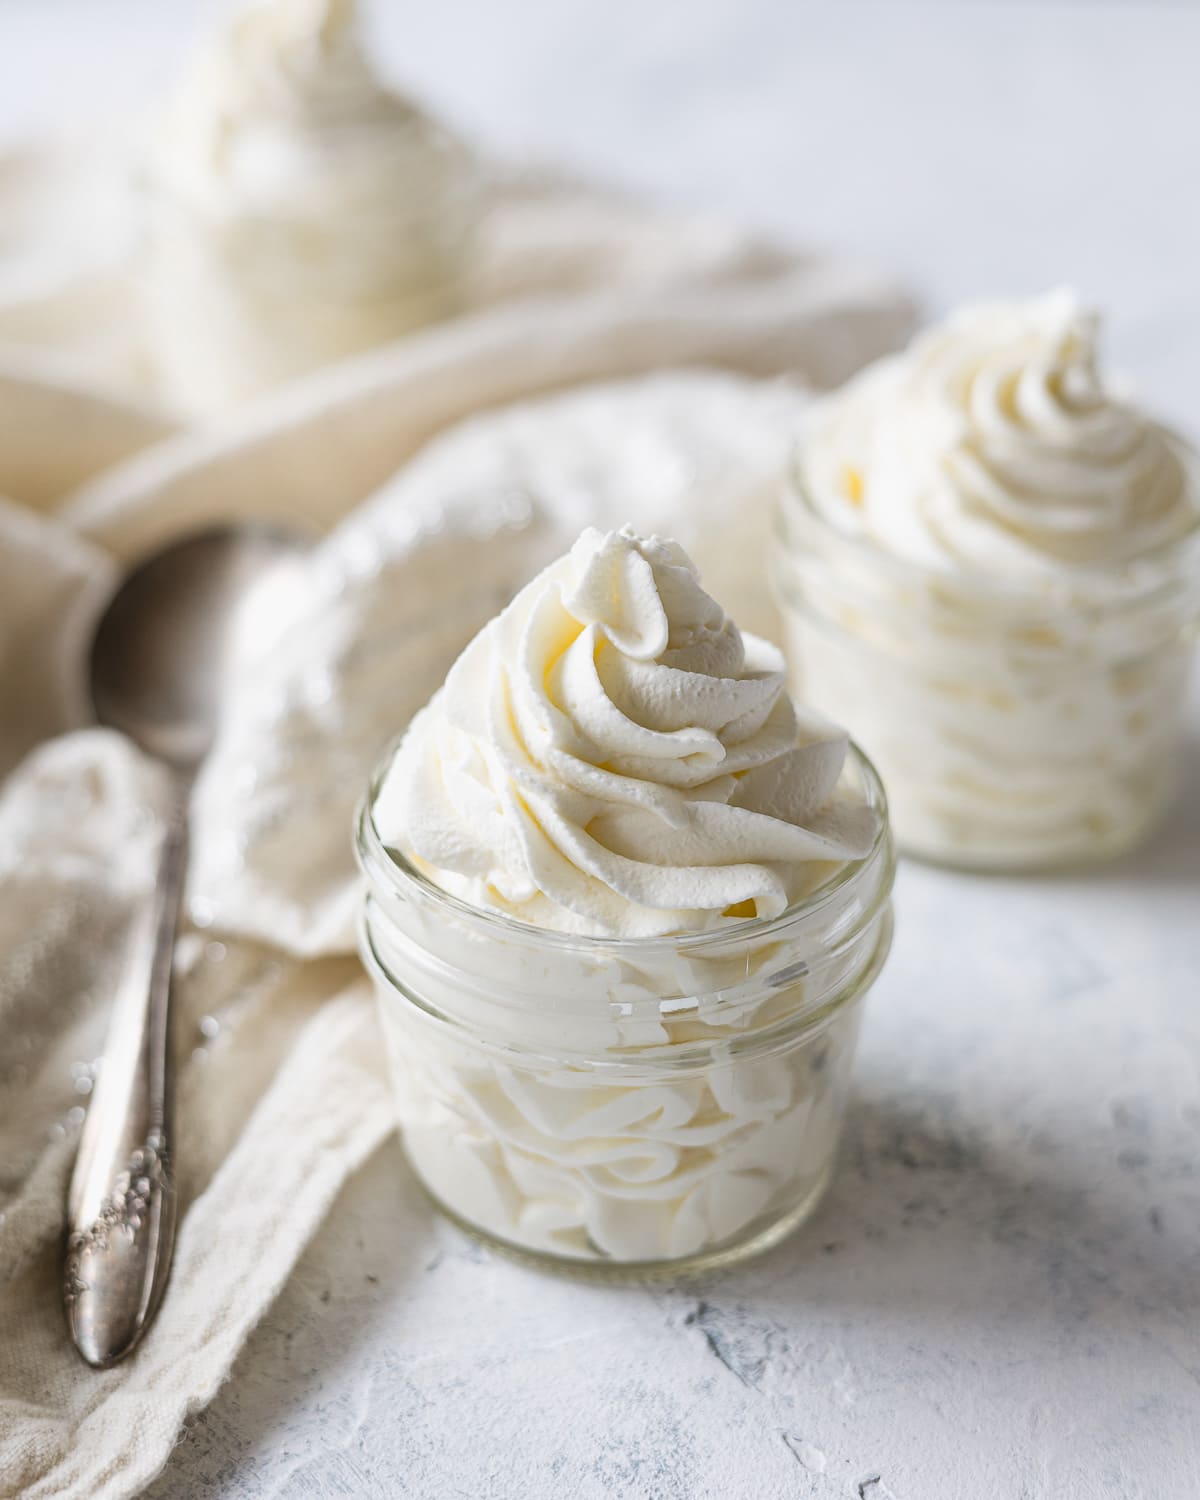
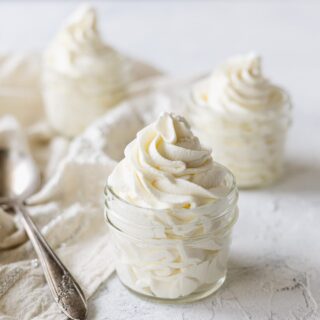
- Soft peaks – These are peaks that just flop over. A soft billowy cream that melts in your mouth. Fantastic for topping desserts like strawberry shortcake or cobbler. Best for scooping and swirling, not piping. I usually stop mixing at this point and whip the cream just a bit more by hand with a whisk and use it.
- Medium peaks – A peak of cream that holds its shape, but flops over at the top. Medium or stiff peaks are best for piping. This is the ideal whipped cream texture in my opinion!
- Stiff peaks – A stiff peak of cream that holds its shape and does not flop at all. This is a tricky stage to reach because it’s really easy to overdo it! Great for piping.
If the whipped cream is overbeaten, you’ll know. It’ll go from thick billowy peaks to clumpy and stiff. At this point, the cream can still be salvaged. Switch to using a spatula and gently fold in drizzles of un-whipped heavy cream (you might need a tablespoon or a few tablespoons) until the texture is once again smooth and fluffy.
How to Make Sugar-Free Whipped Cream
If you are looking for a version of whipped cream that is free of processed sugar, you can try my Honey Whipped Cream recipe. It has a light honey flavor and works for people who can eat honey, but not conventional sugars.
You could also try agave nectar or pure maple syrup.
You can also completely omit the sugar from the recipe. The cream will be a bit less stable (since we are omitting the cornstarch found in the powdered sugar), but still excellent.
How Long Will It Last?
Whipped cream is best used immediately, but will keep several hours in the fridge.
The stability is greatly helped by using chilled bowl/beaters/whisk and a higher amount of sugar like this recipe uses (this is a tip I learned from Stella Parks at Serious Eats). If you modify either of these, you might find that the whipped cream does not last as long.
Whipped cream will also keep for up to 4-5 days in the fridge, but the texture will deteriorate and separate. You can whisk it back it up (great for topping coffees or pancakes), but whipped cream is one of those treats that is best eaten fresh!
More Flavors To Try
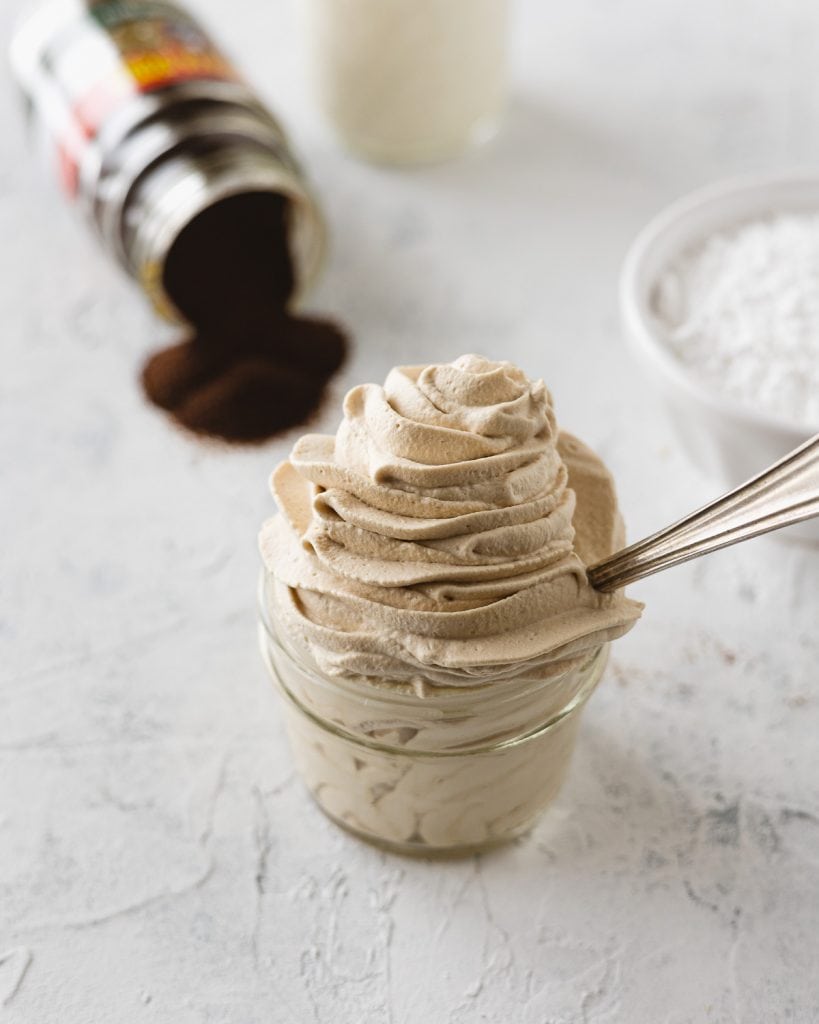
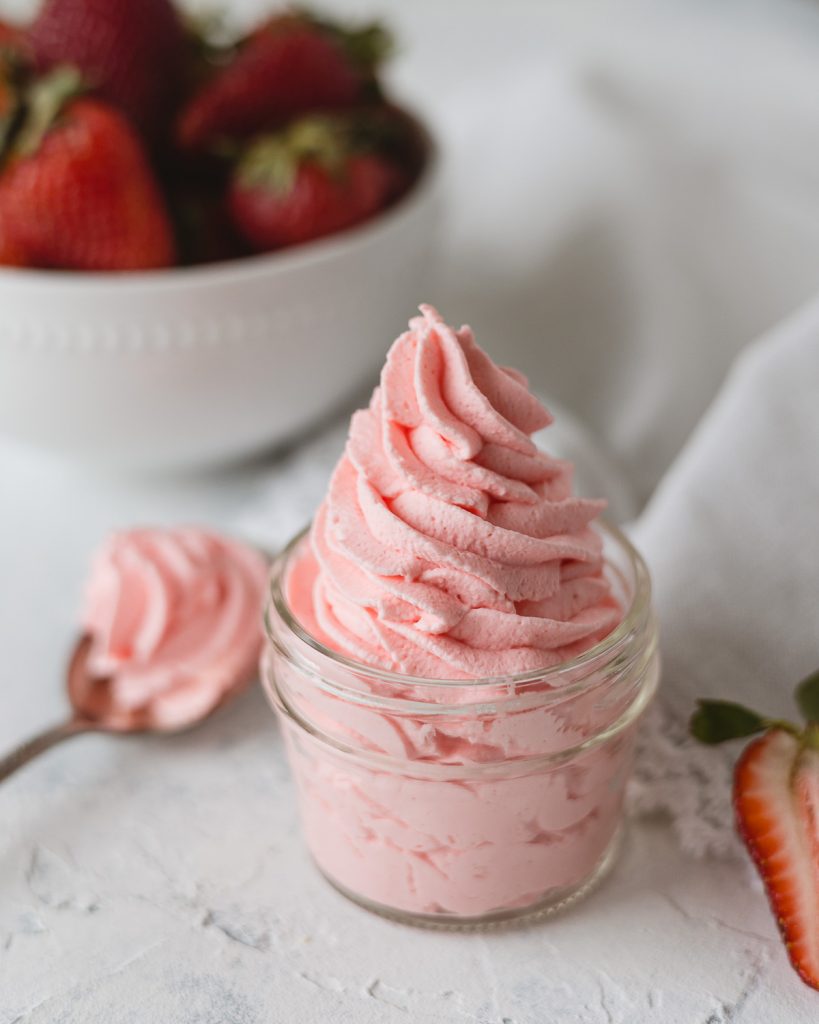
I love experimenting with different flavors. Try out using Nutella, Biscoff, or even jello mix to make different flavors in the recipes below:
More Whipped Cream: Check out all these variations of whipped cream you can make.

How to Use the Whipped Cream
I use homemade whipped cream to top just about any type of treat/dessert. Breakfast or brunch foods like pancakes, waffles, crepes, and fresh fruit are great. Coffee, of course! It’s the perfect topping for ice cream, mason jar desserts, the possibilities are endless.
Homemade Whipped Cream
Ingredients
- 1 cup heavy whipping cream well chilled
- ¼ cup confectioners' sugar (also known as powdered sugar)
- ¼ teaspoon vanilla extract
Instructions
- Start by placing a metal bowl and the whisk attachment for either a hand mixer or a stand mixer in the freezer. Allow to chill for fifteen minutes. Optional, but improves the texture and stability of the whipped cream.
- Remove bowl and whisk from freezer and pour in the heavy whipping cream, sugar, and vanilla extract. Begin to whisk on low until the mixture starts to thicken and foam.Using a bowl and whisk? Settle in and grab a friend to help out, because it'll take a little longer to make whipped cream this way!
- Once the mixture is foamy, turn up the speed on the mixer to medium/medium high. Continue at this rate until tracks from the whisk start to form in the cream and it becomes thick–about 3 minutes. This will take longer for larger batches of cream.Begin checking the cream frequently for soft, medium, or stiff peaks. Turn off the mixer, pull the whisk away and check the consistency of the "peak" that forms on the whisk. See explanations below:
- Soft peaks – These are soft billowy peaks that just flop over. Best for scooping and swirling, not piping. Medium peaks – A peak of cream that holds its shape, but flops over at the top. Medium or stiff peaks are best for piping. This is the ideal whipped cream texture in my opinion!Stiff peaks – A stiff peak of cream that holds its shape and does not flop at all. Careful, it's easy to go overwhip here! Stiff peaks are great for piping.Overbeaten – Not quite butter, but the cream has become overly stiff and clumpy. See notes on how to salvage this outcome.
- Be sure to keep a close eye on the whipped cream and don't walk away (if using a stand mixer). Use fresh whipped cream immediately or pop it in the fridge until ready to use.
Notes
Nutrition
Fellow Crumbl Fans!
Join my list and get a weekly email with fresh Crumbl news, delicious copycat recipes, and more!