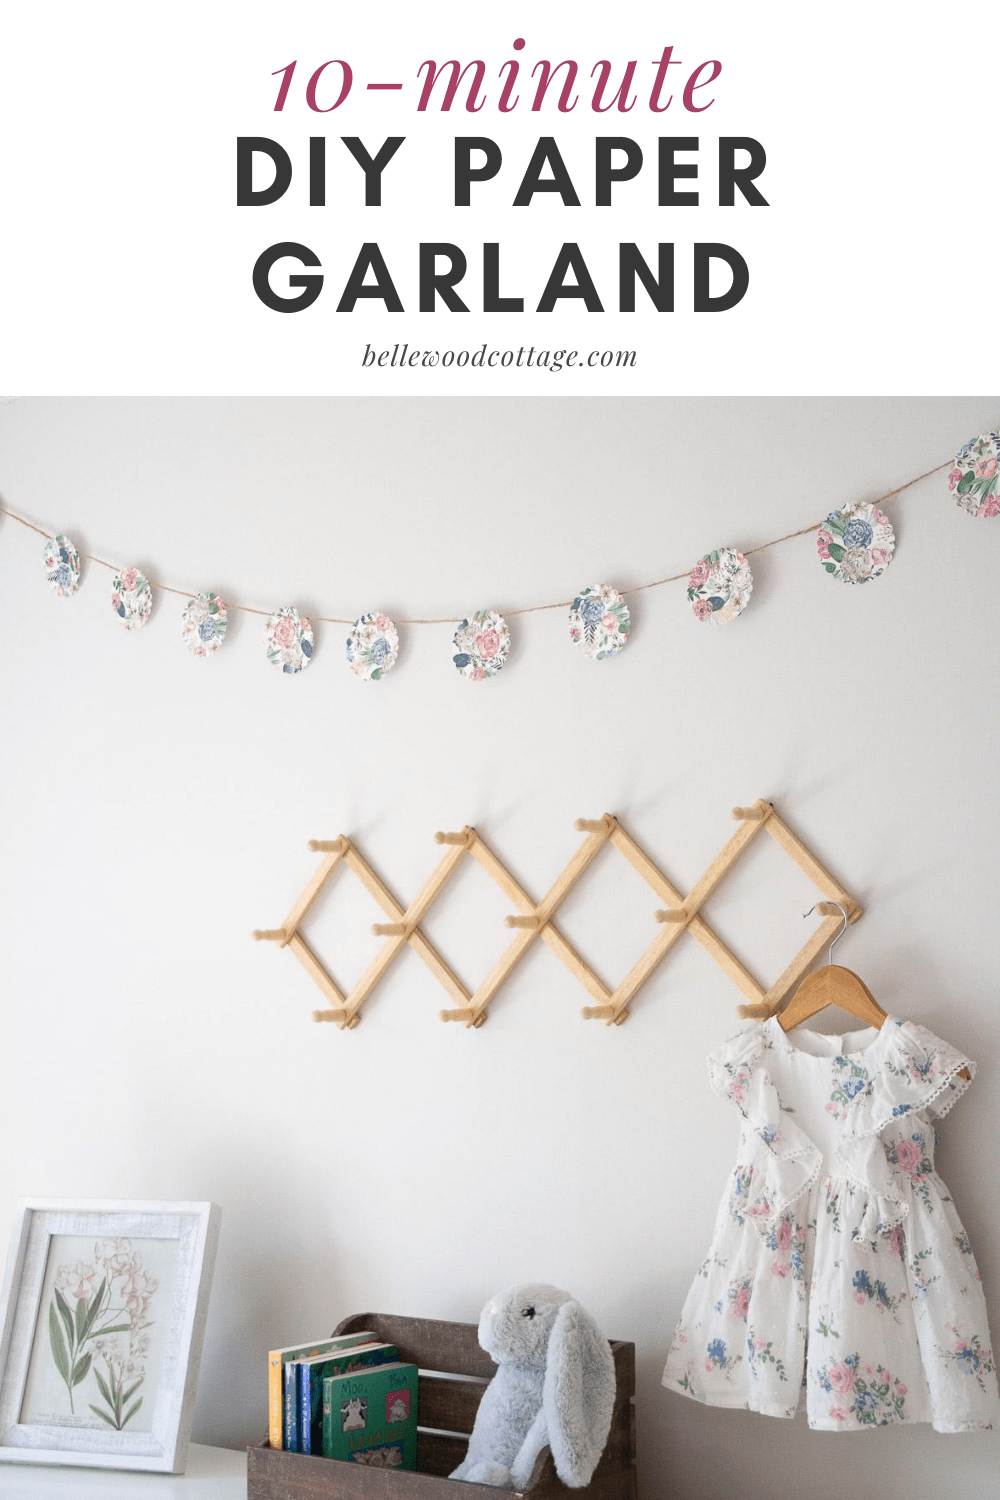
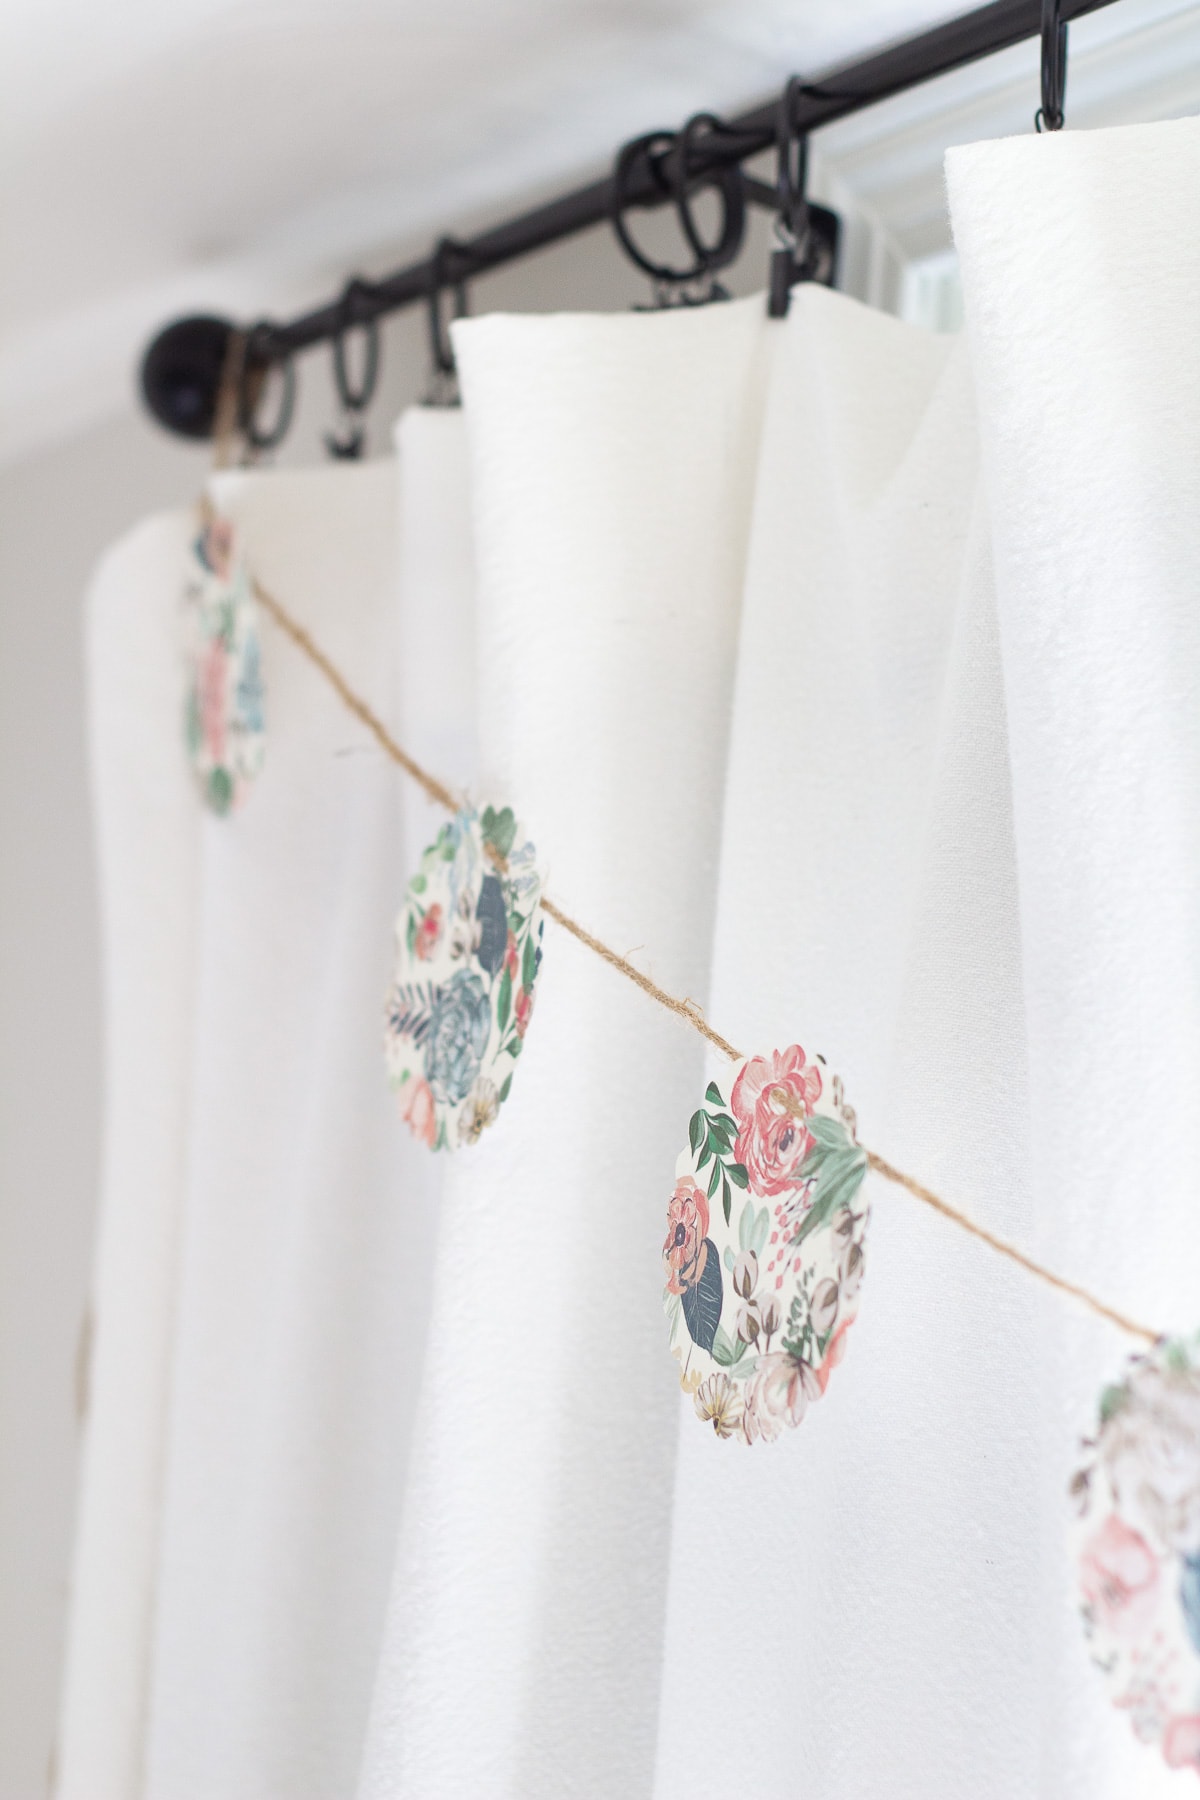
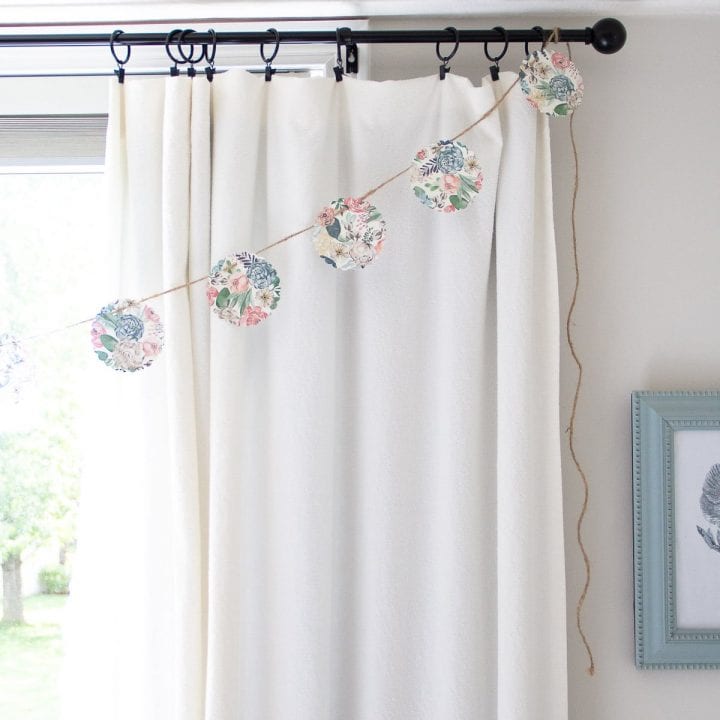
10-Minute No-Sew Paper Garland
Looking for paper garland ideas? Use this easy 10-minute no-sew paper garland for baby shower decorations, bridal shower decorations, or as the perfect solution to decorate your home or apartment on a budget. This garland does not require a cutting machine. Enjoyed this craft? Try this Teapot Garland next!
Please note that this post contains affiliate links which allow me to earn a small commission when a purchase is made at no additional cost to you. As an Amazon Associate I earn from qualifying purchases. Read more here.
Safety note! Please always hang your garlands securely and away from children and pets!
What Do I Need to Make this Paper Garland?
No fancy machines needed here! All you need to make this paper garland are the following supplies:
Weekly Crafting Fun!
Join my list and get a weekly email with relaxing craft ideas, freebies, sewing tutorials, and more!
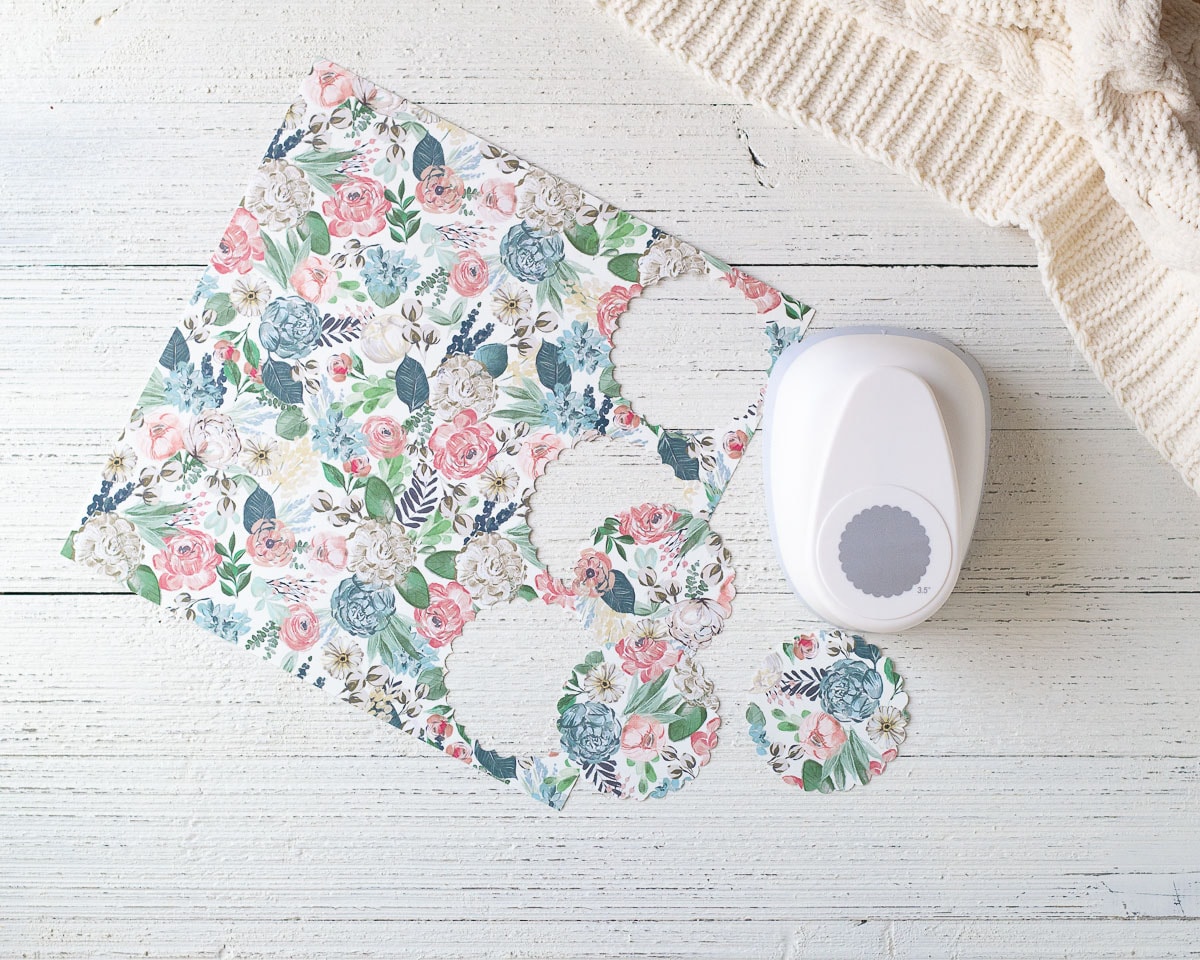
- 12″x12″ scrapbook paper (at least 2 sheets to make the garland shown)
- 3.5″ scalloped paper punch (I used one from Hobby Lobby, but here’s an Amazon version)
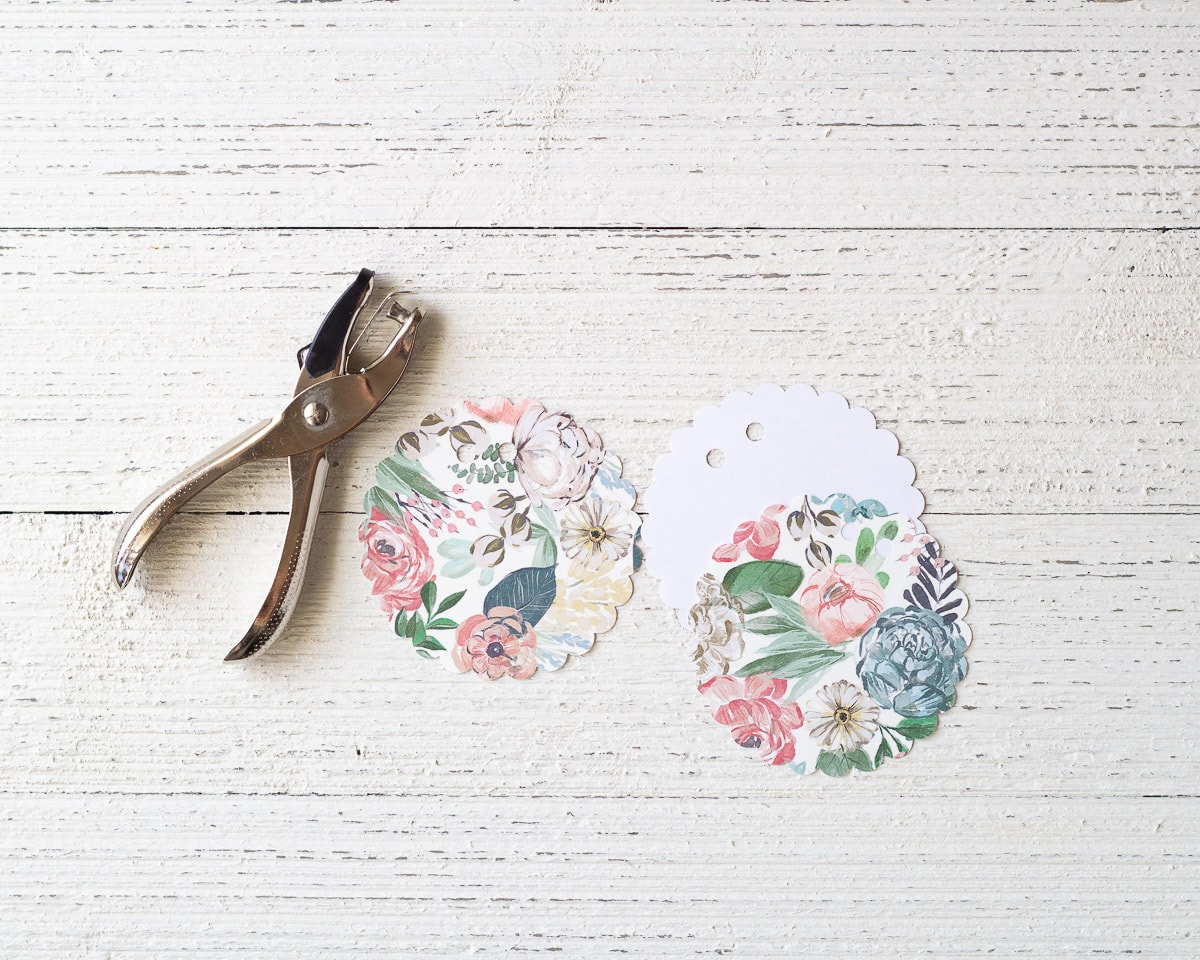
- 1/4″ hole punch
- 12′-14′ twine
- scissors
Note: Find all the instructions and a printable “how-to” card below!
You can even experiment with different types of paper. I recommend using something that is at least the weight of scrapbook paper, but you can try cardstock, metallic, or textured papers for unique garlands.
Once you have the punches on hand it’s easy to pick up different paper and create garlands for baby showers, bridal showers, Christmas, Valentine’s Day and more.
How to Make a No-Sew Paper Garland
Do I need to have a sewing machine for this garland? Nope! If you want to make a paper garland without sewing or a sewing machine, then you’ve come to the right place.
You will punch large circles from scrapbook paper, add some smaller punches to thread twine through, and then thread a long (12′-14′) piece of twine through the punched circles. It’s super easy and you don’t need a sewing machine!
How to Customize Your No-Sew Paper Garland
If you want a little more pizzazz, consider using metallic papers, punching different shapes, or stringing the shapes onto fancy yarn or metallic twine. You could make lots of punched circles and layer them closer together.
Or, maybe try making a two-strand garland. You could punch circles from a patterned piece of paper and a solid-colored piece of paper and mix-and-match. Have fun!

Tip: How to Save Money on Your Paper Punch
If you don’t already own a scalloped punch, then it can feel a little expensive for this simple project. They usually are about $20-25 for this size, so next time your local craft store runs a 40% or 50% off coupon, use it to go grab this punch!
10-Minute No Sew Paper Garland
Materials
- 2 (or more) sheets of 12"x12" scrapbook paper
- 12'-14' of sturdy twine
Tools
- 3.5" scalloped paper punch
- 1/4" hole punch
- scissors
Instructions
- Use your 3.5" scalloped paper punch to punch nine circles per sheet of scrapbook paper. Punch three across the bottom edge, then trim the excess (so you have room to bring the punch forward), and repeat until you have as many circles as you wish for your garland. I used 14 circles for a 12' garland.

- Punch two adjacent (1/2” apart) holes on each circle with 1/4" punch (1/2” from edge).
- Cut a 12’-14’ piece of twine (12’ length shown).
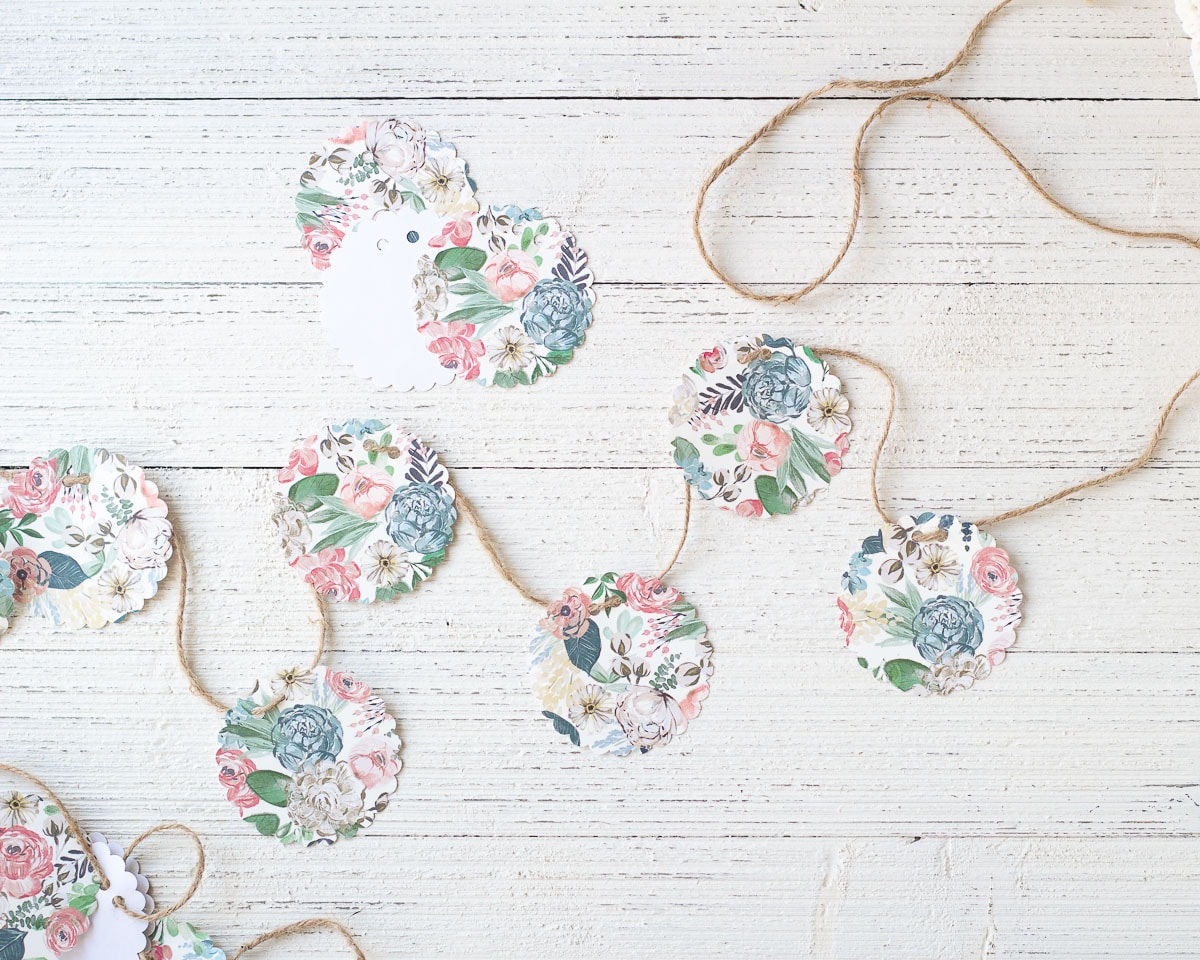
- Weave twine through small holes. Up through the first, down through the second.
- Space out punched circles as you wish.
- Hang the garland (tie it onto a curtain rod for a quick décor change!)
Notes
You can get nine circles per sheet of scrapbook paper, so it's easy (and inexpensive) to make the garland as long as you need!
Customize it! Try these ideas:
- use metallic papers
- punch different shapes
- string the punched shapes onto a fancy yarn or metallic twine
- double up the amount of punched shapes and string them close together
- make a two-strand garland
- mix-and-match prints and solid colored papers for variety
More Ideas from Bellewood Cottage
- How To Bleach Drop Cloths Successfully
- How to Paint Baseboards around Carpet | Tips + Video Tutorial
- What Is So Great About Chalk Paint?
- Make Your Own DIY Rustic Headboard
Weekly Crafting Fun!
Join my list and get a weekly email with relaxing craft ideas, freebies, sewing tutorials, and more!