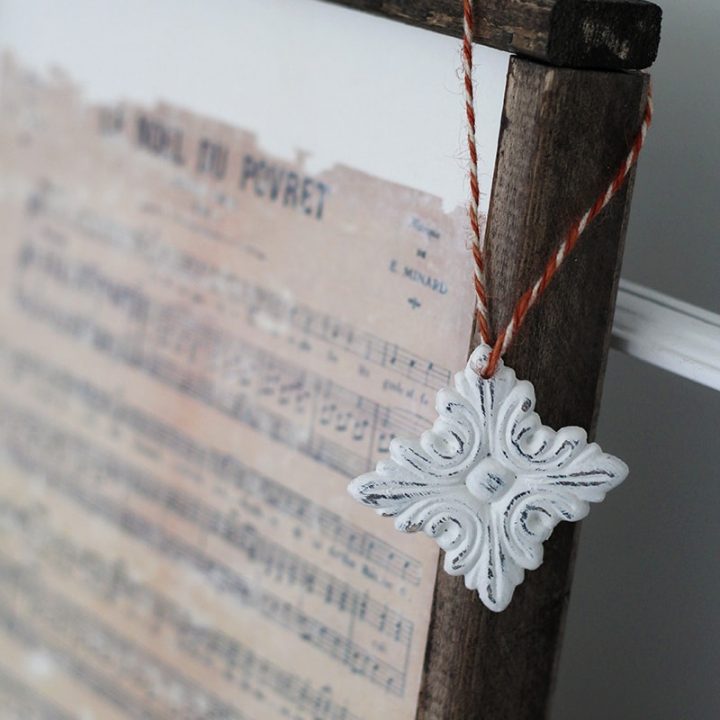
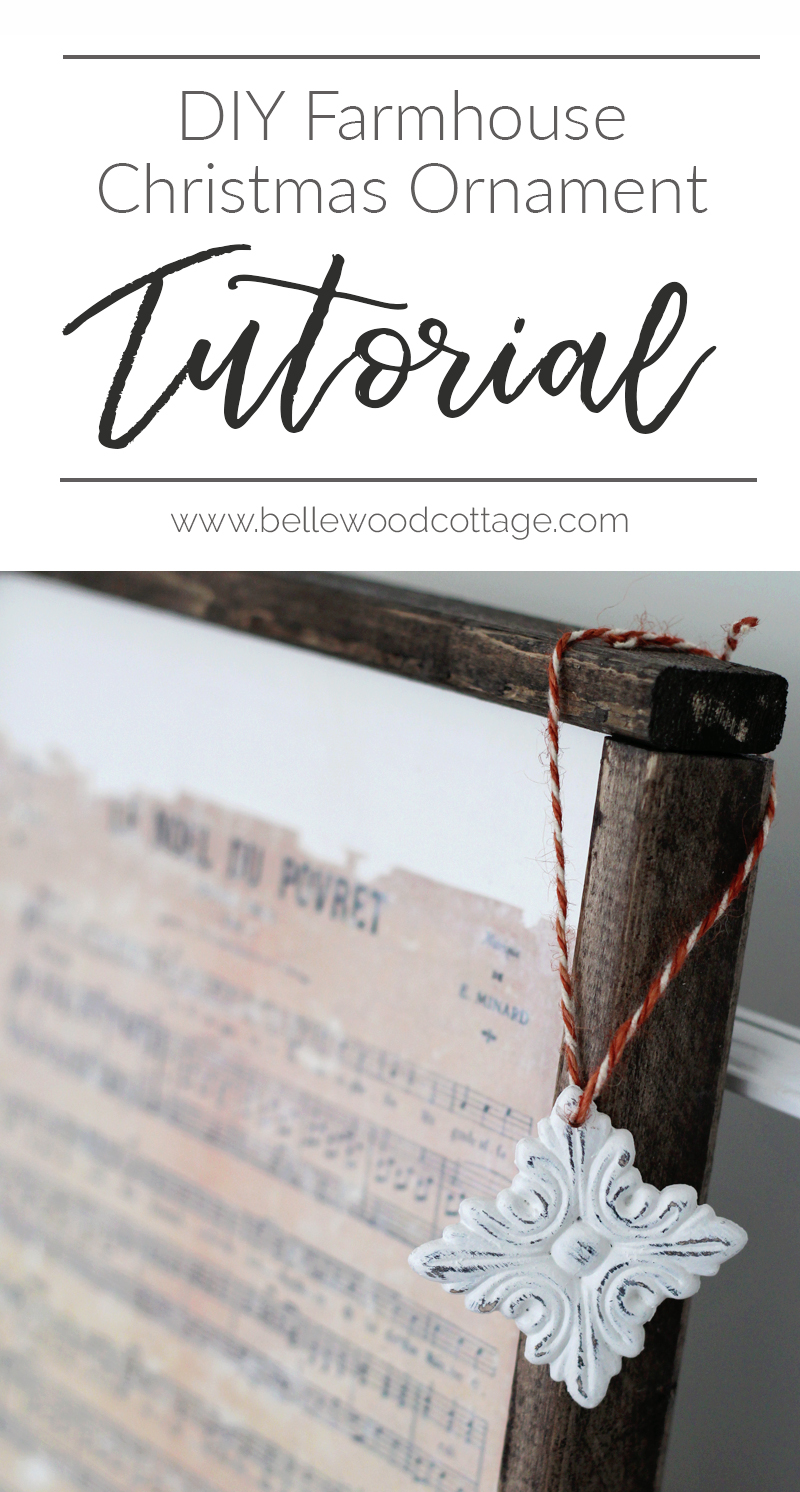
DIY Farmhouse Christmas Ornament Tutorial
An easy tutorial for how to make this DIY Farmhouse Christmas Ornament with supplies like chalk paint and inexpensive wood appliqués.
Please note that this post contains affiliate links which allow me to earn a small commission when a purchase is made at no additional cost to you. As an Amazon Associate I earn from qualifying purchases. Read more here.
This DIY Ornament Craft Will Fit Into Any Schedule
I don’t know about you, but I find that December can be a crazy-busy time of year. In fact, finding time for a DIY project might feel 100% impossible. But quick projects like this simple ornament are easy to fit into a free afternoon.
This little DIY farmhouse Christmas ornament is a great choice to work on together as a family. It’s an easy and quick craft and you can’t have too many on your farmhouse style Christmas tree!
Weekly Crafting Fun!
Join my list and get a weekly email with relaxing craft ideas, freebies, sewing tutorials, and more!
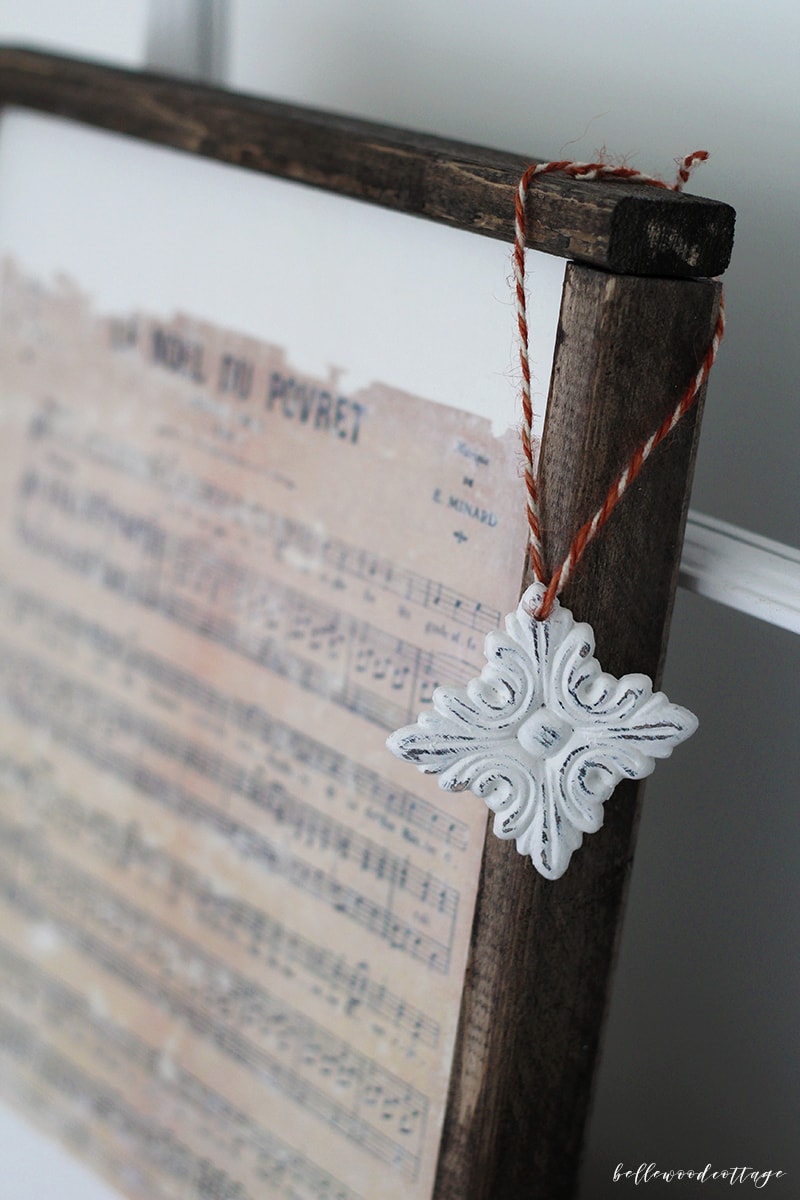
I started this farmhouse Christmas ornament on a whim. I wanted to make some pretty ornaments to fill our tree and of course, they had to be budget friendly.
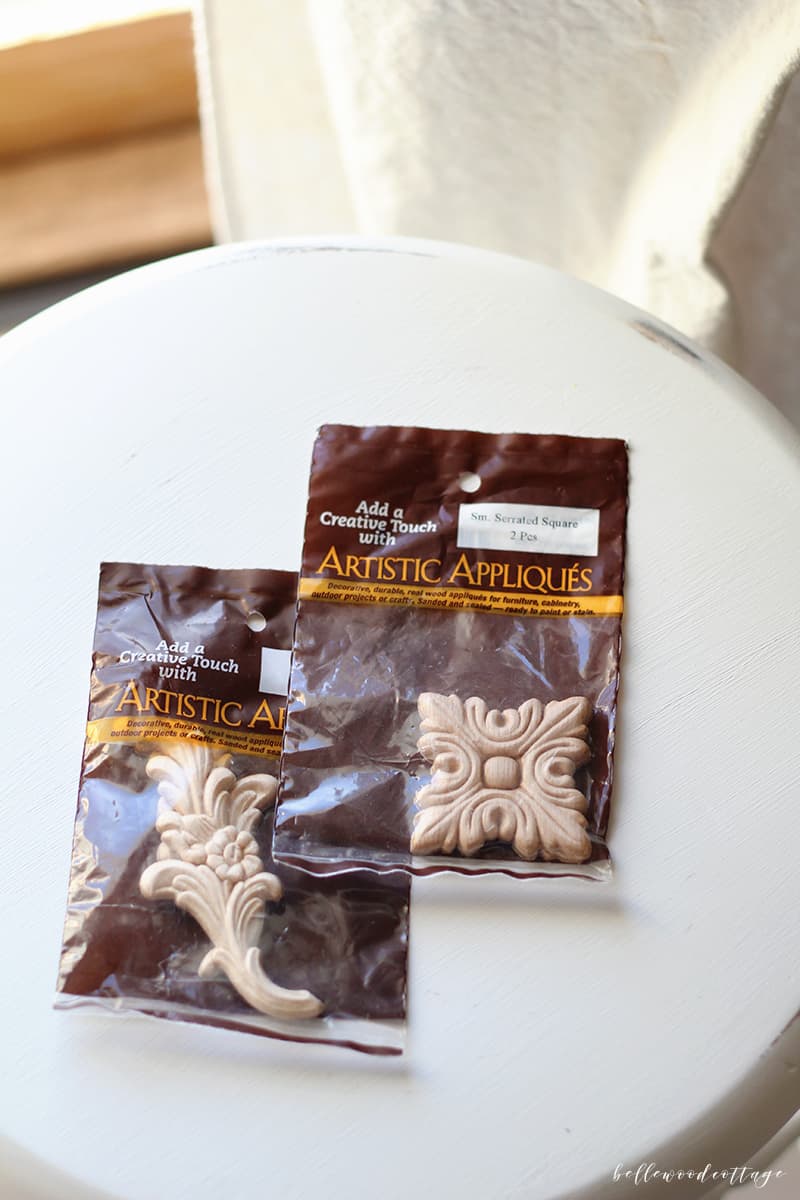
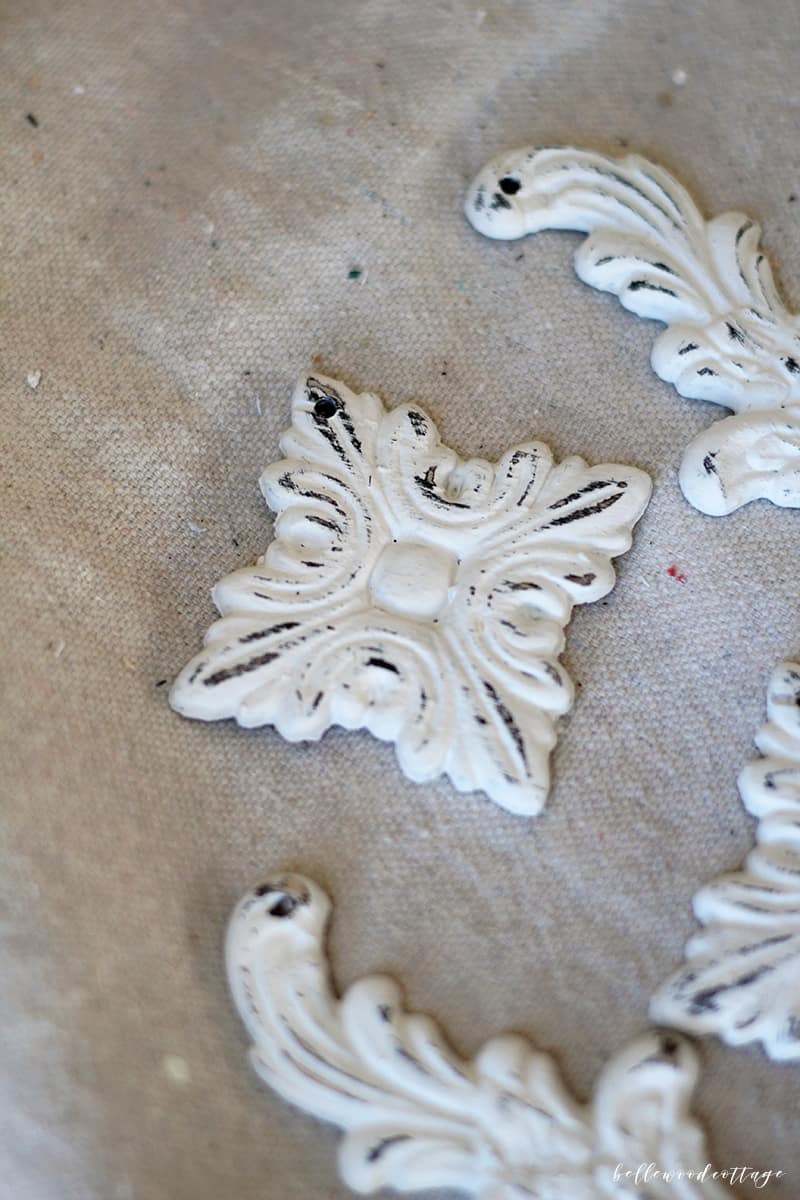
Perusing the aisles of Hobby Lobby led me to these pretty wood appliqués. A little time and some chalk paint later and I had four sweet farmhouse-y Christmas ornaments.
How to Make a DIY Farmhouse Christmas Ornament
The supply list is short for this one project. All you really need are some wooden appliqués, painting supplies, and a drill to make holes. I’ve linked to the appliqués I used below as well as a few other options. , but you can find others by searching wooden appliqués or ornamental moldings.
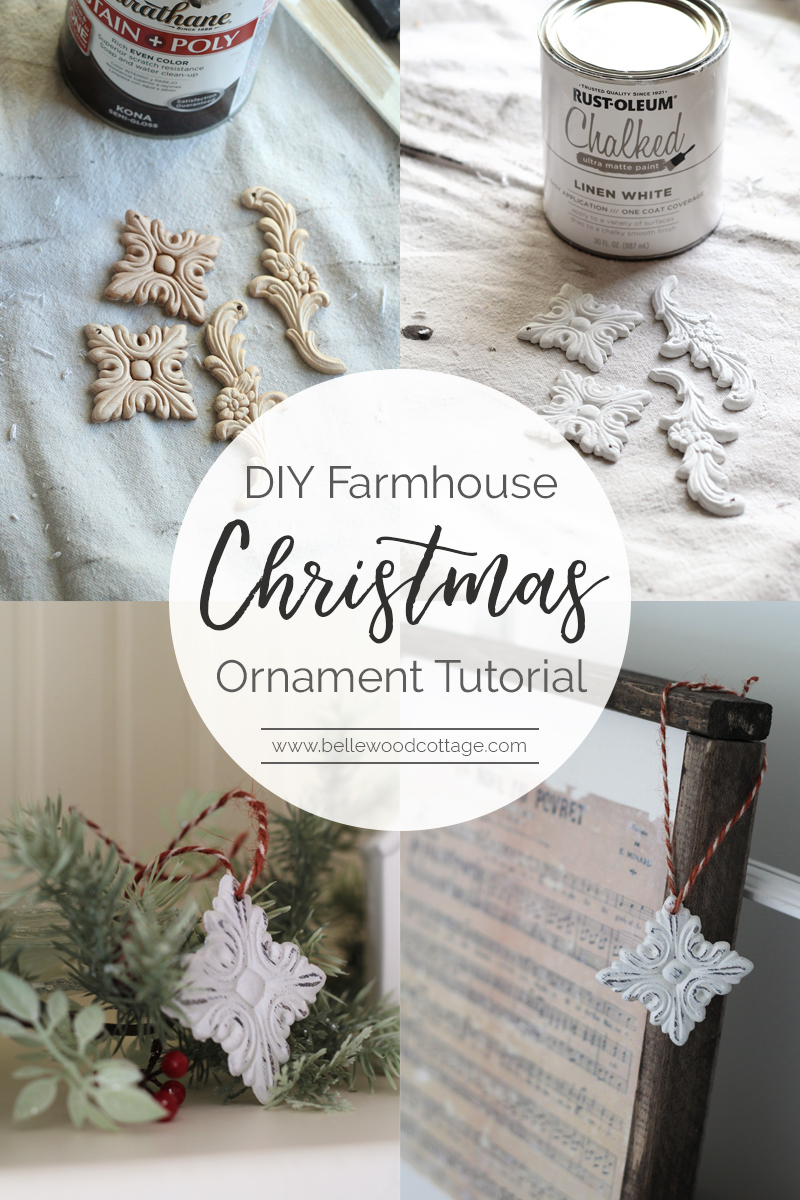
The project starts with (carefully!) drilling holes into these pretty pieces of ornamental wood. After that, you’ll use stain and chalk paint to create layers that will be distressed to give this pretty ornament a farmhouse style look.
Where to Buy Wooden Appliqués?
I used these and these (from Hobby Lobby). Just check the wood supply area of your local craft store to start. Or search any craft/home supply store online for terms like wooden appliqués or ornamental moldings.
Don’t forget to check measurements before you buy to make sure the wood ornaments will be an appropriate size!
Home Depot has tons of pretty wooden appliqués too, (just check measurements before you buy to make sure they will be an appropriate size for an ornament!)
And of course, Amazon has lots of options too! Just add a few to your cart next time you make an order!
Or search any craft/home supply store for terms like wooden appliqués or ornamental moldings.
Don’t Have a Drill?
Try using something like these mini metal screw hooks which can be gently twisted into the top of the ornament to give you a place to thread your twine. Please note: I haven’t yet tried this myself with these hooks! Leave a comment let us knowing how it goes if you try it!
Or, use hot glue! Simply make a loop of twine, knot the ends together, and hot glue to the back of your (painted and distressed) ornaments. This won’t look quite as tidy, but it will work in a pinch!
Supplies to Gather
Wooden appliqués, I used these and these (from Hobby Lobby)
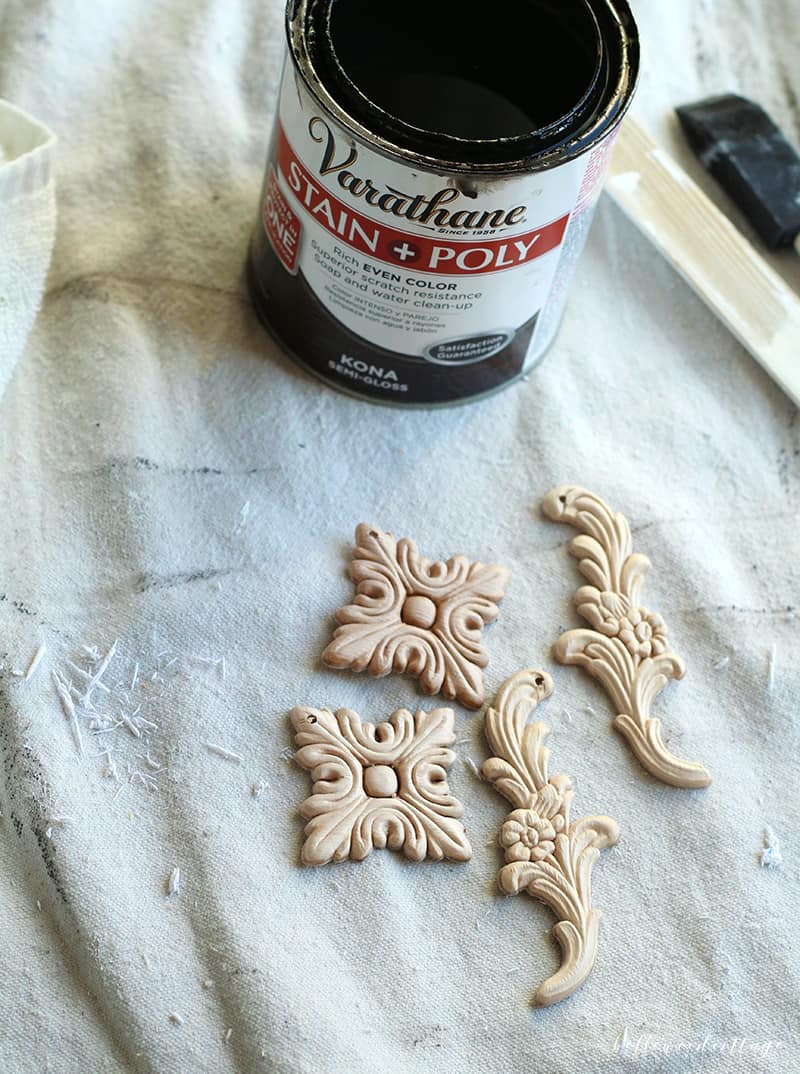
Stain (like my favorite stain+poly)
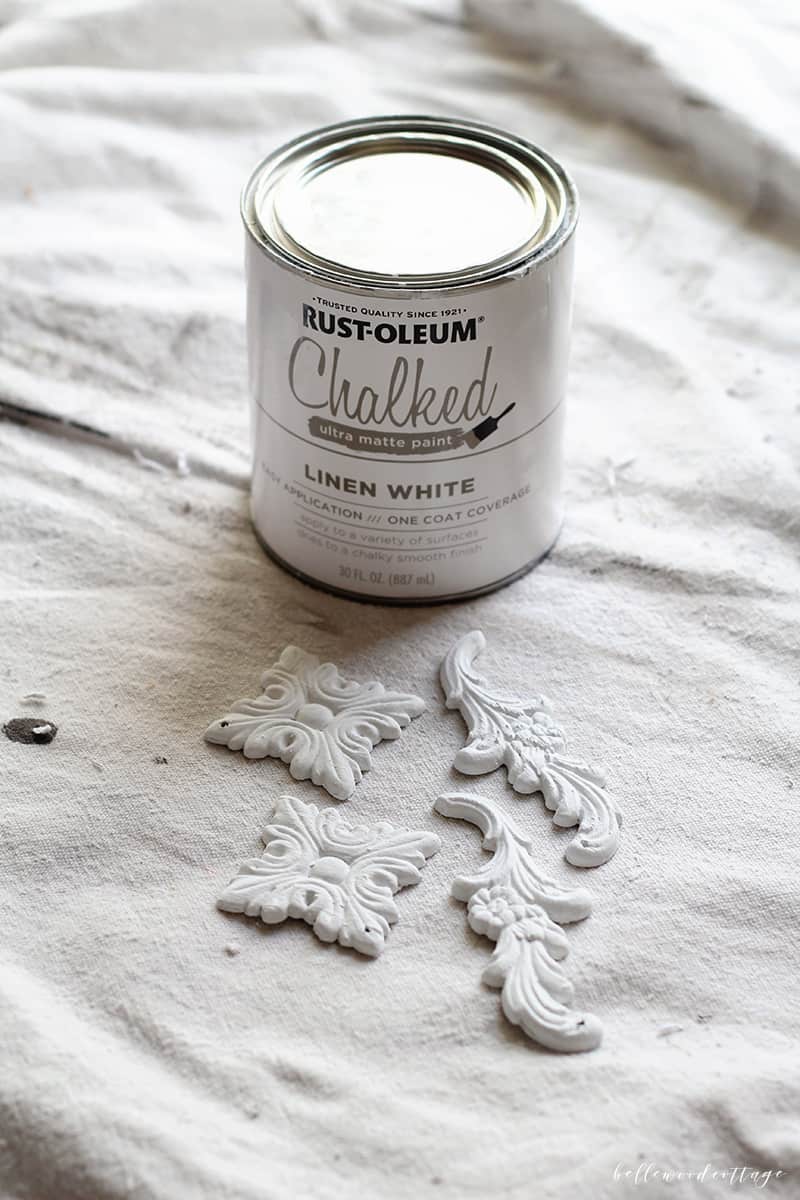
Chalk style paint (I used Rusto-leum Chalked in Linen White)
Wax or polycrylic to finish (I used Rusto-leum Matte Clear)
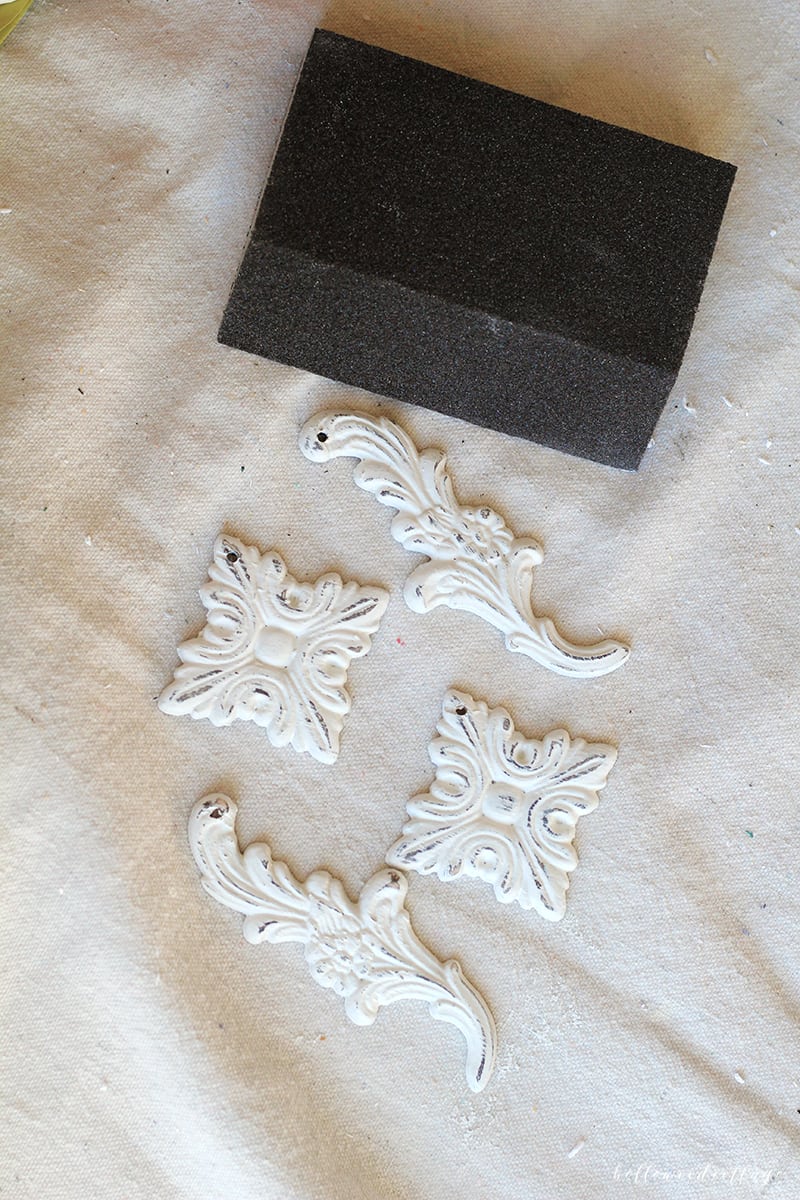
Sanding block or sandpaper
Paintbrush
Drill
Twine or yarn to hang the ornaments
DIY Farmhouse Christmas Ornament Tutorial
DIY Christmas Ornament Tutorial
Materials
- Wooden appliqués
- Wood Stain
- Chalk style paint (I used Rusto-leum Chalked in Linen White)
- Wax or polycrylic to finish (I used Rusto-leum Matte Clear)
- Twine or yarn to hang the ornaments
Tools
- Sanding block or sandpaper
- Paintbrush
- Drill
Instructions
- First off, drill an 1/8″ hole in the top of your Christmas ornament. These wooden pieces are delicate, so go slow and don’t get too close to the edge. If you don’t have a drill, find a family member or friend who would be willing to drill these for you.

- Stain your ornaments with a dark-colored stain. I like to use this Varathane stain+poly because it just requires water cleanup and has a poly finish built in. If you choose a stain with no poly, I suggest sealing the ornament with your polycrylic before the next step so the chalk paint doesn’t soak into the wood (this can leave a streaky finish). Let dry. Alternatively, you could use a black or brown colored craft paint (like FolkArt acrylic paint) instead of stain (you should be able to skip the poly coat then).

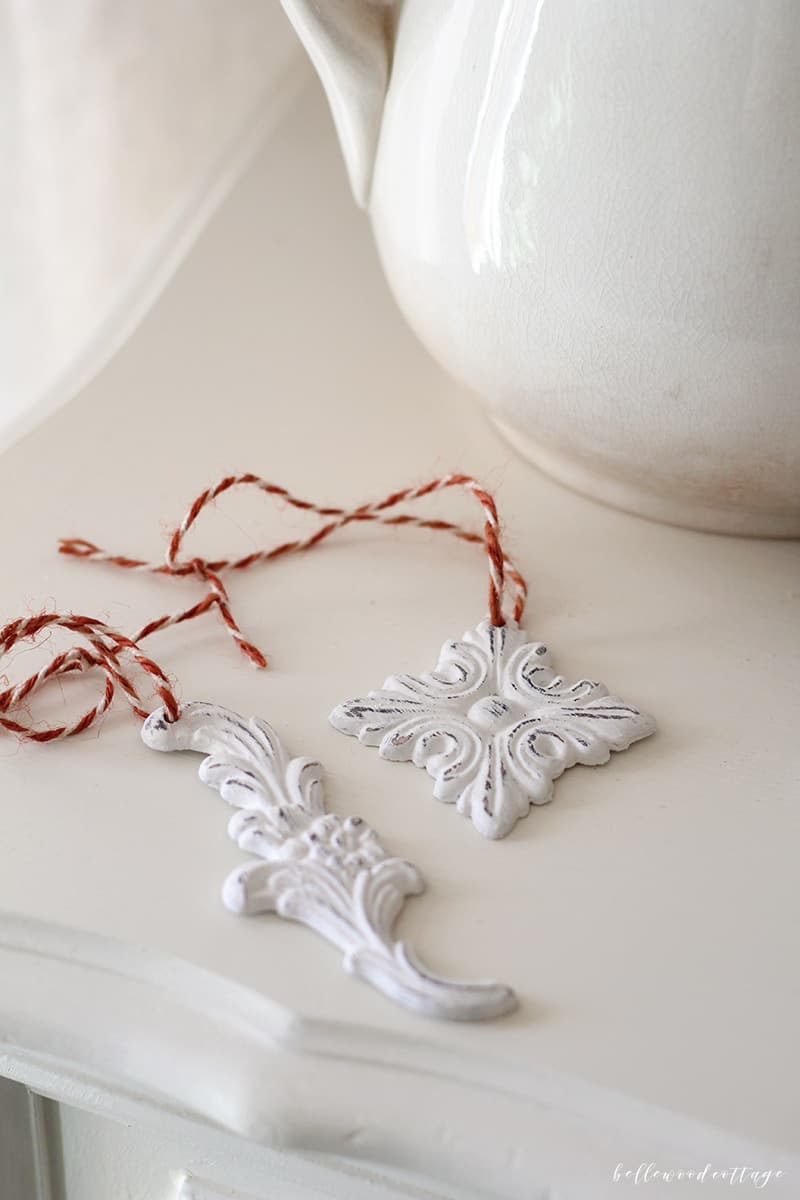
- Grab your favorite color of chalk paint (choose a light color so that there is a good contrast between your layers) and paint on a few coats. You'll need two coats plus maybe a few touch ups. Let dry.
- Once the paint has dried thoroughly, it’s time to add some character. I like to use a fine sanding block for this step. Start slow and focus on rubbing off small areas of the raised portions of the design. If you sand off too much, you’ll get down to the original light-colored wood, so I recommend a light touch to just remove the layers of chalk paint.
- Finally, cut 14″ lengths of twine or yarn. Thread the end through the hole in the ornament and tie the ends together in a tight knot. Cut the ends to about 1″ and you’re done!
Notes
Don’t have a drill?
Try using something like these mini metal screw hooks which can be gently twisted into the top of the ornament to give you a place to thread your twine. Please note: I haven’t yet tried this myself! Leave a comment let us knowing how it goes if you try it yourself!
Or, use hot glue! Simply make a loop of twine, knot the ends together, and hot glue to the back of your (painted and distressed) ornaments. This won’t look quite as tidy, but it will work in a pinch!
Recommended Products
As an Amazon Associate and member of other affiliate programs, I earn from qualifying purchases.
This is such an easy way to make a farmhouse Christmas ornament to hang on your tree this holiday season. If you give it a try, I’d love to see your finished product!
Have a Merry Christmas!

More Christmas Tutorials
- How to DIY Christmas Wall Art
- Rustic DIY Christmas Sign Tutorial
- DIY Christmas Ornaments with Vintage Cookie Cutters
- How to Style a Hutch for Christmas
Weekly Crafting Fun!
Join my list and get a weekly email with relaxing craft ideas, freebies, sewing tutorials, and more!

These ornaments are perfect! Love them!
Thank you Diane! 🙂
I love these!
Thank you friend! 🙂