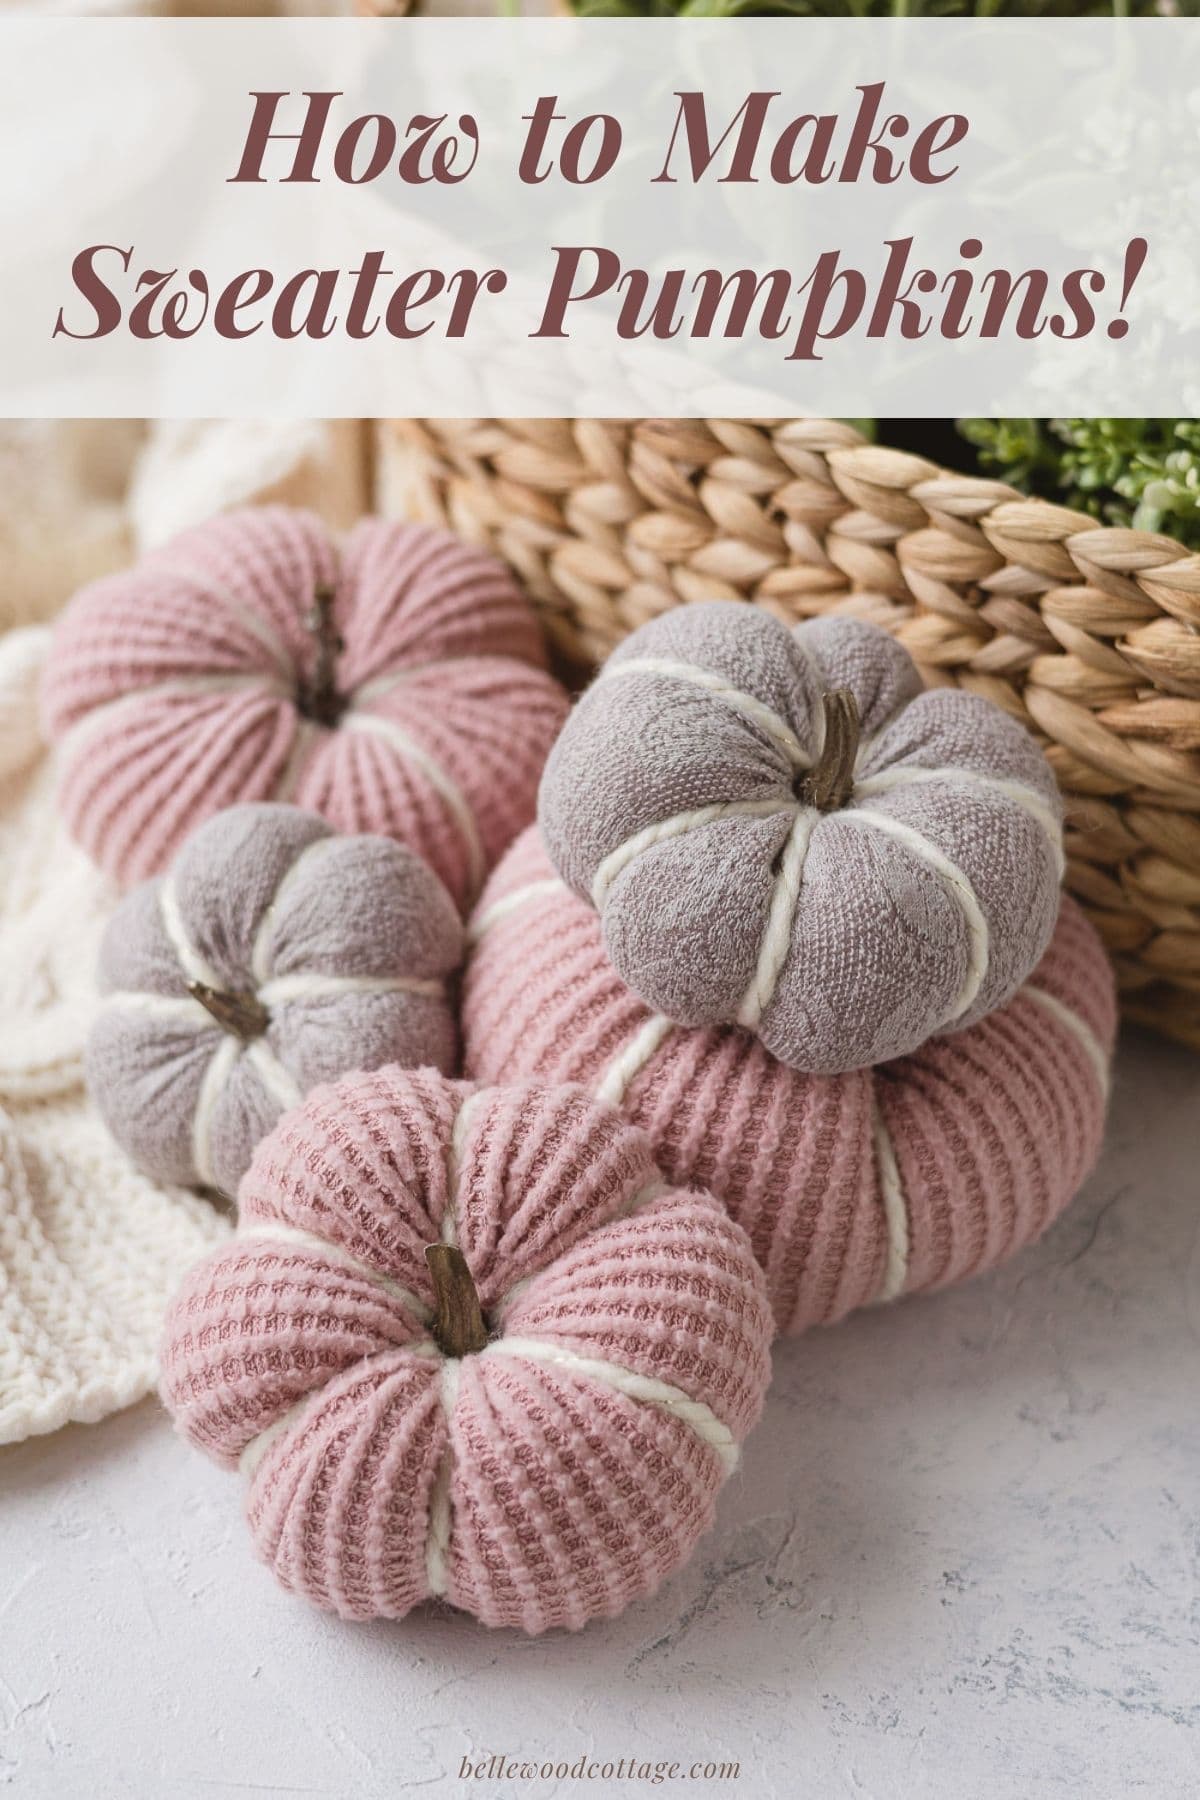
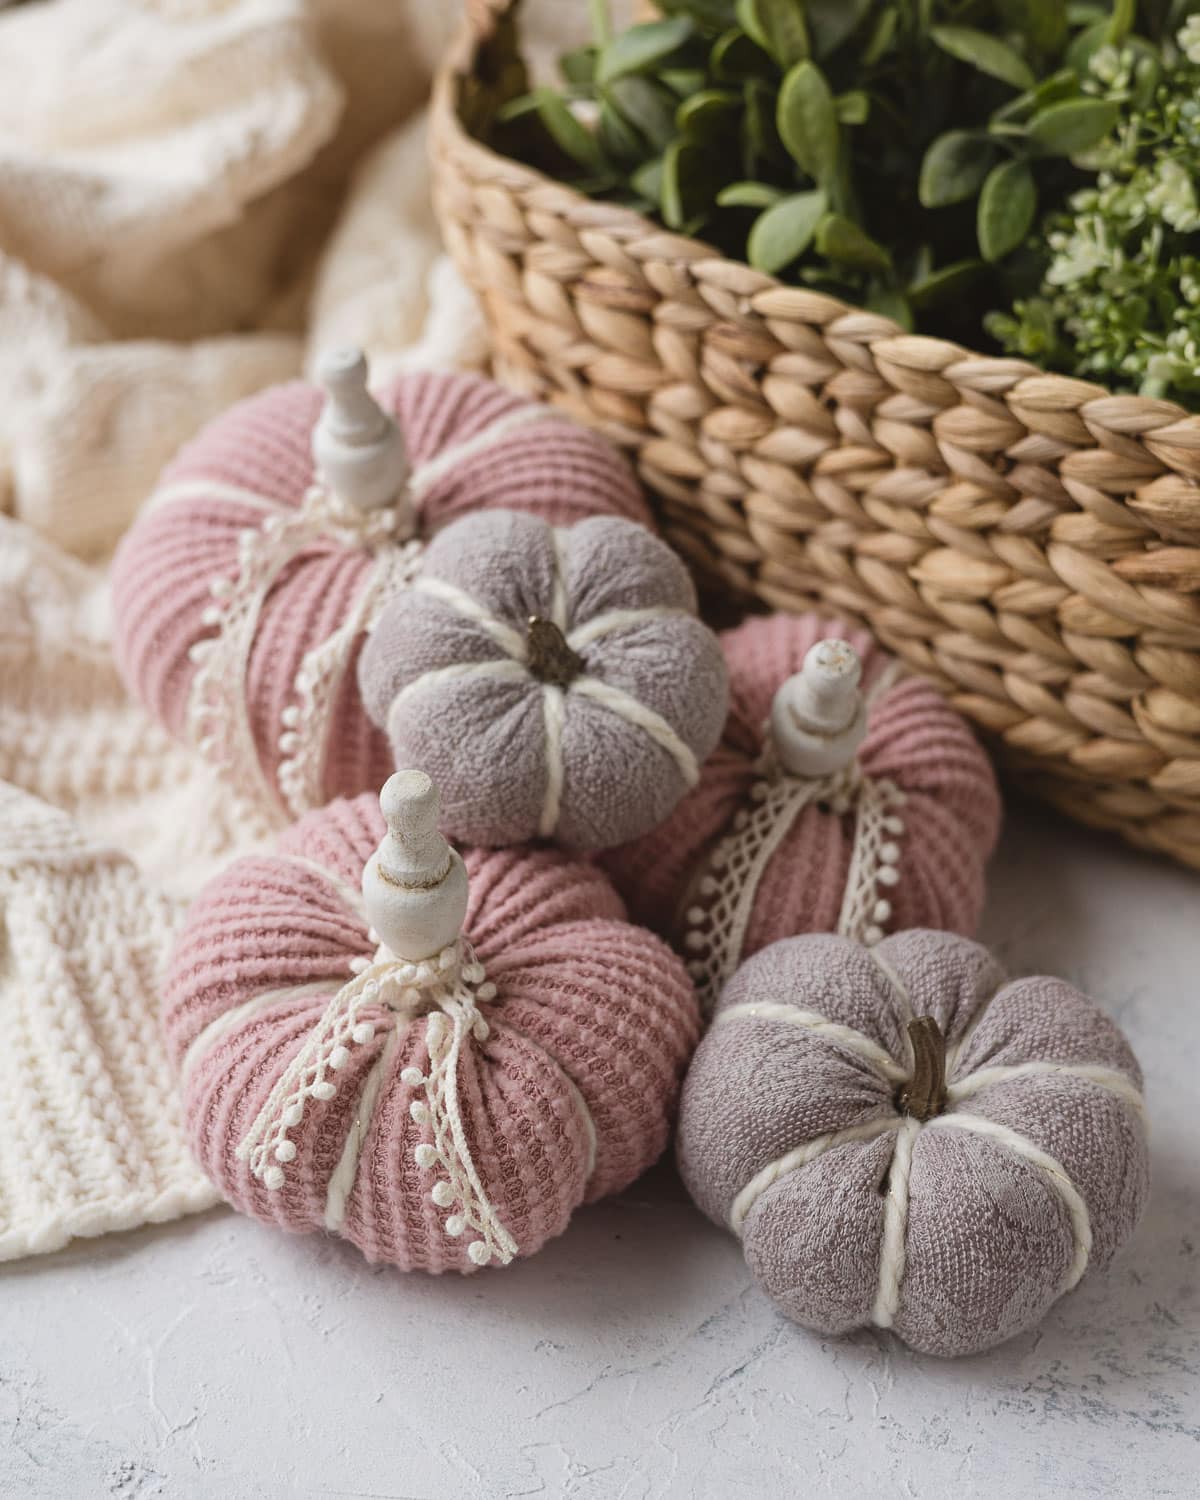
DIY Sweater Pumpkins
Rescue old sweaters and use the fabric to make easy DIY Sweater Pumpkins with this simple tutorial! Sweater sleeve pumpkins are a great way to create custom budget-friendly home décor and give new life to old sweaters too. Give this fun fall craft a try!
Please note that this post contains affiliate links which allow me to earn a small commission when a purchase is made at no additional cost to you. As an Amazon Associate I earn from qualifying purchases. Read more here.
Sweater pumpkins are a wonderful way to repurpose old sweaters and they come together so quickly you can easily make several over a weekend of crafting. Use up worn sweaters for this project or head to the thrift store to hunt some down.
These pumpkins are perfect for decorating your home for fall (super budget-friendly) or for parties and events too.
Weekly Crafting Fun!
Join my list and get a weekly email with relaxing craft ideas, freebies, sewing tutorials, and more!
All you need are a few simple supplies!
Don’t miss my DIY Sock Pumpkins Tutorial which uses this same concept…but with socks!
Supplies Needed for Sweater Pumpkins
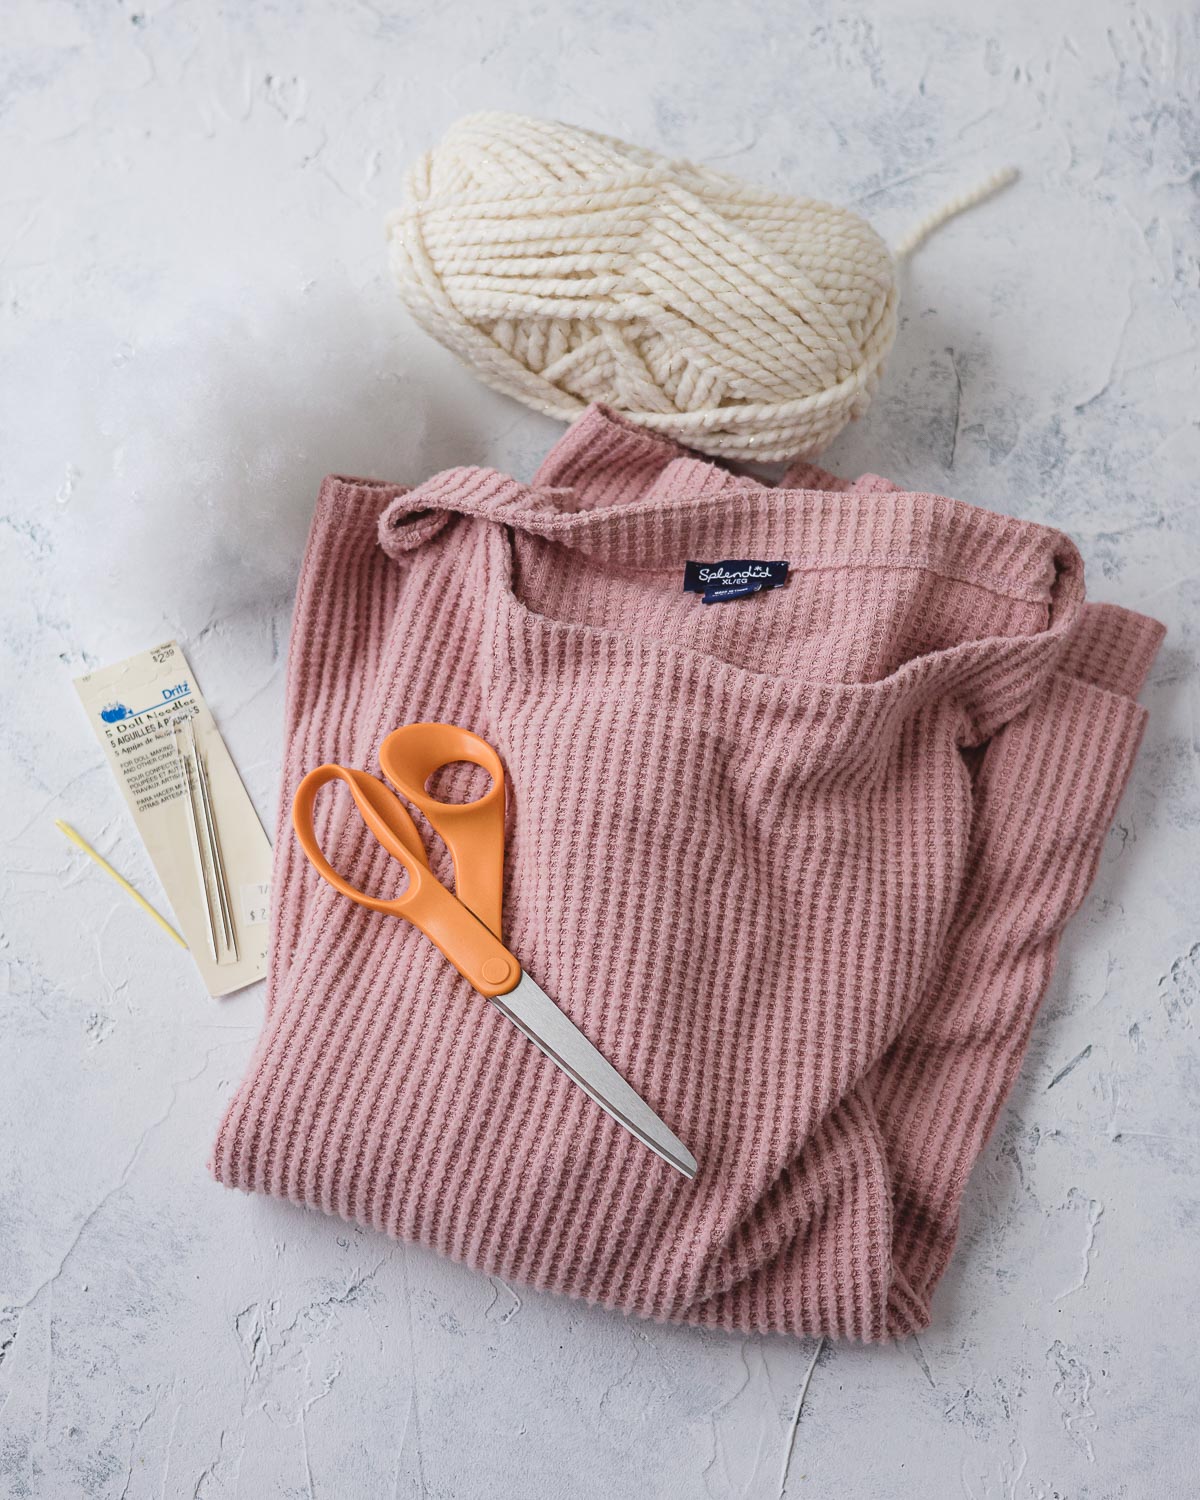
Sweaters – You can use almost any kind of old sweater for this project. You can use the entire sweater for making pumpkins, but I start with the sleeves since they are basically ready to sew.
You’ll want to be aware of the sweater fabric you’ve chosen before starting. The sweaters I chose were pretty tightly woven so a standard needle and thread worked great for sewing them up.
If your sweaters are made from thicker yarn and/or more loosely woven you might consider using a thin yarn and a yarn needle to do the sewing portions of this tutorial.
Scissors, Needle and Thread – See notes above regarding needle & thread selection.
Polyester stuffing – You’ll need a few good-sized handfuls per pumpkin (assuming you are making sweater-sleeve pumpkins).
Yarn Needle, Doll Needle, or Upholstery Needle – This needle is used for sewing the “grooves” of the pumpkin. If you have any of the listed needles you should be able to make it work. Take a look at the eye of the needle you are selecting to be sure it’ll be big enough to hold your yarn.
Yarn – For the “grooves” of the pumpkin. Here I’ve used Wool Ease Thick and Quick, but you can use any yarn you like!
Pumpkin Stems – This is where it’s fun to get creative. I used small wooden finials from Hobby Lobby (painted with Rust-Oleum Chalked Paint and antiqued with Rust-Oleum Aged Glaze).
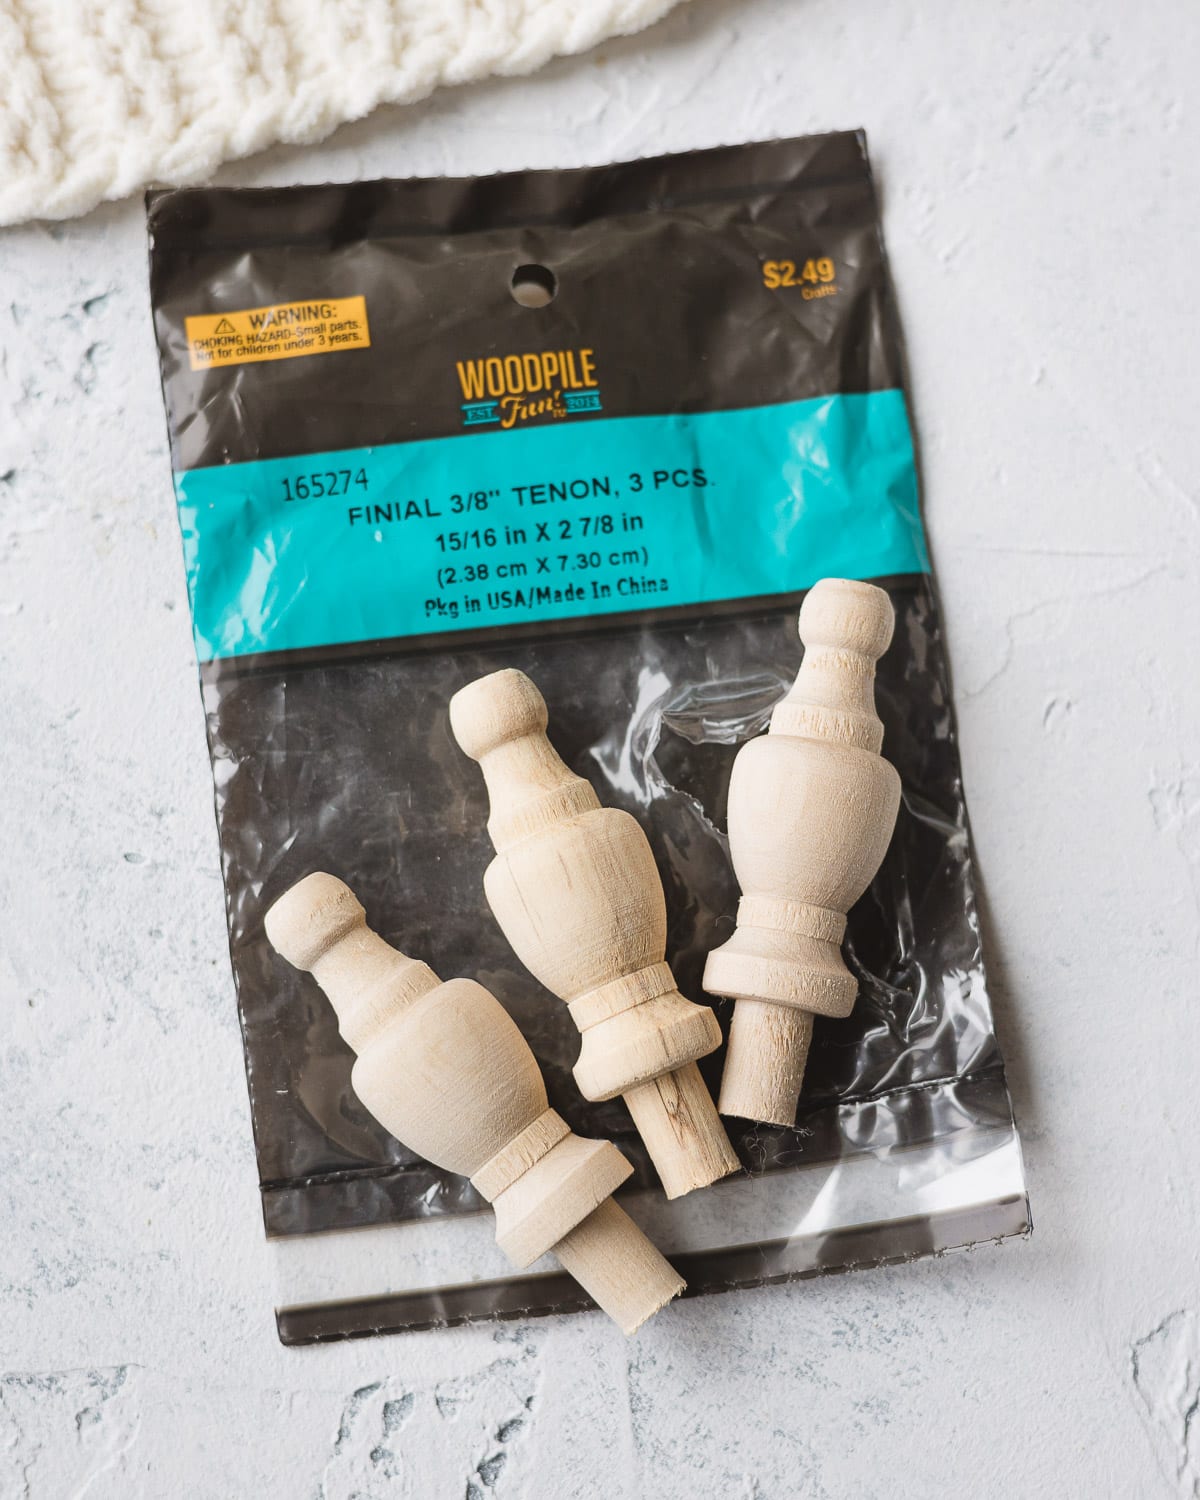
You can also use twigs, faux stems harvested from old fake pumpkins, dried real pumpkin stems, cinnamon sticks, a roll of neutral-colored craft felt. The list goes on!
Hot Glue Gun – Use a little hot glue to secure the stitching when you sew the grooves into the pumpkin.
How to Make DIY Sweater Pumpkins
Note: If you’d like to see a video of the process, my Sock Pumpkin tutorial video is quite similar.
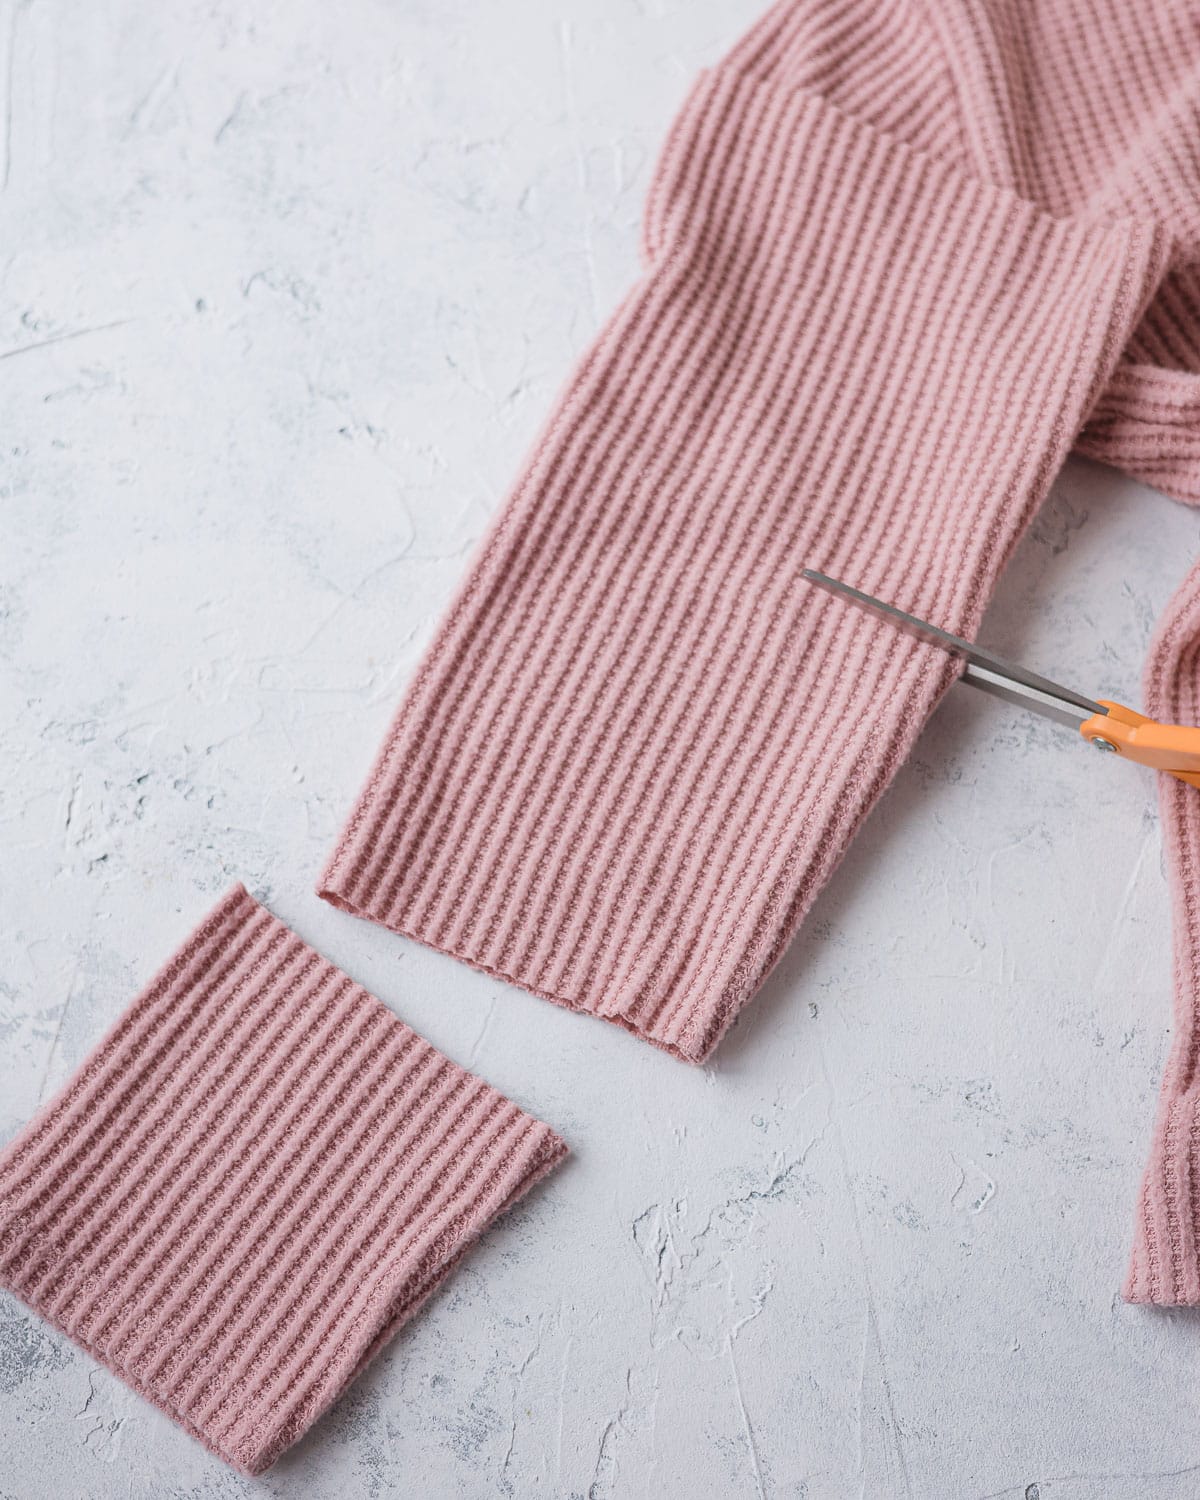
Prep the Sweater
There are lots of ways to make sweater pumpkins so absolutely feel free to customize these and create them however you like. I personally like getting to see various spins on project ideas, so I decided I would post my version with instructions too!
First, prep your sweater. Depending on the size of my sweater, I will cut two “pumpkins” from the sleeves and maybe a mini from the cuff. I usually aim for cutting a fat rectangle shape that is slightly taller than it is wide. I don’t measure…I just guess-timate with these.
Using the sleeves is convenient because they are already sewn into tubes. If you’d like to use the body of the sweater (or you could use it to make a sweater pillow), you can cut larger rectangles and sew them into tubes to make even more pumpkins.
For pumpkins from the body of the sweater, I start with rectangles around 16″ x 8″, but you can play around with different sizes to create a variety of pumpkins.
Sew the Sweater Pumpkins
Using one of the sweater sleeve tubes and a needle threaded with a doubled and knotted thread, sew a gathering stitch all the way around the bottom of the tube, with about a 3/4″ seam allowance.
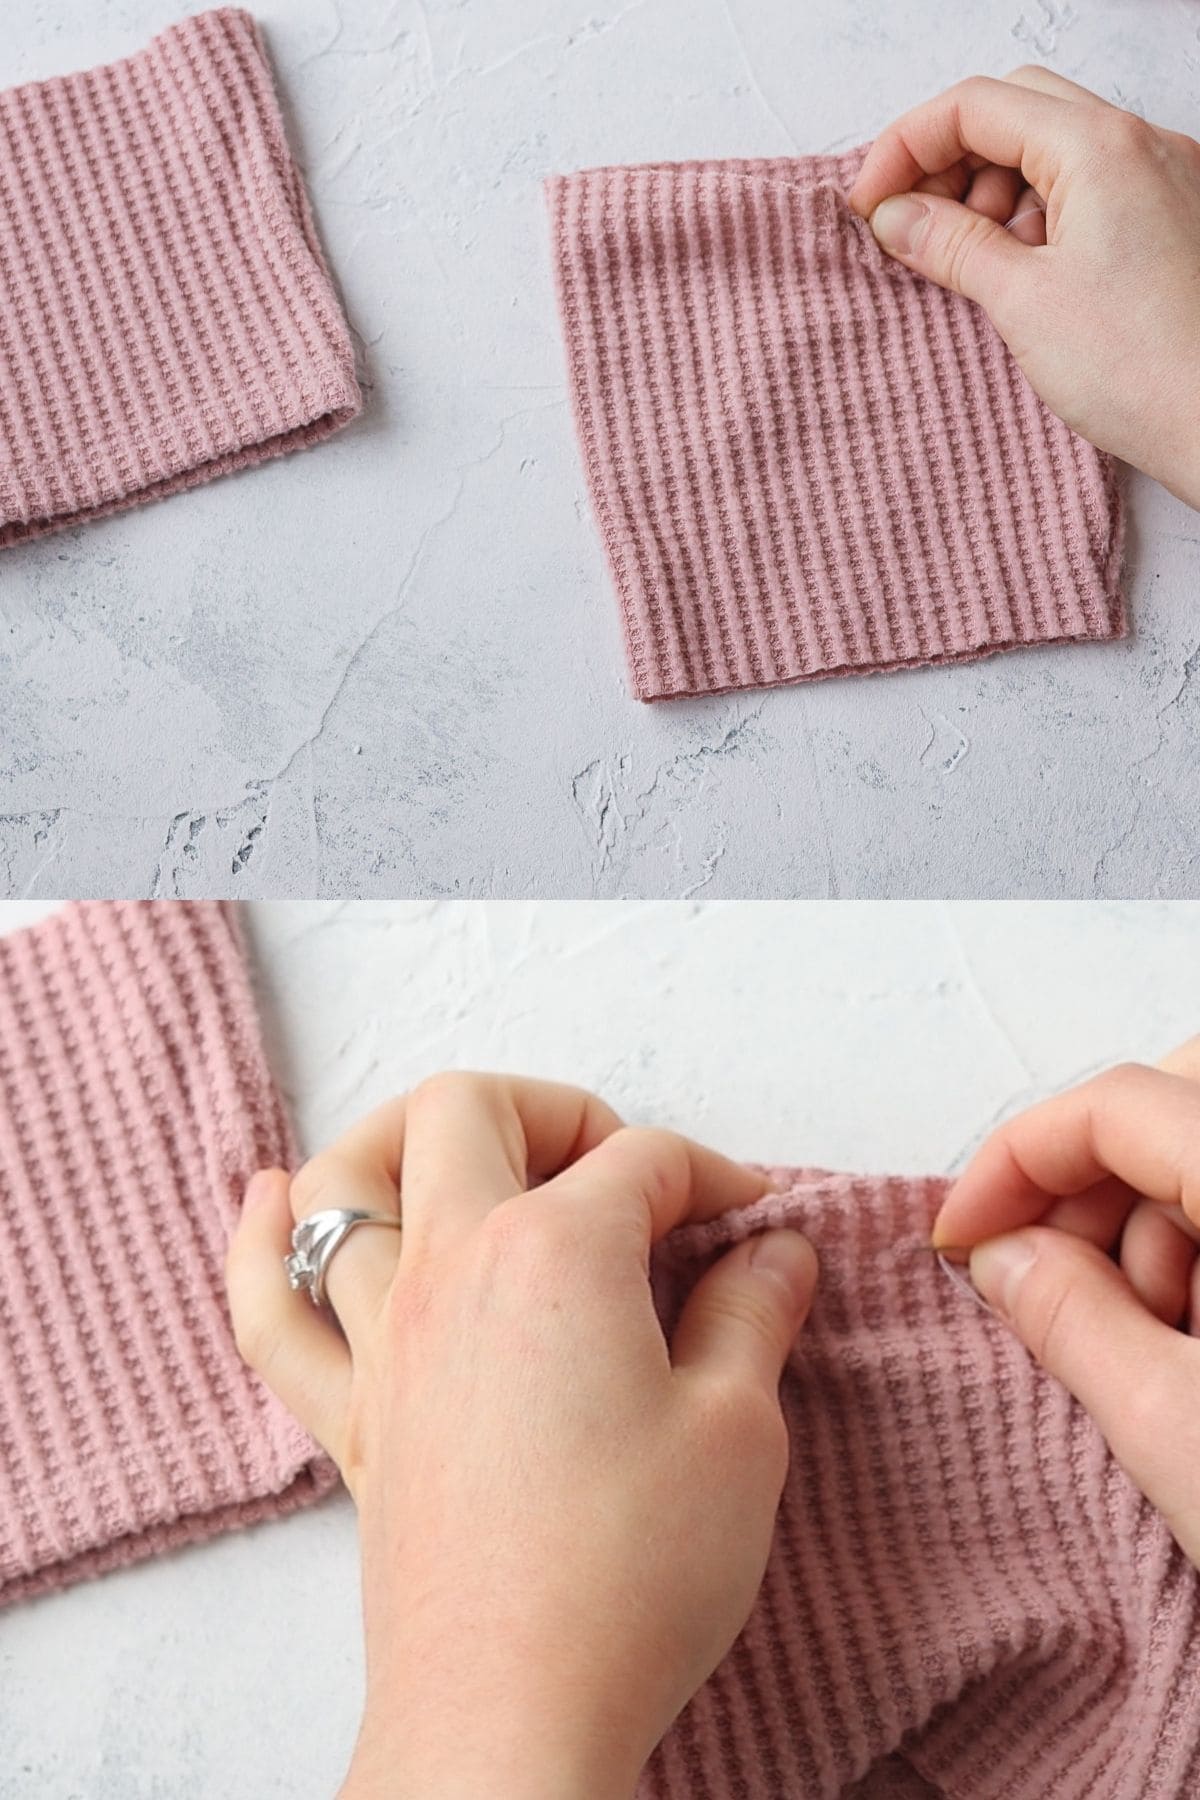
After you work your gathering stitch all the way around the tube, begin to push the fabric and pull the thread to gather the sleeve together. When you’ve almost closed the gap, push the edges into the tube to hide, finish tightening the thread, and take a couple stitches to secure the gathers.
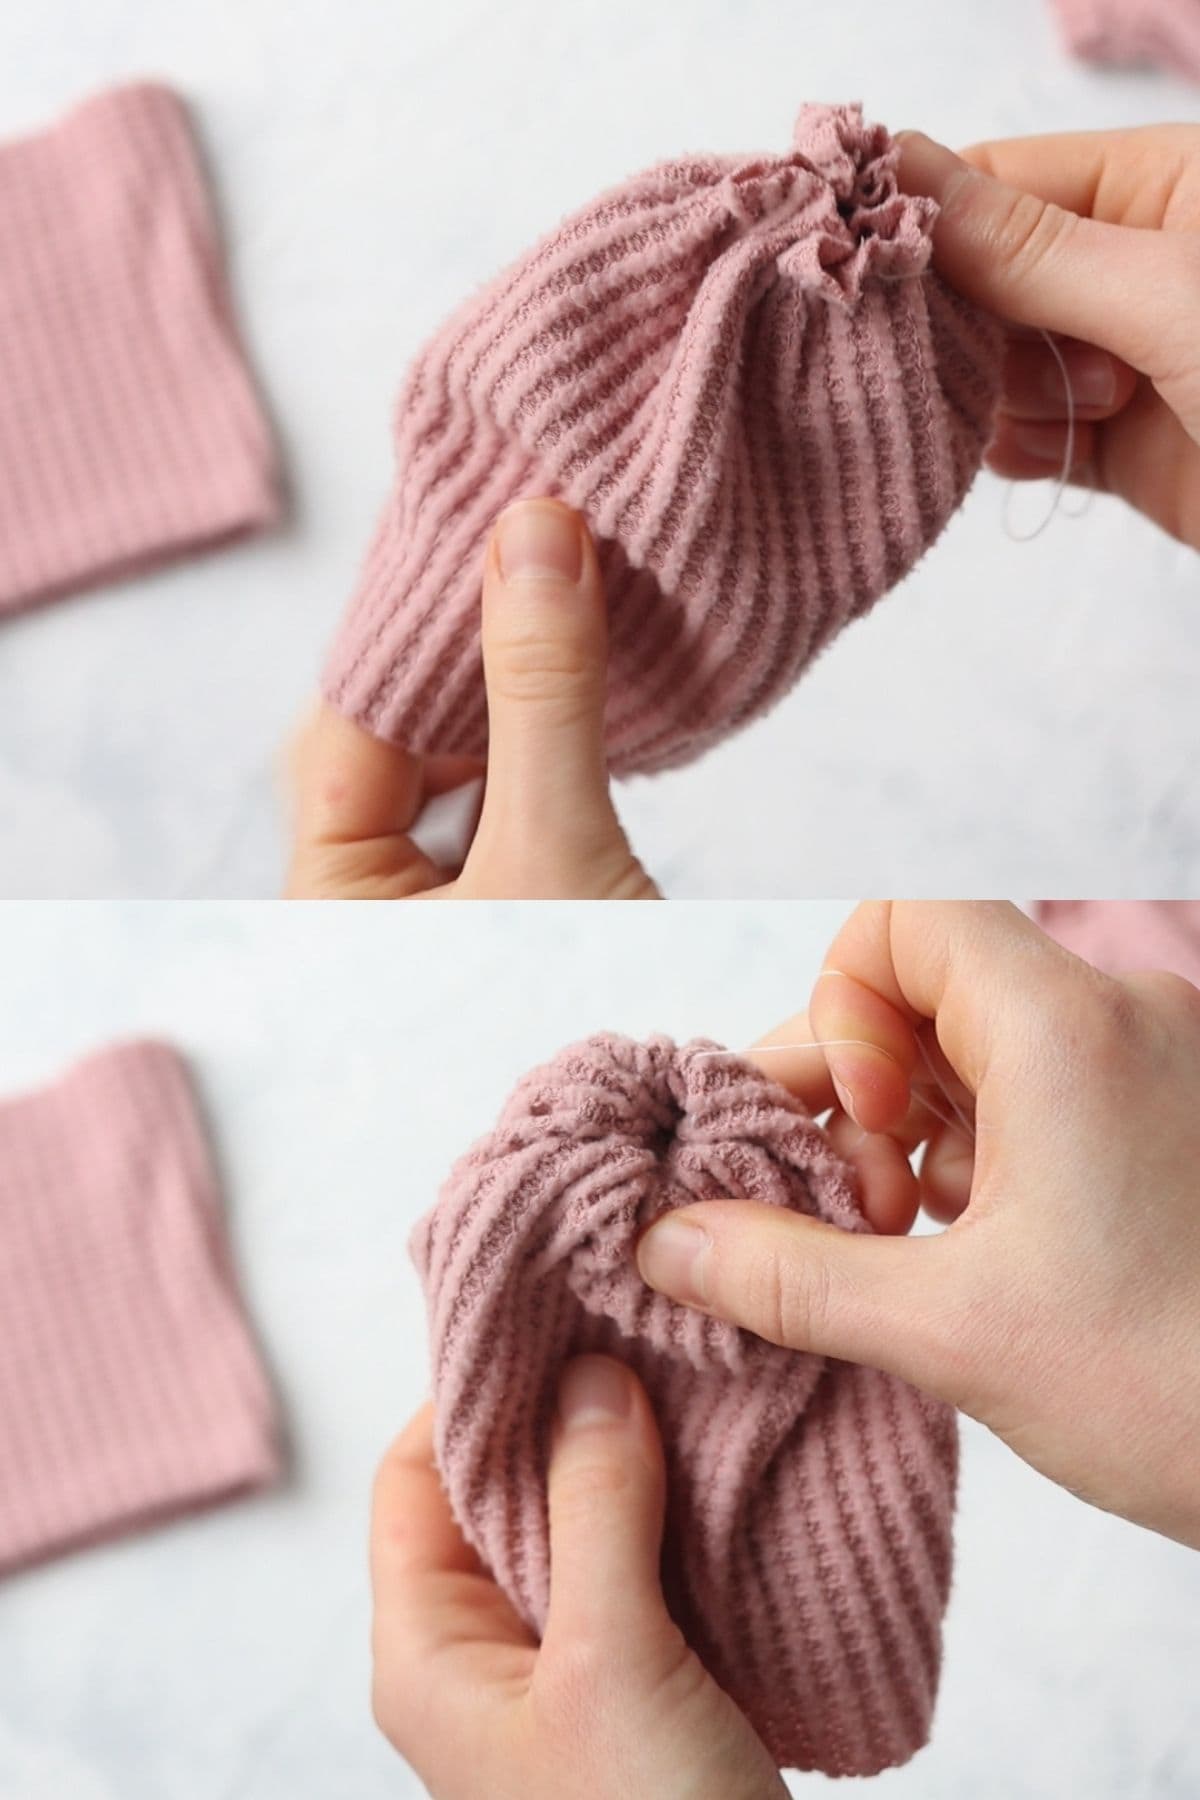
Knot your thread and bury the knot as you pull the needle and thread out of the sleeve.
Stuff the Pumpkin
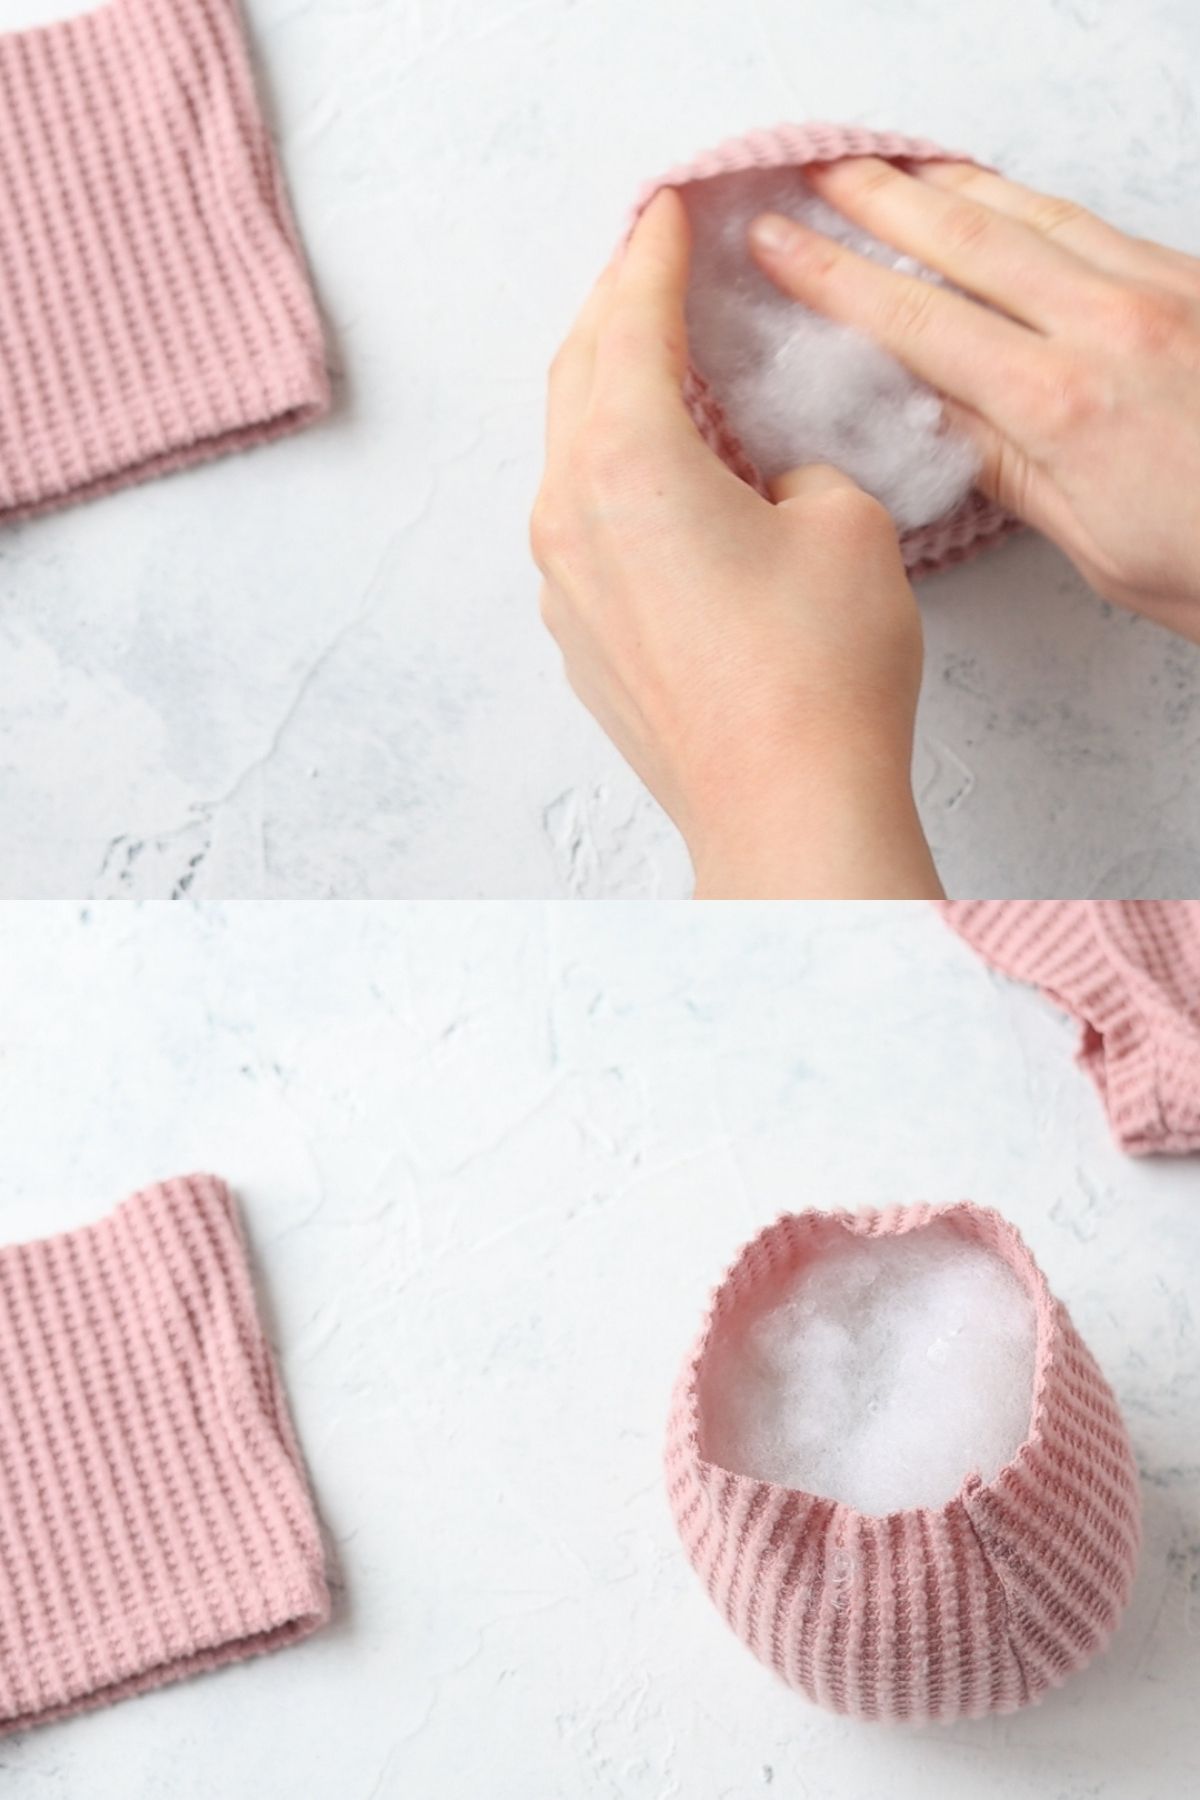
Stuff the sweater sleeve pumpkins with a few handfuls of polyester filling, leaving a 3/4″ gap or so at the top to finish closing the pumpkin.
Sew the Pumpkin Closed
Repeat the gathering process, this time around the top of the pumpkin. Stitch around at about the 3/4″ mark and then pull the stitching closed while tucking in the seam allowance. Take a few stitches to secure, knot and bury your thread.

Sew In Grooves
Now, thread a yarn needle with a single length of yarn about 4′ long and bring the yarn up through the center of the pumpkin, leaving several inches for a tail.
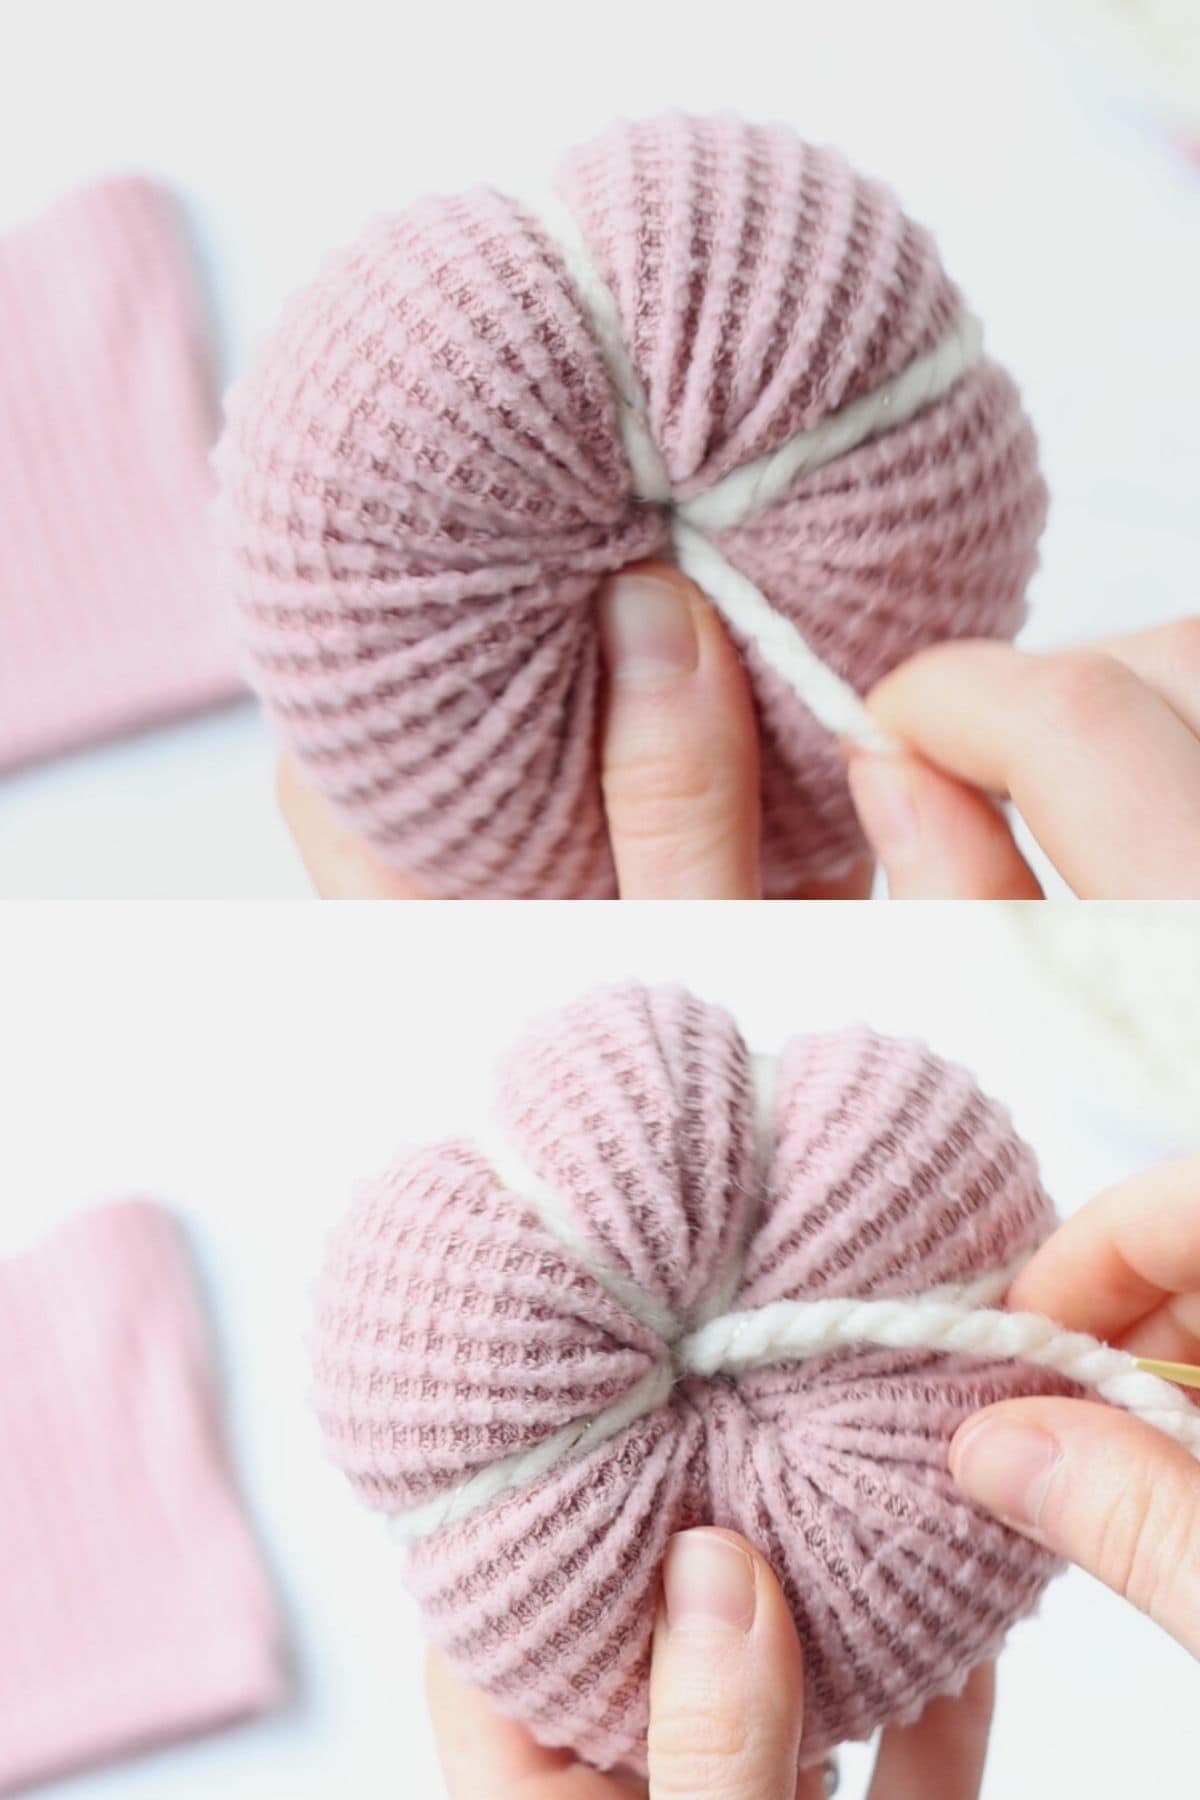
Wrap the yarn around and down the side of the pumpkin and bring it back up through the center. Pull as tight as you want to form the grooves of the pumpkin.
Repeat to make more grooves.
When finished, trim the yarn leaving another several inches. Tie both tails together in a double knot, trim, and use a hot glue gun to secure the ends.
Add a Stem
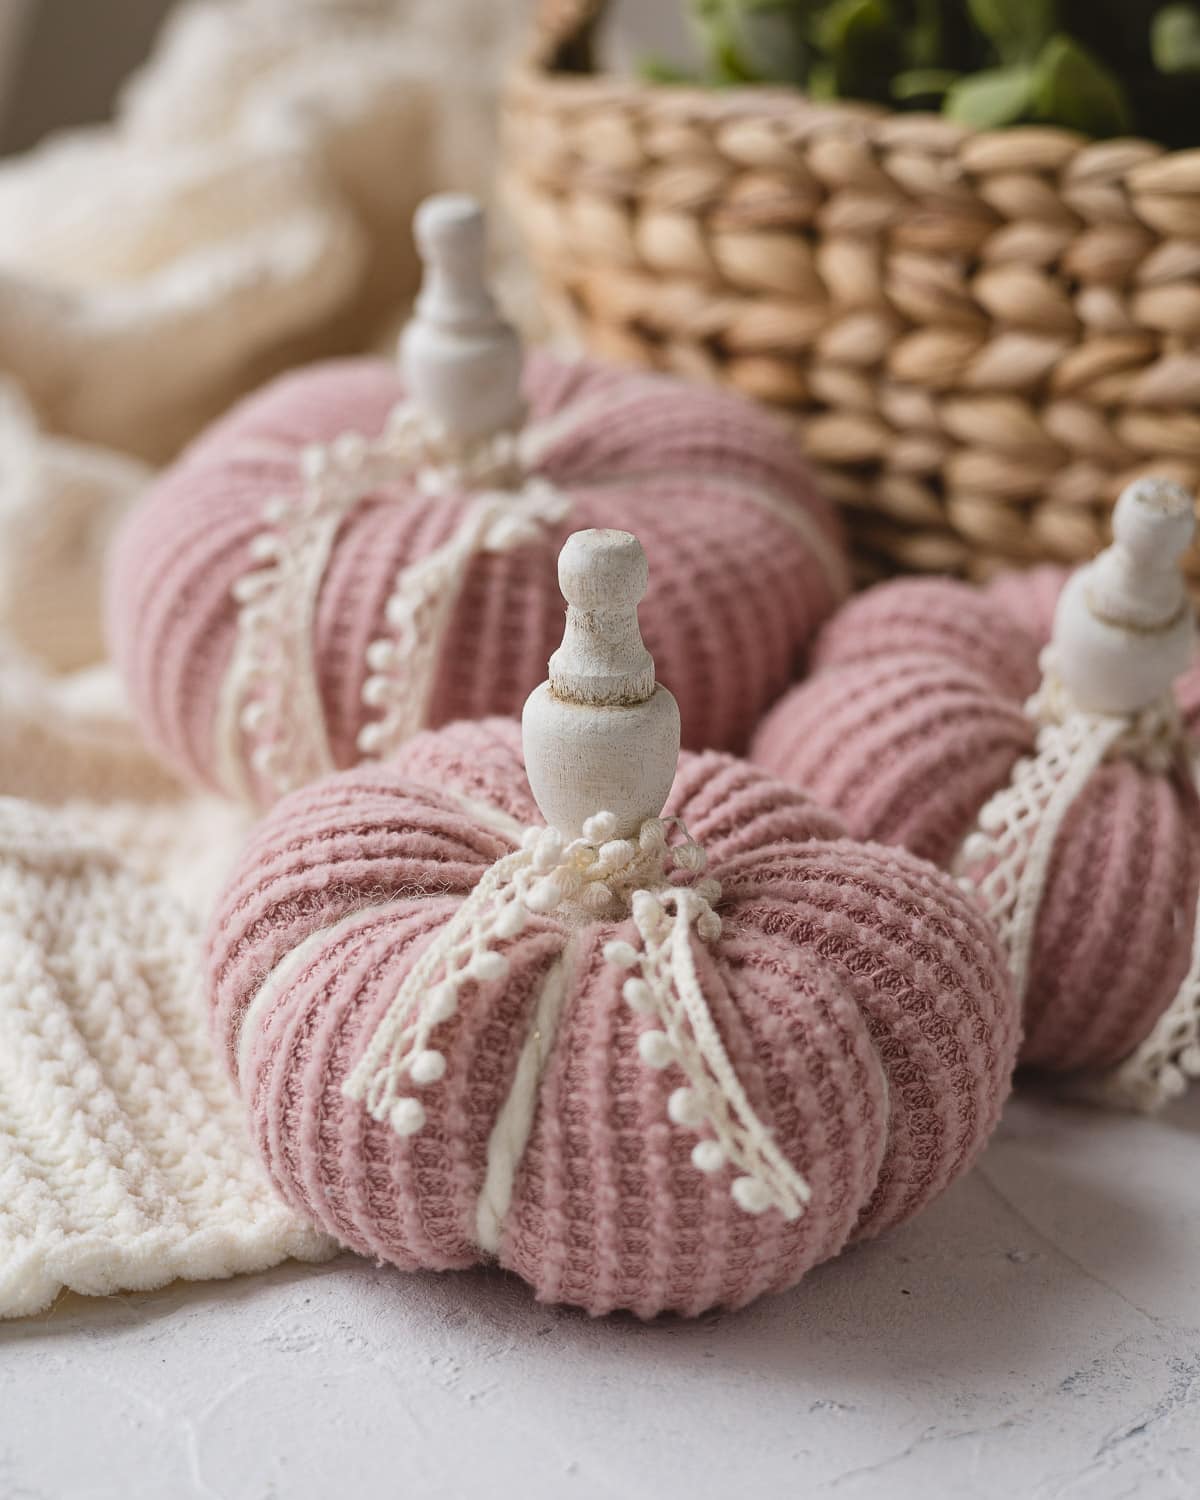
If using wooden finials like I did, paint them in advance and insert them into the finished pumpkins. Use hot glue once more to secure. Add lace, ribbon, or trim as well if you wish to further embellish the pumpkins.

Now you are all done and your sweater sleeve pumpkins are ready use for decorating!
More Ideas to Customize Your Sweater Pumpkins
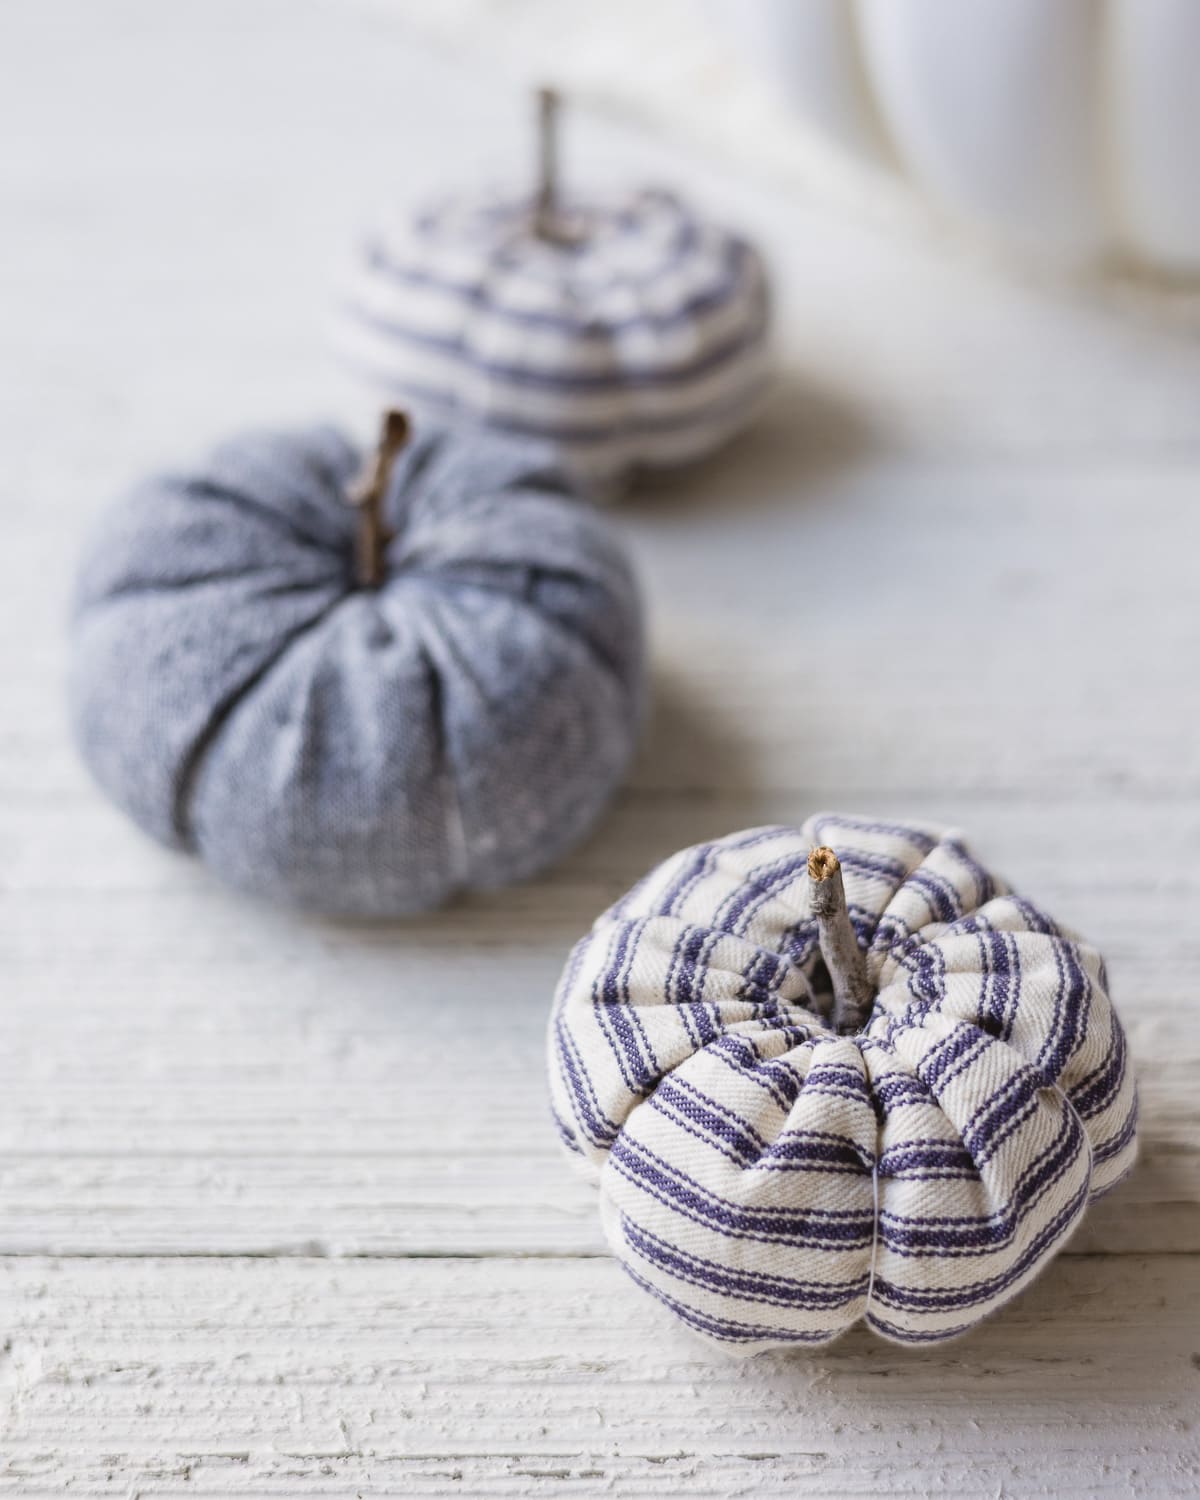
Of course, one of the biggest factors in how the finished pumpkins will look are the sweaters you choose. While fall colors like orange, red, and deep browns are lovely, consider other color palette options too!
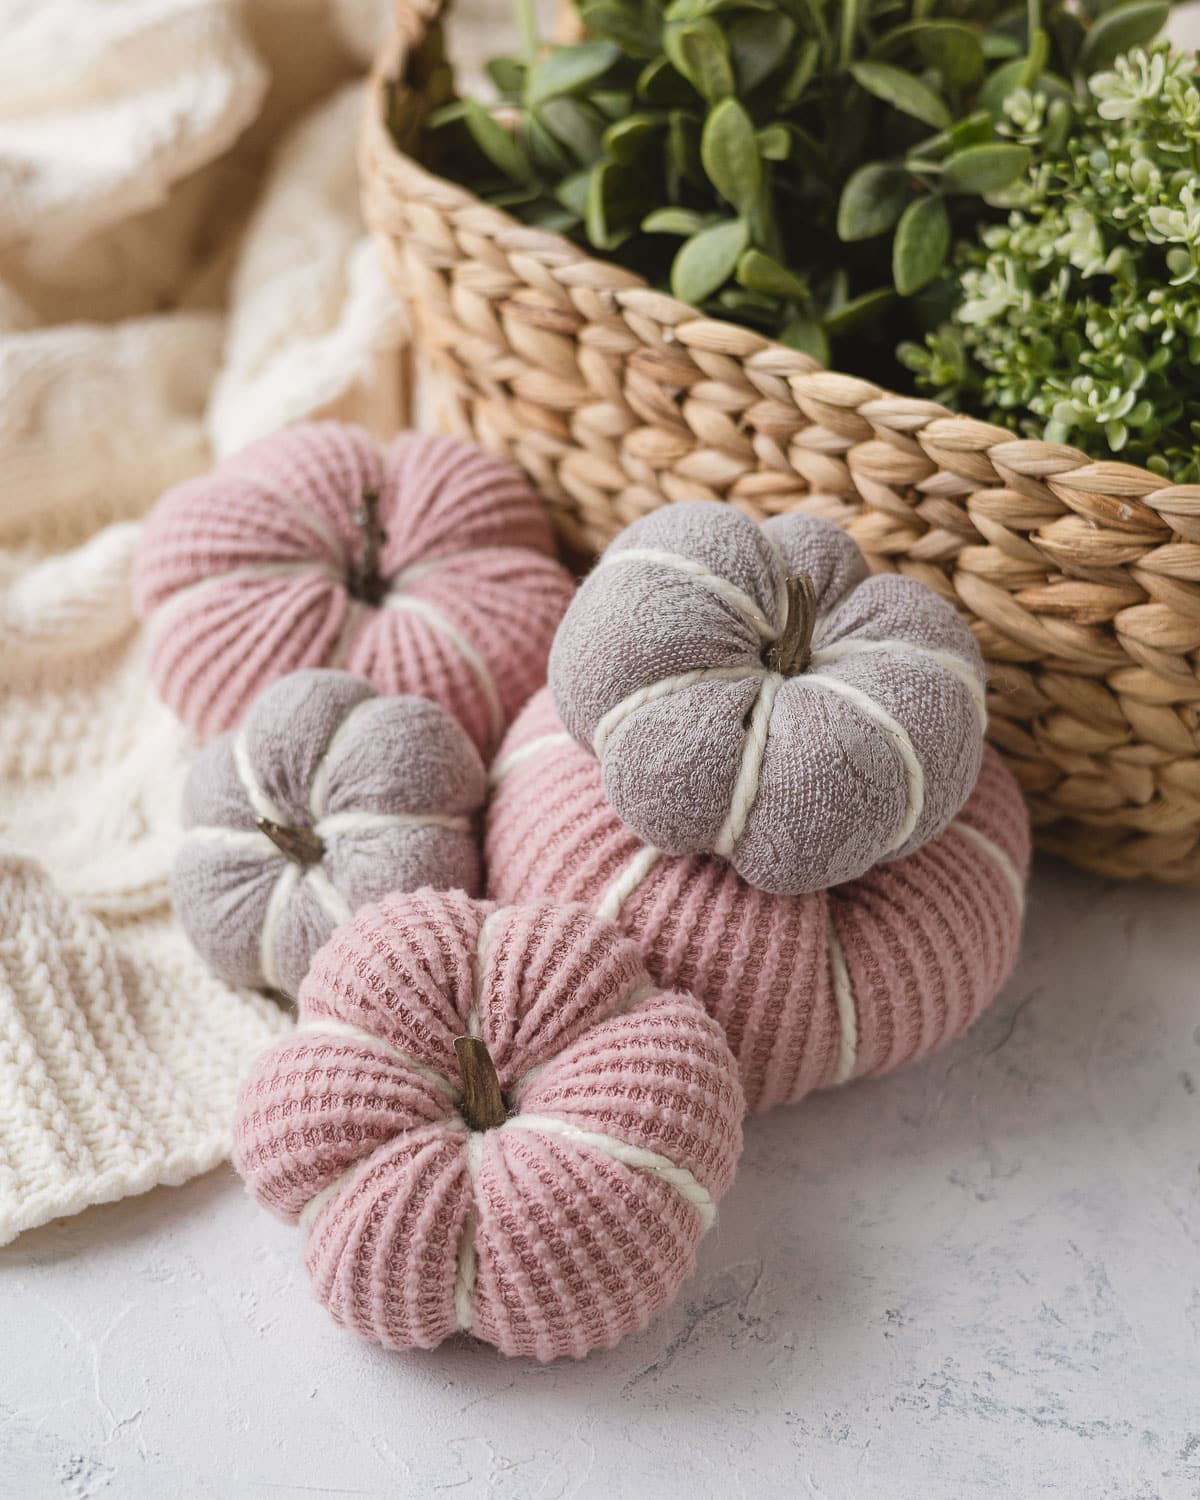
Perhaps a selection of white and silver pumpkins, or a colorful bevy of bright jewel tones. An all-pink pumpkin display? Soft blues and greens? Or, choose all one color, but vary the fabrics you choose–a waffle knit, a cabled sweater, and a ribbed sweater for instance.
Choose unique stems for even more interest and don’t be afraid to embellish!
Enjoy crafting! ~Ellen
More Crafts Like This
- 15 DIY Pumpkin Craft Ideas
- DIY Yarn Pumpkins (NO Styrofoam!)
- Chalk Painted Pumpkins Tutorial + VIDEO
- How to Make DIY Sock Pumpkins + Video Tutorial!
- DIY Drop Cloth Pumpkins
Craft with me! If you try this tutorial, tag me on Instagram or use the hashtag #BellewoodCottageCrafts. Watch my videos on YouTube and follow along on Pinterest for more ideas like this one!
Weekly Crafting Fun!
Join my list and get a weekly email with relaxing craft ideas, freebies, sewing tutorials, and more!