Make Your Own DIY Rustic Headboard
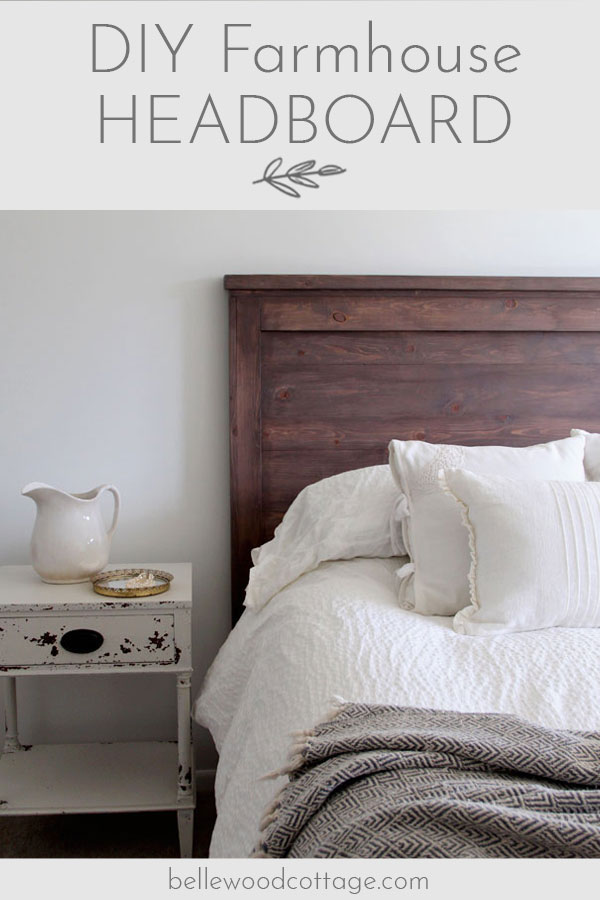
Learn how to create your own DIY rustic headboard with simple (and inexpensive!) pine boards and milk paint. Perfect for a farmhouse style home!
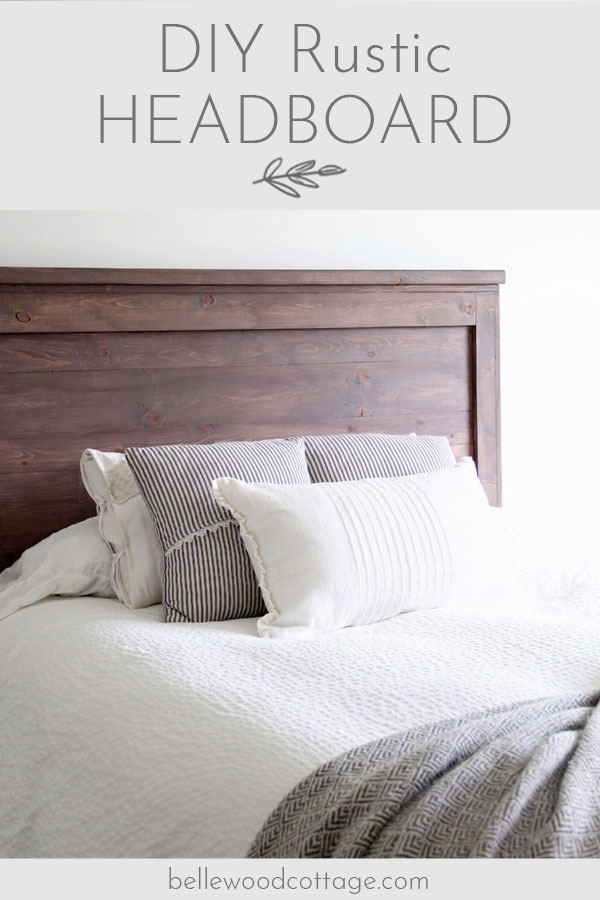
One of the projects that has been on my home to-do list was to build our own DIY rustic headboard. Now that I’m six months pregnant, I’ve quickly prioritized particular items into the “before baby” checklist. Headboard? Happening.
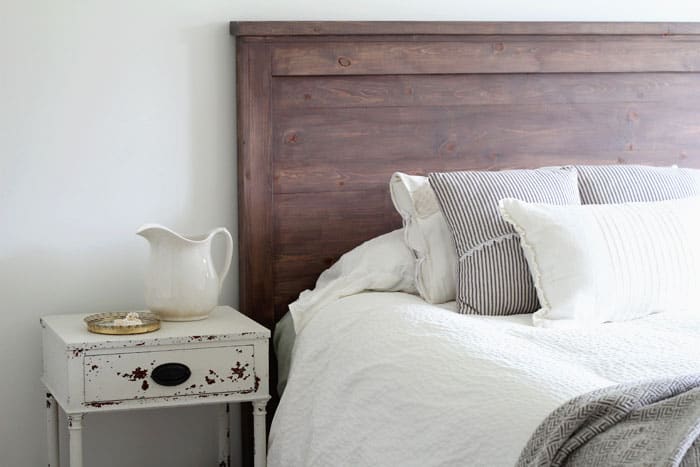 This is one of those projects that totally transforms a room. We spent under $100 (paint, boards, etc.) and created a piece that really completed our master bedroom’s look. Granted, I still have plenty of decorating to do around it, but that will be a lot easier now that this piece is established!
If you would like to create your own DIY rustic headboard, I’m sharing all the details for ya!
Make Your Own DIY Rustic Headboard
First up, we used this tutorial from Ana White: Reclaimed Wood Headboard. It’s a great starting point, but my husband has also gotten pretty comfortable with simple builds (plus having the tools on hand to make things happen), so I recommend reading through and determining if it’s a good fit for you before jumping in.
We modified the tutorial by using simple pine boards (versus locating reclaimed wood) and reinforcing the back so that it would be super sturdy.
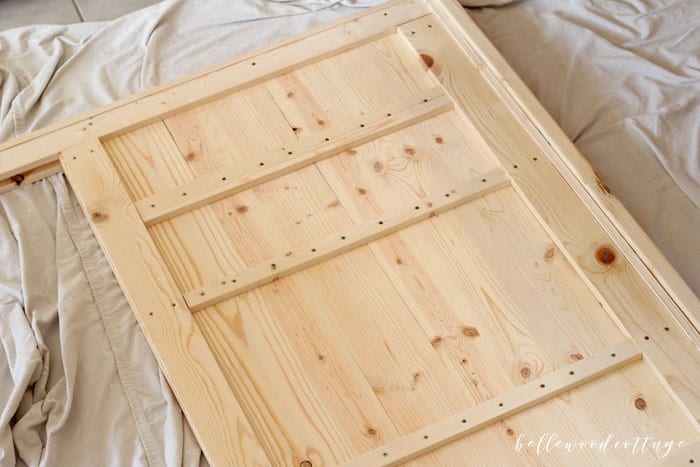
We also sanded it for a smooth finish. After painting/sealing we then attached the headboard to our bedframe and added a few furniture pads to the back. This is so that we could push it right up against the wall. It turned out very solid and muuuuuch better than the cheap alternative I considered purchasing in order to try to check off this item from our pre-baby checklist.
Use Milk Paint as a Stain to Finish
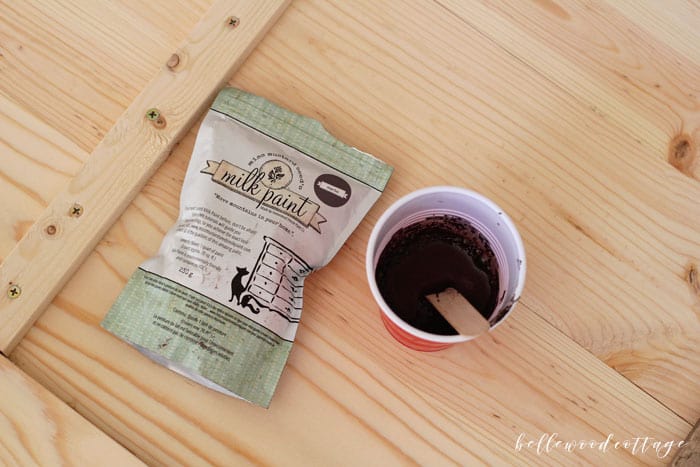
Now let’s talk about the finish. Being pregnant, I hoped to use a product that was low/no VOC. After a little googling to see what the finished effect might be, I chose to use Miss Mustard Seed’s milk paint (non toxic, woot!) in the “Curio” color as a stain.
These are a couple of resources I used:
I will write a step-by-step process on how I stained the headboard with this method, so watch for that if you would like more details.
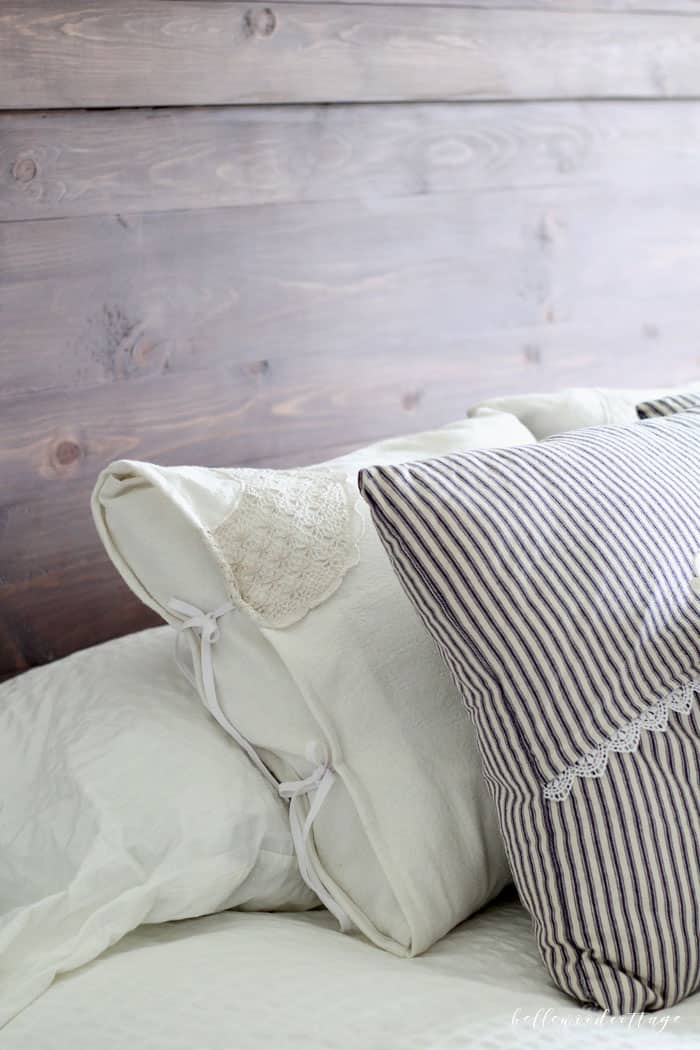
After painting/staining with the milk paint, I sealed the headboard with a polycrylic. I realized I would need to do this otherwise the paint could be rubbed off. Not ideal! I just used what I had on hand, Rustoleum Matte Clear, but I would like to experiment with Miss Mustard Seed’s Tough Coat or hemp oil next time. For this project, I was anxious to get it done, so Matte Clear it was!
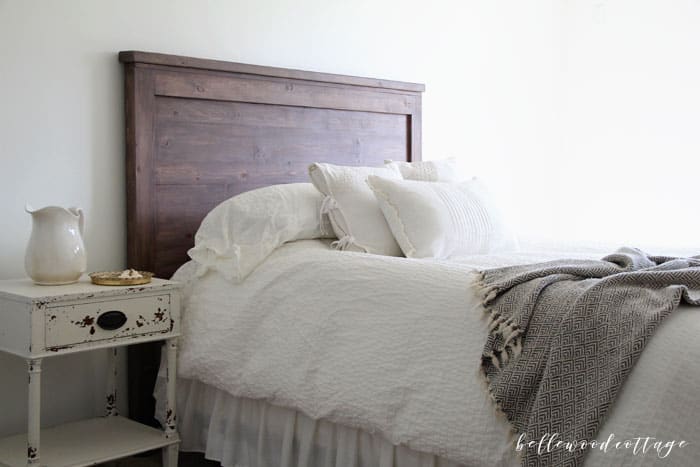
Overall, this project took us about two weekends to complete. You could definitely finish it in a day if you wanted, but we tend to take our time, ha.
If you are on the fence about making your own DIY rustic headboard, I would say just go for it! I’m so happy with how this piece has transformed our master bedroom!
More DIY ideas from Bellewood Cottage:
DIY Drop Cloth Pillows
How to Bleach Drop Cloths
Milk Paint Before and After – Nightstand


