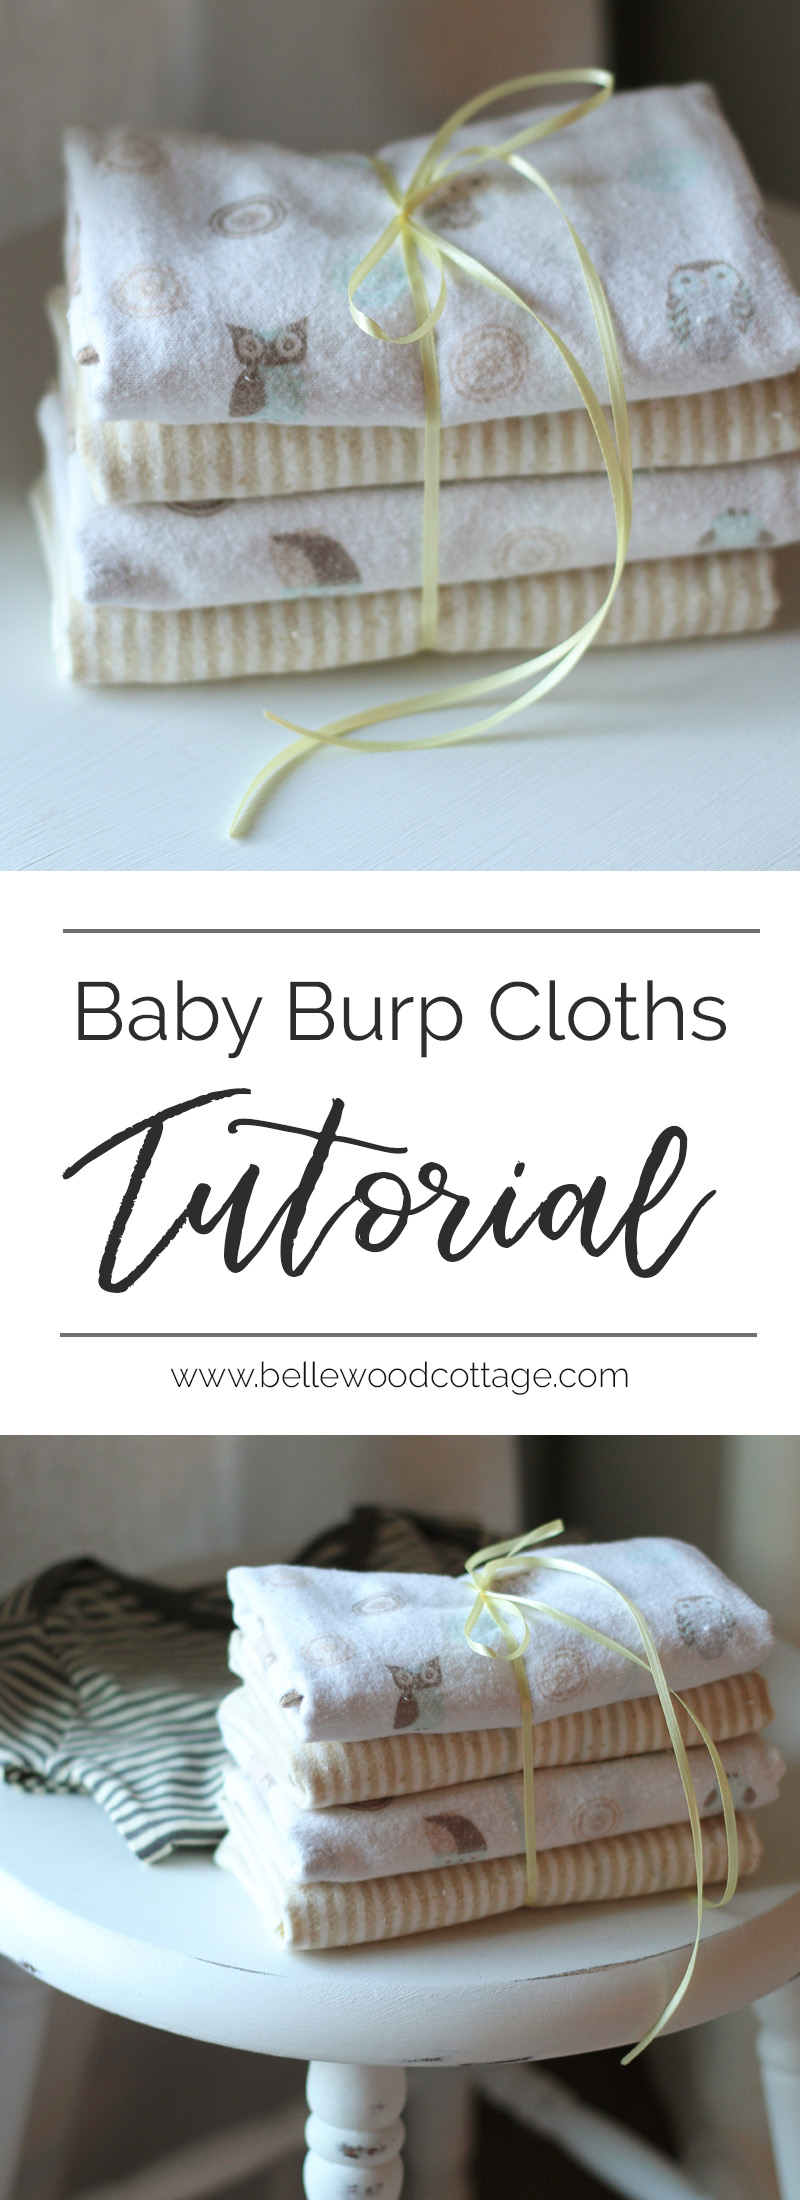
How to Sew Burp Cloths for Baby
If you’ve ever wondered how to sew your own burp cloths, you’re in the right place! This easy DIY burp cloth tutorial walks you through every step of sewing your own homemade burp cloths. These are SO much better than store-bought! They are bigger, more absorbent, and can be totally customized to the recipient’s preferred color scheme. Bookmark this post for a quick homemade gift idea or even just a great project to practice your sewing skills.
Please note that this post contains affiliate links which allow me to earn a small commission when a purchase is made at no additional cost to you. As an Amazon Associate I earn from qualifying purchases. Read more here.
Homemade burp cloths are an excellent beginner sewing project, but they also make a wonderful gift!
Store-bought versions are often comically small and it’s hard to find colors and prints that coordinate with the rest of the nursery. When you sew the burp cloths yourself, you can choose your favorite fabrics and customize the size and style to your liking.
Weekly Crafting Fun!
Join my list and get a weekly email with relaxing craft ideas, freebies, sewing tutorials, and more!
Joyful Homeschooling
Join my homeschooling email list to receive homeschooling ideas and encouragement straight to your inbox!
I started sewing these cloths a few years ago, and was surprised by the rave reviews they received. I mean, it’s just a simple rectangle of fabric, right? And yet, a simple rectangle takes on new value when it’s the only thing shielding you from gobs of baby spit up.
A few moms shared with me that these burp cloths became their go-to because they were thicker and larger than store-bought versions they had purchased. Win!
These burp cloths are really are so simple to make and it’s fun to make a few sets for a quick and practical gift.
Now, do you really need a tutorial for this? Many of you will not require one, but I remember when I was just starting out on my sewing journey, I felt the most confident following a tutorial. After all, no one wants to waste fabric!
Another perk is that I’ve already figured out ideal measurements for this project. You can riff off my measurements and adjust things to be smaller or larger, but the basic size is already given. Who doesn’t love saving time?
Beginners: This is the perfect project for you! You’ll practice cutting fabric, sewing straight lines and curves, turning fabric, and neat finishing. The project is quick, endlessly customizable, and makes a great gift.
Choosing your fabric
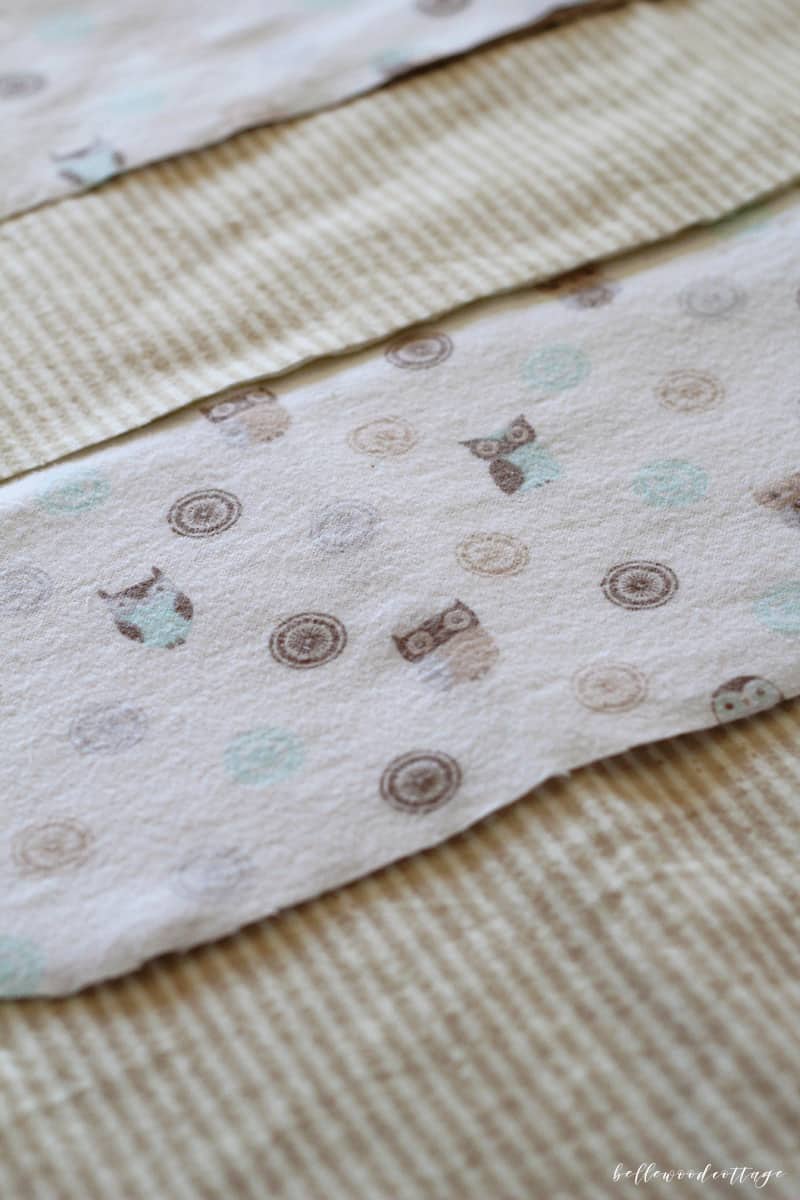
What is the best fabric for burp cloths? My preference for burp cloth fabric is to use a high-quality flannel for both sides. You will notice a difference in quality between the flannel you can buy in large craft stores vs. the flannel that you can purchase in a specialty fabric shop (say, a quilt shop).
I recommend buying the highest quality you can afford. Burp cloths will go through the wash a LOT, and the sturdier the better. Again, with the thickness factor! I love Riley Blake fabrics personally. I find them on Etsy or locally at quilt shops.
Here’s a few of my favorite flannels from Etsy:

Other options for fabric? You can really get creative!
Try backing your burp cloth with soft dimpled minky for a different look. Or, get creative with using flannel on the back, and a cotton print on the front. You could even try a soft terry cloth type fabric.
I have found that my flannel or flannel and minky burp cloths are the most absorbent. Cotton prints are really cute, but they don’t tend to absorb very well.
Pro tip: ALWAYS pre-wash your fabrics! For a project like this, I generally wash and dry on hot to be sure the fabric has done all the shrinking it will do. I don’t want to damage the fabric, but new parents shouldn’t have to worry about fussing with delicate handmade items, so if a fabric won’t hold up I definitely want to find out before I gift it!
Want an even thicker cloth? Make a thicker burp cloth by using a machine washable batting, something like this, in between the layers of flannel.
Now that you’ve got your fabric, go wash and dry it! Pre-shrinking the fabric is a must.
Making a template
First, let’s make a template. We’re going to do a rectangle with rounded corners.
My go-to template measurements are: 11″ wide and somewhere between 17-18.5″ long. I usually allow my fabric to guide me–if I can get double the amount of burp cloths from a piece of fabric if I make them slightly shorter then I’ll do that. I include my seam allowance in this.
Cut your choice of rectangle from a piece of tissue (like the kind you’d wrap a gift with).
Then, round the corners.
I do this by grabbing a cup or bowl from the kitchen and using it to round out the corners of my template. Some burp cloths also are made with curved side (a sort of cutout designed fit against the neck when they are worn on a shoulder), but I prefer to keep it simple with a basic rectangle.
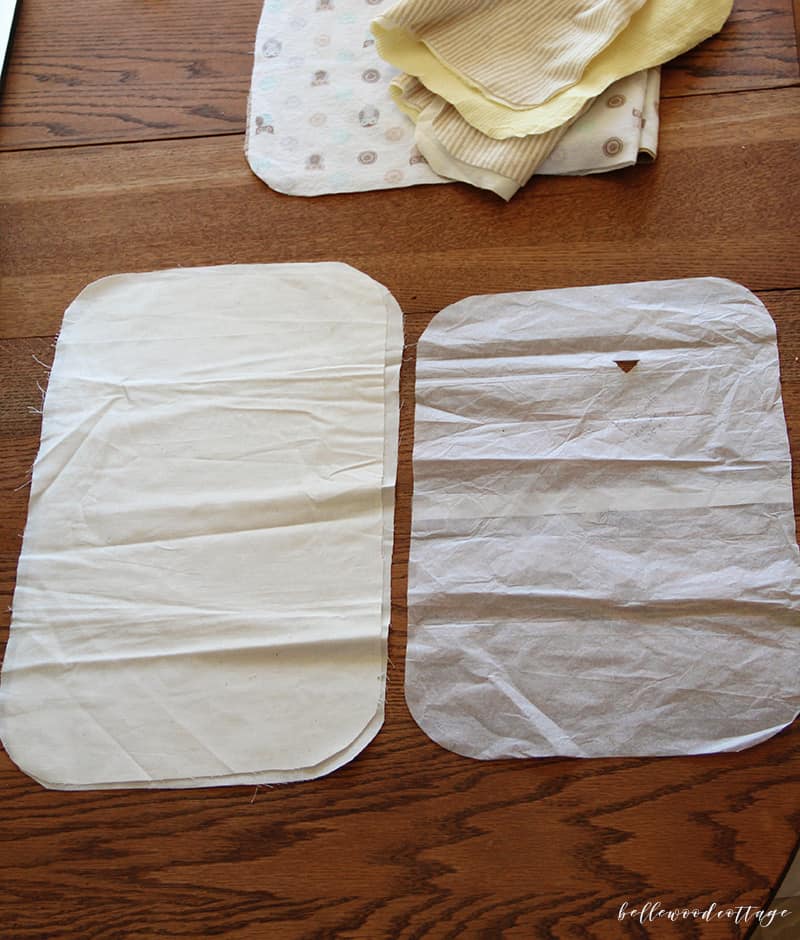
Once you’ve got your preferred template, I use my tissue template to draft a reusable template from sturdier fabric. I usually grab something like Pellon Easy Pattern.
This template will come in handy if you are mass producing these cloths for gifts. Be sure to write your seam allowance and measurements (both cutting measurements and finished) on the pattern for a quick reference. (Side note: ignore the major wrinkles happening here! These photos are due for a reshoot!).
What is the best size to make burp cloths?
My goal is usually to get six cloths from a one-yard piece of 45″ fabric (see below for a tip on maximizing pieces that have shrunk more than expected). At the same time, I also want them to be as large as possible. One of the perks of making your own cloths is that they don’t have to be teeny-tiny like some of the store-bought versions!
My go-to template measurements are: 11″ wide and somewhere between 17-18.5″ long. After deciding on your rectangle size, just grab a cup or bowl from the kitchen and use it to round out the corners of your template. Some burp cloths also are made with a rounded side (to fit against the neck when they are worn on a shoulder), but I prefer to keep it simple with a basic rectangle.
Cutting the fabric
Now that your fabric is washed and your template made, you are ready to cut out your burp cloths. As I mentioned above, I can usually get six burp cloths to a one-yard piece of 45″ fabric. Here’s a little tip though. If you can’t quite fit six cloths onto a piece of fabric (say it shrunk more than usual etc.), go back to your template and make a copy out of tissue paper.
Now, take your copy, cut it down the center (either vertically or horizontally, depending on where you ran out of fabric). Next, overlap those pieces an inch or so (make sure that this adjustment will give you enough room to work with on the fabric) and tape.
This new template is now smaller and can be used on the smaller piece of fabric. Easy peasy. Tip: You can also make a copy from interfacing or fabric and sew the pieces back together instead of taping them.
Sewing the burp cloths
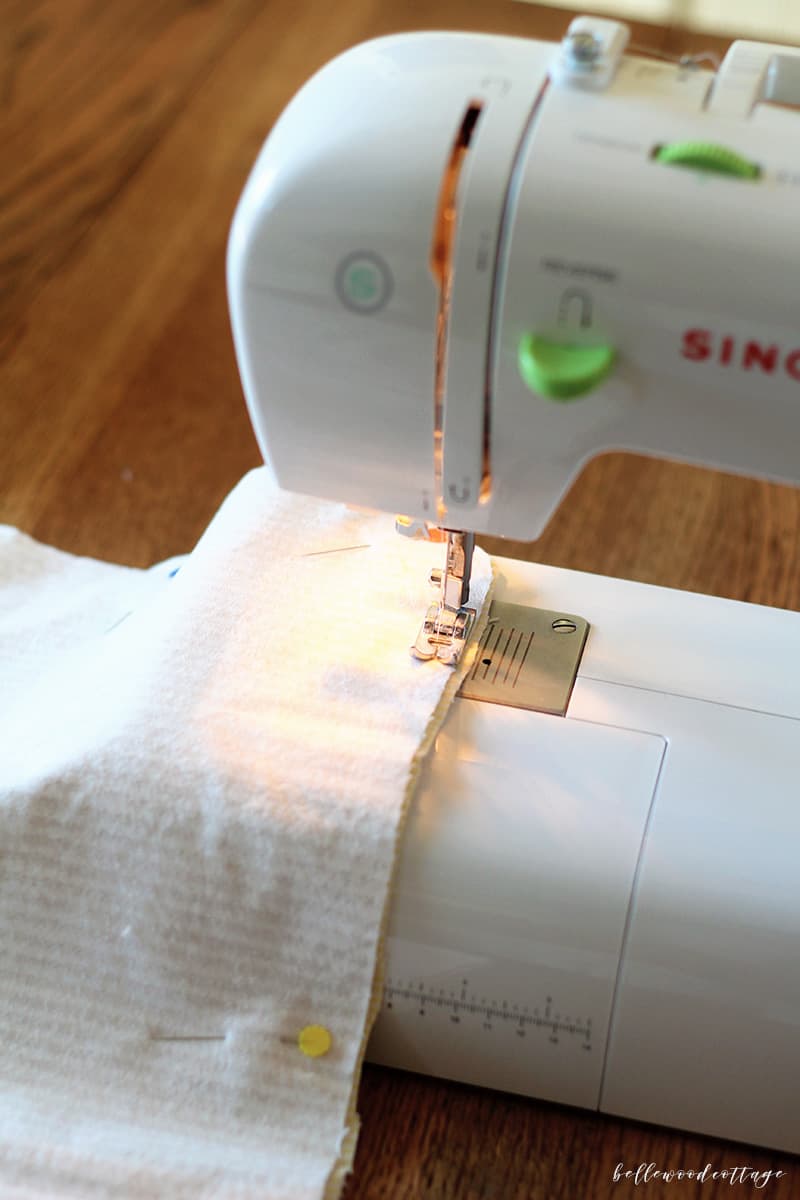
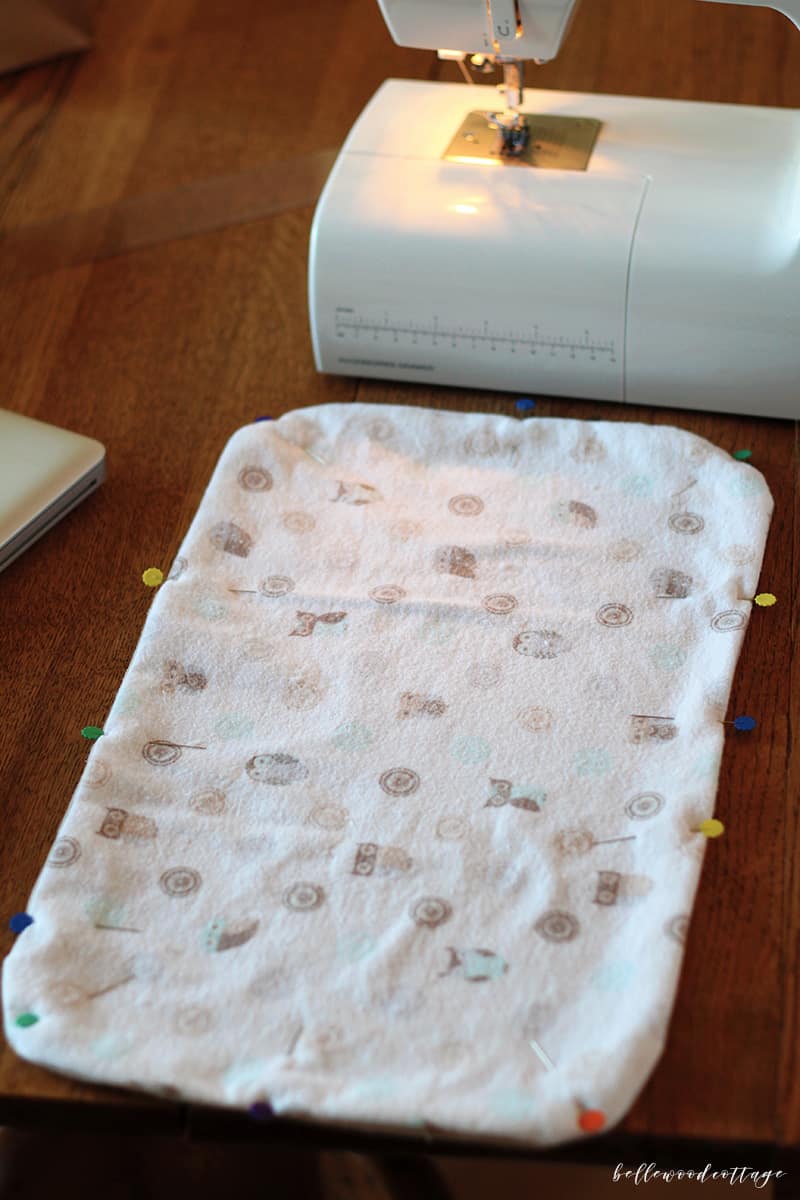
Now it’s time to sew! Pin two coordinating fabrics right sides together and sew around the exterior with a 3/8″ seam allowance. Leave a 4″ opening to turn the cloth.
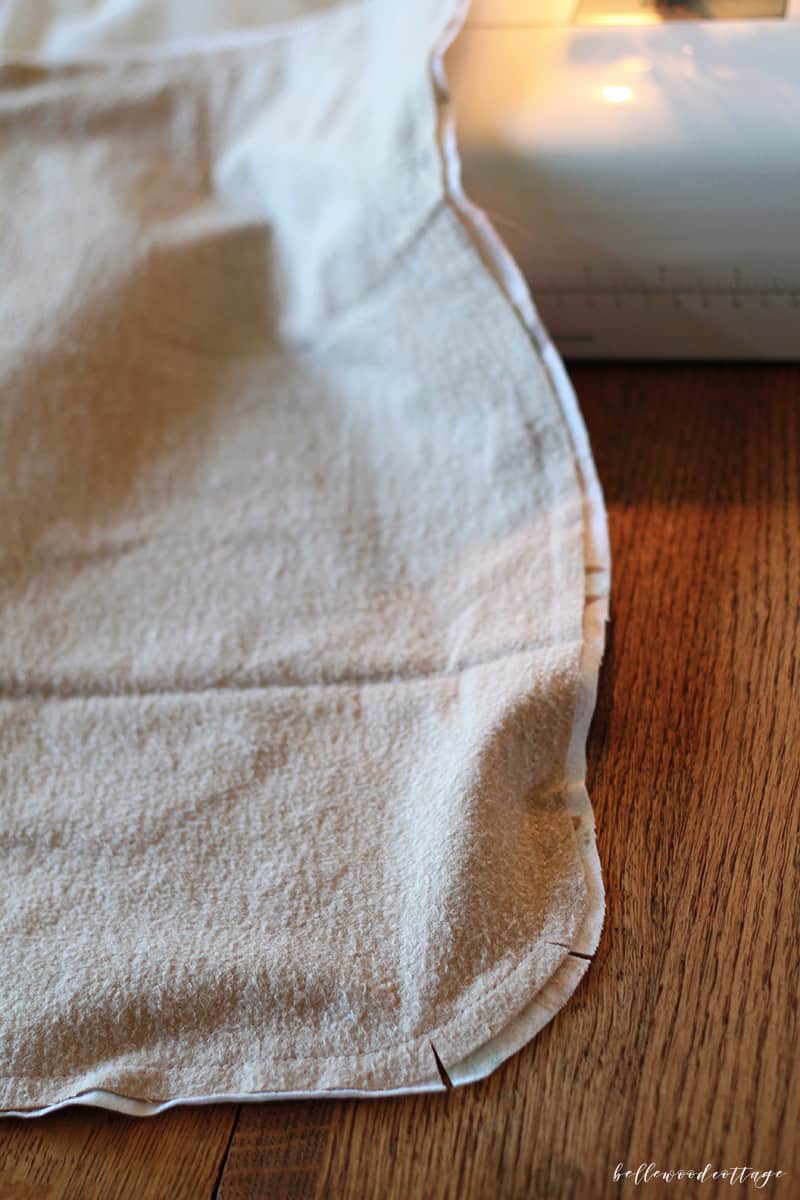
Before turning, clip the corners up to the seam allowance to allow the corners to be neat and tidy. Don’t cut through the seam allowance.
Turn the cloth right side out and iron if you do that sort of thing. If you’re like me, just gently tug on the seam allowances and pin them. Turn the edges of the 4″ opening under and pin.
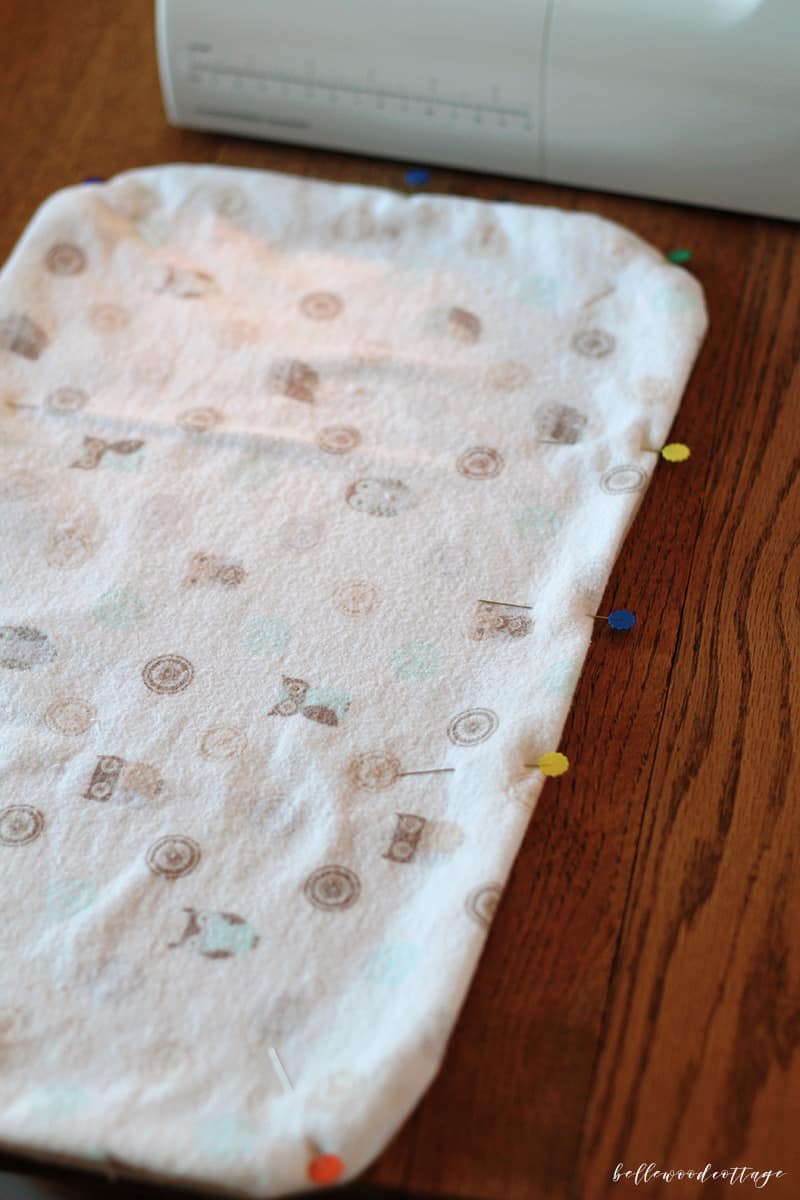
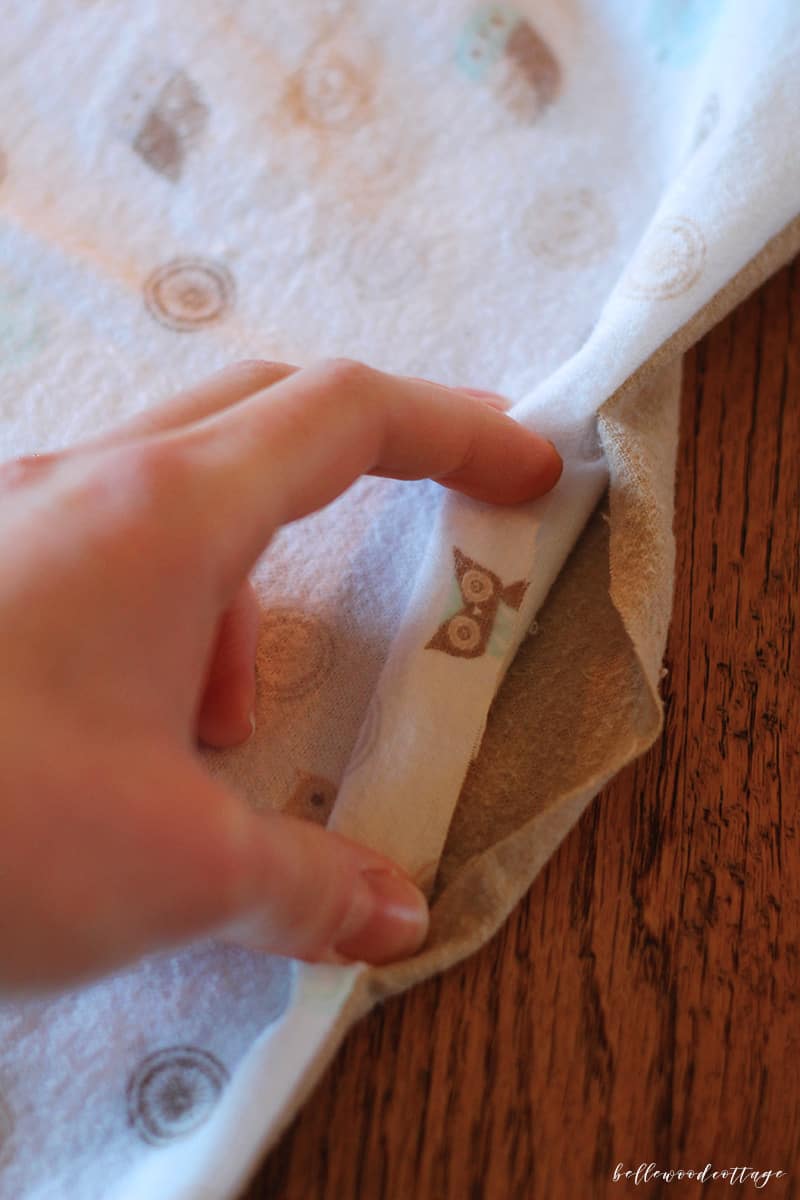
Sew around the cloths a 1/4″ from the outside to finish.
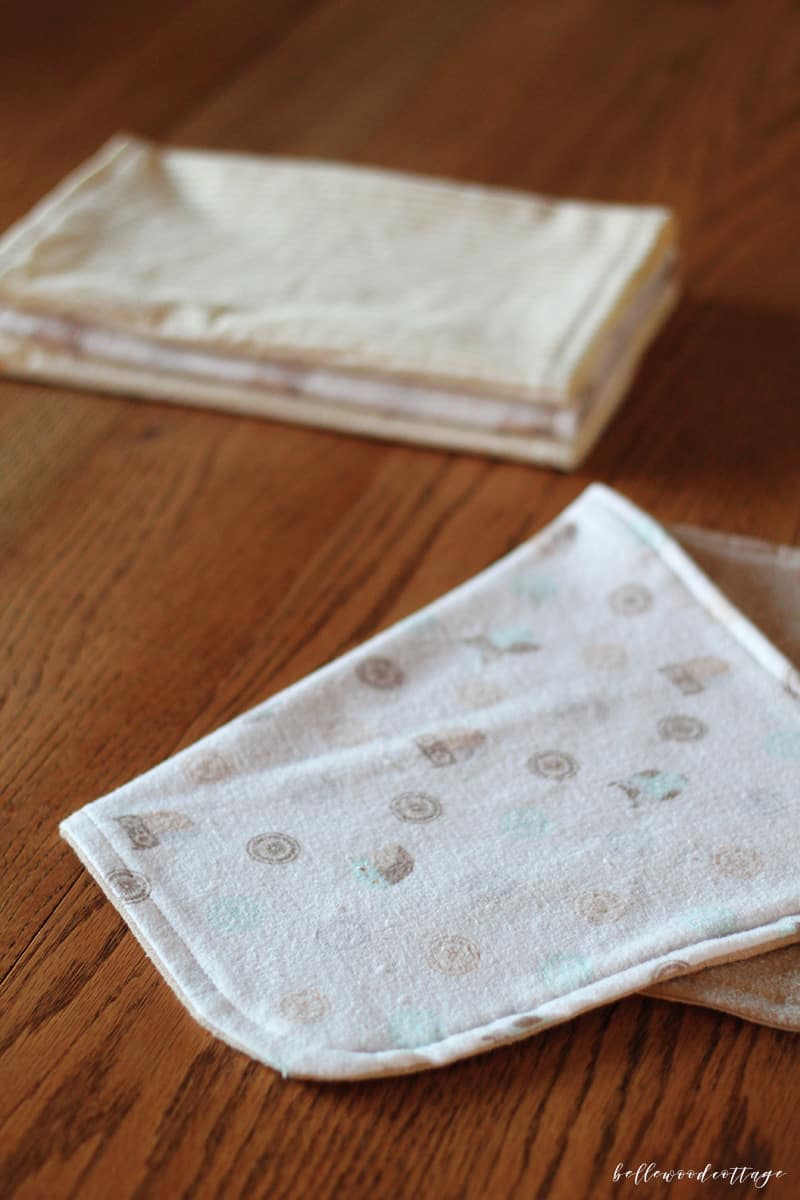
Again, you can now iron the cloth…or you can just simply trim your threads and you are set!
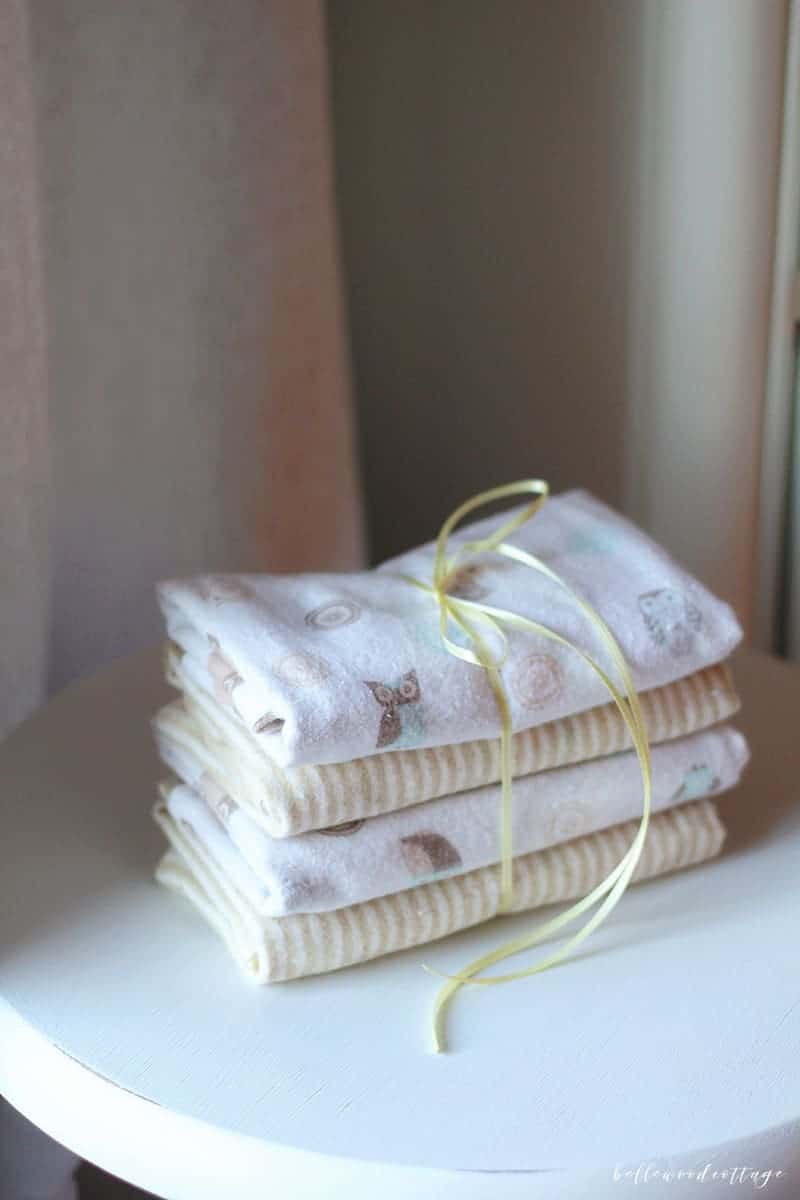
Packaging the burp cloths for gifts
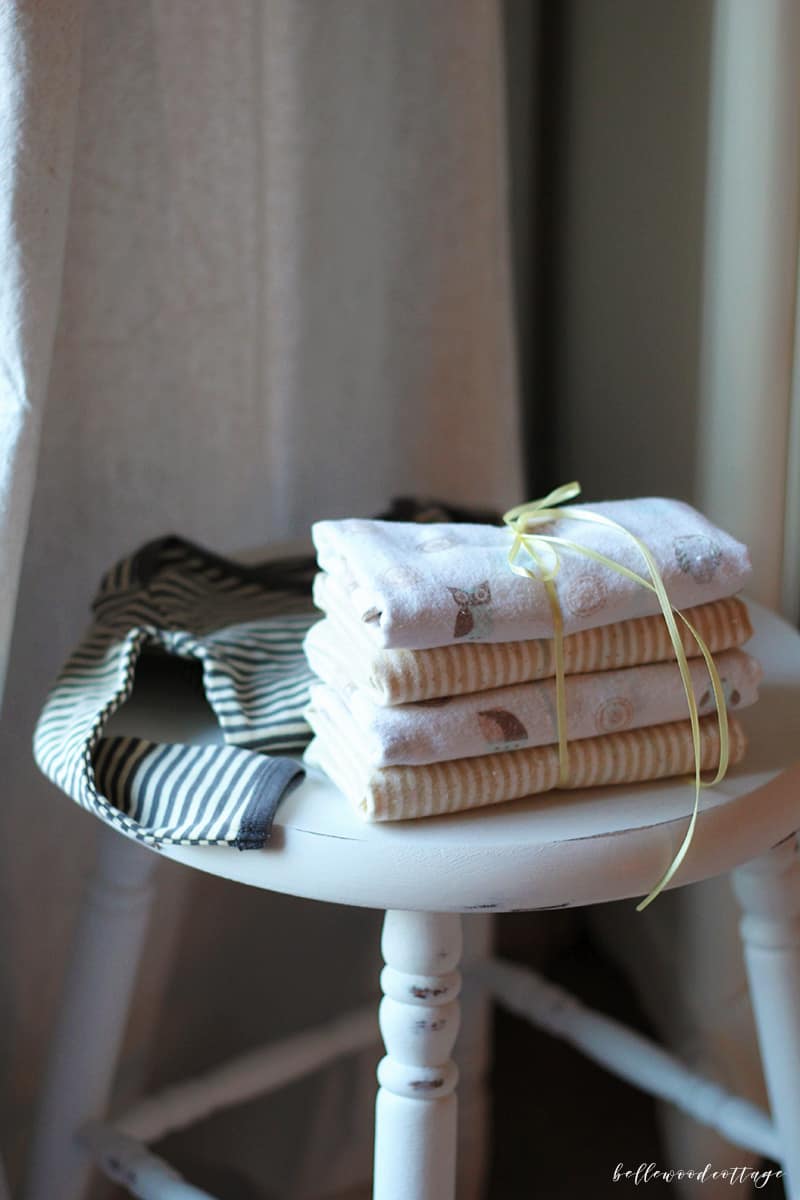
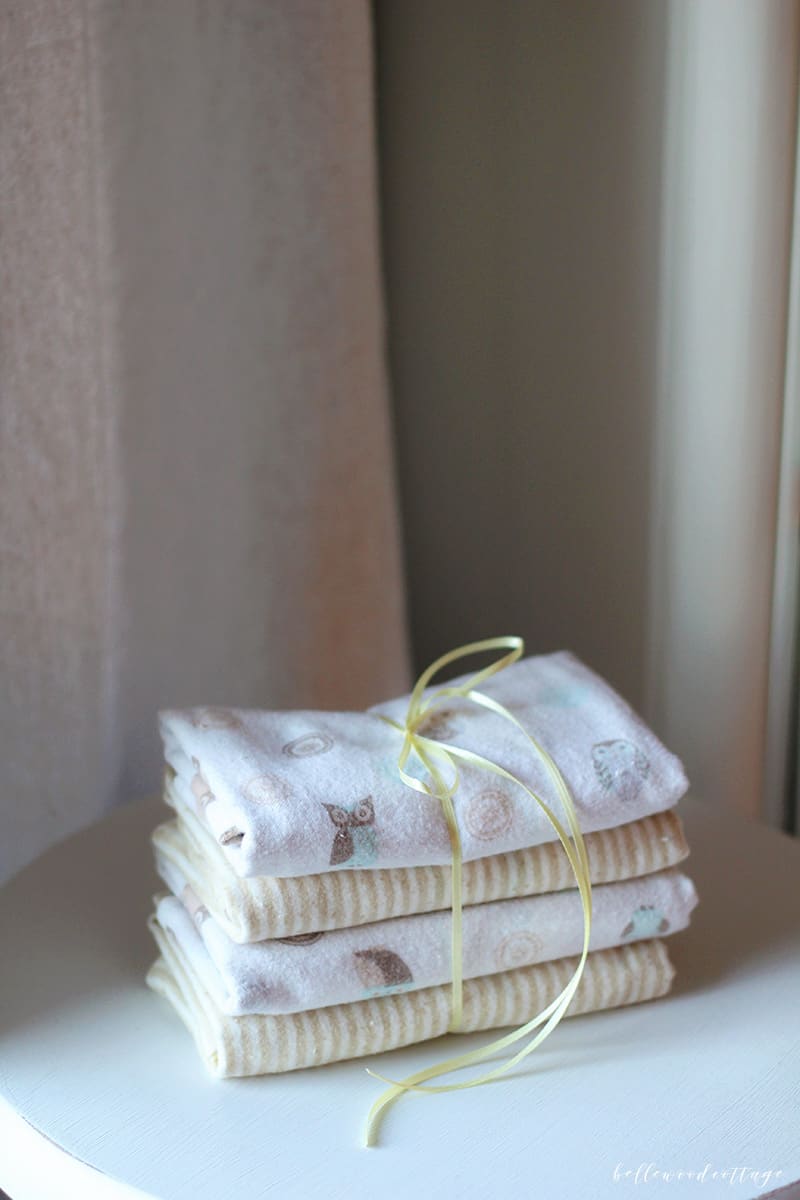
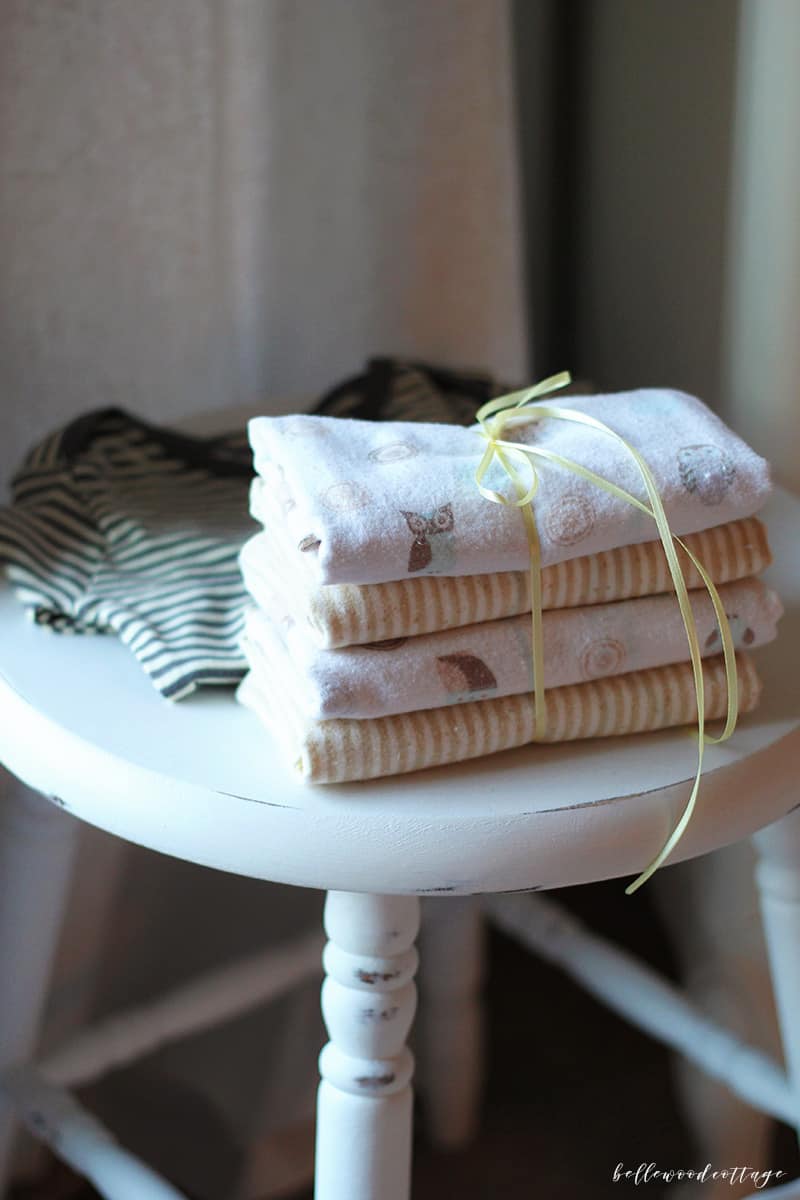
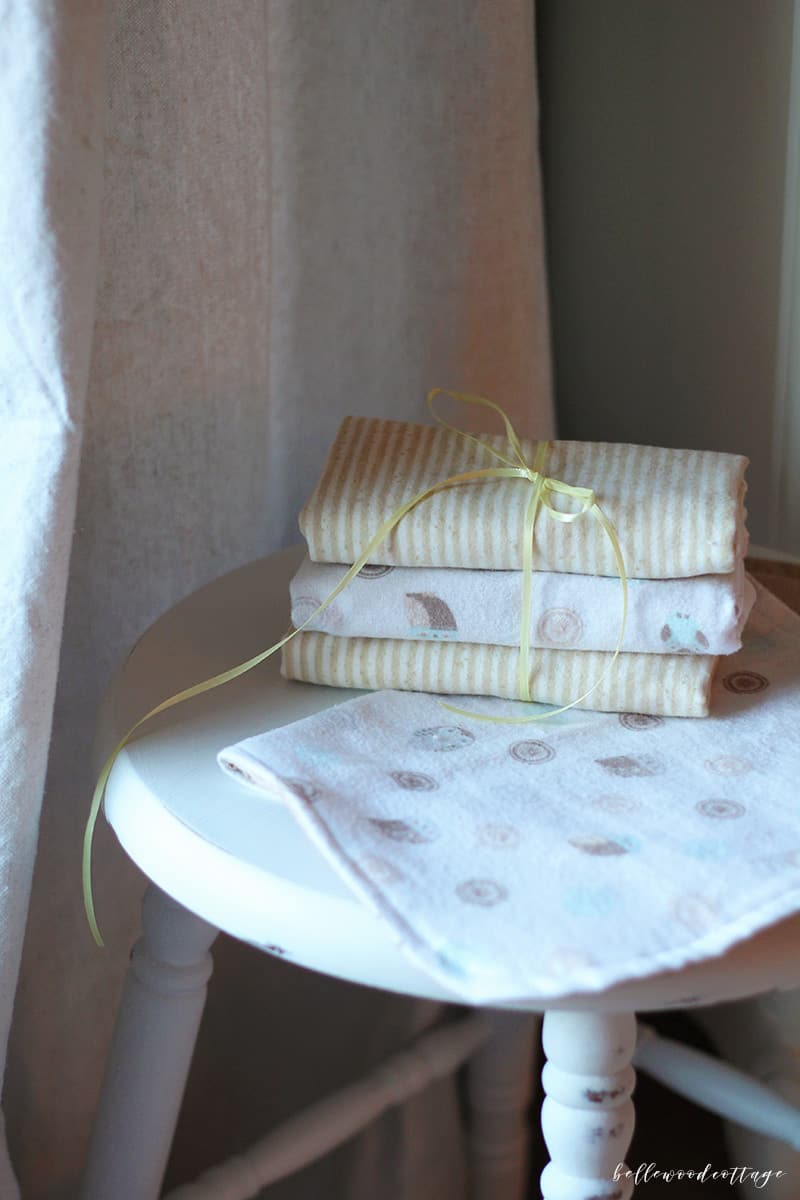
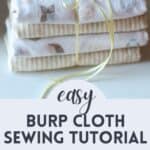
If you are making these burp cloths for a gift, I suggest making four or five at a time. They create a cute little stack and it’s easy to find fabrics that will coordinate well. For packaging, I like to fold them in thirds and then thirds again. This hides all the seams and gives a professional look. Tie with a ribbon, and there you have it.
If you sew often for babies, I’d love to hear your thoughts! What are your favorite fabrics to use and what are your most-requested projects? Let me know in the comments!
Weekly Crafting Fun!
Join my list and get a weekly email with relaxing craft ideas, freebies, sewing tutorials, and more!
Your posts are so well written rhat I just had to comment and say what a great job you do with instructions and pictures. After seeing what size burp cloth you make, I went and grabbed my templet to compare. I have 9.5 x 16.5 inches written on mine. I have pretty broad shoulders and it curls a little on the neck. So I think I’ll up that just to 11. But I agree with your length. I had a very spitty baby and the longer length would allow you to turn it around mid burping without having to grab another cloth. Keep posting-you do a great job!
Aw thanks so much for this sweet comment! =)
I want to try your pattern soon for #9 great – grandchild!
Awww congrats! I feel like there can never be too many burp cloths for these little ones! =)