How to Make a Professional Scrunchie with a Neat Seam (video & photos)
Learn how to make a professional scrunchie with a neat seam in this easy sewing tutorial that is great for beginners. I’ll show you two ways to finish the seam–the first way is super quick/easy, but it’s pretty visible. The second way is my FAVORITE and I’ll tell you everything you need to know to get a nice professional finish!
Please note that this post contains affiliate links which allow me to earn a small commission when a purchase is made at no additional cost to you. As an Amazon Associate I earn from qualifying purchases. Read more here.
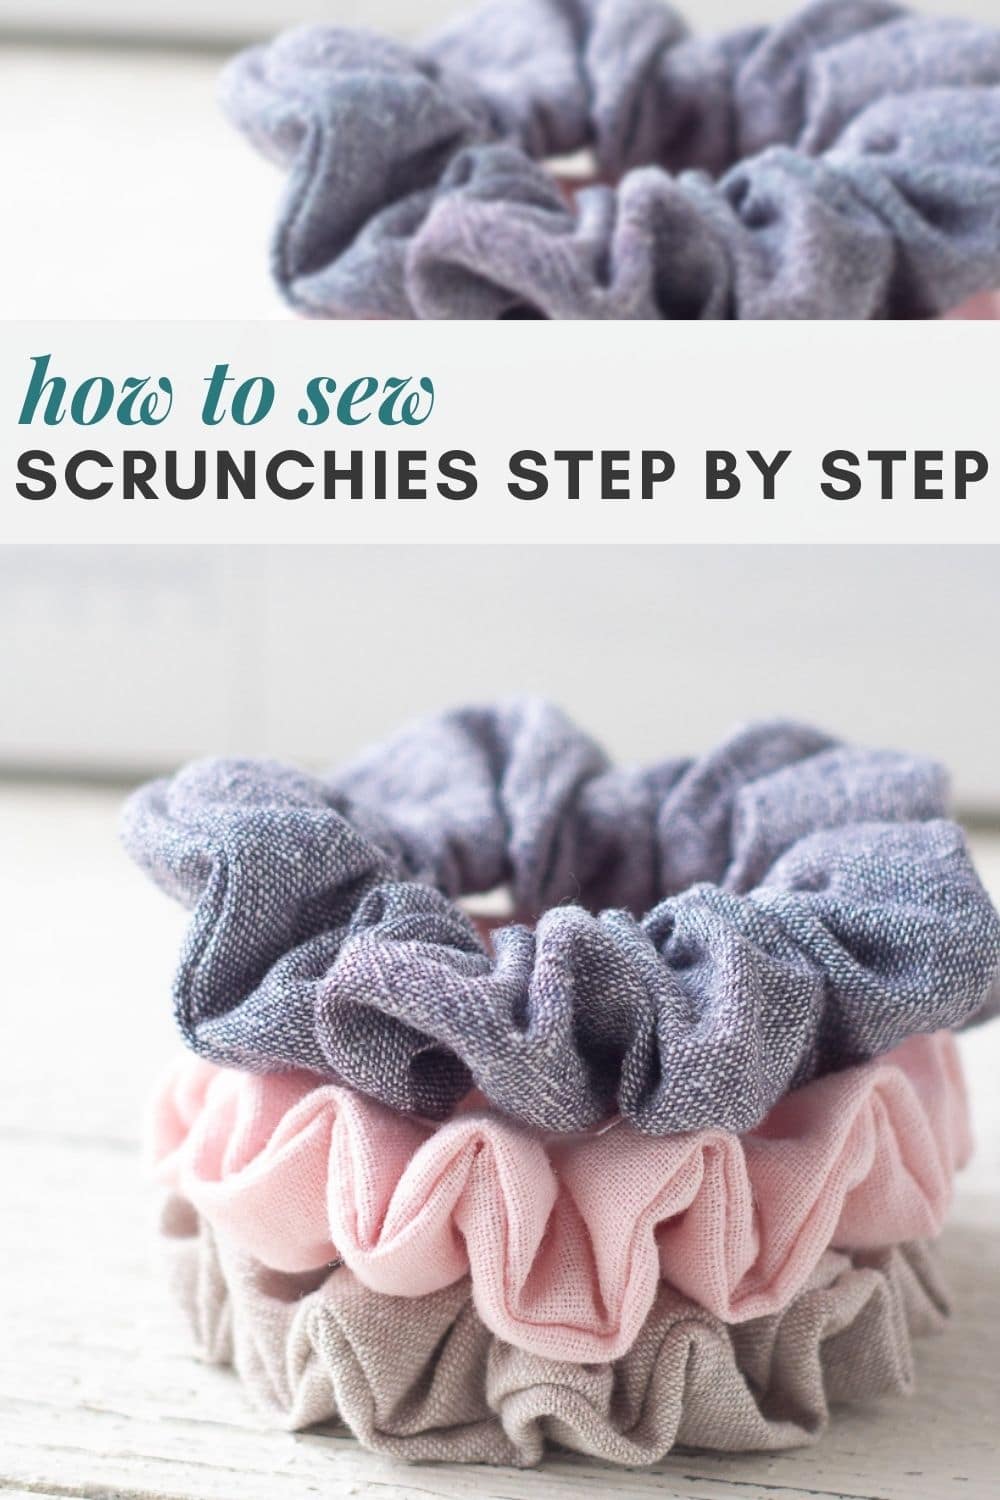
I’m so excited to share with you how to sew scrunchies! This project is great for using up fabric scraps and these scrunchies are so quick to sew, you’ll have dozens before you know it. And, did someone say, handmade gift idea? This would be perfect. It’s also an excellent project for beginners.
Fabric & Supplies for Making Scrunchies
What’s the best fabric to use for making scrunchies? There are tons of options, but I love using linen or other woven apparel fabrics (like lawn or voile). Try browsing the apparel fabrics section at your fabric store (instead of heading towards the quilter’s cotton) to get a softer, more professional look to your scrunchies.
Weekly Crafting Fun!
Join my list and get a weekly email with relaxing craft ideas, freebies, sewing tutorials, and more!
Quilter’s cotton is great to get started and practice with though! In fact, I have some beautiful cottons from Japan I plan on using to make a set of fun scrunchies in the near future.
You can also use fancier fabrics like velvet (so pretty) and silks etc. Just be mindful that velvet will take a bit more patience to sew and slippery fabrics may not stay put in your hair as well. You can use a knit or woven fabrics, but I suggest using a woven if you are new to sewing.
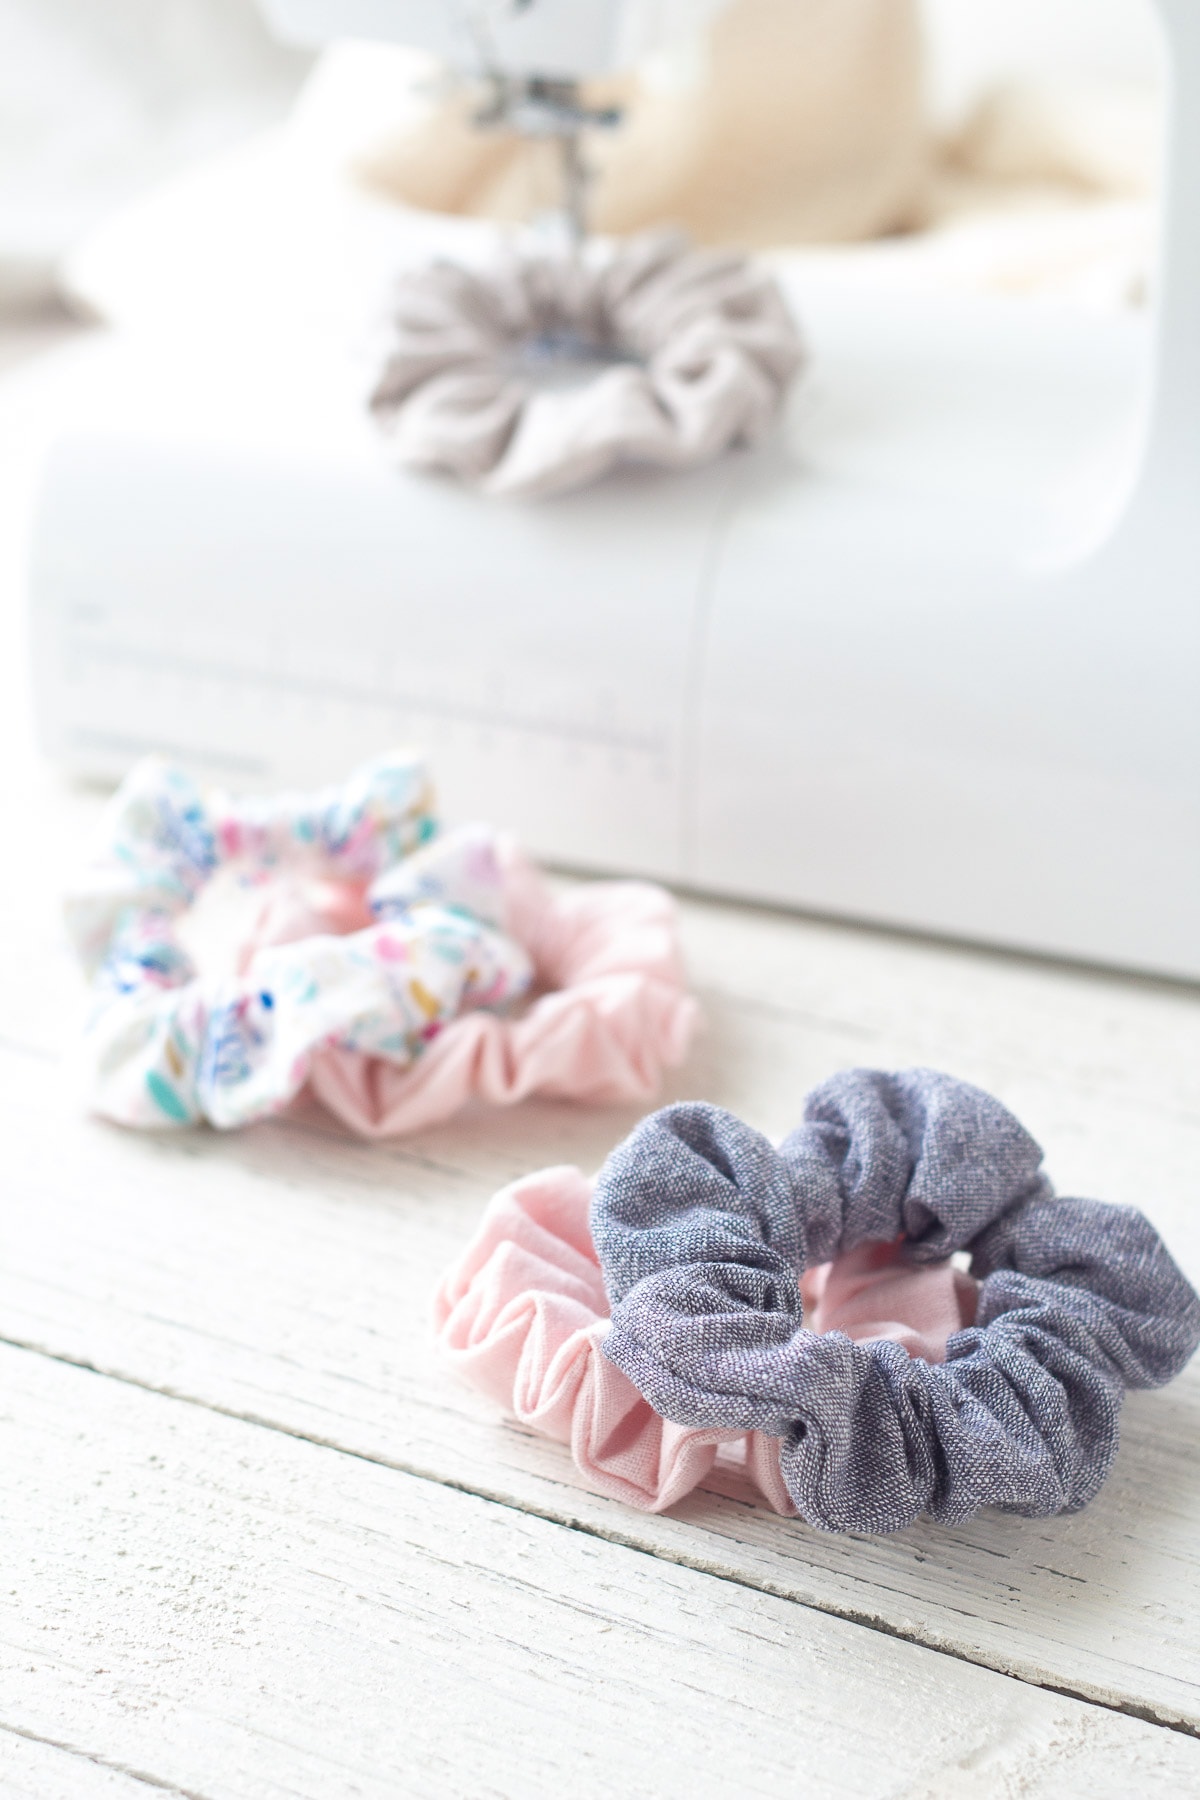
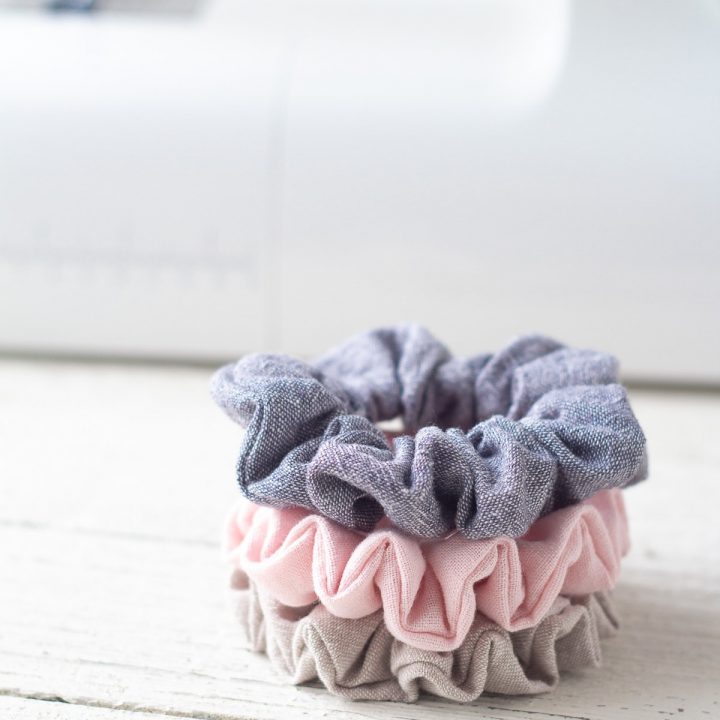
In this scrunchie tutorial I used Robert Kaufman linen in flax, pink, and yarn-dyed blue. I love this fabric and highly recommend it!
For starting out, I suggest just diving into your scrap bin and choosing some of your favorites to start out with. Have fun!
I’m Ready to Sew, What Else Do I Need?
- 3″x22″ rectangle of fabric (per scrunchie)
- 7.5″ of 1/4″ elastic (per scrunchie)
- matching thread
- safety pin
- sewing pins or sewing clips
- iron and ironing board
- sewing machine (optional, see below)
- hand sewing needle
Do I Need a Sewing Machine to Sew a Scrunchie?
Absolutely not! A scrunchie is such a small project, you definitely do not need a sewing machine to make a professional-looking scrunchie. Instead of machine sewing as I show you in the scrunchie tutorial, you’ll just use a running stitch to seam the rectangle of fabric, hand sew the elastic closed (you can also knot it), and then finish as shown with the ladder stitch. Easy peasy! And I promise, it’ll still be a very quick project.
Ready to learn how to make a professional scrunchie? Let’s get started! You can check out the video below, or head straight to the step-by-step instructions, or the printable card.
Get Started and Watch the Video Here
Step by Step Instructions for How to Sew a Professional Scrunchie
Prepare the Fabric
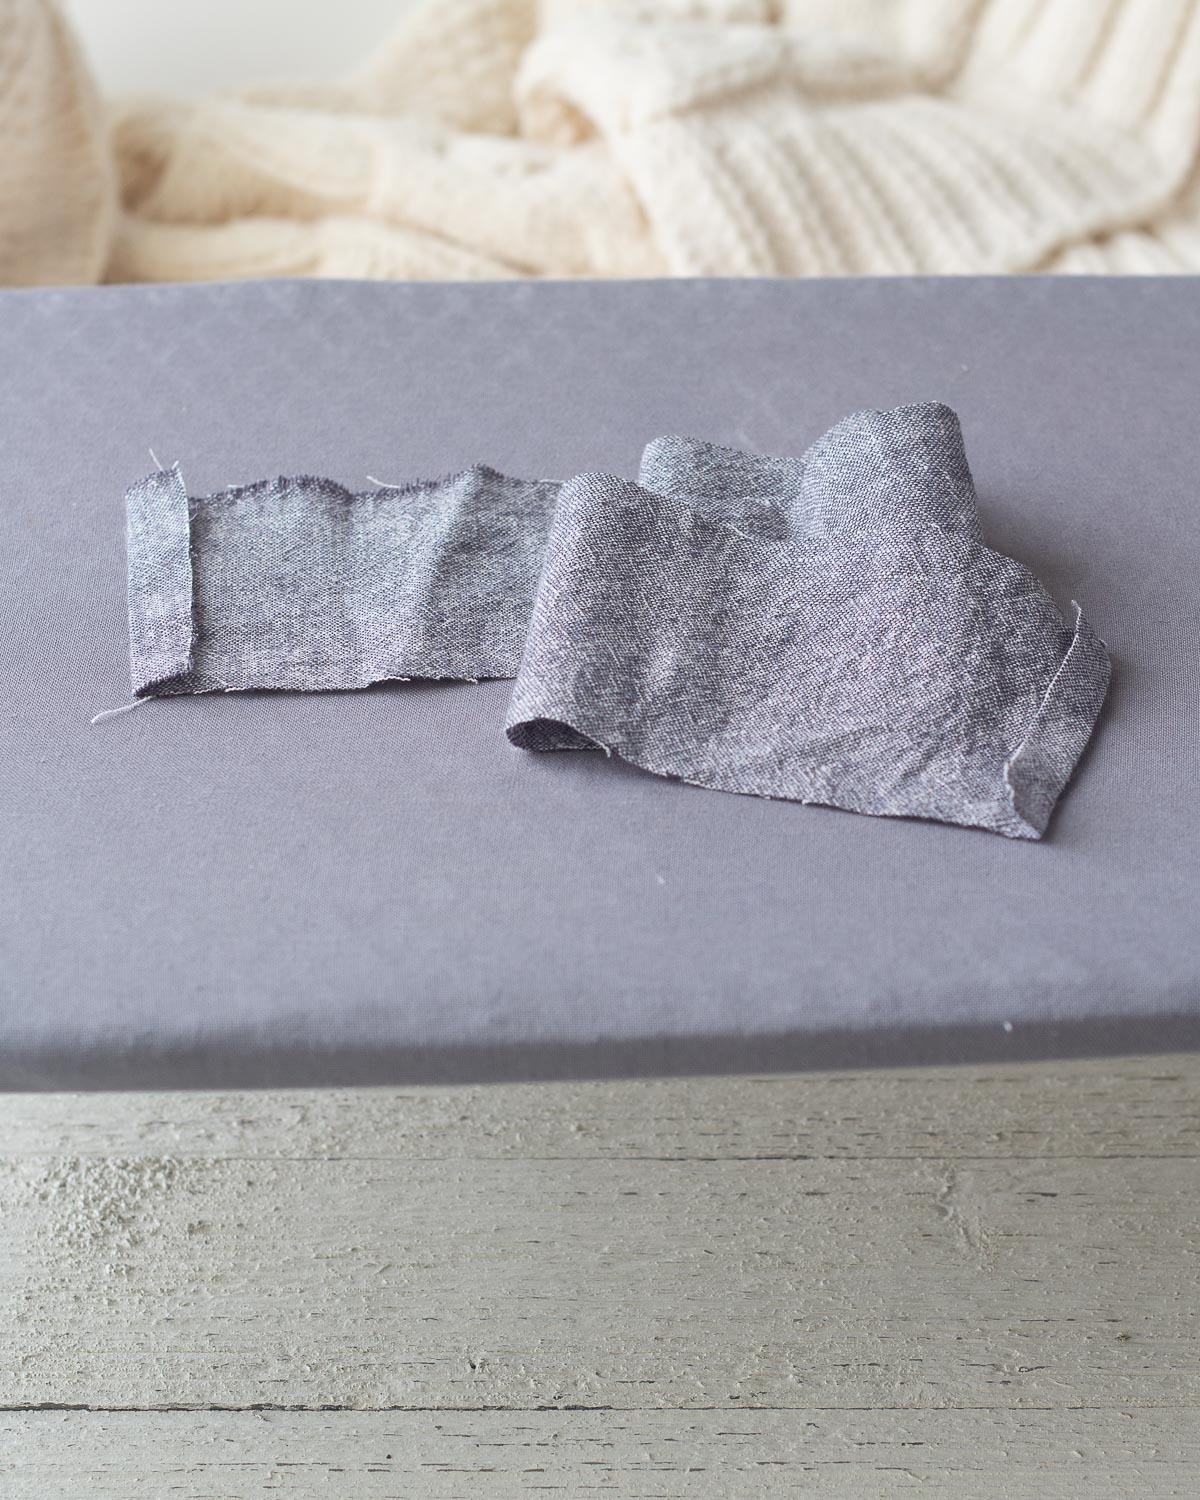
Cut a 3”x22” rectangle of fabric. Linen or cotton are great for beginners!
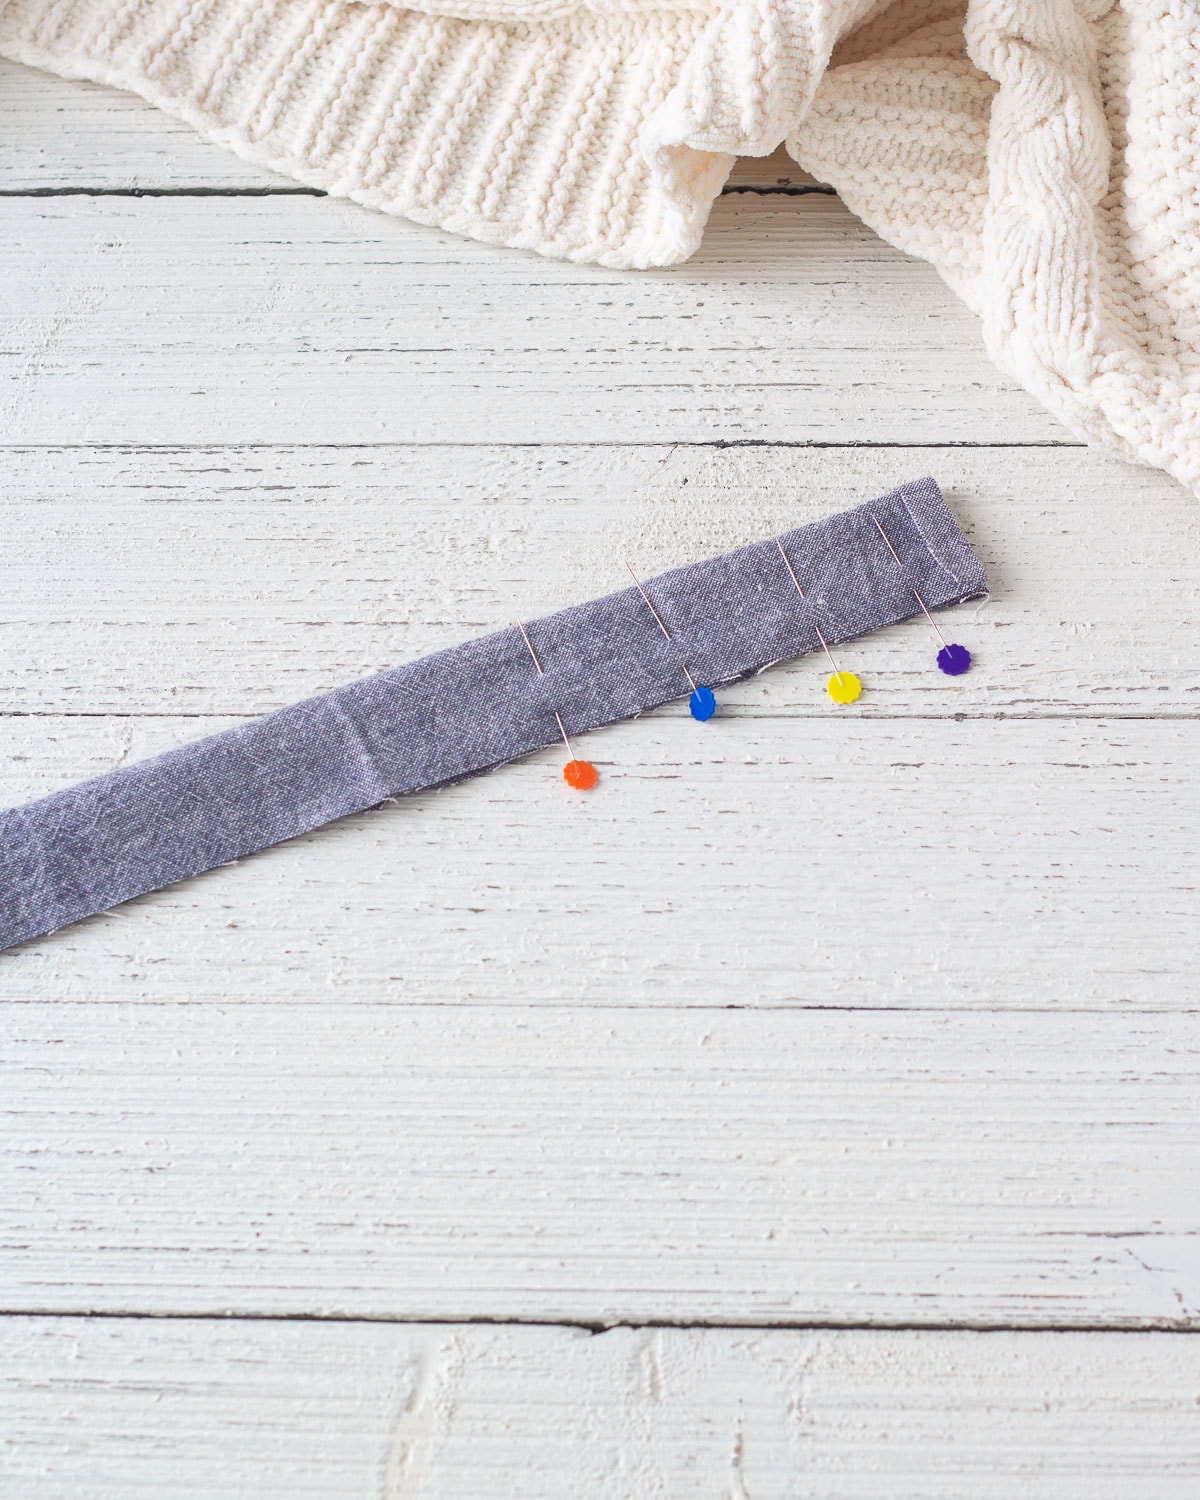
With the strip of fabric right side down, fold the short edges over about 3/8” over and press.
Fold the fabric right sides together the long way. Pin (or press if you’d rather).
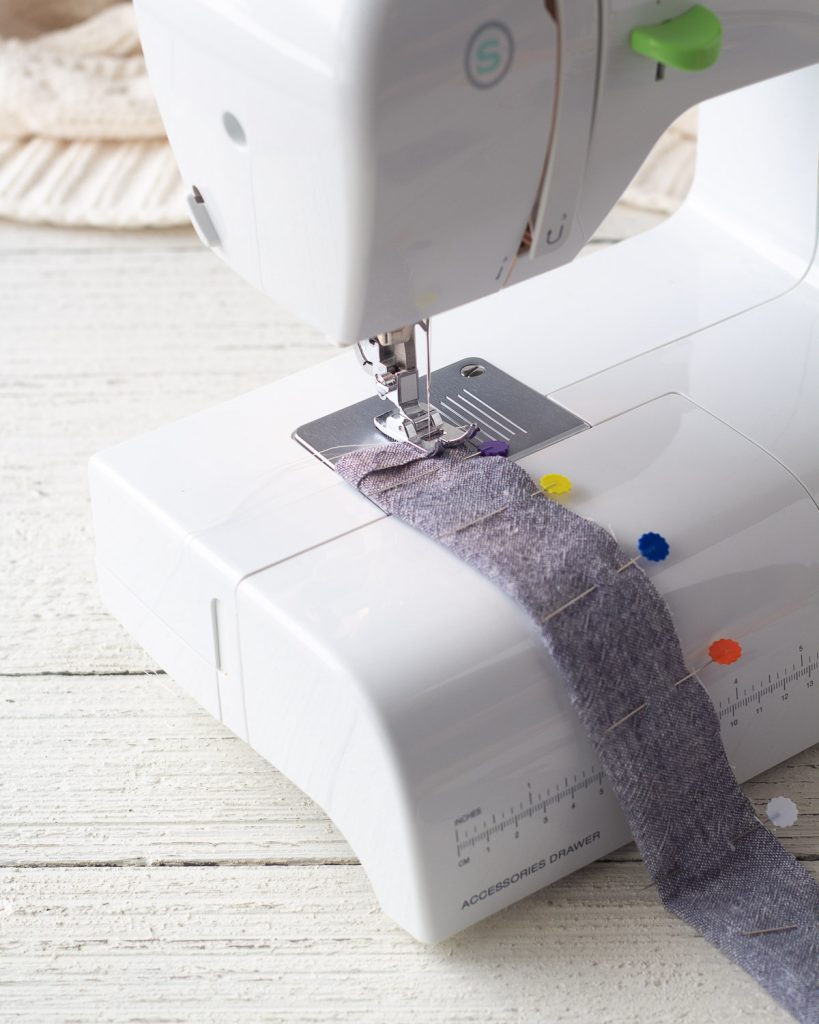
Stitch into a Tube
Stitch down the seam with a ¼” seam allowance, being sure to reverse stitch at the beginning & end of seam to secure.
Turn the Tube Right Side Out
Attach a safety pin to the top of the tube and roll the top of the tube down into itself. Use the pin to keep turning the tube right side out.
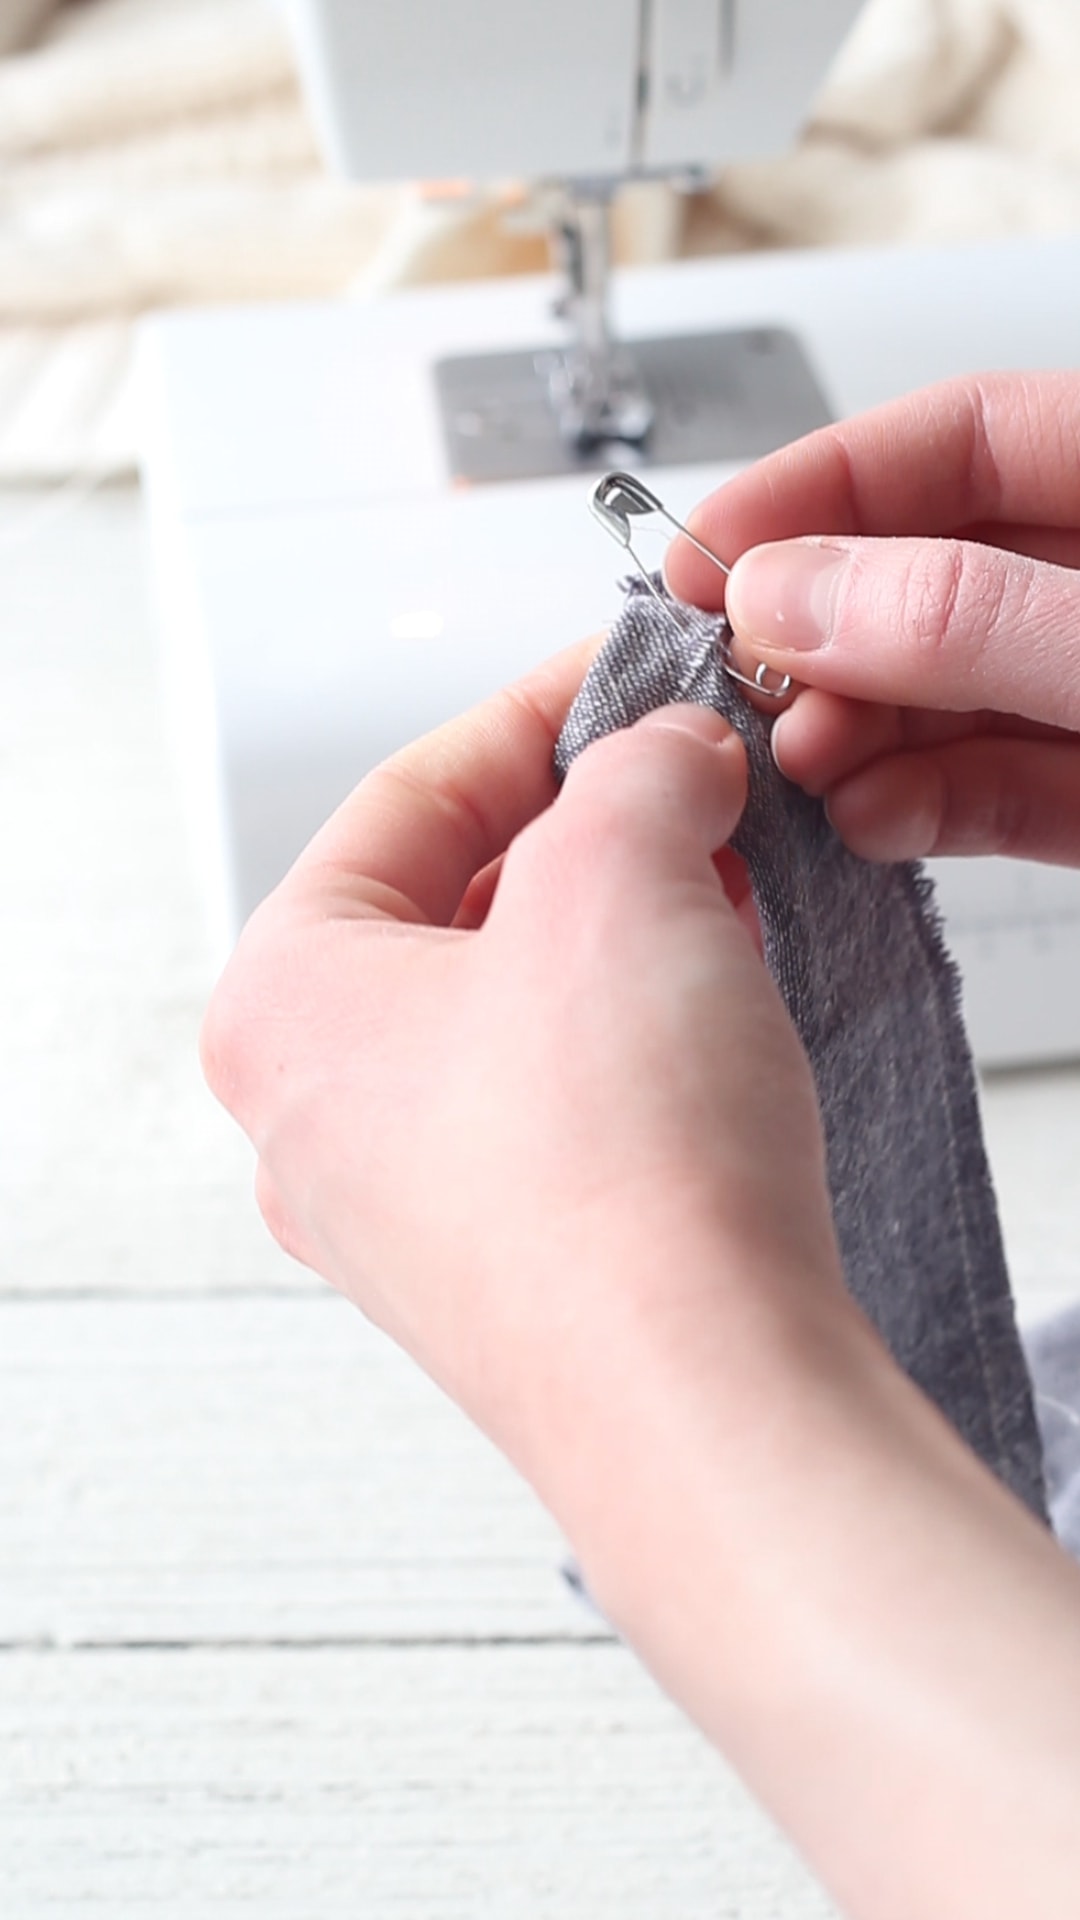
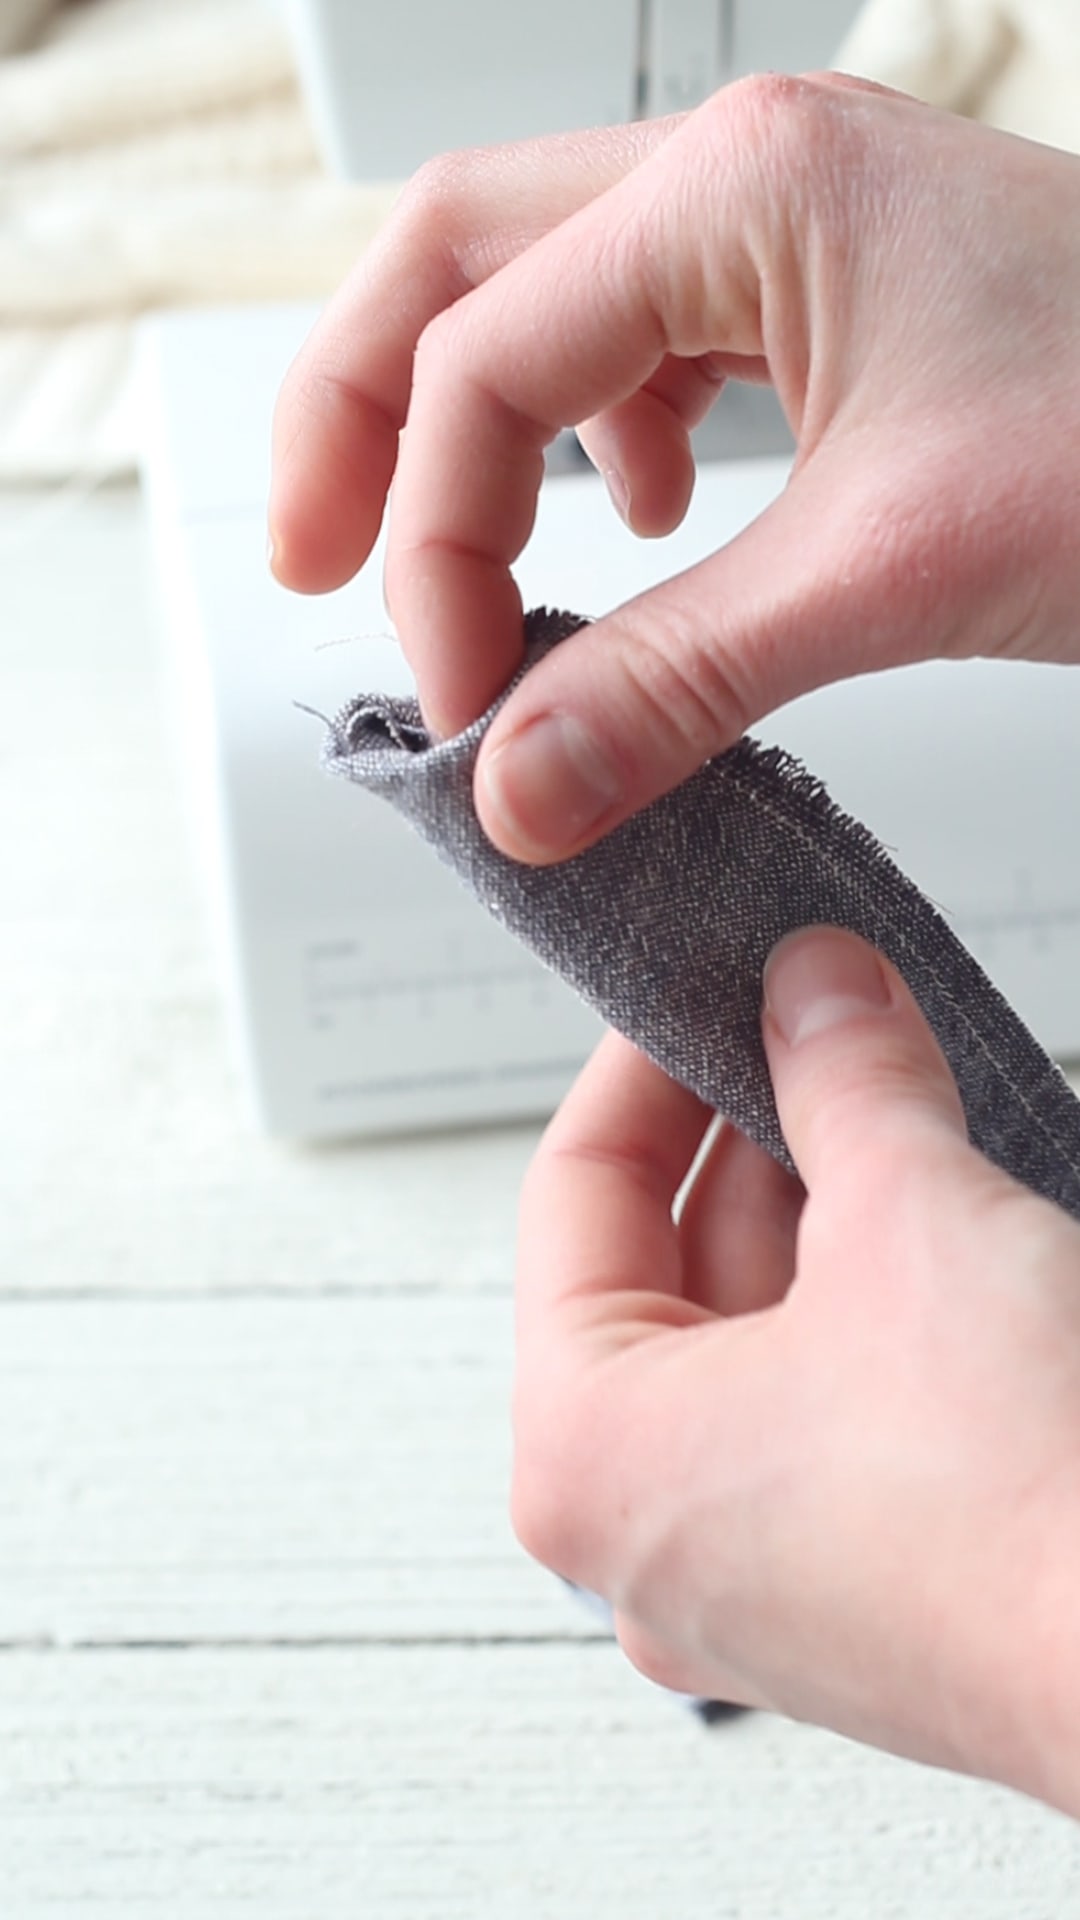
To get the process started you kind of need to roll the top of the tube down into the middle with your fingers, but after that, you can use the safety pin to keep scrunching and moving the fabric down until the entire tube is turned out.
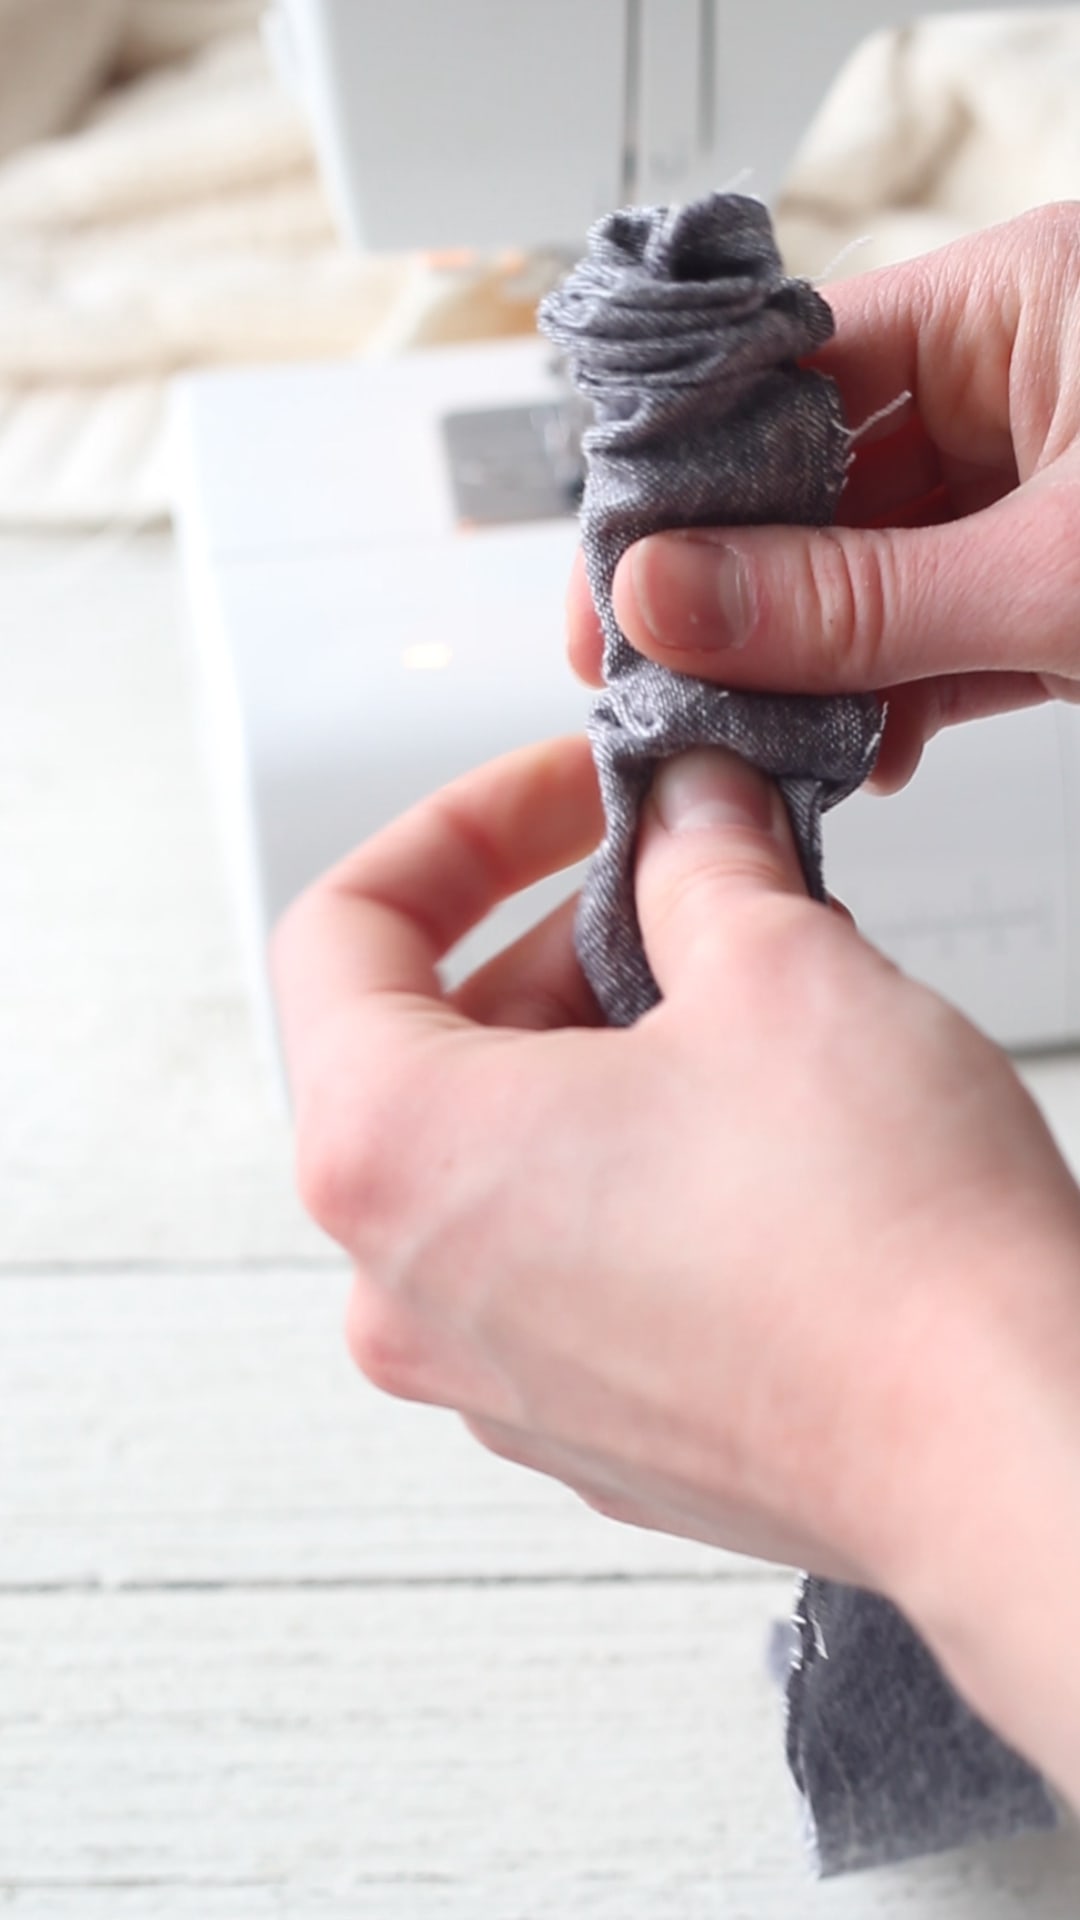
Insert Elastic
Remove safety pin from tube and pin it into a 7.5” strip of ¼” elastic.
Insert pin into tube and scrunch over the elastic (hang onto the other end of the elastic so you don’t lose it in the tube).
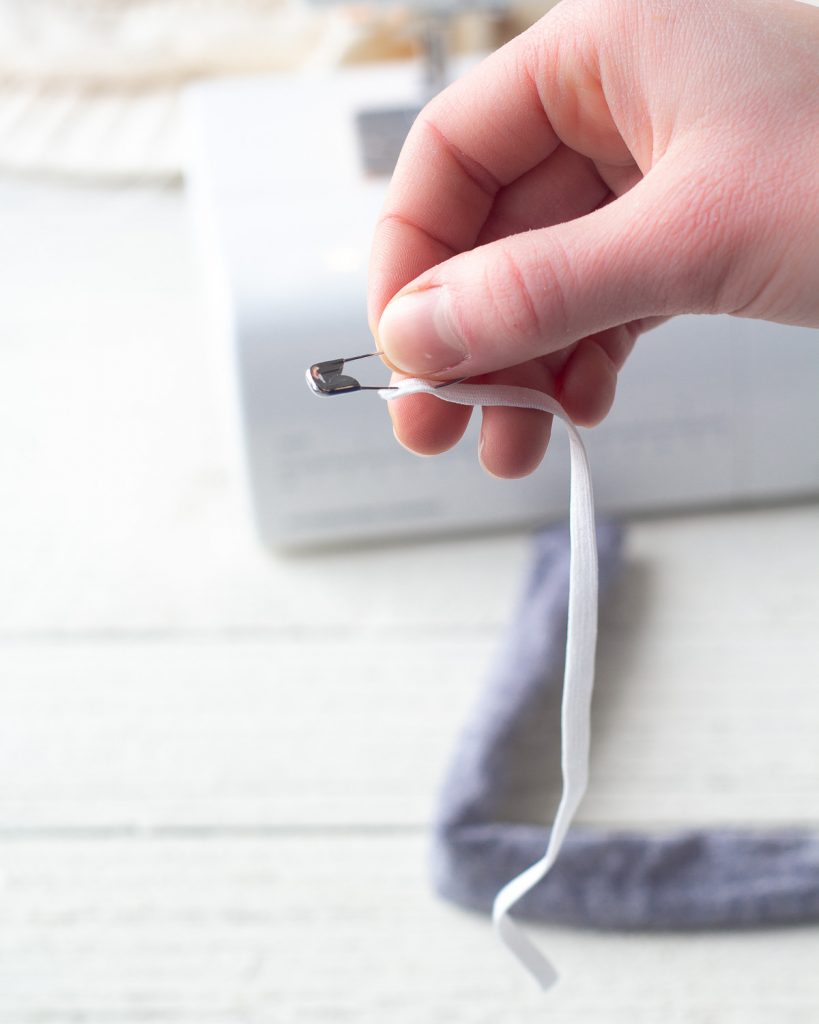
Overlap elastic about ½” (you will stitch it together in the next step).
Use a zigzag stitch to sew the elastic together. I go back and forth several times so it’s super secure.
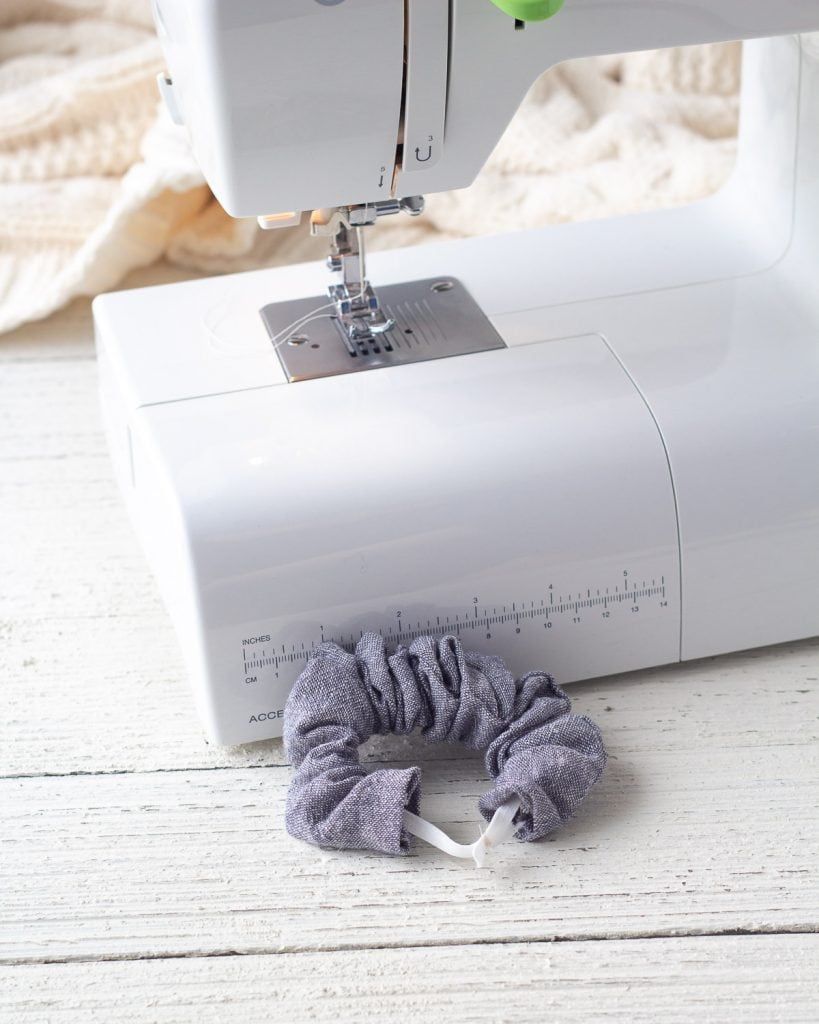
Two Options to Finish Sewing the Scrunchie: First, the Super Easy Way
First seaming option, the “easy way”. Keep scrolling for the super professional option.
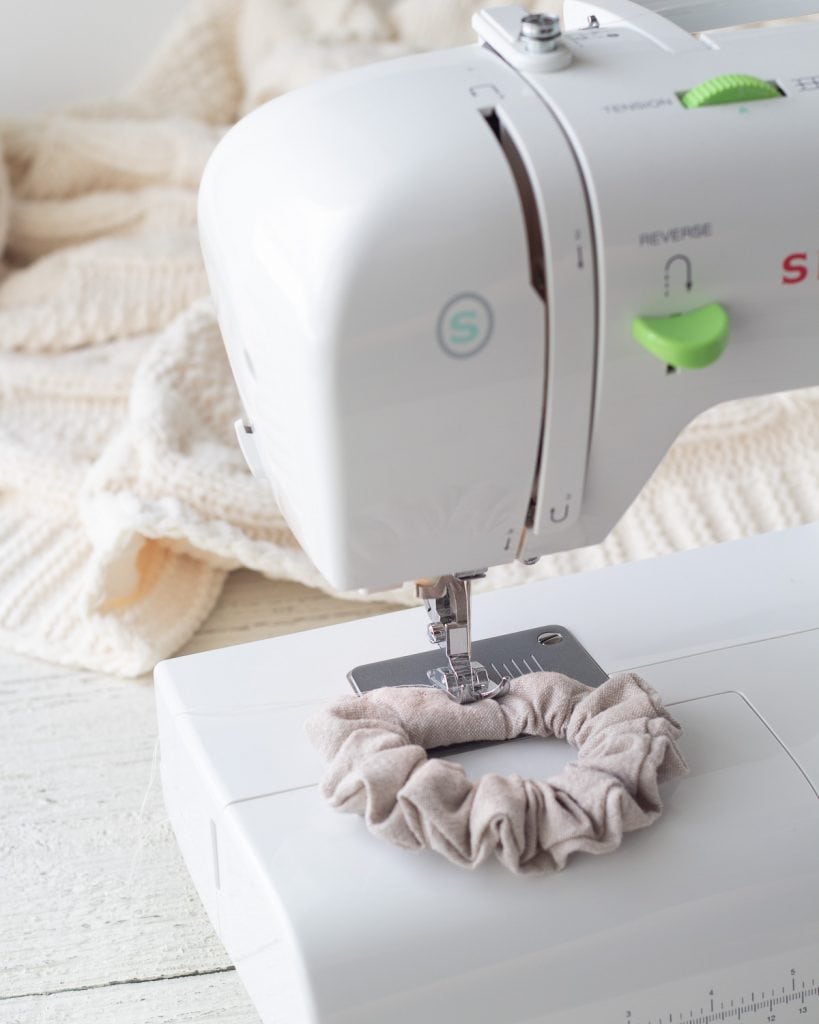
Overlap one scrunchie edge over the other about ½”.
Place the scrunchie under the machine needle and stitch right across that overlap. That’s the first option for seaming!
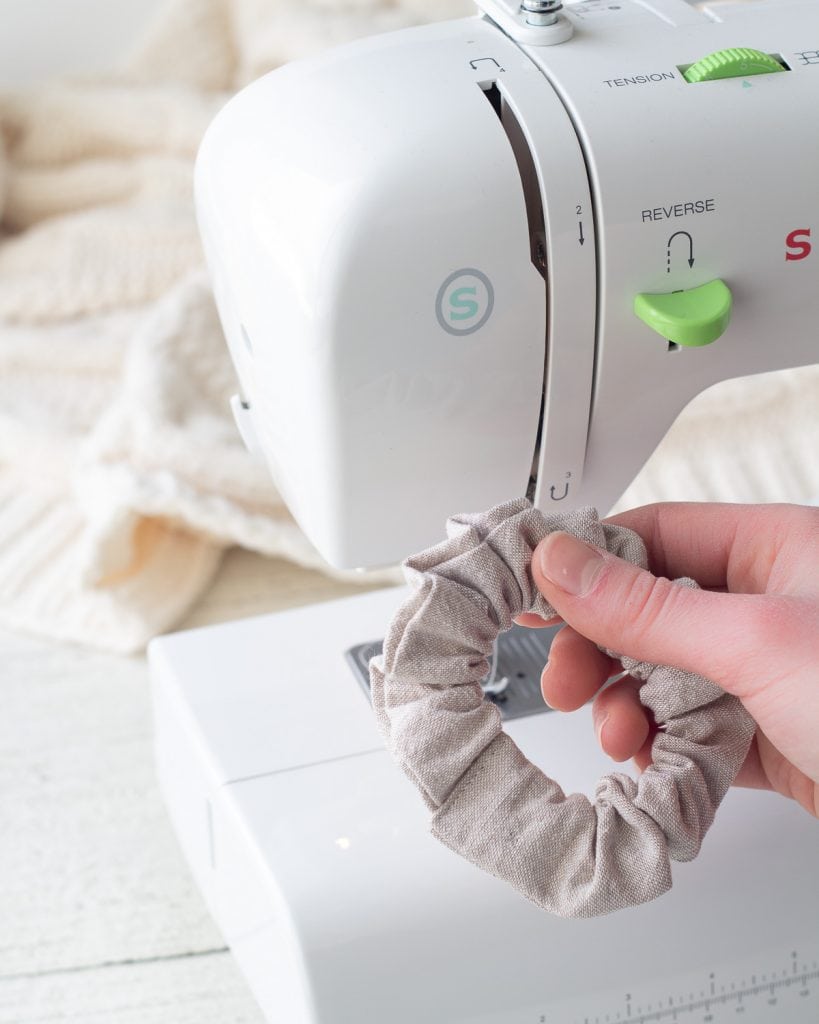
Finish Sewing a Professional Scrunchie: The Super Neat Way
Now, my FAVORITE way. Use a ladder stitch!
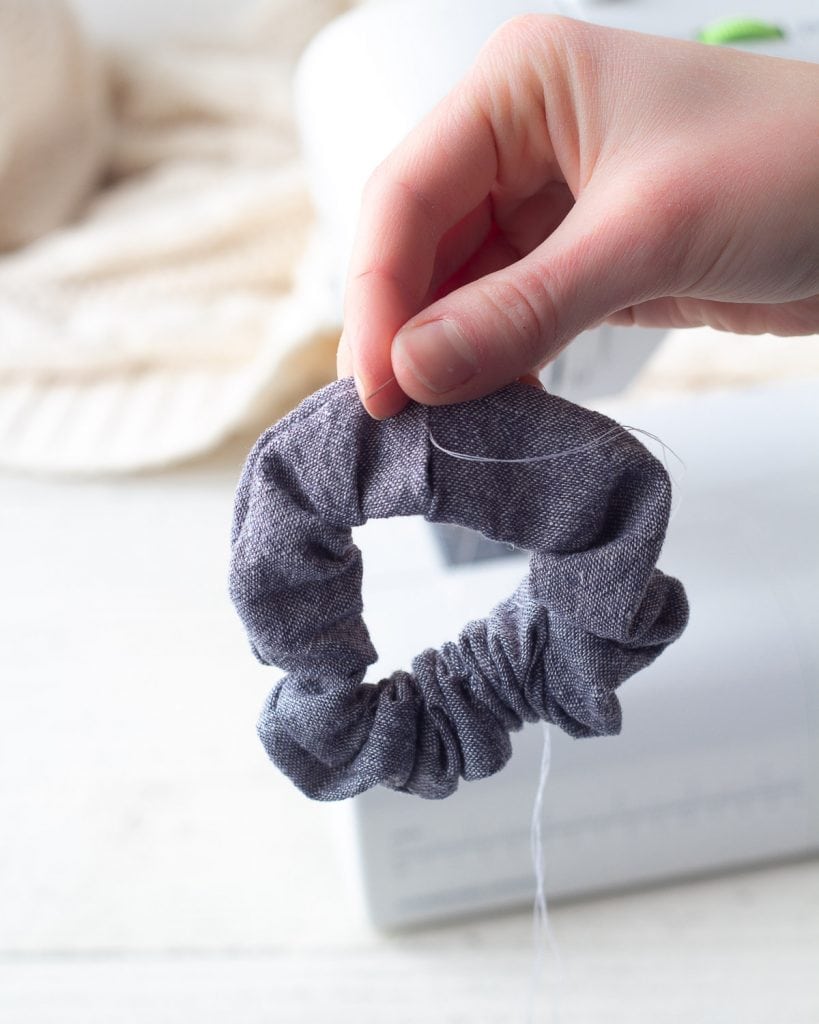
For a super neat seam, try it this way: bring the edges of the scrunchie together and hand-stitch around the entire circular opening using a ladder stitch (also called an invisible stitch). If you don’t already know how to ladder stitch, it is SO worth learning! It’s very easy to do and you will find yourself using it all the time to close seams neatly or repair garments or even stuffed animals. This short Youtube video will show you everything you need to know!
Tip: Do not sew through all the layers of fabric here. You will sew around the circular opening of the scrunchie placing your stitches in the fold made from pressing the short edges over in the beginning of the tutorial. The tube of the scrunchie is maintained, we are just closing the final seam. Versus the super easy method above where the scrunchie is sewn through to finish. Watch the video if you need help!
Tip: If you need a little help keeping the edges together you can attach a safety pin near the seam to keep things secure while sewing.
Tip: To bury the knot, I knot my thread against the fabric as normal and then I insert the needle into the fabric right against that knot and pass the needle out of the scrunchie about a 1/2″ away from the knot, pulling the knot into the scrunchie as I pass the needle through. Then trim the thread! Just a little trick I learned from my sewing stuffed animal days.
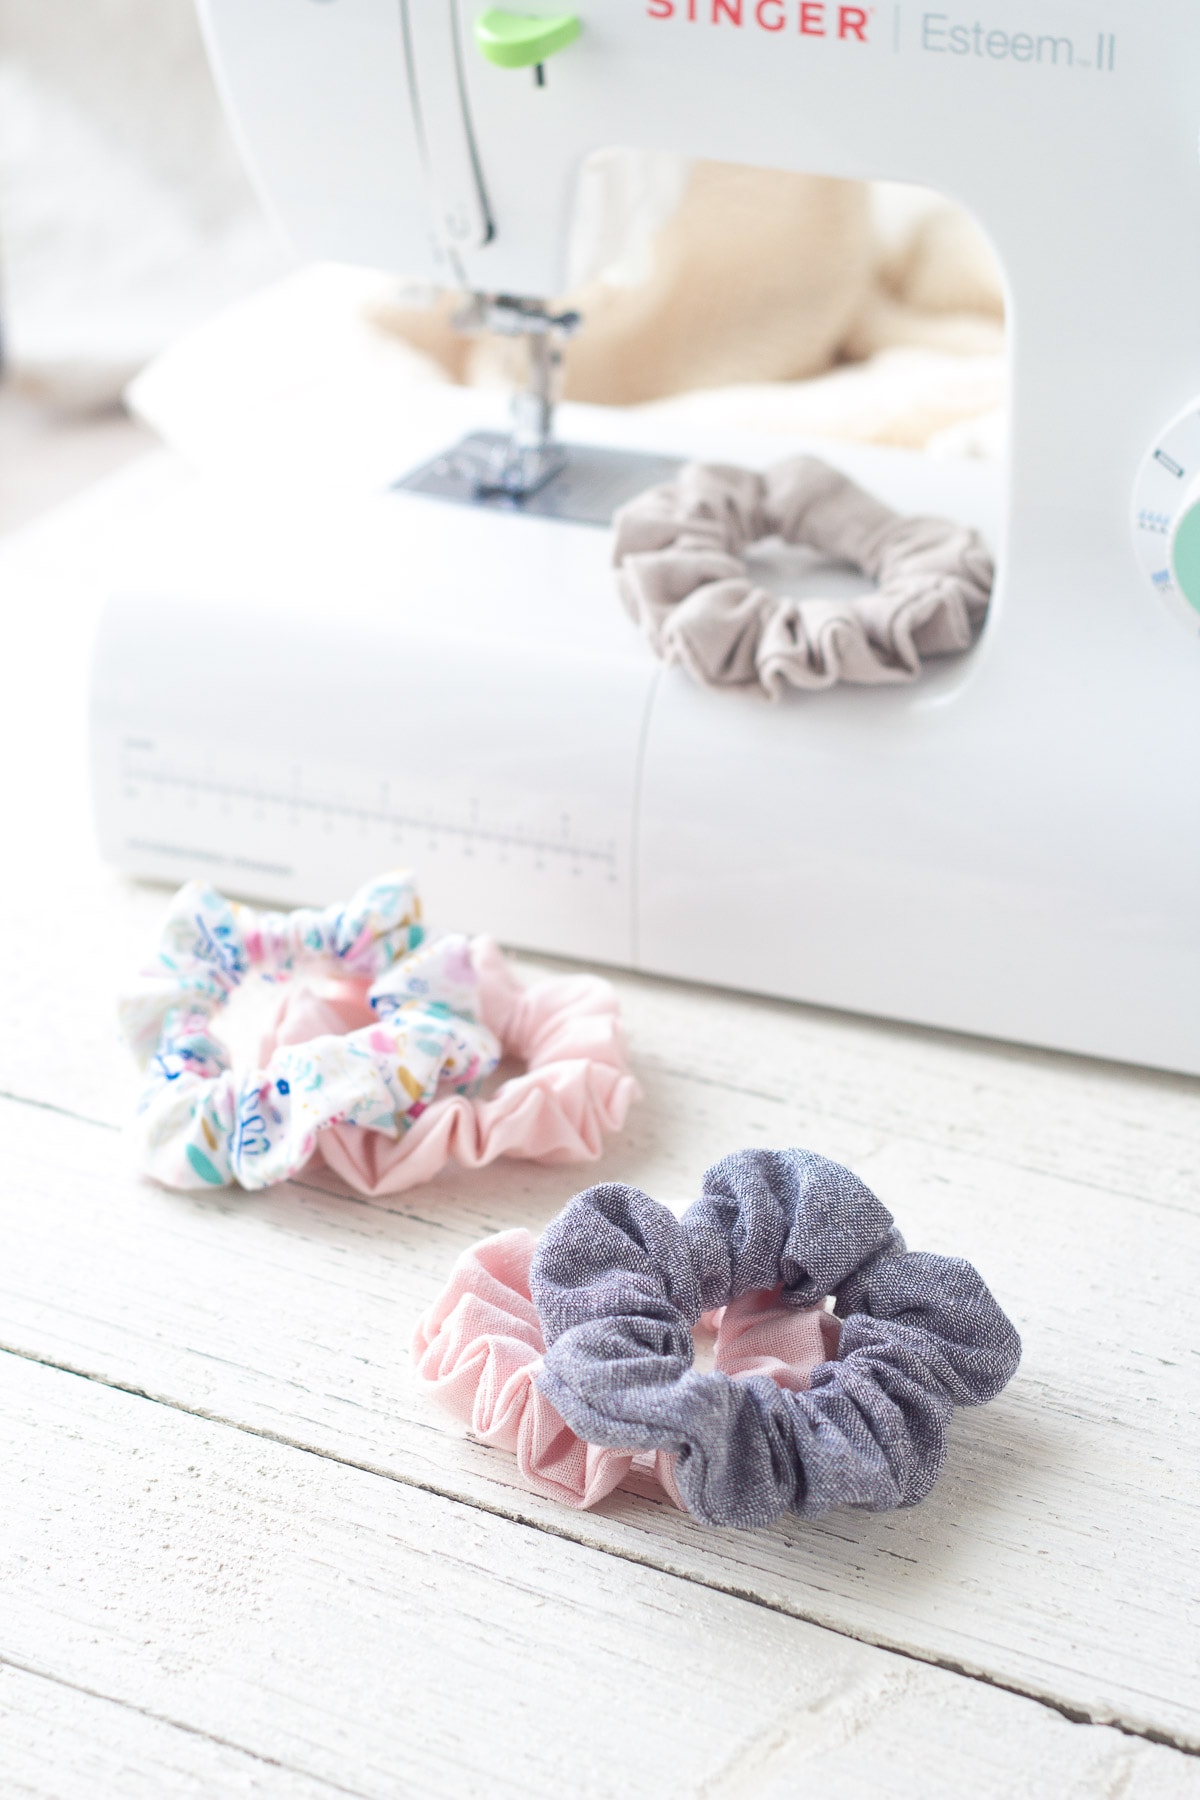
All Done!
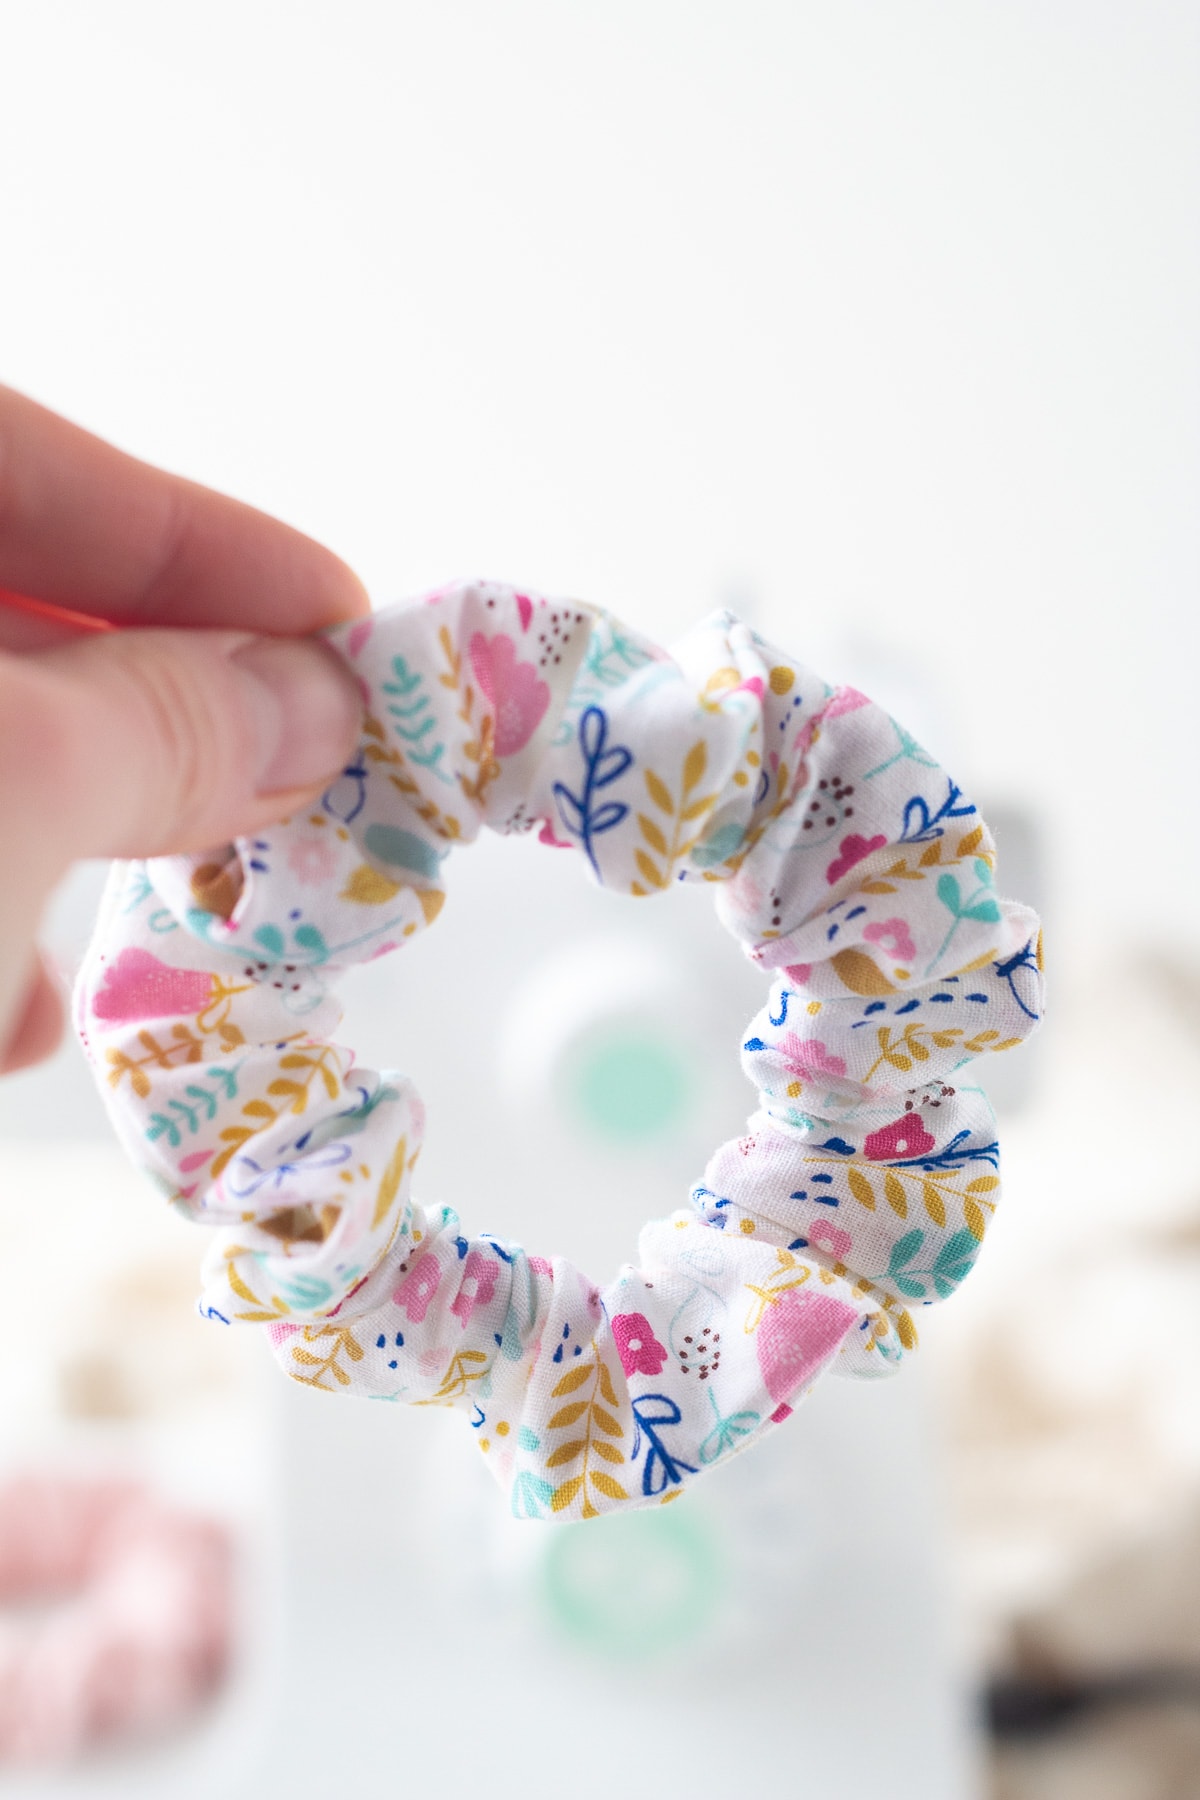
And there you have it! You just sewed your own scrunchie. I hope this scrunchie trend sticks around for a while because I personally have plenty more fabrics I want to sew into scrunchies!
Printable Scrunchie Tutorial
I’d love to hear from you: do you prefer printing a tutorial with or without photos? I’ve done it a bit differently in all of my tutorial posts and I’m not sure which is the most helpful. Let me know!
How to Sew Scrunchies with a Neat Seam
Learn how to make a professional scrunchie with a neat seam in this easy sewing tutorial (great for beginners). I’ve included both a video and step-by-step photos!
Materials
- 3"x22" rectangle of fabric (per scrunchie)
- 7.5" of 1/4" elastic (per scrunchie)
- matching thread
Tools
- safety pin
- sewing pins or clips
- iron and ironing board
- sewing machine (you can also handsew the scrunchies!)
- hand sewing needle
Instructions
Prepare the Fabric
- Cut a 3”x22” rectangle of fabric. Linen or cotton are great for beginners!
- With the strip of fabric right side down, fold the short edges over about 3/8” over and press.
- Fold the fabric right sides together the long way. Pin (or press if you’d rather).
Stitch into a Tube
- Stitch down the seam with a ¼” seam allowance, being sure to reverse stitch at the beginning & end of seam to secure.
Turn the Tube Right Side Out
- Attach a safety pin to the top of the tube and roll the top of the tube down into itself. Use the pin to keep turning the tube right side out.
- To get the process started you kind of need to roll the top of the tube down into the middle with your fingers, but after that, you can use the safety pin to keep scrunching and moving the fabric down until the entire tube is turned out.
Insert Elastic
- Remove safety pin from tube and pin it into a 7.5” strip of ¼” elastic.
- Insert pin into tube and scrunch over the elastic (hang onto the other end of the elastic so you don’t lose it in the tube).
- Overlap elastic about ½” (you will stitch it together in the next step).
- Use a zigzag stitch to sew the elastic together. I go back and forth several times so it’s super secure.
Two Options to Finish Sewing the Scrunchie: First, the Super Easy Way
- First seaming option, the “easy way”. Keep scrolling for the super professional option.
- Overlap one scrunchie edge over the other about ½”.
- Place the scrunchie under the machine needle and stitch right across that overlap. That’s the first option for seaming!
Finish Sewing a Professional Scrunchie: The Super Neat Way
- Now, my FAVORITE way. Use a ladder stitch!
- For a super neat seam, try it this way: bring the edges of the scrunchie together and hand-stitch around the entire circular opening using a ladder stitch (also called an invisible stitch). If you don’t already know how to ladder stitch, it is SO worth learning! It’s very easy to do and you will find yourself using it all the time to close seams neatly or repair garments or even stuffed animals. This Youtube video will show you everything you need to know!
- If you need a little help keeping the edges together you can attach a safety pin near the seam to keep things secure while you sew.
- Tip: Do not sew through all the layers of fabric here. You will sew around the circular opening of the scrunchie placing your stitches in the fold made from pressing the short edges over in the beginning of the tutorial. The tube of the scrunchie is maintained, we are just closing the final seam. Versus the method above where the scrunchie is sewn through to finish it. Watch the video if you need help!
- To bury the knot, I knot my thread against the fabric as normal and then I insert the needle into the fabric right against that knot and pass the needle out of the scrunchie about a 1/2" away from the knot, pulling the knot into the scrunchie as I pass the needle through. Then trim the thread! Just a little trick I learned from my sewing stuffed animal days.
All done!
And there you have it! You just sewed your own scrunchie. I hope this scrunchie trend sticks around for a while because I personally have plenty more fabrics I want to use to make these!
Recommended Products
As an Amazon Associate and member of other affiliate programs, I earn from qualifying purchases.


I hope you enjoyed this scrunchie tutorial! Thanks for visiting today!

More Sewing Ideas from Bellewood Cottage
- How to Sew French Seams with 5/8″ and 1/2″ Seam Allowances
- Sew a Drawstring Bag with French Seams Tutorial
- DIY Muslin Swaddle Blankets
- Learn How to Use a Seam Ripper – Three Easy Methods!
- DIY Bias Tape Hair Bows for Babies, 7 Ways
Weekly Crafting Fun!
Join my list and get a weekly email with relaxing craft ideas, freebies, sewing tutorials, and more!