Supplies I Bought for My First Quilt
I started off my quilting journey with purchasing the fabric and supplies for a simple crib-size quilt. Here’s the essentials I bought from basting pins to charm squares.
Please note that this post contains affiliate links which allow me to earn a small commission when a purchase is made at no additional cost to you. As an Amazon Associate I earn from qualifying purchases. Read more here.
I’ve always wanted to make a quilt and finally decided, why not give it a go?
Thanks to a great list of baby quilts from Sarah Maker I stumbled into a fantastic blog called Diary of a Quilter. If you, like me, are just getting started with quilting, go check out Amy’s amazing website. She has posts about everything you need to know about quilting–she even designs her own patterns and fabric too.
Weekly Crafting Fun!
Join my list and get a weekly email with relaxing craft ideas, freebies, sewing tutorials, and more!
The quilt I chose to make is simple, it’s a basic patchwork baby quilt. The best part is, the quilt design starts with pre-cut fabrics, in this case 5″x5″ precut squares, called “charm squares”, “charm packs”, or “stackers”.
Developing a Quilt Plan
Even though I opted to start with a ready-to-sew tutorial/pattern, there were still plenty of decisions to be made. Which fabrics to use? Hand quilt or machine quilt? How big to make the quilt? Which type of batting?
To stay organized and keep track of my ideas I started a document in Microsoft Word filled with notes, screenshots, links to Etsy shops, and fabric lines I fell in love with. I also started a list of supplies I knew I would need to get off on the right foot.
Though I have plenty of sewing supplies, there were a few things I needed in addition to the fabric. I started to work out two orders–one from Etsy with all my fabrics and one from Amazon for a few quilting supplies.
Supplies I Bought for My First Quilt
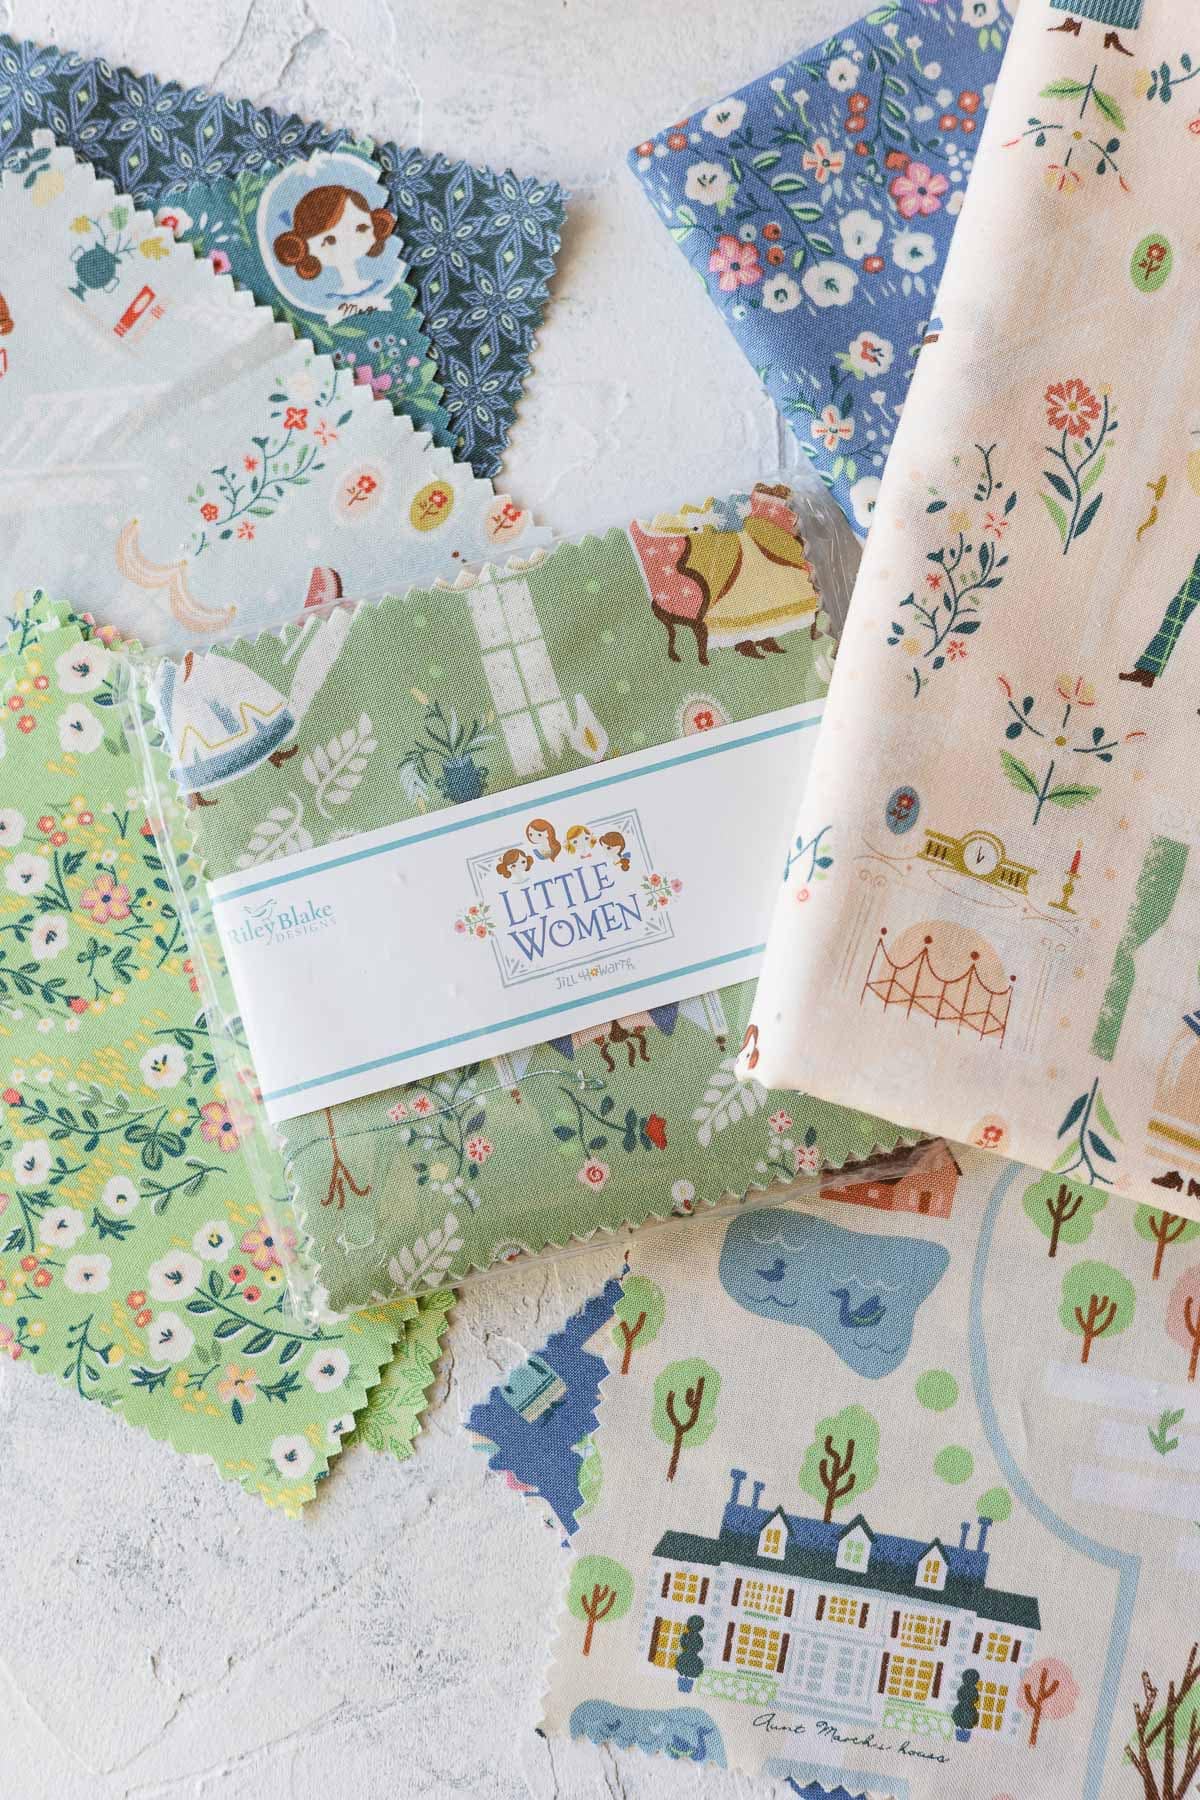
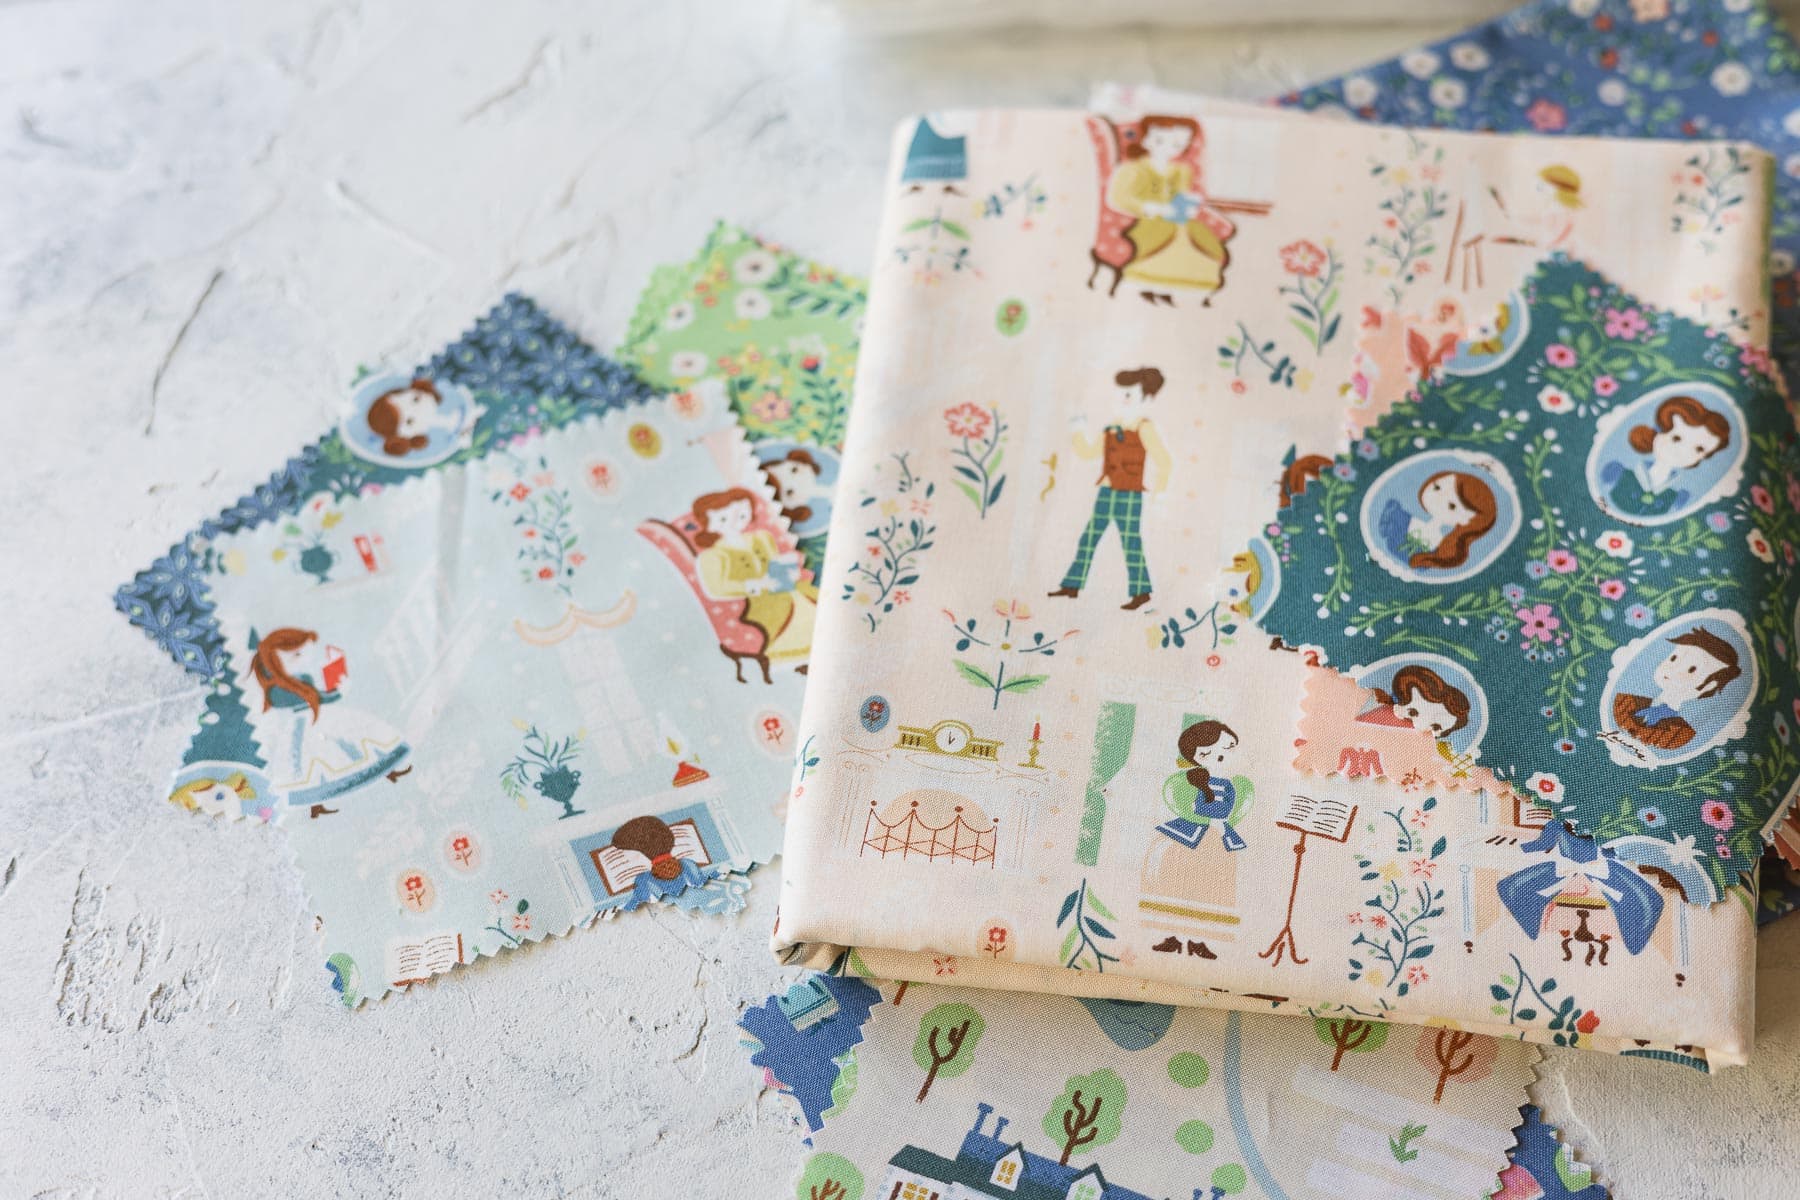
Fabric
Cute packs of jelly roll strips and charm squares have tempted me before I was even interested in making a quilt, so I opted to indulge and purchase some pre-cuts. With pre-cuts you can skip a lot of the measuring/cutting process and get started on your quilt sooner.
The patchwork quilt I’m sewing can be made as large as one likes depending on how many squares are used. I opted to make mine the same size as the tutorial, which required buying two Charm Square Packs (42 squares each).
Charm squares are precut 5″ squares (which are meant to be sewn right away–no pre-washing). The fabric I chose is the Little Women line from Jill Howarth for Riley Blake Designs. What a cute fabric this is! Each design in the collection complements all the others so well. The illustrations of the four March sisters pursuing their various dreams and crafts is my favorite and what I opted to choose for the quilt backing.
Since you’ll be buying plenty of fabric for a quilt, it’s easy to meet free shipping thresholds on Etsy. I suggest finding a shop that offers free shipping (not all do) and starting with that. The savings can be $10-15 or more depending on the shop.
Search for the charm square pack you want (like “Little Women 5″ squares”) in Etsy and then check out the shops that sell the precuts to see if they sell yardage and/or notions as well.
I purchased from SimplyLoveFabrics and was quite happy with my order. Everything came more quickly than expected and the prices were excellent. I also bought yardage for the binding and backing of the quilt.
1/4″ Presser Foot
One of the most important parts of any sewing project is of course, accuracy. Accuracy when both cutting and sewing the fabric is key. I can usually hit an accurate 1/4″ seam allowance with the standard presser foot that came with my machine, but since I knew any small variations would be immediately evident in a quilt top, I opted to purchase a 1/4″ presser foot.
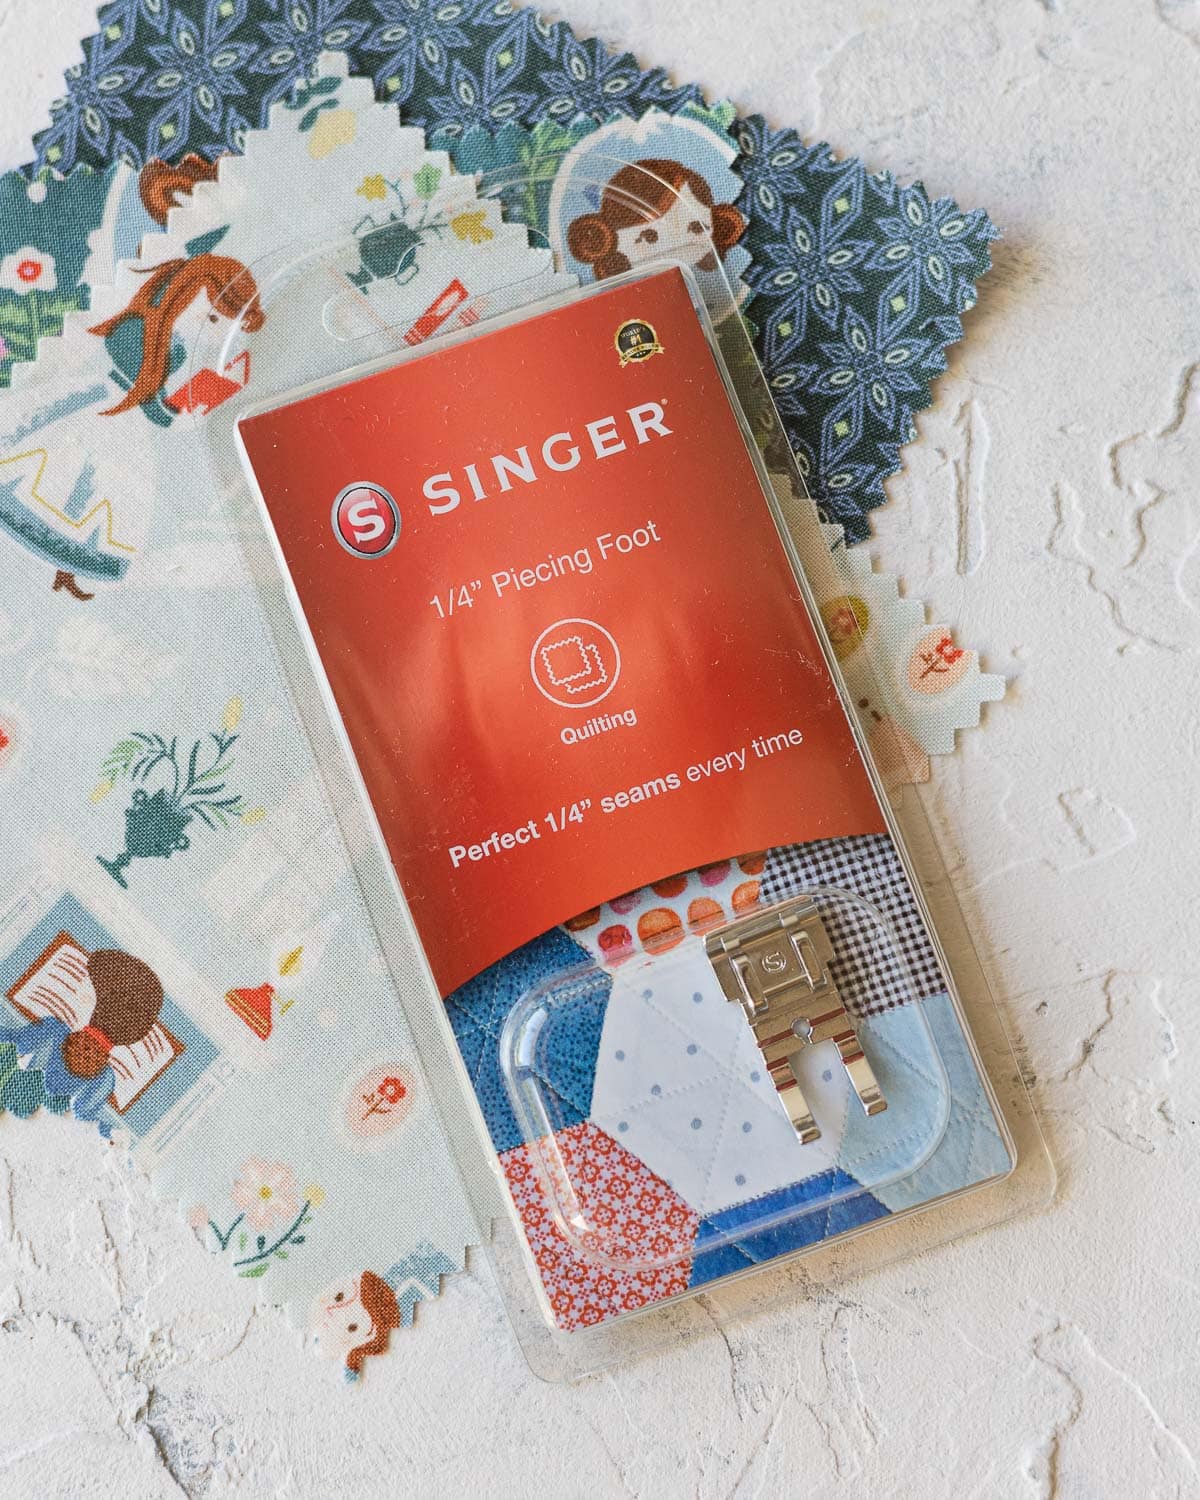
This foot guides you to create a perfect 1/4″ seam allowance. Most presser foot attachments that come with your machine are for a 3/8″ seam allowance, so while you can sew 1/4″ seams with them it can be tricky to stay accurate.
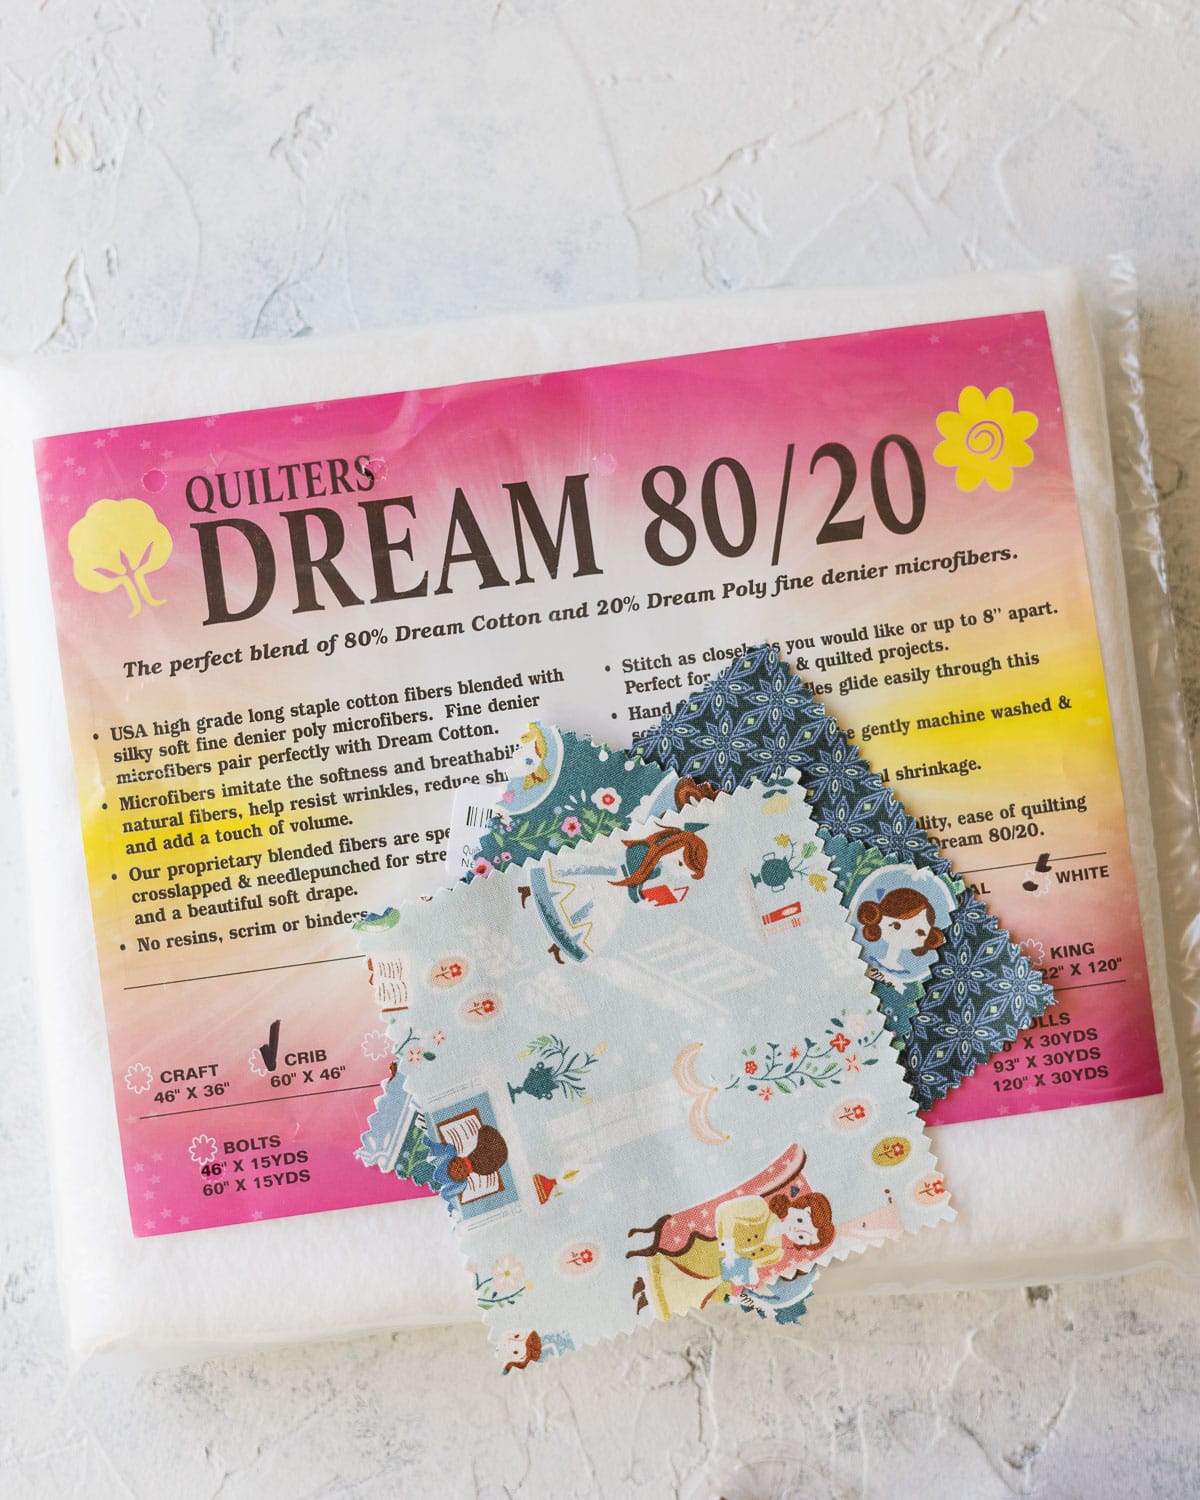
Batting
While I considered machine quilting, the idea of sitting down with a cozy Jane Austen movie (or several) and hand quilting is really appealing to me so I opted to give it a try. I’m hoping I chose the right batting! I went with 80/20 cotton/poly batting.
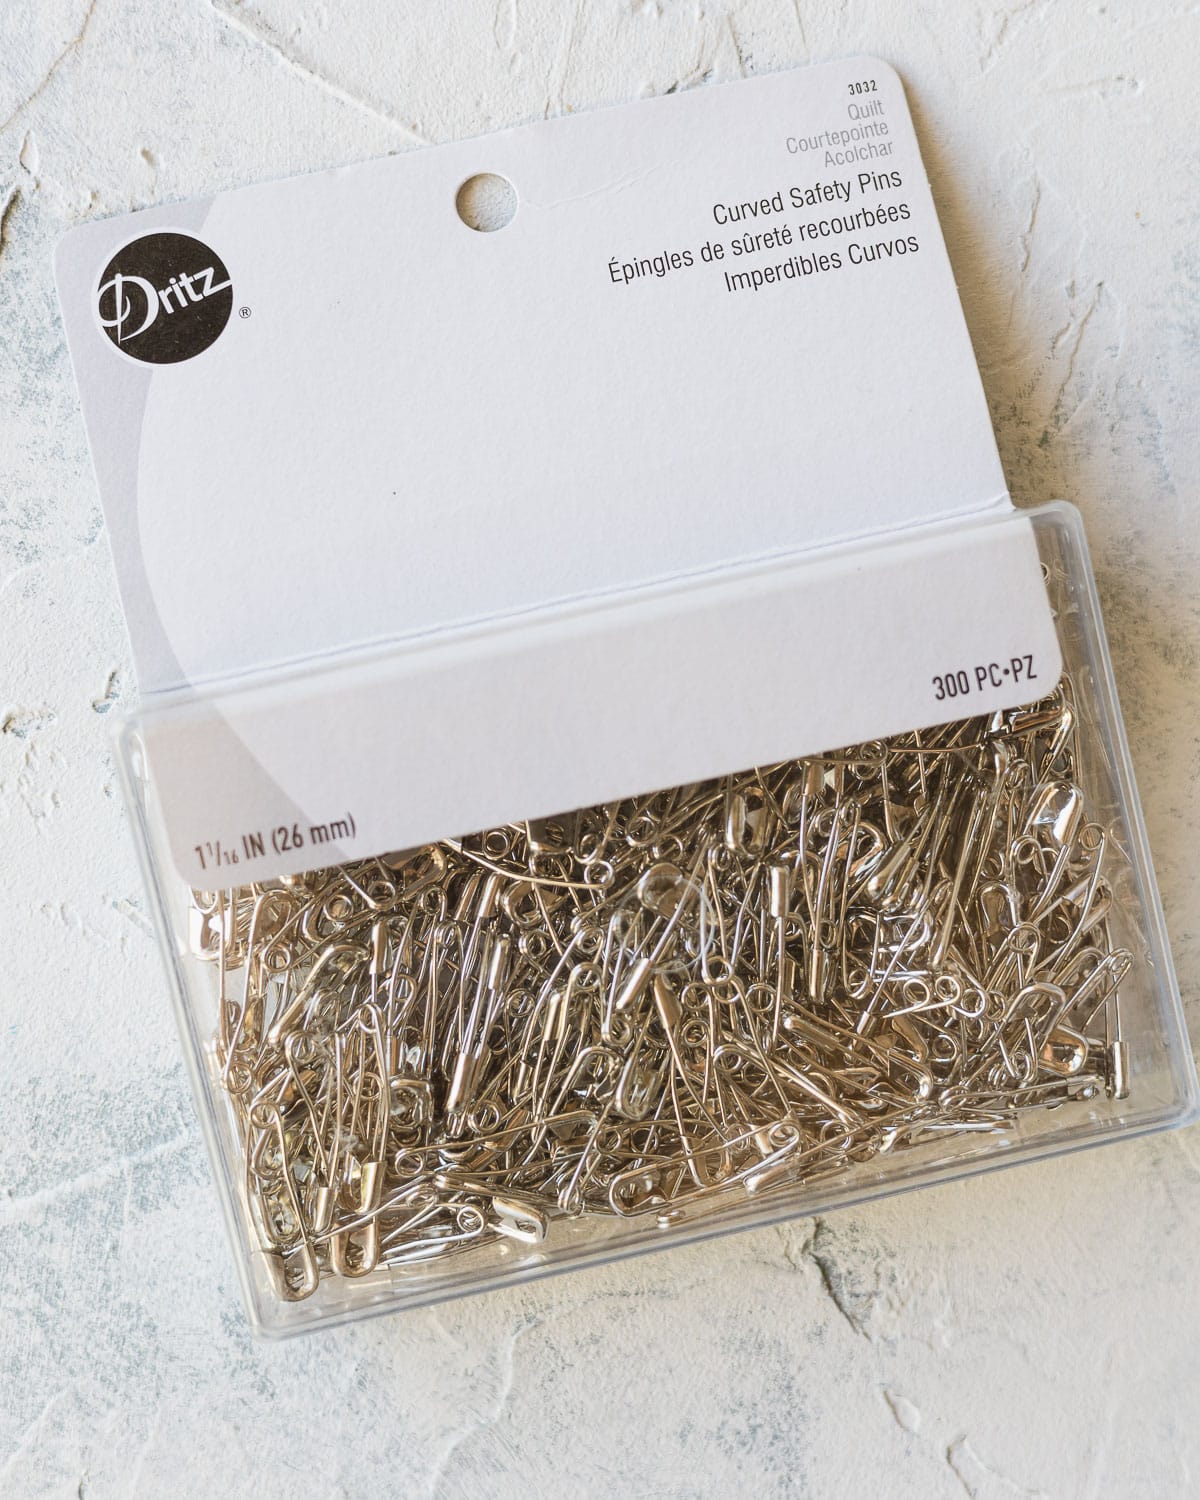
Basting Pins
I learned that basting pins are curved so that it is easier to pin through the layers of quilt top, batting, and backing. This sounded great, so I opted to purchase a large box of basting pins.
Quilting Needles
I’m not sure yet how I’ll quilt the final quilt, but the chances are good I’ll use thick embroidery thread, so I picked up some of these gold eye embroidery needles from Clover.
Hera Marker
I’ve wanted to pick up a Hera Marker for other projects so now seemed like the time. I haven’t used it yet, but the idea is that it scores/marks fabric without ink, chalk, etc. This will be used for marking the quilting patterns on the nearly finished quilt.
Stuff I Already Had
Of course, there’s a lot more to quilting than just the above items. I also will use my sewing machine, iron, quilting clips, and other basic supplies like scissors and rulers for putting together the quilt.
And that’s it–so far! The more I read up about quilting the more I realize there is an abundance of supplies I could convince myself that I need right now. However, I plan to start slow and just enjoy the process of making a basic quilt.
More Sewing Ideas from Bellewood Cottage
- DIY Dish Towels (Beginner Sewing Project)
- Mason Jar Sewing Kit Tutorial
- What Are Quilting Clips and How to Use Them
- Sew Drawstring Bags – With French Seams!
- How to Sew DIY Muslin Swaddle Blankets
Weekly Crafting Fun!
Join my list and get a weekly email with relaxing craft ideas, freebies, sewing tutorials, and more!