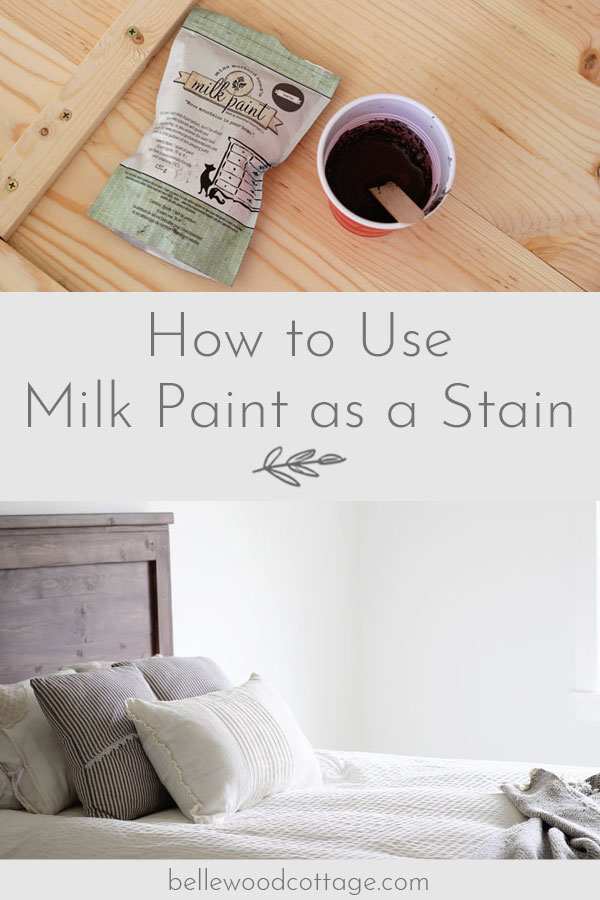
How to Use Milk Paint as a Stain
Learn my technique for how to use milk paint as a stain, as seen on my DIY Farmhouse Headboard. An easy (and non-toxic!) way to stain wood.
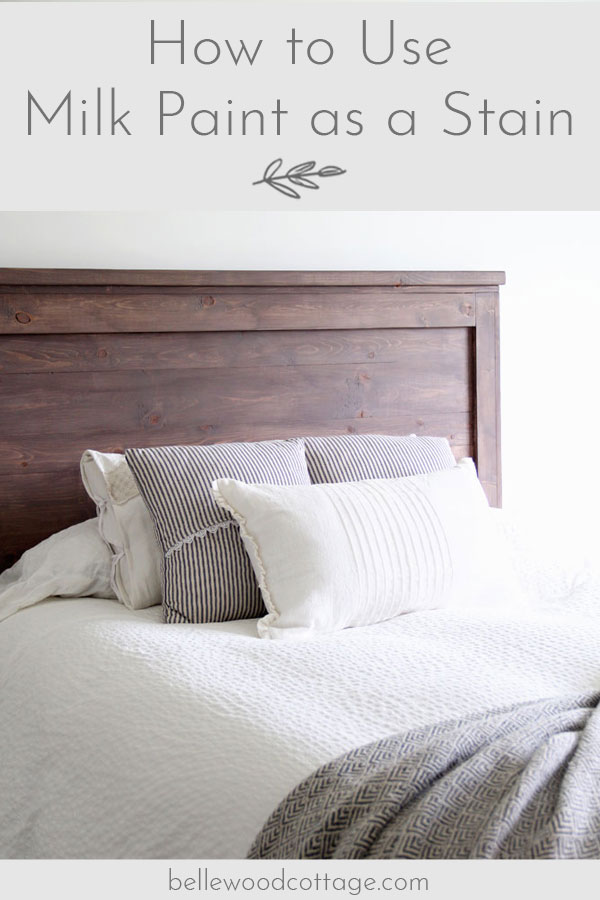
When we started building our DIY headboard (find more details on the build here), I hoped to finish it using a product that was non-toxic. Being six months pregnant (and needing to paint inside due to cold weather) pushed me to get creative. I had seen some ideas online for using Miss Mustard Seed’s Milk Paint as a stain and was curious. The idea is that rather than mixing the non-toxic paint powder at a 1 to 1 ratio with water, you would mix in a lot more water (such as 3 parts water to 1 part paint) and create a wash or a “stain”.
Weekly Crafting Fun!
Join my list and get a weekly email with relaxing craft ideas, freebies, sewing tutorials, and more!
These are a few of the examples I found if you are curious:
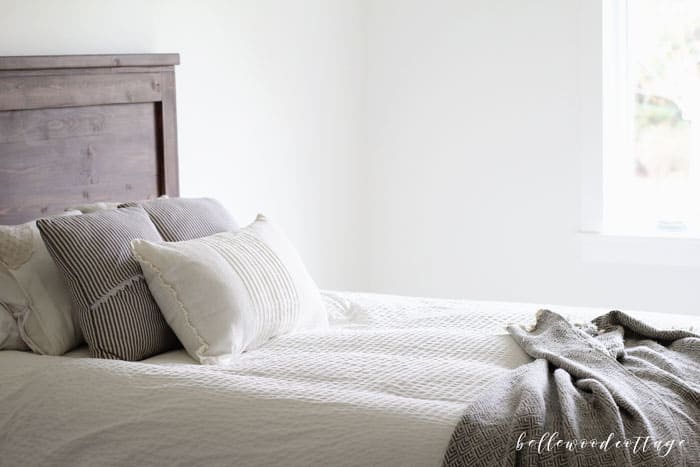
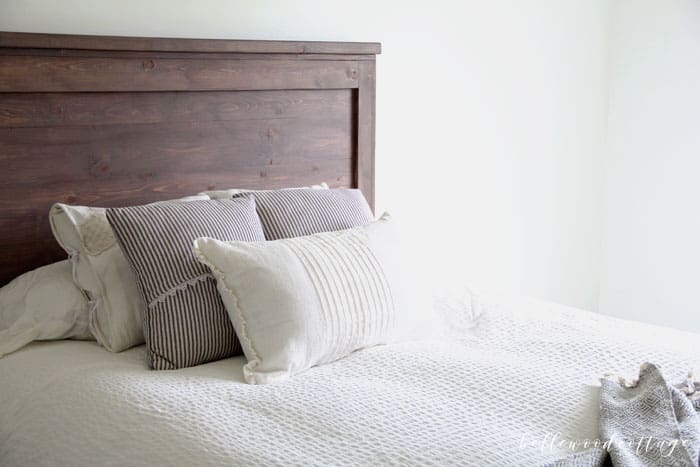
This headboard project was my first time using this technique and I have to say that it won’t be the last! The milk paint went on super smooth and created a lovely stain on the pine boards we made the headboard from.
Want to know how to use milk paint as a stain? Here’s my step by step:
How to Use Milk Paint as a Stain
Supplies:
- Miss Mustard Seed’s Milk Paint in Curio
- Top coat (Tough Coat, or your favorite polycrylic)
- A good brush
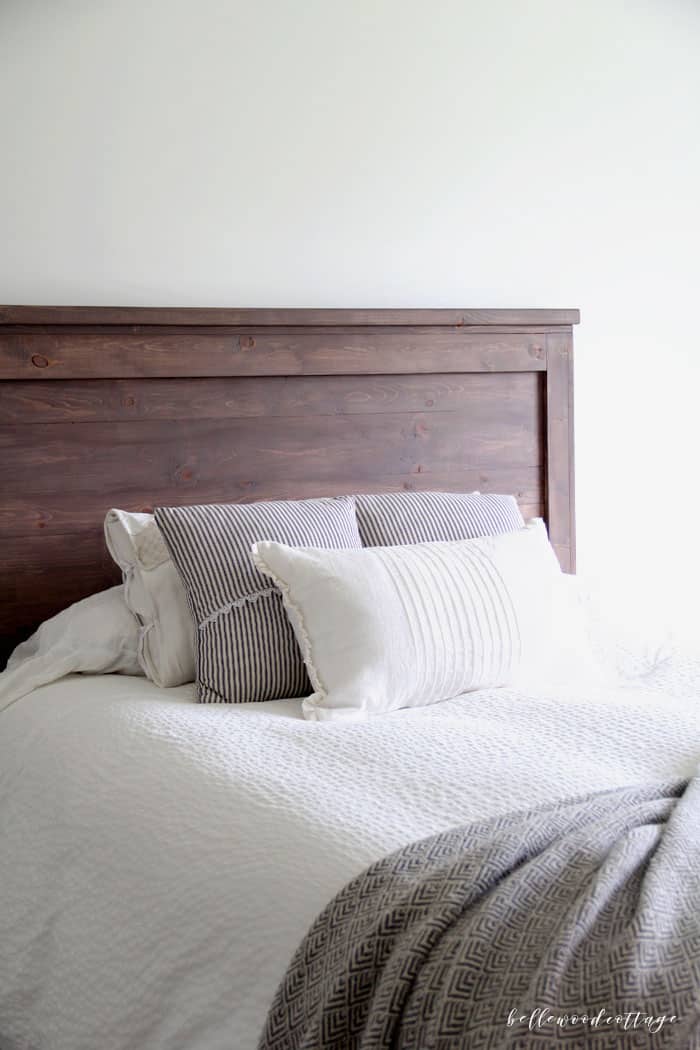
I used Miss Mustard Seed’s Milk Paint in the Curio color, which worked great for a traditional wood stain look. I could imagine it working well with a variety of her other colors as well. Maybe using a lighter color for a more whitewashed appearance?
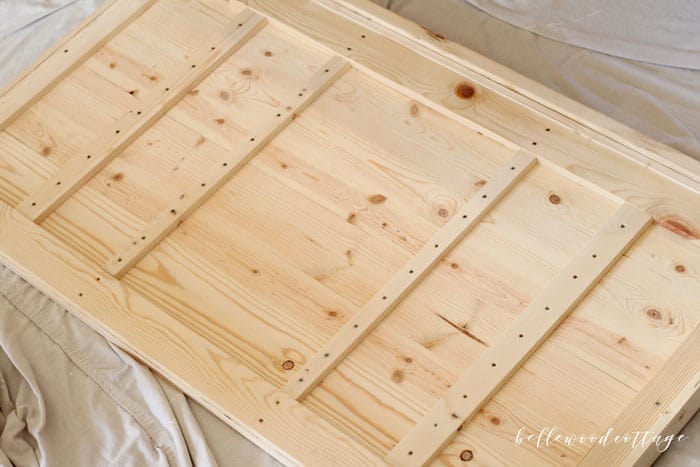
(this is the back of the unfinished pine headboard)
Mix up your milk paint and test your formula
It’s important to do a “test swatch” of sorts before getting started. I tested my paint with a 1 part paint powder to 3 parts water ratio and was happy with that. I later decided to water it down just a smidge more after seeing how it came out on the pine boards. I only used about 1/4 cup of paint for the entire project. So I have plenty left for more projects!

A key with milk paint is to stir, stir, stir. You’ll want to mix it up very thoroughly, let it sit for about 10-15 minutes, and then mix again. I noticed that the higher ratio of water caused the paint solids to settle sooner than I am used to, so stirring frequently WHILE painting is quite important too.
Apply your milk paint
It’s important to work quickly and evenly. I applied the paint with my favorite brush I use when painting furniture. Avoid overlapping sections already covered and focus on a medium/large area at once (moving the paint quickly to spread it evenly) versus working tiny sections. I find that this gives an even result.

Let it dry
I found that the stain took a bit longer to dry (higher water content) than a typical batch of milk paint. So plan for maybe an hour per coat. Which, by the way, I found one coat to be sufficient for the look I was going for.
Apply a top coat
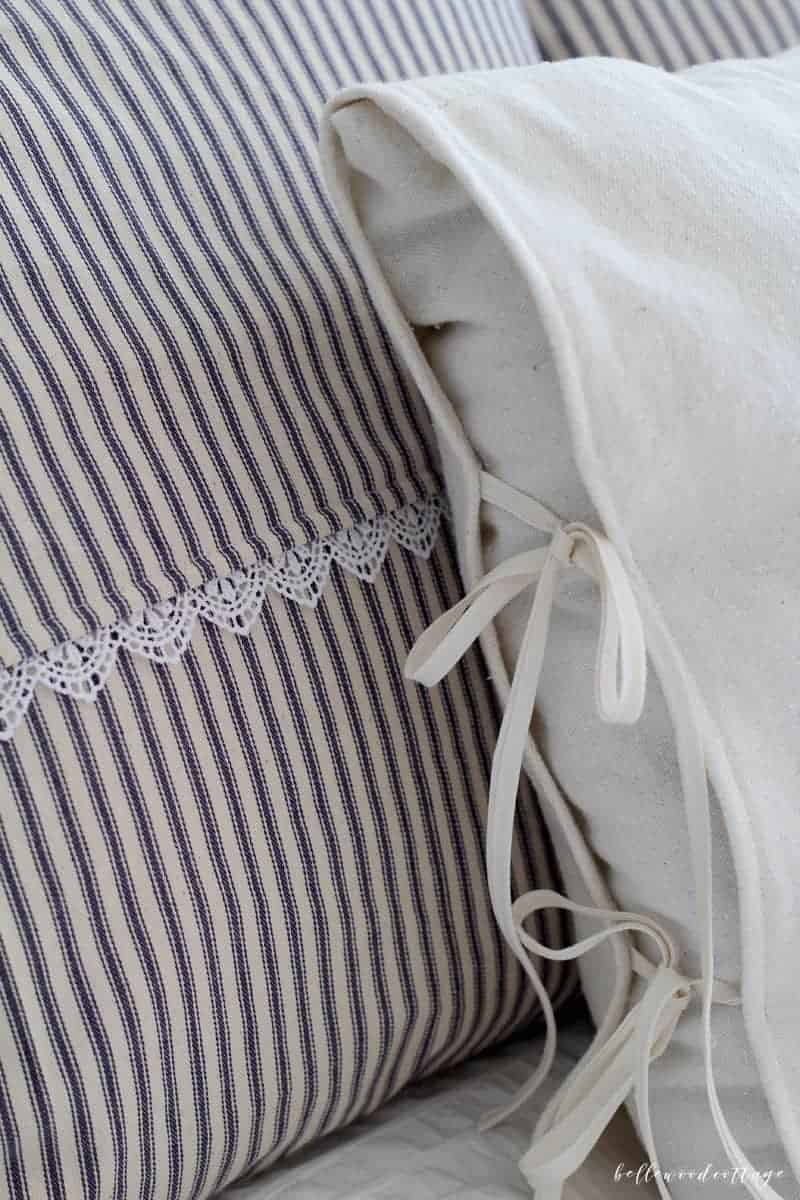
Since I had applied the stain to raw wood, I wanted to know if I would be able to rub it off at all. The last thing I wanted was the dark stain rubbing off on white pillowcases. Unfortunately it did come off a bit when I tested it, so a top coat was in order. I opted to use what I had on hand, Rusto-leum Chalked Matte Clear (a polycryclic), but you could use whatever your favorite polycrylic is. Unfortunately, the poly isn’t non-toxic, but thankfully it’s still a water-based product and lot less potent than some options out there! Miss Mustard Seed also sells a hemp oil that I am very curious to try. I’ll update this post if/when I get a chance to try that on future projects.
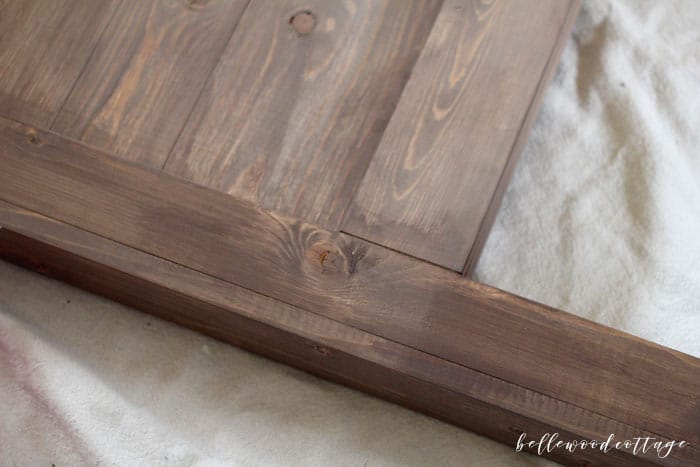
The photo above demonstrates how the top coat deepens and intensifies the original color. And yes, it was successful to remove the problem of the paint potentially rubbing off.
I hope this step by step of how to use milk paint as a stain was helpful, and I’d love to hear how it works for you if you give it a try!
<3 Ellen
More with Milk Paint from Bellewood Cottage:
Weekly Crafting Fun!
Join my list and get a weekly email with relaxing craft ideas, freebies, sewing tutorials, and more!