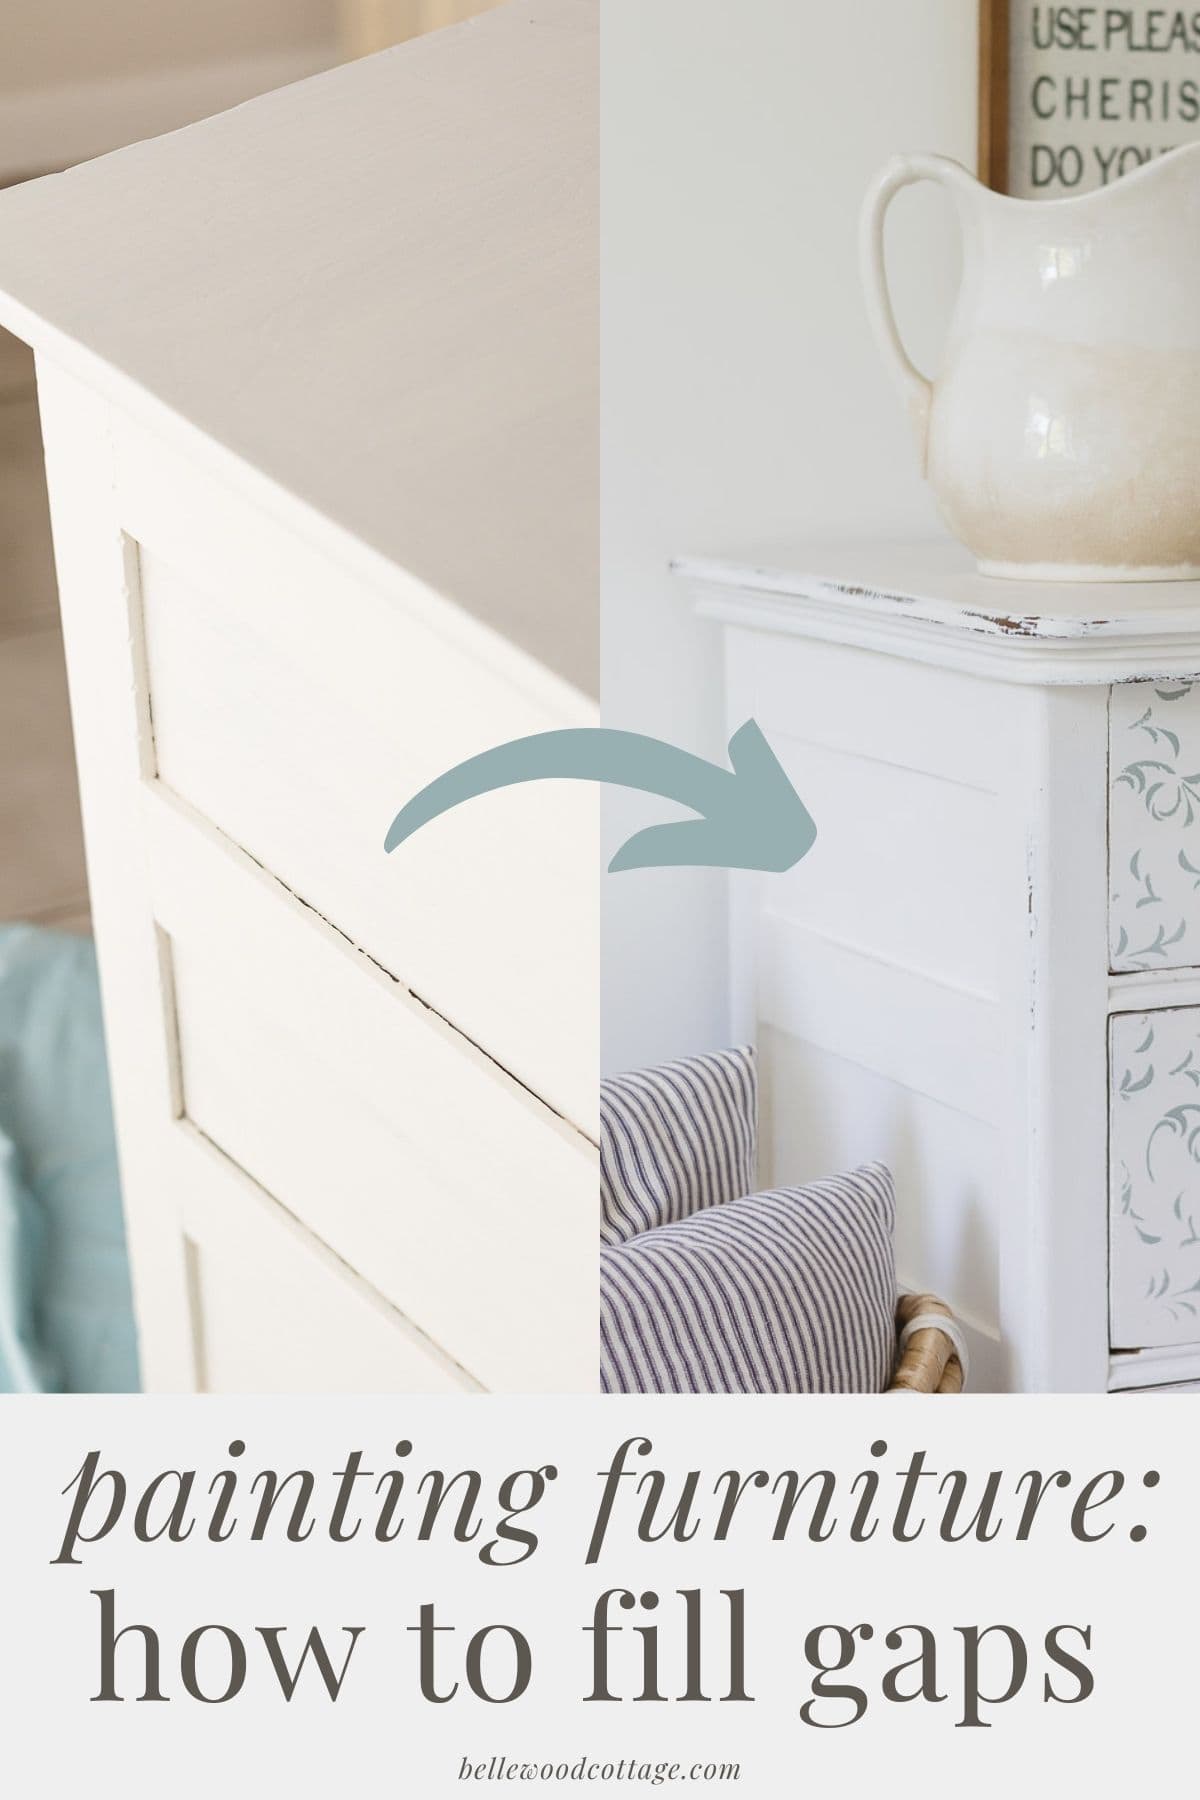
How to Fill Gaps When Painting Furniture
If you’ve ever flipped a piece of furniture (like a dresser) you might have discovered an annoying problem. Small gaps along corners and seams that look unsightly when unevenly filled with paint. Learn how to fill these gaps when painting furniture (with chalk style paint or otherwise) in this quick tutorial.
Please note that this post contains affiliate links which allow me to earn a small commission when a purchase is made at no additional cost to you. As an Amazon Associate I earn from qualifying purchases. Read more here.
As a note before we get started, I’m not a professional woodworker! I just paint a lot of furniture and I’ve had to learn a few things to get great results. This little hack makes tons of sense to me because it utilizes a product that is used for crown molding and trim work. Why not a painted dresser too?!
There may be a more “correct” way to accomplish what I’m going to show you, but the reason I chose this method was because it’s fast, easy, effective, and cheap. I’ve been a fan of this caulk product ever since using it to fill gaps while painting trim around our home.
Weekly Crafting Fun!
Join my list and get a weekly email with relaxing craft ideas, freebies, sewing tutorials, and more!
So, let’s get started!
What to Do About Gaps That Appear When Painting Furniture
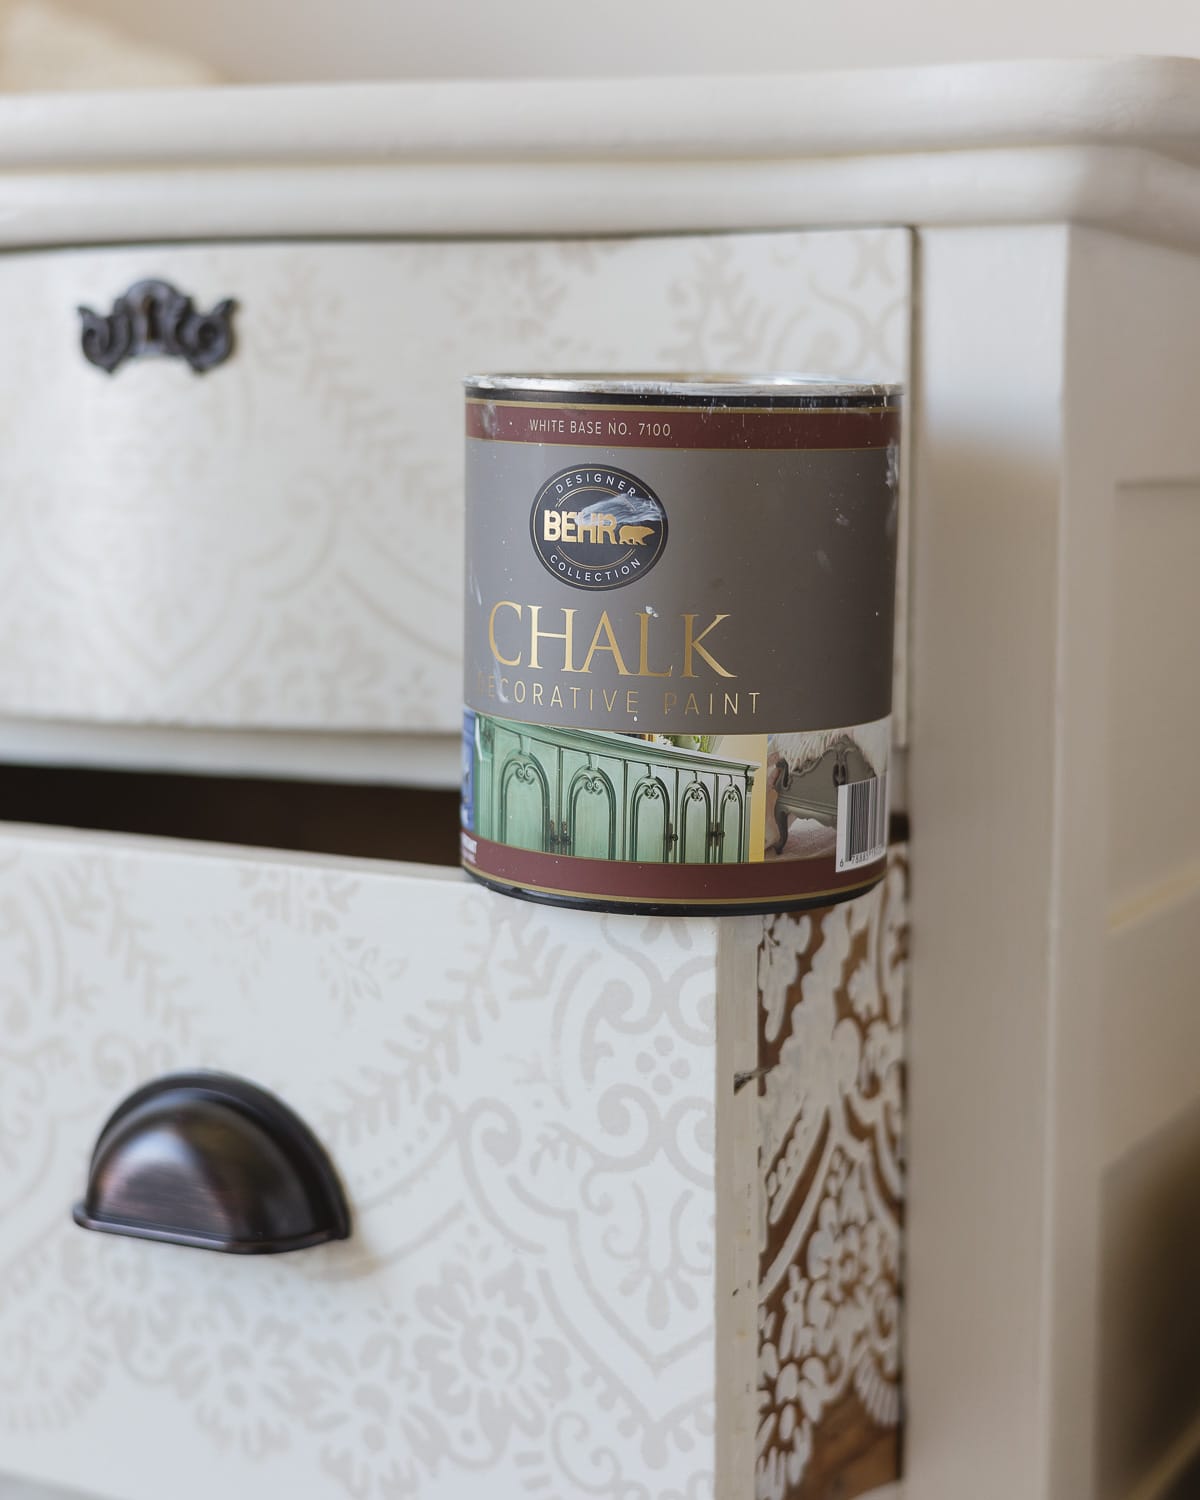
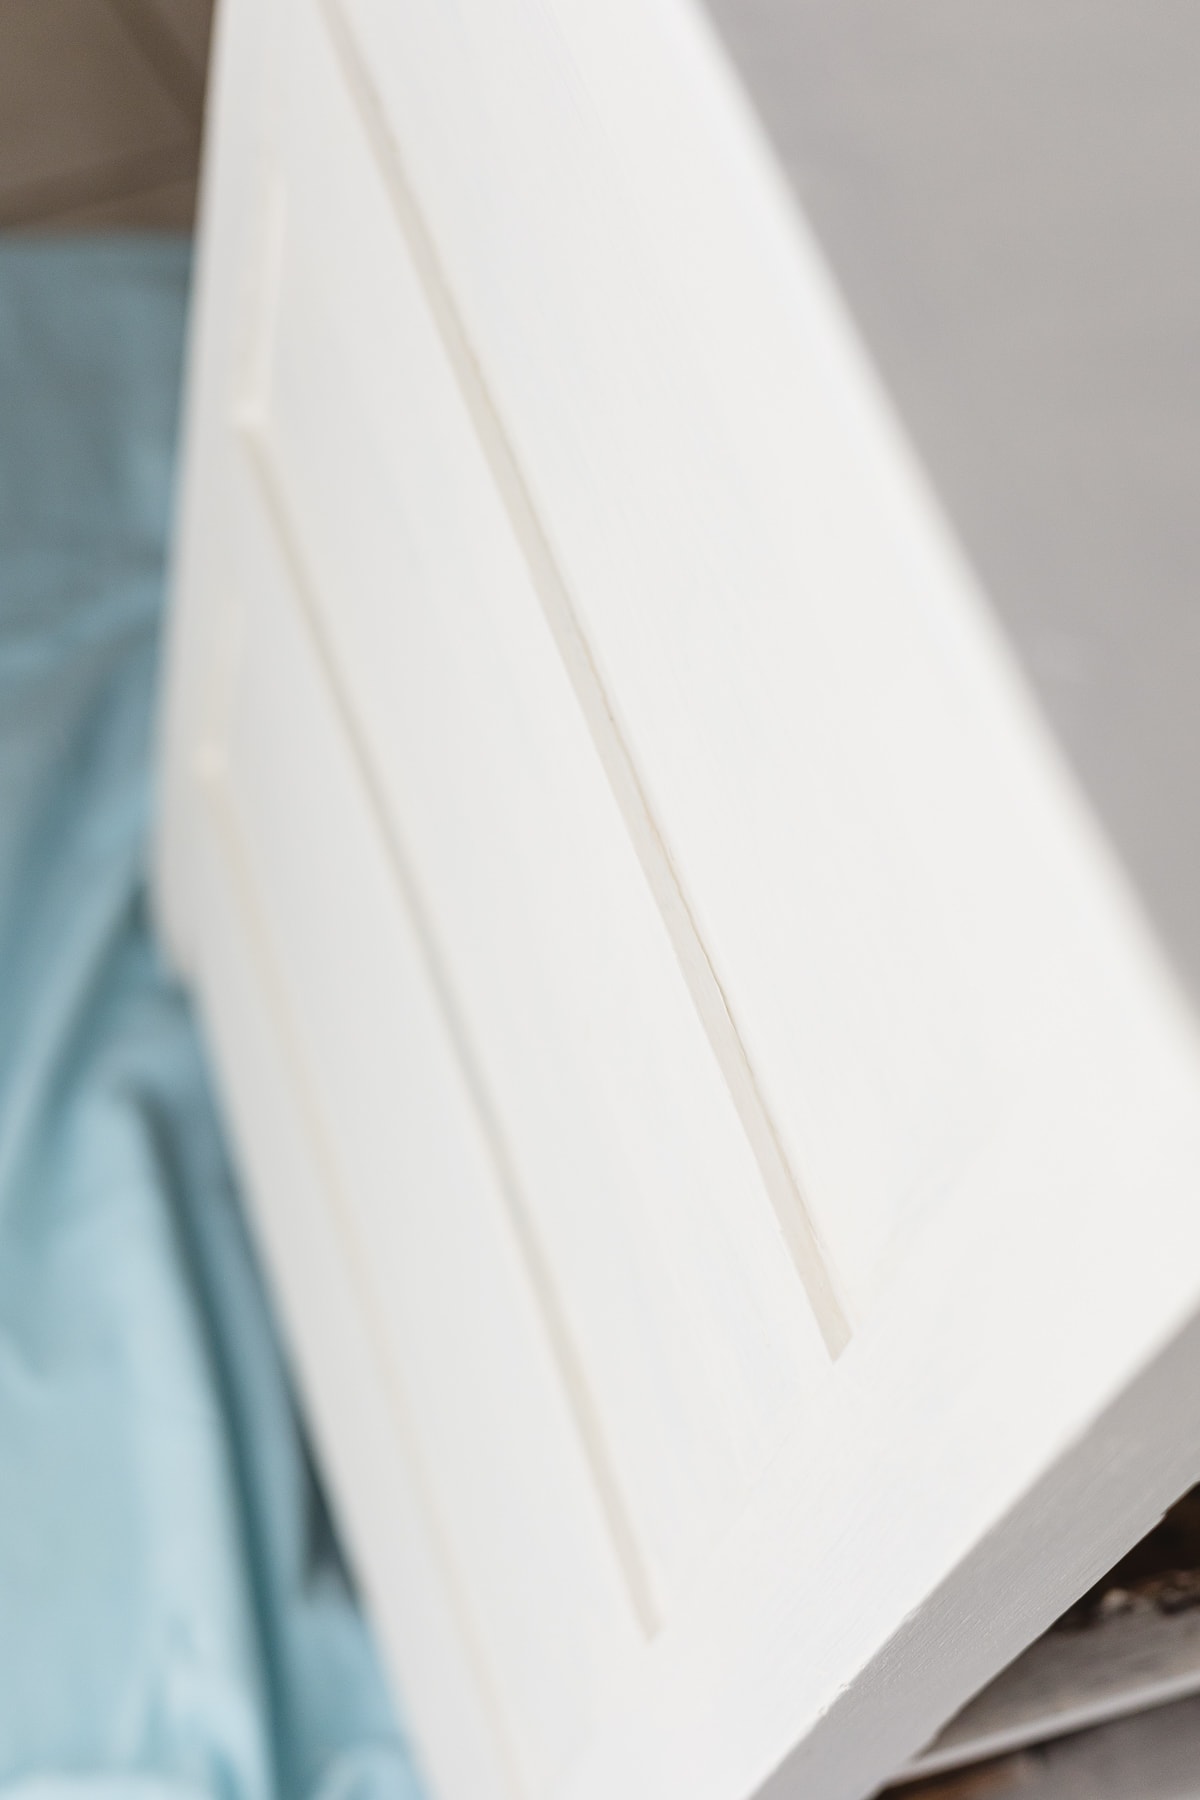
Say you are chalk painting a dresser or similar piece of furniture and you start seeing this:
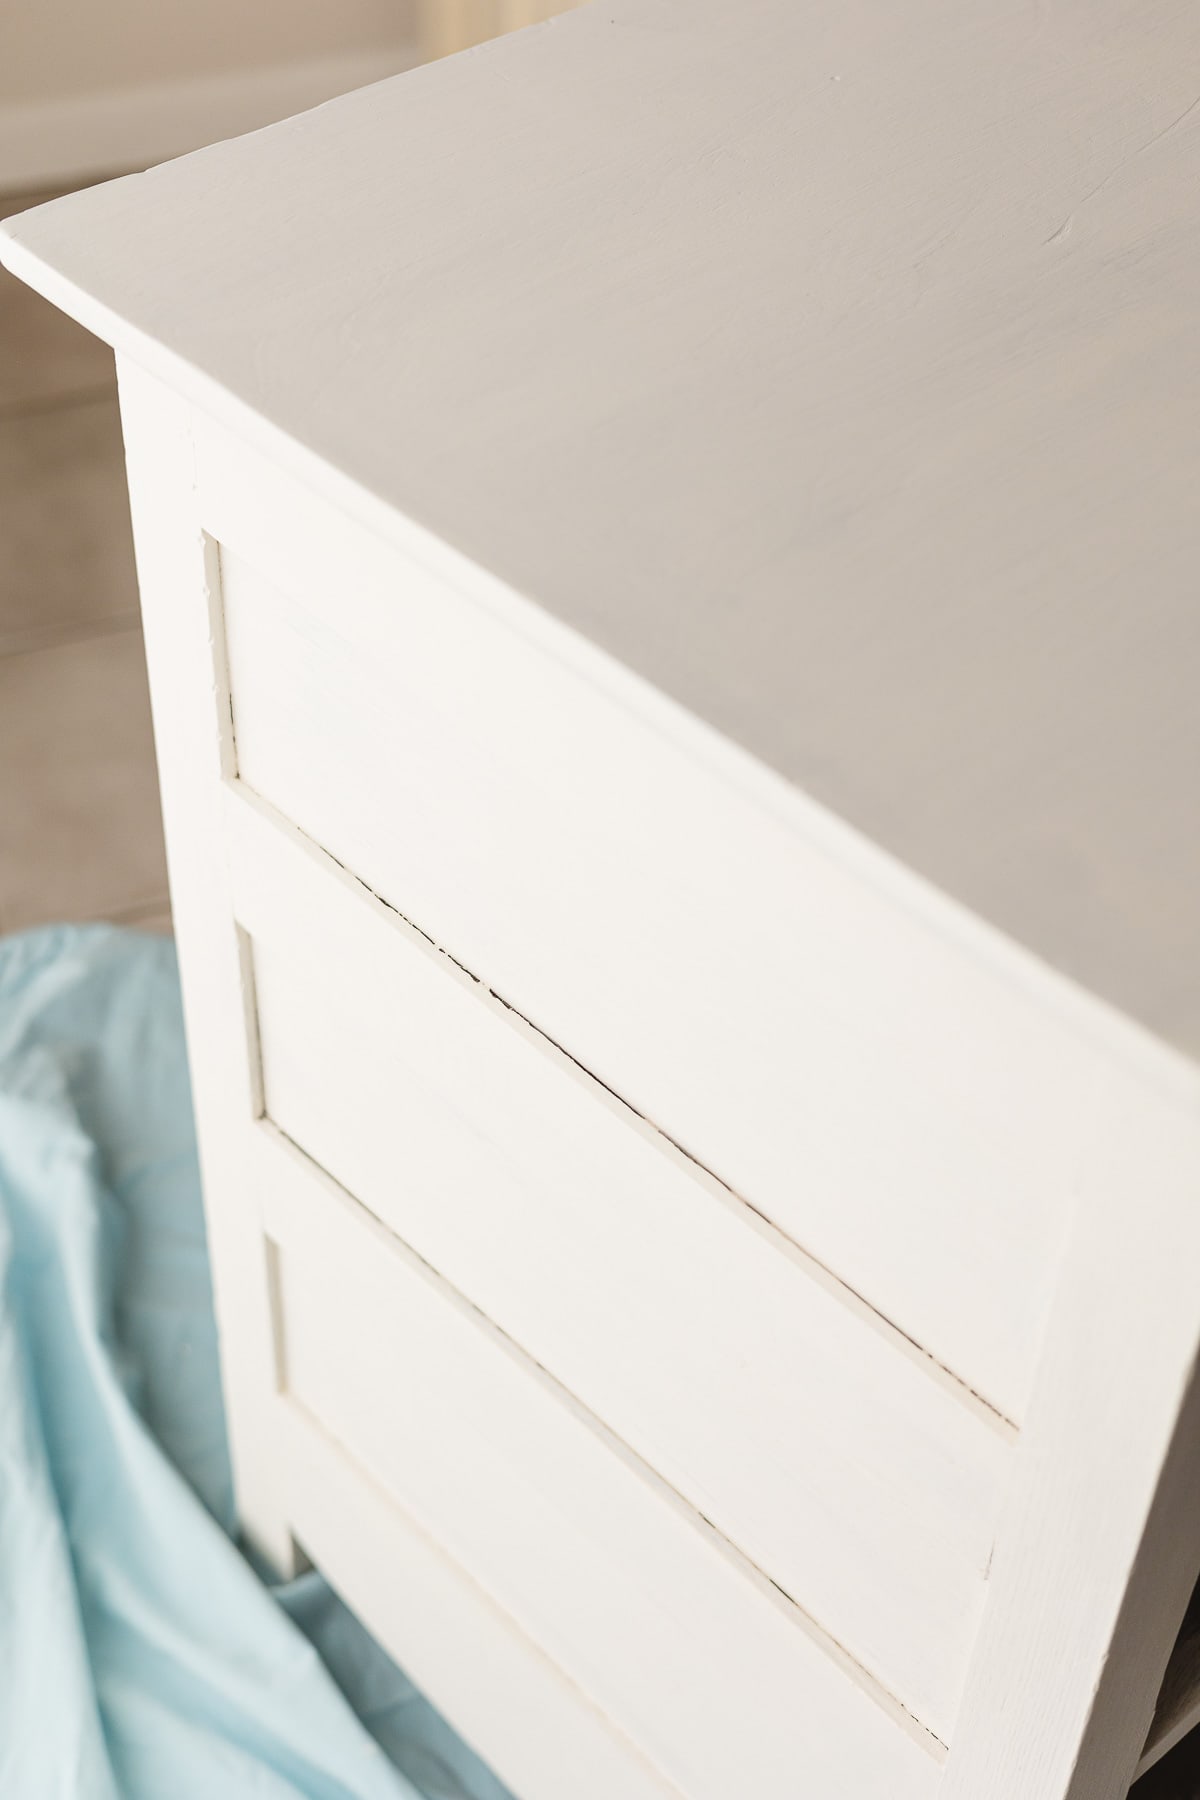
Small gaps that perhaps you assumed would be filled with the paint, but unfortunately now look uneven and decidedly amateur.
If you are looking for a professional finish for your chalk painted piece, you definitely want to get rid of those gaps. Anytime you have an old piece of furniture, these gaps can present themselves.
Love free craft ideas? Subscribe to Bellewood Cottage for more fun and relaxing craft ideas straight to your inbox.
You Need Paintable Sealant
The first thing to do is buy a tube of paintable caulk (or, more correctly, sealant).
I use Alex Flex Paintable Sealant (photo below). Choosing a paintable sealant is ESSENTIAL. If you do not choose a paintable product, you will be in a world of hurt with shiny spots that refuse to subdue themselves no matter how enthusiastically they are painted over.
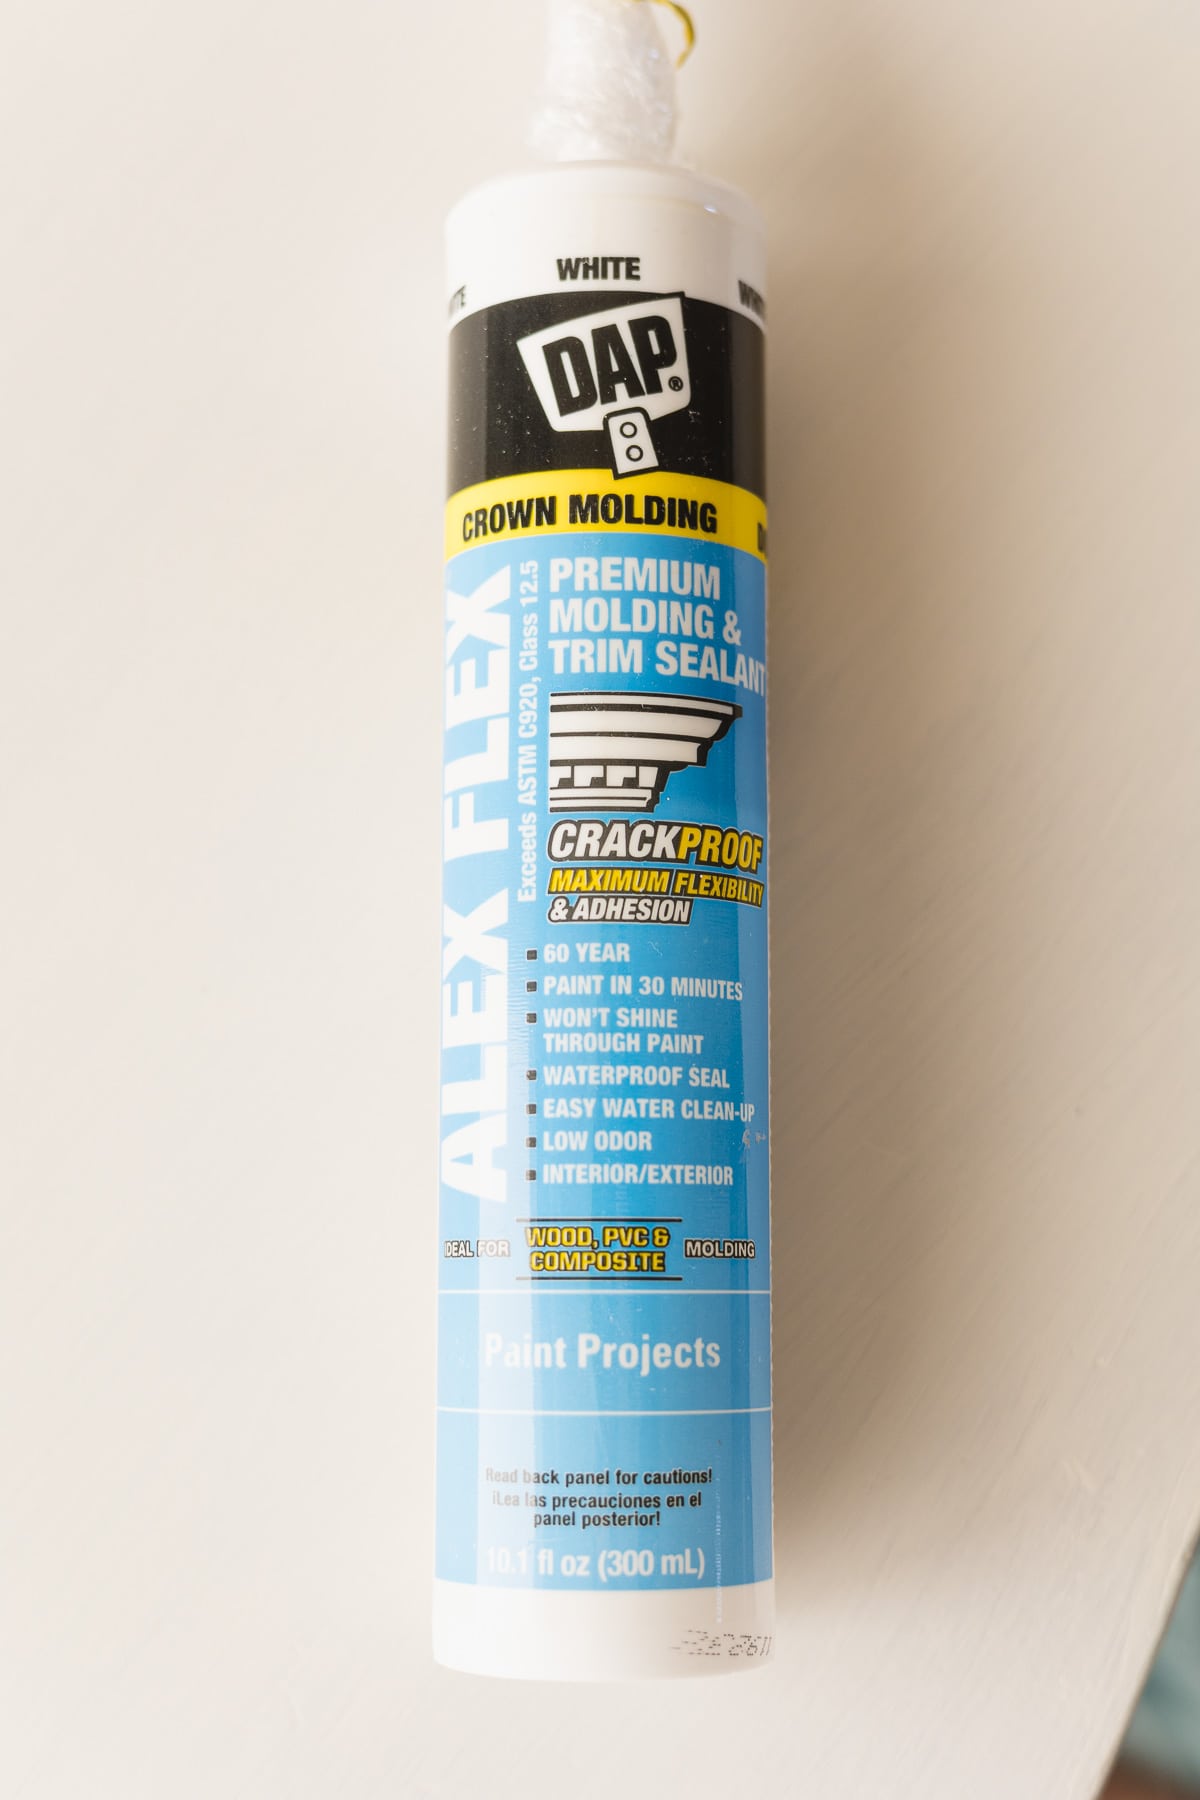
This Alex Flex Paintable Sealant (Home Depot calls it “White Premium Molding and Trim Sealant”) adheres to “wood, MDF, PVC”, so first you’ll want to make sure your piece is one of those materials.
More Supplies You’ll Need
In addition to the paintable sealant, you’ll need a few more things too. Here’s your shopping list:
- Alex Flex Paintable Sealant (Home Depot calls it “White Premium Molding and Trim Sealant”)
- Caulk gun
- Disposable gloves
- Disposable cup
- Paper towels
If you don’t already have one handy, you’ll need a caulk gun. These are easy to use once you have the hang of it, but it took me a few sessions to get more proficient. A “no-frills” tool is inexpensive (about $5) so it’s not a big investment to make and it’ll come in handy often.
Don’t Want to Learn How to Use a Caulk Gun?
Maybe I lost you at “caulk gun”. If you don’t paint a lot of furniture, this might feel like a lot of hassle. I promise it’s not hard (and the results are great), but here’s another quick tip if you want an even easier solution.
WHILE the paint is still wet/freshly applied, you can also use an expired giftcard to swipe inside these gaps. This will at least release the clinging paint and provide a clean line across the seam. This tidies up the look substantially. You’ll still be left with the gap, but it looks a lot better. This tip I learned from my friend Angie over at the.painted.piano on Instagram.
And now, let’s get started!
How to Fill Gaps When Painting Furniture
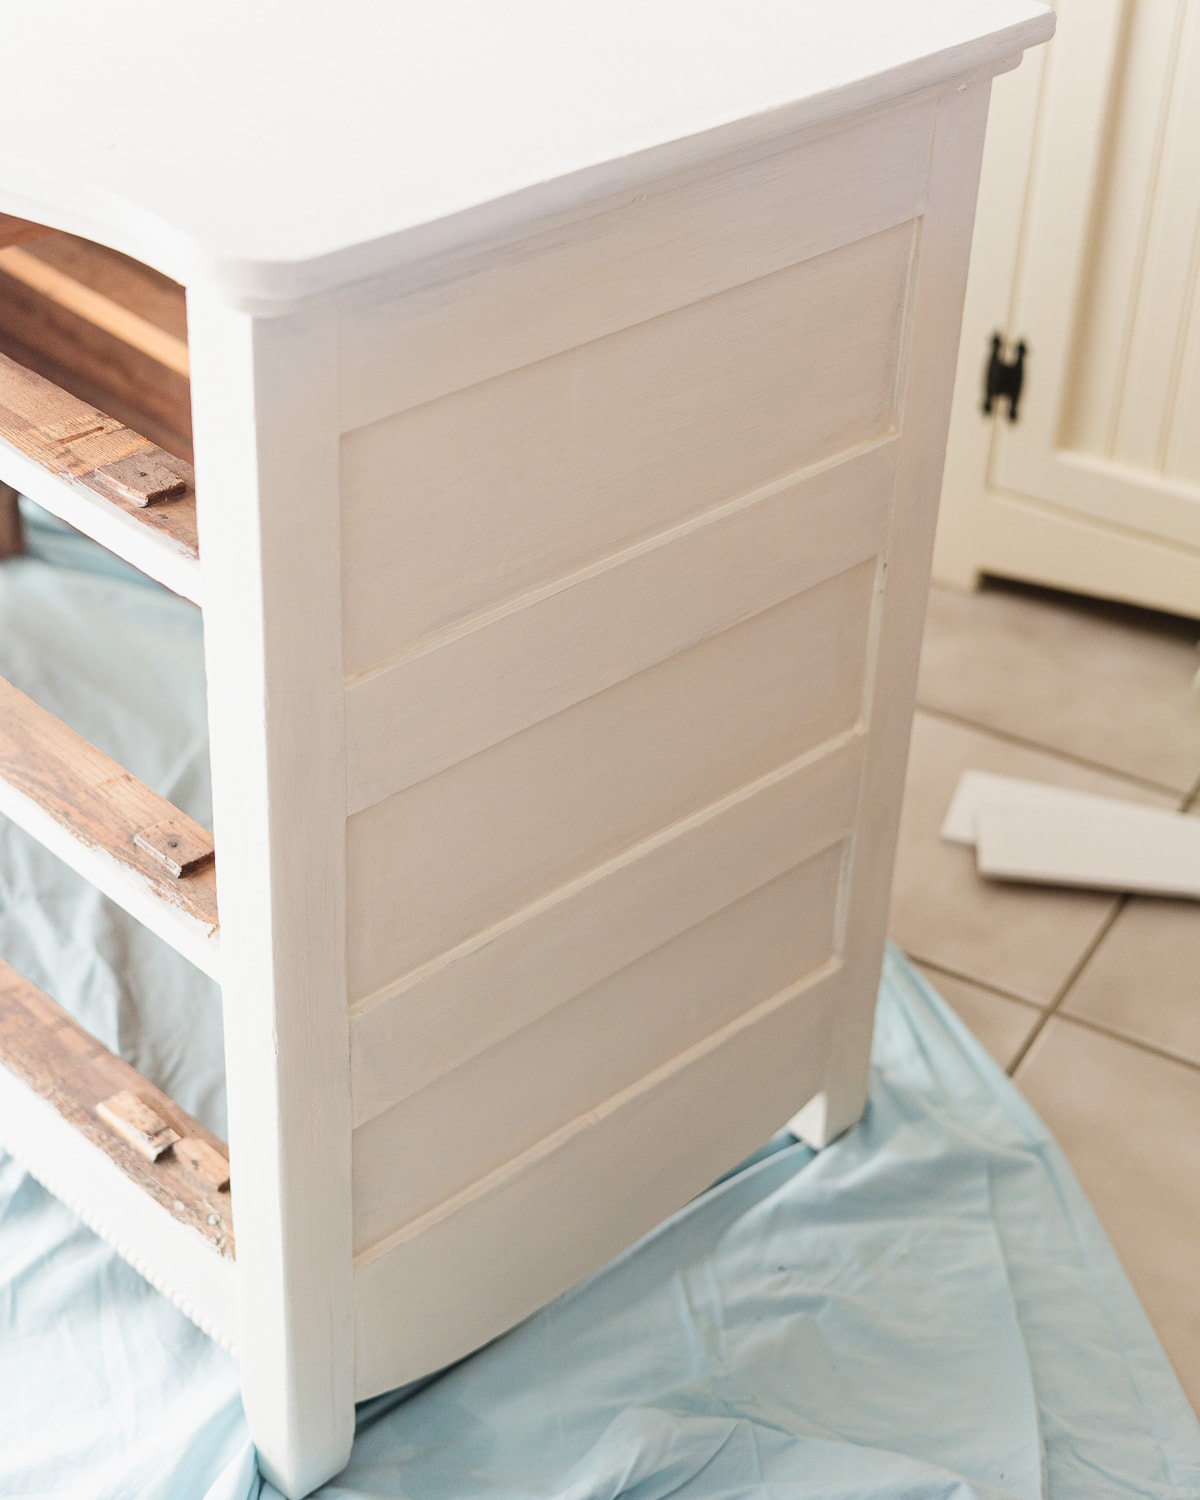
First, take stock of your piece and note all areas you want to seal up. You will work in sections, but it’s good to check things over before starting. You can see my piece here has already been primed. That’s when I noticed the gaps were going to be a problem.


Note that you don’t necessarily want to fill really large gaps with sealant. This technique is really more for hairline cracks and small gaps.
You don’t need to have painted your piece at all first before using the sealant. By the same token, if you’ve already painted the furniture, you can still apply the sealant. Just know you’ll want to paint over the sealant again after applying it.
Note: I’ve only ever used this technique with white paints. The sealant is completely paintable so I don’t foresee any problems with other colors, but you may wish to test it first before doing the whole piece if you are working with a darker color.
Next, you’ll want to ready a pair of disposable gloves, a small (disposable) cup filled with a little water, and lots of paper towels. Oh! Some old t-shirts or washcloths are really handy too.
Apply the Sealant to the Gaps
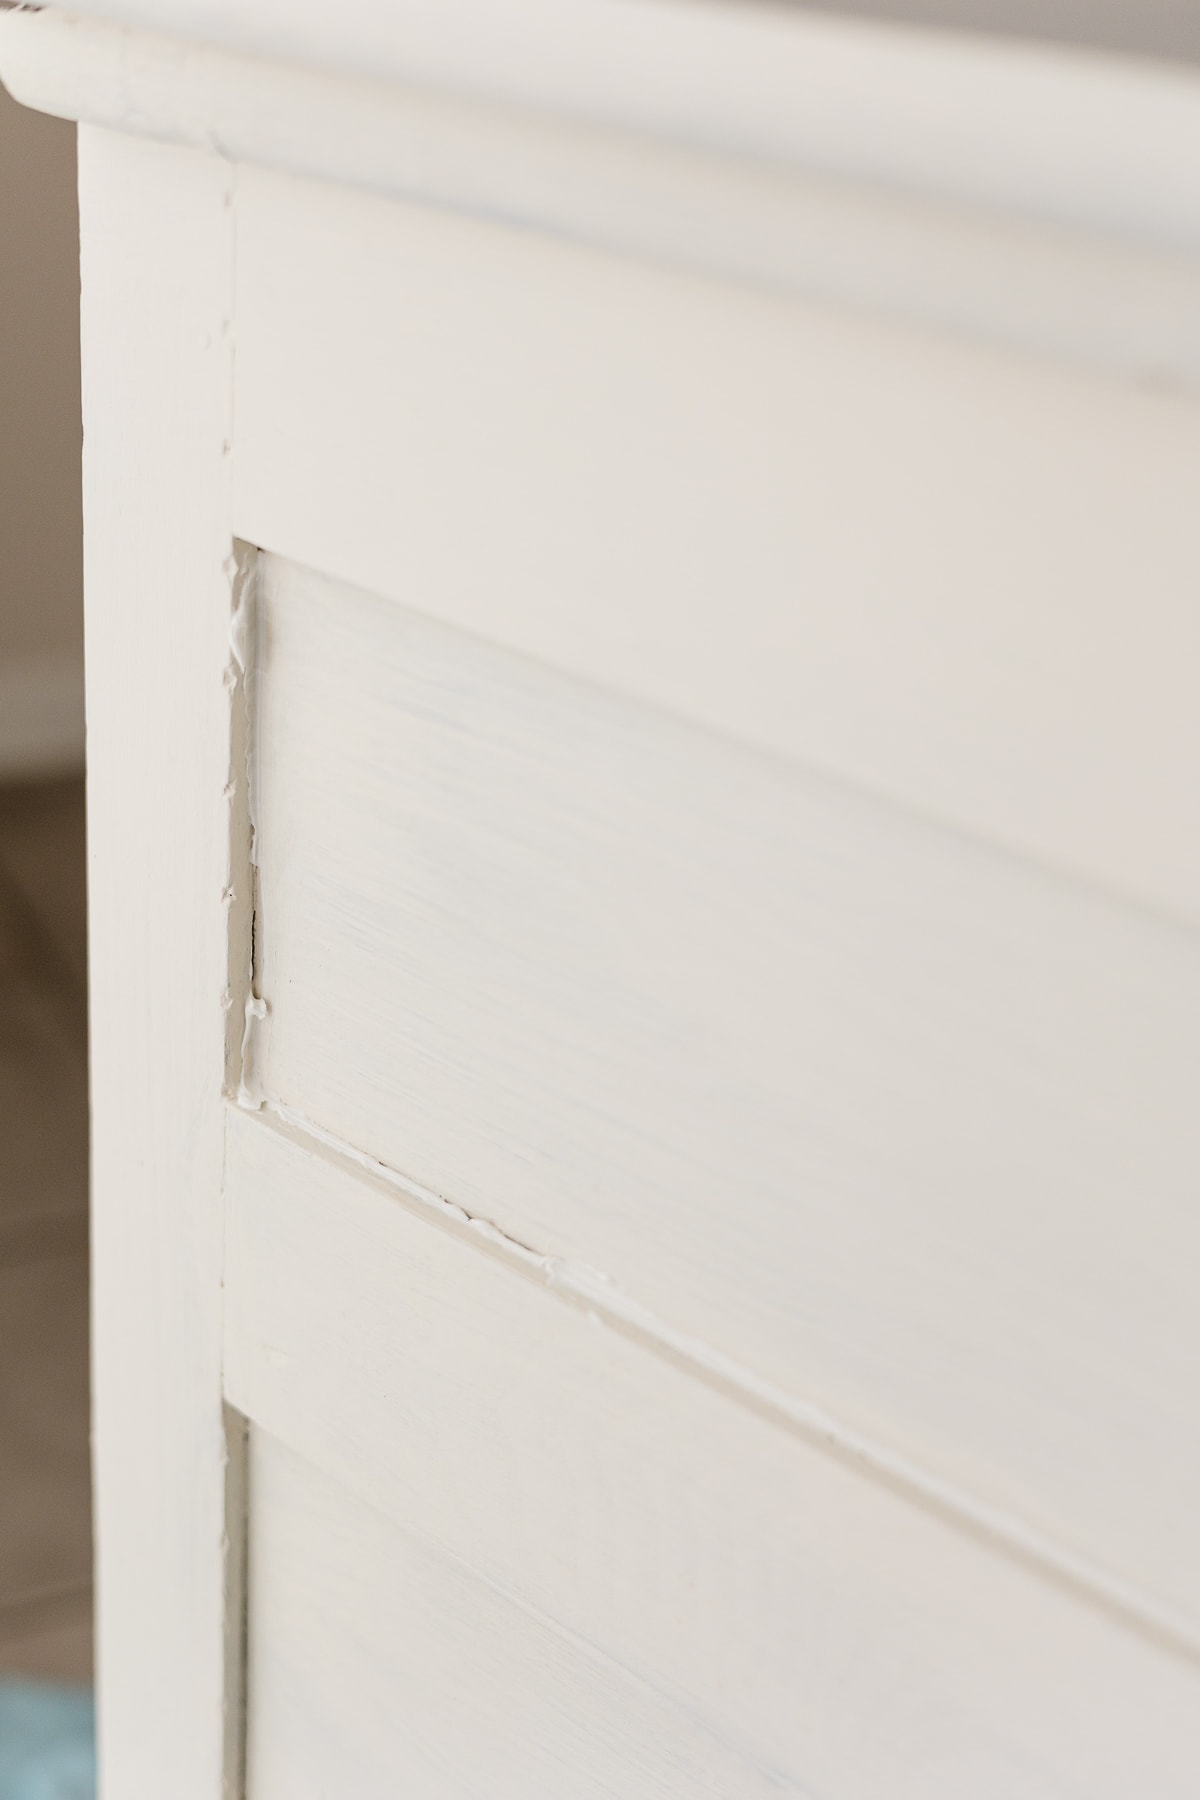
Using your caulk gun (correctly loaded with an open tube of the paintable caulk), squeeze a fine bead of sealant around any edges and seams that require filling. It’s best to do smaller sections unless you’ve caulked before and are confident in your speed.
It might squeeze out a little unevenly at first (see photo), but no worries, you’ll get a nice bead after the first few inches and usually there’s plenty of excess that can be pushed in the gaps.
Wipe Away Excess
With gloves on, use a wet finger to wipe away as much excess caulk as you can. While you wipe it away, you are pushing it down into the seams as you do so. You will wipe away a lot of excess. This surprised me the first few times I did it. Even a small bead is more than enough for these seams!
Wipe your finger on a paper towel to remove the caulk, dip it in the water and repeat. Repeat, cleaning up any edges or ridges. The goal is a super smooth invisible fill of the join. You do need to work quickly to smooth the caulk before it dries. Once it dries, the only way to correct it is to scrape it all off and start again.
You can also use a damp paper towel or old washcloth (actually old t-shirts work well) in place of the finger method if you want to try that.
Once the caulk is completely smoothed, continue working on the piece until you’ve finished each seam.
Let Dry Before Painting
Wait for the caulk to dry completely (consulting your tube for dry times) before painting. Now when you paint over it, you’ll have beautiful clean seams! No gaps!
How to Store Leftover Caulk
If you bought this sealant especially for a furniture project, you’ll have a lot leftover. No worries!
I’ve found that you can save the tube of caulk with a simple trick and use it months later. There’s no guarantees this method will prevent a tube from drying out, but I’ve had great success with being able to use tubes several months (even a year) after opening.
Just grab a piece of plastic wrap and fold it in half. Wrap this double-layer securely around and around the opening of the tube. Secure with a rubber band and that’s it! You may need to re-open the tube again when you are ready to use it.
Craft with me! If you try this tutorial, tag me on Instagram or use the hashtag #BellewoodCottageCrafts. Watch my videos on YouTube and follow along on Pinterest for more ideas like this one!
Happy Crafting! ~Ellen
More About Painting Furniture
- How to Paint a Dresser Step by Step
- The Best Chalk Paint Brands for Every Project
- The Ultimate Chalk Painter’s Gift Guide
- Save Money on Chalk Paint!
- How to Seal Chalk Paint
Weekly Crafting Fun!
Join my list and get a weekly email with relaxing craft ideas, freebies, sewing tutorials, and more!