DIY Christmas Ornaments with Vintage Cookie Cutters
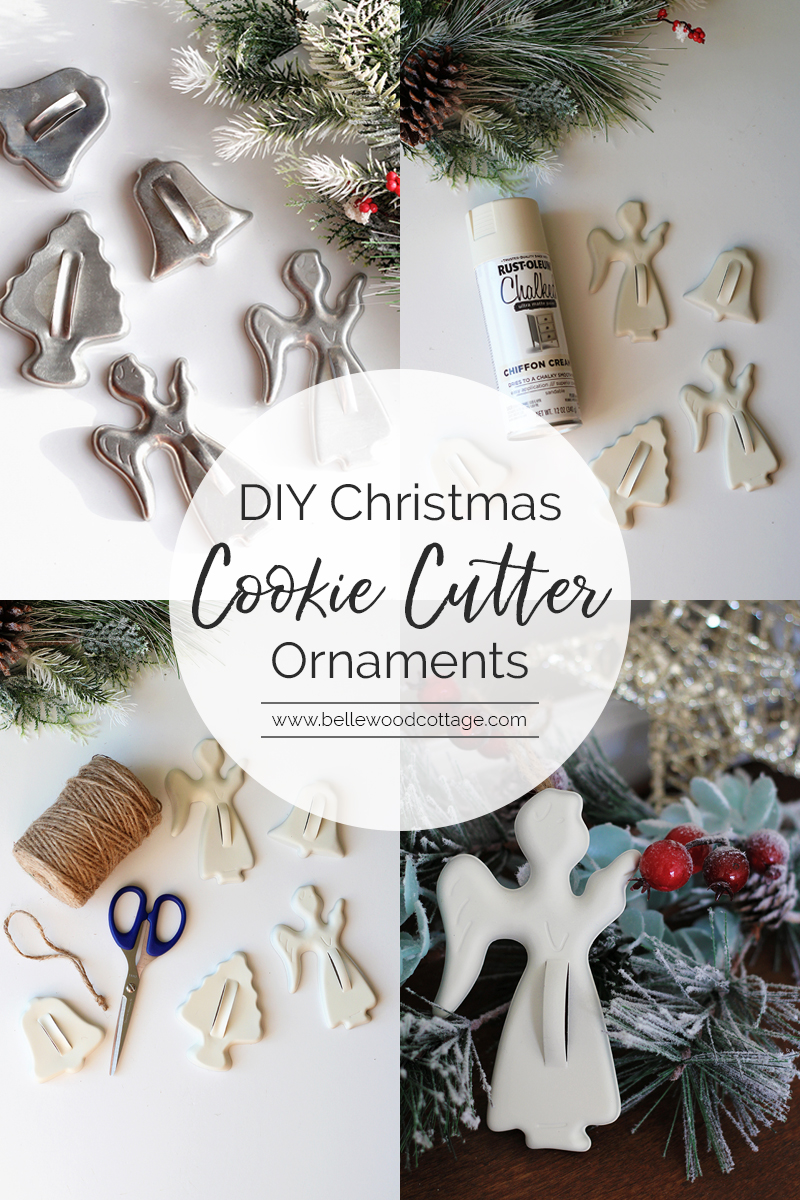
I grew up with these sweet little aluminum cookie cutters, so they hold a lot of nostalgia for me. We didn’t really use our set for cookies though. Instead, our old cookie cutters had been relegated to use with playdough. So I have plenty of memories of cutting out shapes from the ubiquitous brown colored dough (why must kids always mix the colors?! Whhhhyyy).
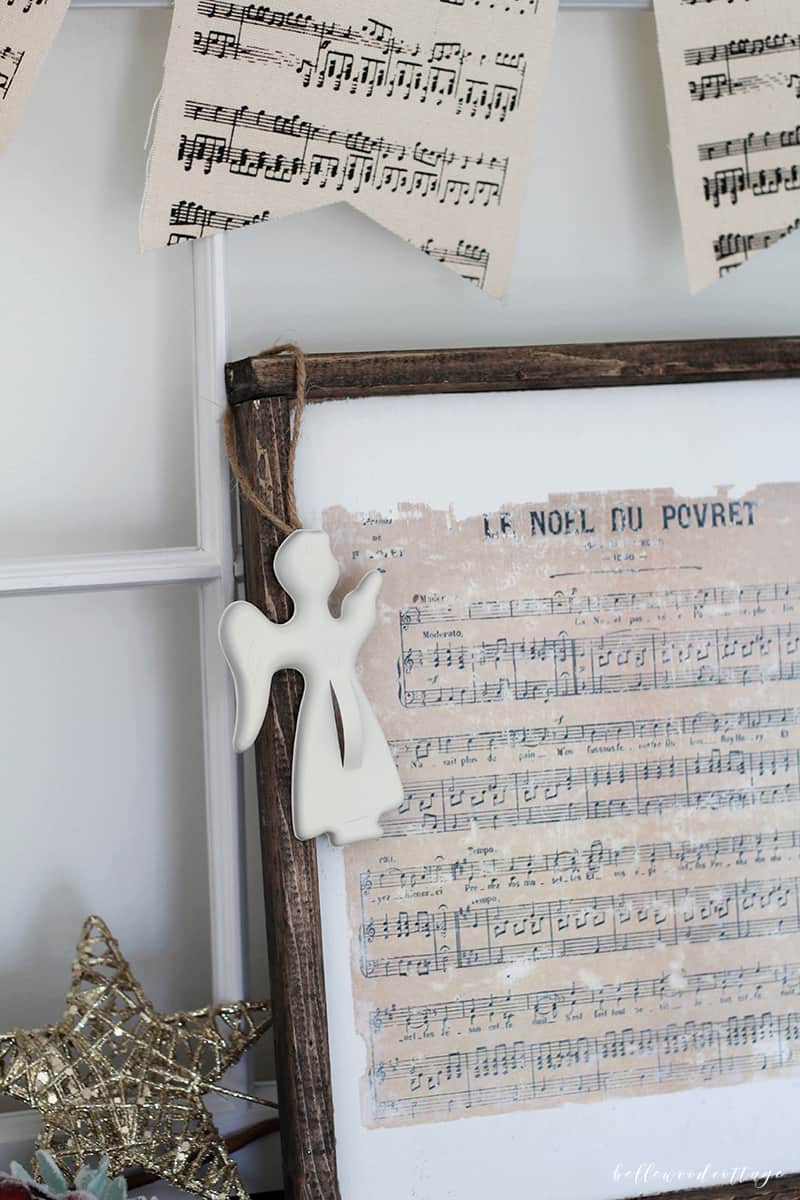
When I found these cutters in an antique shop this fall, I was pretty pumped. Several of the vendors had hung them from Christmas trees and I could just picture the possibilities with a little bit of spray paint. So I brought them home, sprayed painted away, and promptly didn’t blog the idea until after Christmas. Of course.

Normally I would hesitate to permanently alter a vintage item like these (I think they are circa 1950 or 1960?). The fifties don’t seem so long ago, but with each passing year, those remnants of older days get harder to find and more precious. Meaning that altering these vintage pieces can sometimes seem careless or flippant. By the same token though, I want to love the things I fill my home with, and a little change-over with spray paint was a way that I could use these year after year in my decor. So I went with it!
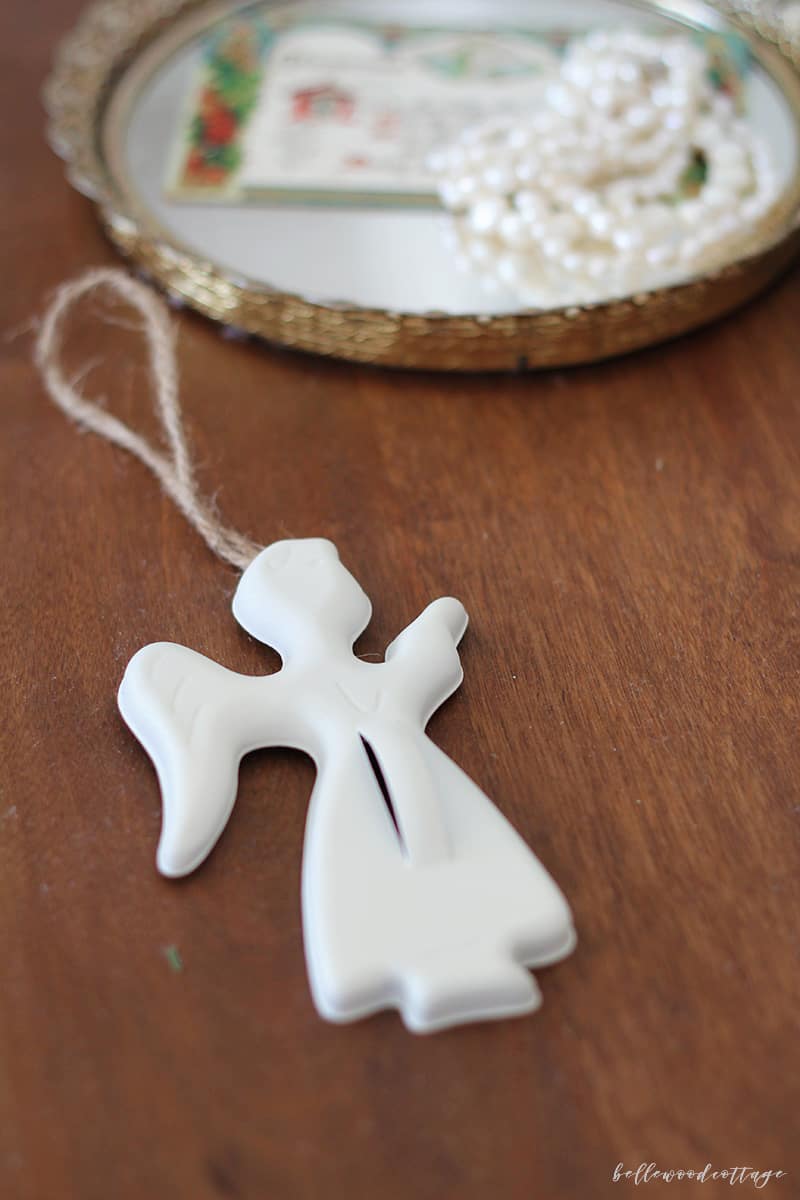
If you love this look and want to find some of your own cookie cutters, just hop onto eBay and search “vintage aluminum cookie cutters” or something similar and you should get plenty of hits. If you can find a great deal, awesome. Otherwise, I paid $1-2 for each of these (I have no idea what happened to the childhood set, so I purchased “new” ones). Still not too bad though!

Here’s the details on how to make your own!
How to DIY Christmas Ornaments with Vintage Cookie Cutters
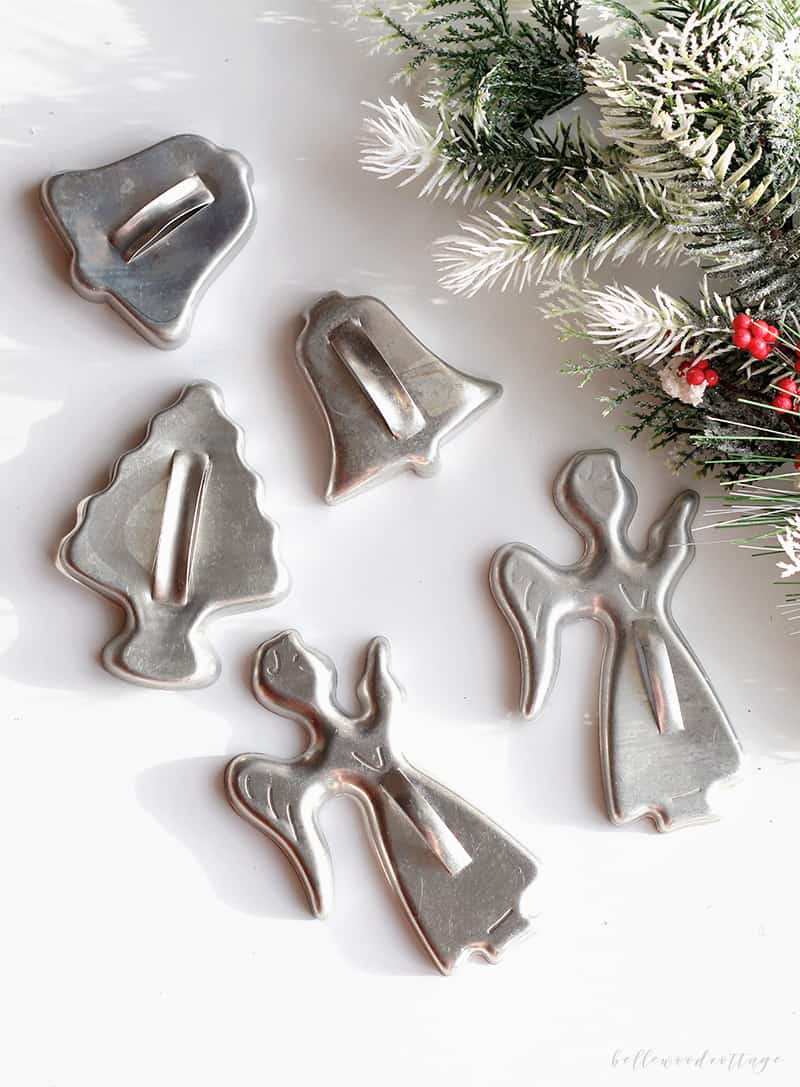
First, procure some cookie cutters and clean off any sticky residue from price tags etc.
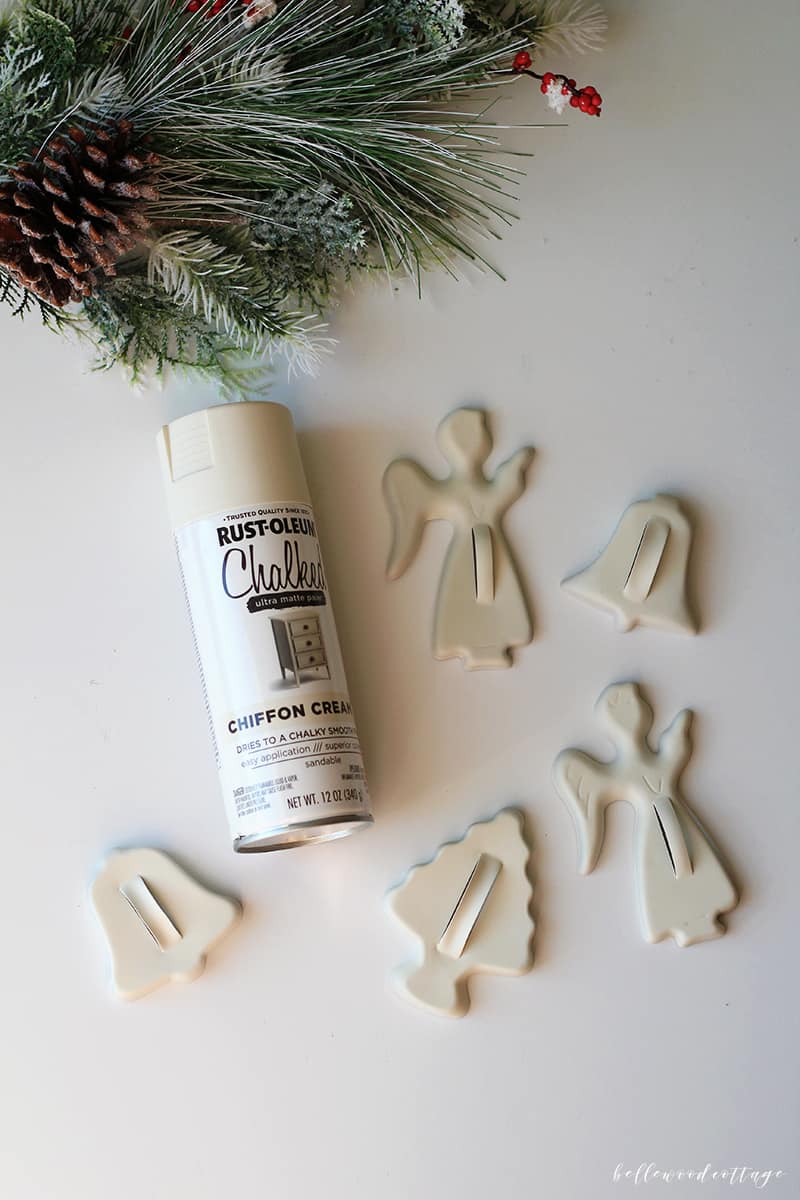
Grab a can of good spray paint. I really like this Chalked spray paint from Rust-Oleum. I sprayed three coats (make sure to shake well before getting started) on the front and back.
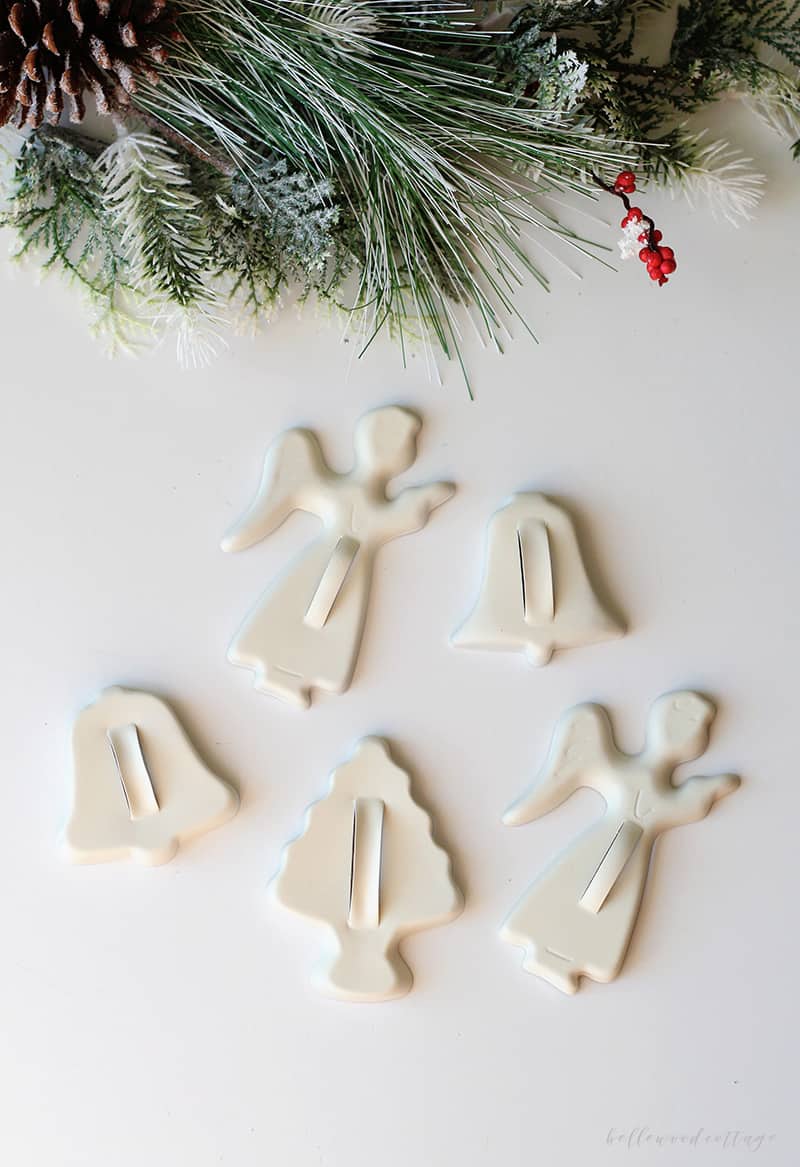
Then, prep your ornament hangers. I cut 14″ lengths of jute string, but I think I would go shorter and do 10″-12″ lengths in the future.
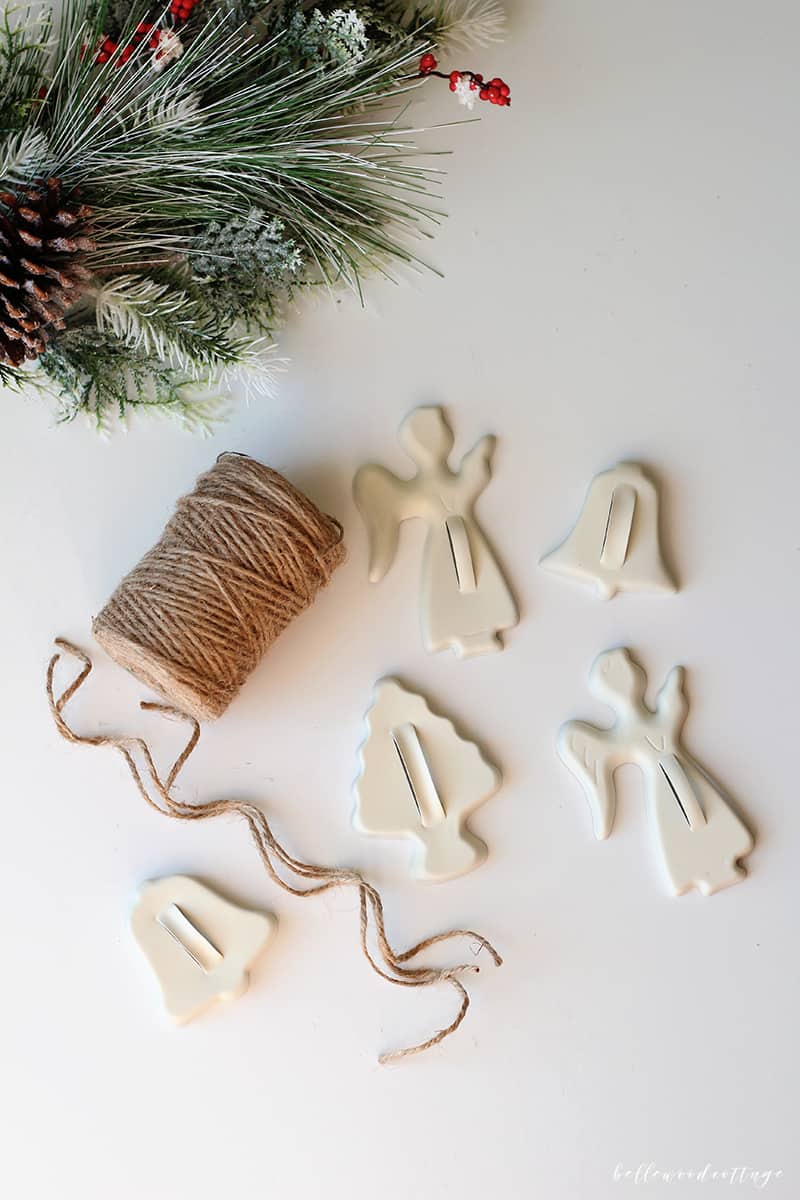
Fold each string in half and tie a sturdy knot.
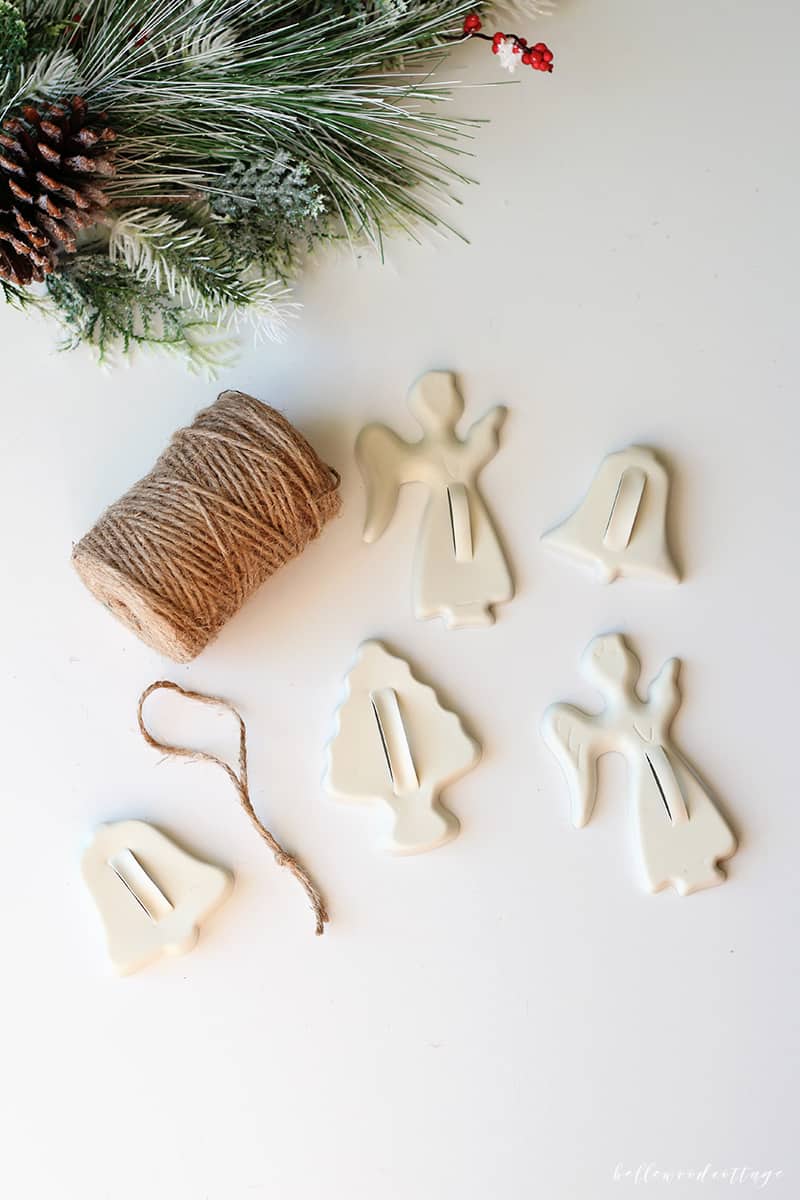
Then trim the excess.
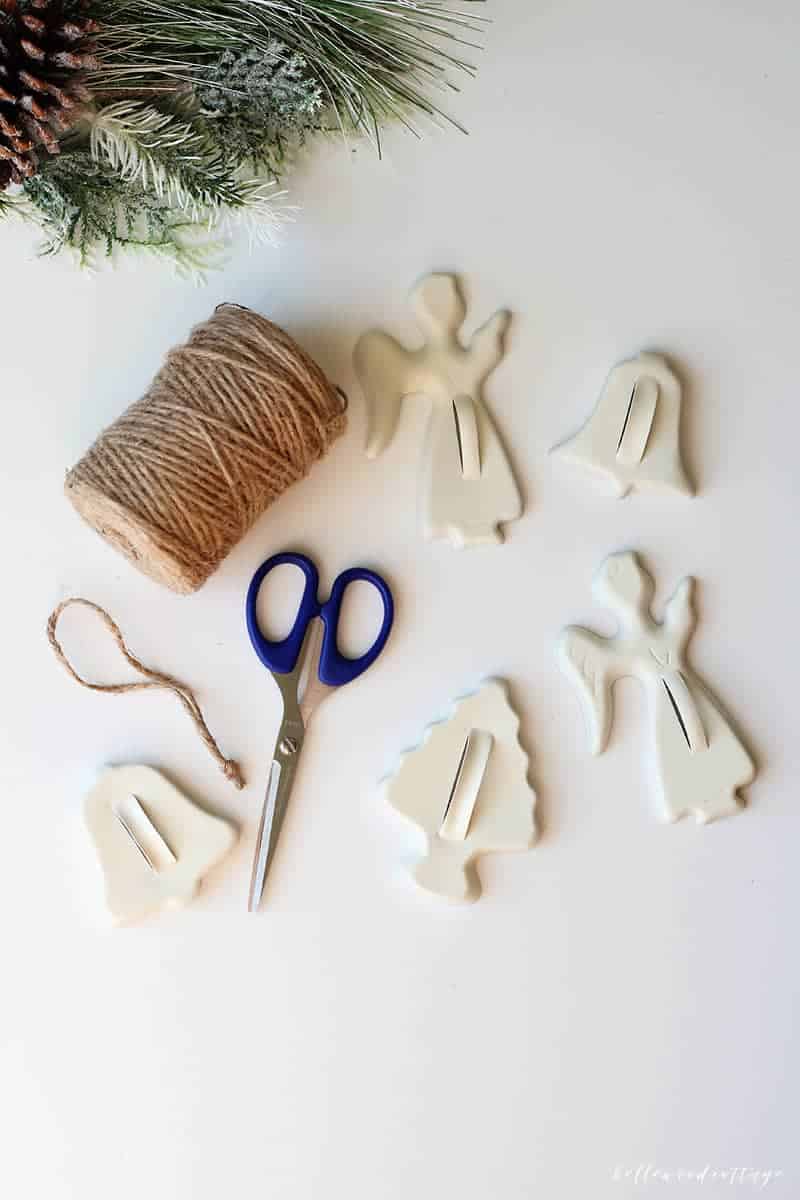
Finally, secure the hanger to the back of the ornament with strong glue. I don’t have a glue gun (shocking, I know!) so I improvised with gorilla glue and these cute little mini-clamps that hubby had on hand. I really think a glue gun would be easiest though, so basically, go with the glue gun.
Let ’em dry and and that’s about it!

These little DIY Christmas ornaments are both a great budget-friendly decor idea and a fun way to incorporate vintage pieces in your Christmas decor. Hope you enjoyed this quick little tutorial!
…and P.S. I am becoming a huge spray paint fan. Like, it’s so so fast. Can I just spray paint everything? That’d be great.
More Christmas Inspiration from Bellewood Cottage
- How to DIY Christmas Wall Art
- DIY Farmhouse Christmas Ornament Tutorial
- How to Style a Hutch for Christmas
- Rustic DIY Christmas Sign Tutorial


