How to Turn a Mirror Into a Chalkboard
Sometimes it takes a few tries to get a diy project juuuust right. I found this mirror at a garage sale last summer for $3, so of course it came home with me. Problem? My philosophy behind refinishing furniture/other stuff is to 1. Start with something awesome, and then 2. Make it better. Of course, sometimes it’s hard to see the “awesome” under the mire of age, bad paint color, etc. etc. And, sometimes I guess wrong.
Though this mirror definitely had a fun vintage look to it, I started to question its “awesome-ness” pretty soon after trying to make it work in our home.
Please note: This post contains affiliate links which allow me to earn a small commission when a purchase is made (at no additional cost to you). Read more here.
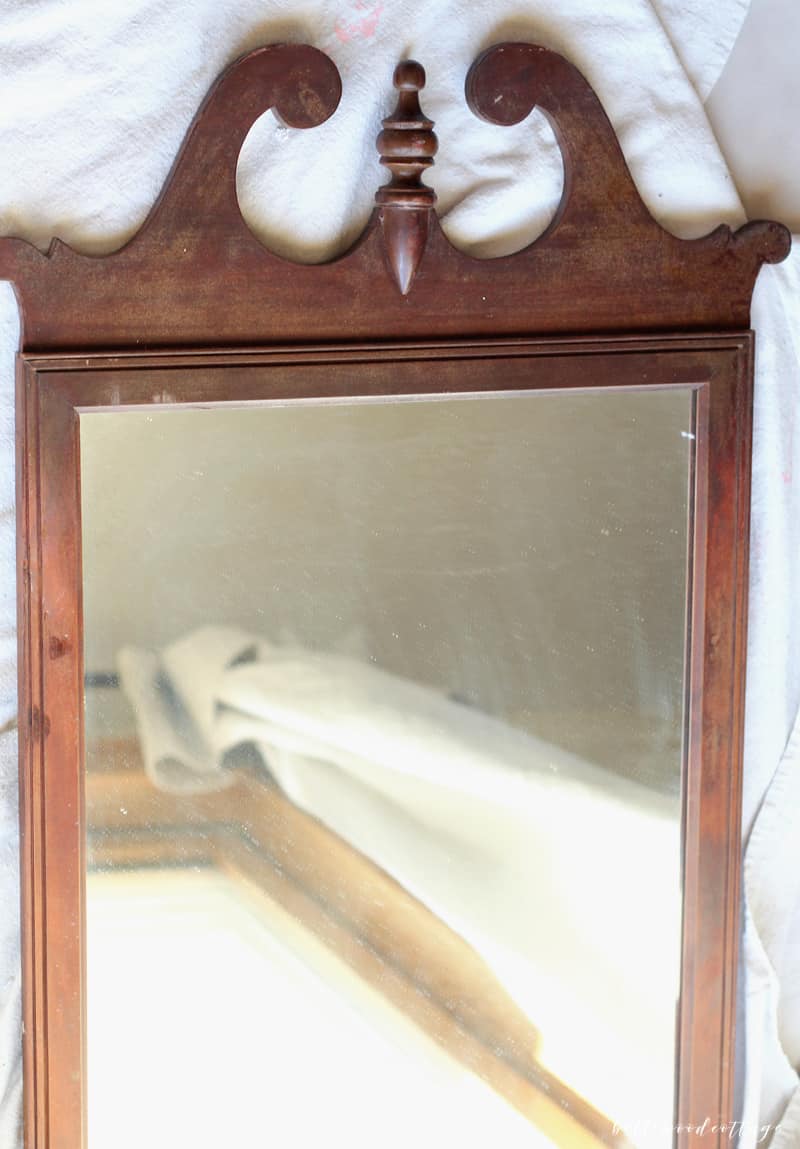
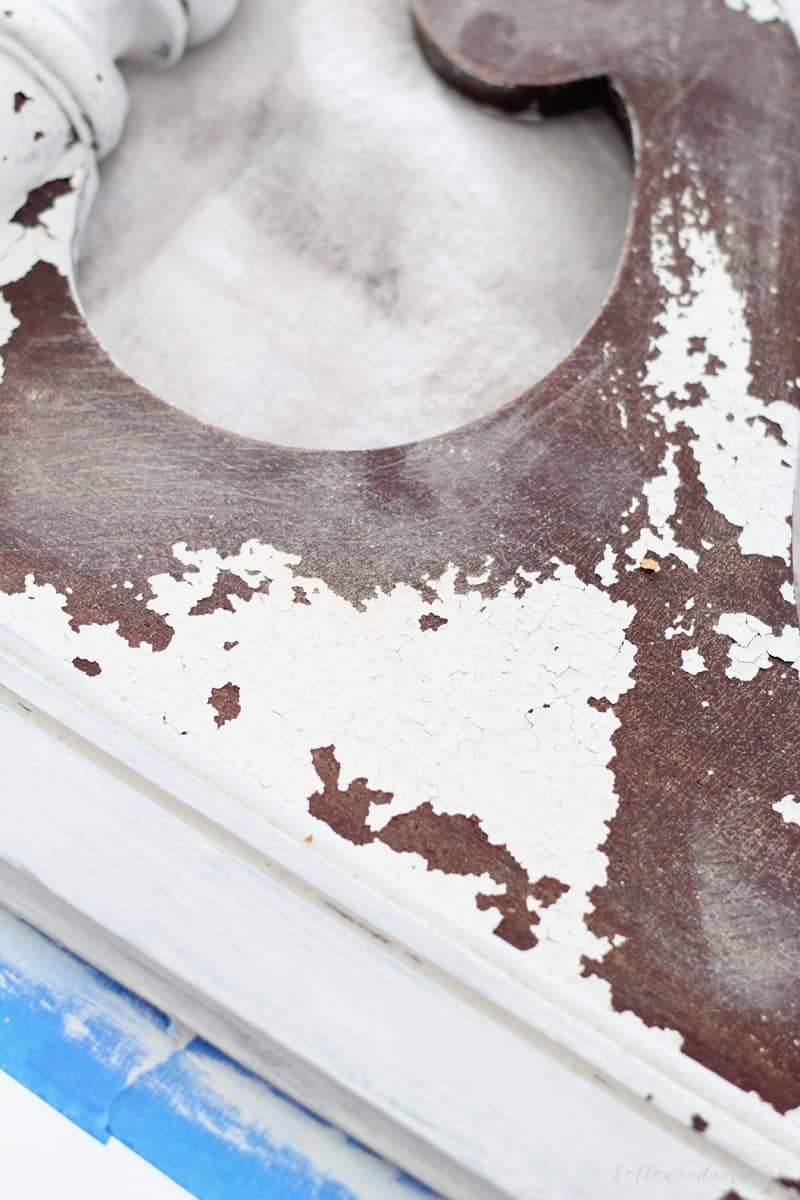
The real problem started when I decided that the mirror needed an all-over chippy milk paint treatment. Well, fast forward a few coats of paint and “too much” was an understatement.
So. I did what I always in situations like this. First, I stopped. Sometimes you just gotta put the paint brush down and walk away.
Then I started thinking through possibilities.
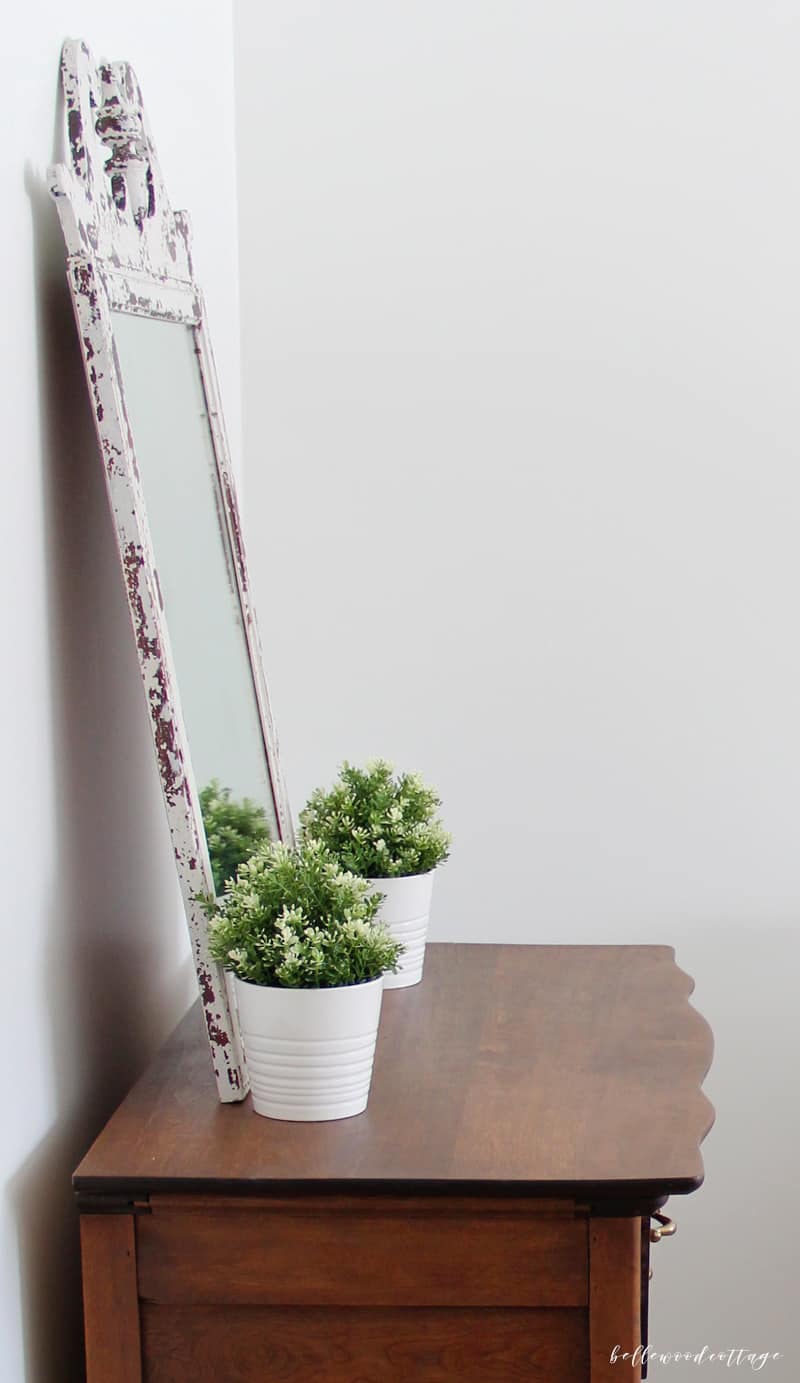
The mirror (originally intended to go above this dresser in our master) was just not working in this spot. So, I started to wonder about hanging it in our kitchen/dining area. Maybe paint it into a chalkboard and use it for menus or quotes?
Yes. That might just work.
Then I did something new to me, but that was super helpful (and fun!). I polled you guys on Instagram stories. I got messages back with plenty of thoughts and a majority that voted to turn the mirror into a chalkboard. Time to give it a try.
After three coats of chalkboard paint, things were looking up. But. You know it’s coming. Something was still off. And as much as I hated to do it, that scroll work piece had to go.
Cringe.
Hubby (who has not been a fan since I brought this piece home) was in total favor of this call and immediately got to work removing the top of the mirror/chalkboard. I’m still hanging on to that top piece because I just KNOW it has a purpose in life, but it wasn’t hanging out on top of my new chalkboard.
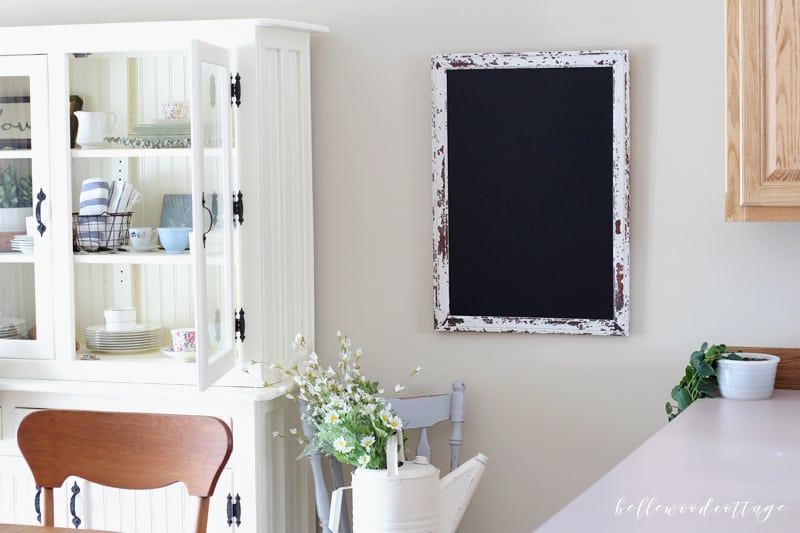
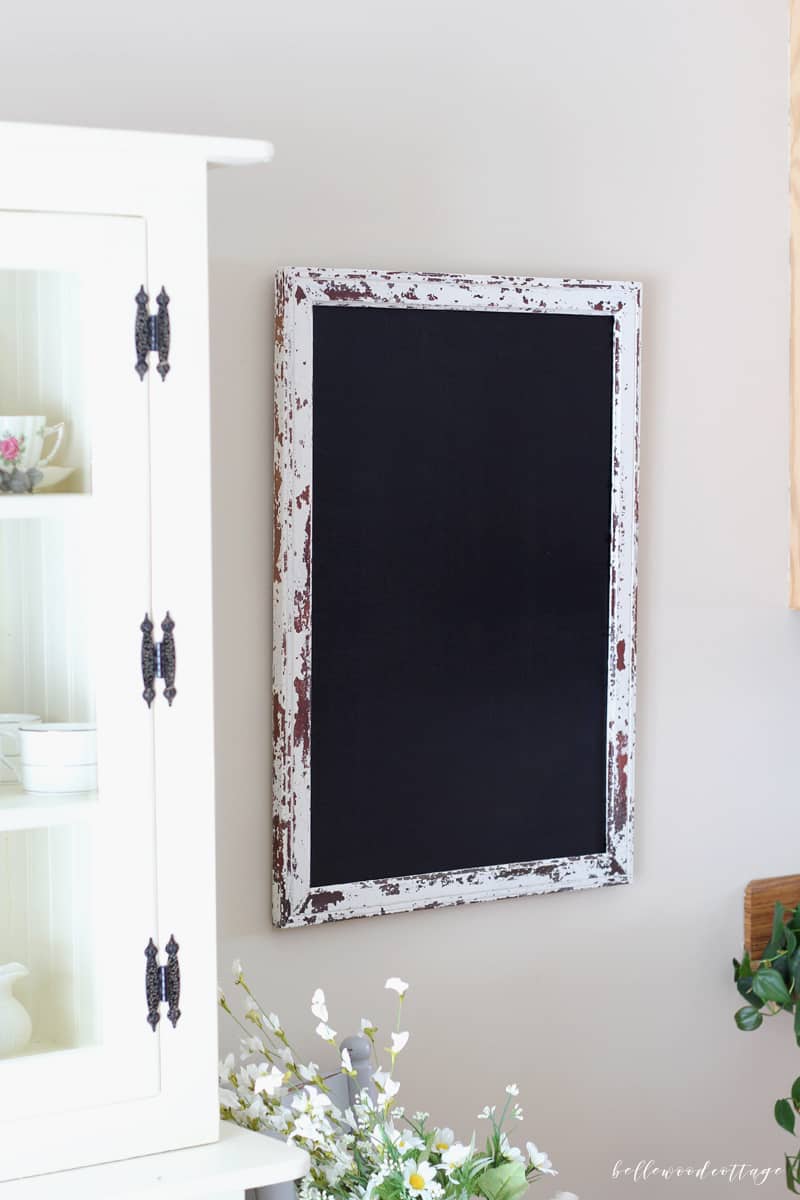
So there ya go, here’s how it all turned out in the end!
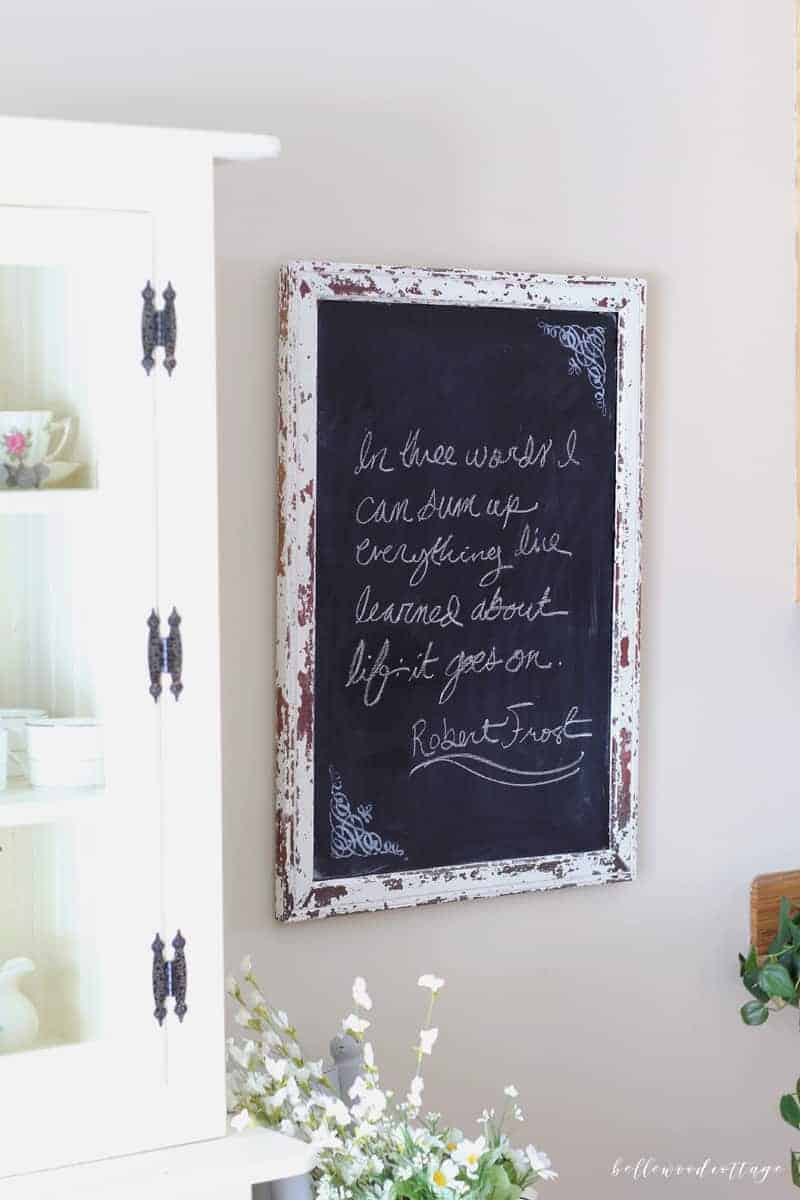
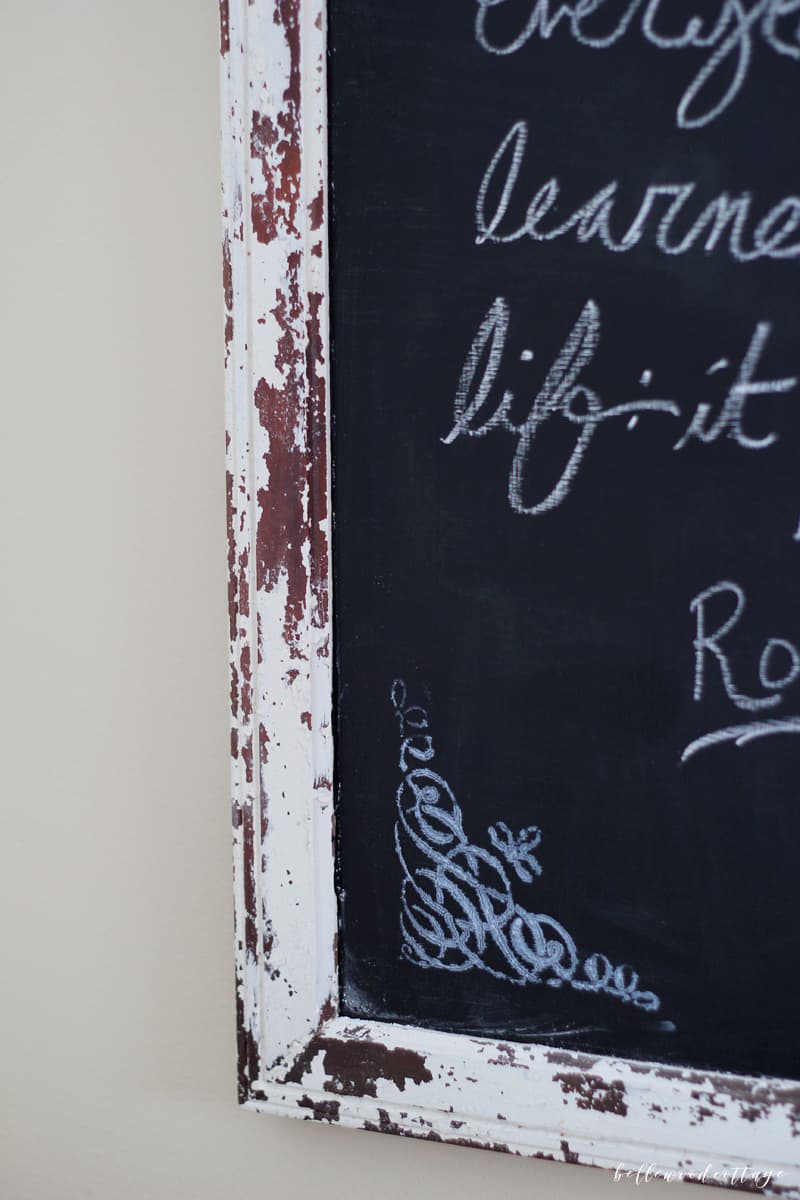
In three words I can sum up everything I’ve learned about life: it goes on. – Robert Frost
I love the simplified look and I already know I’m going to have a lot of fun with this in my kitchen. It’s also going to encourage me to work on that whole hand lettering thing, because my current chalkboard handwriting needs some help.
If you’re curious about the materials I used to make this chalkboard happen, I wrote up a quick step-by step process with all the details and products I used, so you can turn a mirror into a chalkboard as well!
Materials needed to turn a mirror into a chalkboard:
- Miss Mustard Seed’s Milk Paint in Farmhouse White (for a “chippy” finish) OR
- Rust-oleum Chalked paint (best if you prefer no chipping or a zero-prep paint)
- Tough coat to seal (I used Rust-oleum Matte Clear, but I think Tough Coat will give the most strength/longevity)
- Medium & fine grit sanding blocks
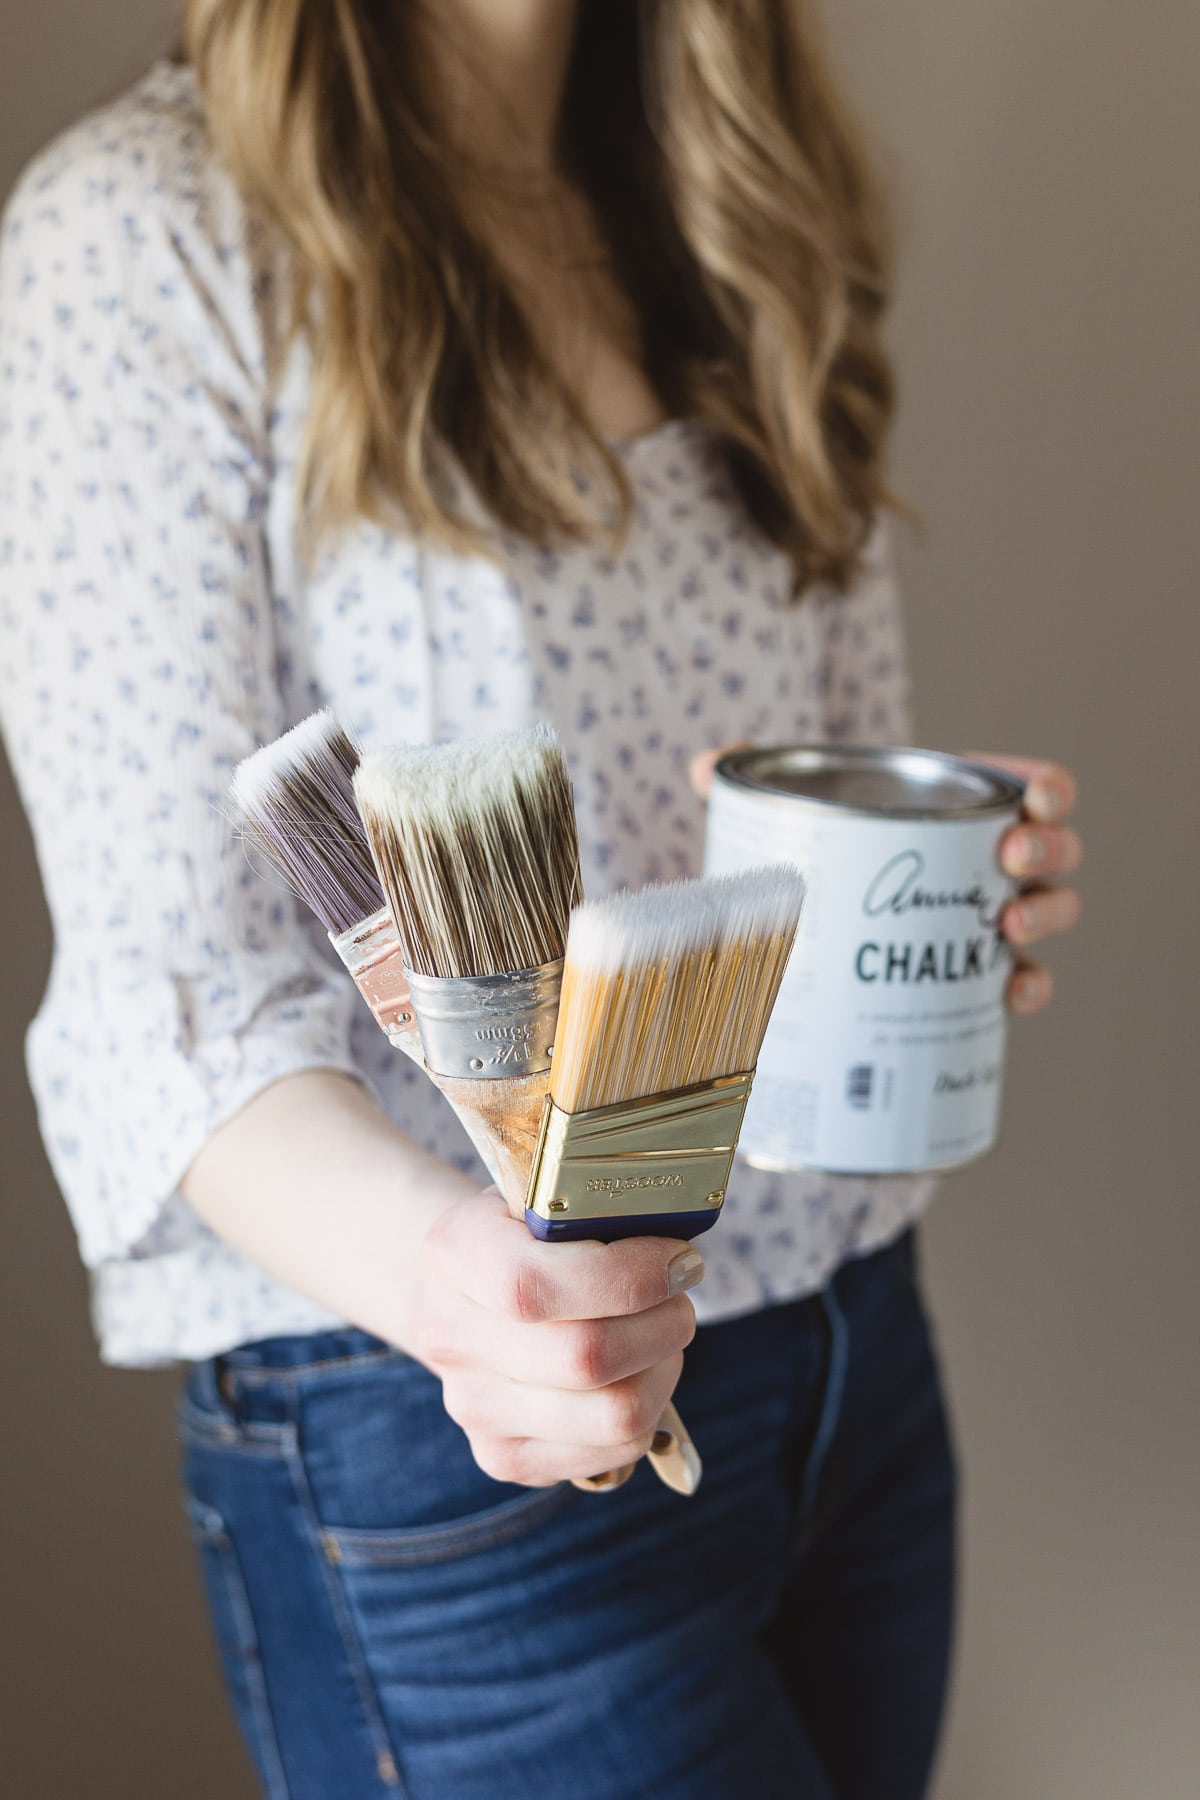
- A good paintbrush
- Chalkboard paint
- Chalk or chalkboard pens
How to turn a mirror into a chalkboard
- If you are starting with a mirror that has this scroll thing on top (it seems to be a really popular style), I would remove this first (assuming of course that you want to!). You’ll be left with a raw edge, but it can be painted to match the rest of the mirror and won’t be too noticeable. We just hung the mirror so that this edge is on the bottom.
- Scuff sand your piece so the milk paint will stick. Tape off the mirror in preparation to paint.
- Paint on two or three coats of milk paint as needed around the edge of the mirror. I recommend painting these on in quick succession so that you won’t be trying to paint over coats that have already chipped.
- Apply your top coat to the milk paint.
- After the mirror frame is dry, tape it off in preparation to paint the mirror surface with chalkboard paint.
- Apply two or three coats of chalkboard paint. Remove tape (carefully!!) and touch up any missed spots.
- Condition your chalkboard by rubbing a piece of chalk all over it and wiping off with a damp cloth. I repeated this twice. This step prevents the first message on your chalkboard from becoming permanent.
- All done! Enjoy your new chalkboard!
Thanks for stopping by today! If you have also turned a mirror into a chalkboard, I’d love to see the finished product, so let me know in the comments! <3
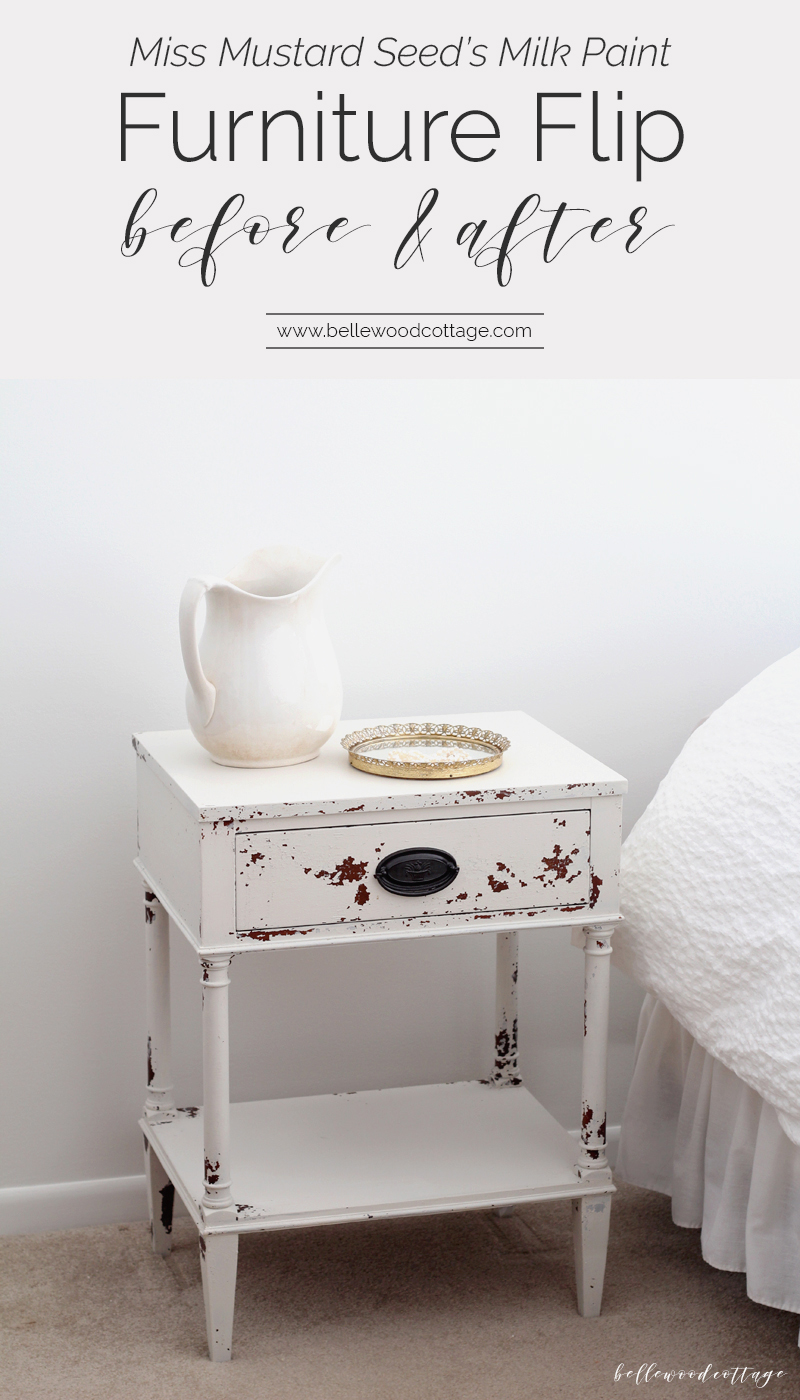
More with milk paint from Bellewood Cottage


