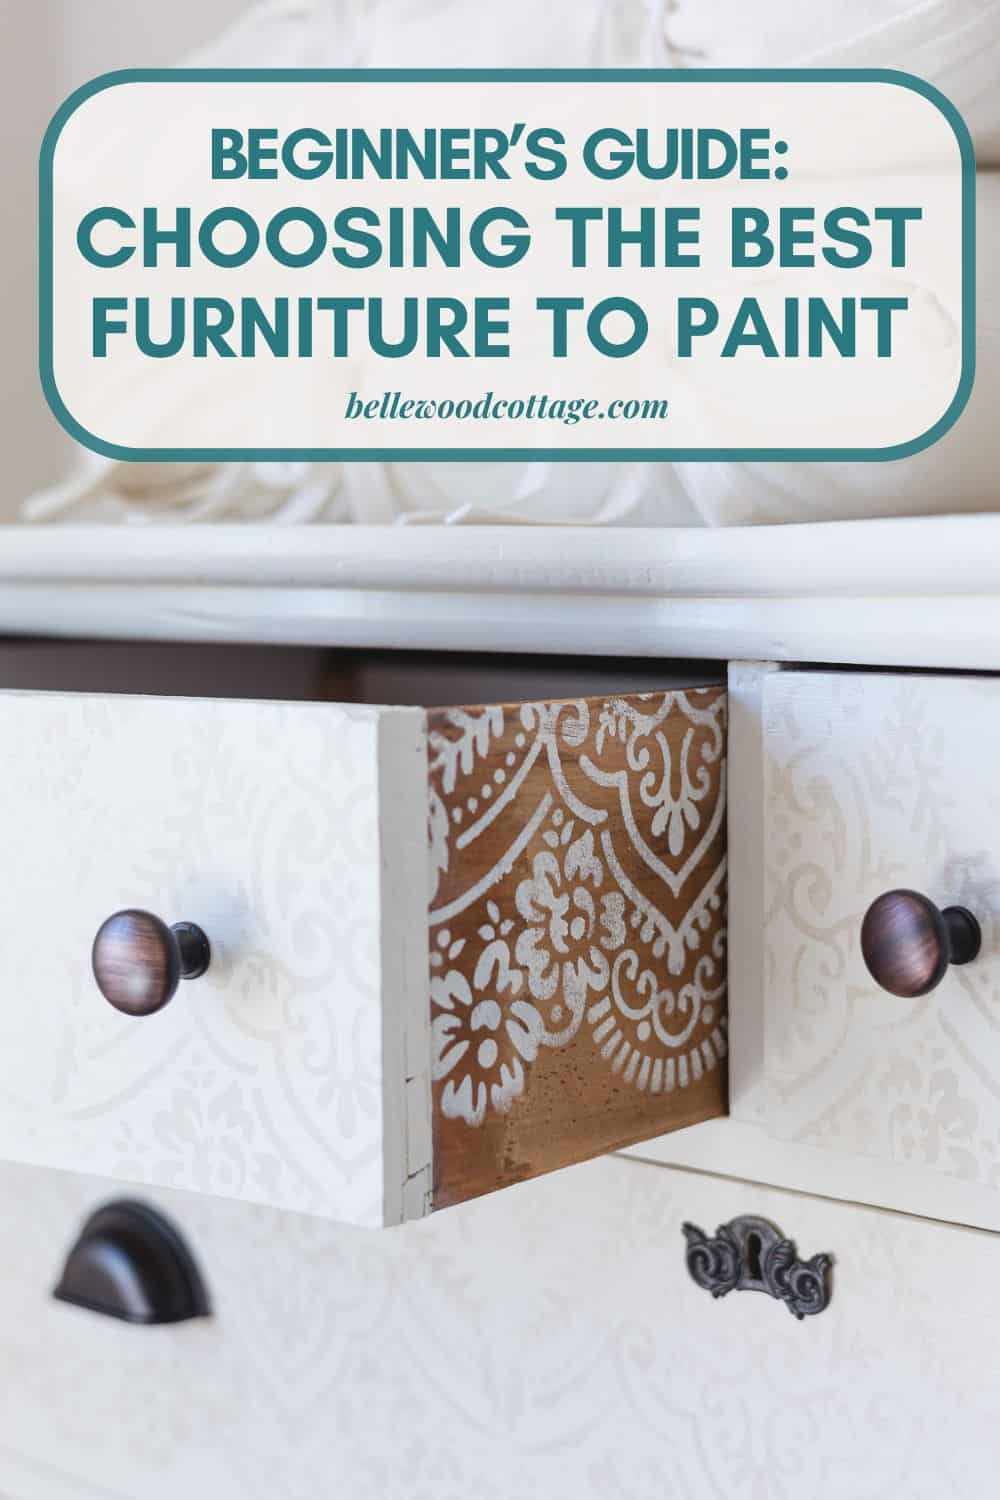
How to Choose the Best Furniture to Paint
Learn how to choose the best furniture to paint with this helpful list! Try painting furniture with chalk paint, milk paint, and more to give it new life in your home. It’s truly incredible how much of a difference paint can make. This list includes tips & tricks from my real-life experience flipping furniture.
Please note that this post contains affiliate links which allow me to earn a small commission when a purchase is made at no additional cost to you. As an Amazon Associate I earn from qualifying purchases. Read more here.
If you are new to furniture painting and wondering where to start, the whole process can be a bit overwhelming. Should I sand before starting? Chalk paint or latex? Rustoleum or Annie Sloan? Do I need polyurethane or wax or nothing? Cabinet-grade paint maybe??
The truth is, painting furniture is a lot of fun and truly doesn’t need to be overwhelming. We’ll all make mistakes of course, but it’s just paint, and you can always remove it and try again!
I’m sharing these tips today, because I firmly believe that the piece you begin with will have a huge impact on your finished product. We all want that gorgeous before-and-after, but some furniture is best left at the thrift store.
Love saving money? Me too! Don’t miss my quick tips for saving money on chalk paint!
I generally suggest buying furniture to paint secondhand, as you can find really unique and quality pieces for fairly inexpensive prices (though you’ll have to do a bit of hunting of course!).
If you’re just starting out with furniture painting, follow along with my step-by-step tutorial of how to paint a dresser. I’ll walk you through each step to get a beautiful furniture flip.
But first, let’s chat about everything you need to know before you select a piece of furniture to paint.
How to Pick the Best Furniture for Painting
Before you grab a can of chalk paint and start painting, read through these tips and learn how to select furniture that will work the best for painting and flipping.
Look for Solid Wood
Solid wood furniture is the best for refinishing projects. Wood is versatile, so you can sand it down and re-stain it, or you could paint it.
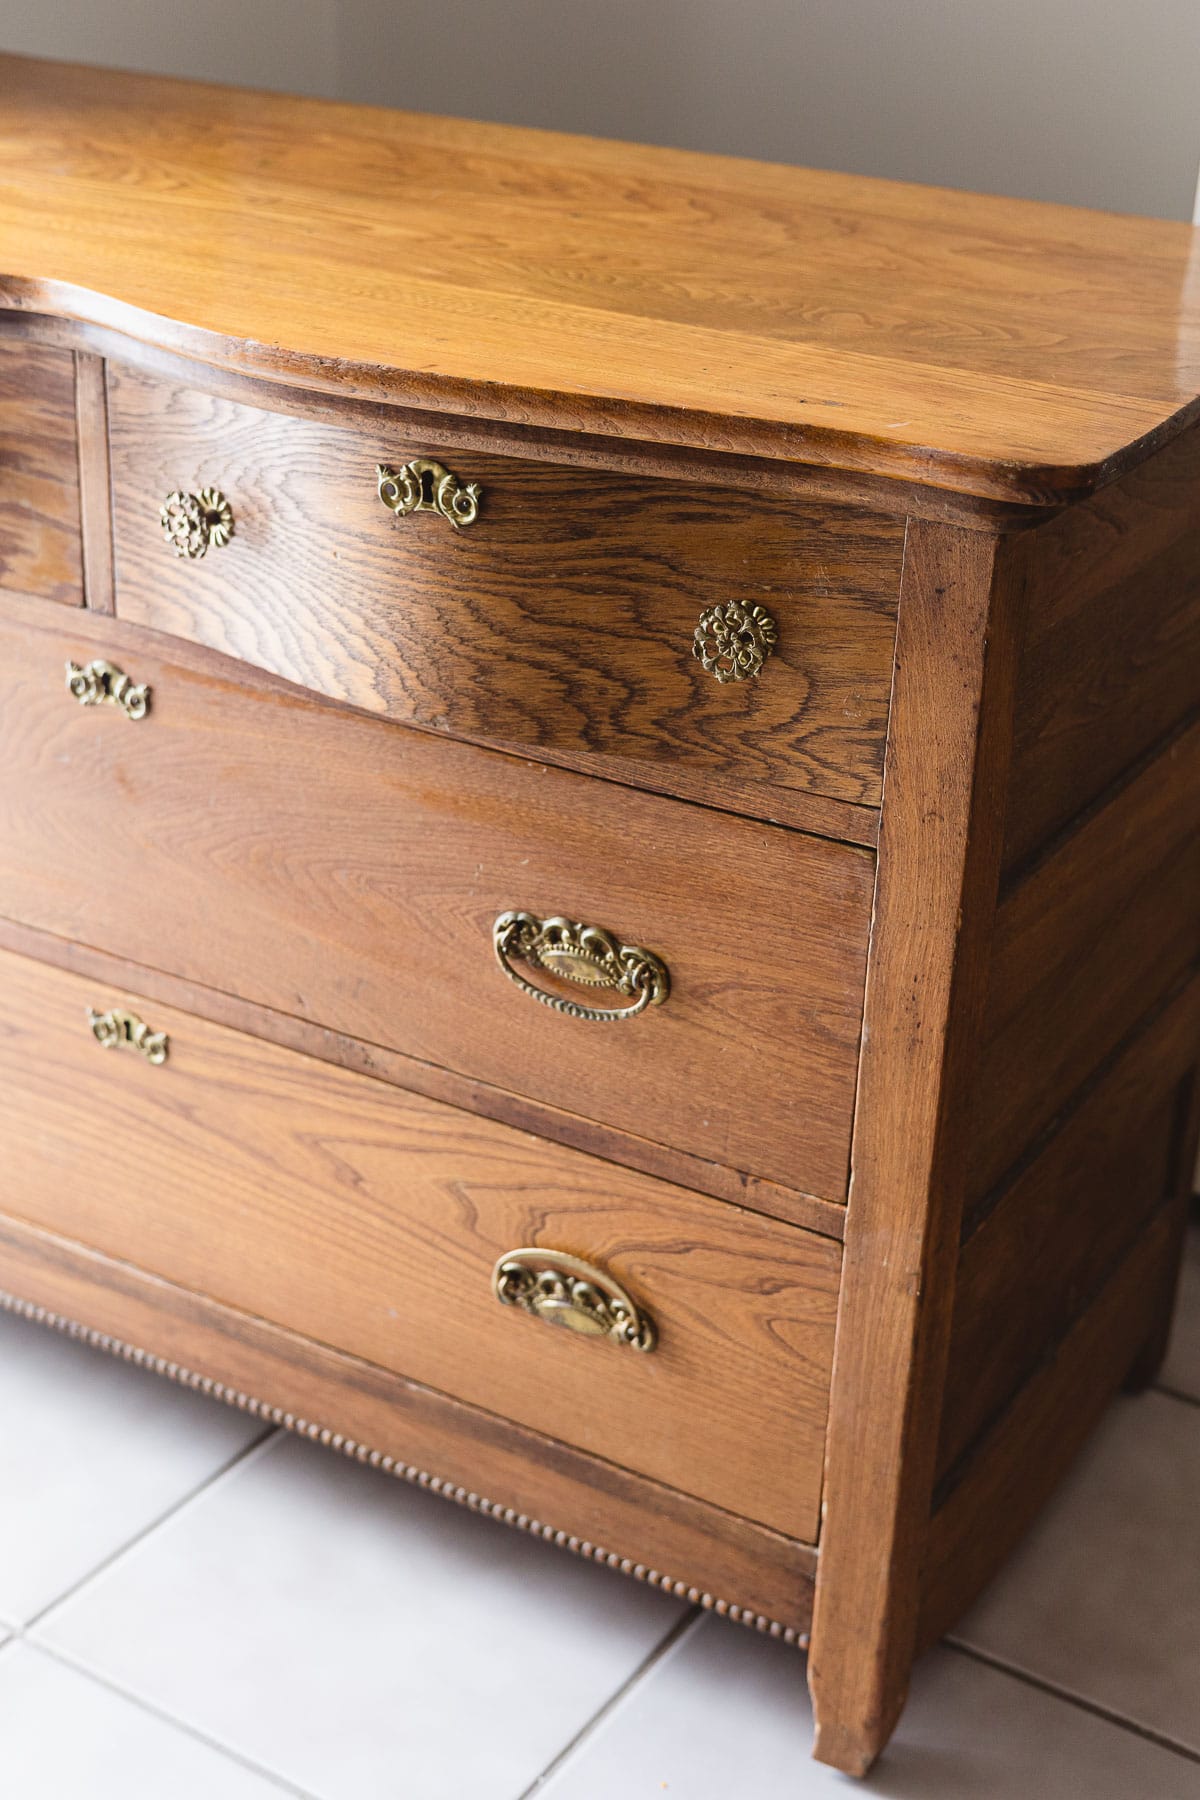
Tips for checking if a piece is solid wood:
- it’s heavy!
- wood grain is apparent on all sides of the piece
- no laminate or particleboard
- check for peeling veneer
Avoid woods that bleed through paint. These include woods like mahogany, cedar, redwood, and knotty pine. In fact, check out my full list of woods to avoid painting.
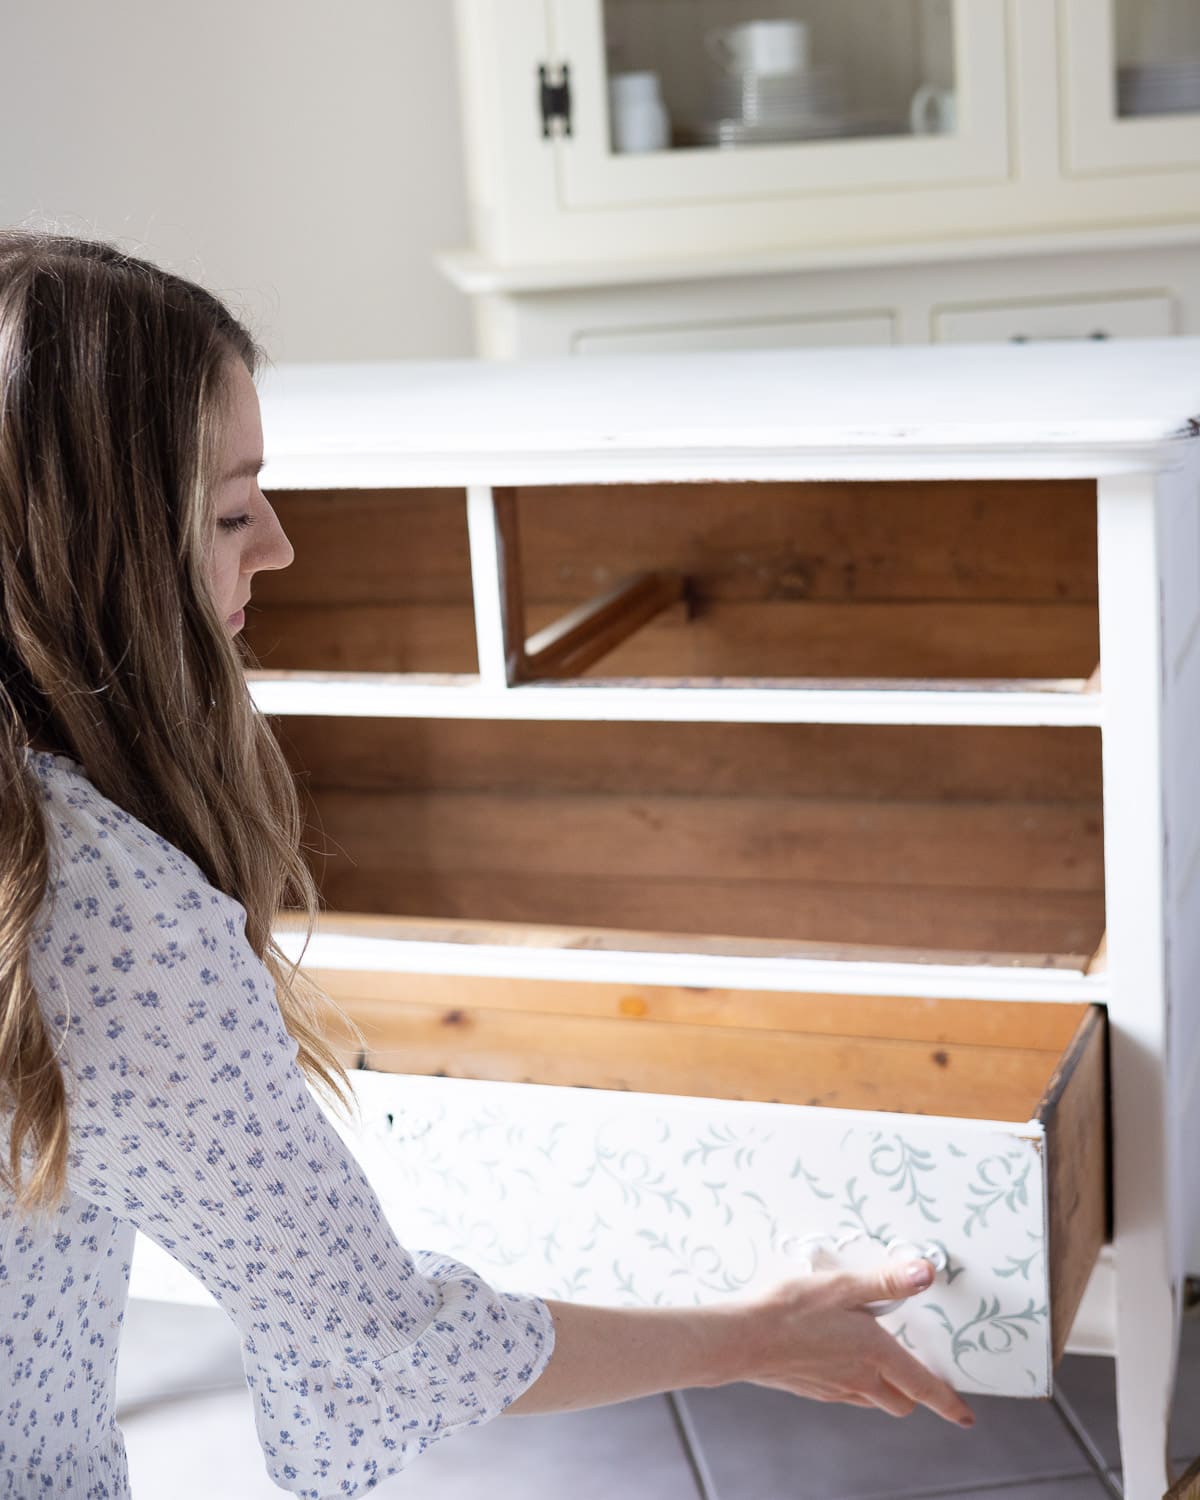
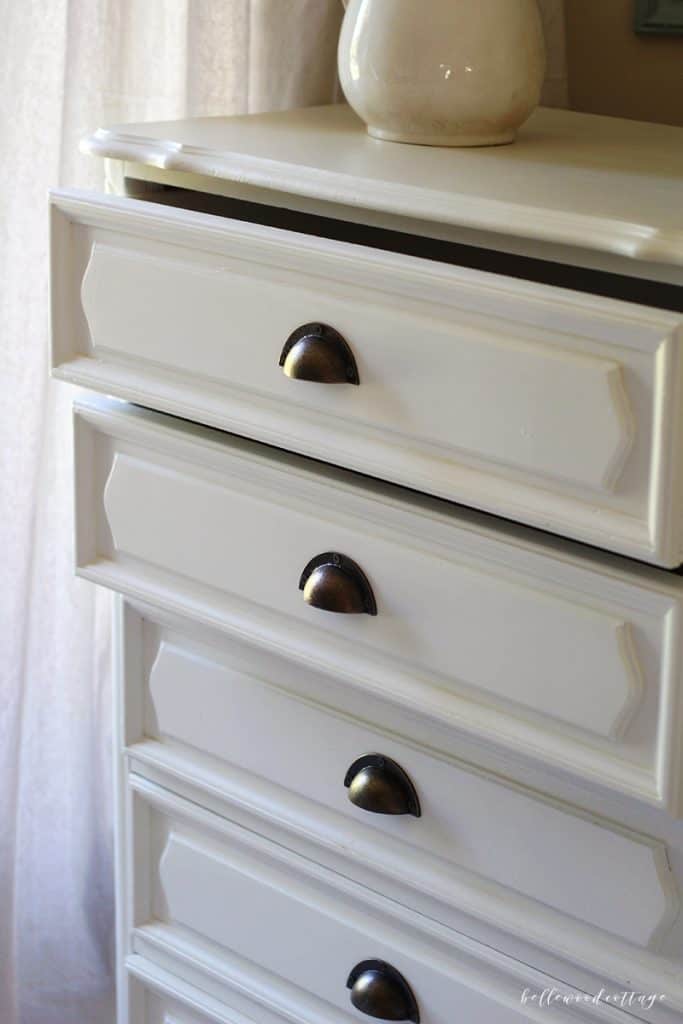
Pro tip: Look for dovetail joints when you are examining a piece of furniture. These joints signal higher quality and a piece that was built to last! You should see these when you pull the drawer of a dresser open for instance. This little detail signals higher quality construction and is a great way to evaluate a piece.
Avoid Glossy or Slick Laminate
High-gloss laminate (think like IKEA-type furniture) can be painted, but it requires extra work and know-how. Usually you are going to need to sand and probably use a strong bonding primer too.
If you want to just chalk paint some pieces for some quick wins, stick with solid wood pieces that accept paint more easily without much prep.
Avoid Signs of Water Damage or Warping
Inspect the furniture closely. Signs of water damage could indicate trouble. Check for bubbling, swelling, soft spots or musty smells. Unless you have carpentry skills and know how to repair the damage, I suggest passing up any piece of furniture with warping.

Quick tip: If you want to replace the hardware, but can’t find anything that fits the piece’s original holes, you can simply spray paint the original hardware. It’s a super quick fix that looks great!
Choose a Sturdy Piece of Furniture
In my early days of painting, I was on the hunt for anything I could paint! The number of rickety end tables I bought at garage sales. Sigh. It was a lot.
Don’t waste your time on pieces you won’t use, but also, don’t waste your time on pieces that won’t hold up to daily use.
I usually avoid the following: wobbly legs, cracked pieces, drawers that don’t open. I actually purchased a dresser that was basically falling apart because I wanted to test some painting techniques, but it is in such bad disrepair that I can’t store much in it.
This is the culprit (isn’t it pretty though?!):

Know What You Are Willing to Fix
You should also understand what it will take to repair pieces with even small issues. Filling scratches, fixing chipped veneer, or replacing hardware will all take more time and money.
If you are looking for budget-friendly furniture to fix up, then calculate the cost of additional materials (like wood filler or hardware) into the final price as well.
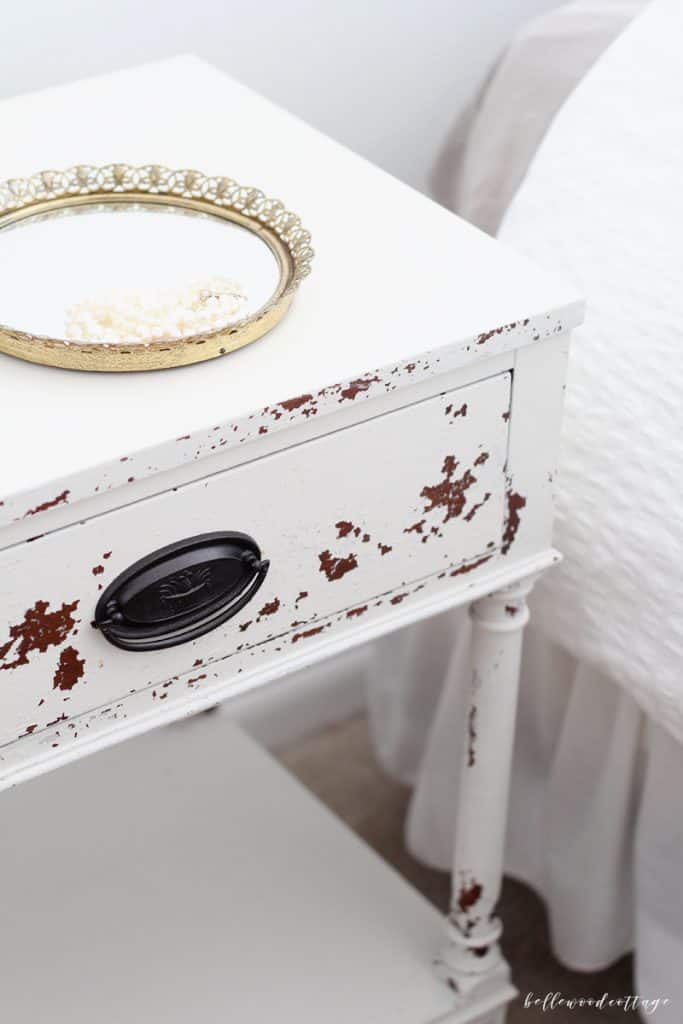
Don’t Forget: Not every scratch or scuff needs to be removed. While you can remove a lot of imperfections with a good wood filler and a sanding block, you can also leave your piece as-is and go for a more rustic distressed look.
Check for Lead
If you’re painting a pre-1978 piece, you need to test it for lead. Pick up some lead test kits and test the furniture before painting. If the piece tests positive for lead, I personally avoid these pieces altogether.
Think Twice Before You Paint an Antique
This can be a tough question!
On one hand, if no one wants the piece or is selling it on Craigslist for cheap, why not paint it? But by the same token, true antiques can’t be replaced. Though you can always strip paint and restore the original stain, the patina of the piece would be gone forever.
I feel that each piece has to be considered on its own merit. Always remembering that trends come and go, but truly classic pieces are always in style.
A current trend is actually sanding away the chalk-painted furniture from the last 10-15 years–so think twice before you paint!
Watch Out for Odors and Mold
Smell before you buy! An odd tip that is pretty useful. Open drawers and cabinet doors and see if a piece has a moldy or musty smell.
There are ways to get rid of or improve the smell (some stain-blocking primers will block smells as well!), but it can be hard to know what will work (or if it will work) for any given piece.
Tip: Avoid pieces that smell like smoke as well. This is hard to remove.
I 100% always will avoid mold spots. Mold spreads, so you don’t want that in your house. Avoid anything that shows signs of mold. Check underneath and around the back of heavy pieces to be sure you don’t miss anything.
Measure Twice, Buy Once
Before buying anything (or even taking home a freebie), measure the space in your home and the piece itself. Looks can be deceiving and you don’t want to spend time and money on a piece that isn’t the right choice for your home.
Pro tip: Keep a tape measure in your car or purse so it’s handy for measuring on the go.
Think Outside the Box
You can remove doors, shelves, etc. from a piece to transform it beyond what paint can do. Maybe a cupboard becomes a bookshelf. Perhaps a crib becomes a couch.
Hardware can be exchanged, and there are plenty of Pinterest hacks to consider. View furniture with a creative lens. At same time, don’t bite off more than you can chew.
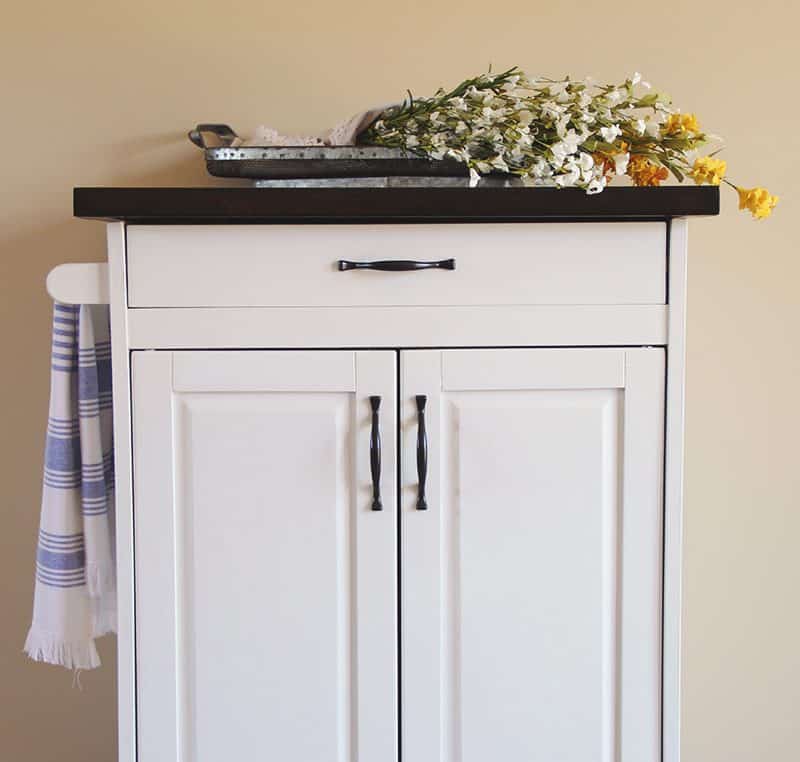
Quick fix: Replacing hardware is one of the easiest swaps to transform a piece (besides paint of course!). Look for hardware that will fit in the existing holes for the simplest swap. Hobby Lobby is one of my favorite places to check for creative hardware.
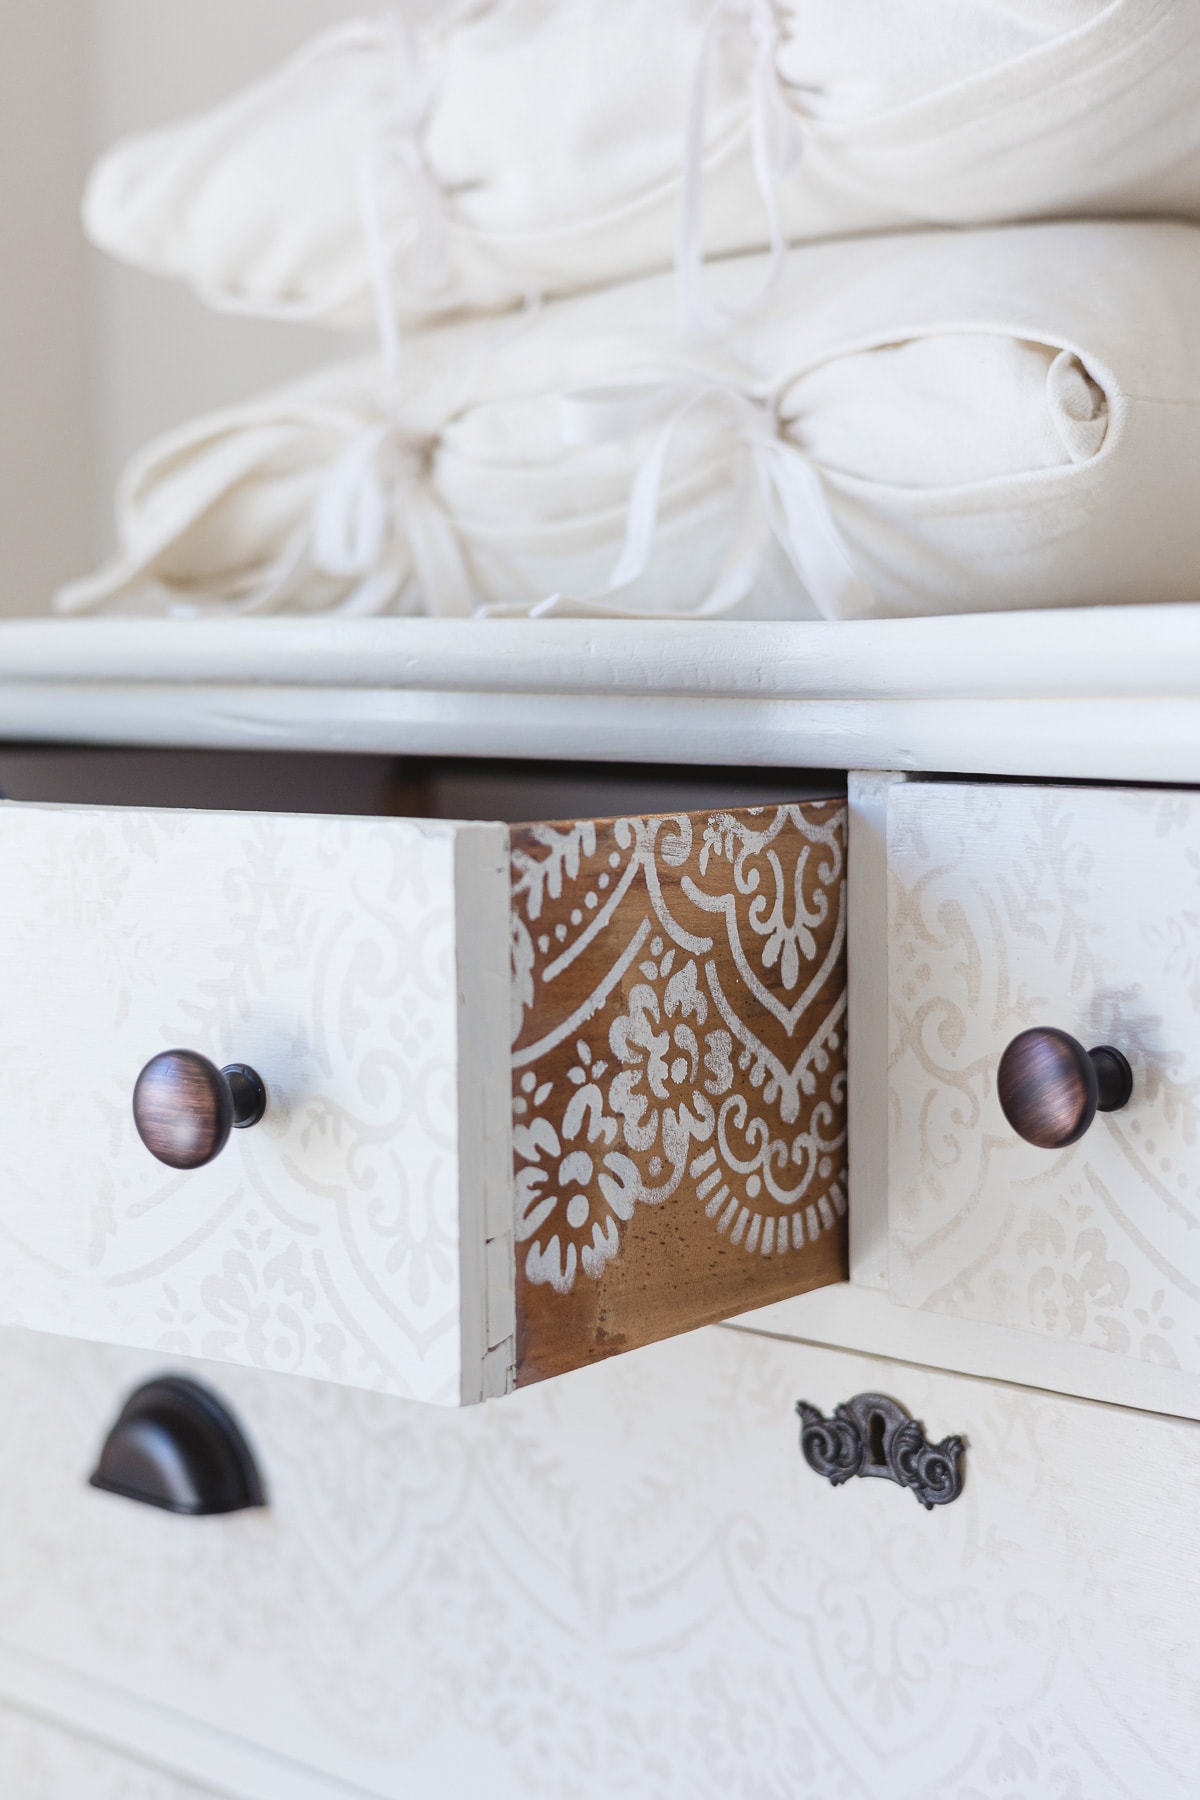
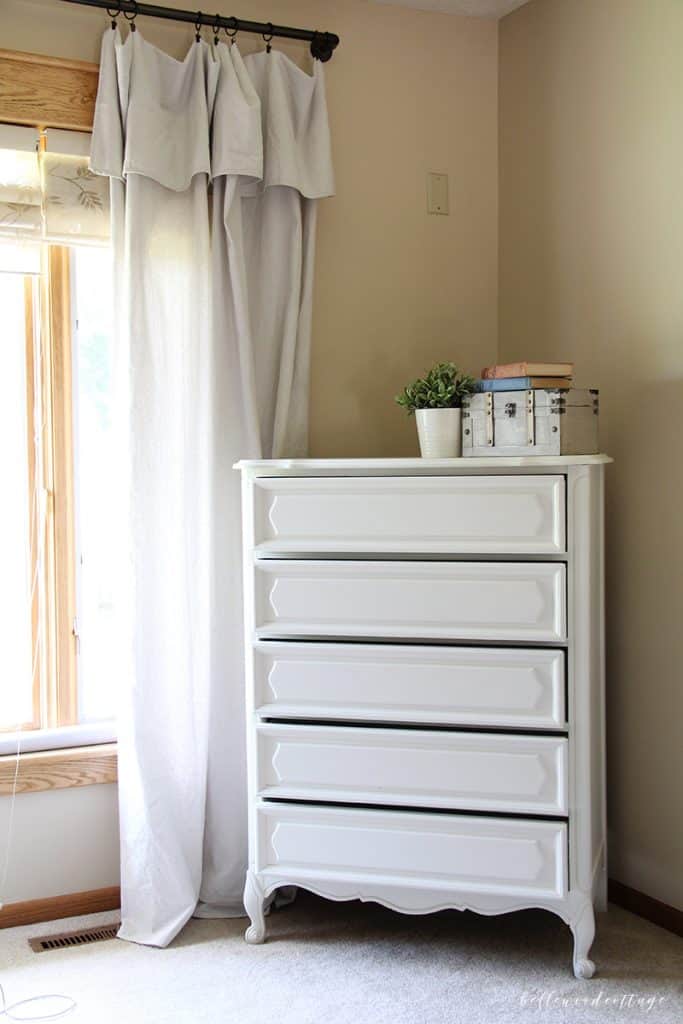
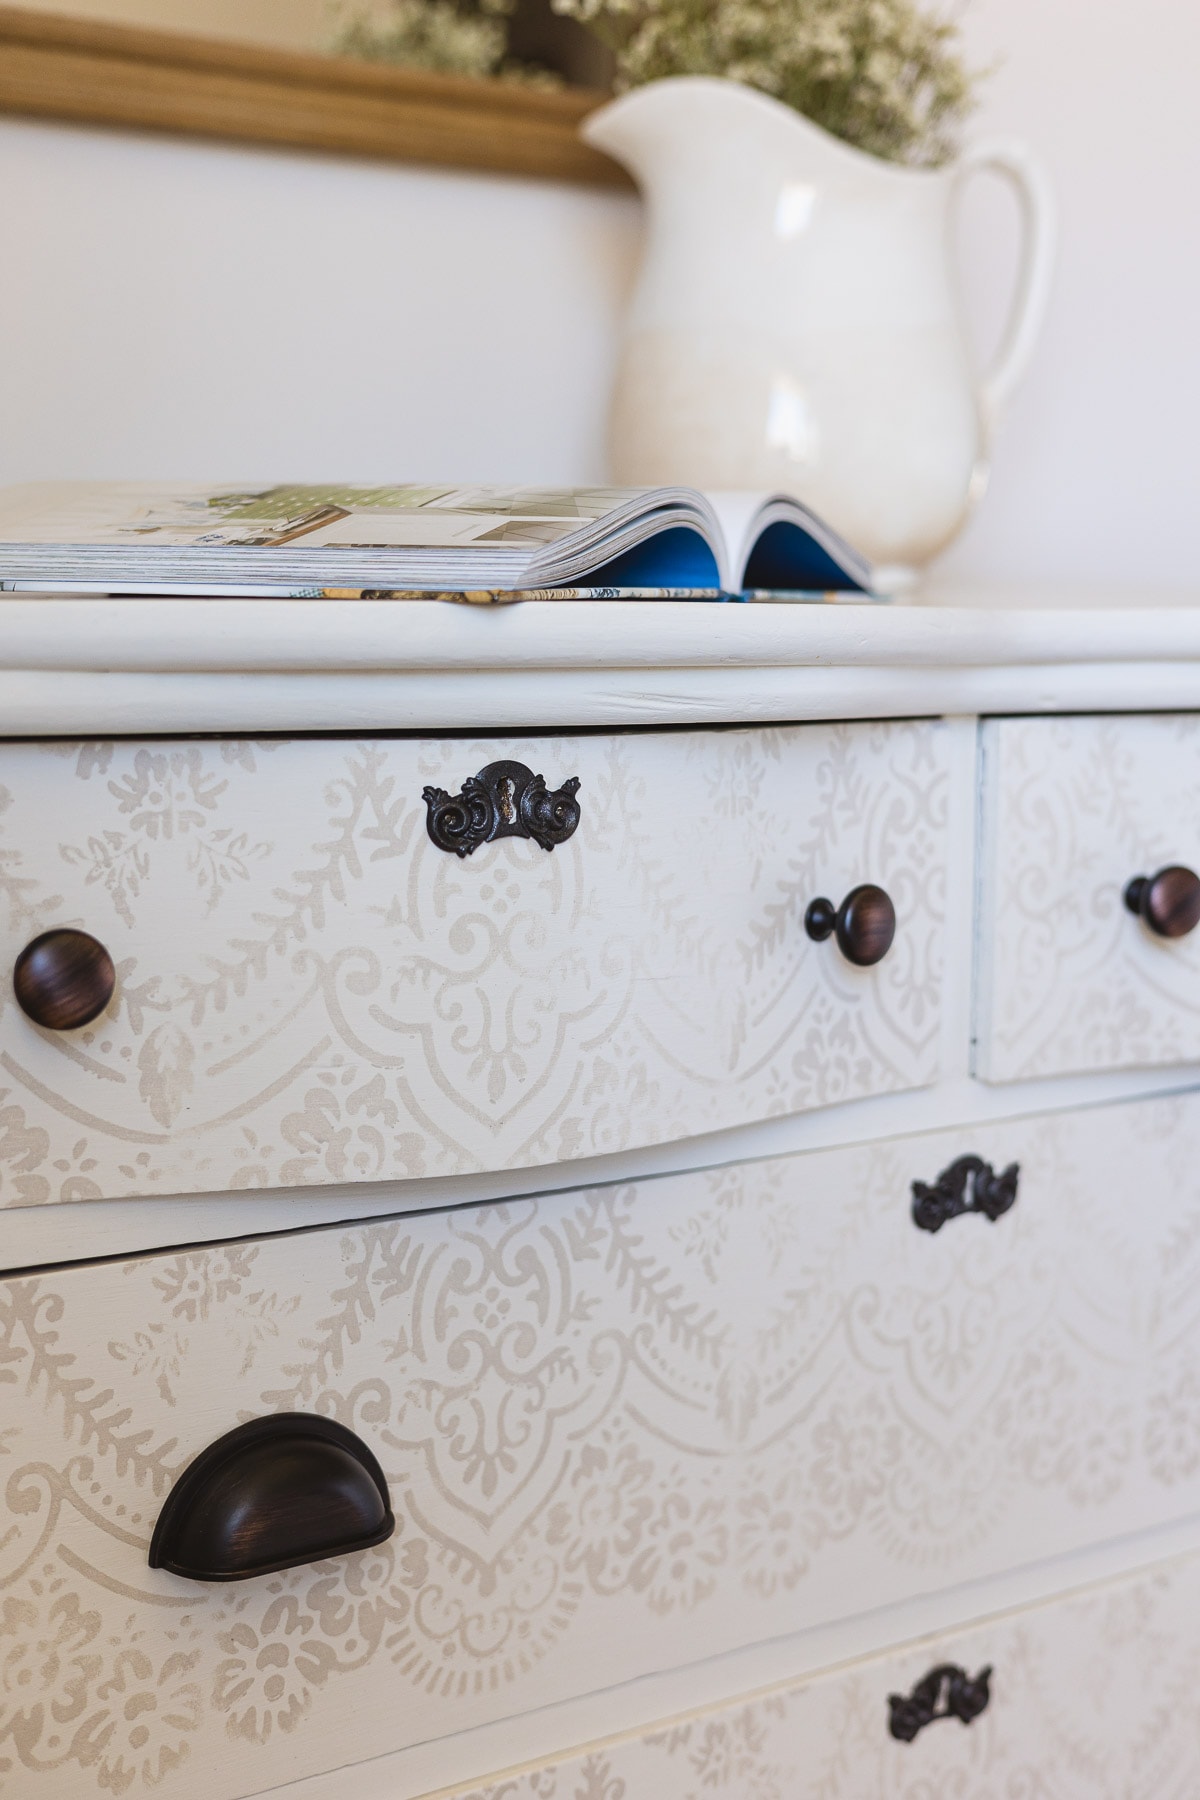
The dresser below was completely transformed with white chalk paint and fresh hardware. I painted this almost 10 years ago now and still love it to this day!

Sometimes Brand-new Furniture Works Too!
While shopping secondhand usually makes the most sense for budget-friendly finds, don’t miss clearance pieces from big retailers like Target or Hobby Lobby. IKEA also has some nice pine pieces that can be painted for a fresh look.
Note: As I mentioned earlier, high-gloss pieces can be tricky to paint, so if shopping new furniture I usually try to avoid these finishes.
This little cart I painted is a hand-me down that is several years old from Walmart. It’s not an heirloom piece, but it’s a sturdy little cart (they probably don’t make them like this anymore!).
It works great for a little extra storage or workspace. Giving it a little chalk paint makeover was a budget-friendly way to brighten up my kitchen!

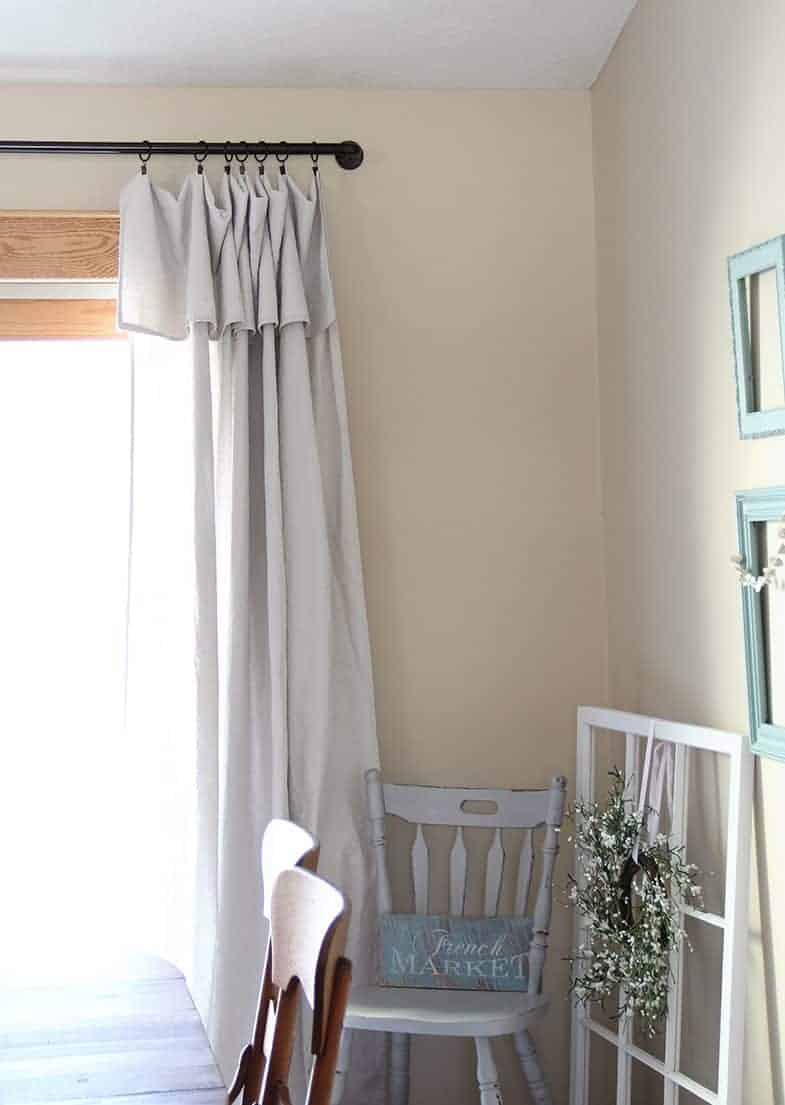
Choose Pieces with Character
If you can, choose a piece with a little extra character. Interesting trim or pretty style lines all increase the appeal of a finished piece.
What Do You Look for When Shopping for Furniture to Flip?
I’m curious if there’s anything you would add to this list! What are your essentials before taking on a piece of furniture to flip? Share with me in the comments!

Weekly Crafting Fun!
Join my list and get a weekly email with relaxing craft ideas, freebies, sewing tutorials, and more!
Weekly Crafting Fun!
Join my list and get a weekly email with relaxing craft ideas, freebies, sewing tutorials, and more!


One Comment