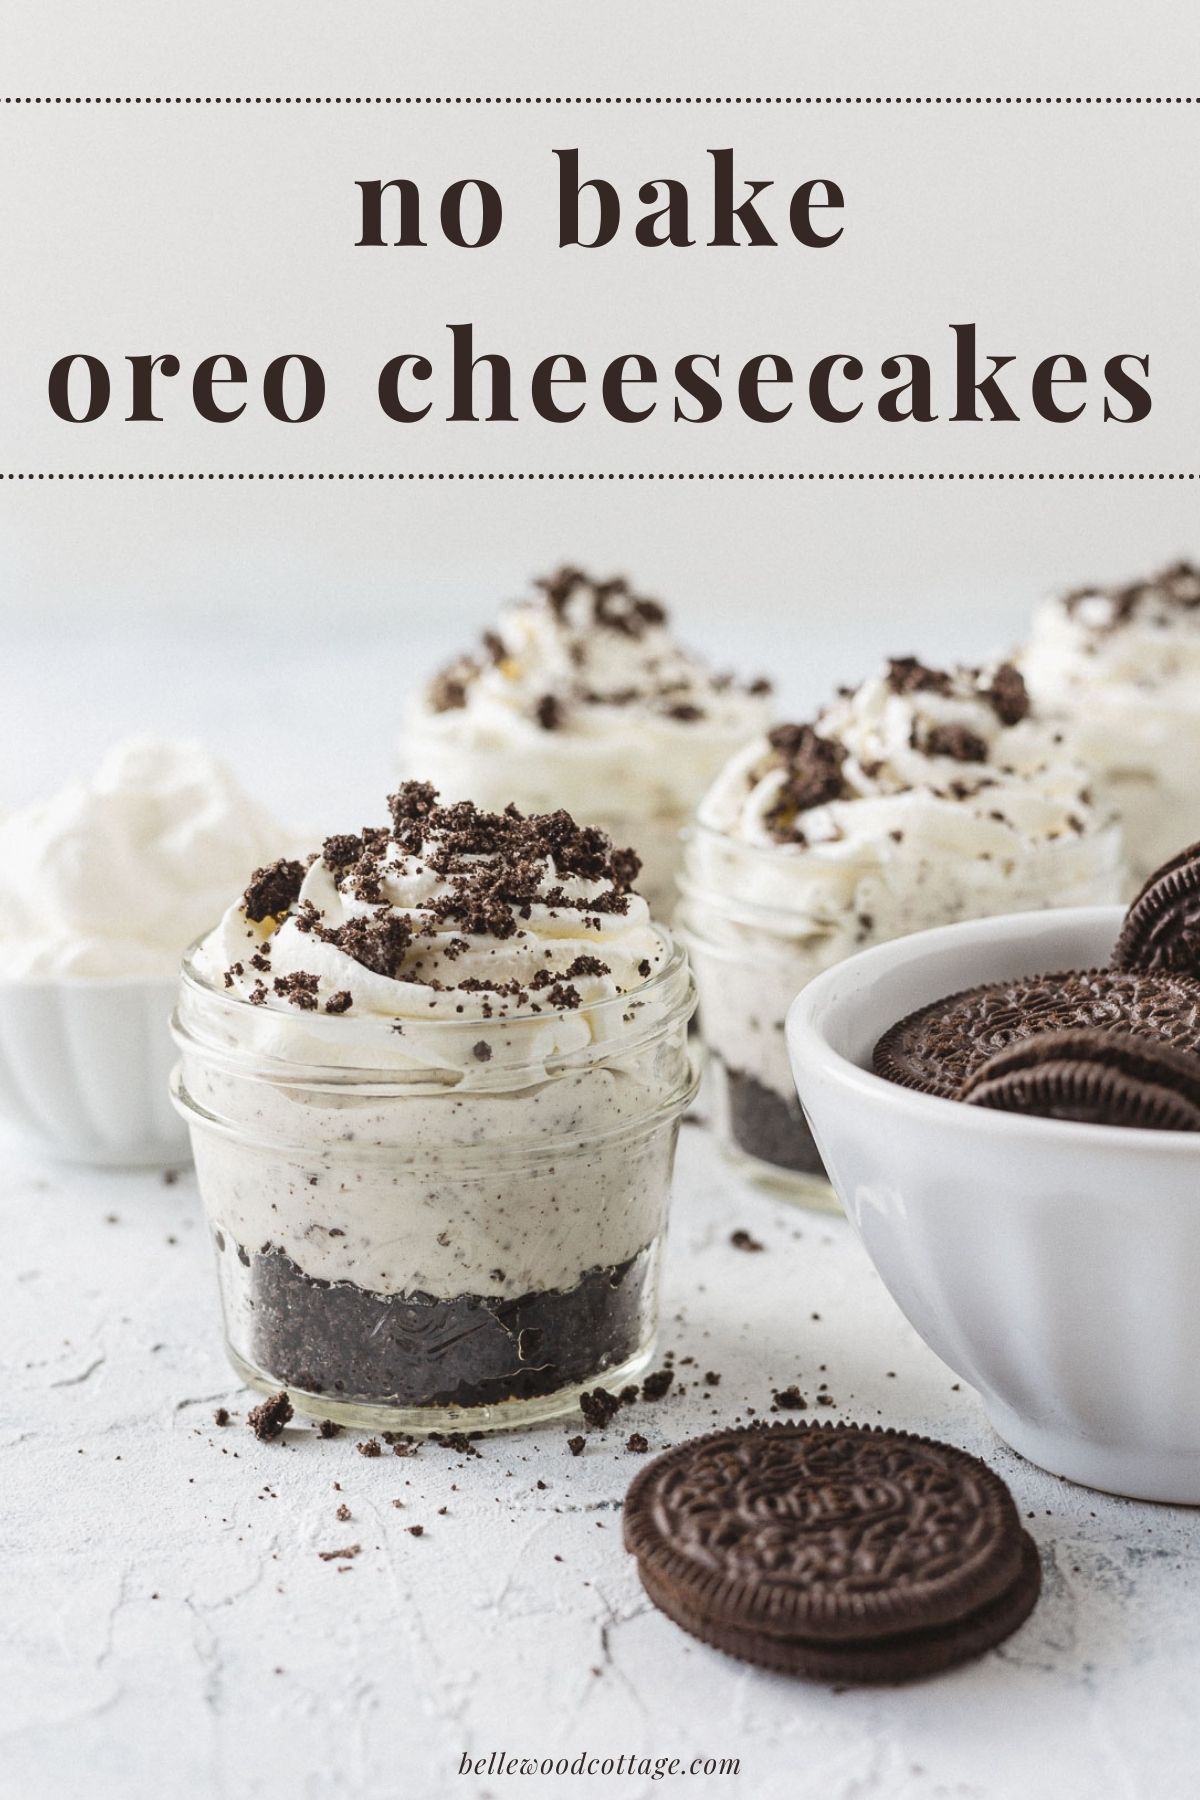
No Bake Oreo Cheesecake in a Jar {easy & cute}
No Bake Oreo Cheesecake Jars are full of cookies-and-cream flavor! An easy, no bake, make-ahead, and totally indulgent mason jar dessert. Learn how to make Oreo cheesecake in a jar with this easy recipe.
Cookies-and-cream is (in my opinion) one of the most irresistible dessert flavors ever. So, of course, I had to make a cookies-and-cream edition to add to my mason jar dessert lineup.
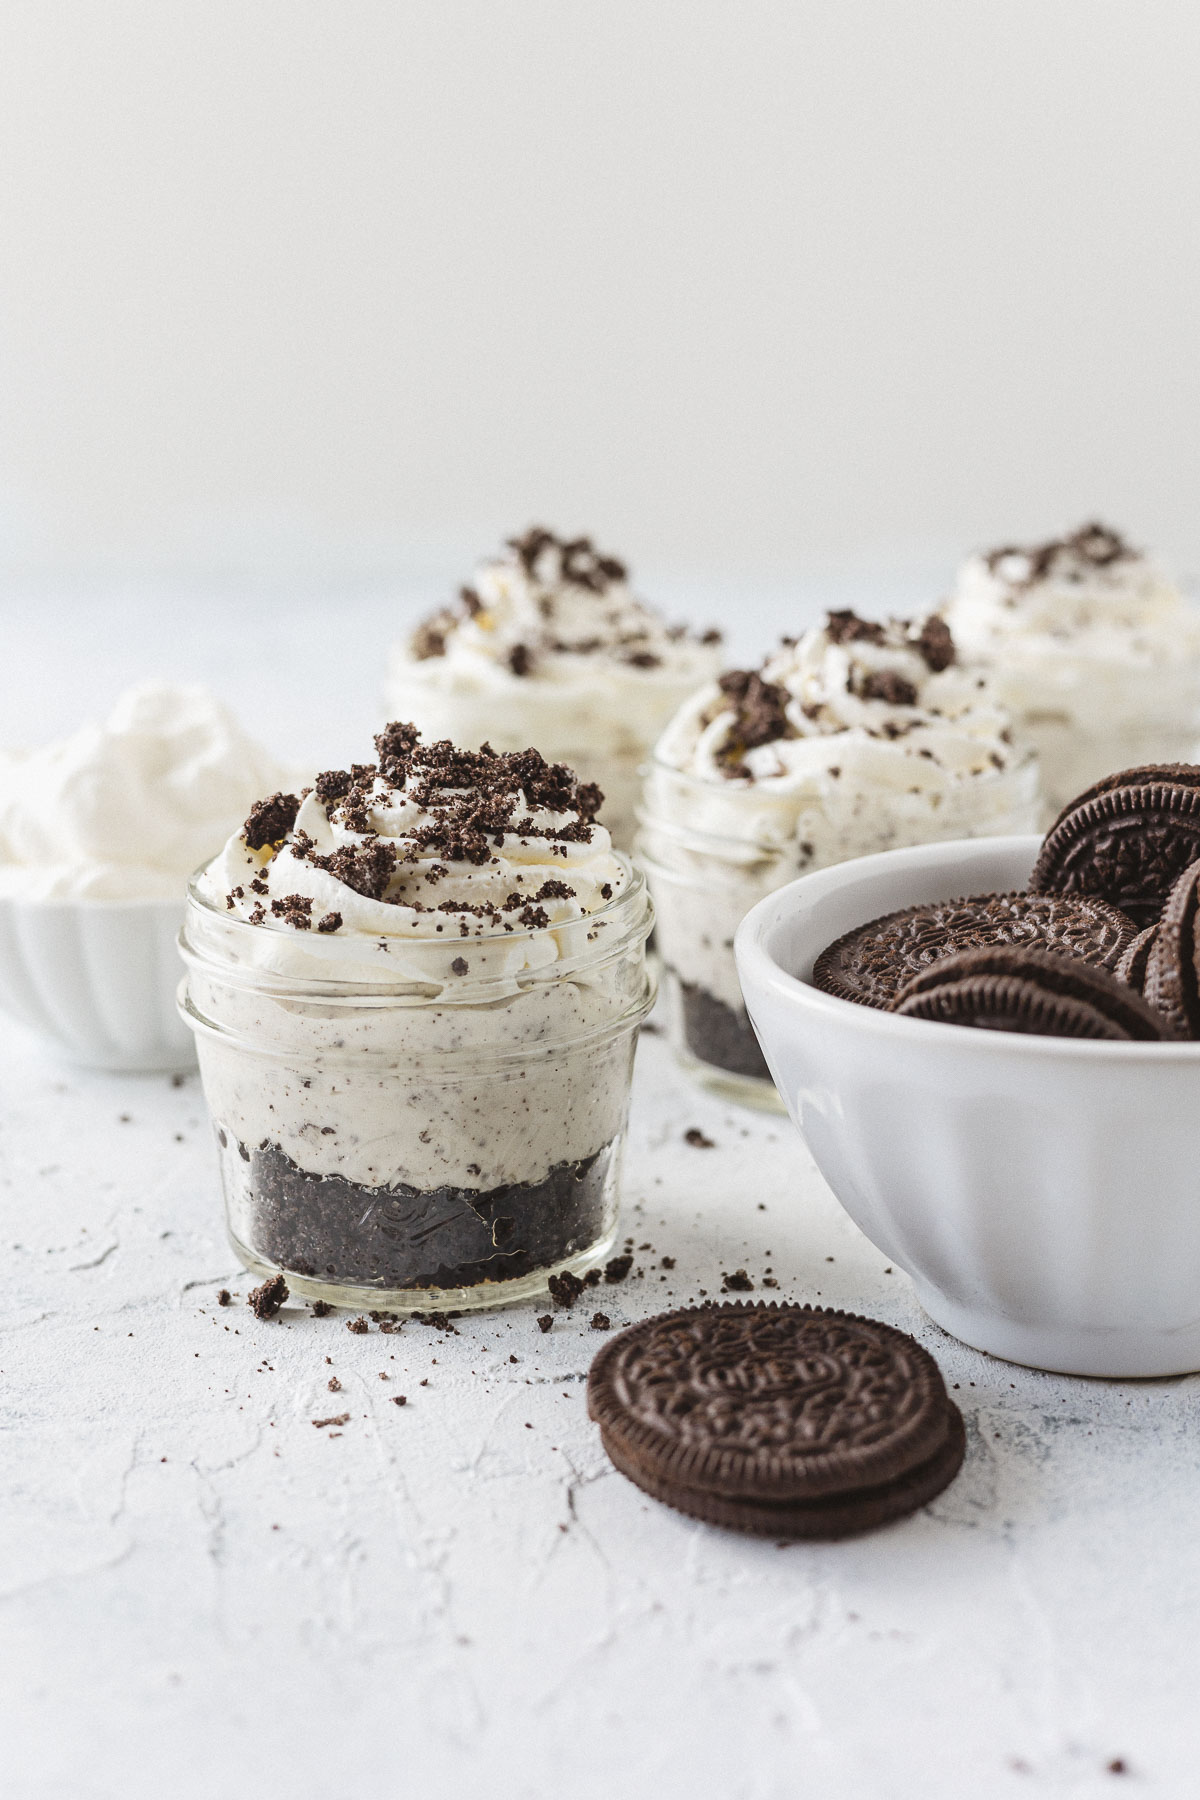
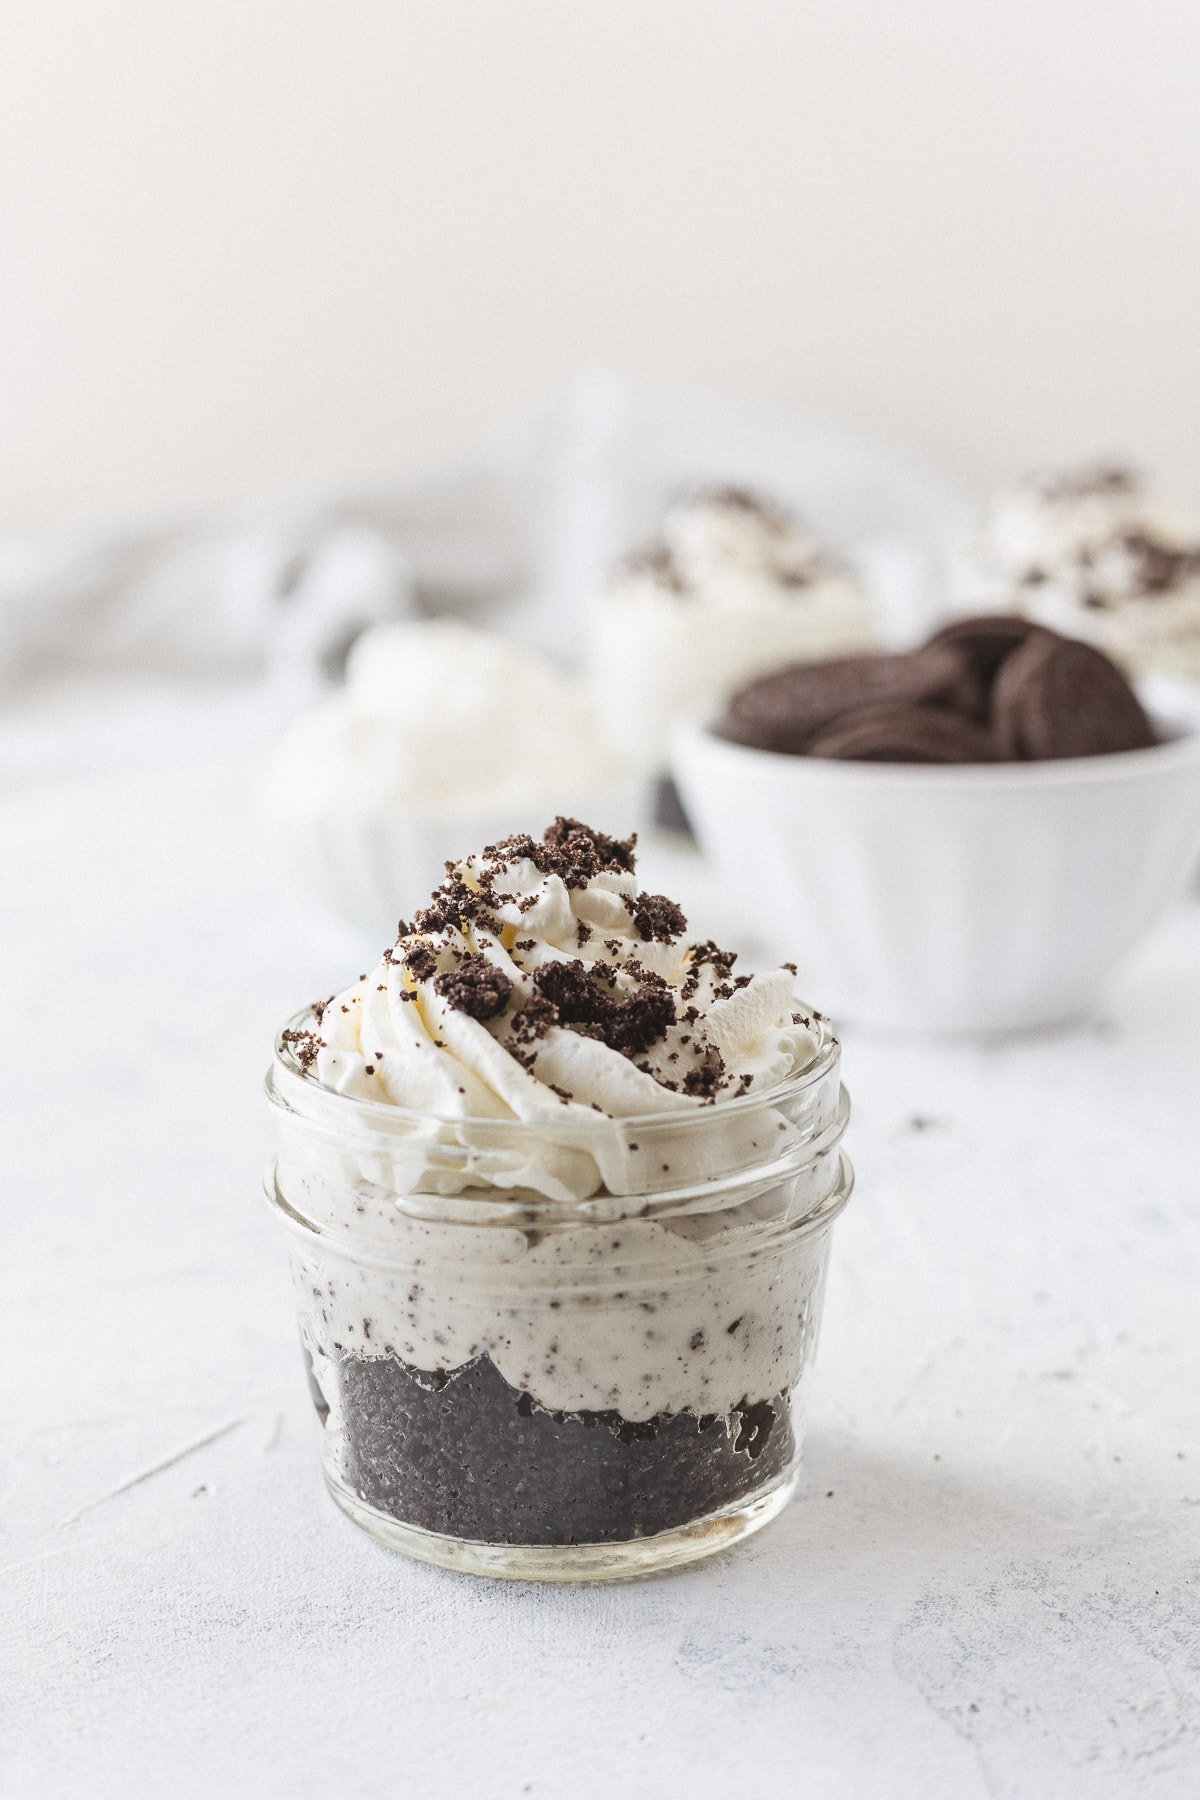
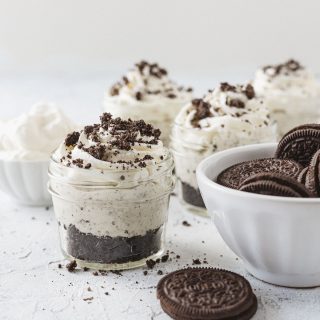
These jars feature an Oreo cookie crust, cookies-and-cream cheesecake filling, and a hefty swirl of homemade whipped cream for an indulgent dessert served individually in (you guessed it) mason jars!
Fellow Crumbl Fans!
Join my list and get a weekly email with fresh Crumbl news, delicious copycat recipes, and more!
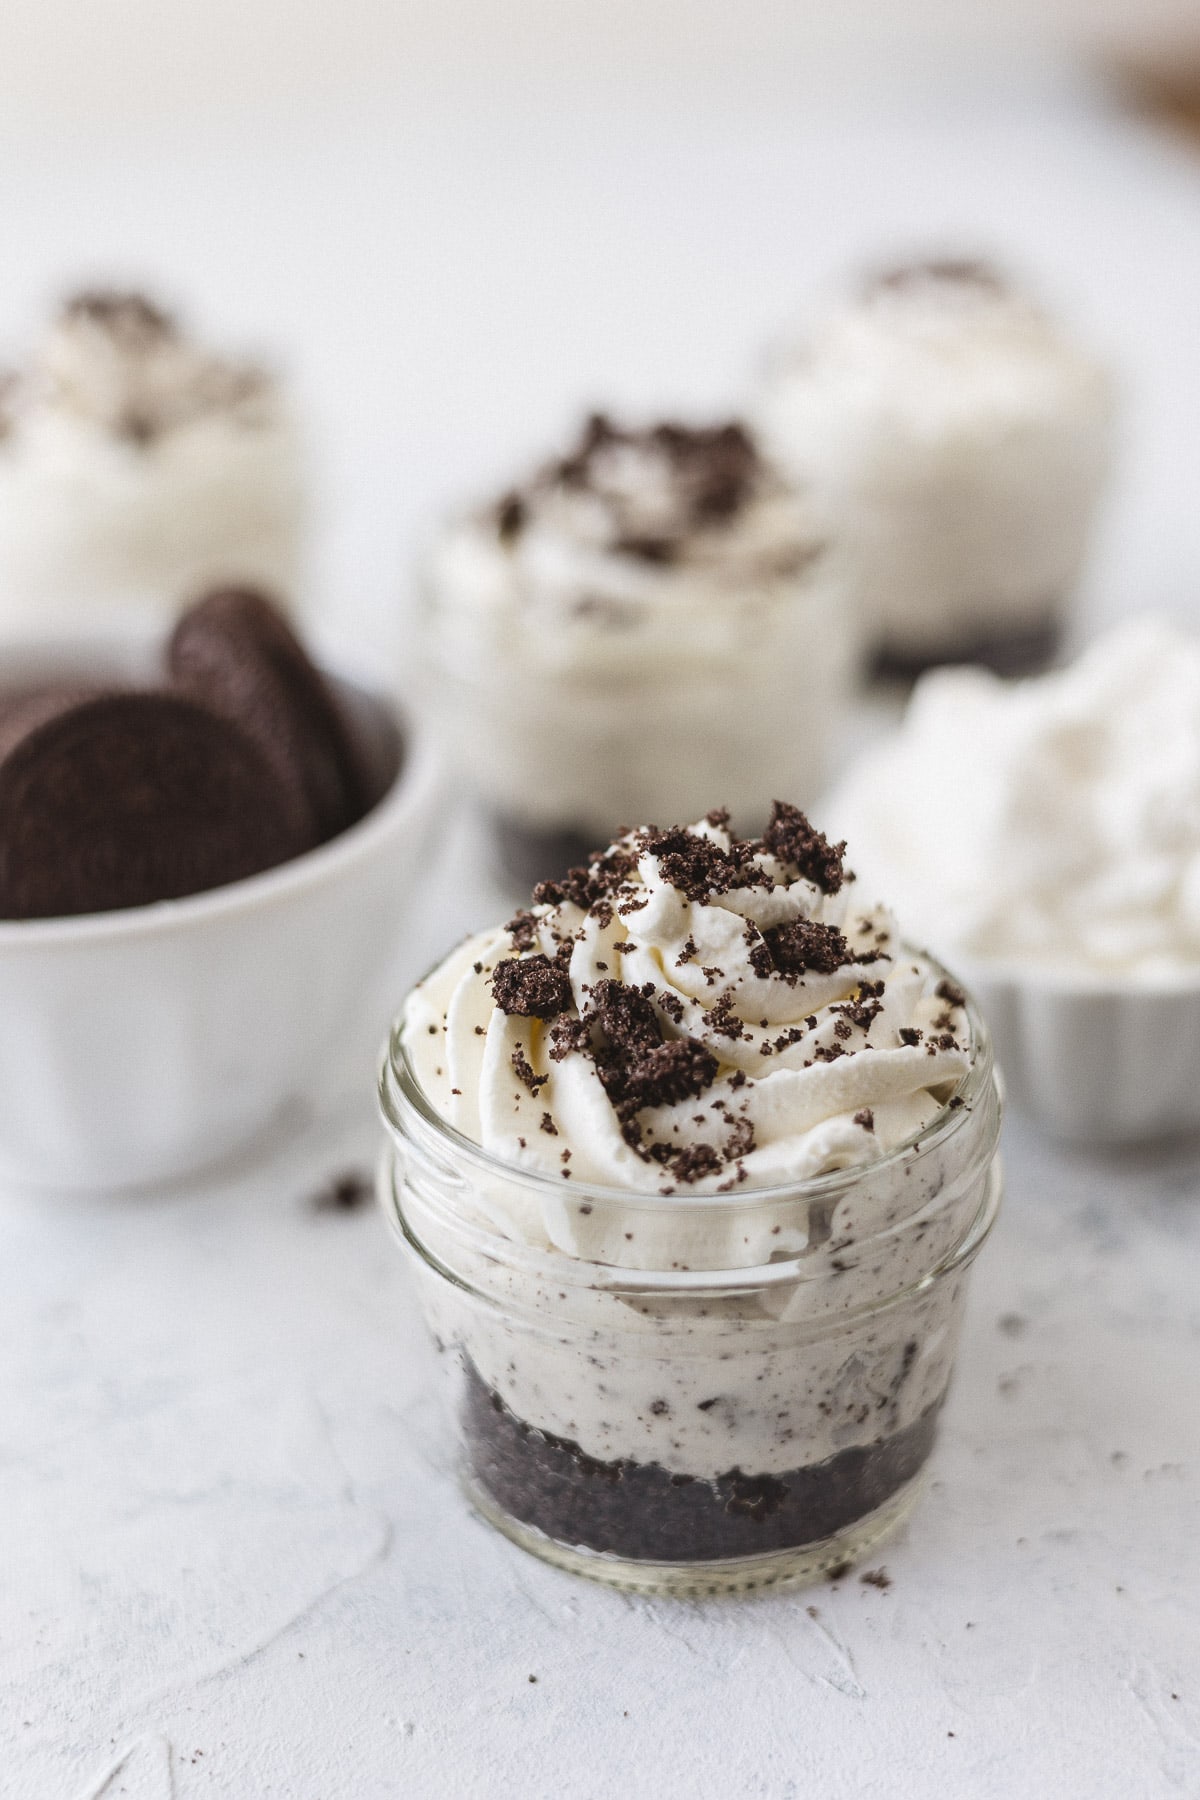
The no bake cheesecake layer is soft and fluffy and perhaps more akin to a mousse than to a standard baked cheesecake. The jars are quick to make and are excellent for parties. The complete effect of these no bake cookies-and-cream cheesecakes with the homemade whipped cream on top is pretty darn irresistible.
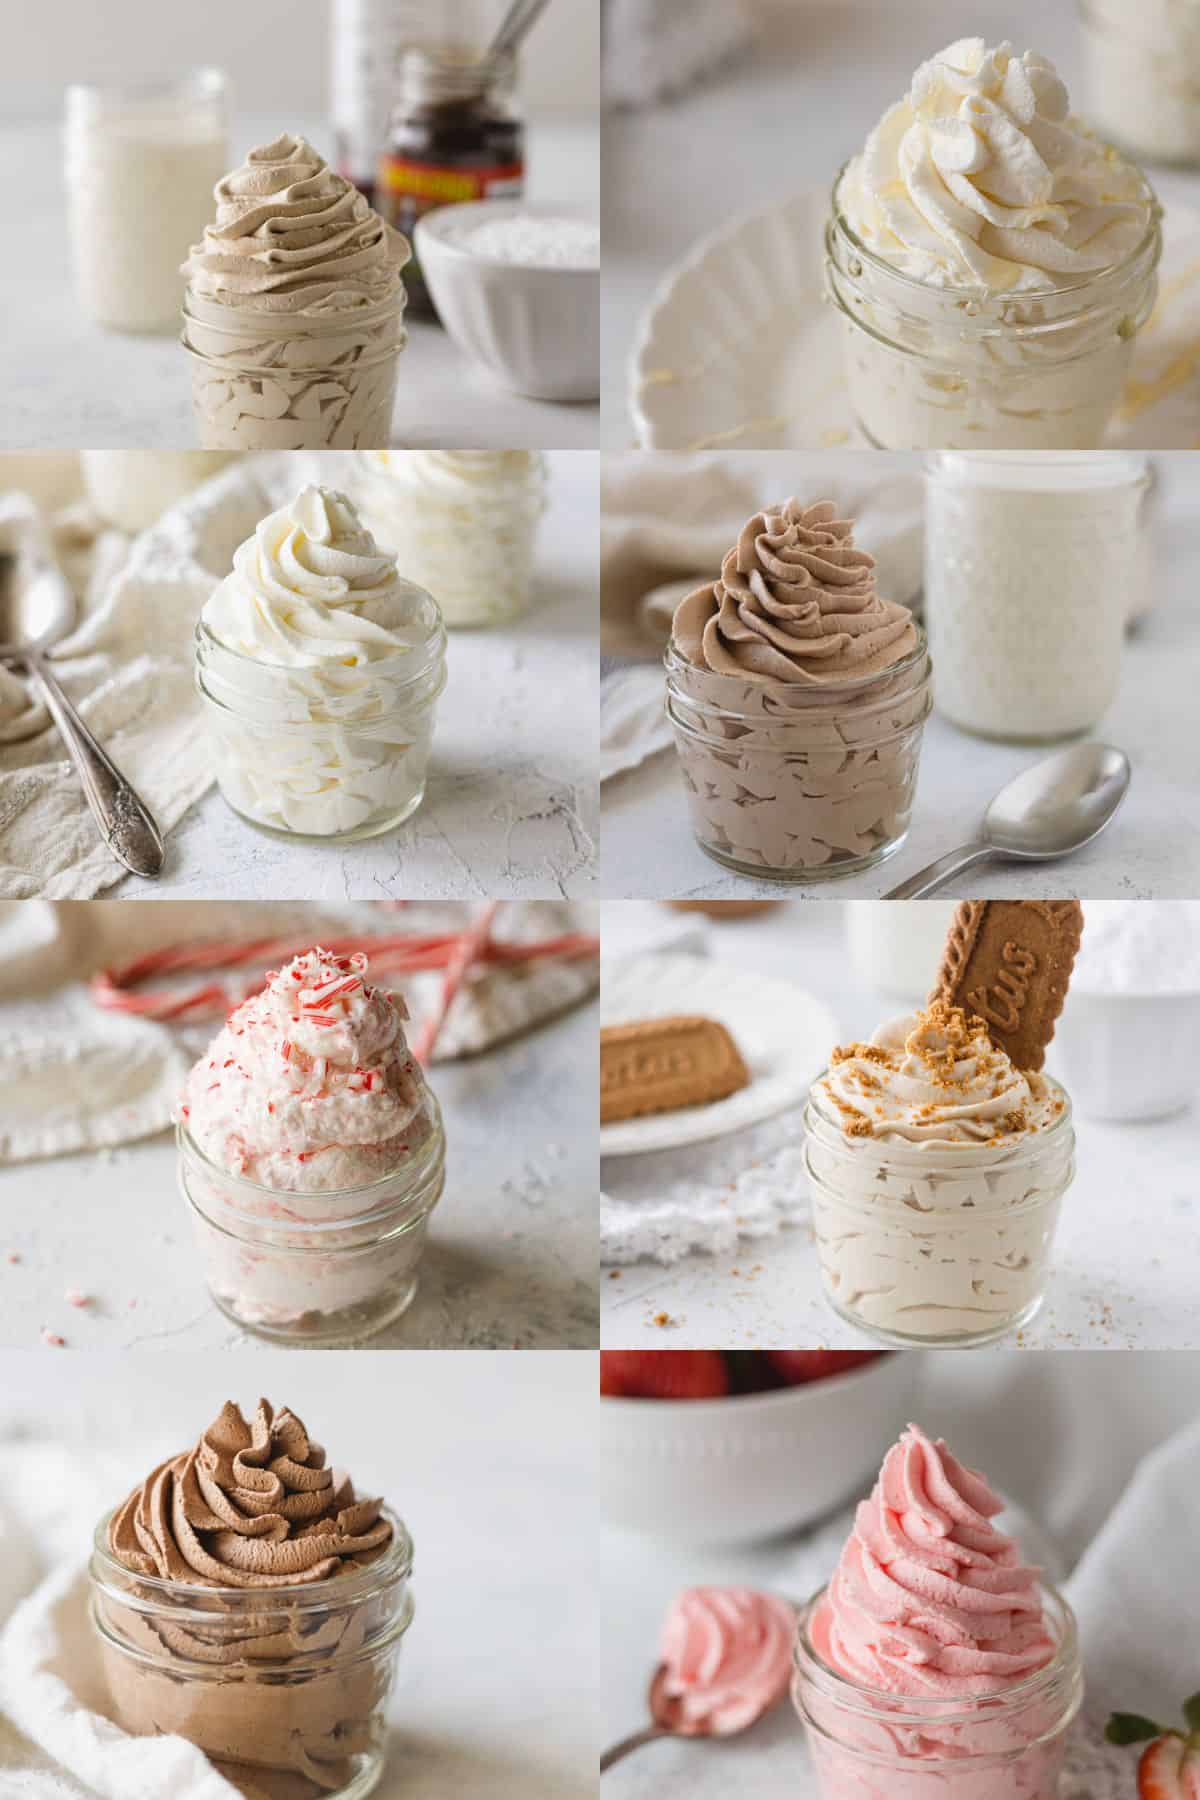
Don’t forget to check out more of my favorite mason jar recipes!
Why You’ll Love No Bake Oreo Cheesecakes in Jars
- Desserts in jars are easy to serve. Instead of cutting cheesecakes while you are trying to enjoy a party or event, just make Oreo Cheesecake in a Jar in advance and the desserts are ready to go when you are.
- You can customize the recipe to larger jars if you like, but I think these 4-oz jars (topped with a heap of whipped cream!) are the ideal portion sizes for a rich dessert.
- You can make mason jar Oreo cheesecakes ahead of time. In fact, the filling is best after it sets for several hours (but if you want to eat them right away I won’t say a word).
- No bake. No water bath. No fuss.
- Easy to travel with. Just top the jars with their lids and then add a garnish of whipped cream and crushed Oreos after you arrive at your destination.
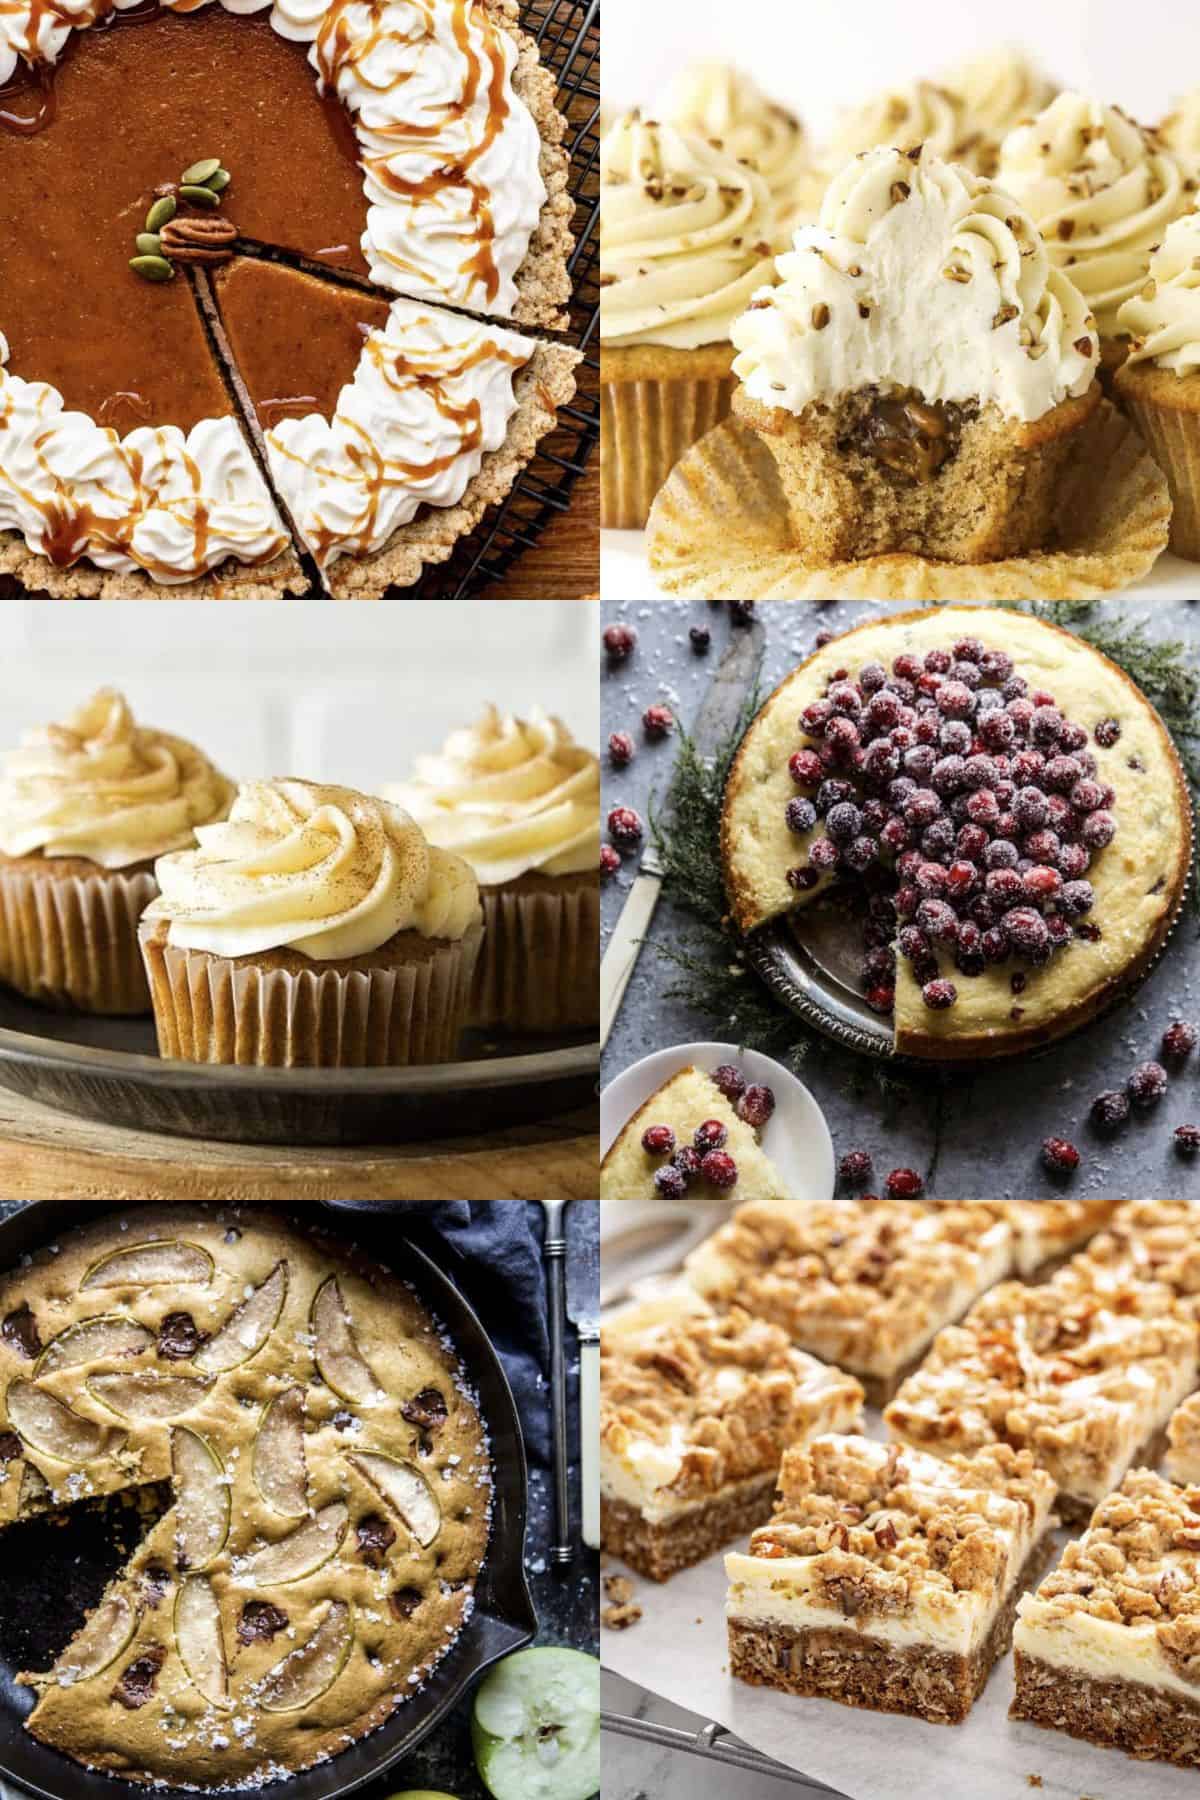
Love mason jar desserts? Check out my roundup of over 35+ mason jar desserts. If you are looking for a more chocolate-y experience, my French Silk Pie Jars are a great choice. If you are looking for a seasonal favorite, try the No Bake Pumpkin Cheesecake Jars. So yum!
The Mason Jars I Use
I used 4 oz mason jars for this dessert. You can find standard and “quilted” style jars which are quite cute.
If you’d like to offer larger servings, you can certainly adapt the recipe for larger jars. Try 6-oz jars (I suggest increasing the recipe 1.5x) or 8-oz jars (I suggest increasing the recipe 2x). For the larger jars, you might prefer layering the crust and filling into four layers total (crust, filling, crust, filling) to avoid a huge layer of crust in the bottom of the jars.
My no bake cookies-and-cream cheesecake works best served individually in mason jars or ramekins. The filling is soft so I would find cutting it (if in a pie plate or similar) a bit on the messy/frustrating side.
Ingredients You’ll Need:
Ready to start making Oreo Cheesecake in a Jar? Here are the ingredients you’ll want to gather!
Chocolate sandwich cookies: You’ll need 22 chocolate sandwich cookies (aka, Oreos) for these no bake cheesecakes. If you’d like additional cookies for a garnish (I like to crush a few and use the crumbles), be sure to have some extras. A standard-size pack of Oreos contains 39 cookies so you will still have a few to munch on.
Sugar: Just regular granulated sugar.
Unsalted butter, melted: You can melt the butter in the microwave using 10-15 second intervals. Watch for butter explosions!
Cream Cheese: I always prefer to use full-fat cream cheese. This is also where I prefer using a high-quality name brand cream cheese, not generic. With a no bake recipe like this, the flavor of each ingredient will really stand out.
Vanilla Extract: I add a bit of vanilla extract to both the filling and the homemade whipped cream.
Pinch of salt: Use regular table salt here–just a pinch.
Thawed Frozen Whipped Topping: Yes, the stuff that goes by “Cool Whip”. Thaw it in the fridge ahead of time and don’t be tempted to thaw on the counter–it’ll turn into soup!
Whipped Cream or Frozen Whipped Topping: You can follow the recipe to make your own homemade whipped cream to top these mason jar desserts (it’s easy!), OR go the quicker route and use thawed frozen whipped topping (Cool Whip).
Substitution Notes
To omit the Cool Whip: Instead of the frozen whipped topping (aka Cool Whip) I’ve also used 1/2 cup of heavy cream (not whipped) in the cheesecake filling. When I add the heavy cream to the cheesecake mixture, I continue to whip the mixture for 3-4 minutes to aerate (versus folding the Cool Whip in). This does create a bit looser filling, but it’s an option if you want to skip the Cool Whip.
You could also use homemade whipped cream and fold it in just like the Cool Whip.
To omit the whipped cream: If you’d rather not bother with whipping fresh whipped cream, just use more Cool Whip for the topping. Thaw the container in the fridge in advance (I think it takes about four hours for an average size container) and top the mason jar cheesecakes before serving.
How to Make No Bake Oreo Cheesecake Jars
The recipe starts with a simple no bake Oreo cookie crust. Crushed Oreos, sugar, and melted butter are mixed together and divided among the 4-oz mason jars. One tip is to avoid packing down the crust. Leaving the crust loosely packed makes these mini desserts easier to eat.
Next up is the cheesecake layer. Softened cream cheese, sugar, vanilla extract, and a pinch of salt are beaten together with a hand mixer. Finally, a small amount of thawed Cool Whip is folded in for extra volume and fluff.
Fold in 10 crushed chocolate sandwich cookies (add a few more if you like lots of cookie pieces!) and layer the filling into the mason jars. At this point, you’ll need to chill the jars for 6-12 hours or until set. You can also indulge right away, but the filling will be quite soft.
To serve the desserts, top with homemade whipped cream and a sprinkle of crushed cookies. Oh so good.

Traveling with the Desserts
Traveling with these mason jar cheesecakes? Make it easy by putting the mason jar lids onto the jars after filling them with the cheesecake filling. Bring your whipped cream in a piping bag fitted with a large star tip (set it in a glass measuring cup or a small pitcher for easy transport) and add the whipped cream when you arrive at your destination. So easy for parties, baby showers, and more!
If you loved this recipe, leave a 5-star rating! I would so appreciate it!
No Bake Oreo Cheesecake Jars
Ingredients
Chocolate Cookie Crust:
- 12 chocolate sandwich cookies
- 1 tablespoon sugar
- 2 tablespoons unsalted butter melted
Oreo Cheesecake Layer:
- 6 oz cream cheese
- 1/2 cup sugar
- 1/2 teaspoon vanilla extract
- pinch of salt
- 1/2 cup frozen whipped topping (cool whip) (thawed in fridge until soft)
- 10 chocolate sandwich cookies crushed
Whipped Cream:
- 1 cup heavy whipping cream
- 2 tablespoons sugar
- 1/4 teaspoon vanilla extract
- additional Oreos, mini Oreos, crumbled cookies, or mini chocolate chips for a garnish
Instructions
Chocolate Cookie Crust:
- Use eight 4-oz mason jars (or similar size jars) for this recipe.
- Crush 12 chocolate sandwich cookies in a gallon-size zip top bag (closed) with a rolling pin until they are crushed to fine crumbs. Alternatively, use a food processor. Pour crumbs in a bowl and mix with 1 tablespoon of sugar and 2 tablespoons of melted butter until thoroughly combined.
- Divide the crust among each of the jars evenly. I gently wiggle each jar to flatten the crust, but avoid packing it down since that makes the desserts hard to eat later.
Oreo Cheesecake Layer:
- Soften the cream cheese in a medium microwave-safe bowl by microwaving in 10-15 second increments. Stir in-between intervals. When the cream cheese is very soft, (but not hot) use a hand mixer to beat in 1/2 cup sugar, ½ tsp vanilla extract, and a pinch of salt.
- Beat the mixture until the sugar is completely incorporated and smooth, about 1-2 minutes.
- Use a spatula to carefully fold in the thawed cool whip until combined.
- Crush 10 chocolate sandwich cookies roughly (you can do this with your fingers or use a zip-top bag + rolling pin again) and fold into the cheesecake batter with a spatula. Use a few more Oreos if you like lots of cookie pieces.
- Spoon the filling into 8 jars, dividing it equally. To smooth, use a spoon held against the top of the filling while you spin the jar with the opposite hand.
- Refrigerate jars for 6-12 hours to set. Technically you can dig in right away (though the filling will still be quite soft from the cream cheese), so feel free to do that if you prefer. Jars at this stage can be stored in the fridge for a few days before topping as desired.
Whipped Cream:
- When ready to serve, prepare the whipped cream. With a hand mixer, wire whisk attachment, and bowl (or use a stand mixer), combine 1 cup of heavy cream, 2 tablespoons sugar, and 1/4 tsp of vanilla extract. Beat until the cream starts to form soft peaks and then beat a bit more until the whipped cream is just beginning to form stiff peaks.
- Spoon the whipped cream evenly over each dessert (or pipe it with a piping bag and large star tip) and sprinkle with desired garnish (crushed Oreos or mini chocolate chips are great) and serve.
Notes
- Without the whipped cream layer, these no bake cheesecakes can be stored in the fridge for a few days (up to 3-4).
- I’ve also stored them *with* the whipped cream layer and while they make great movie night snacking, you’ll have the best flavor and appearance if you add the whipped cream before serving.
- As noted, jars are ready to eat immediately, but the filling will set up over 6-12 hours in the fridge.
- I find that I can prepare the whipped cream a few hours in advance if needed and pipe or spoon onto the desserts directly before serving.
- If you prefer, use more Cool Whip to top the desserts instead of whipping the fresh whipped cream.
More Treats to Try
- 35+ Best Mason Jar Desserts – The Ultimate Roundup!
- No Bake Pumpkin Cheesecake Mason Jars
- Baby Yoda Mason Jar Pistachio Desserts
- Egg-Free French Silk Pie Recipe
- No Bake French Silk Pie Mason Jar Desserts
Fellow Crumbl Fans!
Join my list and get a weekly email with fresh Crumbl news, delicious copycat recipes, and more!