How to Make a Milkshake Without a Blender
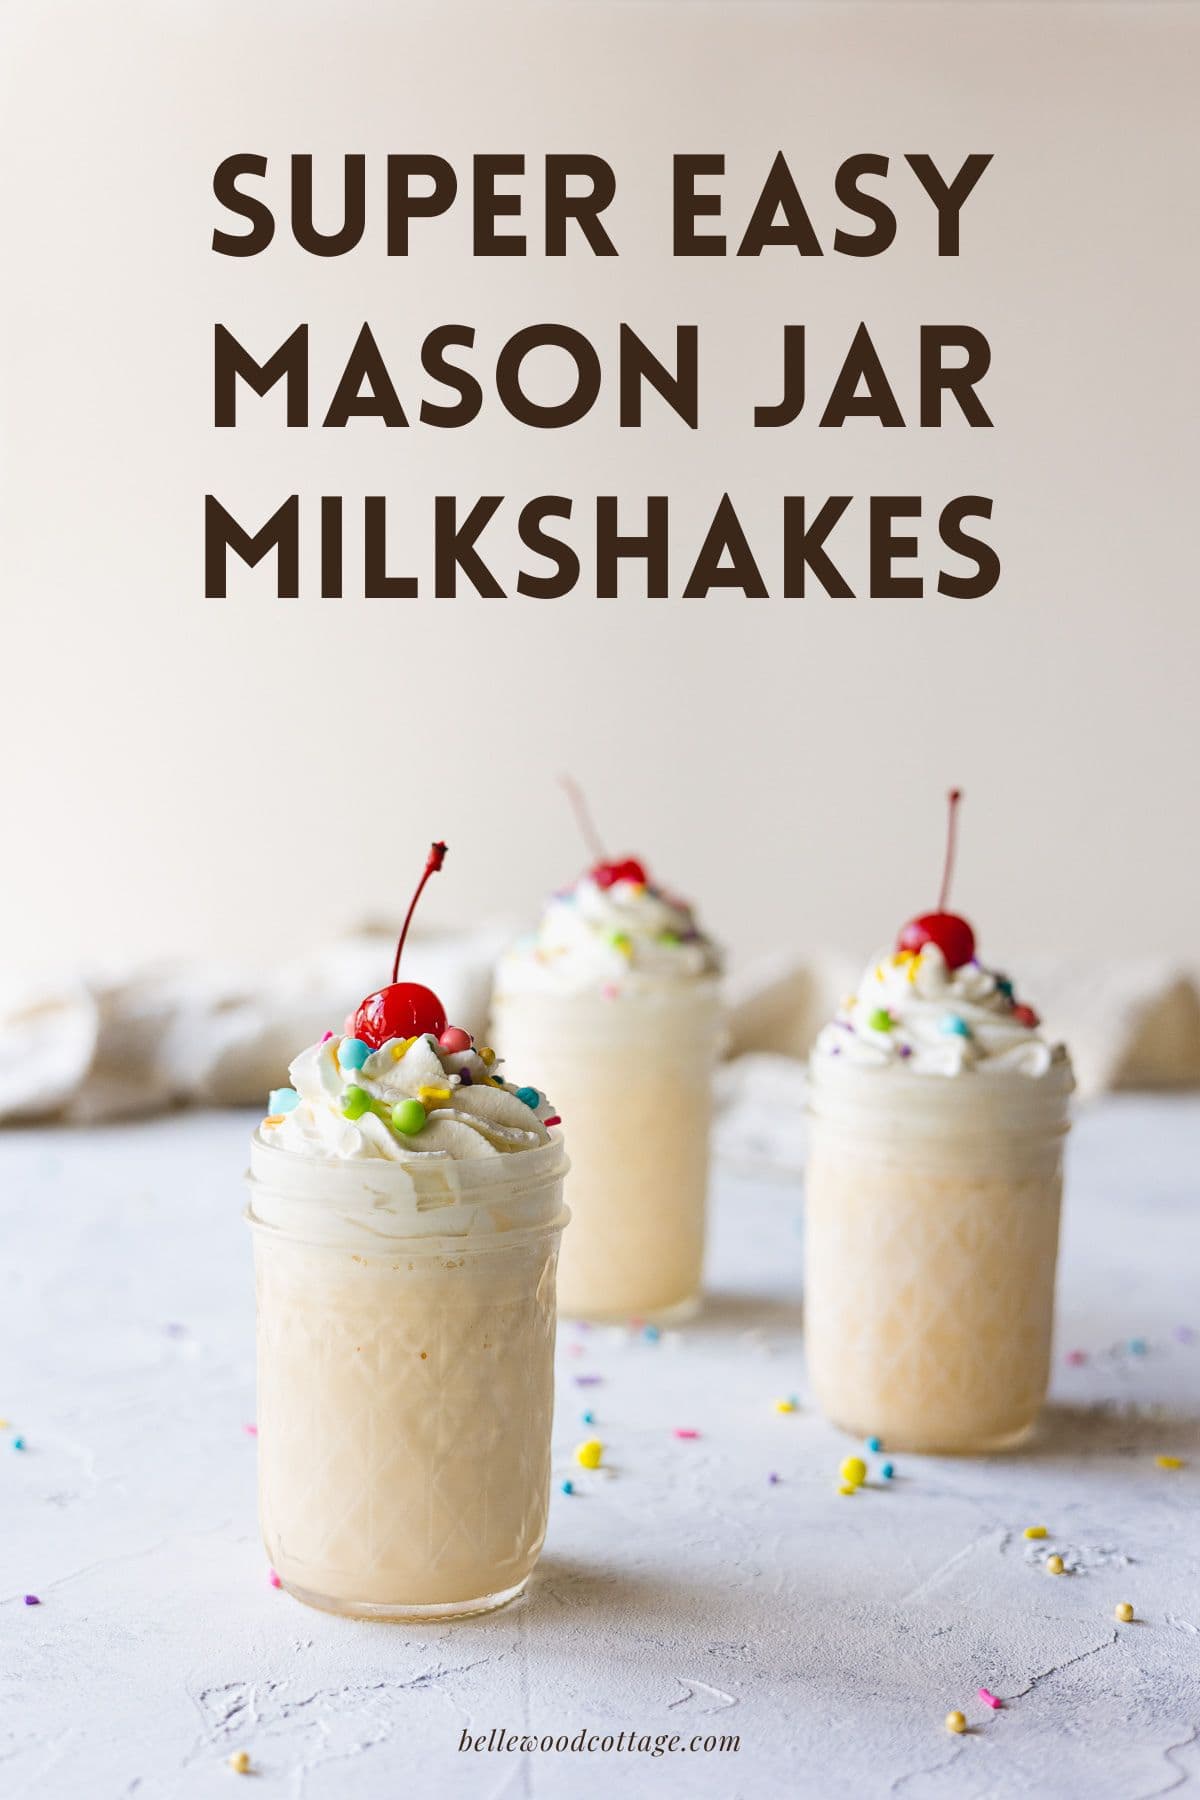
No blender? No problem! Learn how to make a milkshake without a blender in this easy tutorial for mason jar milkshakes! You’ll love this easy treat that only requires two ingredients (but feel free to add as many mix-ins as you wish!).
Please note that this post contains affiliate links which allow me to earn a small commission when a purchase is made at no additional cost to you. Read more here.
For the longest time I operated in my kitchen without a blender. Even though I have now solved that problem, I often felt very left out of blender-essential recipes. Namely, milkshakes and smoothies!
While I’m not here to solve the smoothie problem today, I do have an easy hack for you on how to make a milkshake without a blender.
I tested this one several times and it created an excellent milkshake each time. Plus, I share some tips below on how to select the right ice cream for the best flavor.
Here’s what ya need!
Don’t miss the step-by-step video at the end of the post!
The Mason Jars To Use
For one milkshake, you will need a pint-size (16 oz) wide-mouth mason jar with lid. The wide-mouth is ideal because it’s easier to clean (and stir in the final step). If you don’t have a wide-mouth jar, you can use a regular 16 ounce mason jar, but be sure to rinse it right away after finishing your shake.
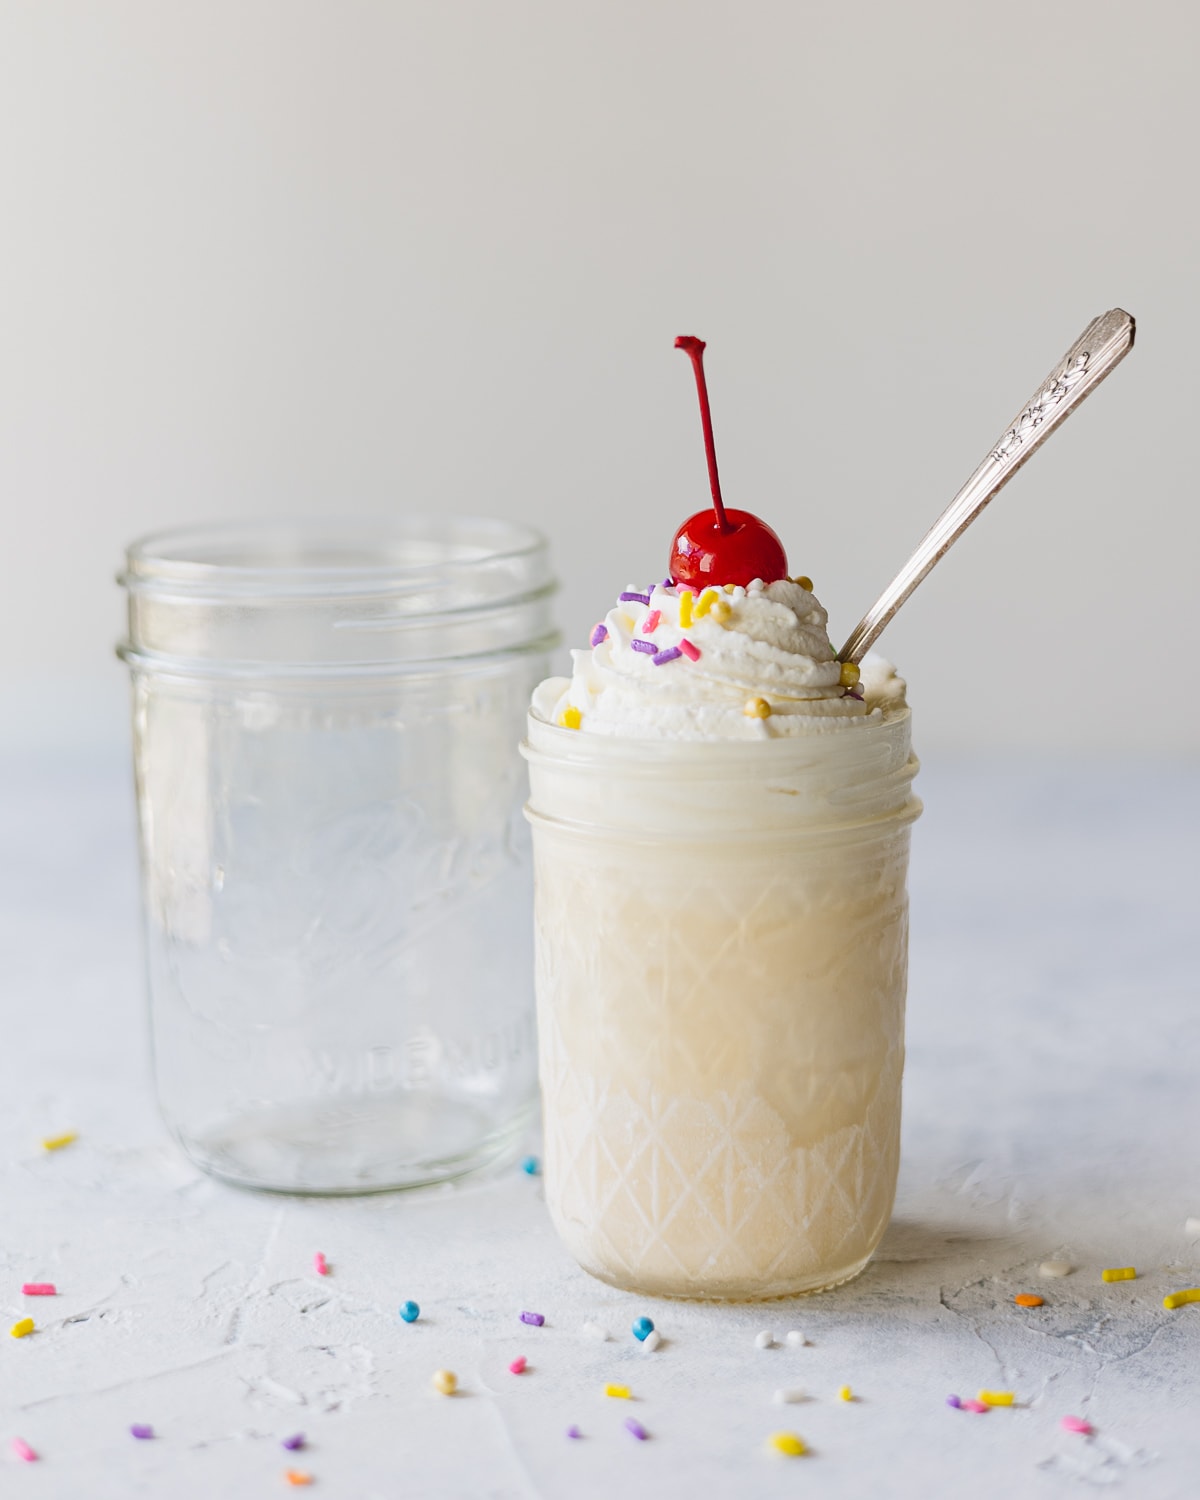
For two milkshakes, grab a quart size wide-mouth mason jar with lid. If using a quart jar, I only suggest using the wide-mouth variety. You can also make each shake in its own jar if you don’t have the larger quart jar.
No mason jar? You can still make these!
Another container with a tight fitting lid (something like a protein shake bottle or really good food storage container) could work for this. You want to be sure the lid is snug and that the container is only about 1/2 to 2/3 full of ingredients so there is room to shake and mix.
Ingredients for Mason Jar Milkshakes
The best part about milkshakes is that they only require two simple ingredients: ice cream and whole milk.
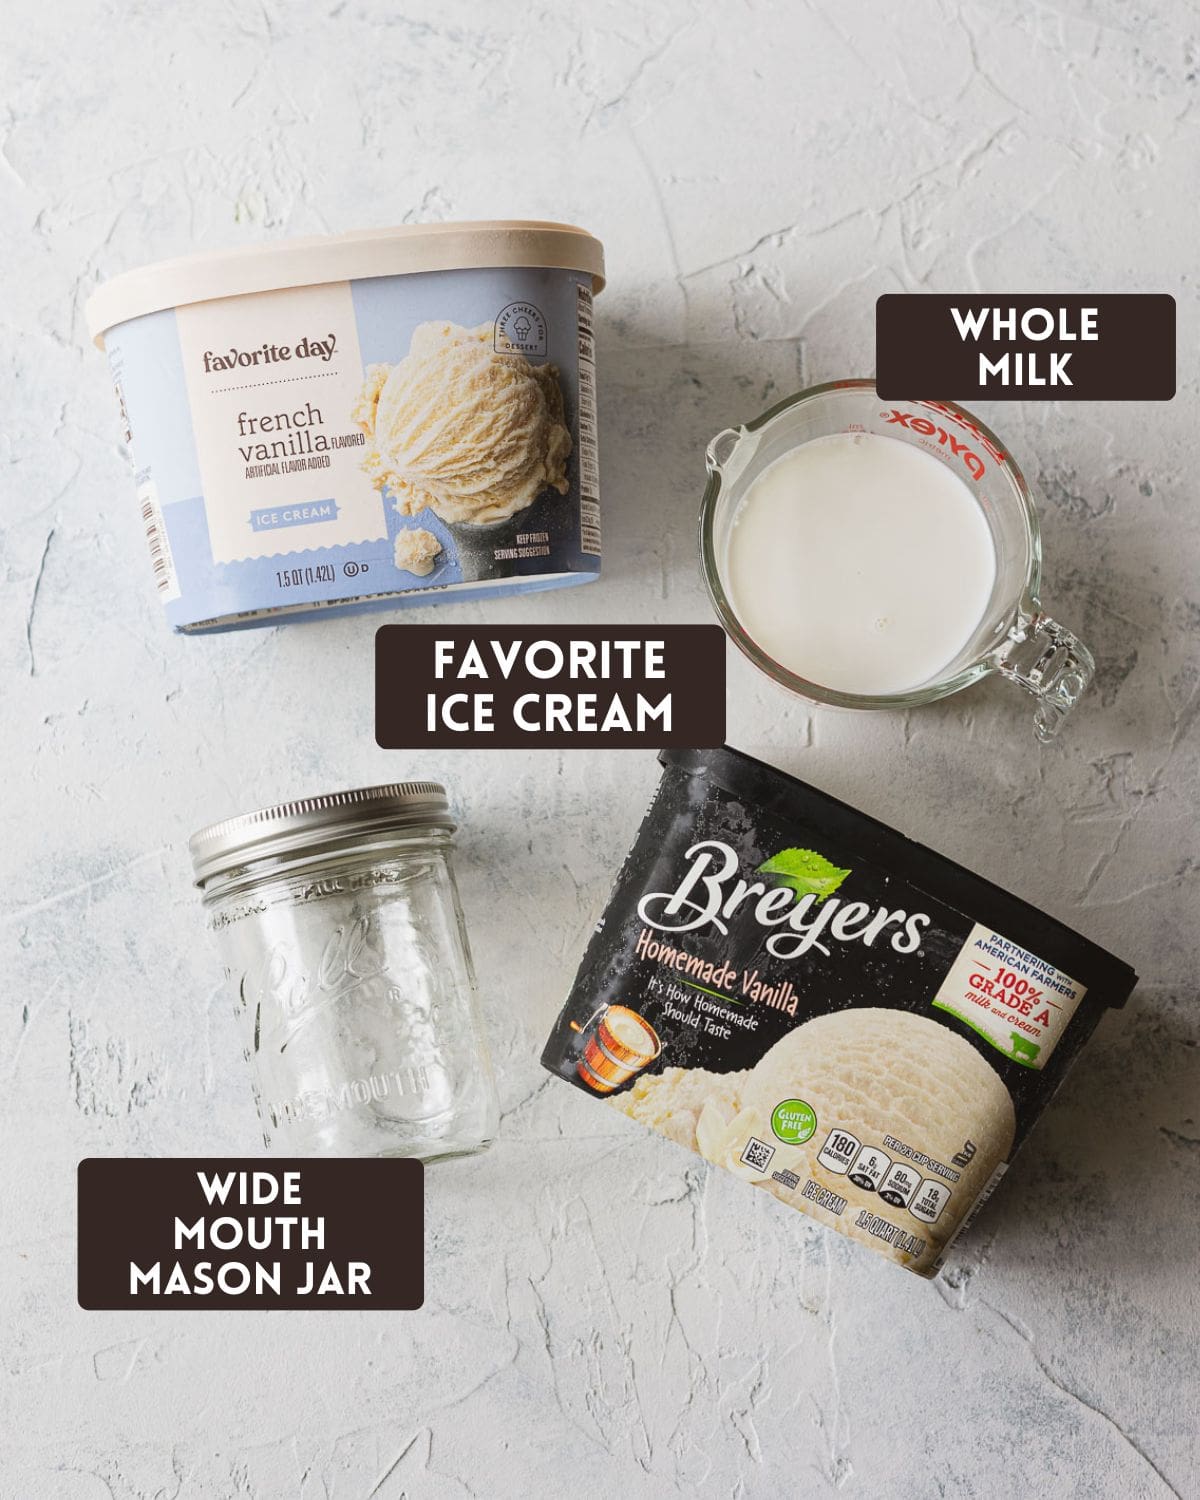
The choice of ice cream will determine the flavor of the final shake, so check out my tips below on how to choose the perfect ice cream for milkshakes.
As for the milk, you can use a lower fat milk if you wish, but you’ll lose some creaminess. Alternatively, you can also use heavy cream…but you didn’t hear it from me!
How to Choose the Right Ice Cream
The type of ice cream you use will make or break the flavor and texture of the finished milkshake. I tested the recipe both with a lower quality (but still tasty) ice cream (Target’s Favorite Day French Vanilla) and a higher quality ice cream (Breyer’s Homemade Vanilla).
Surprisingly, I did like the lower-quality version quite a bit. I think it had the flavor most of us have grown accustomed to when we grab burgers and shakes at our favorite restaurants. The less-dense ice cream also shook up easily for a smooth milkshake.
My top choice would still be a higher-quality ice cream though. The thick smooth texture, improved flavor, and absence of any suspicious ingredients make me opt for Breyer’s or another similar brand (I also love Tillamook and Haagen Dazs) when I make shakes.
I suggest skipping those 1-gallon buckets. With words like “reduced fat”, “artificial flavor”, and “high fructose corn syrup”, these ice creams are not ideal. Shakes made with these will be thinner and low on flavor.
A quick way to check the quality of the ice cream you are buying is checking the ingredients list (it should be short with no artificial flavors or fake sweeteners). Then, check the price. The cheaper ice creams might be half the price of the better quality ones–go with the pricier variety.
Of course, if you already have a favorite (or a freezer full of ice cream choices) go with that!
Can I Save My Leftover Milkshake?
You can! Leftovers are never going to be quite as good as that freshly mixed shake, but it absolutely works to freeze anything you can’t eat.
If you are going to save a portion of the freshly mixed shake, pop it back in the freezer immediately. You can freeze it in a mason jar with a lid, just leave some room at the top for expansion.
The longer the milkshake sits out at room temp and continues to melt the more ice crystals will form as it re-freezes. These ice crystals ruin the smooth texture of a homemade milkshake. Another consideration is food safety, which in this case means frozen foods should stay frozen.
The re-frozen milkshake will come out of the freezer the consistency of a firmer soft-serve ice cream. It can be eaten with a spoon as-is or allowed to soften at room temp for fifteen minutes. Give it a stir and dig in. I find that the higher quality ice cream (like Breyer’s) maintain the smoothest texture even after re-freezing.
After taking the leftover frozen shake out of the freezer, toss any leftovers and don’t freeze again. So basically, just freeze once.
Go Crazy with Mix-Ins
Of course, the best part about making milkshakes at home is the mix-ins! There are no limits to what you can add to your customized homemade milkshake.
- Starting with the ice cream, change up the flavor of your shake by trying a chocolate base or maybe strawberry or cookies-n-cream.
- Add in syrups like hot fudge, caramel, strawberry, or peanut butter.
- Stir in crushed cookies like Oreos, gingersnaps, Biscoff, or chocolate chip.
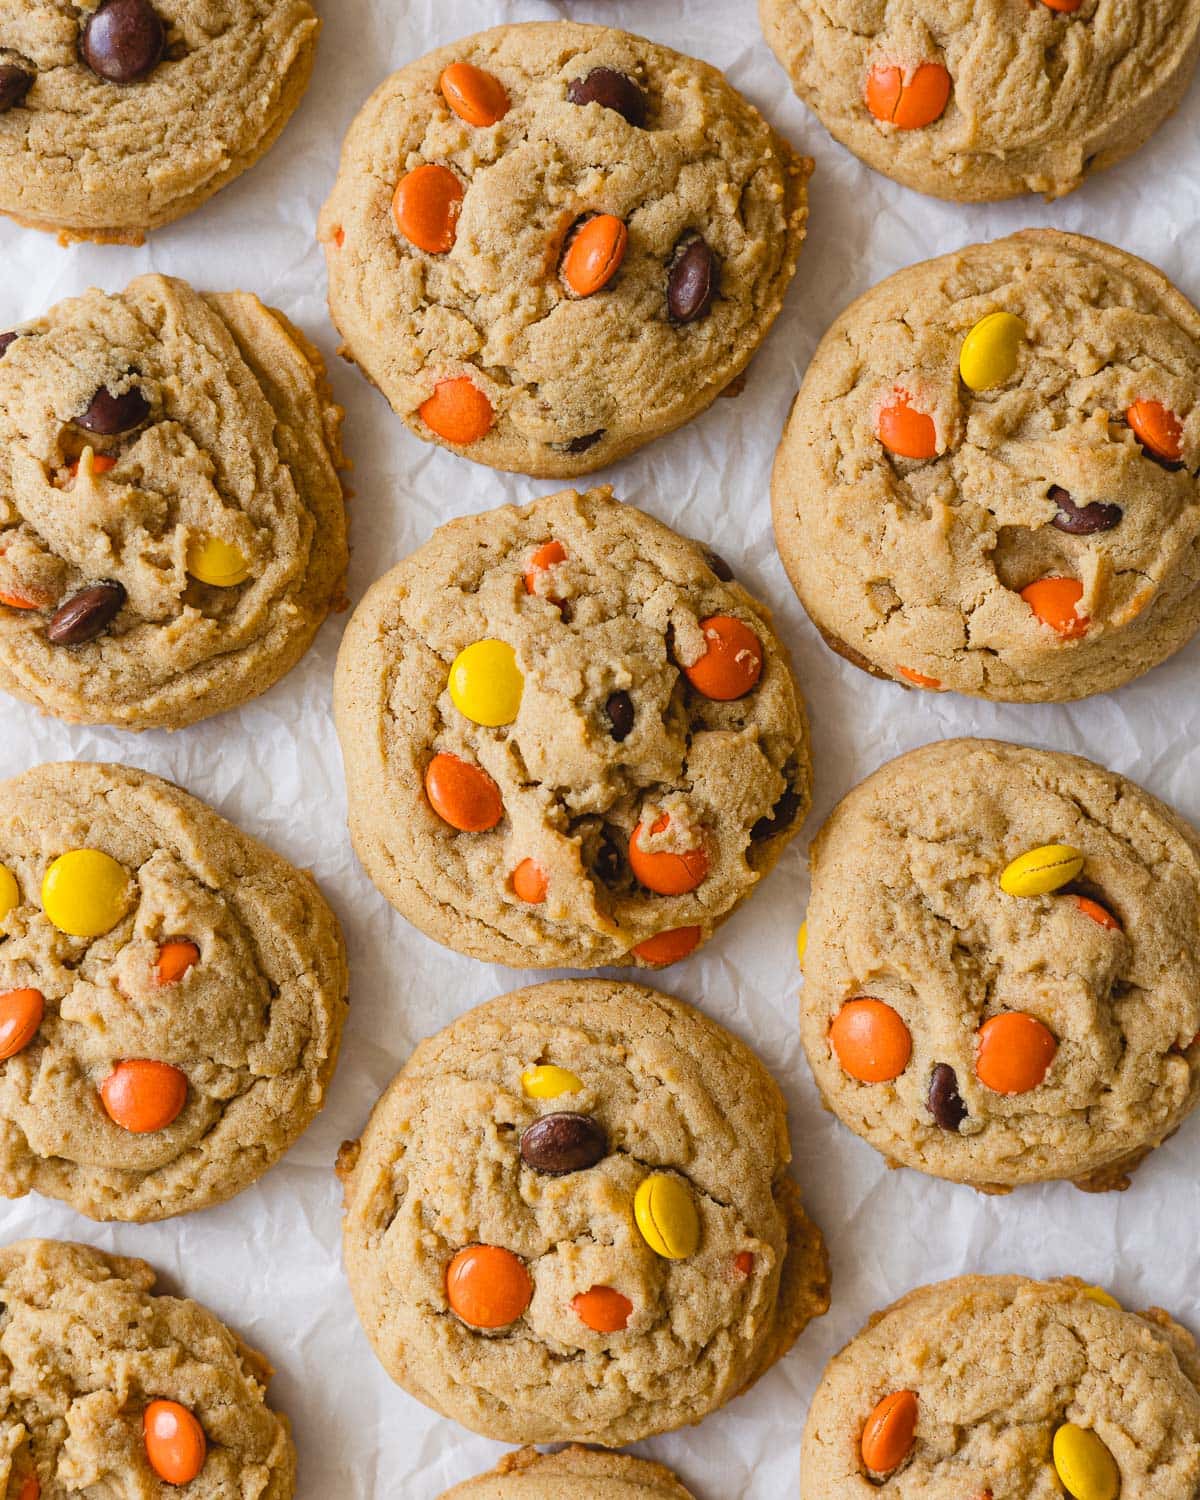
- Candies like Reese’s Pieces, M&Ms (I love the mini ones!) and chopped Snickers bars, Butterfinger bars, and more make great mix-ins too.
- What about fruit, marshmallow fluff, or whipped cream? Yes, yes, and yes.
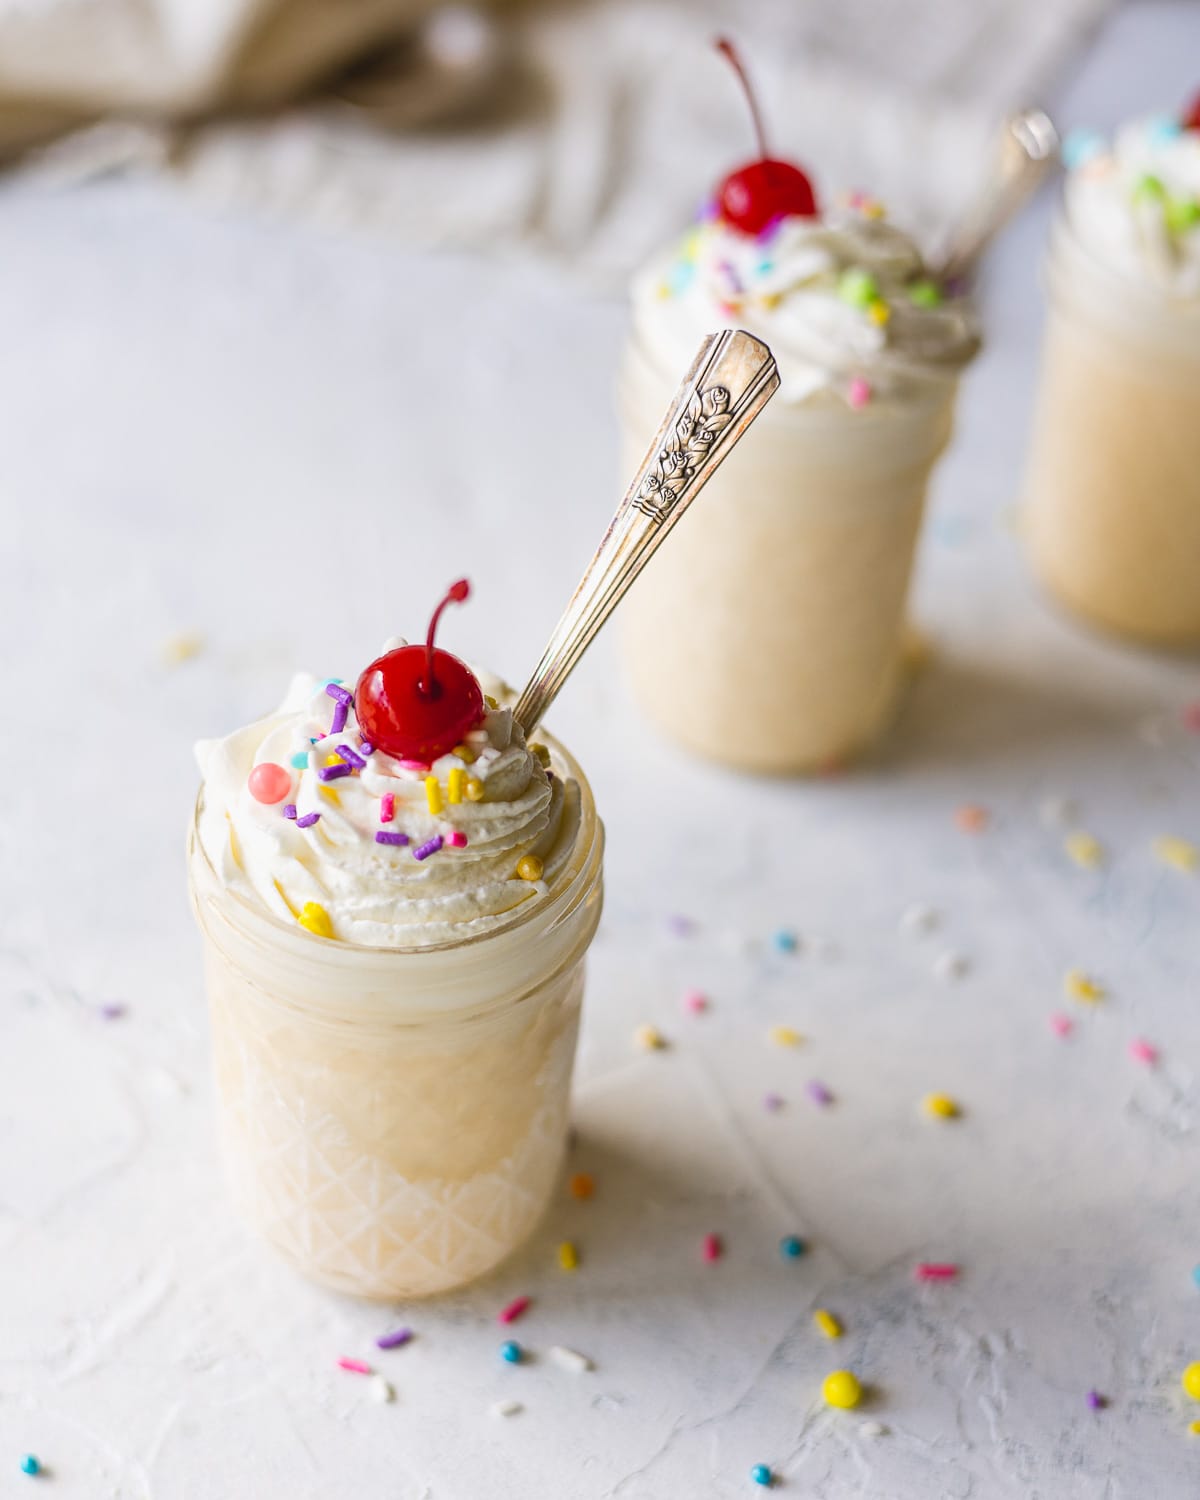
How to Make a Milkshake Without a Blender
First, select your ice cream and measure out 1 full cup. If you have a kitchen scale, this is really quick. Aim for 160g or slightly more of your ice cream. No scale? Scoop out ice cream into a 1 cup measuring cup or just use the 1 cup guide on the mason jar.
I found that measuring is important because shakes do require a lot of ice cream and our eye might tempt us to think we have plenty when we still need more! For me, 1 cup was about 4 large scoops.
Having trouble scooping the ice cream? Allow the container to sit closed on the counter for 5 minutes or so and then try again.
Transfer the ice cream to a 16 ounce wide-mouth mason jar (or suitable container substitute as noted above).
Pour over 2 tablespoons of whole milk and allow the jar to sit for fifteen minutes at room temperature so the ice cream can soften.
Place the lid and lid ring on the jar and secure. Give a quick shake to test the seal and then shake for 1 minute. Wrap the jar with a kitchen towel as needed to prevent slipping.
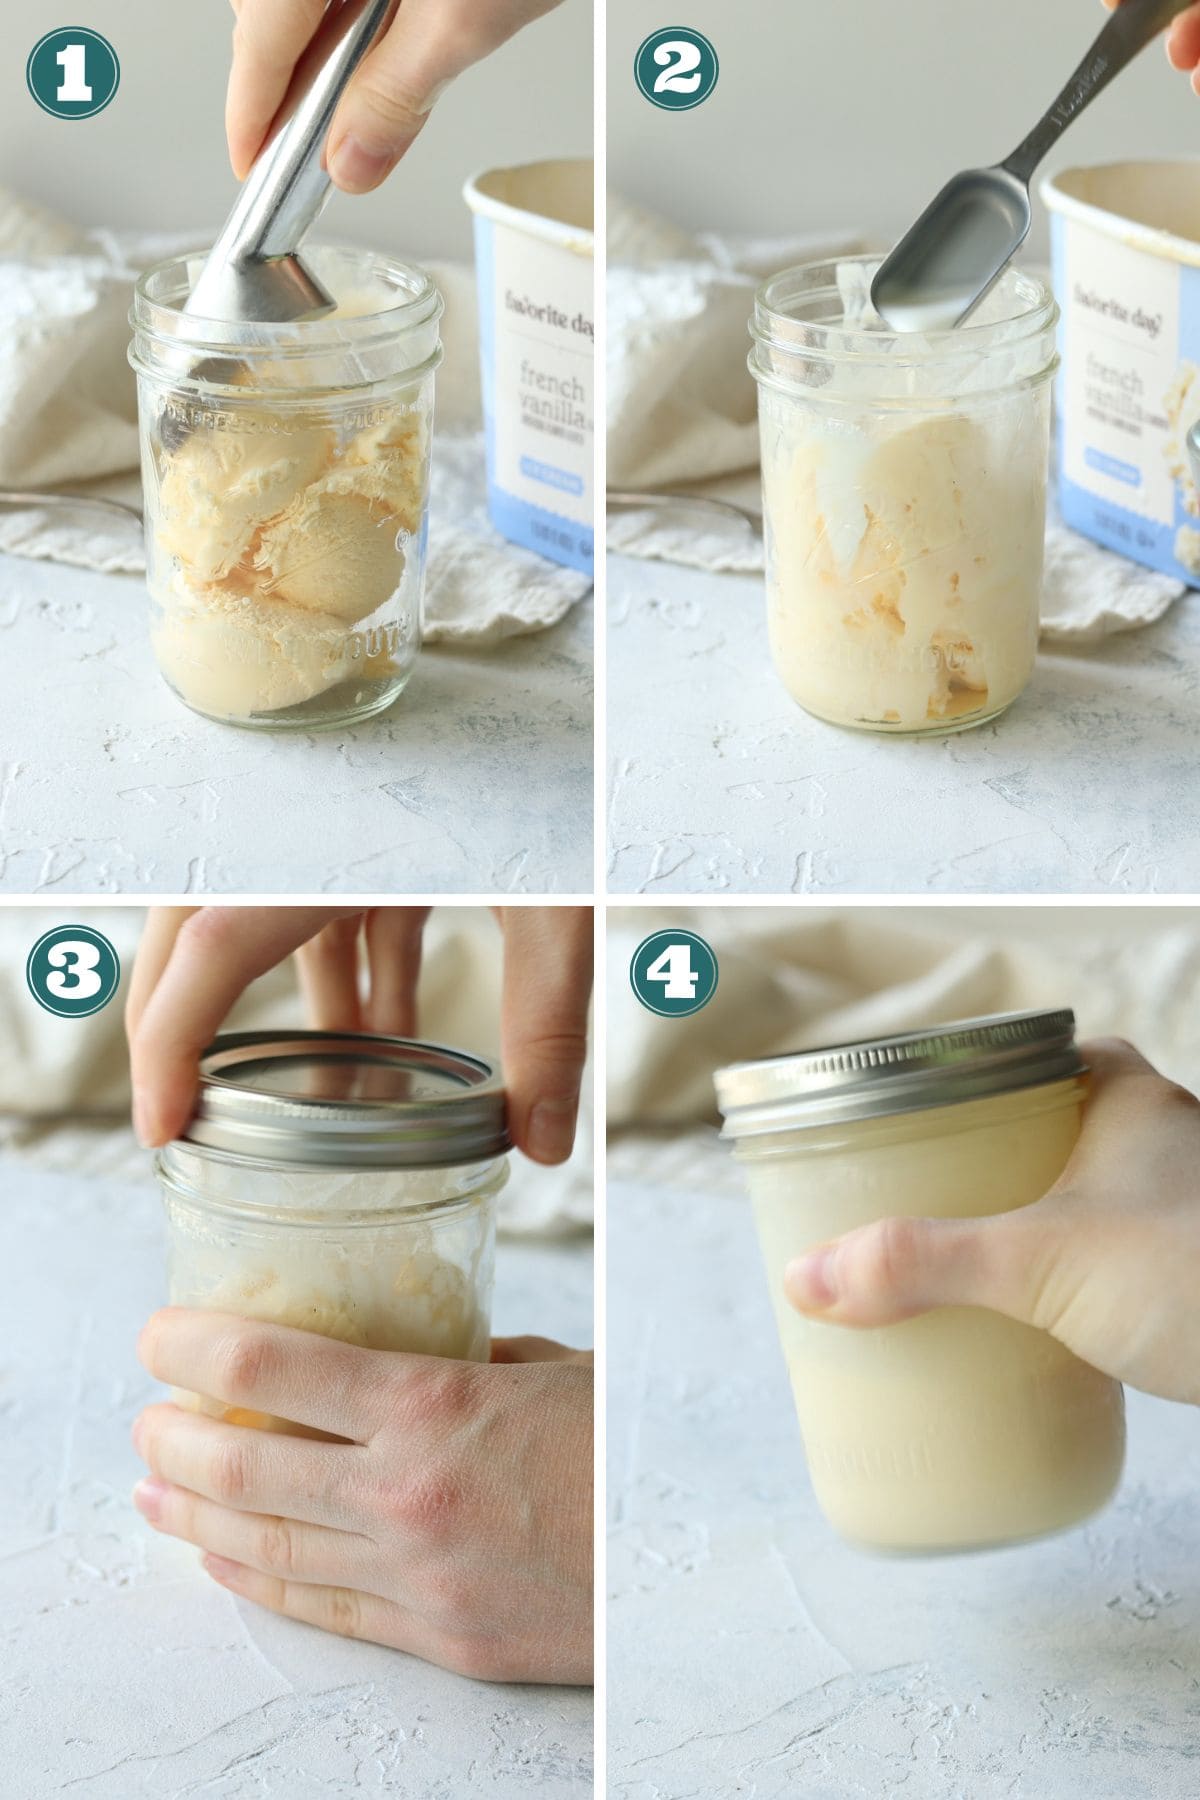
Open the jar and set the lid aside. Grab a butter knife and stir the remaining clump/clumps of ice cream vigorously until smooth.
Pour into a serving glass (I used a smaller 8 ounce mason jar) or eat it straight from the jar.
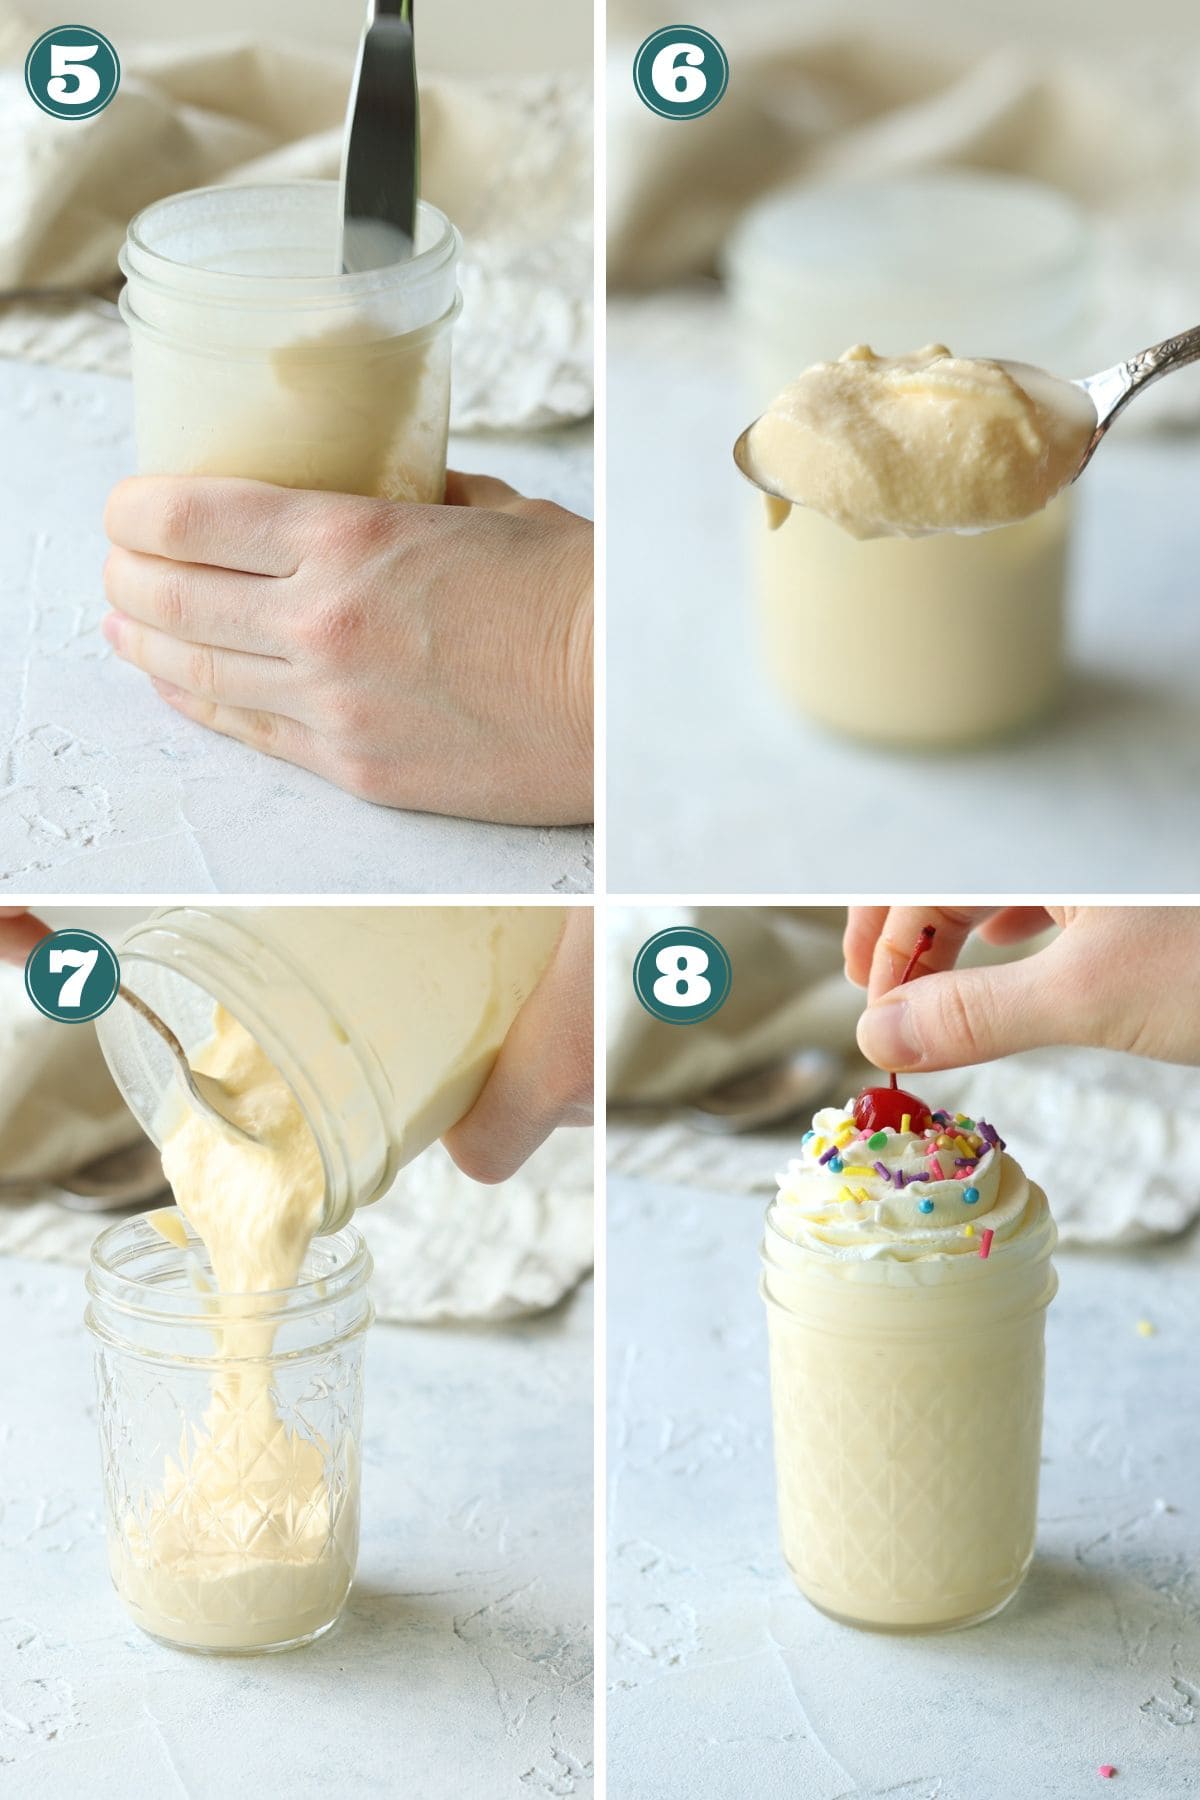
Add in mix-ins, give a stir, and top with a large swirl of homemade whipped cream. Sprinkles and cherries optional of course.
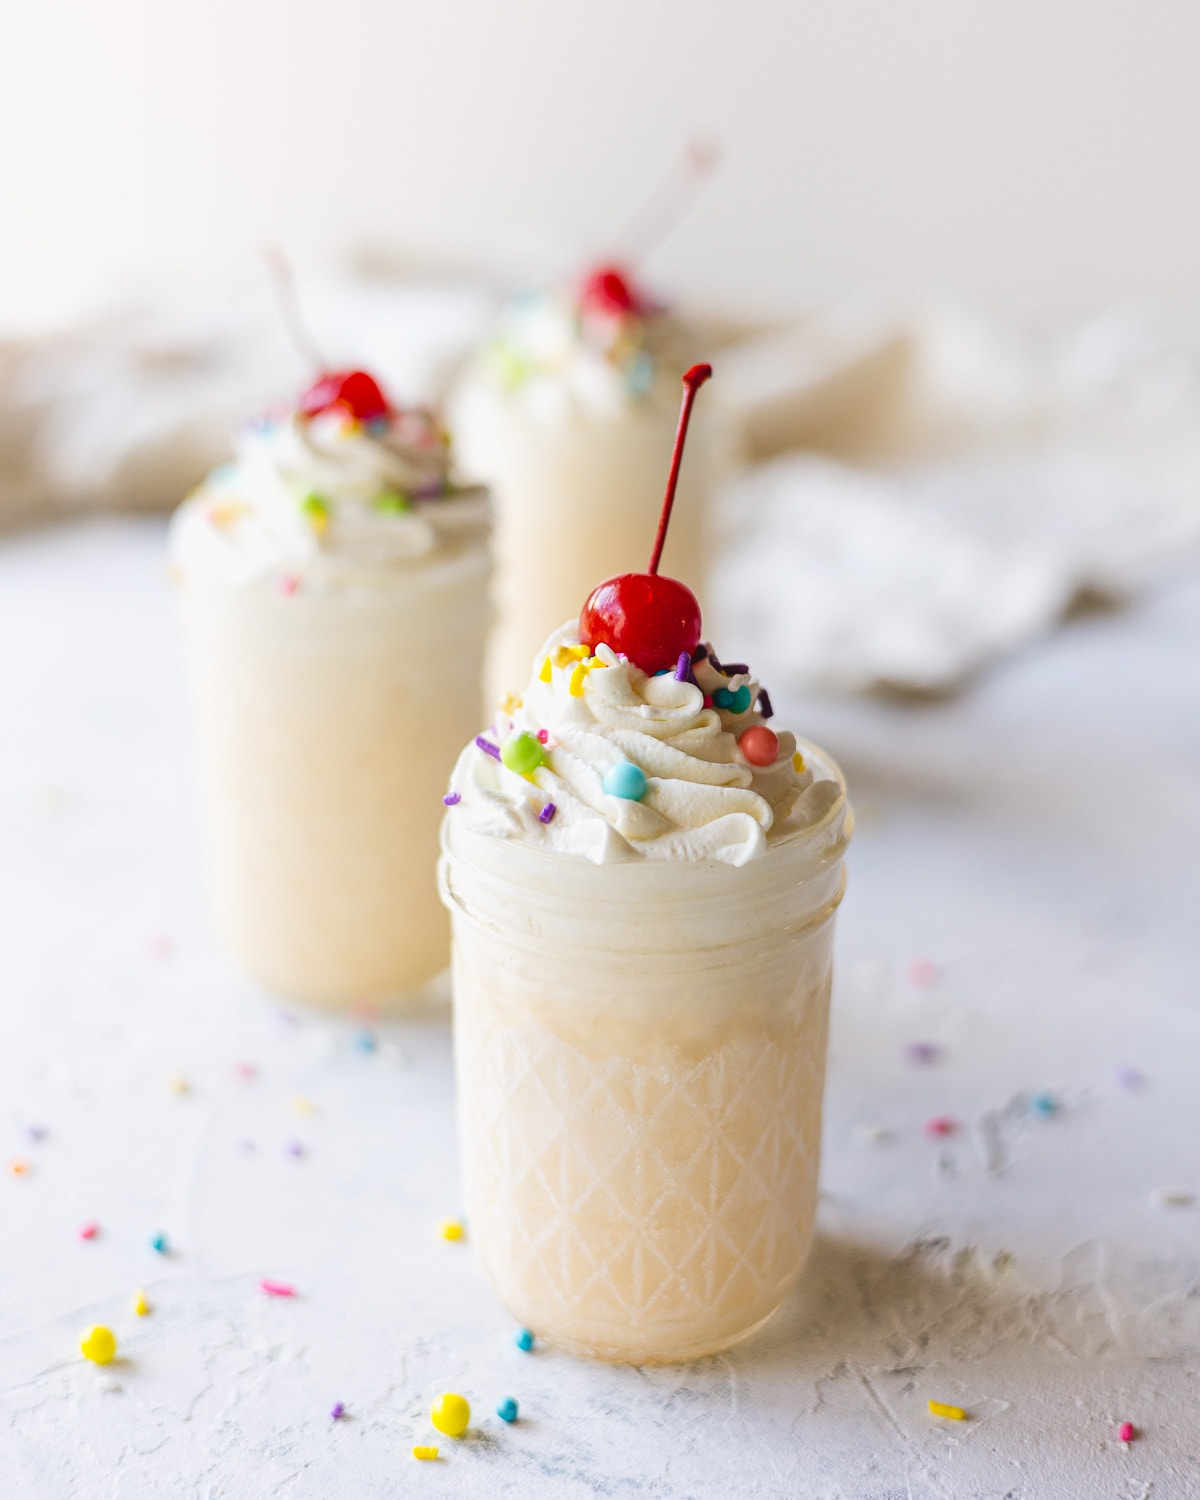
Enjoy!
How to Make More Than One Shake
If you’d like to make more than one shake, you can double the recipe and shake it up in a quart-size wide mouth mason jar. Split between two milkshake glasses.
Or, if you have a lot of mason jars, just start an assembly line and add the ingredients for one shake into as many jars as you need.
This would be a fun activity for parties too! Make a bar of great ice cream toppings, buy plenty of ice cream and enough mason jars for each guest to make their shake. Just fill each jar to the 1 cup line (or over), add a splash of milk, let sit at room temperature while you pick out toppings (or whip up some fresh whipped cream), and shake up the shakes!
More Easy Dessert Recipes
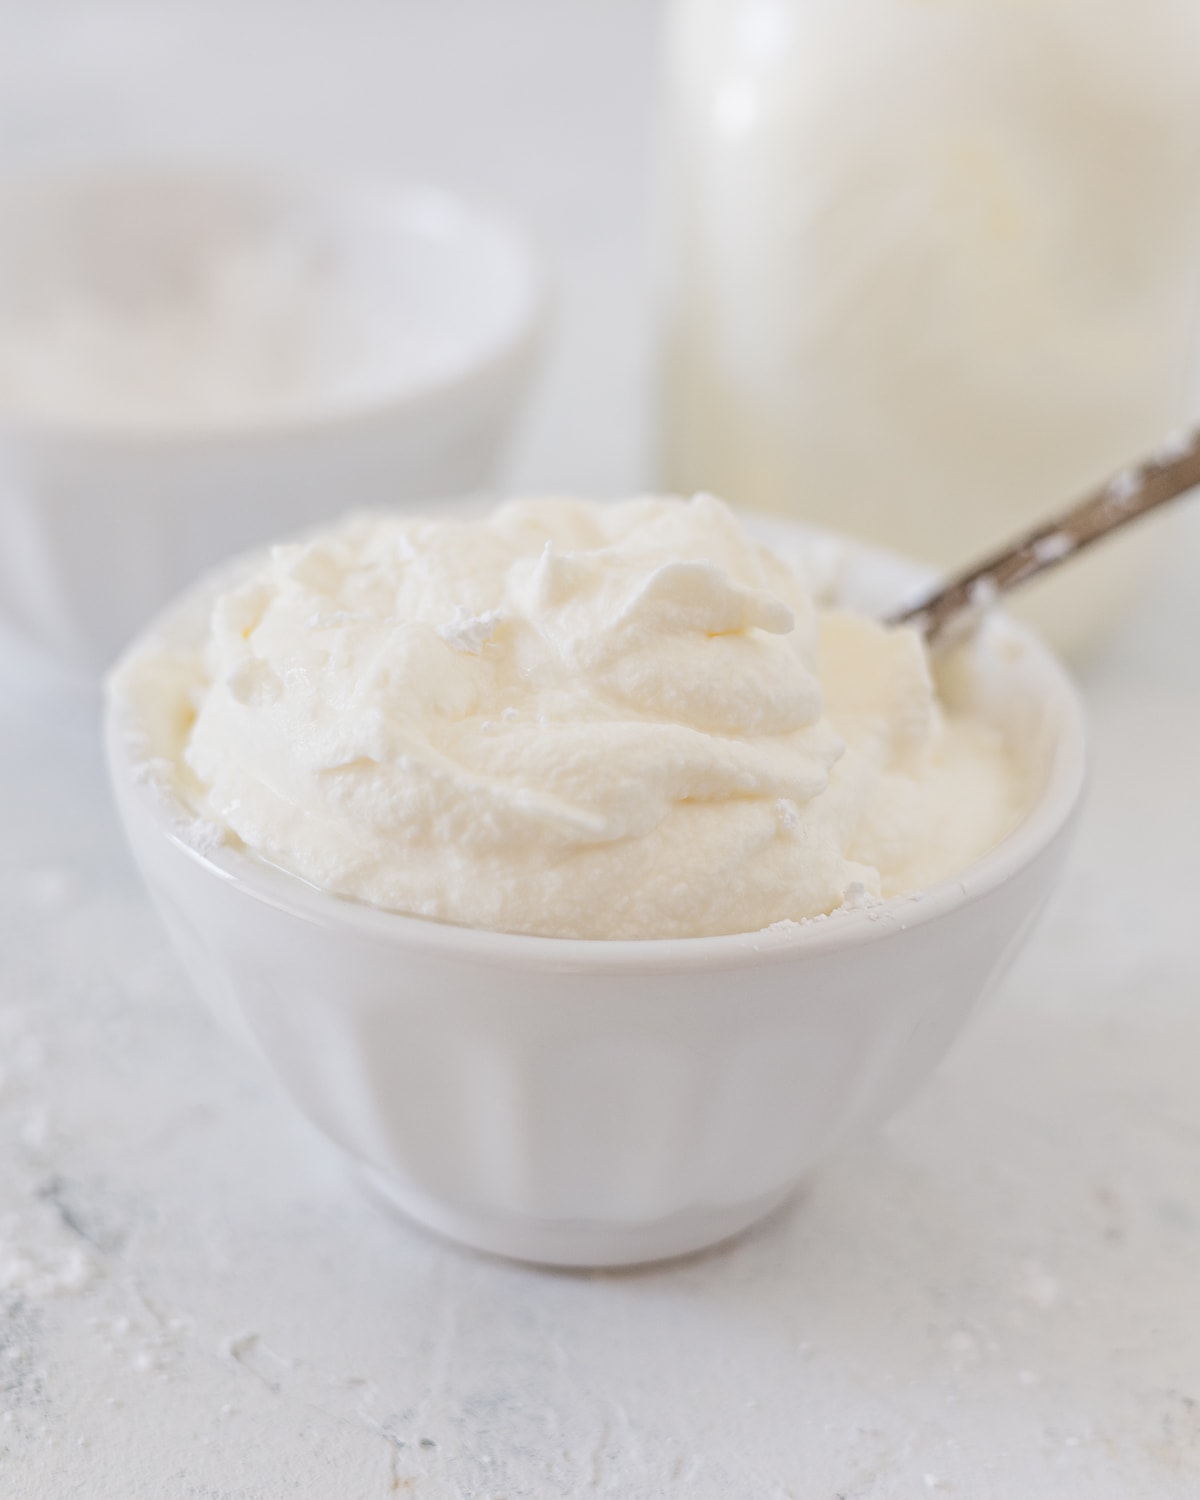
- Mason Jar Whipped Cream
- 35+ Best Mason Jar Desserts – The Ultimate Roundup!
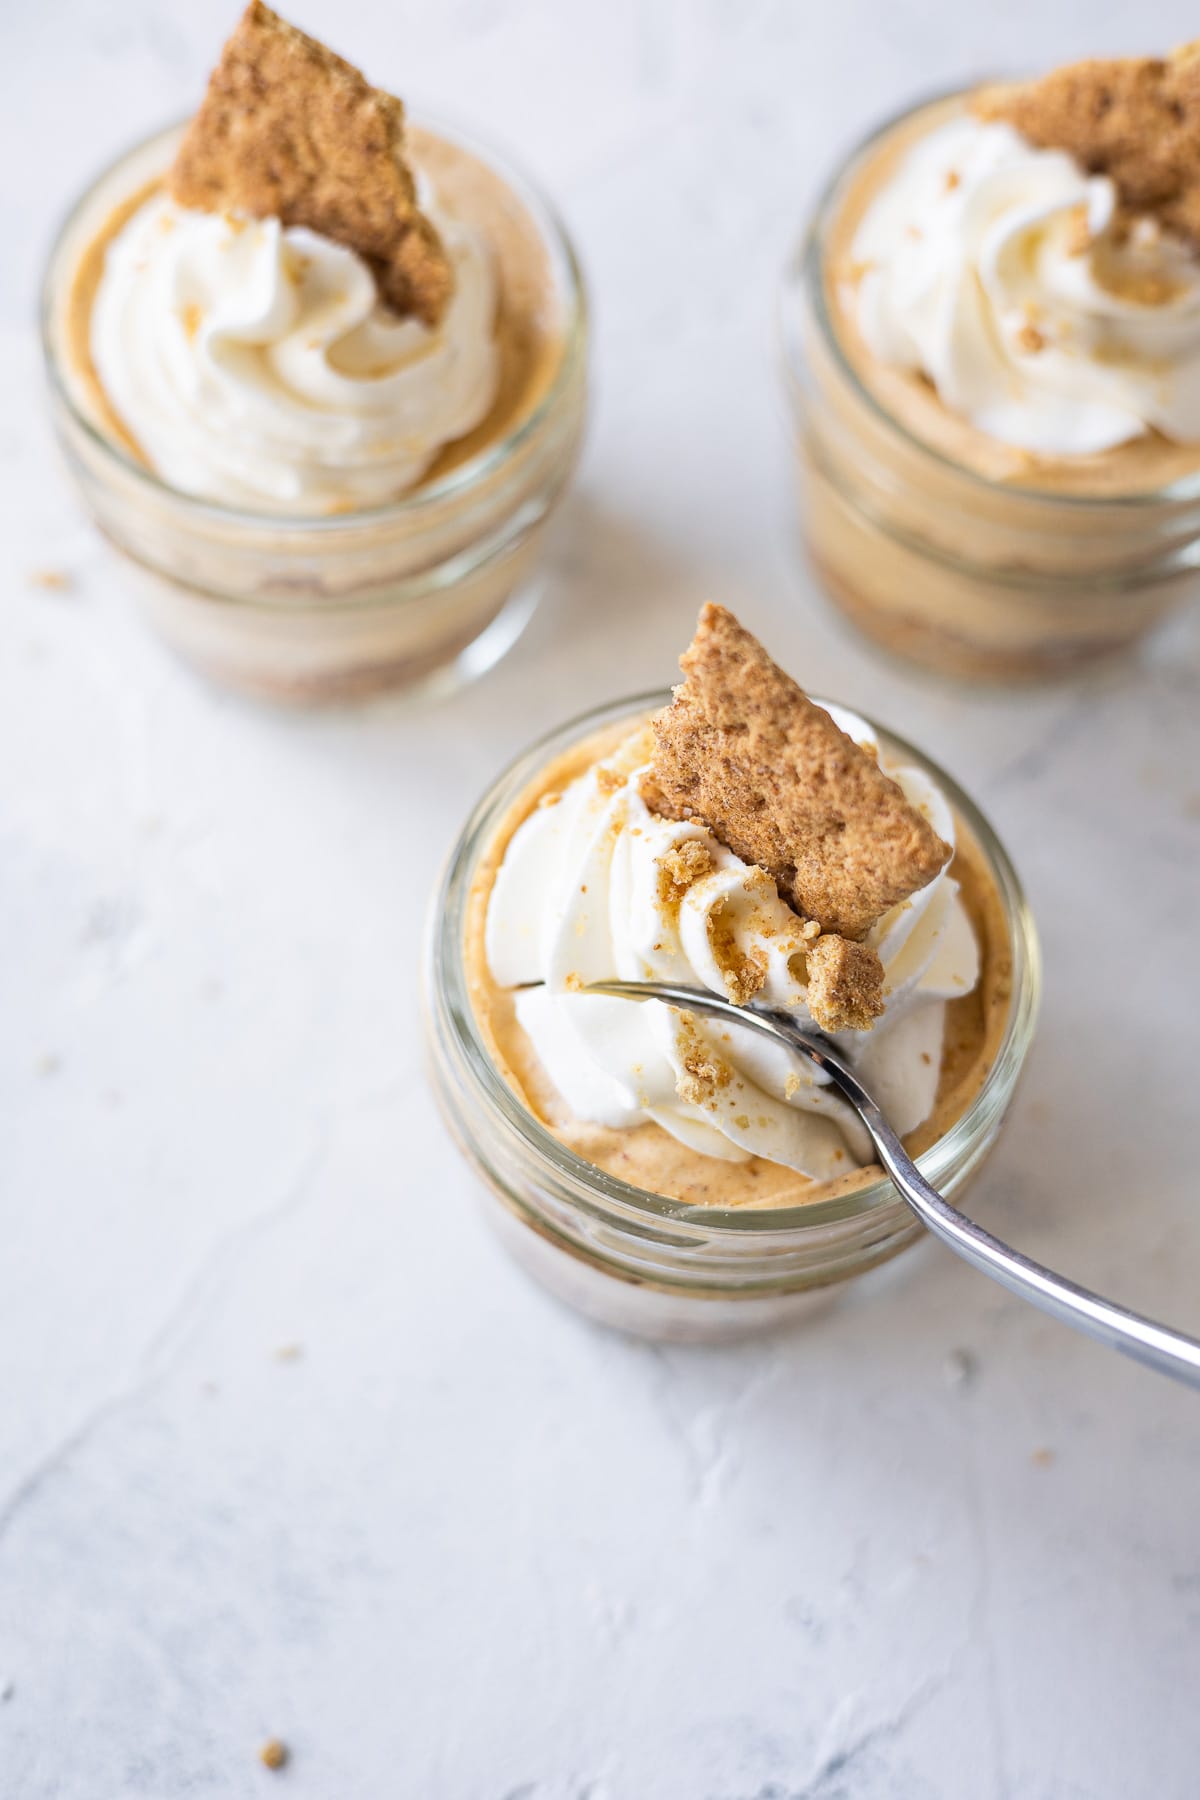
- No Bake Oreo Cheesecake in a Jar {easy & cute}
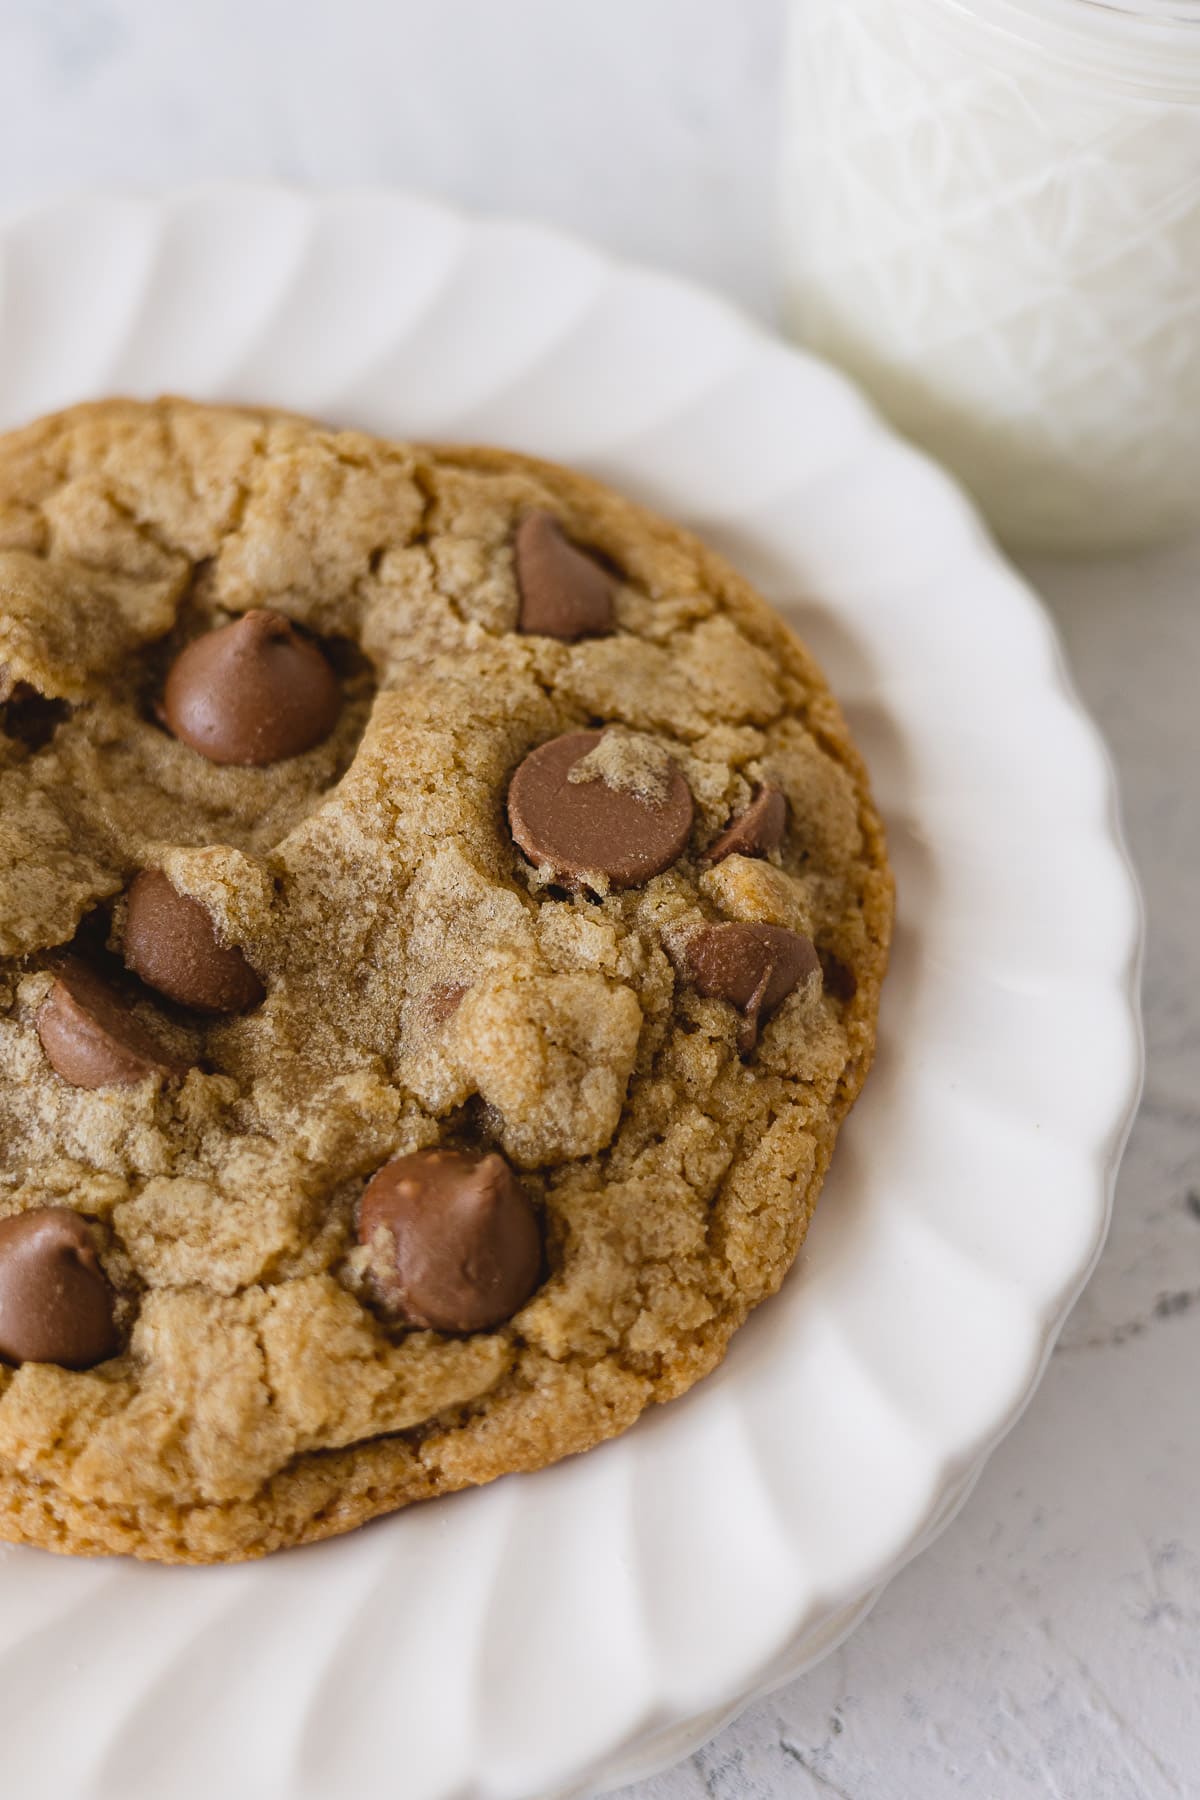
- Triple Chocolate Cookies
- Crumbl Copycat Cookie Recipes To Bake at Home!
How to Make Milkshakes Without a Blender – Mason Jar Milkshakes
Ingredients
- 1 cup good vanilla ice cream 160g
- 2 tablespoons whole milk
- mix-ins use a few spoonfuls of your favorites like chocolate syrup, crushed Oreos, M&Ms and more
Equipment
Instructions
- Measure out 1 cup of ice cream using a measuring cup, kitchen scale, or just scooping the ice cream straight into a 16 ounce (pint size) wide mouth mason jar and filling to the "1-cup" line. If you used the line on the mason jar, break up the packed ice cream with a spoon after measuring so the ice cream will thaw out faster.Note: 1 cup of ice cream is more than you think! For me it was about 4 large scoops.
- If you used a scale or measuring cup, transfer the ice cream to a 16 ounce wide-mouth mason jar. Pour over 2 tablespoons of whole milk and allow the jar to sit for fifteen minutes at room temperature so the ice cream can soften.
- Place the lid and lid ring on the jar and close. Give a quick shake to test the seal and then shake for 1 minute. Wrap the jar with a kitchen towel as needed to prevent slipping.
- Open the jar and set the lid aside. If mixing in chocolate or caramel syrup, you can add that now. Grab a butter knife and stir the remaining clump/clumps of ice cream vigorously until smooth, about 30-60 seconds. Add in any other mix-ins (like candies or cookie pieces), give a stir, and top with a large swirl of homemade whipped cream. Add sprinkles and cherries as you like!
Video
Notes
- Double the recipe and shake it up in a 32-ounce (quart) wide mouth mason jar. Split between two milkshake glasses.
- Use multiple 16 ounce mason jars (or similar suitable containers) and place the ingredients for 1 shake in each jar. Follow recipe, shaking each jar assembly line style. Good for parties!
- So long as your jar has about 1/3 of space left, you can increase the amount of ice cream and milk to make a larger shake. I like about 1 tablespoon of milk per 1/2 cup of ice cream.
- Change up the flavor of ice cream, using maybe strawberry, chocolate, or cookies-n-cream.
- Add in syrups like hot fudge or caramel – start with about 1 tablespoon for a shake this size.
- Try a few spoonfuls of crushed cookies like Oreos or crisp chocolate chip.
- Candy is a favorite too! Try Reese’s Pieces, M&Ms, chopped Snickers, Butterfinger, and more.
- What about chopped fruit, malt powder, marshmallow fluff, or whipped cream? Yum!


