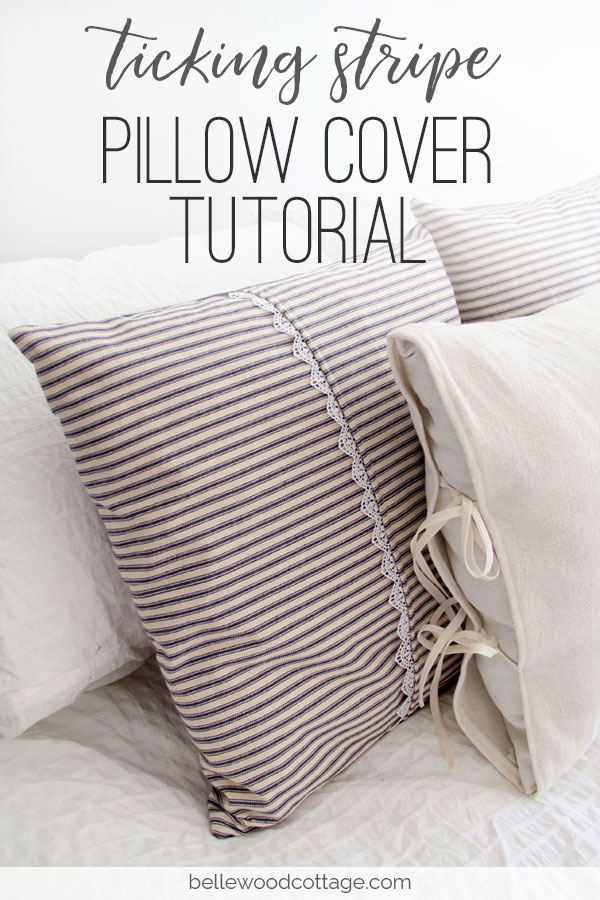
Ticking Stripe Pillow Cover Tutorial
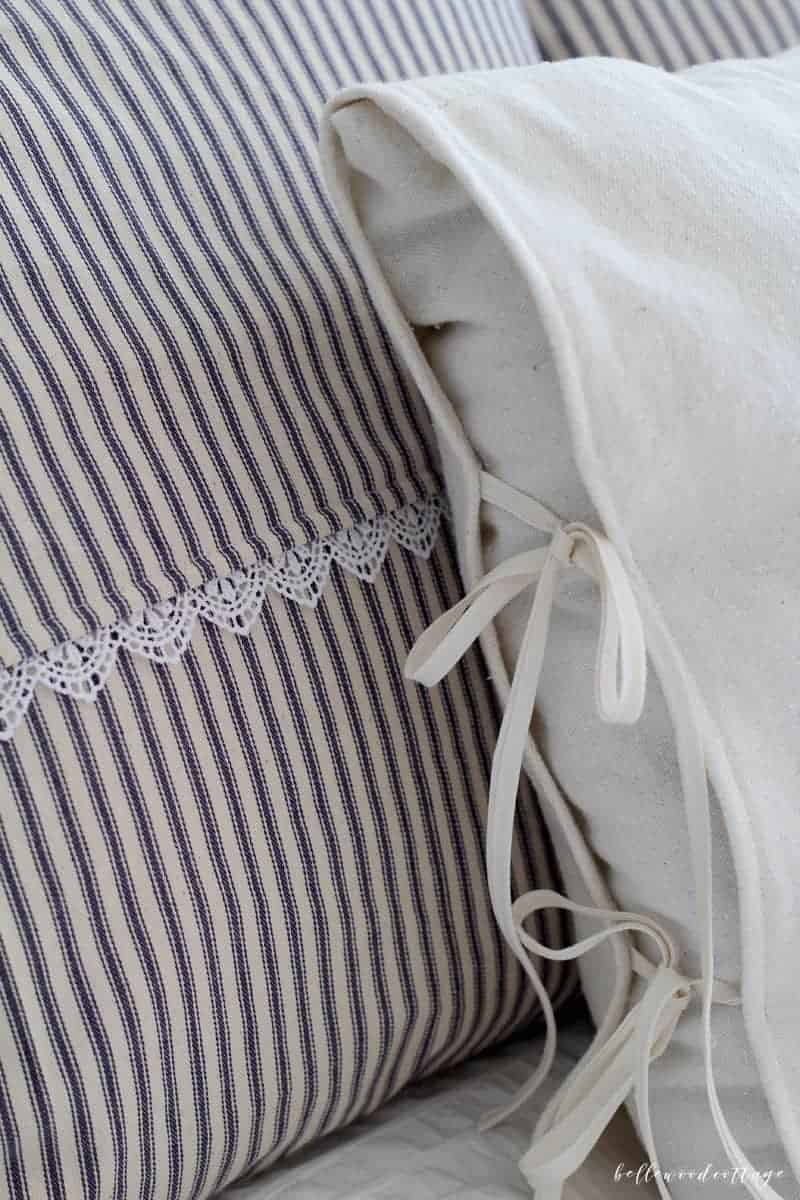
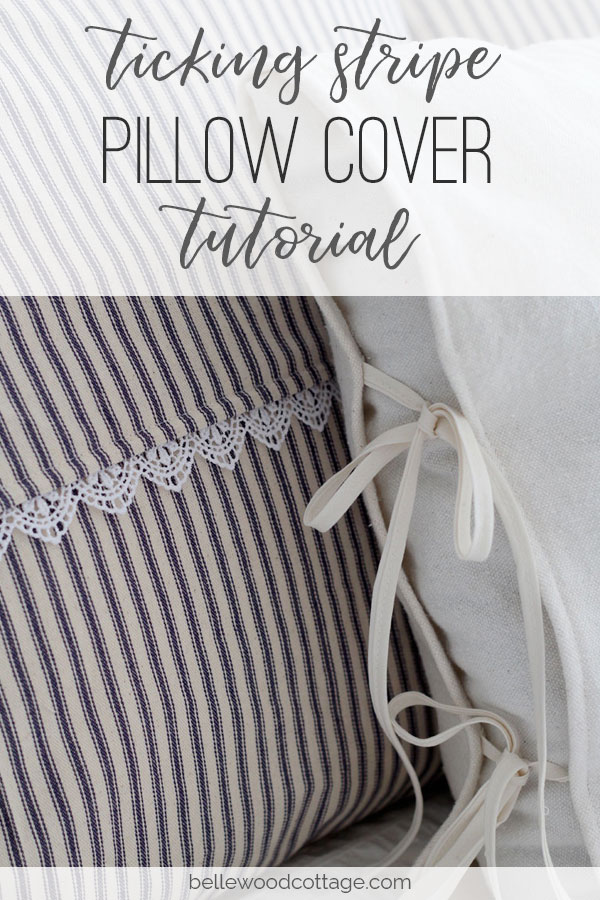
I recently shared one of my latest diy projects and I am so excited to bring you the tutorial! This ticking stripe pillow cover tutorial is the perfect afternoon project and truly is easy to sew. I love using ticking fabric for the authenticity it brings to cottage/farmhouse decor. Though I enjoy the trendy farmhouse decor that is everywhere these days, some of it can be a bit inauthentic. For instance, a true working 1900’s farmhouse probably wouldn’t have had one of those ubiquitous giant lettered “farmhouse” signs hanging up in the kitchen. Ya know?
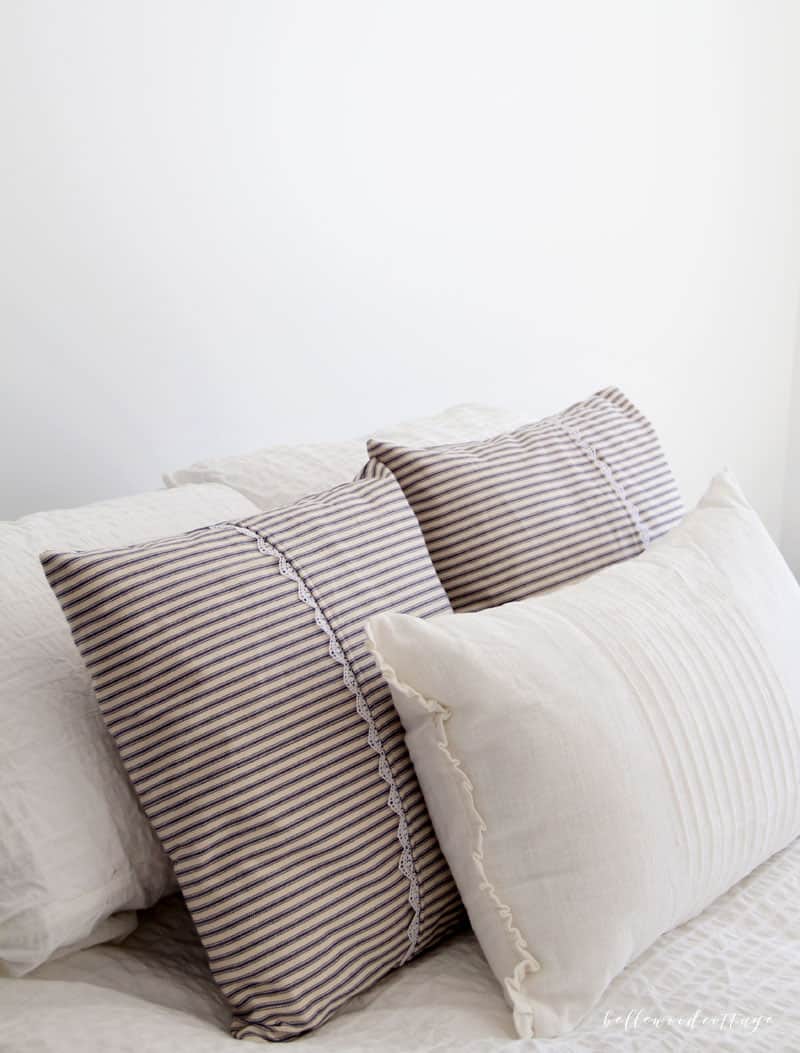
But, I bet they would have had some ticking fabric around! The fact is, a home can really come alive when it holds pieces with authentic history. Pulling in antiques and heritage pieces is a great way to layer a space and give it rustic charm. These pillow covers, made with sturdy ticking fabric and handmade appeal will add plenty of character to your home.

These particular covers are a simple envelope pillow cover with a lace trim detail. You can flip them around for a plain pillow or allow the lace to be front and center. They can also be rotated horizontal or vertical. Little details that make it easy to change up your space! Or just to keep things looking good when the pillows get tossed around haphazardly by family members. Ahem.
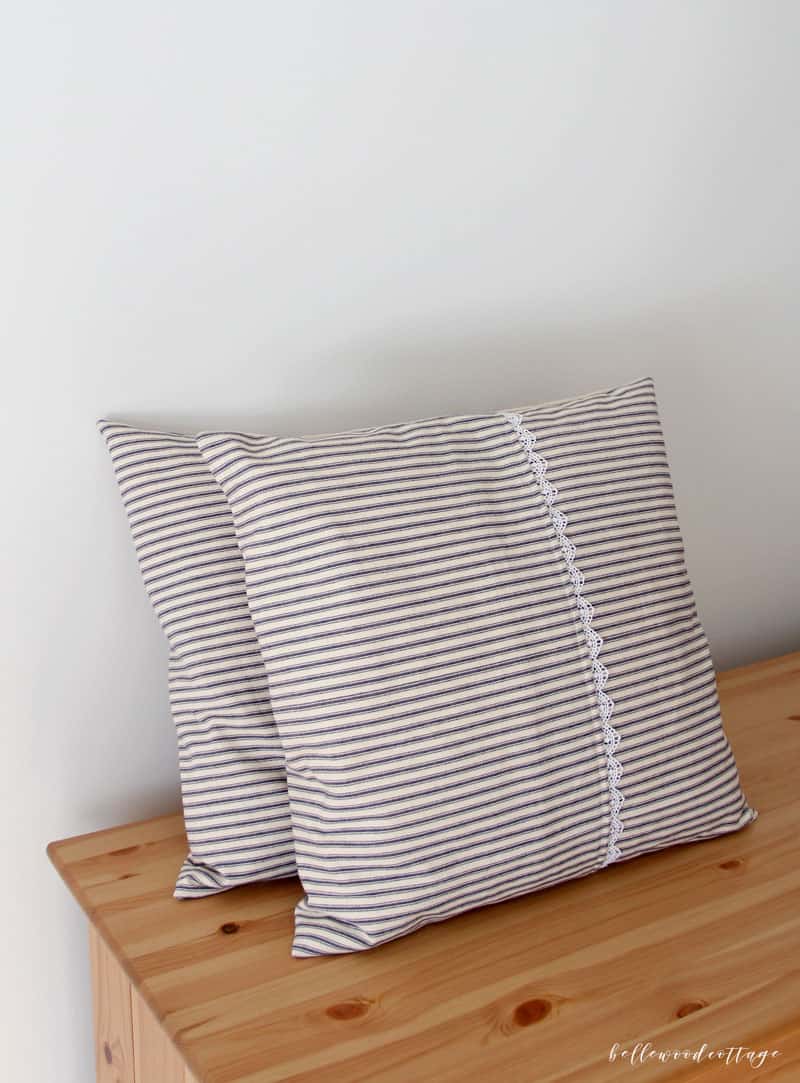
And if you want more variations, experiment with using a different trim on the edge of the pillow. You only need a 19″ length, so this is a great time to use a piece of heirloom lace or a fabric store remnant.
And if you make these pillows, be sure to share them with me! I would love to see what you come up with.
With all that said, here’s the step-by-step tutorial! Enjoy!
<3 Ellen
Ticking Stripe Pillow Cover Tutorial
Where to buy ticking fabric?
Obviously, the fabric is an important choice with these pillows. Though you can buy “ticking stripe” fabric that is quilting cotton weight, the stripes will be printed on. I prefer the fabric that is a heavier weight and where the stripes are actually woven into the fabric (versus printed on). This is the sturdy “farmhouse” ticking. I buy mine at Hobby Lobby.
Specifications:
These instructions are to fit a 18″x18″ throw pillow form.
Materials:
- 43″x19″ piece of ticking fabric (washed and dried prior to cutting to prevent shrinkage)
- 18″x18″ pillow form
- 19″ long piece of 1 ¼” wide lace trim
- Basic sewing supplies: sewing machine, thread, pins, measuring tape, fabric pencil
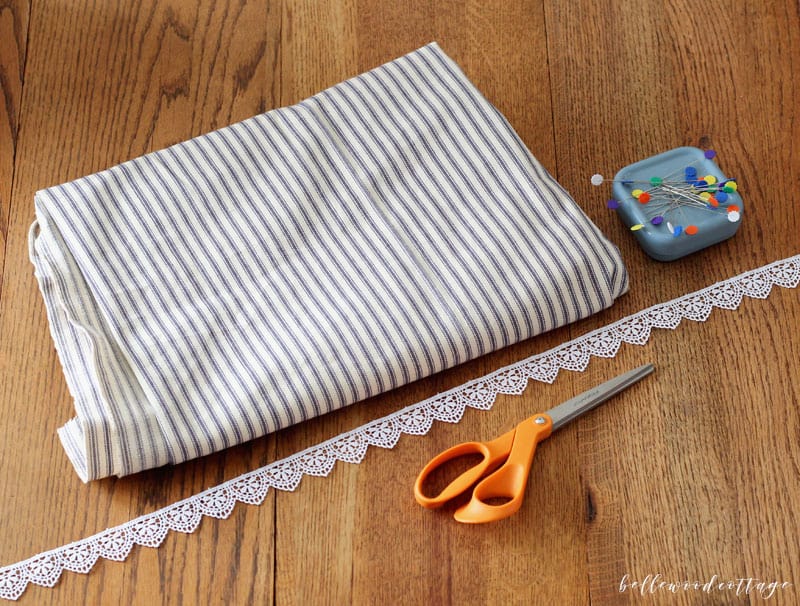
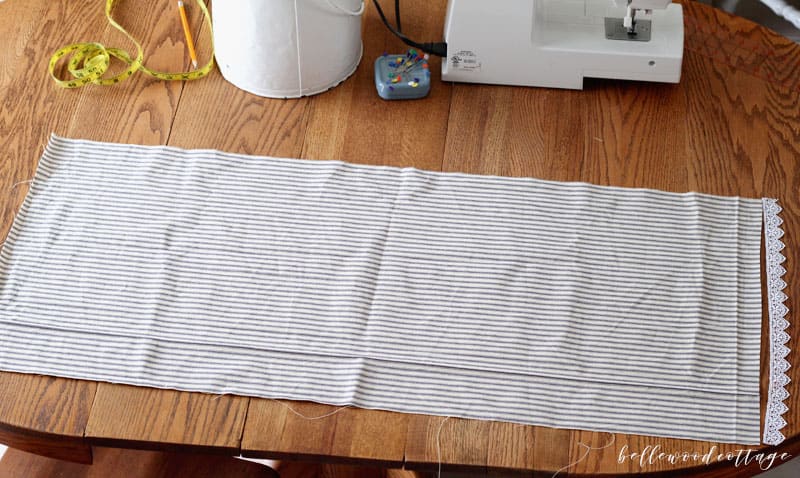
Step-by-Step Ticking Stripe Pillow Cover Tutorial Instructions:
1 – With wrong side up, on the short edge of fabric, fold over ½” and ½” again for a seam. Press and pin. Stitch seam 3/8” in from the outside edge of the fabric.
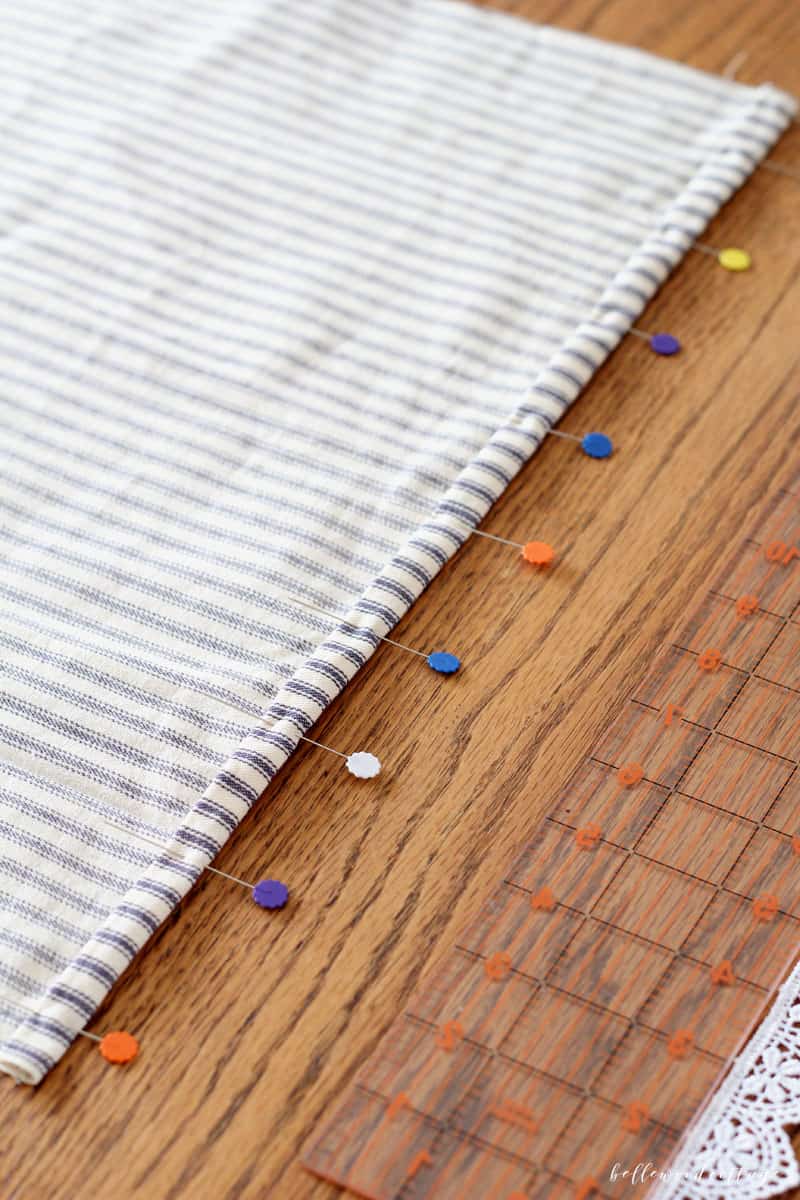
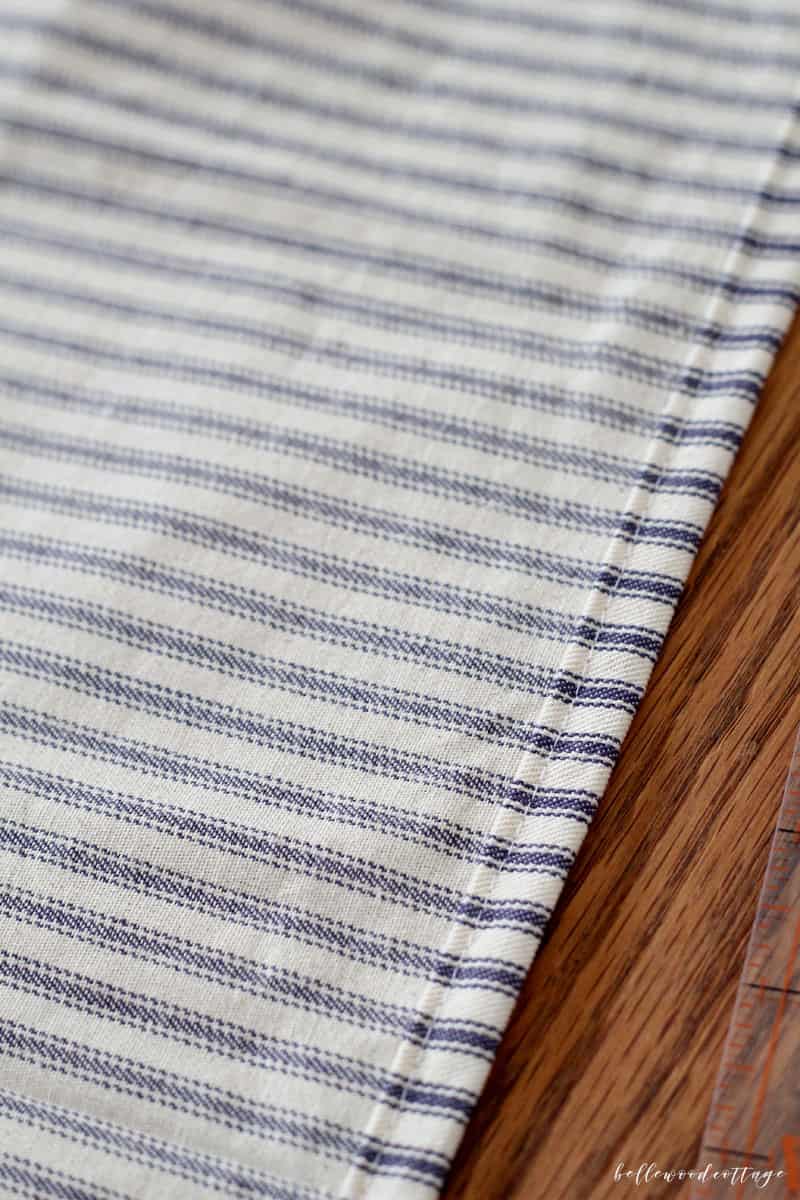
2 – Lace edge: With wrong side up, on the short edge of fabric fold over ½” and ½” again for the seam. Press. On the seam (wrong side of the fabric is still up, see photo) begin to pin your lace 1/8” away from the inside edge of the seam (the idea is that it will peek out from the outside edge of the fabric). Stitch the seam on the inside edge of the lace, or about ¼” in from the seam edge. Don’t forget to remove your pins as you sew!
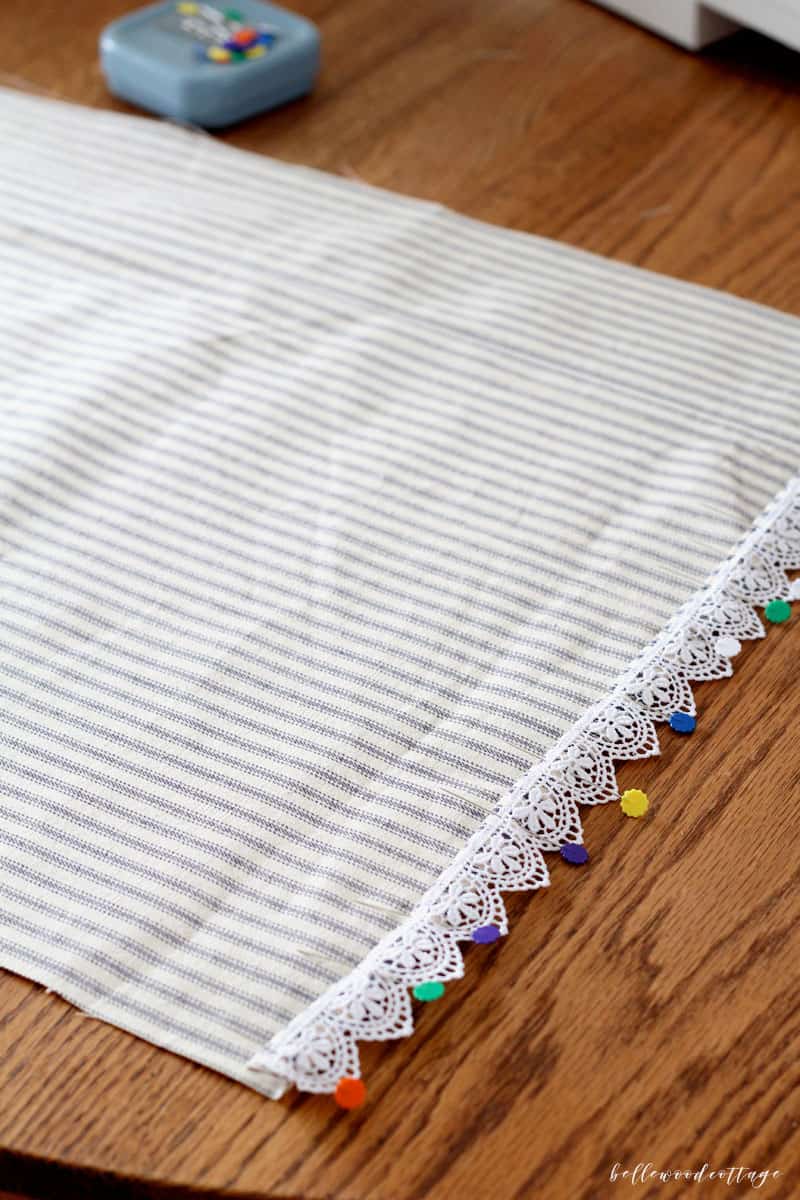
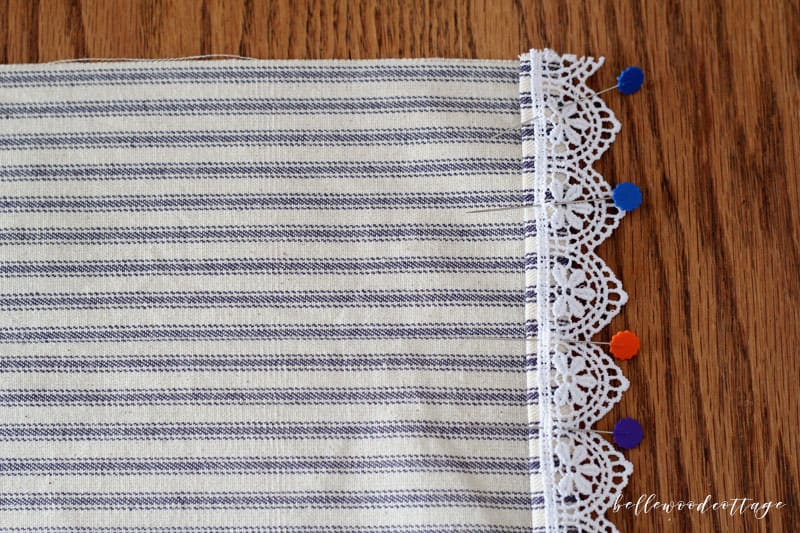
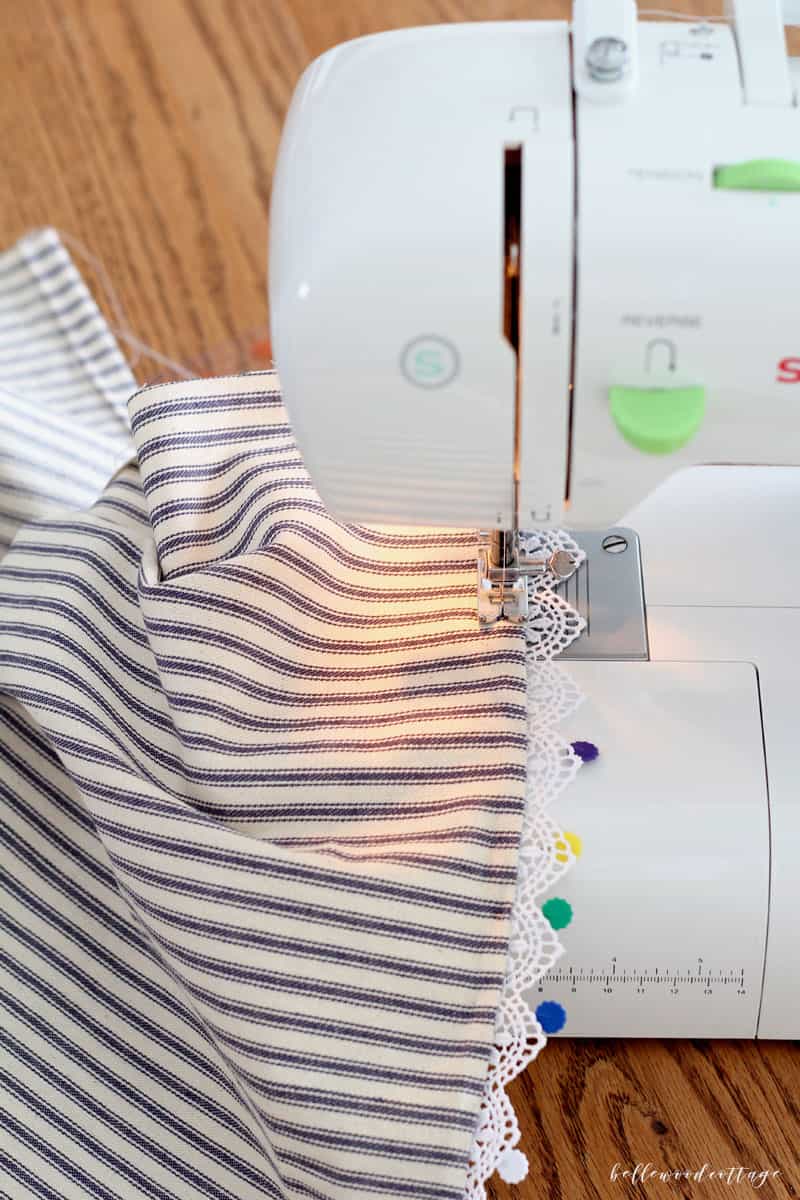
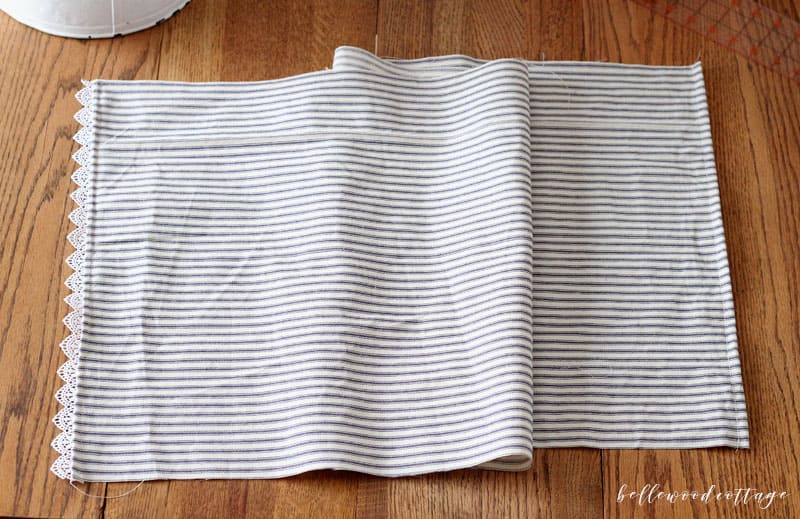
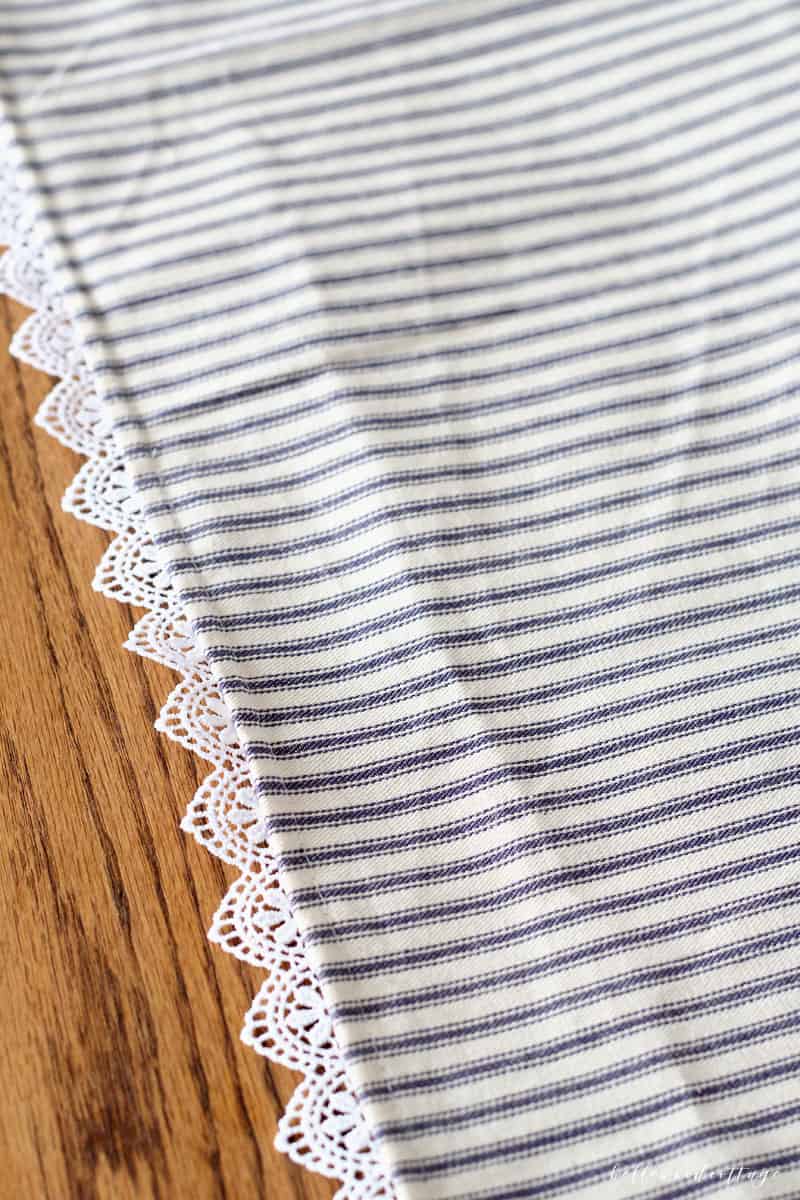
3 – Find center. Fold your fabric in half and find the center. Do this by lining up the short sides (lace excluded) and marking the center. Mark this on the wrong side with your fabric pencil and a pin on the top and bottom of the fabric.
4 – Find the folds: Now you will fold the fabric to make an envelope cover. On the top edge, from the center measure out 9.5” from the left side and the right side. Mark with a fabric pencil and pin. Repeat on the bottom edge.
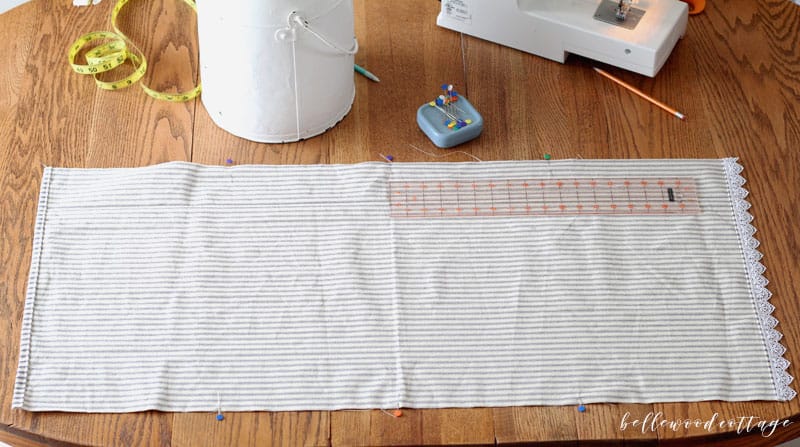
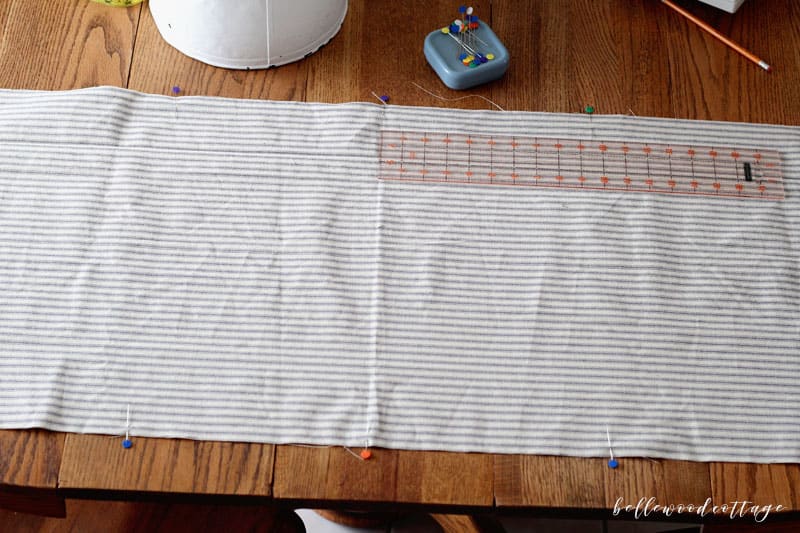
5 – Now with the right side facing: Fold the lace edge of the fabric in towards the center on the 9.5” line previously marked (right sides together).
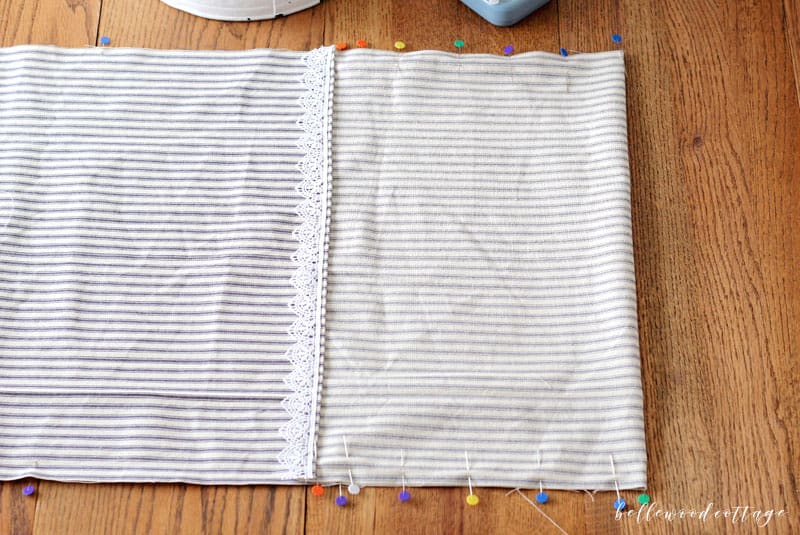
6 – Pin the top and bottom edges and sew closed with a ½” seam allowance.
7 – Next, fold the non-lace edge of the fabric in towards the center, using the 9.5” line from step 4 as your folding line for this side.
8 – Pin the top and bottom edges and sew closed with a ½” seam allowance.
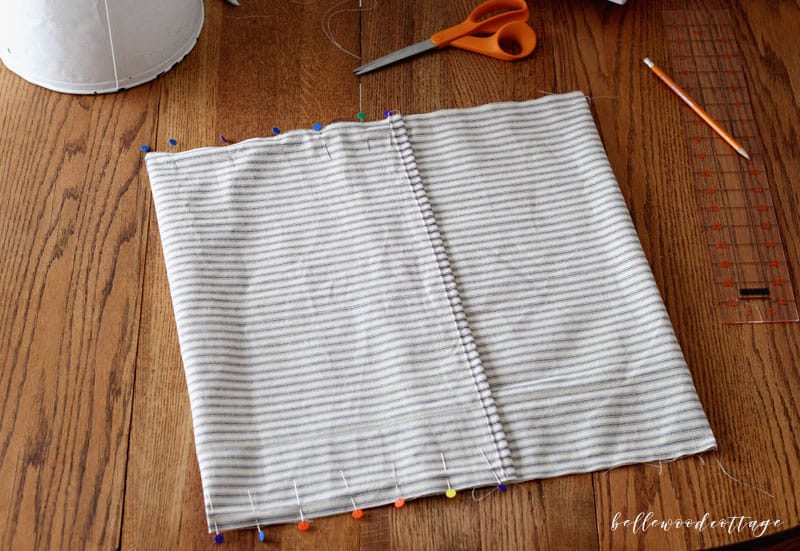
9 – Clip a tiny section away from each of the corners to make sure they can be square once the pillowcase is turned.
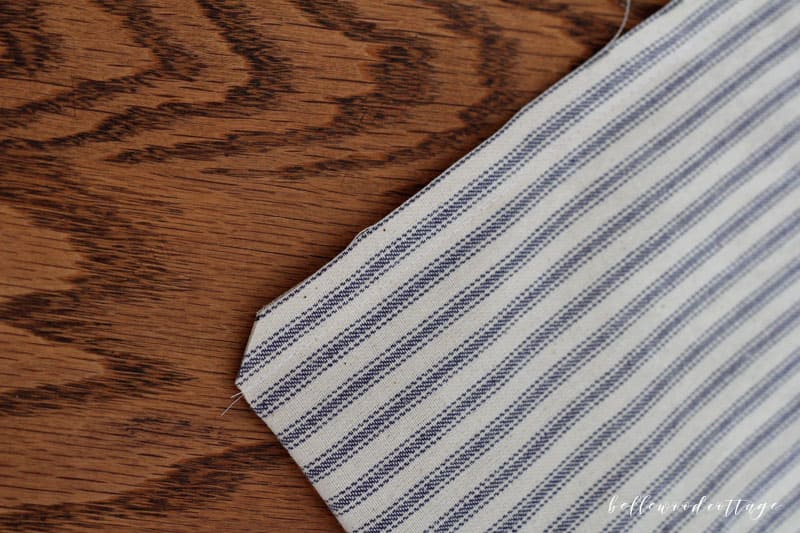
10 – Finish by hemming the raw edges with a serger or zig zag stitch.
11 – Turn pillowcase right side out, insert your pillow form, and enjoy.
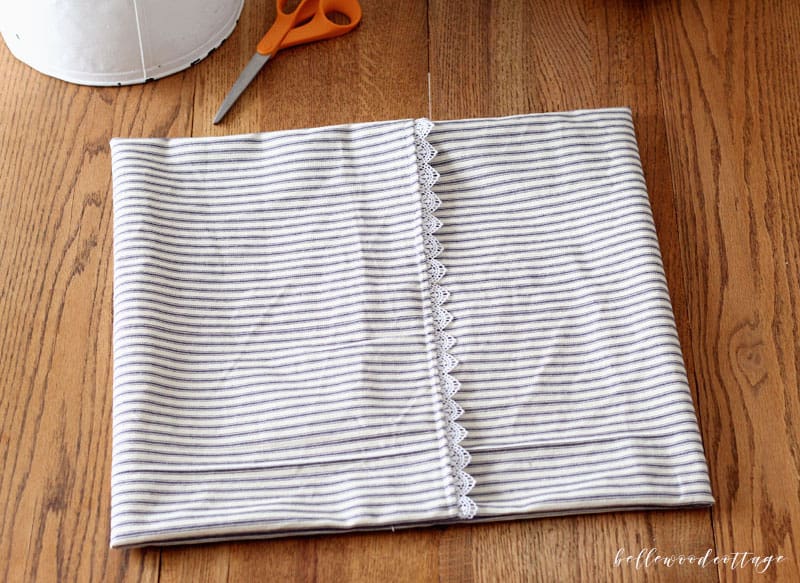
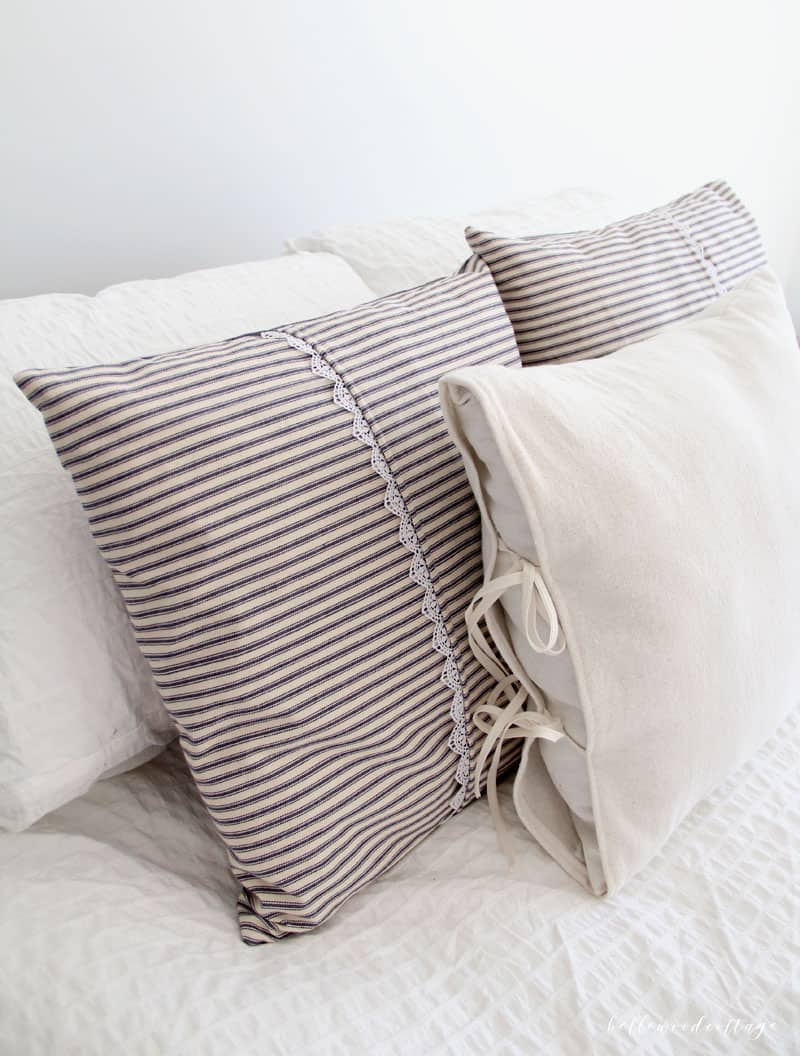
Be sure to let me know if you give this ticking stripe pillow cover tutorial a try!





I would like to make standard size grain and ticking pillows . what measurements do I need for standard size envelop pillow ?
I saw another tutorial, and it said this. when cutting the length, that the fabric is suppose to be for the envelope, it should be twice the pillow size plus 5 inches. so if its a 18×18 then it should be 41″ in length. then you can cut the sidth to the 18′ for the width. I believe that is correct. I ahve been making them all day today.
Hi Martha, I think what Kristen said is helpful! I’ve also seen a formula that adds 6″ instead of 5″ (in this tutorial mine is a little more than that). The general idea is to get a bit of overlap (plus enough extra fabric to hem the edges) so that you can’t see a gap in the final pillowcase. This tutorial might be helpful too: https://www.homestoriesatoz.com/decorating/easiest-envelope-pillow-cover-tutorial.html
Hope you enjoy sewing your pillows!
~Ellen