

How to Paint a Chair with Chalk Paint!

Chalk style paints are a little magical! With a can at the ready you can transform old furniture that feels dated and boring. A fresh coat of paint can really transform anything! Here’s my quick step-by-step guide of how update a thrifted chair with chalk paint.
This post was freshly updated on 7/8/2026! Enjoy!
Please note that this post contains affiliate links which allow me to earn a small commission when a purchase is made at no additional cost to you. As an Amazon Associate I earn from qualifying purchases. Read more here.
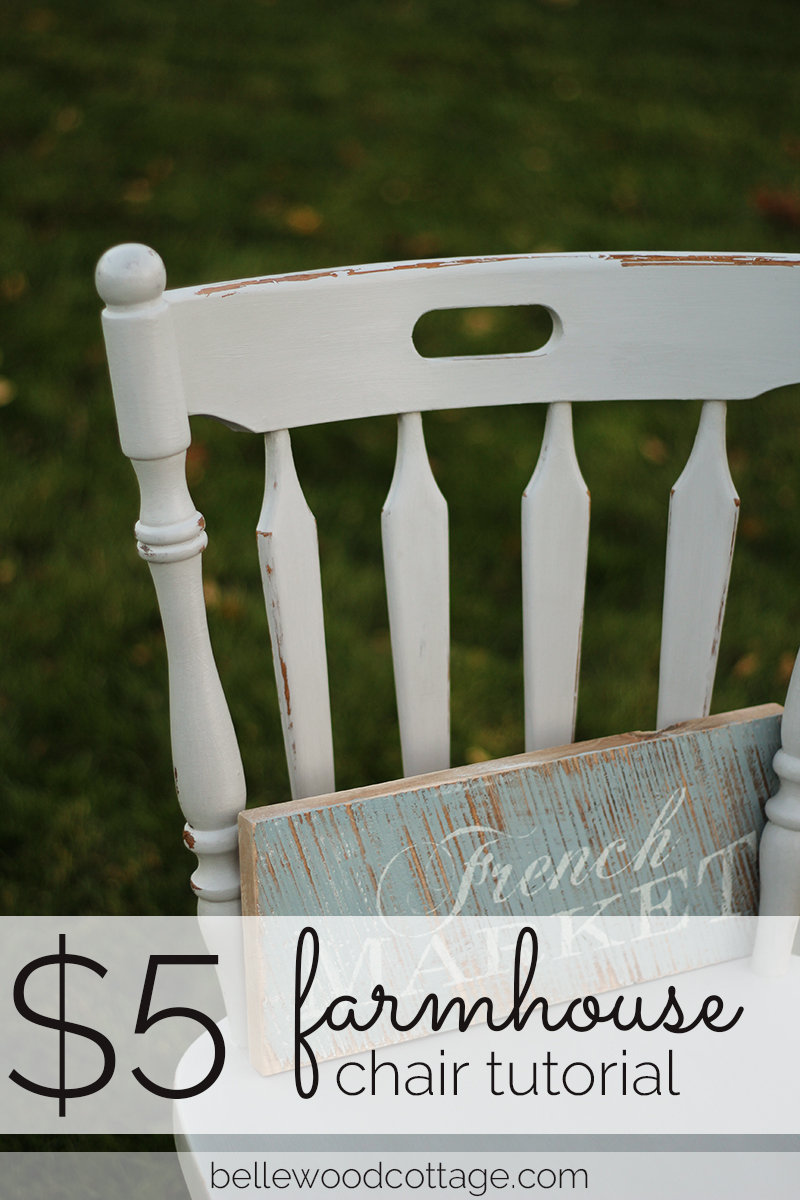
If you love the farmhouse look and want to add some cute style to your home without busting the budget, this is a great little project. It really is quick and so inexpensive to do.
Weekly Crafting Fun!
Join my list and get a weekly email with relaxing craft ideas, freebies, sewing tutorials, and more!
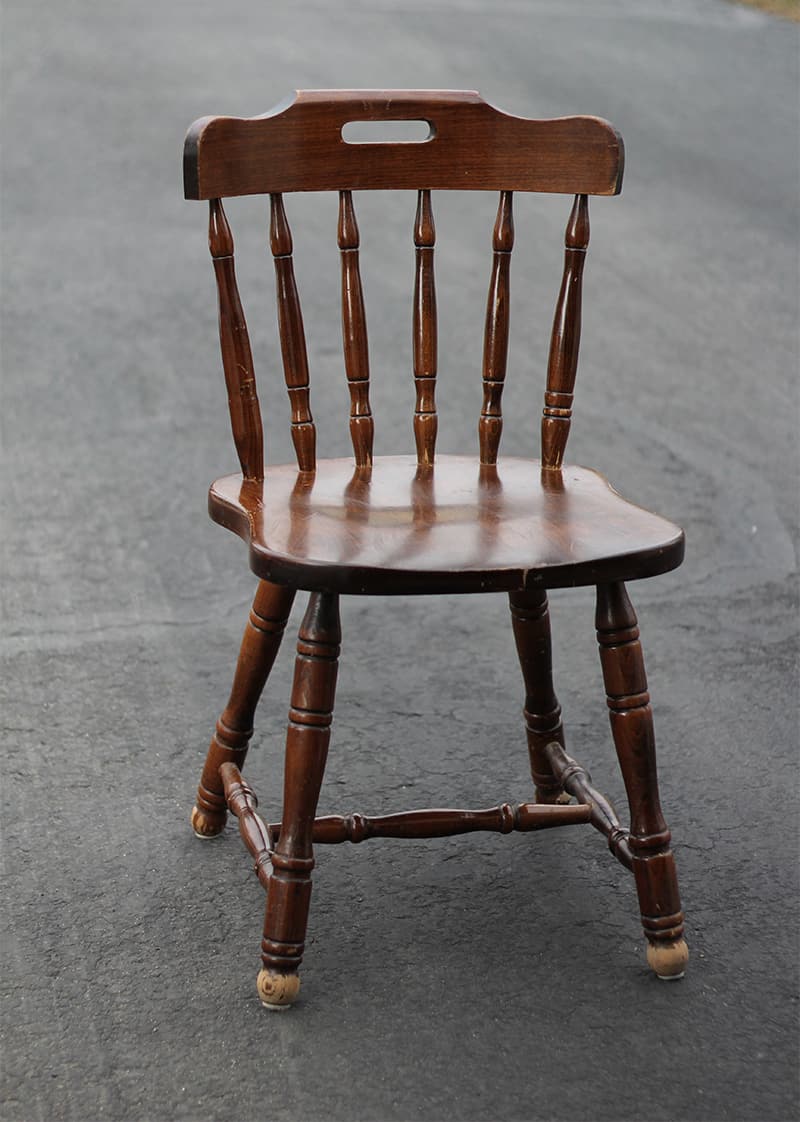
I recently picked up two chairs from thrift stores for only $5 each. I choose sturdy chairs that can be extras around my dining table or used to stage some cute decor pieces.
If you like the farmhouse style vibes (not as popular these days, but I have always loved a soft farmhouse/cottage aesthetic so I’m sticking with it personally!), chalk paints are such a great way to get the look for cheap.
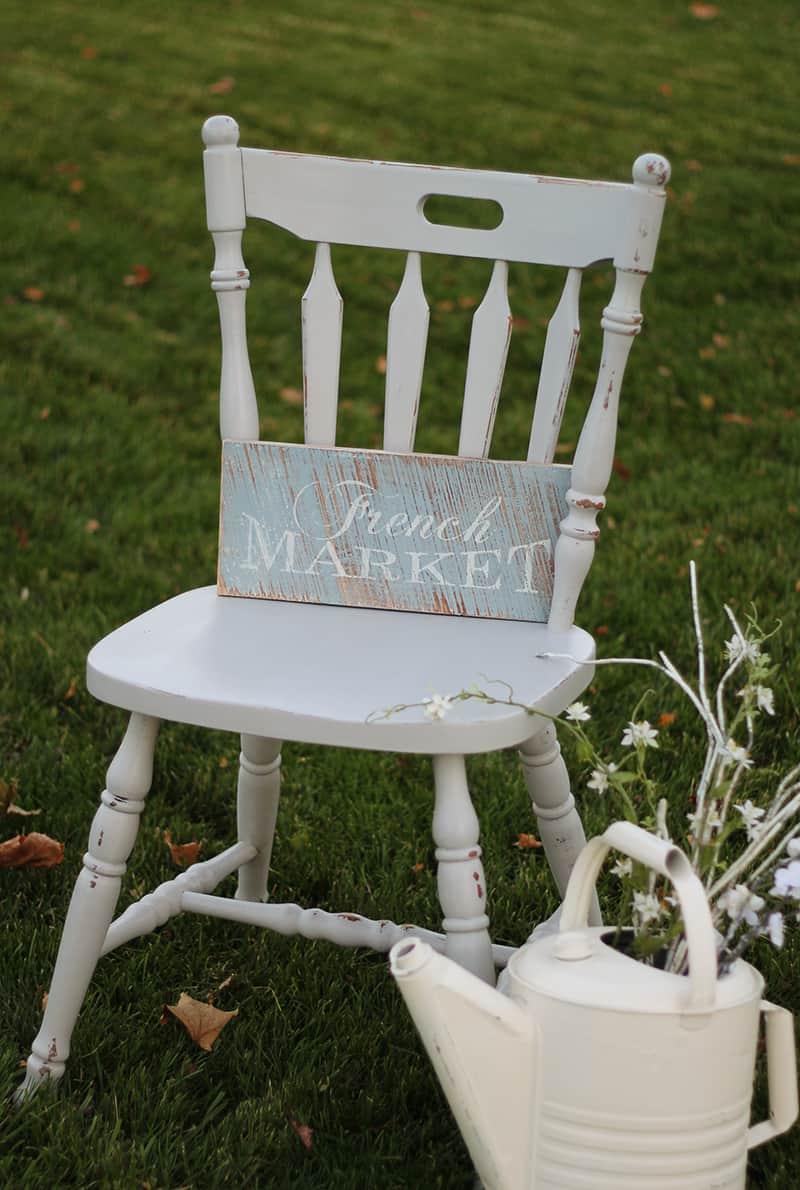
The $5 of course accounts for having paint on hand already, but keep reading below for another budget tip if you still need to purchase your paint (this tip will keep your cost under $25 and you’ll have lots of paint left for more projects!).
How to Choose a Chair
- Select a timeless silhouette. We are just going to paint the chair, so choose one that is already is the shape/style you want. I love chairs with a detailed spindle back for a farmhouse or cottage look!
- Test for stability. Give the chair a wiggle or two before you buy. Skip anything that is wobbly. They are hard to fix unless you have that skill set.
- Examine for deep gouges/scratches. These can be corrected with the careful application of wood filler, but that will be an additional step to your prep and painting process.
- Opt for a lighter wood & stain if you want to avoid potential bleed-through. While you can fix bleed-through, it’s often easiest to just select a piece that is unlikely to cause issues. Woods like cedar and knotty can cause a lot of bleed-through hassle unfortunately.
- Check garage sales for even better prices. Thrift stores are getting more expensive these days, so I find my best bargains at garage sales. Don’t be shy about making a respectful offer if you are purchasing multiple pieces and you might walk away with an even better deal!
Clean up! Once you’ve found a chair, go ahead and give it a quick wash with soap and water. I like to start with a clean piece of furniture without traces of dust, spider webs or even sticky food residue–ick!
Start With a Light Sand
While chalk style paints are technically “no prep”, I like to start with a light sanding. You can skip this if you don’t have a place to safely sand. I find that the extra grit of removing some of the top coat and roughing the surface does help application.
You do not need to remove all the finish. I like to use a set of sanding blocks that includes all the grits so it’s simple to work through a few of them (from rough to fine) for a great finish.
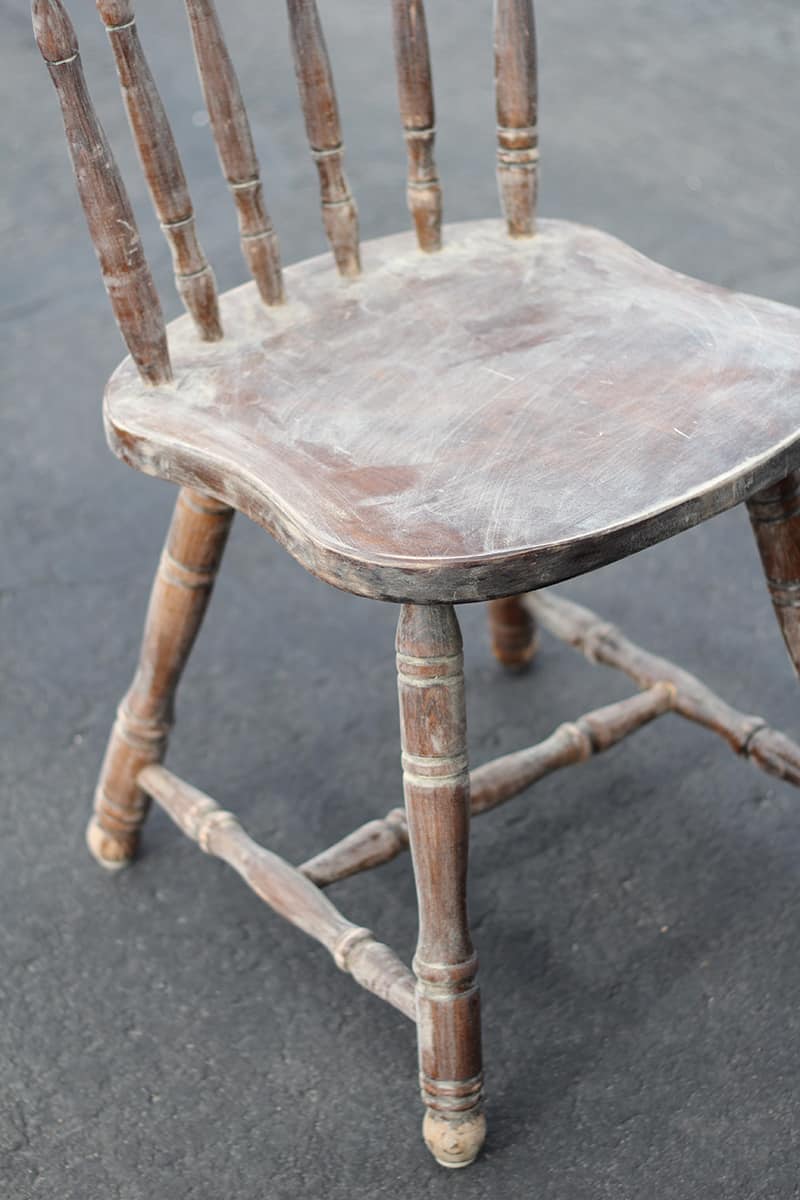
Now, you don’t need to sand when using chalk-style paint, but I like to have a fresh surface to paint on. For the small investment of time, it’s worth it.
I then will wipe off any remaining sanding dust before I begin painting.
The Best Budget-Friendly Chalk Style Paint
Annie Sloan’s Chalk Paint®, which is the original stuff and the “real deal” as it were, can be quite pricey. It’s currently selling for about $30 for a pint and $45 for a litre.
It’s true that the Annie Sloan paints are amazing quality. They have great coverage and will last for multiple projects, but unfortunately, the cost can really add up.
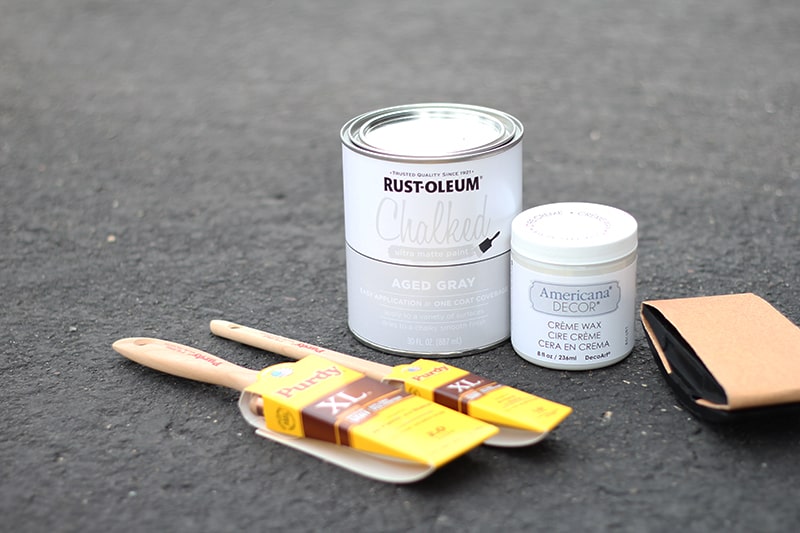
Instead, try one of these more budget-friendly options.
Rust-Oleum “Chalked” Chalk Style Paints are a great value for around $20-25 a quart. It’s also easily purchased right from Amazon.
I used Rust-Oleum’s chalk style paint for the chairs shown in this post (plus many more projects!) and was very happy with it.
The main downsides are a more limited color selection and the fact that that it seems to show more defined brushstrokes.
How to Paint a Chair with Chalk Style Paint
Grab a good quality brush (you can try my favorite brush for painting furniture, and I also like Purdy brushes) and plan to paint your piece with at least two coats of paint.
Before I start painting, I like to fill a disposable plastic cup with paint and water it down just slightly. I find that adding water 1 teaspoon at a time to about a 1/2 cup of paint works well. Note that if you add too much water, it’ll take more coats to completely cover your piece.
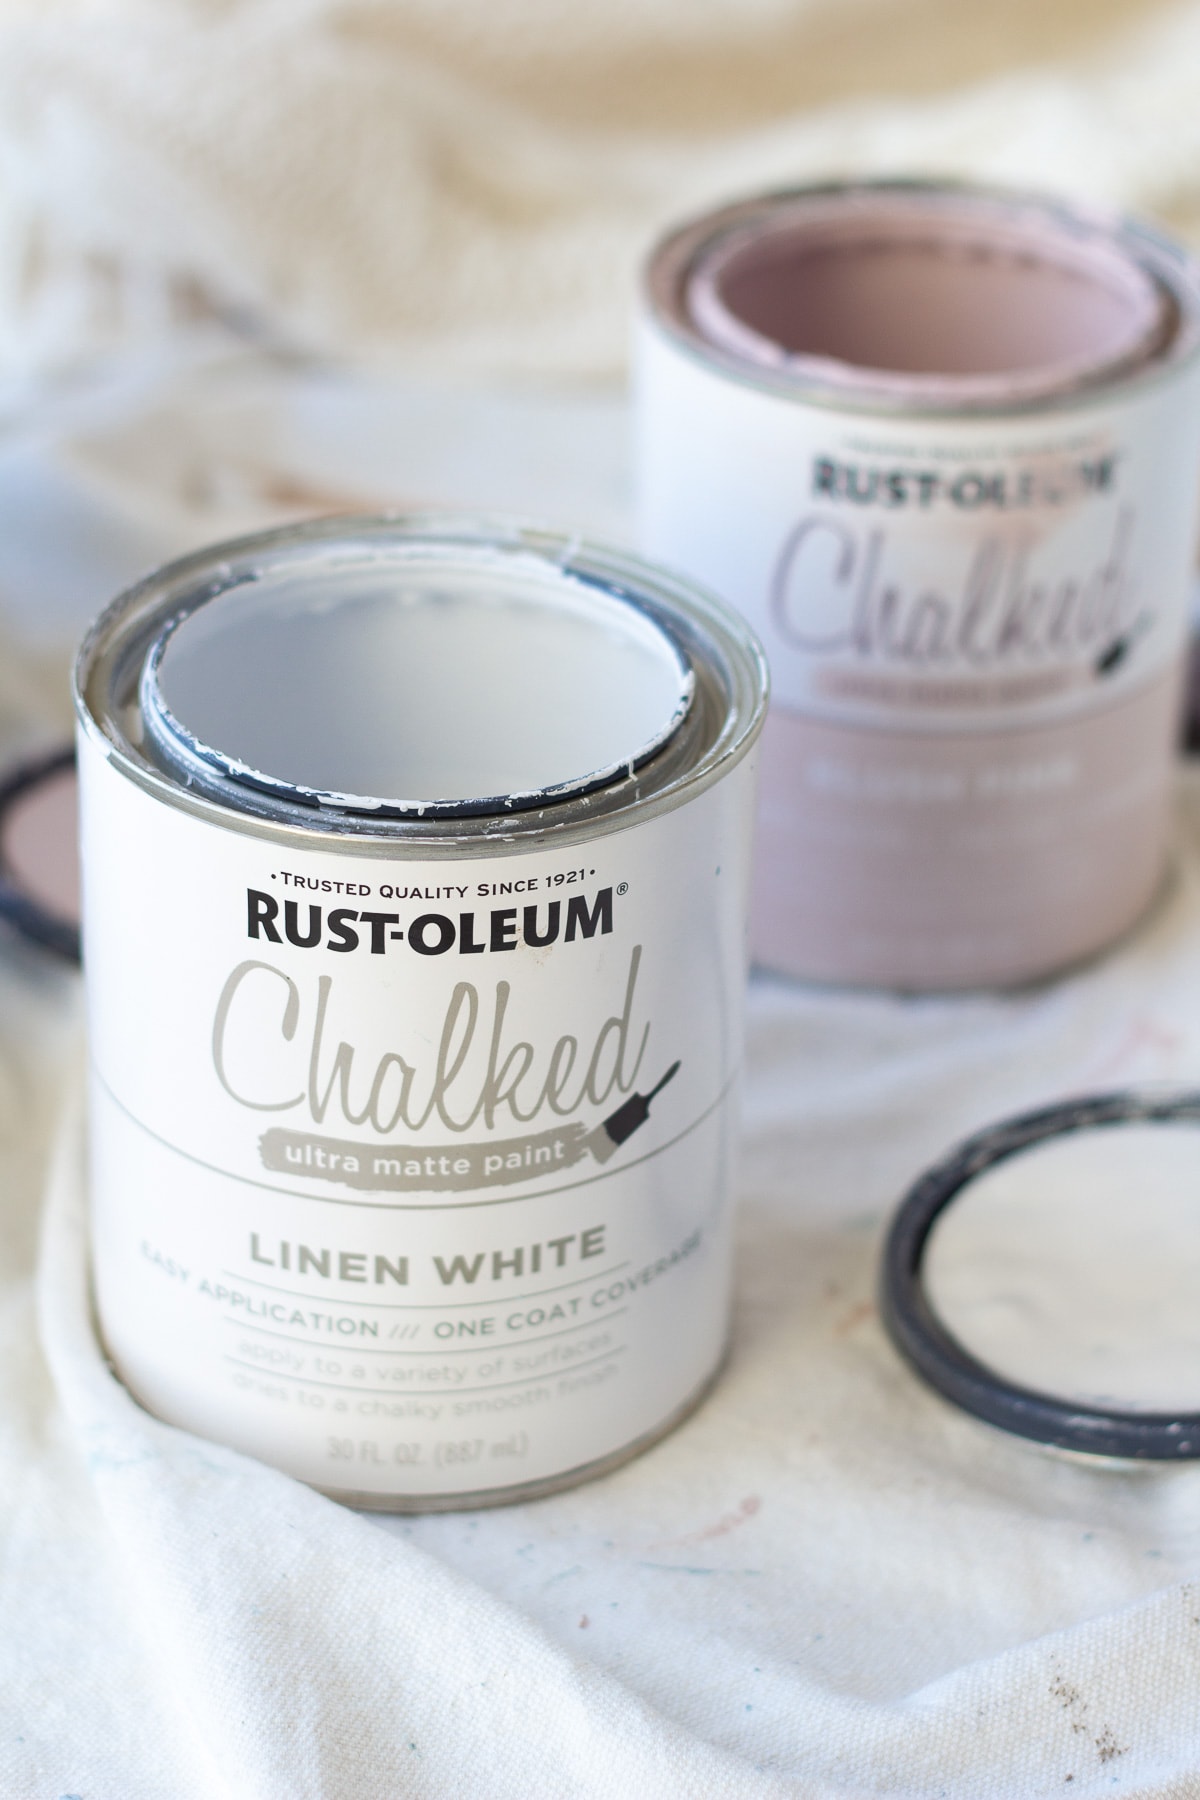
Tip: With chalk painting, your brushstrokes will show. While I love that look for the cottage/farmhouse vibes, I suggest painting with some sort of methodical manner so that things look neat.
I suggest starting with the chair flipped over. Paint all the underneath areas first so if anything gets messed up when you flip it back over it’ll be hidden!
Your first coat is kind of like a primer coat. It’ll leave a lot of finish showing through, but after the second coat things will be looking a lot better!
Here’s a glimpse at what I aim for with a first coat:
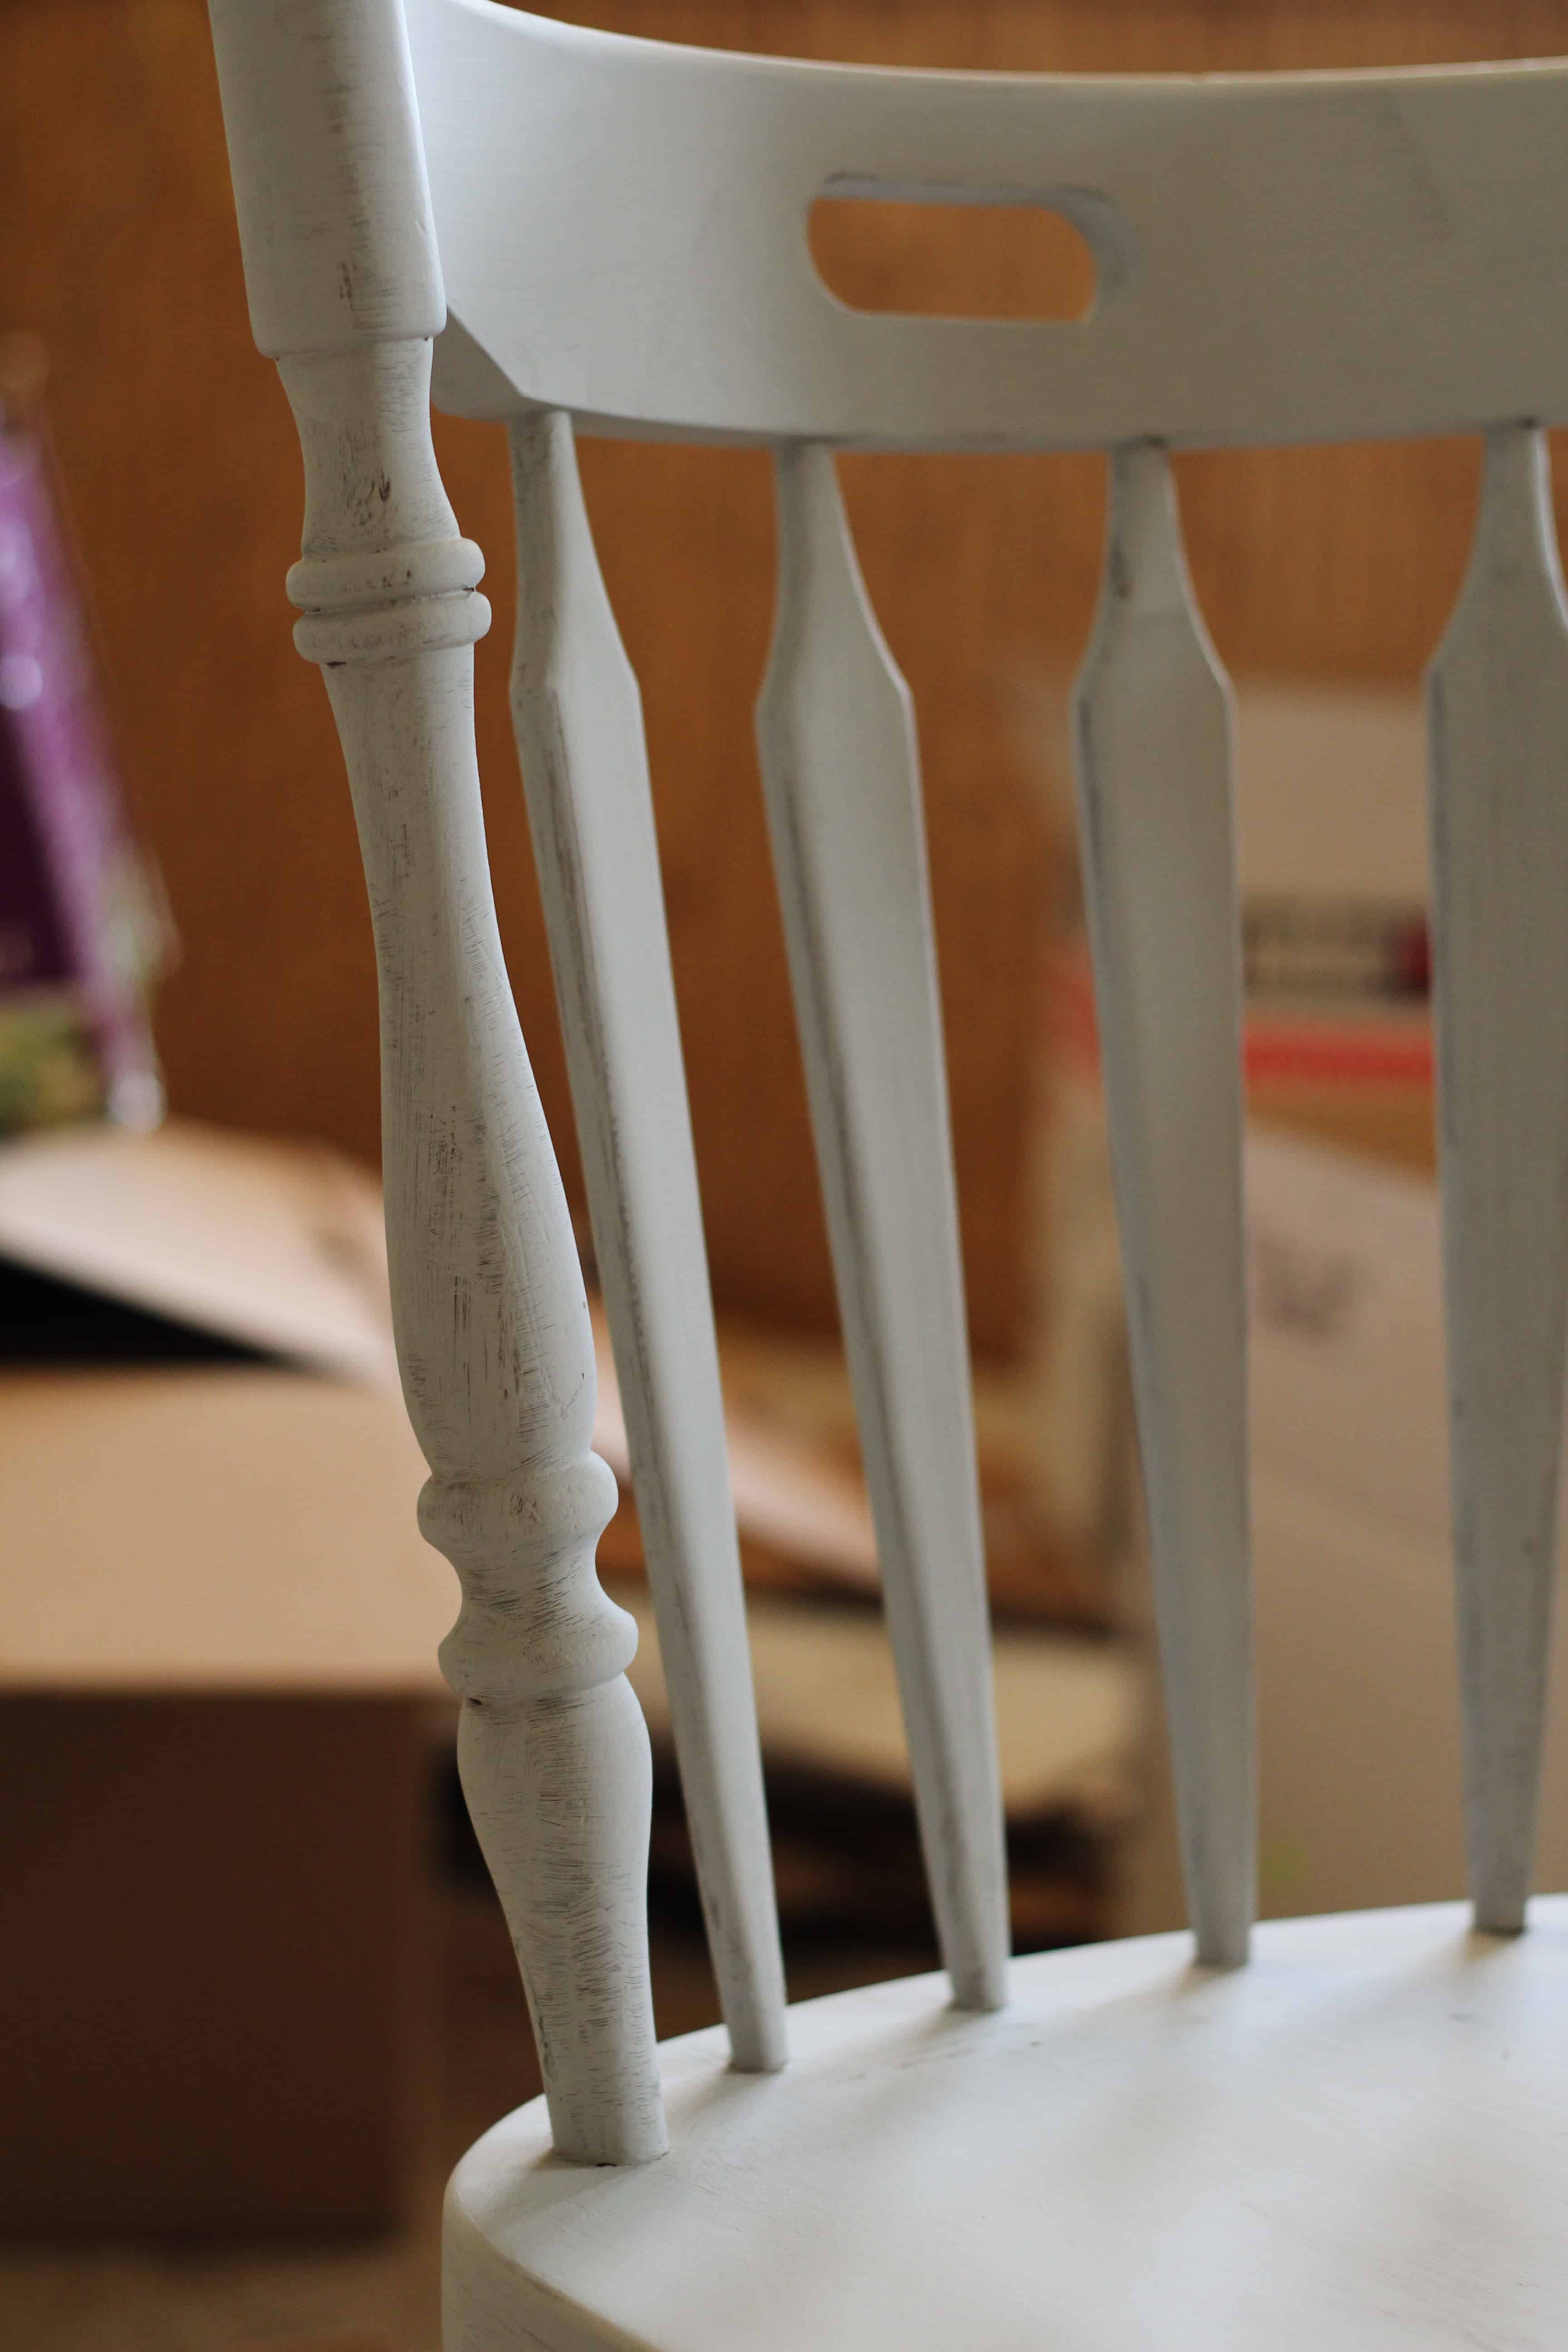
I usually need two coats to get the look I want. If you decide to do three, that’s perfectly fine too!
Be sure to let the paint dry completely between coats.
Distress the chalk paint
After both coats are completely dry (reference your paint can for dry times), it’s time to distress the piece. If you’ve never done this before, you can check out my tips on distressing chalk paint for more information.
This is where chalk-style paint really shines, as a little aging or distressing lends a beautiful rustic look to any piece.
You can use a few different methods to age and distress the piece. The most popular are a sanding block or a damp towel or even baby wipe.
Each method creates a different looks, so feel free to experiment in the more inconspicuous areas of your chair.
Tip: To help the distressed areas look authentic, start small and aim for distressing areas that are most likely to see wear and tear over the years.
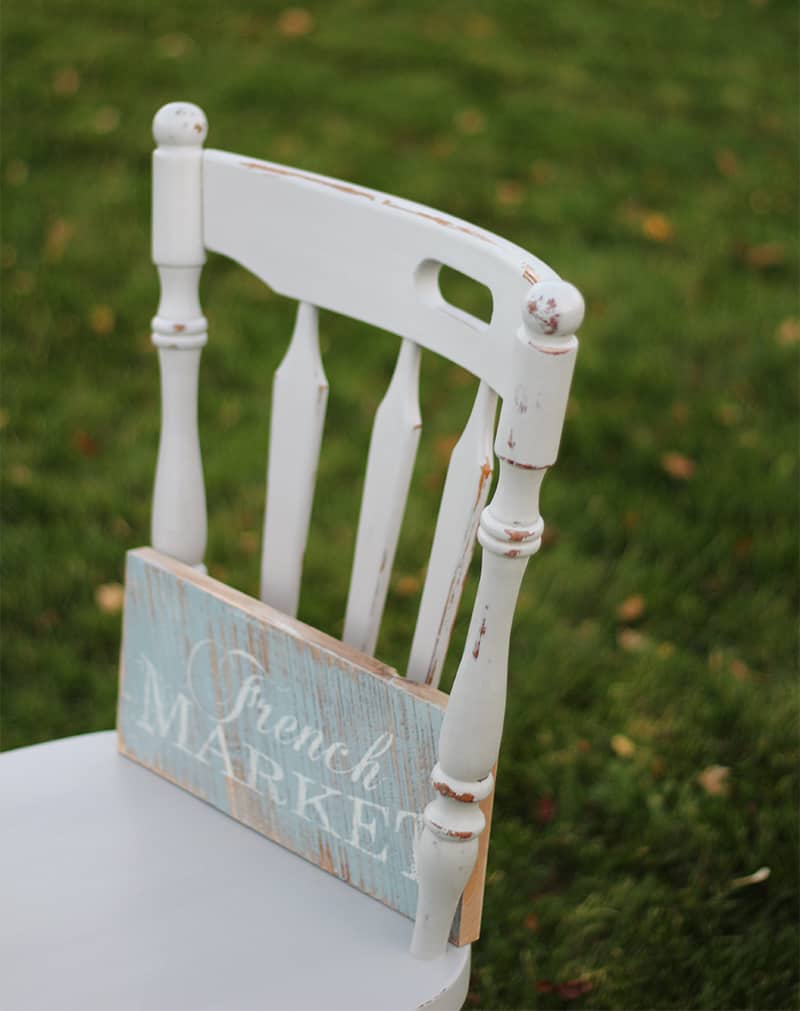
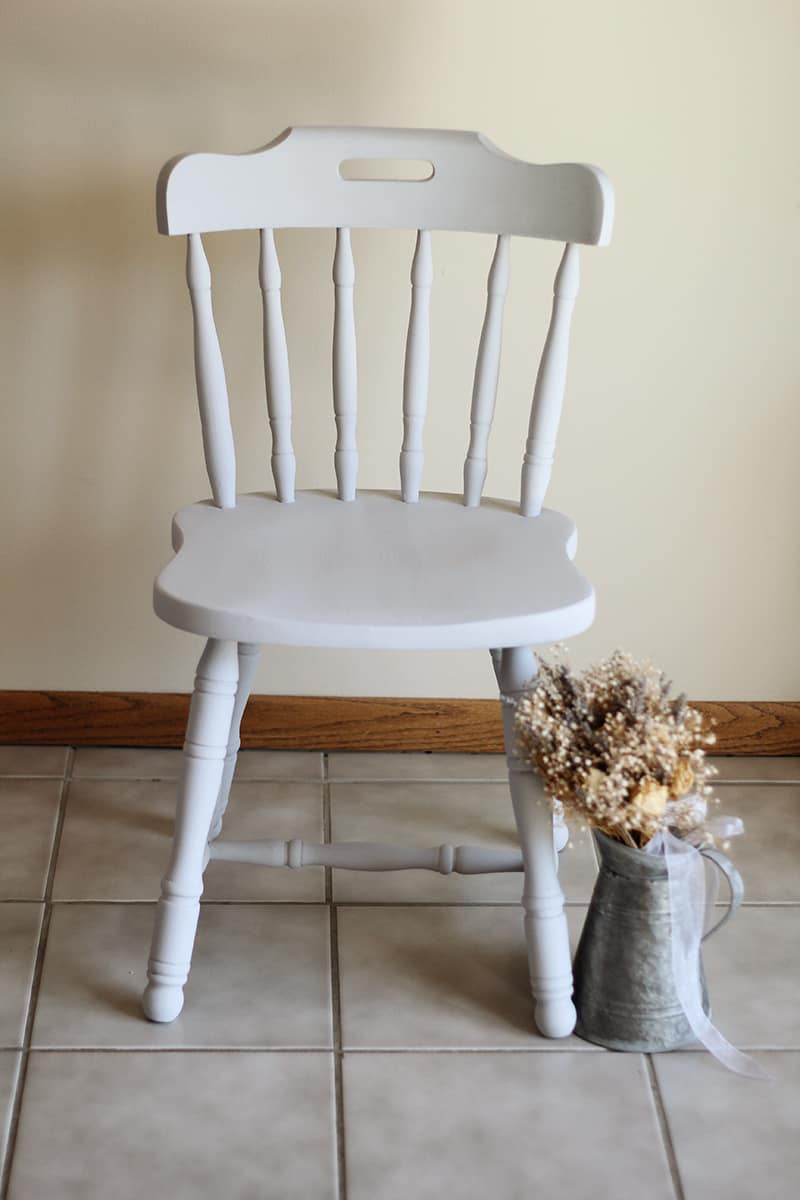
You can also skip distressing the final piece. The chair below is not distressed and I still love the way it turned out.
Seal the Paint
The last step is to seal the paint. You can get different options from the craft store, but it’s best to buy something that will hold up to wear and tear.
After the amount of chalk paint projects I’ve completed since I very first wrote this post, I have some suggestions for higher quality finishes for your chalk paint pieces.
Read my post on how to seal chalk paint for the most thorough explanations. If you want a quick answer, I’d suggest using Rust-Oleum Matte Clear or Minwax matte polycrylic if you want a brush-on finish.
Tip: Always test your top coat in an inconspicuous area before sealing your entire piece. Sometimes top coats can yield unexpected results.
Brush-on top coats are much easier and faster to apply than chalk paint waxes. They also hold up better under heavy use. Waxed pieces tend to work best in decorative areas.
Style the Finished Piece
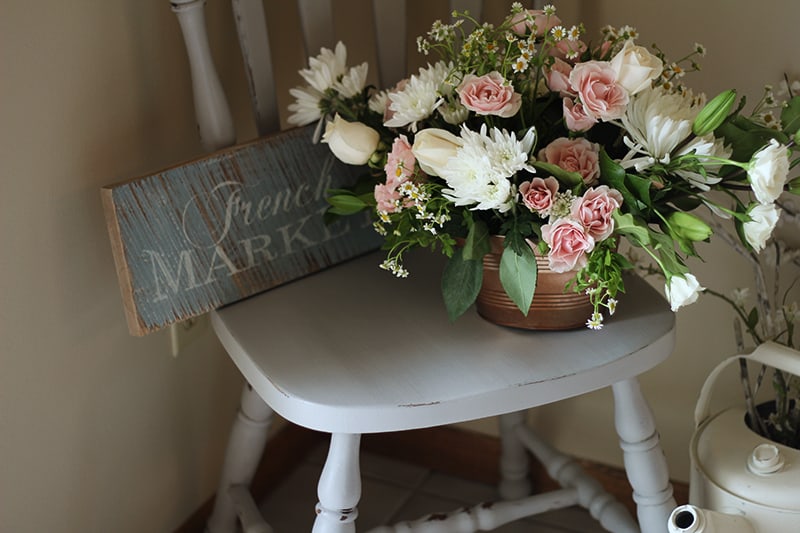
Chalk painted chairs work beautifully around a big farmhouse table, but they can also be lovely decor accents throughout your home.
Try styling a chair with some antiques, vintage books, a cute sign, or fresh flowers.
New to Chalk Painting? Reach out with any questions!
Thanks for reading along!

Weekly Crafting Fun!
Join my list and get a weekly email with relaxing craft ideas, freebies, sewing tutorials, and more!



3 Comments