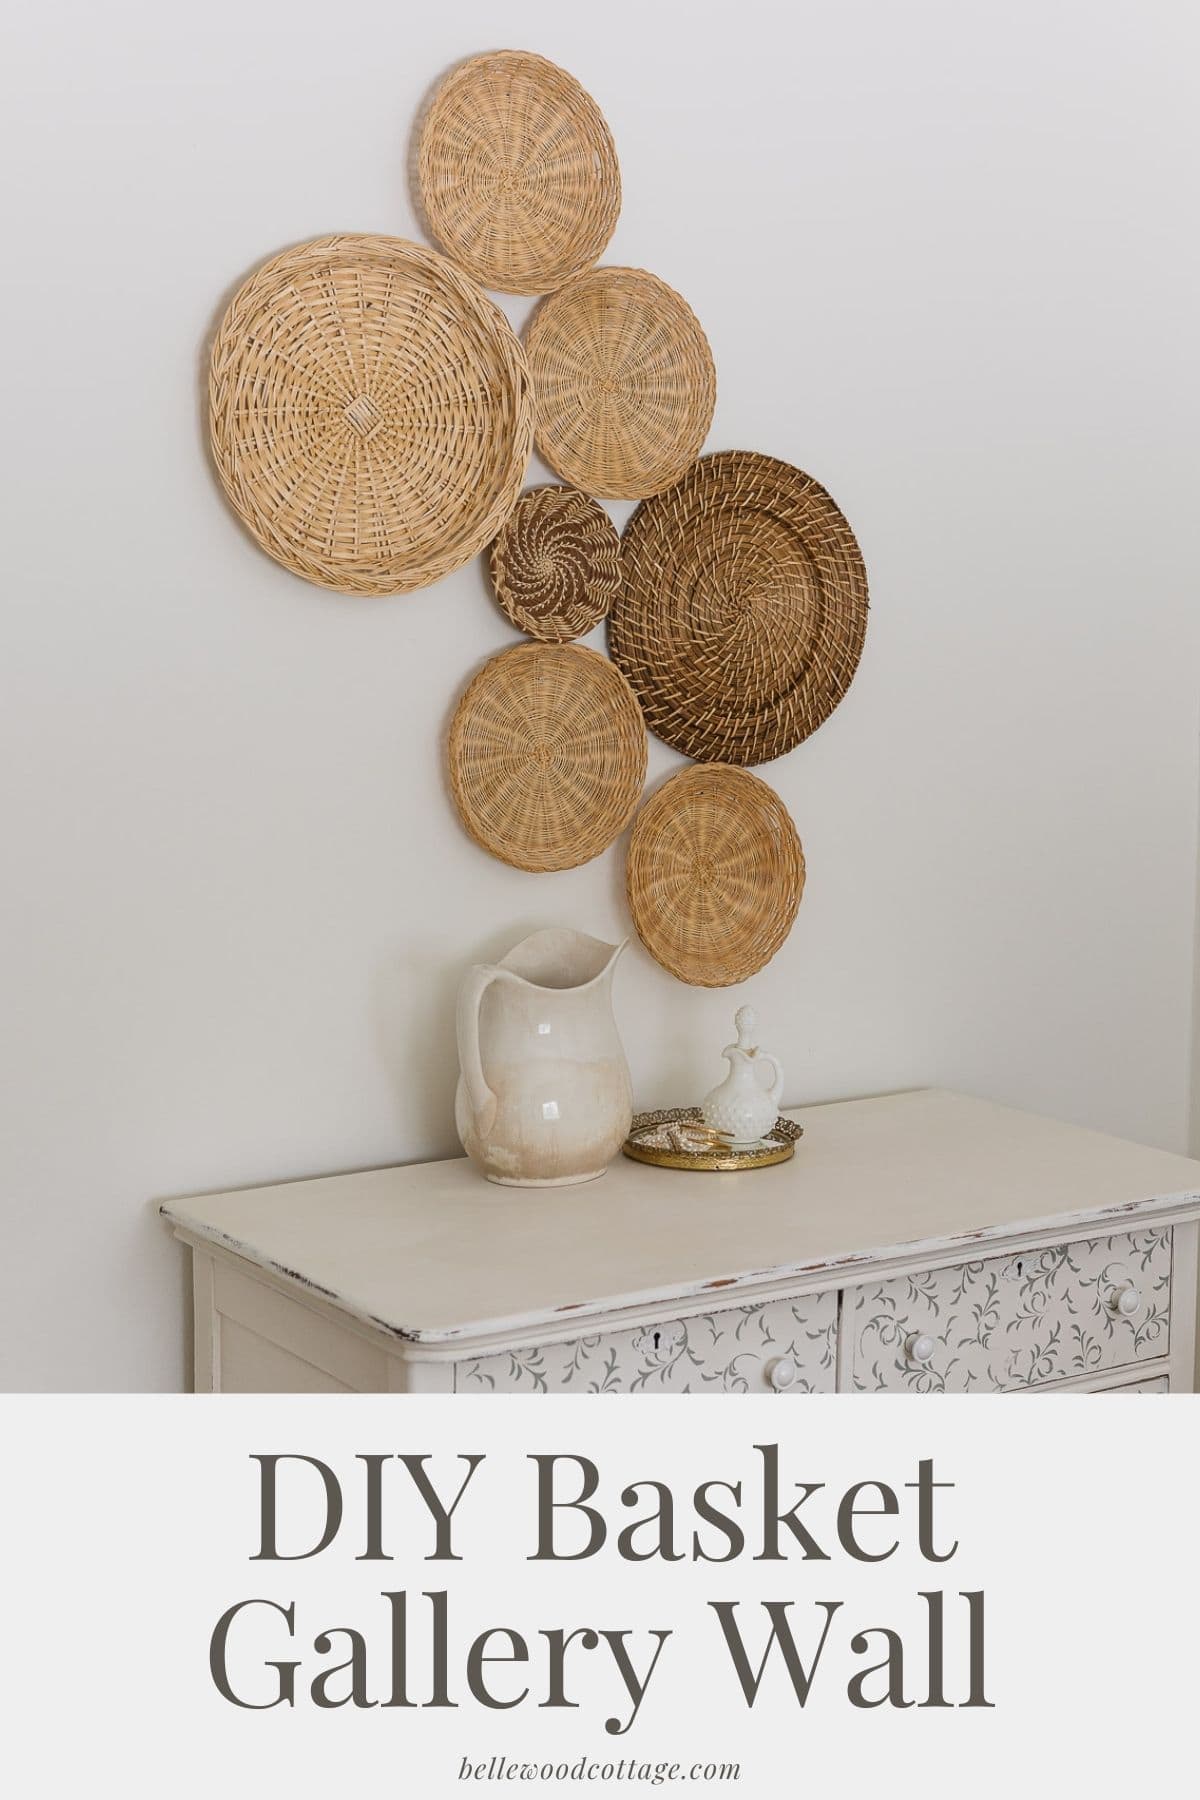
Basket Gallery Wall + Tutorial
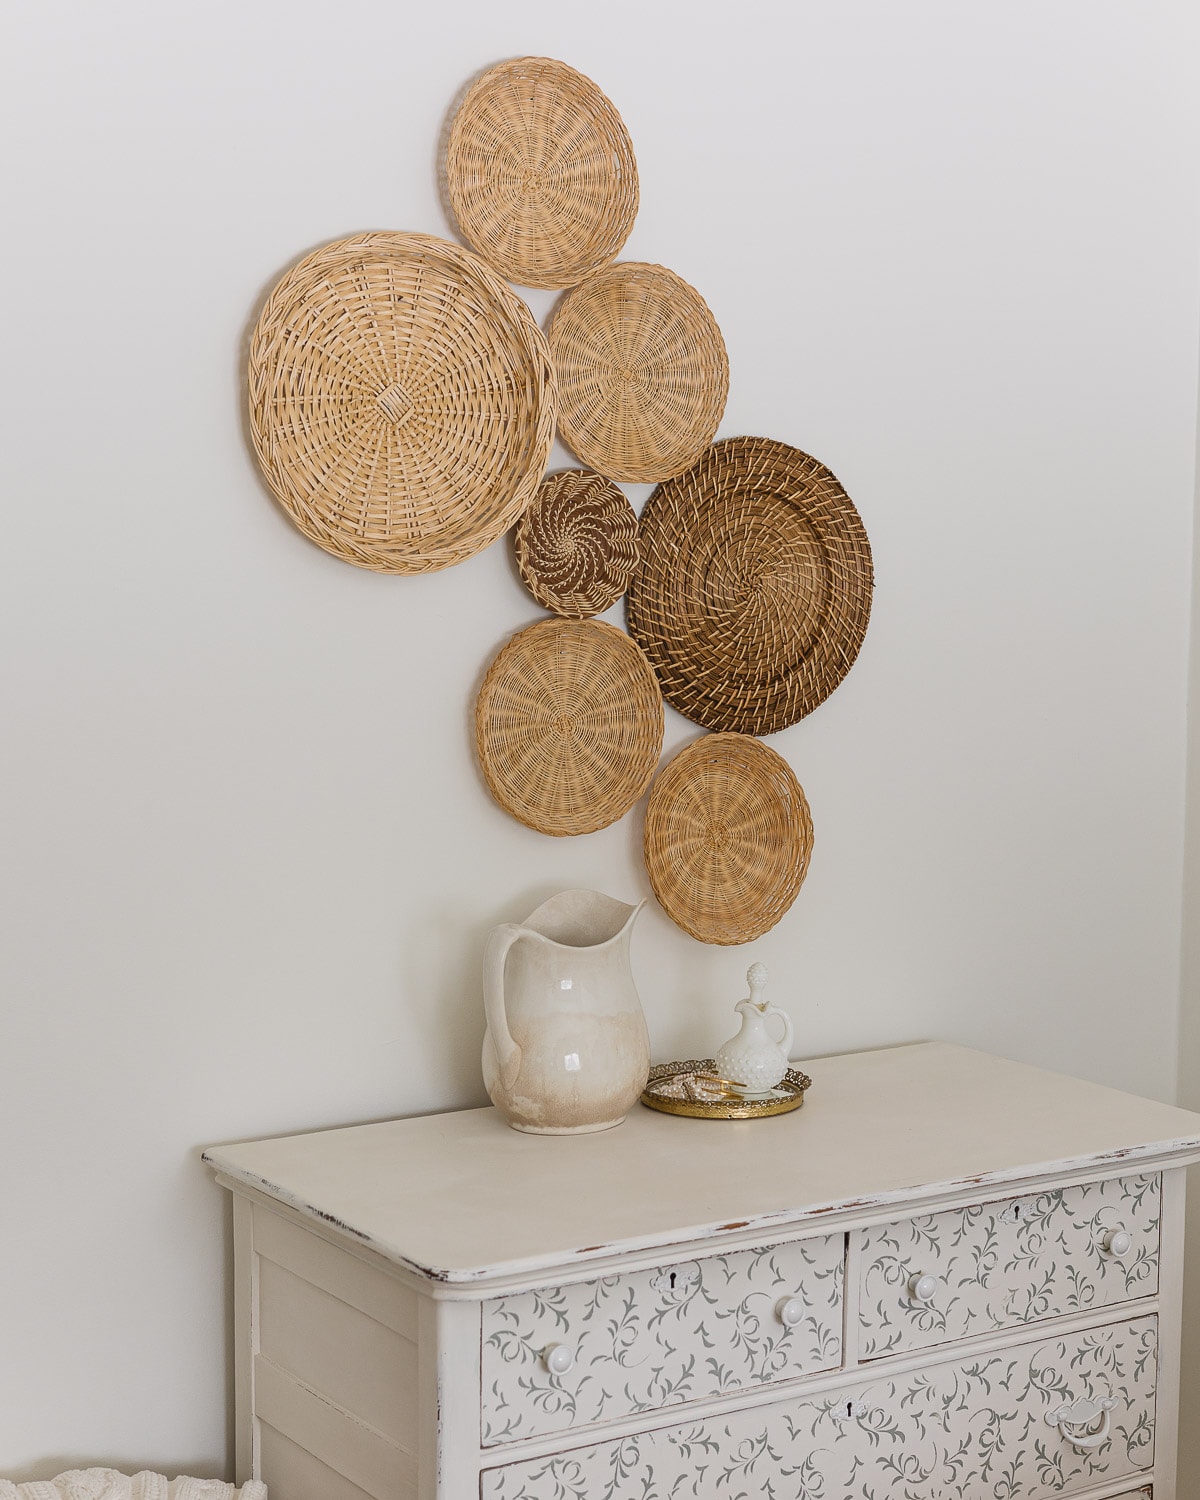
Turn antique and thrifted baskets into a quick and easy Basket Gallery Wall for a pop of color and texture in any room. This project can be a great budget-friendly way to fill a wall in your home with character!
Please note that this post contains affiliate links which allow me to earn a small commission when a purchase is made at no additional cost to you. As an Amazon Associate I earn from qualifying purchases. Read more here.
After receiving the sweetest handmade basket at Christmas one year, I started collecting baskets to feature it in a basket gallery wall.
It took longer than I expected to find enough baskets that I liked (though admittedly I didn’t fully commit to searching at first). A random Hobby Lobby find, a stack at the thrift store, and recently a large and flat basket found at an antique market. Finally I was ready to hang the baskets!
Weekly Crafting Fun!
Join my list and get a weekly email with relaxing craft ideas, freebies, sewing tutorials, and more!
The great thing about this type of gallery wall is that it adds lots of color and texture, but it can also fill as large a space as needed. You can adapt the size/number of baskets to suit any open space. Depending on where you shop, it can also be more budget-friendly than creating a gallery wall from framed artwork.
Supplies You Will Need
All you need to create your own basket gallery wall is a collection of baskets (plus a hammer and nails to secure them to your wall). A tape measure and a second pair of hands is also helpful.
Love free craft ideas? Subscribe to Bellewood Cottage for more fun and relaxing craft ideas straight to your inbox.
Shopping for Baskets
The first thing to do is collect baskets. In my opinion, the more baskets the better (giving you lots of options for your final gallery). However, you can also make mini displays of one, two, or three baskets for an accent on smaller walls or nooks.
Save money by hunting down your own baskets
The best way to create a budget-friendly basket gallery wall is through hunting down your own baskets (or basket alternatives that I’ll cover in just a moment). I quickly realized that buying an already-curated set on Etsy (or Anthropologie or Pottery Barn) was going to be pricey.
You have more control of the final cost of the wall when you locate the perfect baskets yourself. Utilize thrift stores, vintage markets, and yard sales to save costs.
Save time through buying a pre-collected set
Alternatively, if you are short on time and need to get a wall done quickly, finding a ready-to-go set is helpful. There are lots of wall basket sets on Etsy you can shop through. The only caveat is that many of these sets are sold separately, so check the product descriptions for details on exact cost.

Choose a color scheme
Many basket gallery walls are completely neutral, but consider having fun by adding a pop of color with a brighter basket (or paint your own).
Shop for baskets in a variety of sizes
Stick with mostly flat/shallow baskets so that your wall doesn’t become a hazard as you walk through your home. Collect a variety of sizes to make the final wall design interesting.
Sprinkle in antiques and handmade baskets
Antique and handmade baskets add character to the gallery wall. Check around for local artisans (handmade baskets are lovely) or visit craft and antique markets.
Buy more than you need
Obviously don’t spend lots of money on baskets that won’t be used, but having extras ready to go is helpful. So, snag “filler” baskets for cheap at thrift stores or online and use these to fill in around more pricey handmade or luxury baskets.
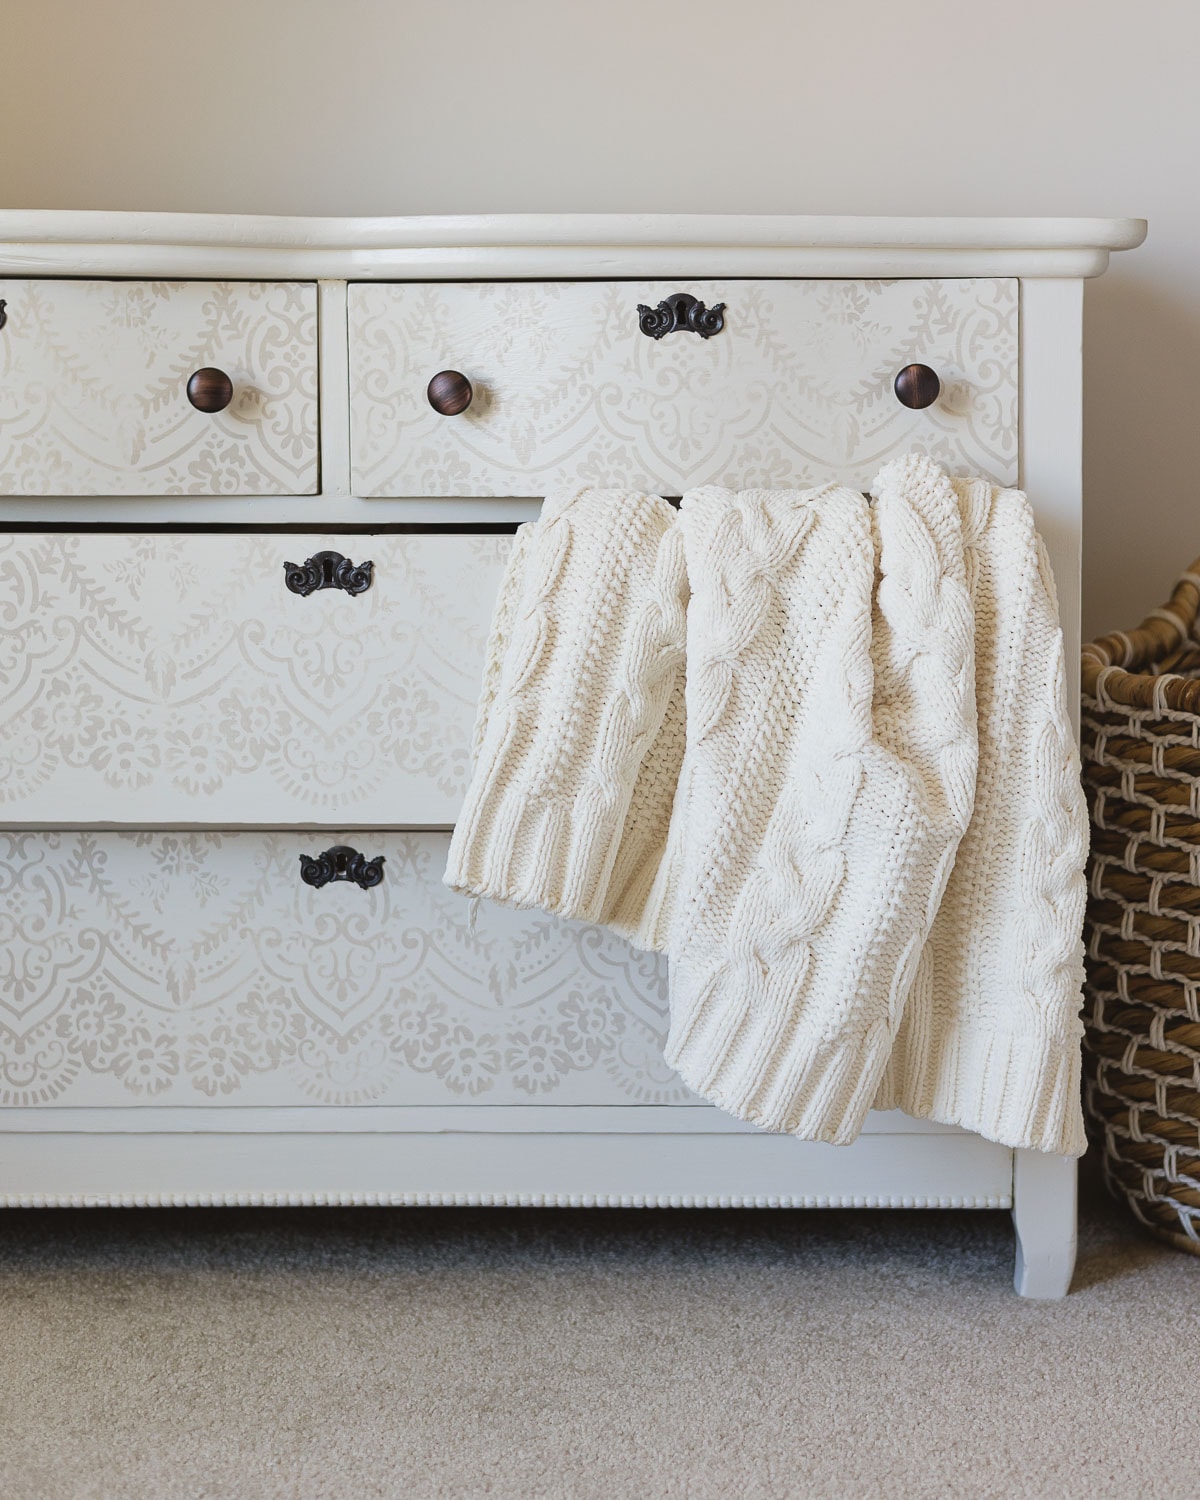
I found a stack of baskets (the medium size ones on my wall) while thrifting for just a few dollars. They filled in with my more expensive baskets quite nicely.
Leftover baskets? Re-sell them, use them in a different area of your home, paint them, or give them to a friend.
Consider woven/rattan chargers and placemats
This is a little trick to save money too. If you check out the charger/placemat area of any décor/craft store you are almost guaranteed to find a few “basket-like” varieties. These are perfect for filling out a gallery wall. They are both flat and inexpensive. For example, this jute charger from Target would be perfect.
Search terms to use when hunting for baskets online
Sometimes it can be hard to find what you are looking for. Try these search terms as you shop:
- boho baskets
- boho gallery wall
- basket gallery wall
- flat baskets, flat round baskets
- chargers
- hanging baskets
- woven baskets
- basket décor
How to Hang a Basket Gallery Wall
The first step is creating a layout. Clear a large space on the floor and work out your design there.
Layout tips
Here’s a few tips as you work out your layout:
- Have more baskets than you need. This allows flexibility as you create your design.
- Take photos on your phone as you create arrangements so you can remember your designs.
- Choose a feature basket to work around.
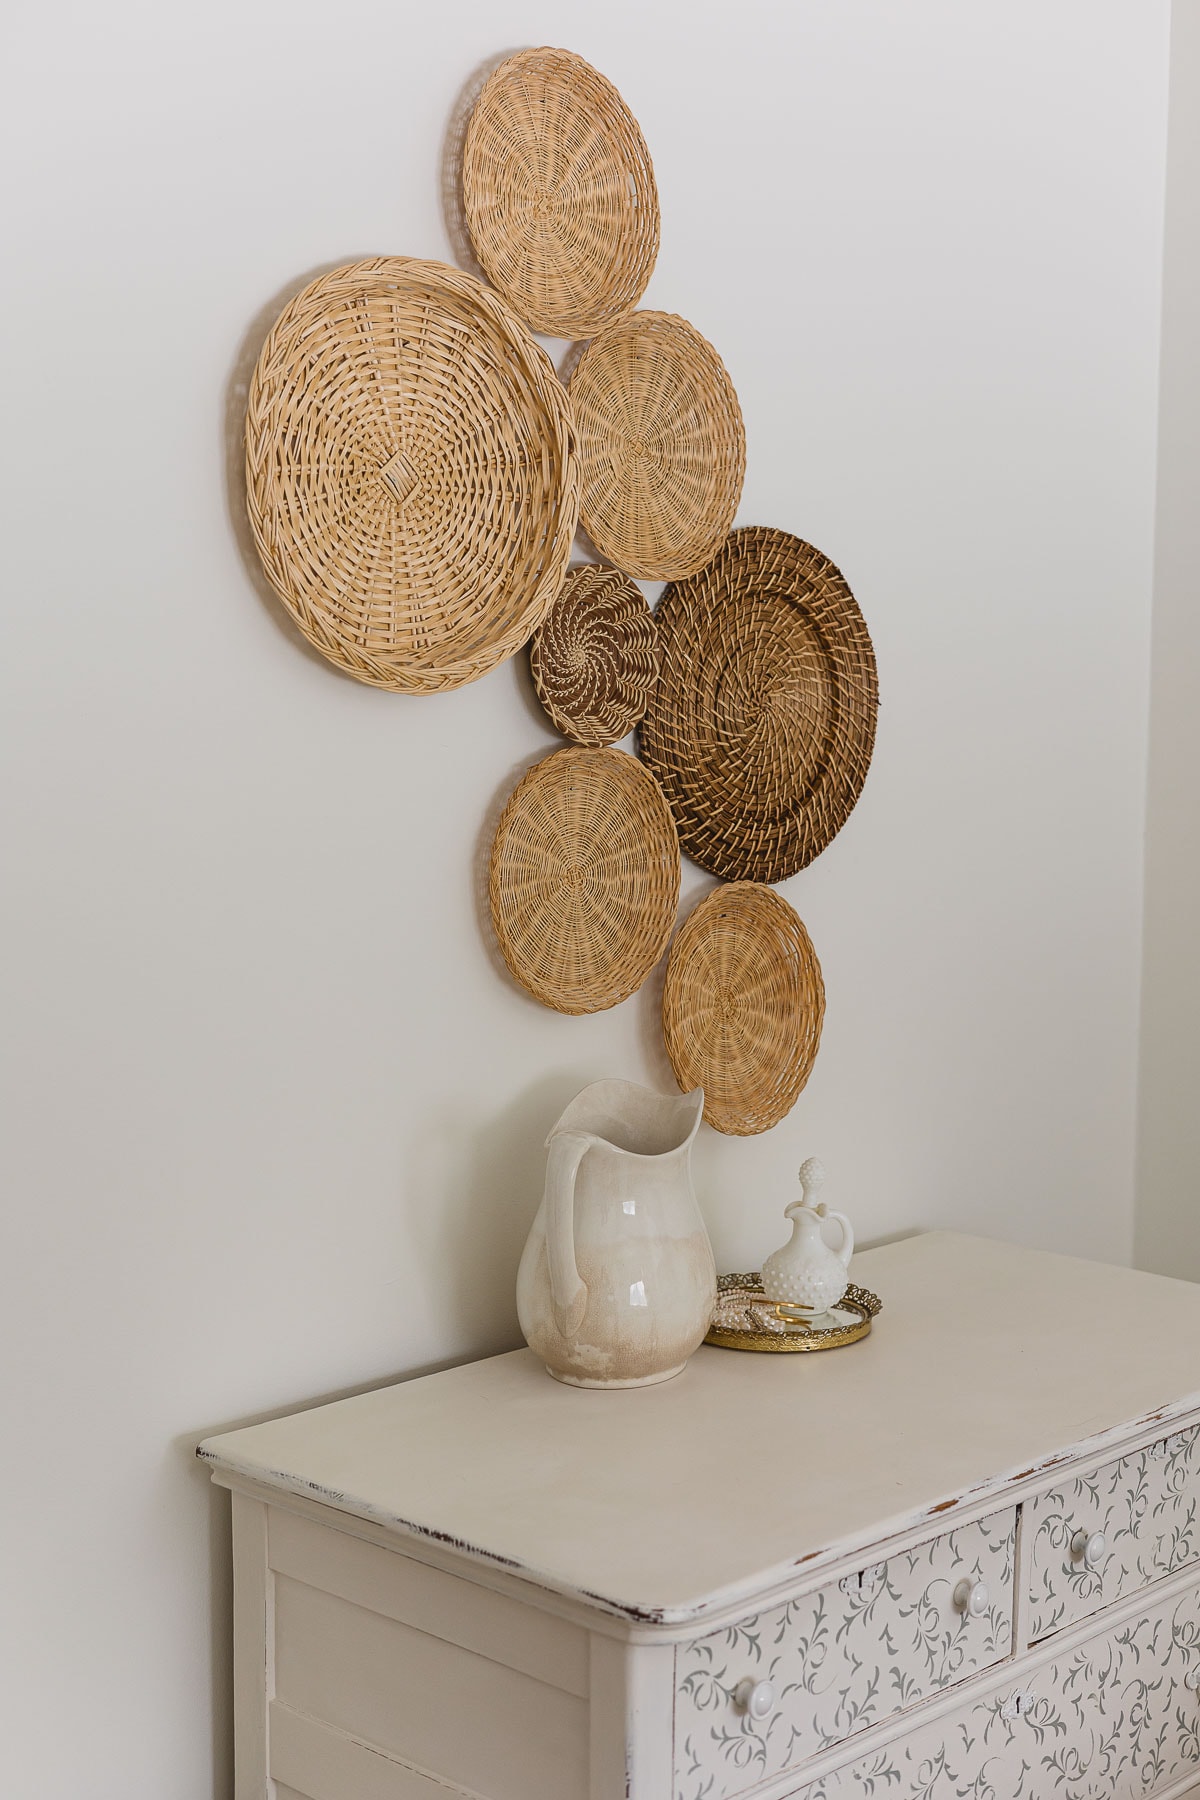
- Bring the baskets closer together, layering or almost layering each other, for a more cohesive look.
- Look at the overall shape you are creating before finalizing your design.
- Take a final photo to use as reference while you hang the baskets on the wall.
Unlike hanging a gallery wall full of rectangle frames, hanging these baskets is a more relaxed project.
Craft with me! If you try this tutorial, tag me on Instagram or use the hashtag #BellewoodCottageCrafts. Watch my videos on YouTube and follow along on Pinterest for more ideas like this one!
Secure the baskets to your wall
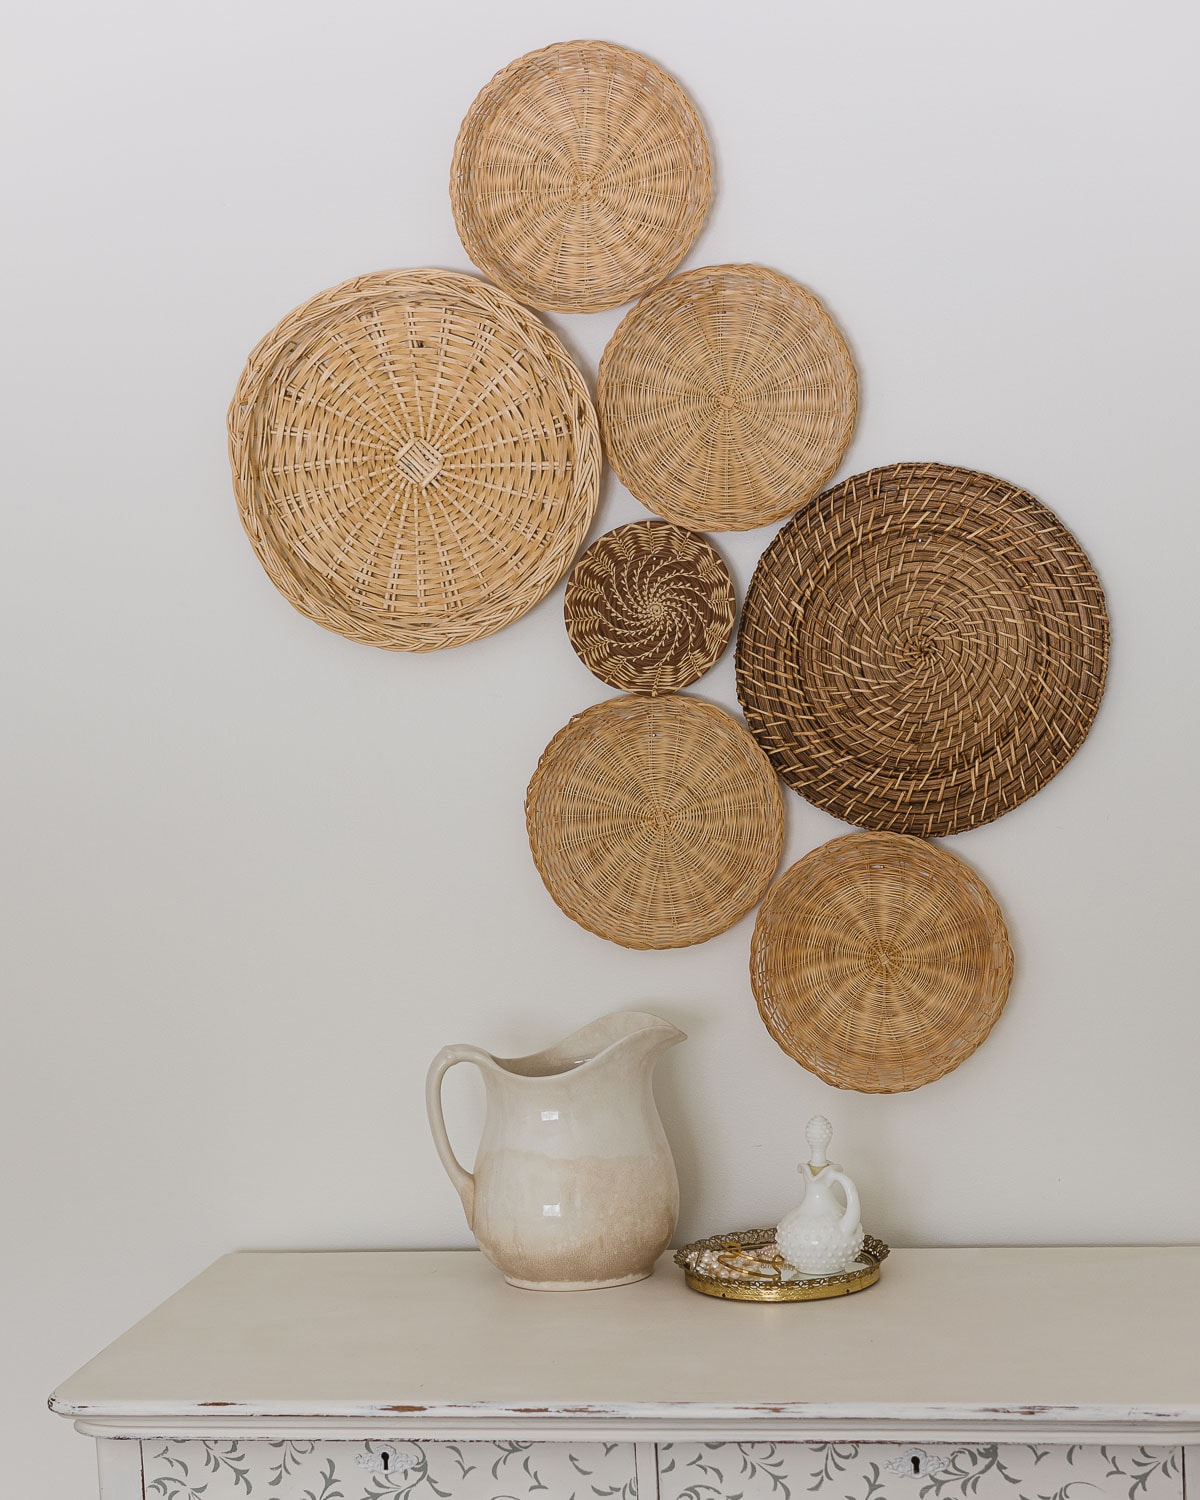
To hang the baskets, I measured from the top of my arrangement (while on the floor) and added several inches for spacing above the dresser I was hanging them above. Then, I marked the first basket on the wall, nailed it in (thank you hubby for this part), and followed up with each successive basket.
All my baskets were very lightweight, so I felt comfortable just using a nail for each one. If you have heavier baskets you’ll want to use wall mounts appropriate to the weight of your basket.

I used my phone photo as reference as the baskets went up and I kept the hanging process pretty relaxed. If things looked good to my eye, I went for it. I do wish I would’ve overlapped them just a bit more, but I think it worked out fine.
Quick Tip: Don’t forget to use your phone to snap photos of your arrangement ideas. That way you can compare your ideas without forgetting how you had arranged the baskets.
If you’d like to make your own basket gallery wall, here’s some ideas to start shopping:
Happy Crafting! ~Ellen
More Crafts to Try
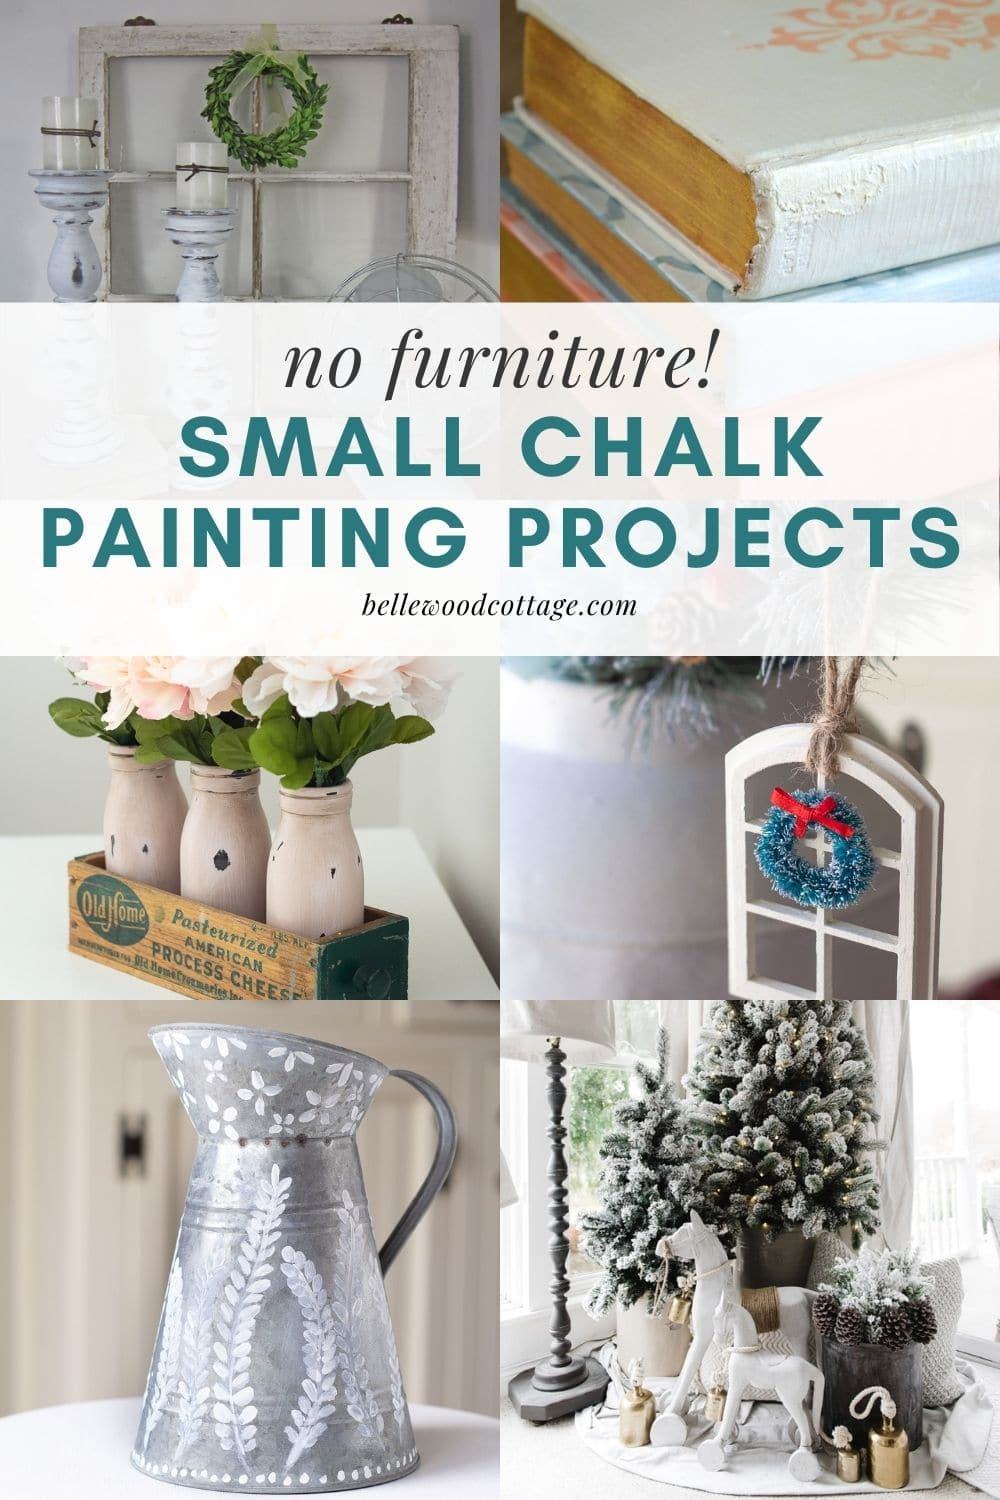
- The Best Chalk Paint Brands for Every Project
- Make Your Own DIY Rustic Headboard
- The Ultimate Chalk Painter’s Gift Guide
- How to Paint Mason Jars
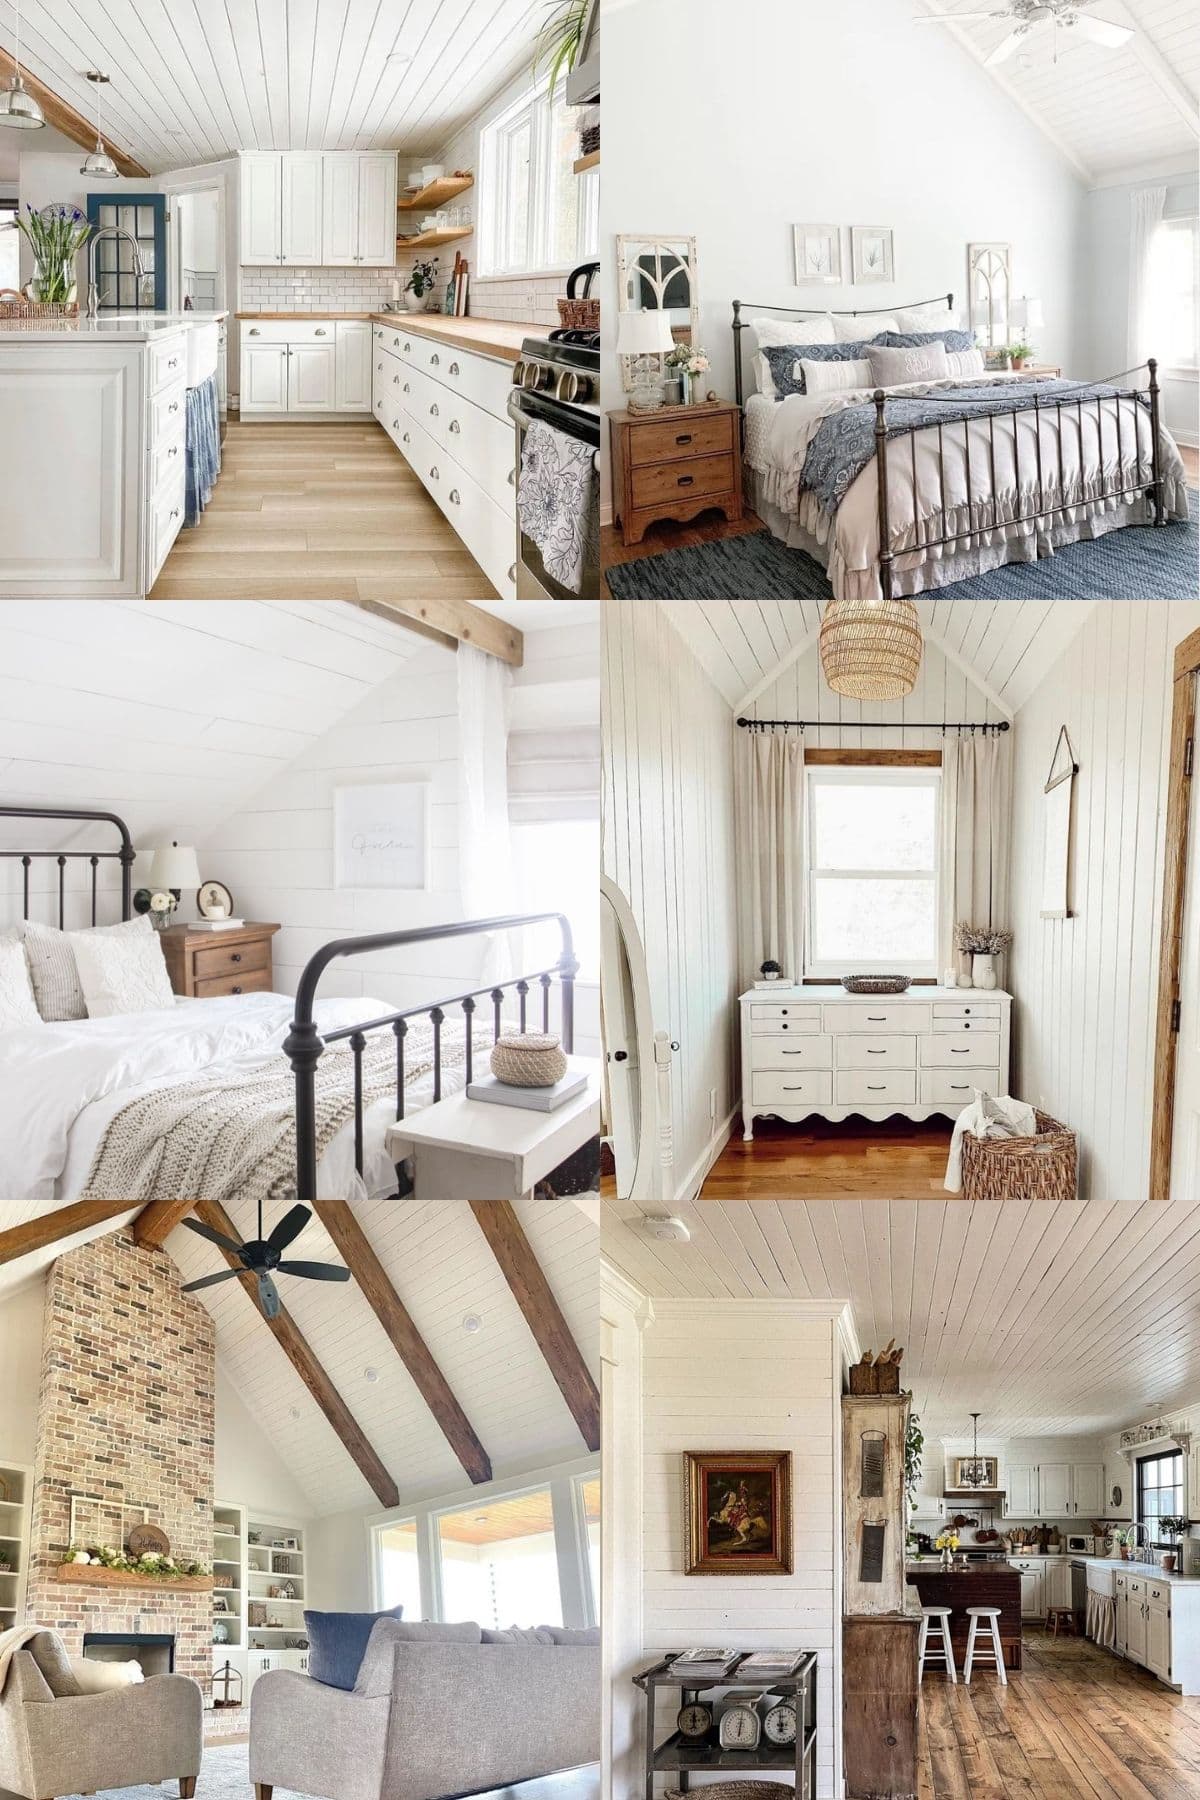
- 101+ Farmhouse Décor Ideas for Your Home
Weekly Crafting Fun!
Join my list and get a weekly email with relaxing craft ideas, freebies, sewing tutorials, and more!