Painted Dresser with Behr Chalk Decorative Paint
Get all the details of this painted dresser with Behr Chalk Decorative Paint. I’ll chat through what I loved, what I didn’t, and I how I flipped this old wooden dresser to a pretty vintage style piece!
Please note that this post contains affiliate links which allow me to earn a small commission when a purchase is made at no additional cost to you. As an Amazon Associate I earn from qualifying purchases. Read more here.
I love painting furniture, but I don’t always have time to devote to searching out great pieces, painting them, and then selling them (I want to just keep them all actually, but I’ve run out of room).
This piece was fun because I painted it for a friend. I got all the joy of painting and I got to return it when I was done. Win win.
Weekly Crafting Fun!
Join my list and get a weekly email with relaxing craft ideas, freebies, sewing tutorials, and more!
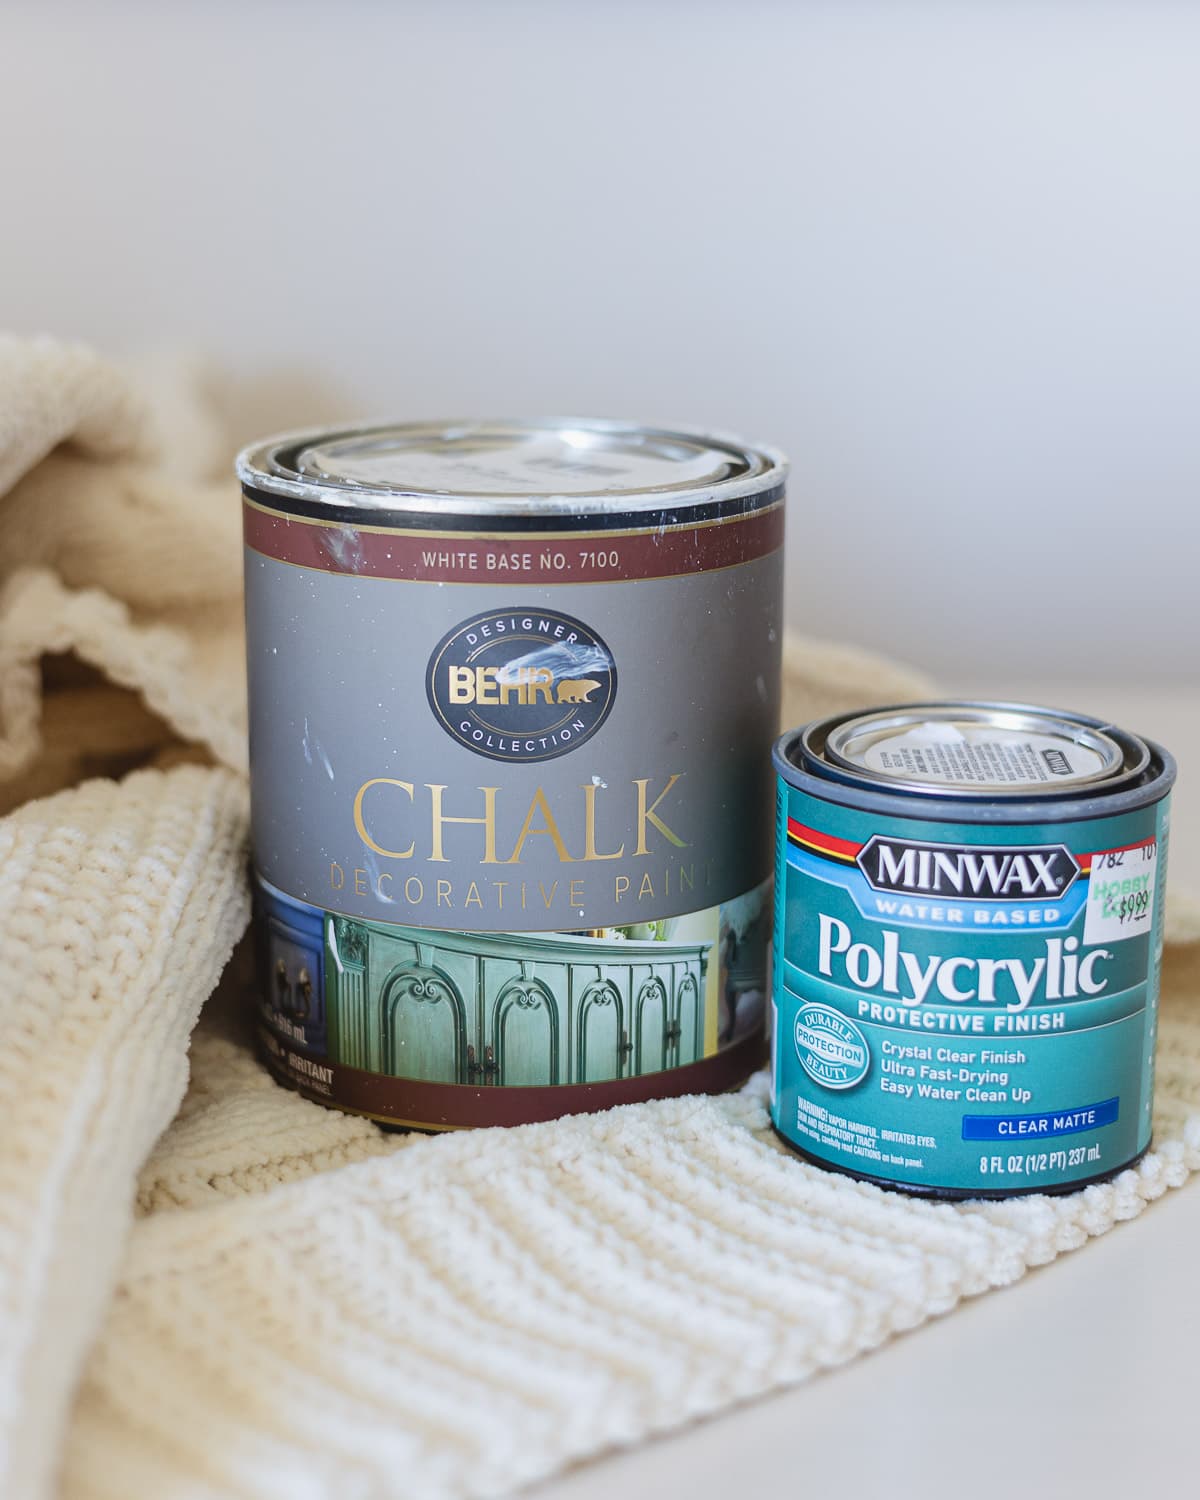
I knew I wanted to use Behr’s chalk style paint as I hadn’t tried it yet and I also knew I wanted to do a stenciled pattern. The great thing about Behr’s Chalk Decorative paint is that (in addition to being a minimal prep and matte finish paint) it comes in SO many colors. Over 500 tintable colors in fact. You can choose from many of these right online if you don’t want to stop into a store.
I ordered the paint and it was at my front door (free shipping!) in just a few days. Plus, this is a lower cost chalk style paint at about $20 a quart.
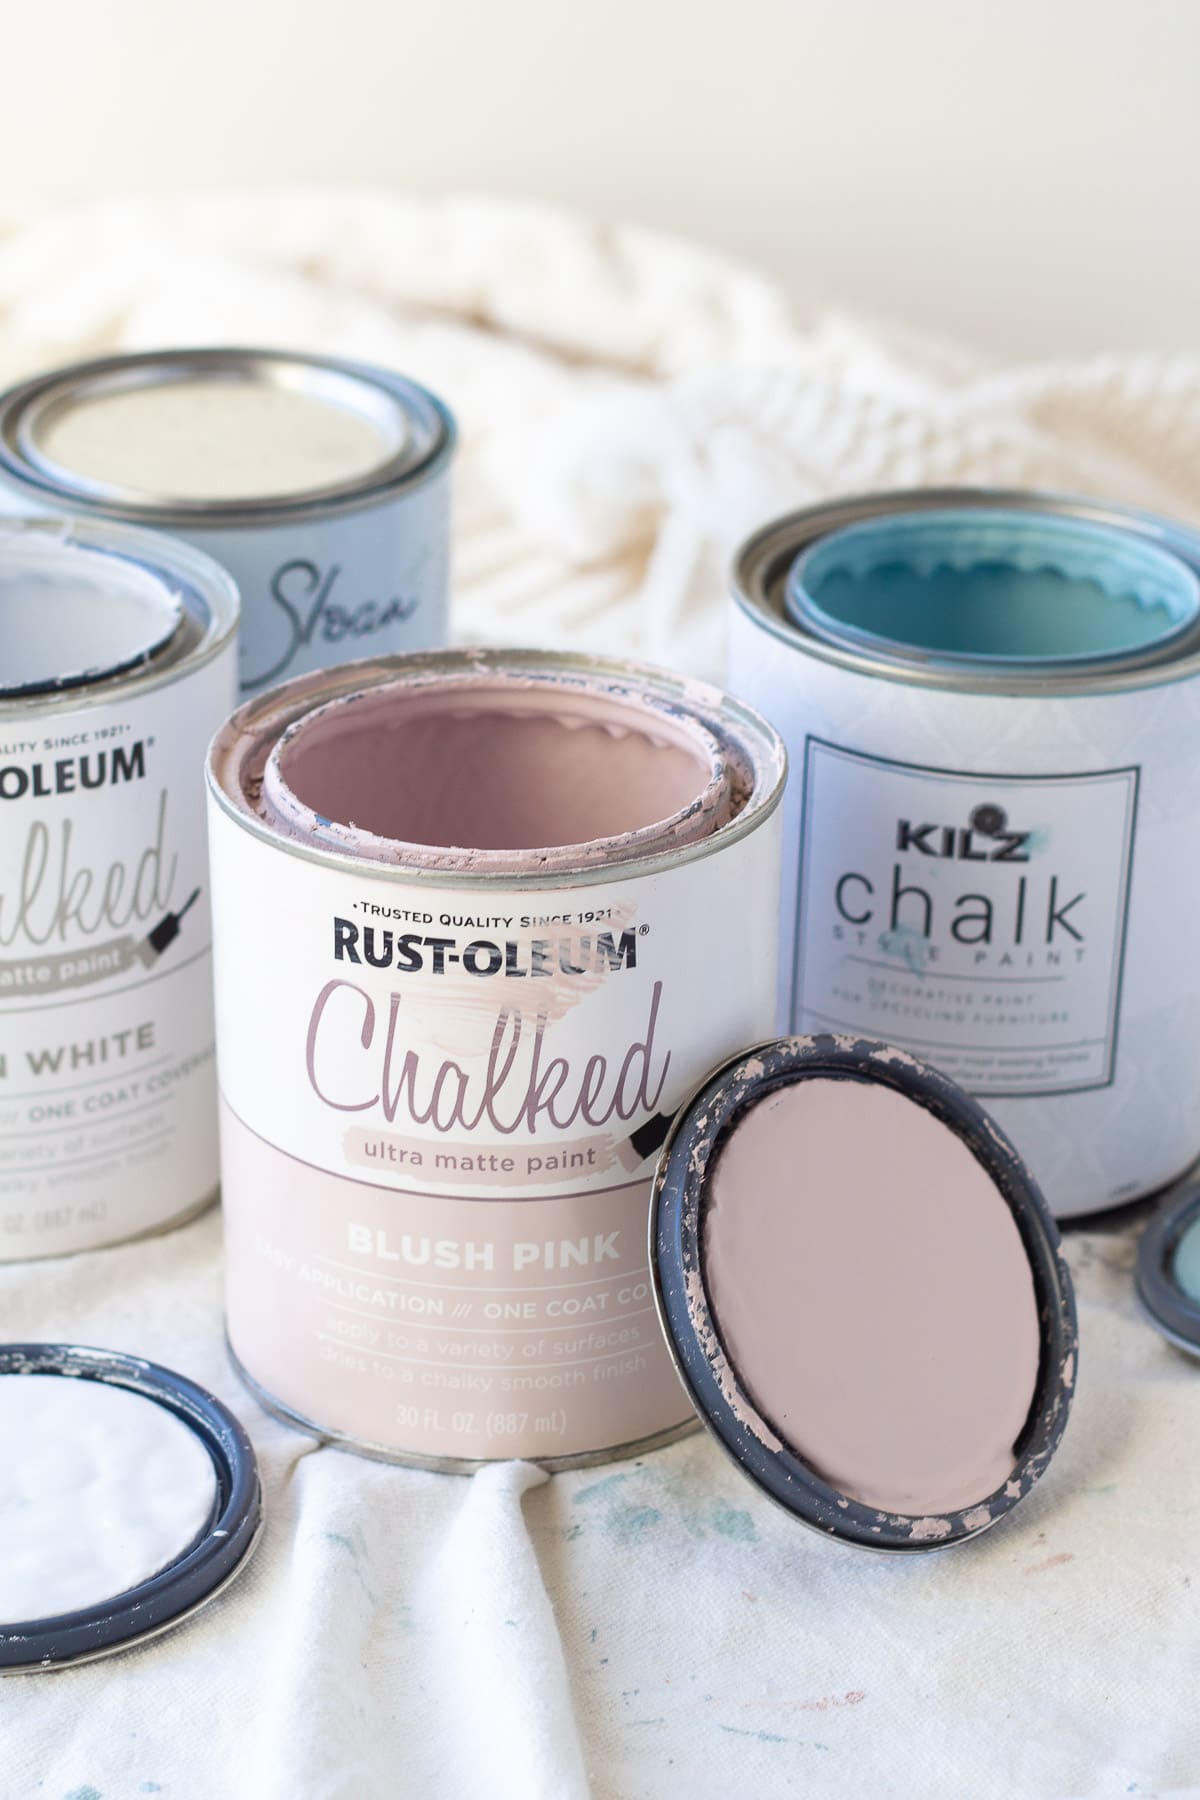
I’ve included Behr’s Chalk Style Paint in my list of the Best Chalk Paint Brands, so definitely check out that list too!
Supplies Used
- Behr Decorative Chalk Paint in Cotton Knit
- “Elegant Lace” stencil by re-design with Prima
- Minwax polycrylic in matte
- Wooster shortcut brush and Country Chic paint brush
- Oil Rubbed Bronze Cabinet Knobs
- Oil Rubbed Bronze Pulls
Where to Buy Stencils
I like Prima stencils (and transfers) quite a bit. If you follow furniture painters on Instagram, you’ve probably seen lots of Prima products. You can purchase these stencils on Etsy. I used the “Elegant Lace” stencil, purchased from PickersPalaceTexas. Look for a seller who offers free shipping on your stencil to save money!
The stencils are reusable (wash paint off between stenciling sessions) and I love the look it gives.
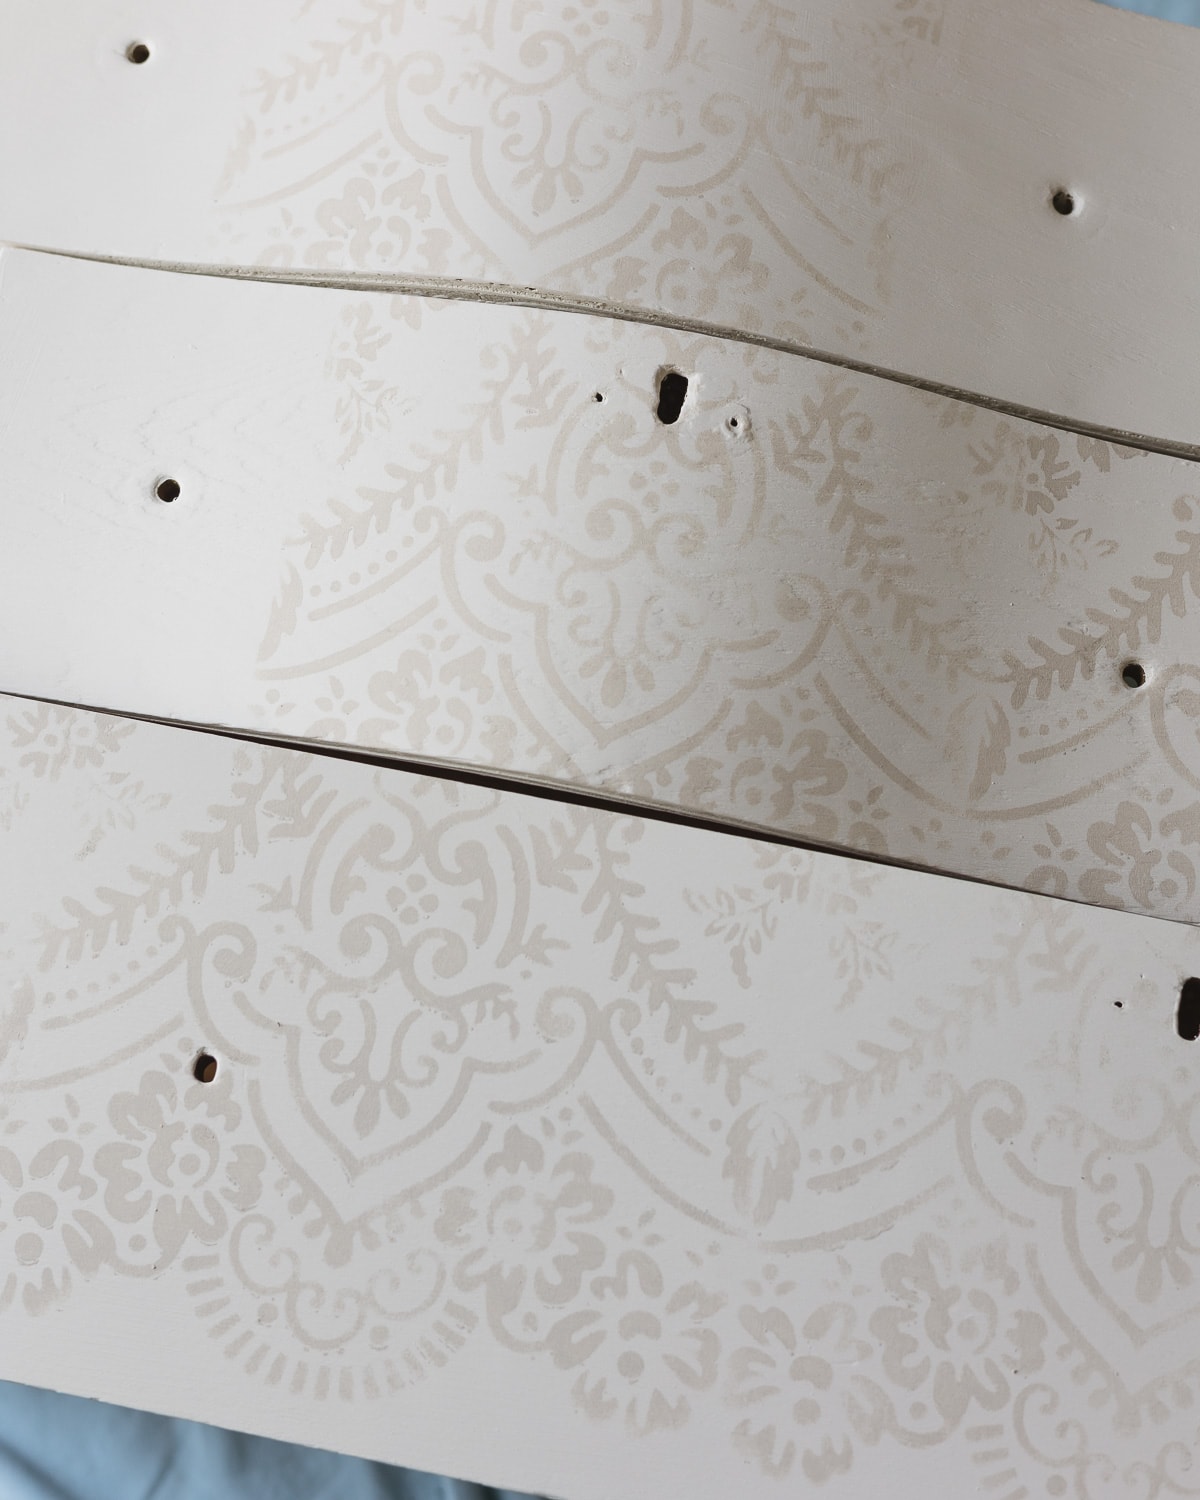
I wanted a subtle design so I mixed a little brown paint into a small amount of Behr Cotton Knit chalk style paint and used that for the stenciling. I used a variety of pressure as I painted to give it a worn appearance. You could also sand/distress after stenciling too.
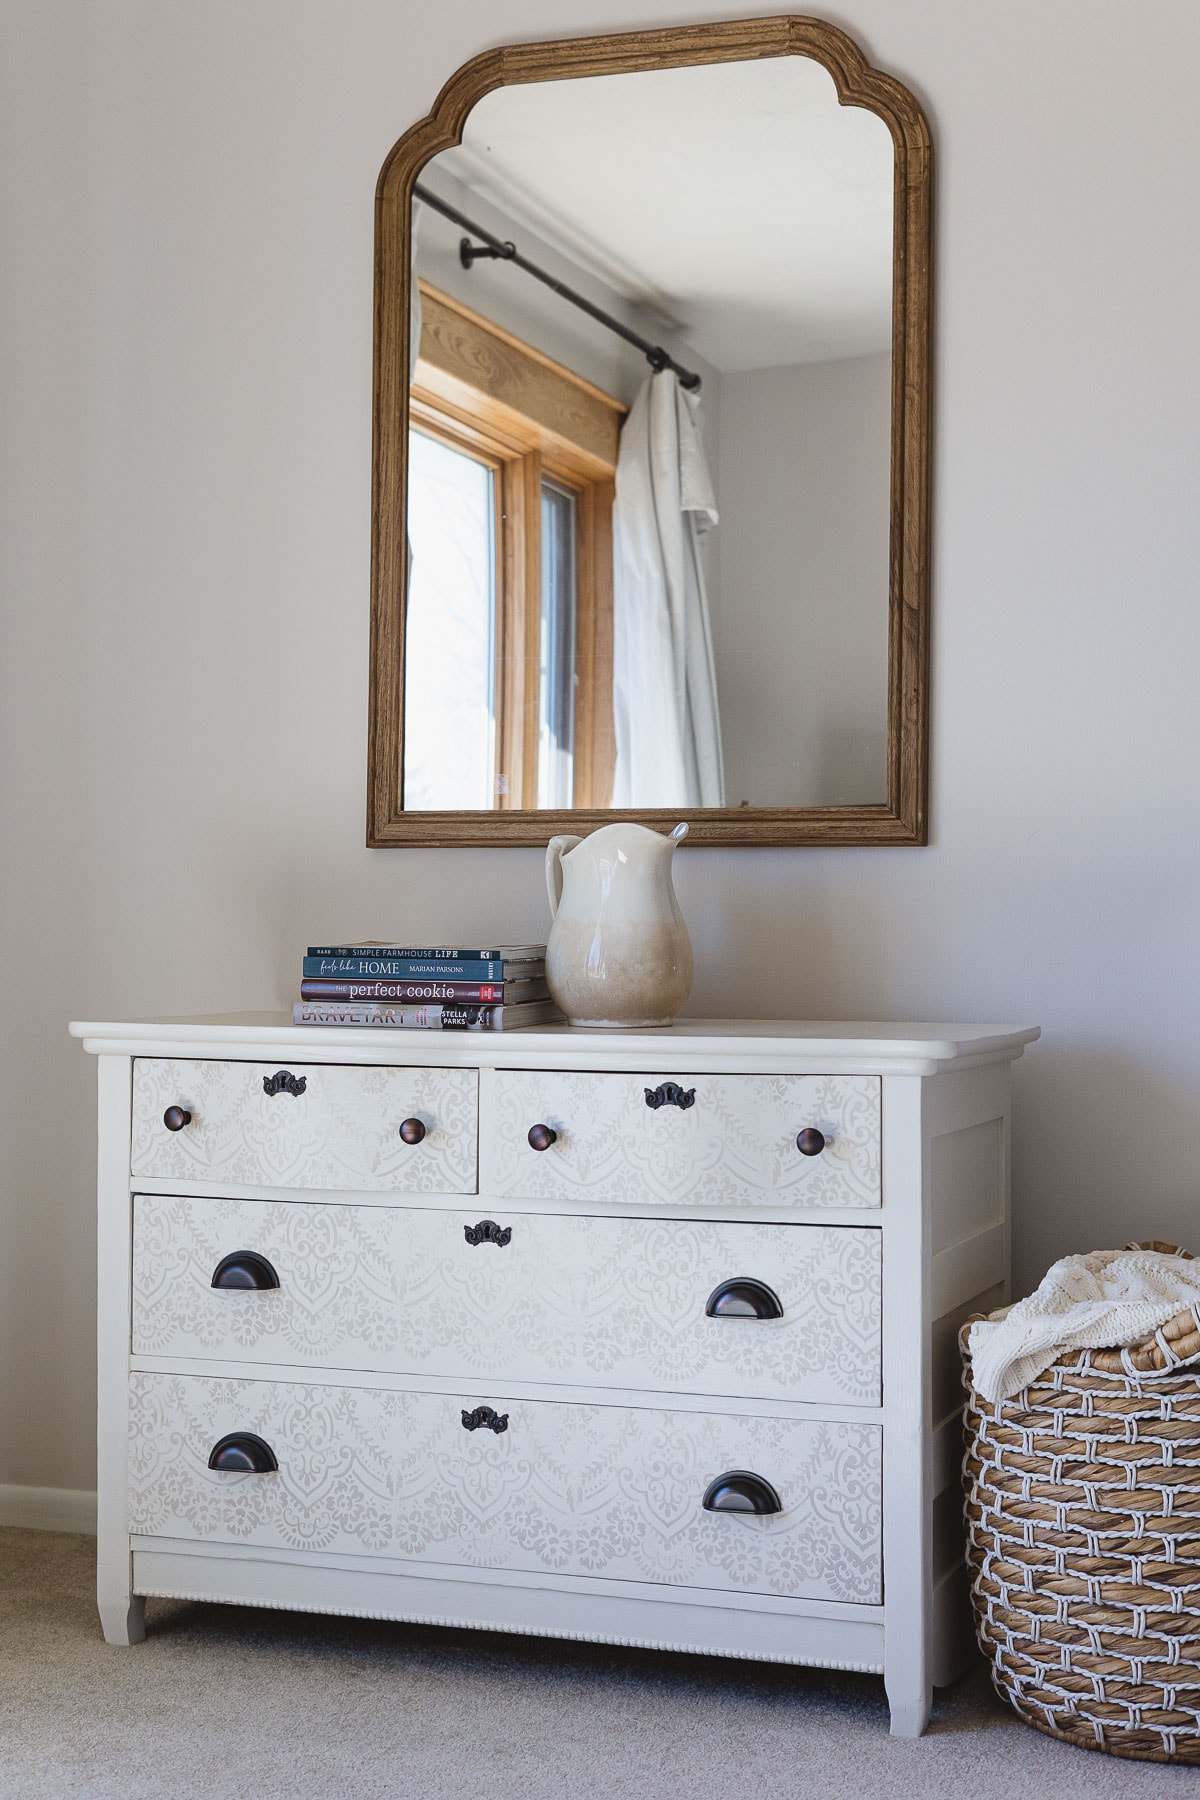
Painted Dresser with Behr Chalk Decorative Paint
If you are looking for detailed step-by-step instructions on how to paint a dresser, I have a complete tutorial on How to Paint a Dresser.
Here I’ll go over some of the key points of what I did to get the look on this piece as well as some of the specifics of using Behr paint.
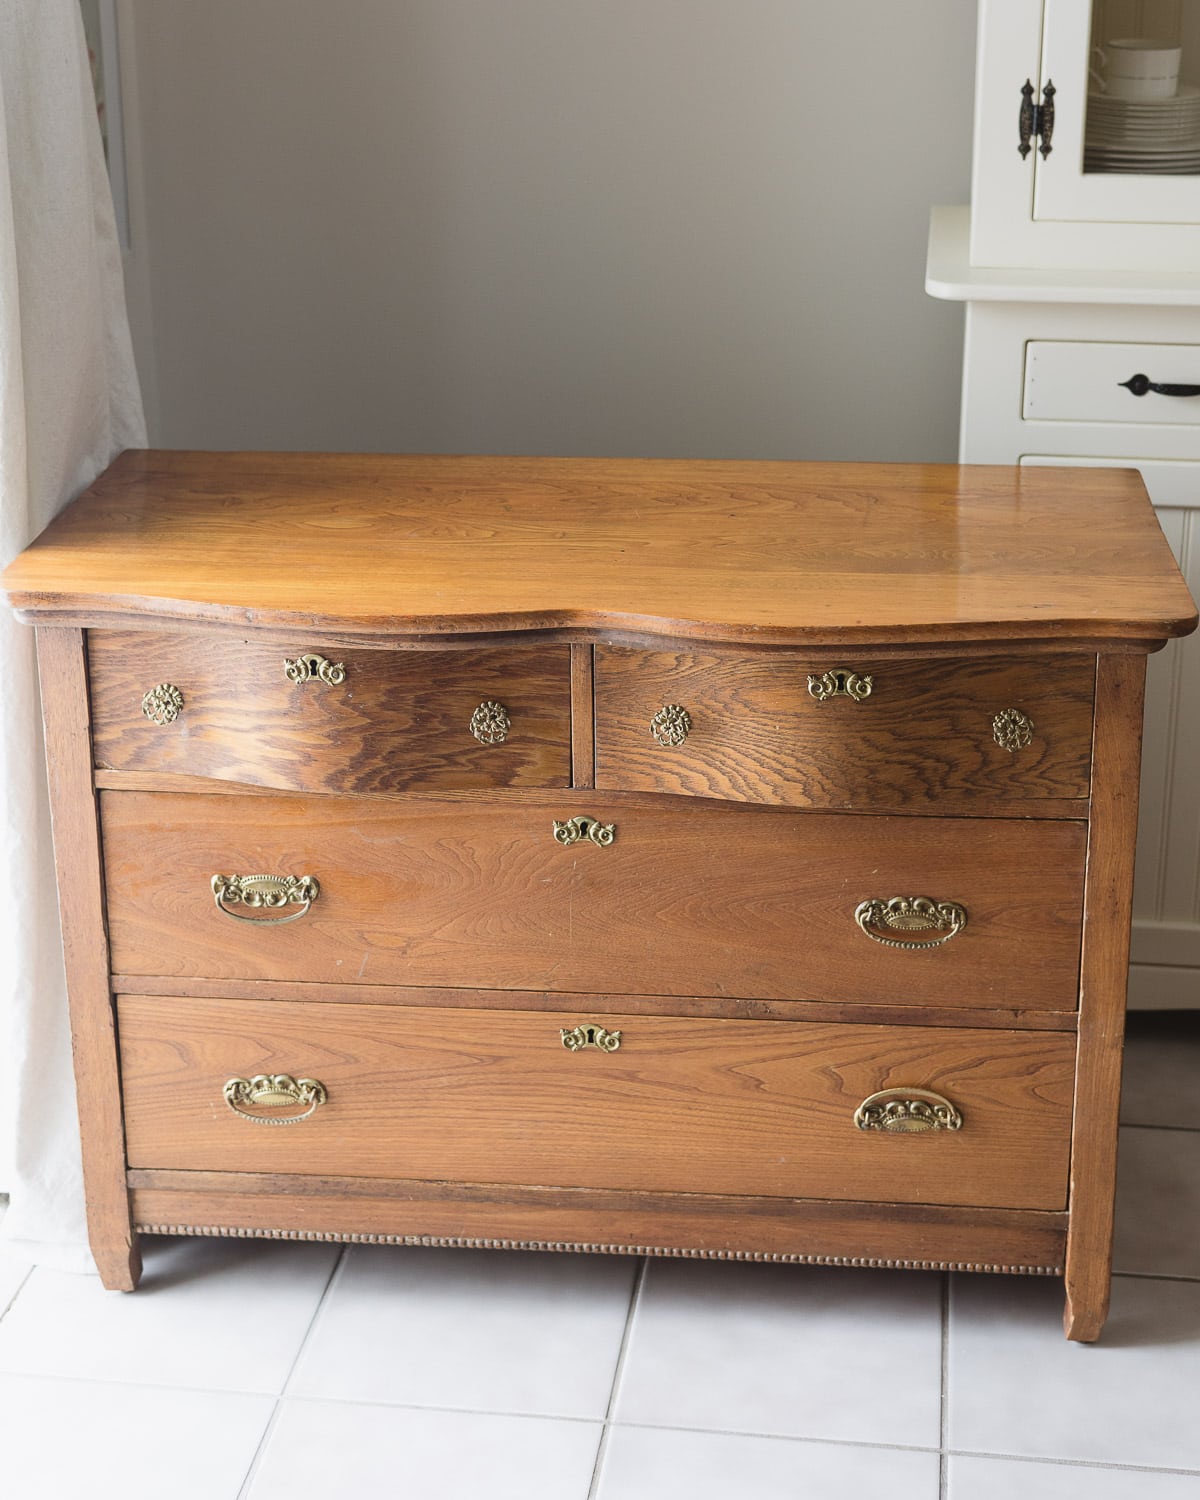
Here is the “before”:
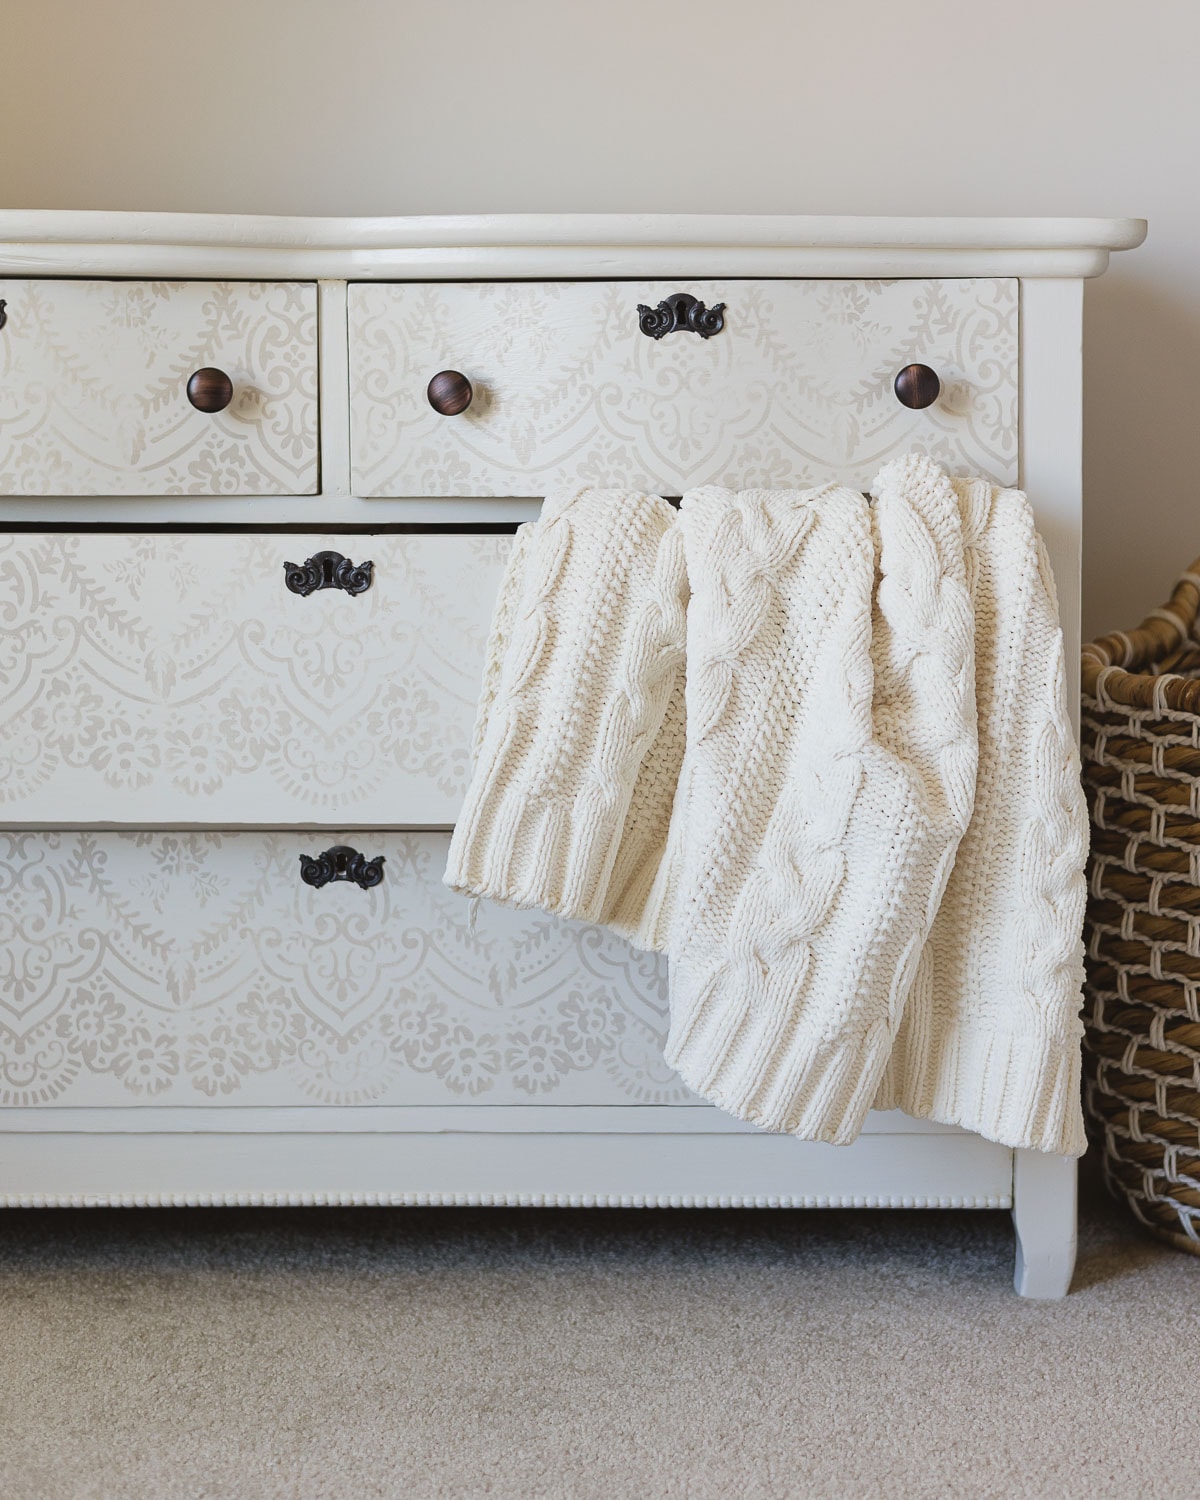
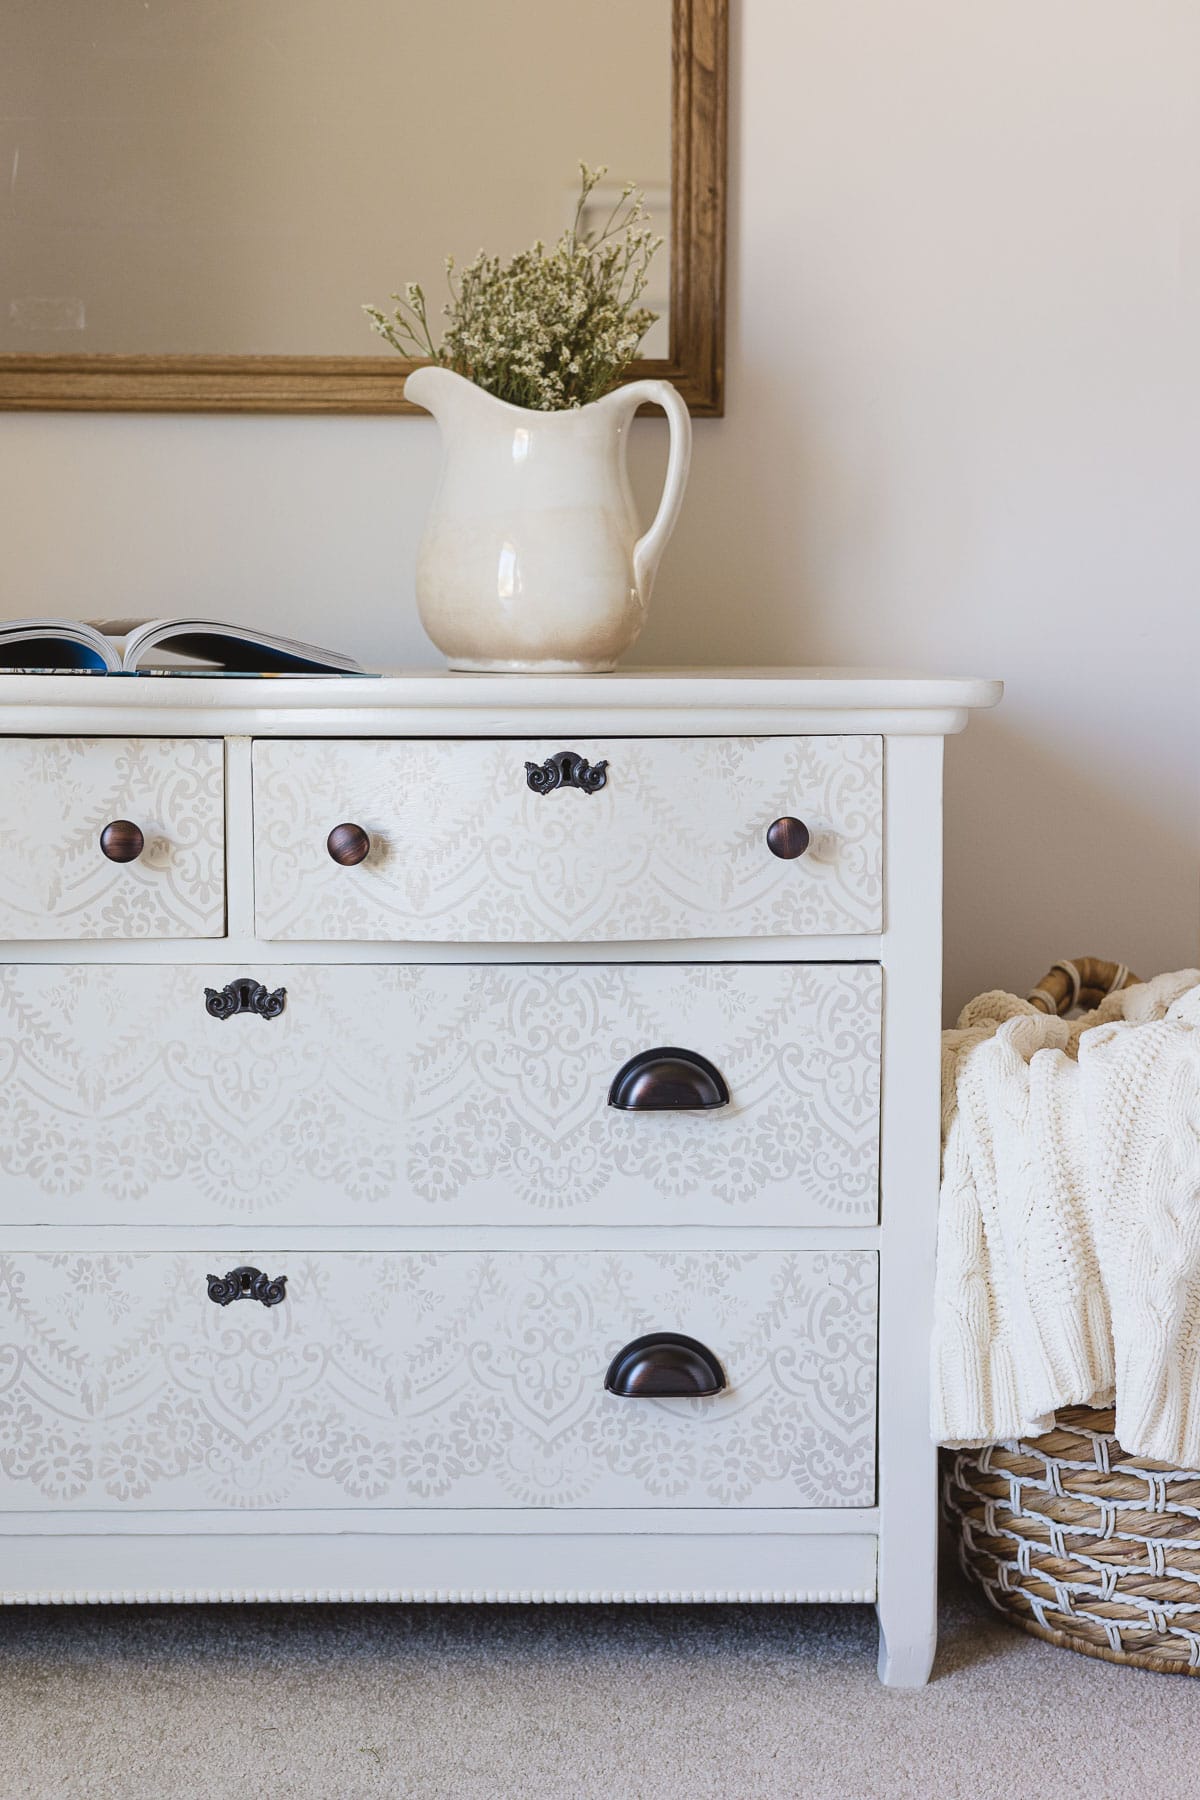
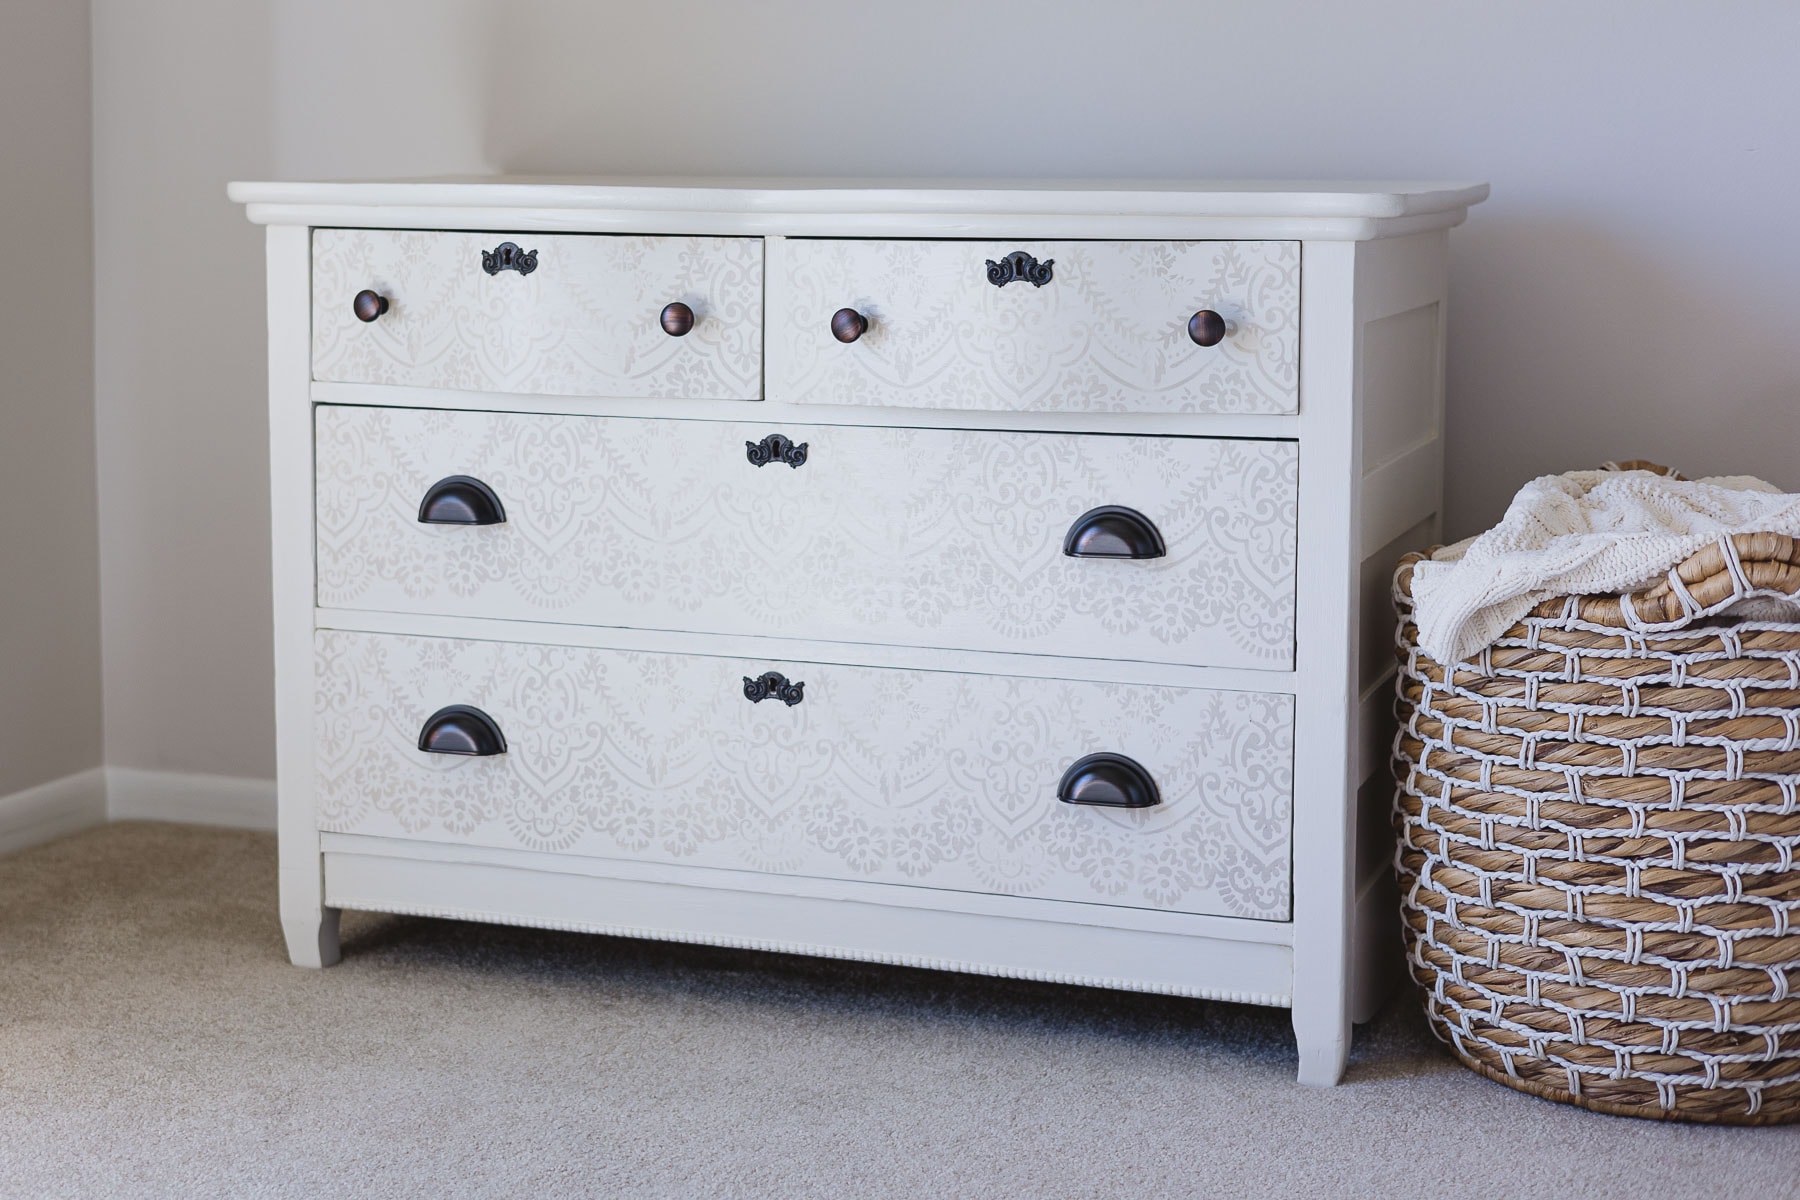
And the “after”:
Tip: Starting with a great piece of furniture makes all the difference! Get my list of essentials you need to look for when choosing the best furniture to paint.
Prep the Dresser
For this piece, I did not sand prior to painting. I did apply one coat of an all-purpose stain-blocking primer.
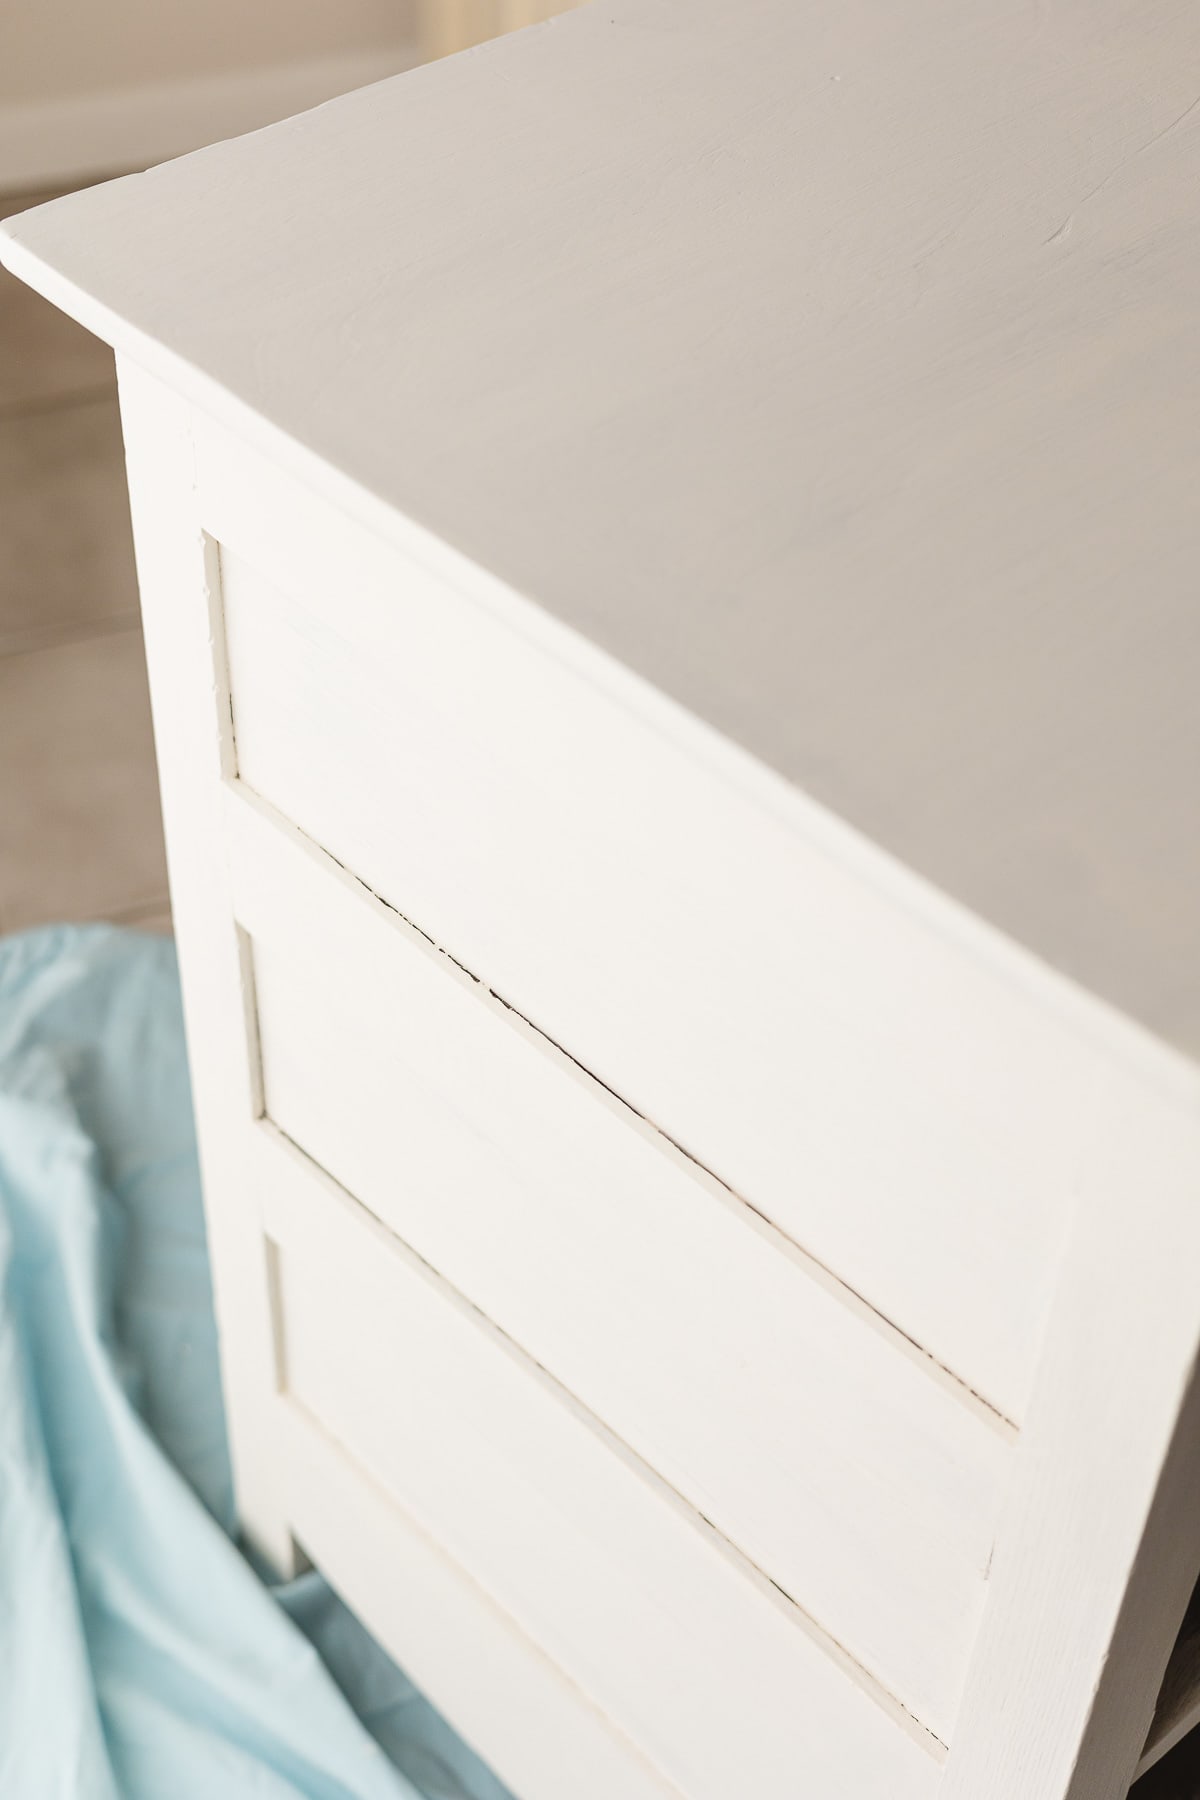
After applying the primer, I noticed some gaps in the edges of the dresser. These were small so I filled them with caulk/sealant and wrote up a quick tutorial for how to do that.
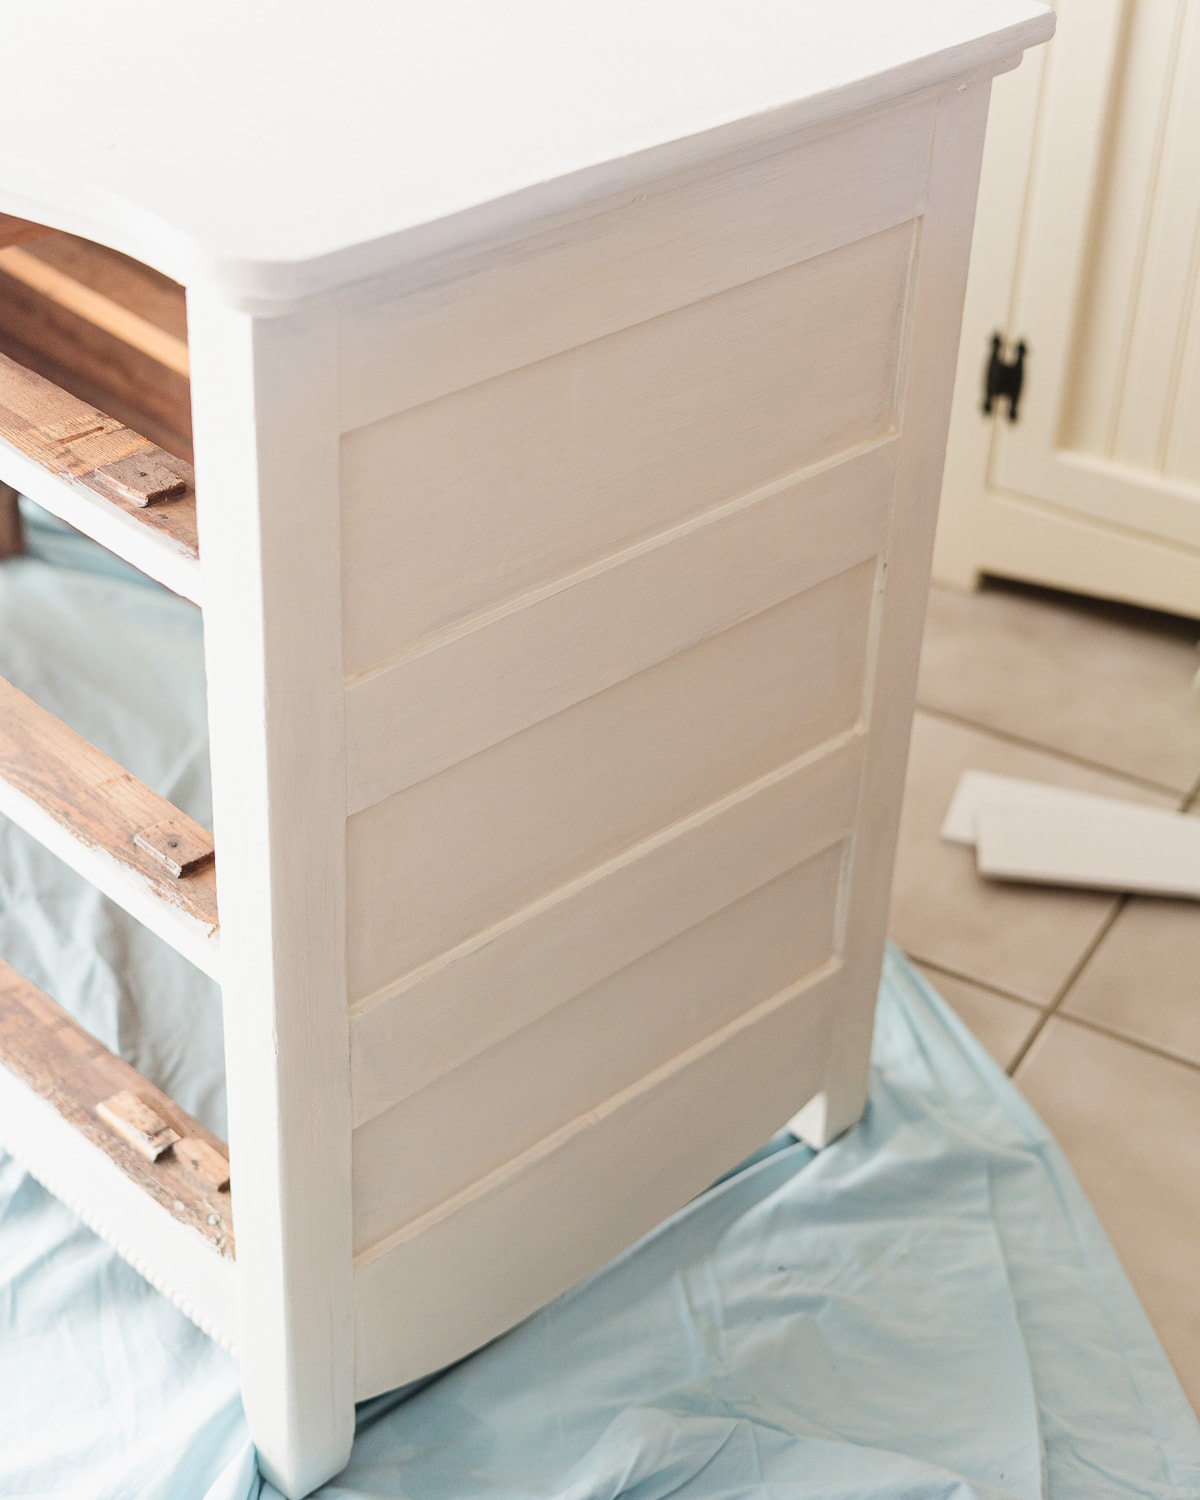
Apply the Paint
I quickly realized I would need more than 1 coat (or even 2 coats) of paint for this project. I used Behr Chalk Decorative Paint in the color Cotton Knit which I expected to be a lot darker/more creamy than it was. It’s basically a creamy white.
I ended up using three coats total for the dresser over the primer coat. Two was probably sufficient, but I preferred the final look of three.
The paint does leave brushstrokes evident as all chalk style paints do. It was easy to apply (a nice thickness that didn’t require any thinning to paint with comfortably) and dried quickly.
I also tested a bit of distressing and the paint distressed easily with a sanding block.
Stenciling
For the stenciling, I used a custom mix of the paint (simply added some brown paint to deepen the color) and applied the stencil to the drawers. The thin layers of paint dried very quickly so I worked in a rotation of all the drawers.
I would stencil a section on each and then go back and match up the stencil and work on the next section from the drawer I started with. The paint had time to dry this way and I was able to do most of the stenciling all in one session.
Extra Details
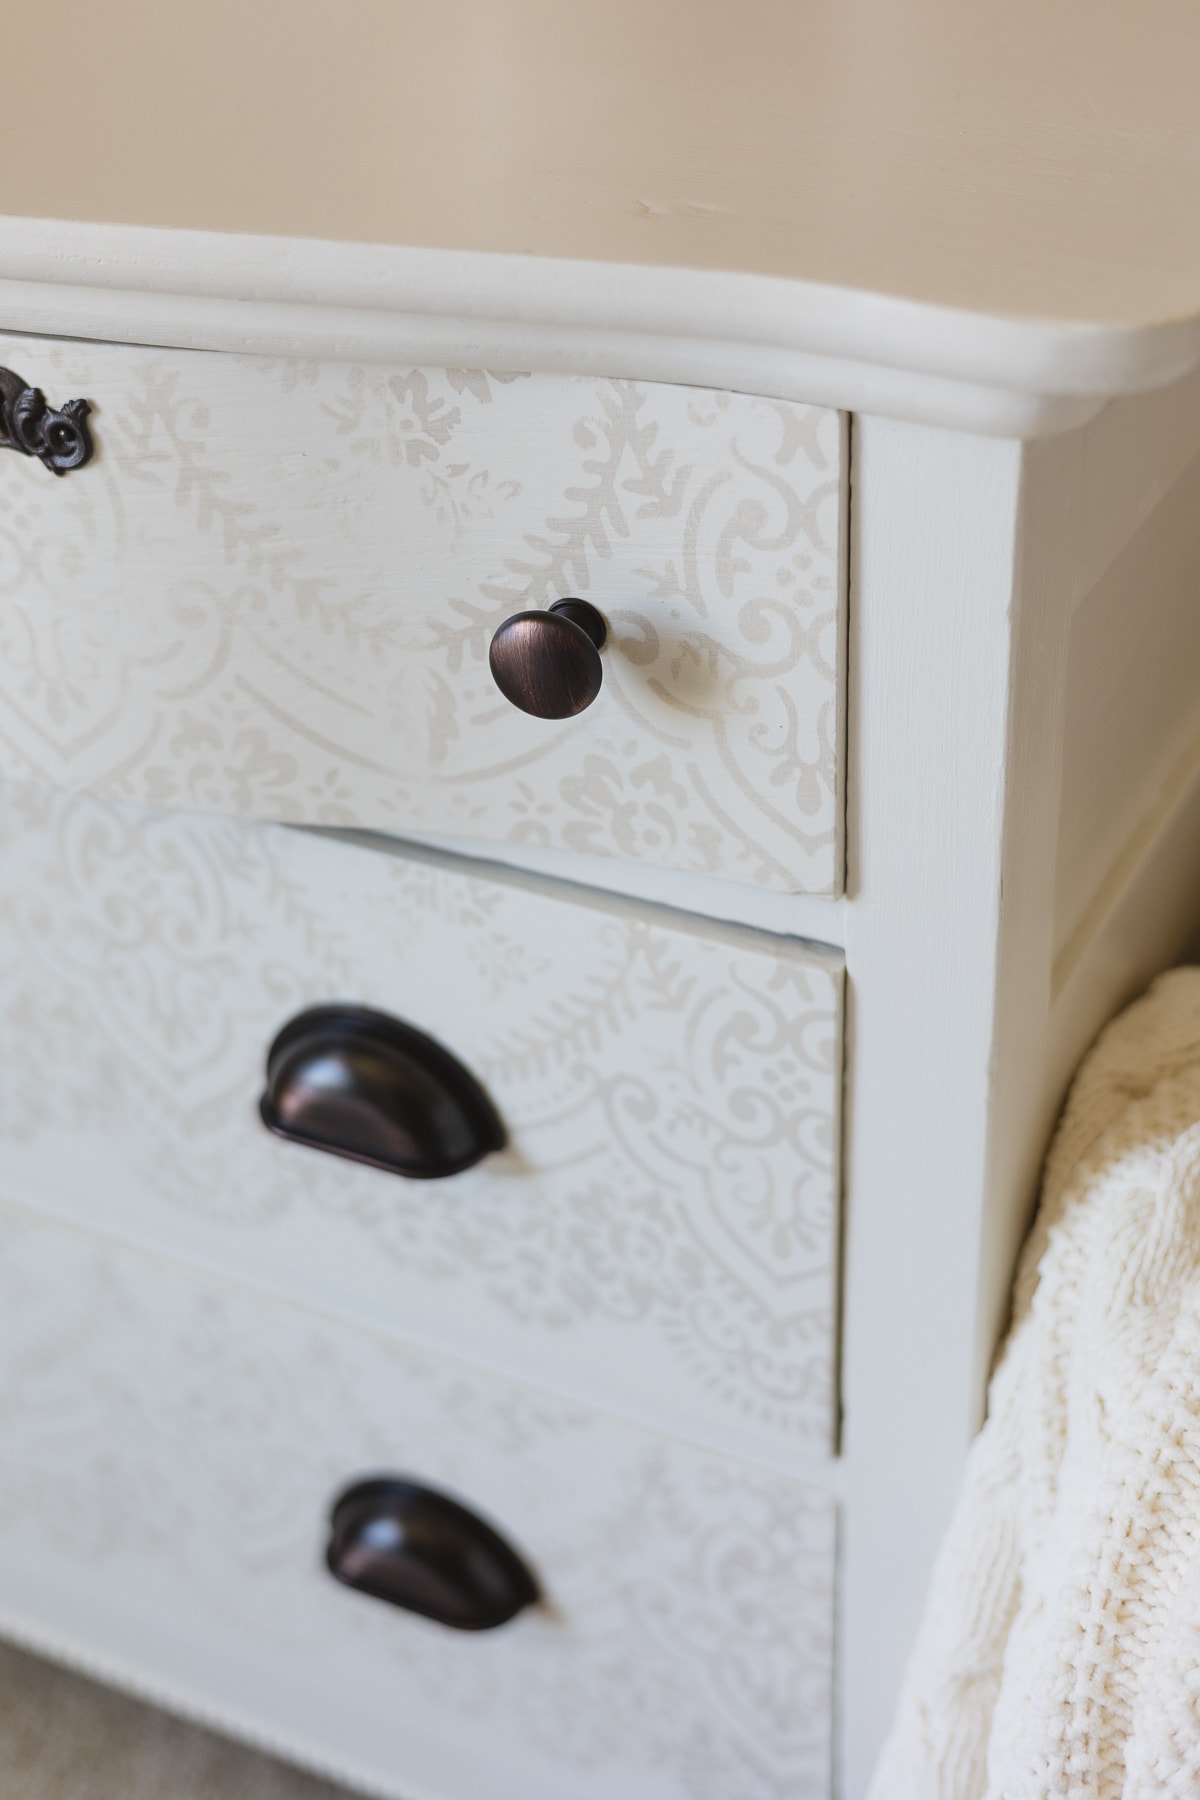
This dresser was in a little bit of rough shape and I wanted to give it a little extra attention. Stenciling the sides of the drawers is a bit frivolous since they won’t be seen necessarily, but I love the way it looks.
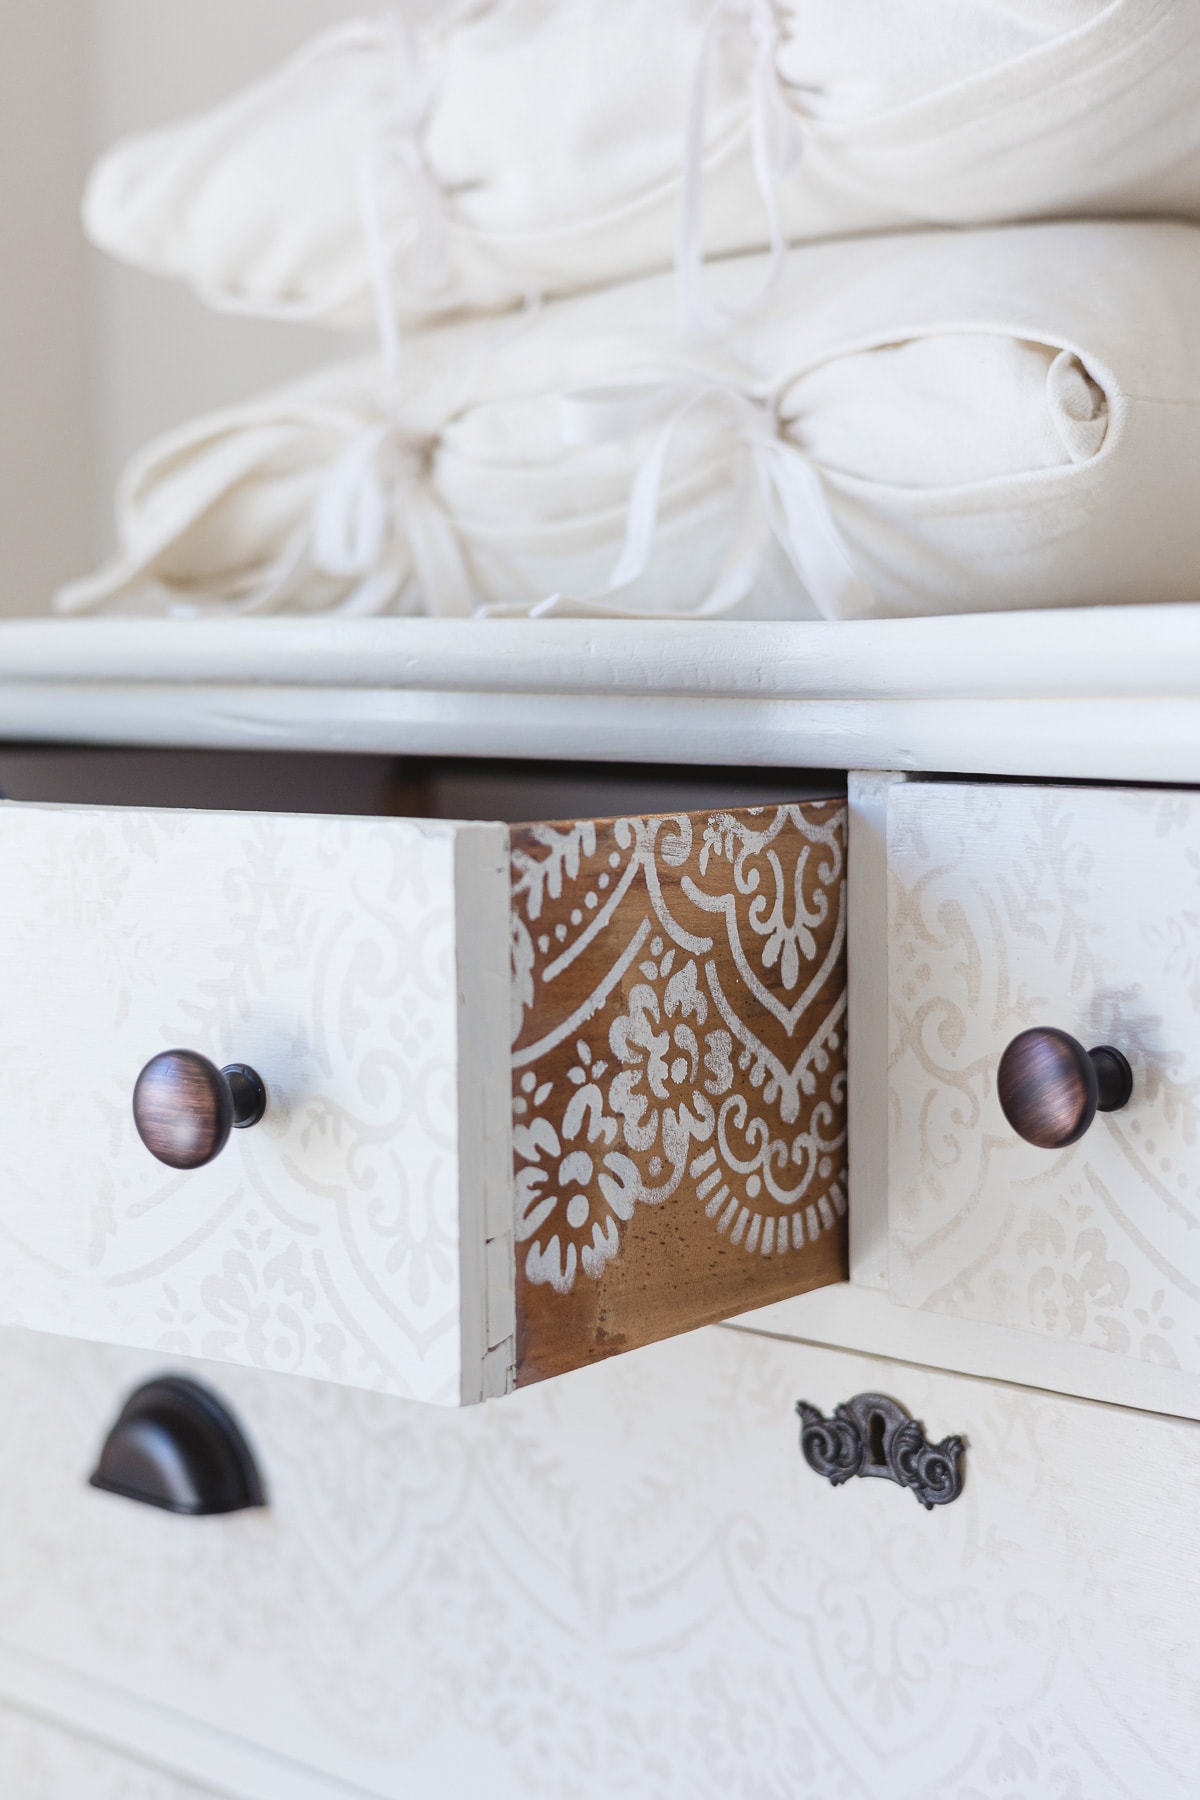
If you are using an old dresser to hold décor or be more of a display piece, you might even wish to leave some of the drawers partially open to add to the display. For this purpose, adding stenciling to the sides of the drawers might be just the ticket.
Apply the Top Coat
First, I applied a little of my usual go-to, Rust-Oleum Matte Clear. Unfortunately I did notice some yellowy streaks from the top coat and opted to remove and apply a different top coat. I recommend the Matte Clear all the time and have used it successfully on many projects, so I suspect this may be a case of the finish not playing nice with either the original top coat of the wooden dresser OR perhaps it wasn’t a good fit with the Behr paint.
Either way, I stand by my advice I always give when talking about top coats, test test test! Much easier to re-do a small part of a piece than to see hours of hard work go to waste if a top coat isn’t working out.
I ended up using Minwax Polycrylic in Matte over this piece. My first take-away is that I wouldn’t call this a true “matte” or “flat” finish. It has a lot more shine than a wax or even the Matte Clear did. For that reason, I do still like the Matte Clear from Rust-Oleum, but it’s a good reminder to always test a top coat before applying it over your entire piece.
I also noticed that the color darkened a shade or two after applying the top coat. Worth bearing in mind if you are trying to get a specific color match.
Replace the Hardware
One of the trickiest part of this piece was the hardware. I ordered a few options from the Home Depot, but I realized that my top selection, a matte black, wasn’t going to work with the cream and brown stenciling.
Back to Home Depot’s website to order another round, this time in an oil-rubbed bronze. I was able to find both Oil Rubbed Bronze Cabinet Knobs and Oil Rubbed Bronze Pulls that worked well.
A little tip, if you can, find new hardware that matches the placement of the old holes. While you can fill holes and re-drill you need to make sure that the new holes aren’t going to end up right next to the old (now filled) holes. That can get a little messy. So, unless you are doing a totally new look where there is no overlap you might want to source hardware that can go right into those old holes.
For the keyholes, I spray painted the keyholes and the tops of the nails. I did this by nailing everything into an old (empty) tissue box and then spraying with oil rubbed bronze spray paint.
Final Thoughts
Overall I’m so pleased with how this dresser came out! I will certainly use the Behr Chalk Decorative Paint again and I’m already looking forward to picking out a new color.
Have you tried Behr’s chalk style paint? What’s your favorite chalk style paint to use when painting furniture?
More Chalk Painting from Bellewood Cottage
Weekly Crafting Fun!
Join my list and get a weekly email with relaxing craft ideas, freebies, sewing tutorials, and more!