DIY Drop Cloth Pillows with Antique Lace
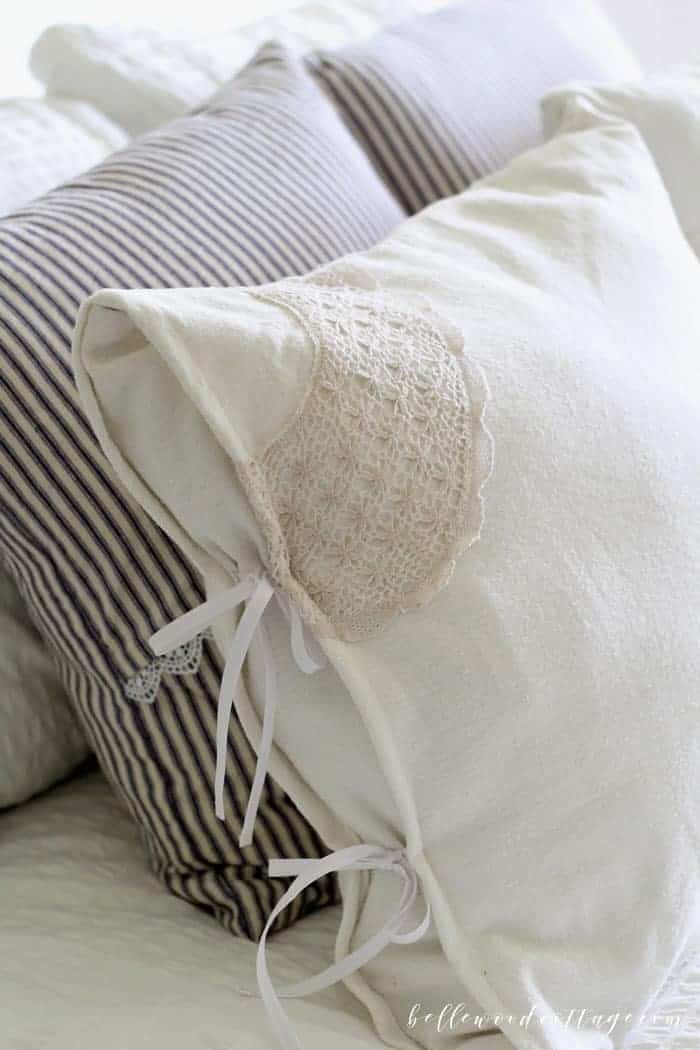
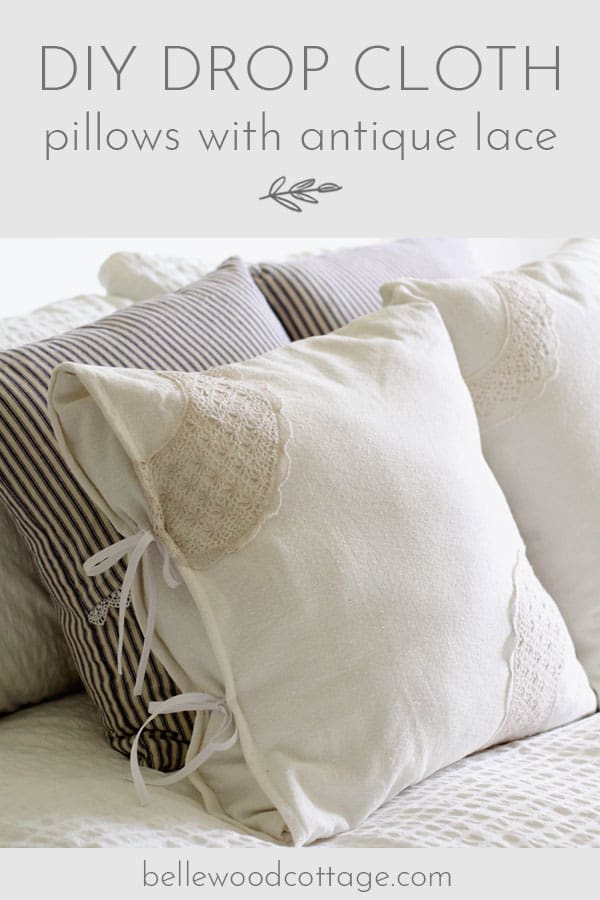
I recently received some lovely antique lace collars from my sweet mother-in-law, and after being given the go-ahead to use them how I liked, I got to thinking about making more pillow covers. I’m a wee bit obsessed with making these, because it’s SO much cheaper than buying new pillows. And they are fun to sew! For these DIY drop cloth pillows, I used bleached drop cloths, my antique lace, and a fun technique that makes one pillow cover look like two.
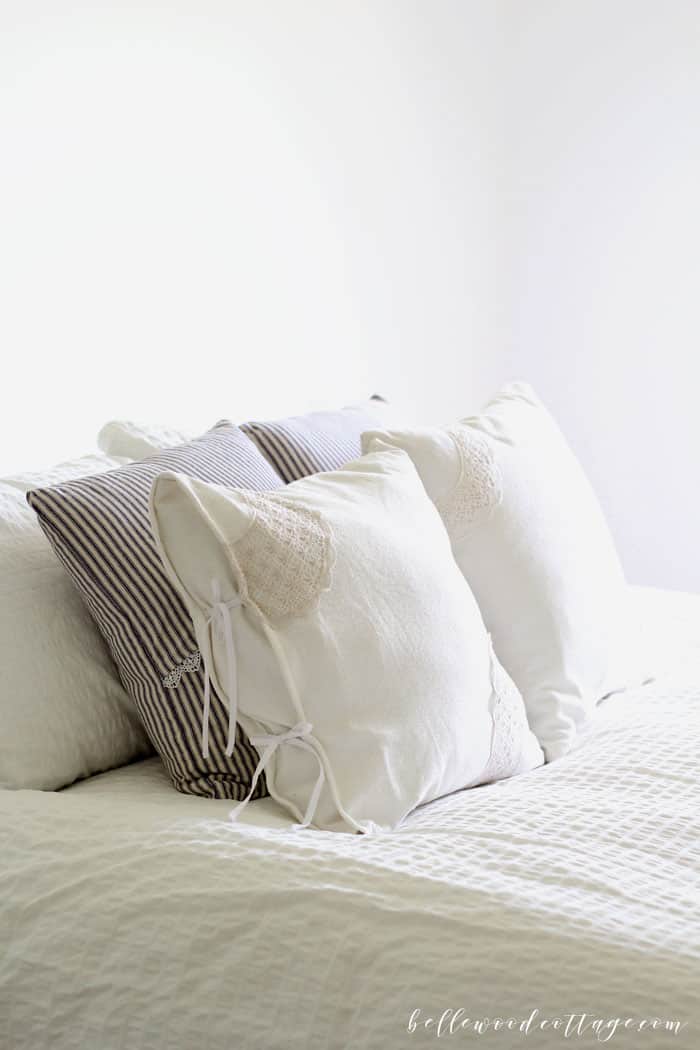
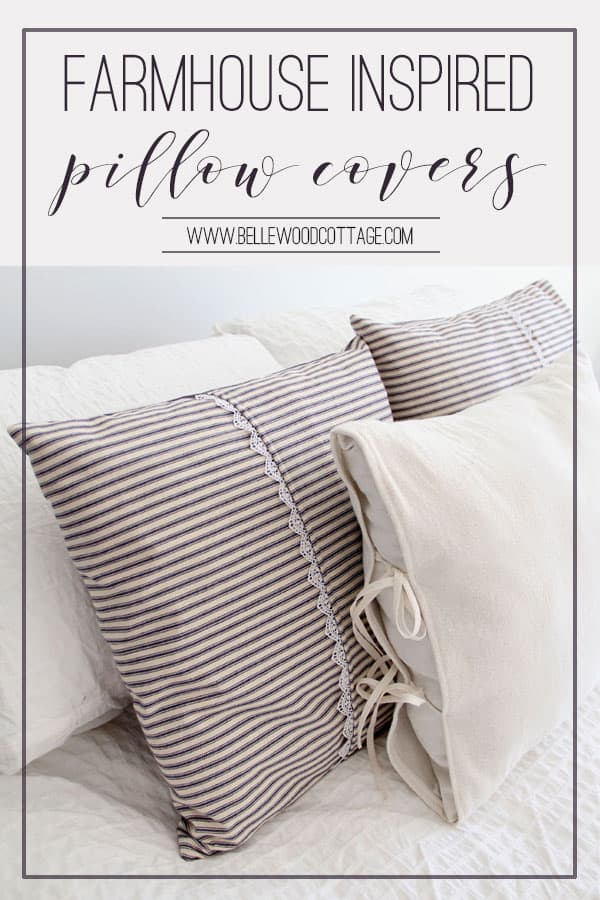
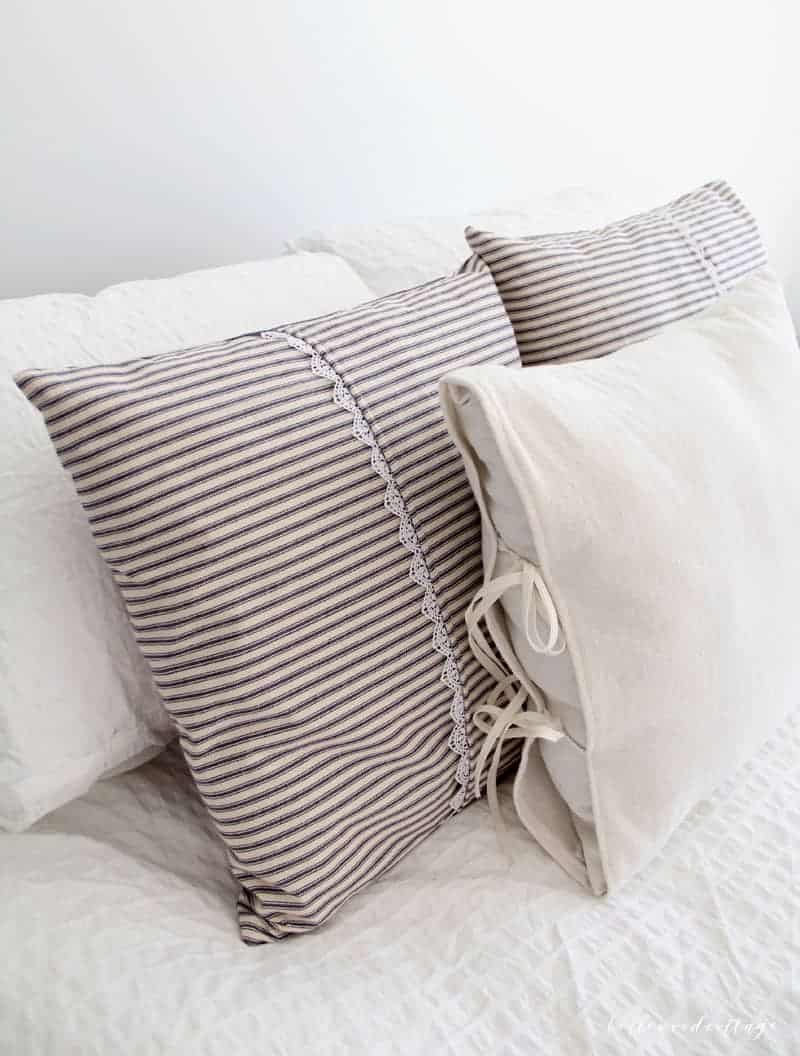
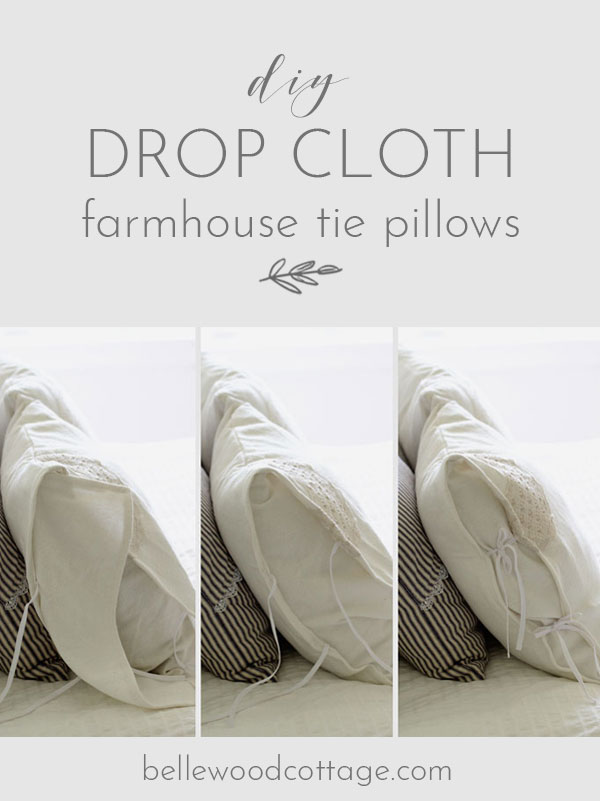
This pillow tutorial is pretty straightforward, but I switched things up a bit. To get that layered farmhouse look (see an example here of two pillow covers layered), I added a panel to the pillow case that is tucked under and then tied up on the sides. Saves time sewing and saves fabric too!
You could make the panel from another contrasting fabric (like ticking or buffalo check) for a totally different look as well. Or if you want to switch things up, cover a pretty pillow case with this cover, hide the panel inside and tie up the ties. Lots of options with these drop cloth pillows!
DIY Drop Cloth Pillows with Antique Lace
How to sew the drop cloth pillows:
Note: these instructions are to make one drop cloth pillow cover that will fit on an 18″ pillow form.
Supplies:
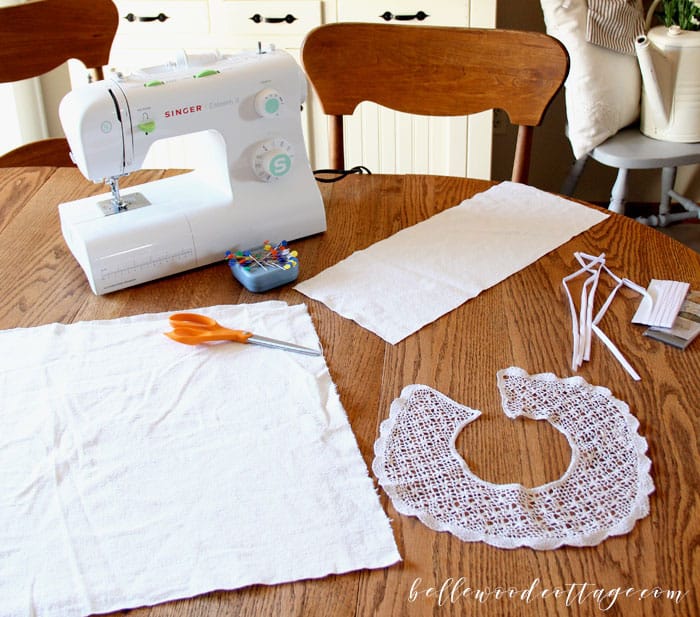
- sewing machine, measuring tape, fabric pencil, pins, and thread
- one 18″ pillow form per pillow
- 48” of ¼” bias tape, cut into 4 equal sections, each measuring 12” long
- Cut 2 – 19” squares of bleached drop cloth fabric (or other home décor fabric)
- Cut 1 – 8”x20” rectangle of bleached drop cloth fabric (again, or other home décor fabric)
- antique lace…whatever you have on hand!
Let’s get started!
Hem pillow case ties:
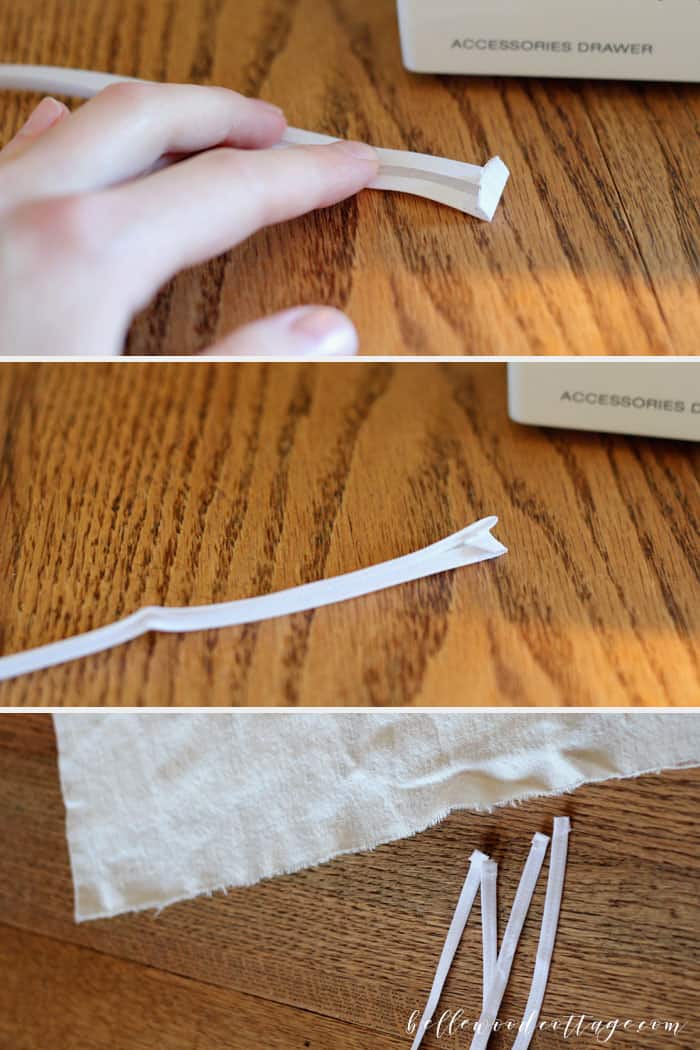
With each piece of bias tape, turn up one short end (about ¼”) and tuck it inside itself. On the right side of the tape, stitch all down the long side, being sure to catch the tucked in edge as well (this will be the edge that shows on the finished pillow). Tip: When sewing these on a sewing machine I like to start from the raw end and finish stitching on the folded end.
Hem the panel:
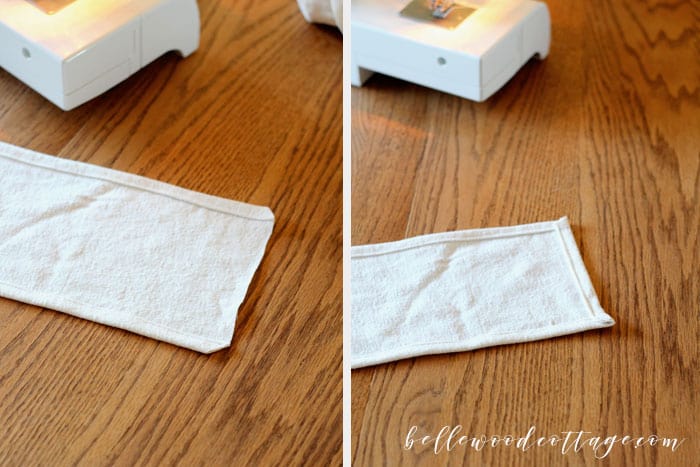
Hem all four edges of the 8″x20″ rectangle using a ½” fold-over hem. In other words, it’s a 1” seam allowance. Fold over ½” and then ½” again and stitch. I like to sew the top hem, bottom hem, trim corners to reduce bulk, and then pin and sew side hems. See photo:
Apply lace to front of pillow:
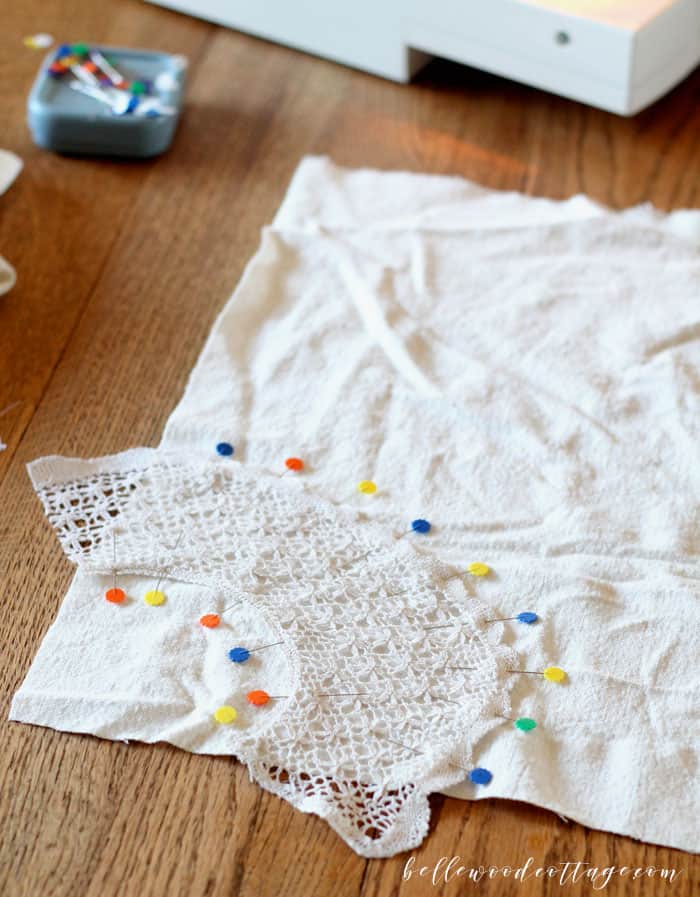
On one of your 19″ squares of drop cloth, pin the lace and stitch it down. This is the front of the pillow. If you have a complex piece of lace, you may prefer to hand stitch it onto the front of the pillow.
Sew drop cloth pillows:
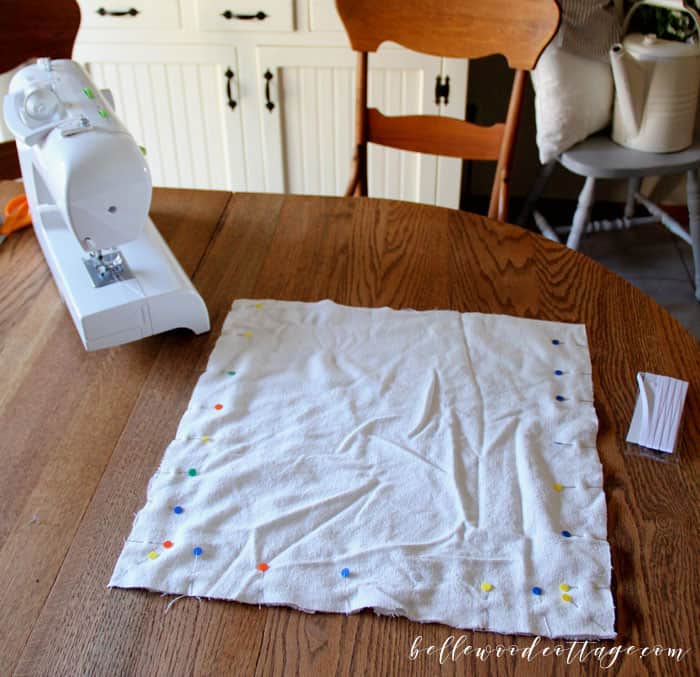
With the right sides together, pin the two 19″ squares of drop cloth together. Seam the bottom edge and side seams using a 1/2″ seam allowance. Clip corners for sharp edges when case is turned out.
Side note: Can we talk about how desperately my fabric needs to be ironed right here?? Actually, let’s not talk about it, because #embarrassing! The first thing I did after finishing the pillow was iron it, though of course it was too late to re-do the photos. Yikes. I don’t even know how I managed to cut fabric that wrinkly. It didn’t look so bad in person!
Attach the ties:
On the top edge of the pillowcase: On both the front and back of the case, mark 6” and 12” out from the side seam on the wrong side. These markings will be where you will attach the ties.
Pin the top edge with a ½” fold over hem (so 1/2″ and then 1/2″ again, equalling 1” total seam allowance) adding all four ties in at the same time. Add them at the spots you marked in the prior step. Simply tuck the unfinished edge of the tie into seam allowance and pin securely.
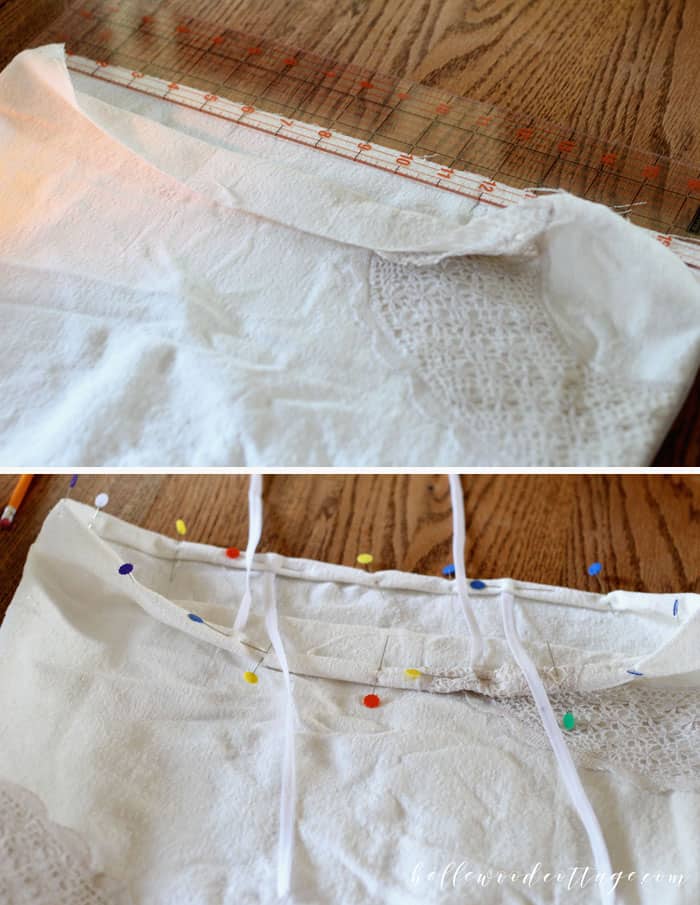
Now, stitch the hem being careful to avoid moving the ties as you stitch.
Attach the panel:
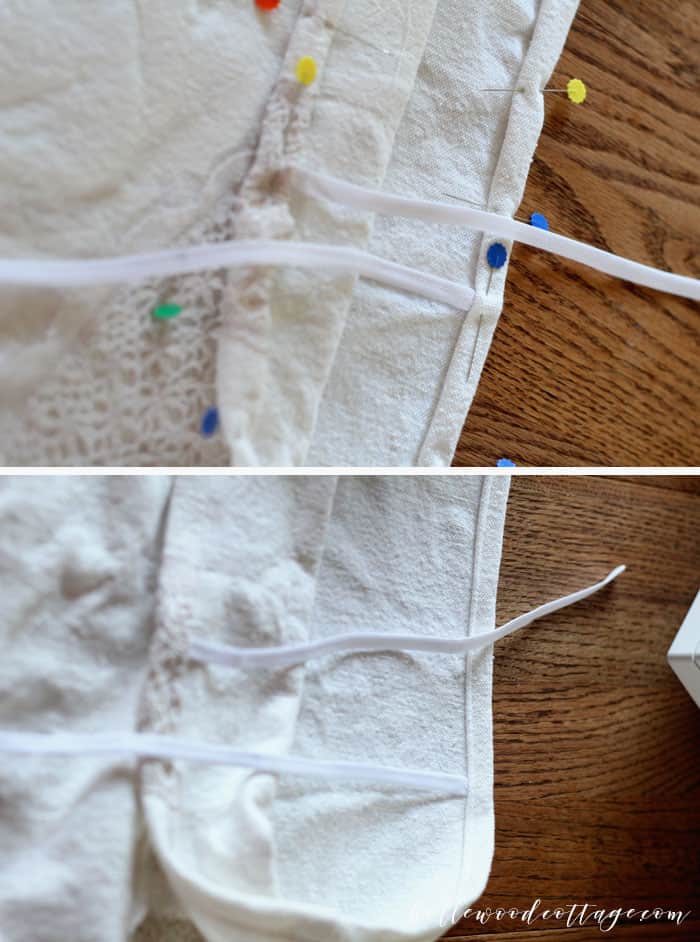
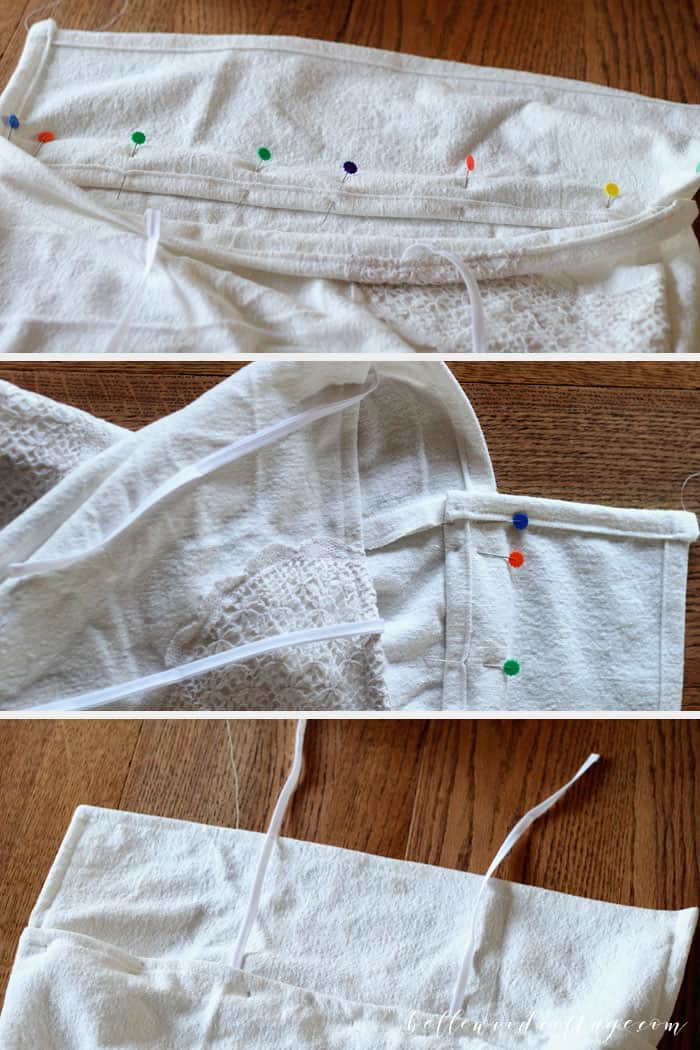
Note: See the photos for more clarity on this step. Because drop cloth fabric can get SO bulky with seams, I wanted to figure out a way to attach the panel without major sewing frustrations. I found the easiest way was to just pin the panel with the bottom seam staggered an 1/8” beneath the top hem on the actual pillow case. This means that the right side of the panel will be pinned to the inside (wrong side) of the case (with the panel extending past the top of the case so it can be folded around the pillow form later).
Now, just between where the two seams meet, you have a tiny space (featuring only two layers of fabric!) that you can sew along down to attach the flap without needing to sew through all those seams. So basically stitch juuuust above where the panel seam ends. Be careful to avoid catching the ties into this last seam.
(photos: top view, view from the side, view from the front of the case)
I realize that is kind of a confusing step, so hopefully the photos help it make a little more sense!
Once that final seam is sewn, you are all set. Just slip the case onto your pillow form, tuck the panel inside and over the pillow form, and tie up the sides.
(note: you can see I used different sized bias tape on each of these pillows. I prefer the thinner variety, but use what you prefer!)
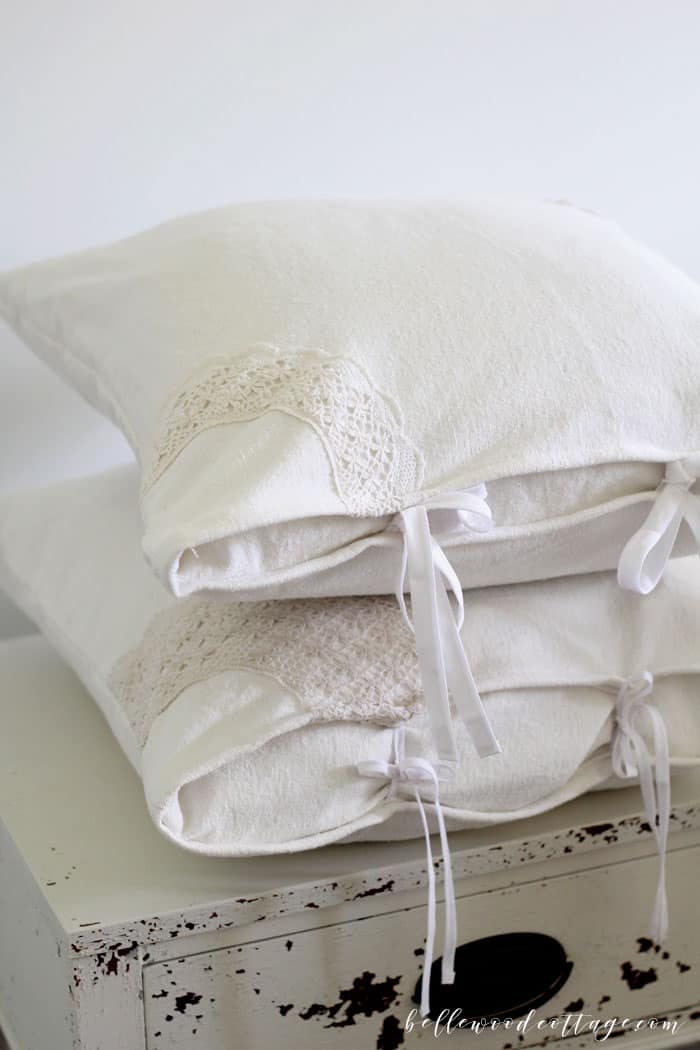
Make as many of these as you like to fill your home with DIY drop cloth pillows! It’s a fun way to feature antique linens and the faux double-case panel gives you lots of options for styling them as well.
