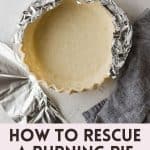
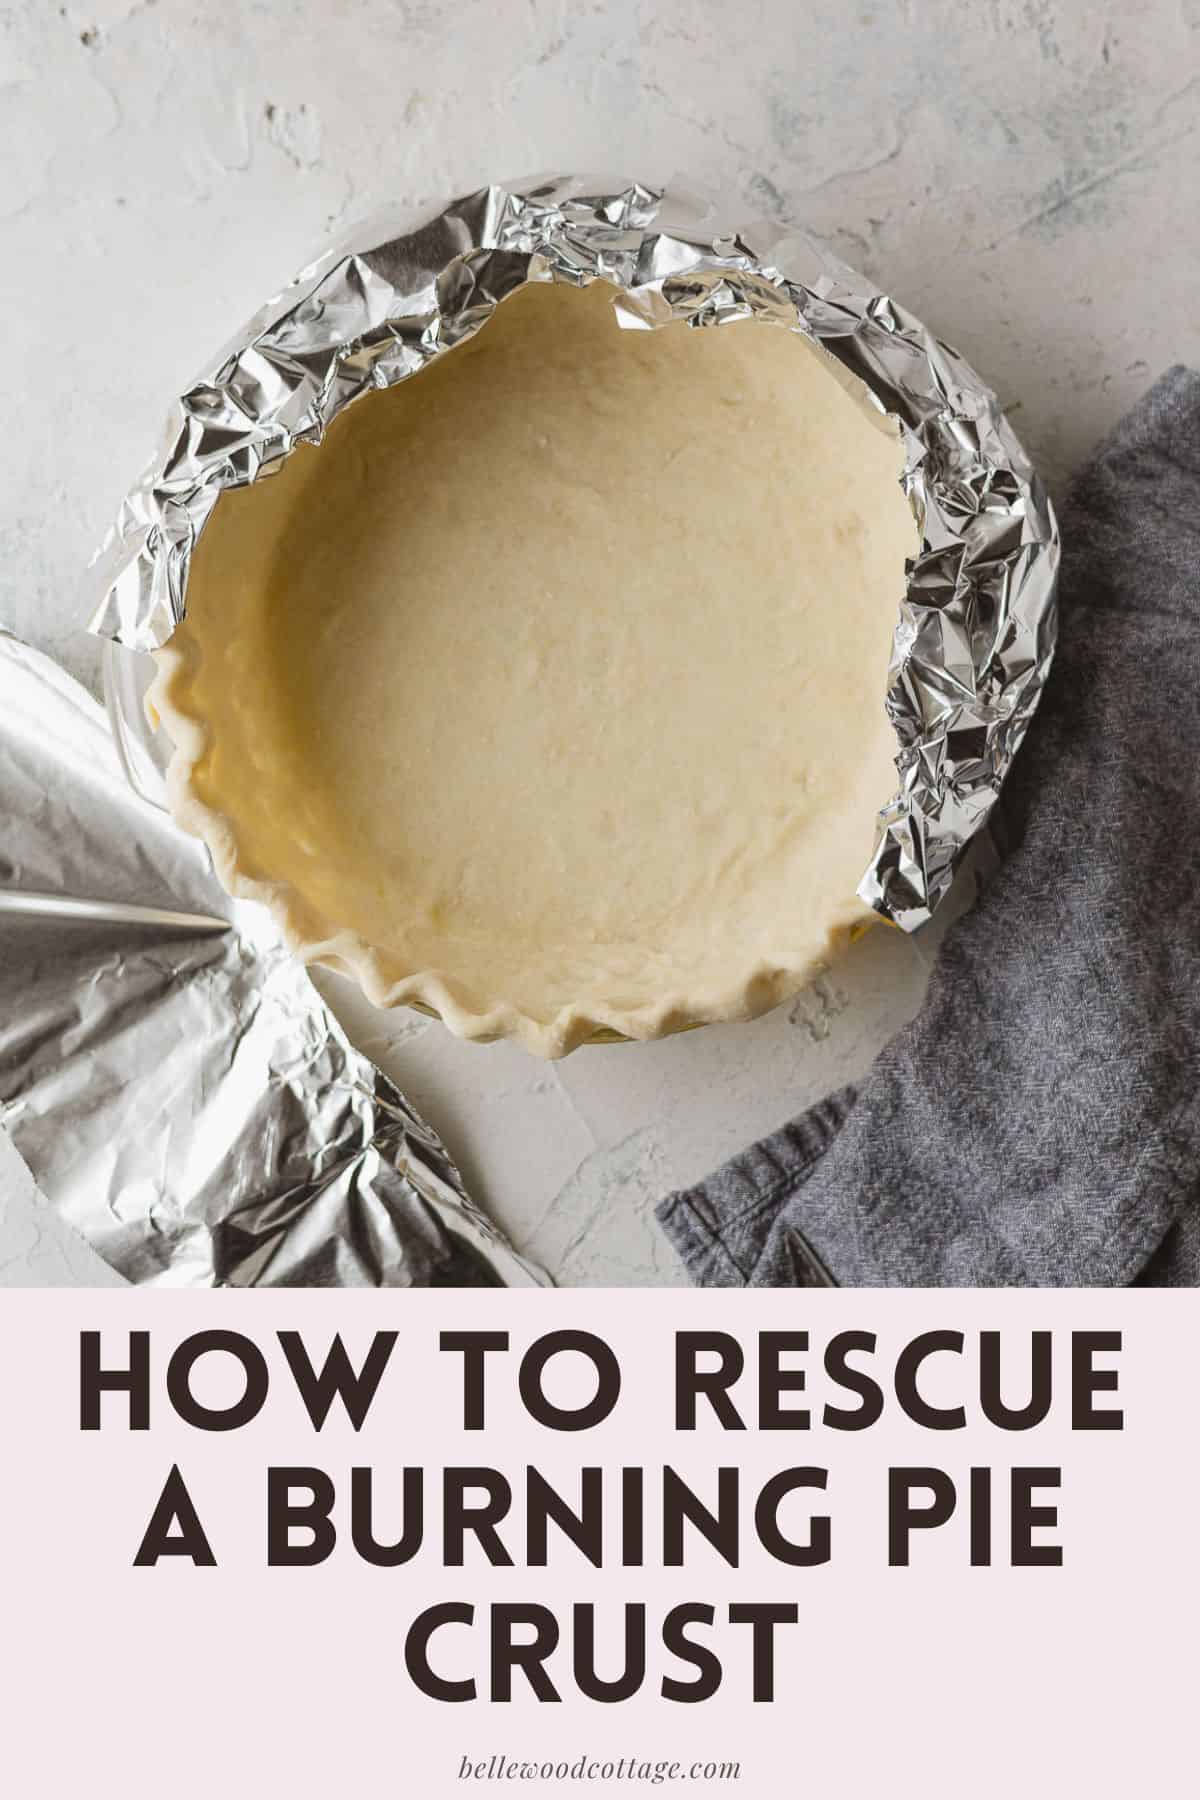
How to Keep Pie Crust from Burning
Wondering how to keep pie crust from burning as it bakes? This handy guide will give you all the tips you need whether your crust is burning right NOW and you need an instant solution or you just want some quick tips to prevent those burnt edges in the future.
Please note that this post contains affiliate links which allow me to earn a small commission when a purchase is made at no additional cost to you. As an Amazon Associate I earn from qualifying purchases. Read more here.
That perfect pie you just spent all afternoon crafting is now in the oven. It’s looking great except for one little problem…the edges are growing more and more golden brown (er, burnt?) and the pie filling isn’t even close to cooked all the way through. How can you keep the pie crust from burning?
Fellow Crumbl Fans!
Join my list and get a weekly email with fresh Crumbl news, delicious copycat recipes, and more!
Here’s how you can solve the problem (and solve it quickly) to rescue your pie!
How to Keep Pie Crust from Burning
If your pie crust is literally in the oven burning RIGHT NOW, here’s what you need to do. We’re going to use a kitchen staple, tinfoil, to rescue the pie’s edges and stop them from burning.
This will work for single crust and double crust pies. Grab some tinfoil and craft a cover in one of the following ways.
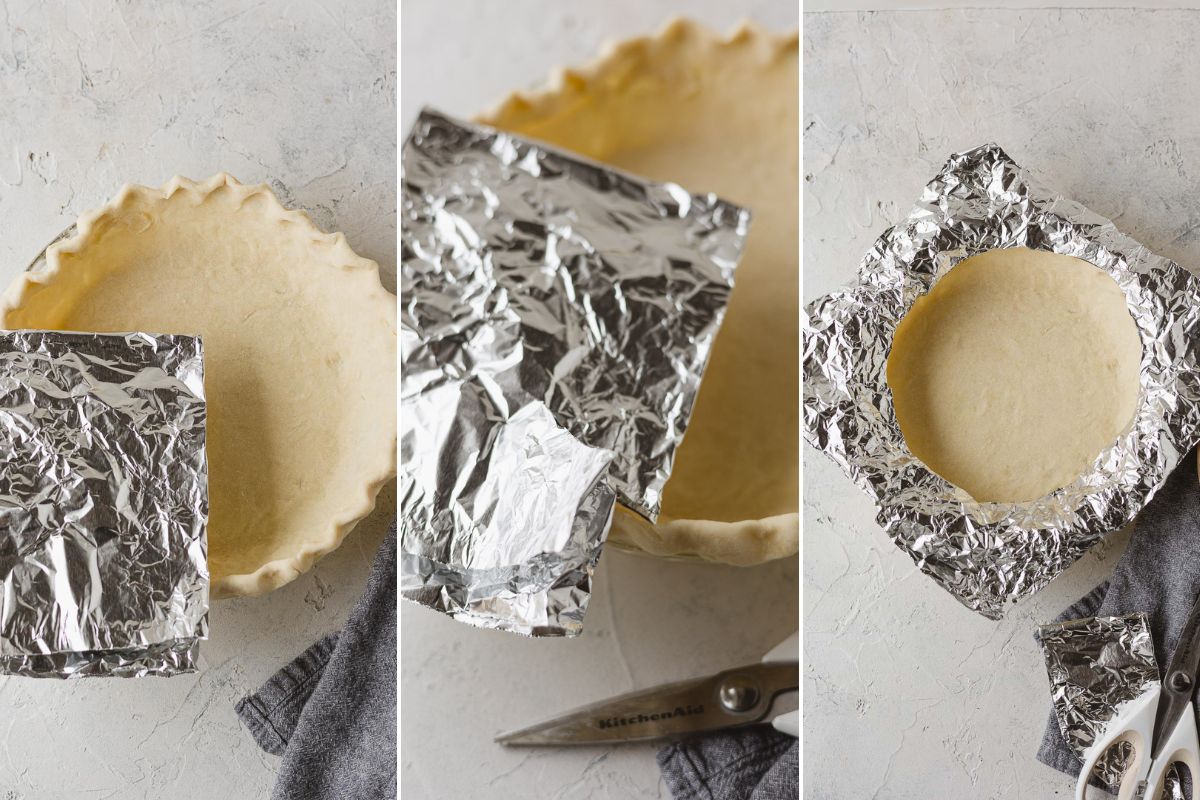
Cover It with Tinfoil: Make a Cut-Out Circle
You can do this with two half-sheets or one larger sheet of foil. I found that a longer rectangle piece of 12″ foil worked fine.
For one large sheet, fold in quarters. Cut away the middle of the square to remove a circle from the center. Place on top of the pie and gently crease the foil as needed to secure. You want to cut away enough of the foil that the shield doesn’t dip into the filling, but not so much that the edges aren’t completely covered.
See following images:
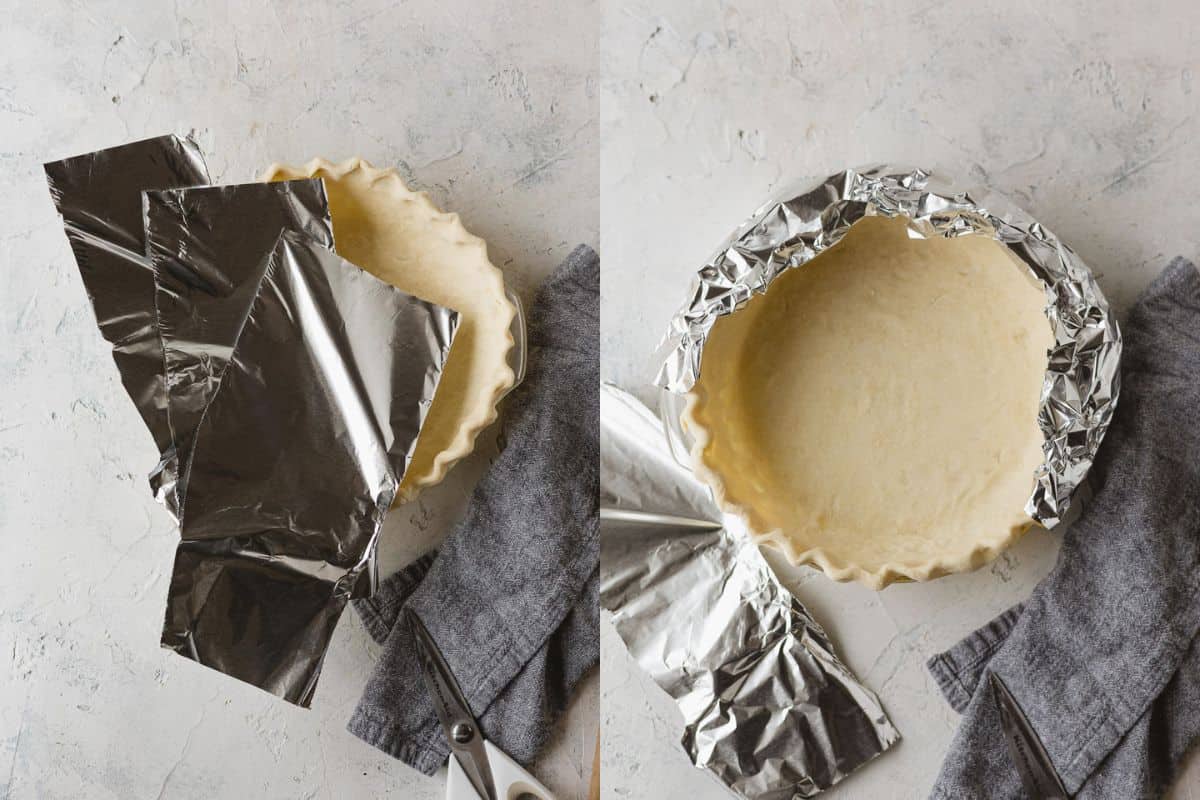
If you are using two smaller sheets of foil, cut away a half circle from each piece. Curve the pieces around the pie shell with the cut-away circles in the center of the pie.
See following images:

Handy Tip: Grab a spare pie plate to prepare and fit your homemade pie shield. That way you can place it on your pie quickly without removing from the oven for more than a moment or two (or place it while the pie is in the oven–just be very careful!).
Use Tinfoil Strips to Wrap the Edges
This final method can be a bit fiddly, particularly if attempting to use it around the edges of a very full single crust pie. Use about three strips of tinfoil and curve them to create a sort of pie shield. Now, place each piece around the pie covering the edges and continue to bake.
Note for a Single Crust Pie
Your goal is to completely cover the edges of the crust, without marring the filling. Custard pies (like pumpkin) or very full pie dishes are harder to work with, so do your best! This can be tricky (especially when working with a hot pie) so work quickly, but carefully.
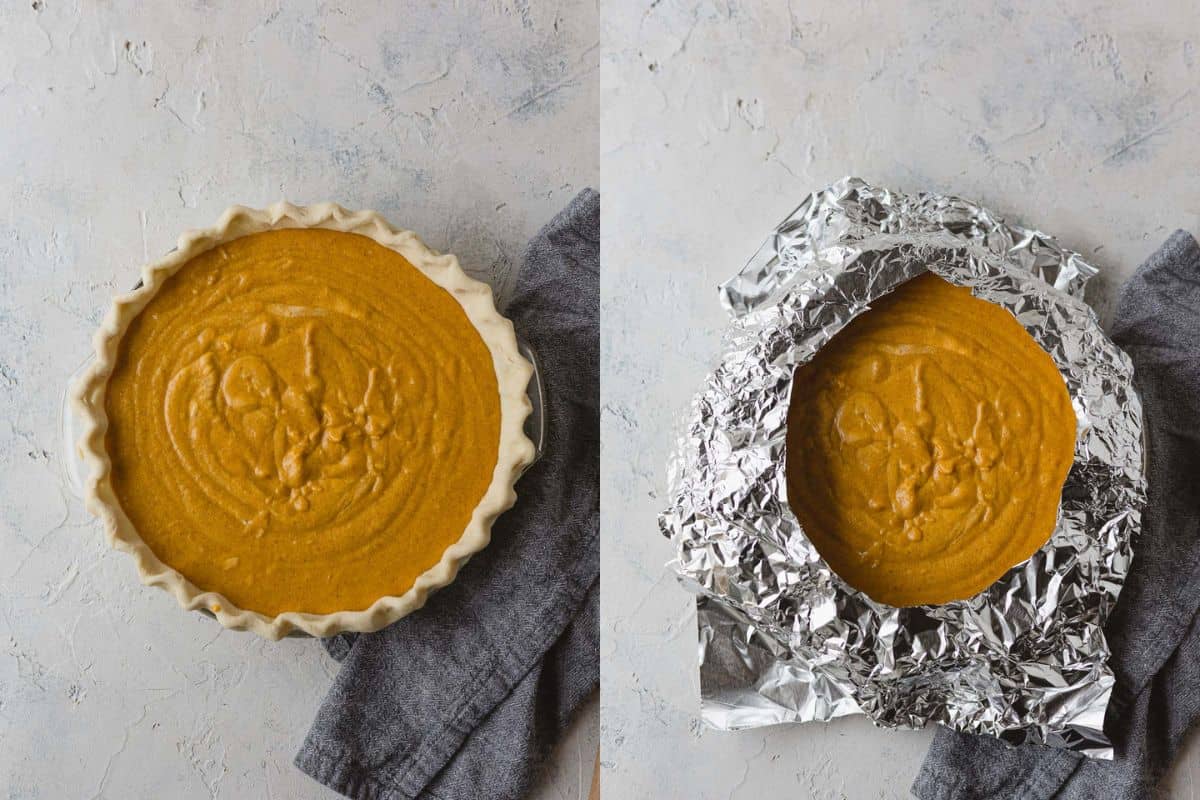
It helps if you can get the foil mostly shaped before briefly removing the pie from the oven. Depending on which foil method you use, you might be able to place it while the pie is still in the oven. Be careful!
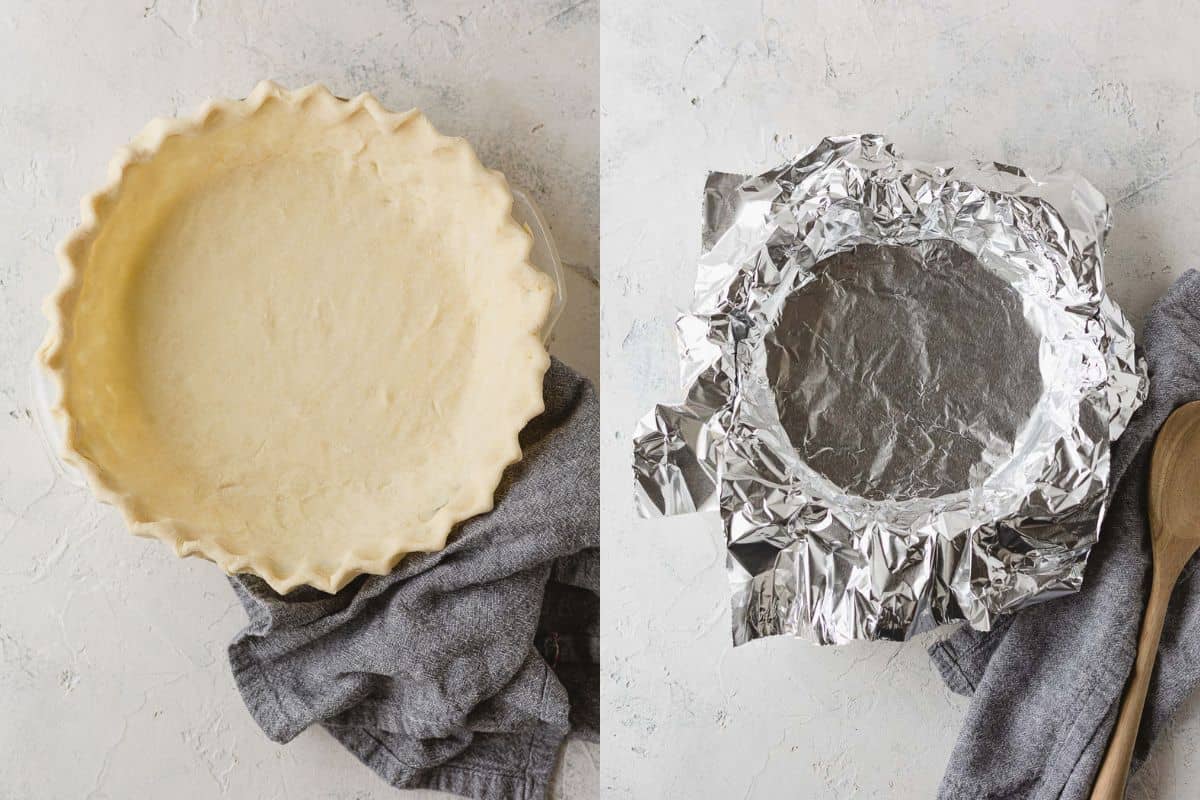
Notes for a Double Crust Pie
You can use the same method for a double crust pie, but it’s actually easier since you aren’t needing to work around a delicate filling. Just cut a large piece of foil bigger than the pie and gently top the entire pie with it.
Gently press the corners downward so the foil stays put without totally suffocating the pie. Check the pie when it’s nearly baked and remove foil completely if needed to brown the crust any more.
You can also use the shield with the middle cut away demonstrated earlier if you prefer.
Tips for Blind Baking
Blind-baking a crust? I find this makes a lot of bakers nervous because the crust is will be baked twice–how to avoid burnt edges now?
Stella Parks has a great suggestion in her thorough post about blind-baking pie crust. Simply cover a chilled crust with a sheet of foil (completely covering the edges) and fill with pie weights as usual. The sheet of foil over the edges covers the delicate edges of the pie which prevents early browning.
Now, if you haven’t actually began baking your pie, but are hoping to avoid this problem (especially if it’s occurred in the past), here’s what you can do:
Buy a Pie Shield
What is a pie shield? A pie shield is a handy device usually made from silicone or aluminum that will wrap around the edges of a pie plate to prevent those pretty crimped edges from burning.
You know you are not alone when Amazon sells a product to solve the very problem you are encountering. It’s true, pies are annoying. They love to burn on those crimped buttery edges which is a huge pain when you are trying to present a perfect product.

You can choose an aluminum shield or a silicone pie shield. I don’t own one of these yet myself and I noticed there are plenty of mixed reviews. I chose to link to what seemed like the best options, but if you aren’t a frequent pie-baker, you might just stick with using a little tinfoil as the need arises.
Note: You could place the shield on right away, but I would opt to place it after the pie has baked awhile to avoid squishing the crust.
Before You Bake Your Pie
Now, there are a few things you ought to do before even beginning to bake your pie that will help immensely with avoiding burnt edges.
Check Oven Temperature
Before you even begin baking your pie, one of the best things you can do is check your oven temperature. You can do this by purchasing a simple oven thermometer. There’s even a handy trick from Food.com to test your oven temperature without a thermometer.
Most ovens are a little bit off. You can usually get a professional to calibrate the oven, or in a pinch you can simply adjust the temperature until you’ve achieved the correct temperature on the oven thermometer (even though the oven itself may claim it is a different temp!).
Bake One Pie at at Time
It might be tempting to stuff a pie into the oven while another pie or dish is cooking. Avoid this. Pies should be baked solo to avoid creating hot/cold spots in the oven that are hard to navigate around.
Also avoid placing a pie in the oven while it is still pre-heating.
Most pies can be baked in advance (and this is usually much easier anyway) and stored in the refrigerator or at room temperature depending on the recipe. So, if you plan ahead you should have plenty of time to bake all your holiday pies.
I hope these tips helped you rescue your pies today! Enjoy!
More Fall Baking
- 35+ Best Mason Jar Desserts – The Ultimate Roundup!
- How to Make Homemade Whipped Cream
- Pumpkin Desserts That Are NOT Pumpkin Pie
- No Bake Pumpkin Cheesecake Mason Jars
- 30+ Delicious Thanksgiving Desserts Your Guests Will Love
Fellow Crumbl Fans!
Join my list and get a weekly email with fresh Crumbl news, delicious copycat recipes, and more!