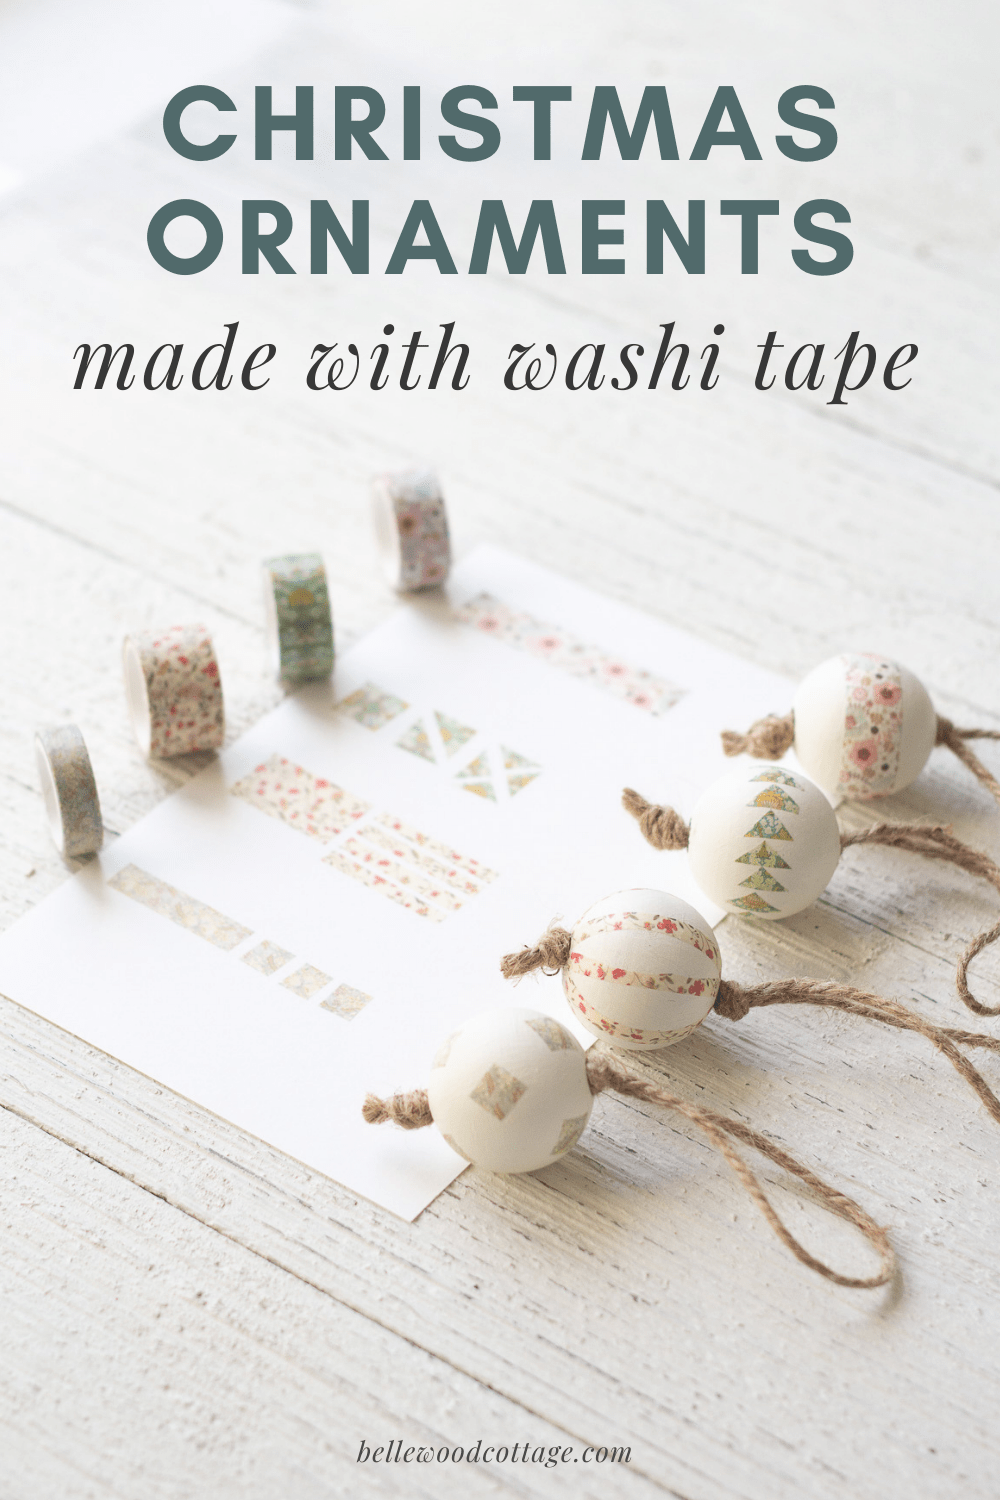
How to Make Washi Tape Christmas Ornaments
Make your own Washi Tape Christmas Ornaments! These handmade Christmas ornaments are a great way to feature your prettiest spools of washi tape. You can easily make this Christmas craft with kids too.
Please note that this post contains affiliate links which allow me to earn a small commission when a purchase is made at no additional cost to you. As an Amazon Associate I earn from qualifying purchases. Read more here.
What Do I Need To Make Washi Tape Christmas Ornaments?
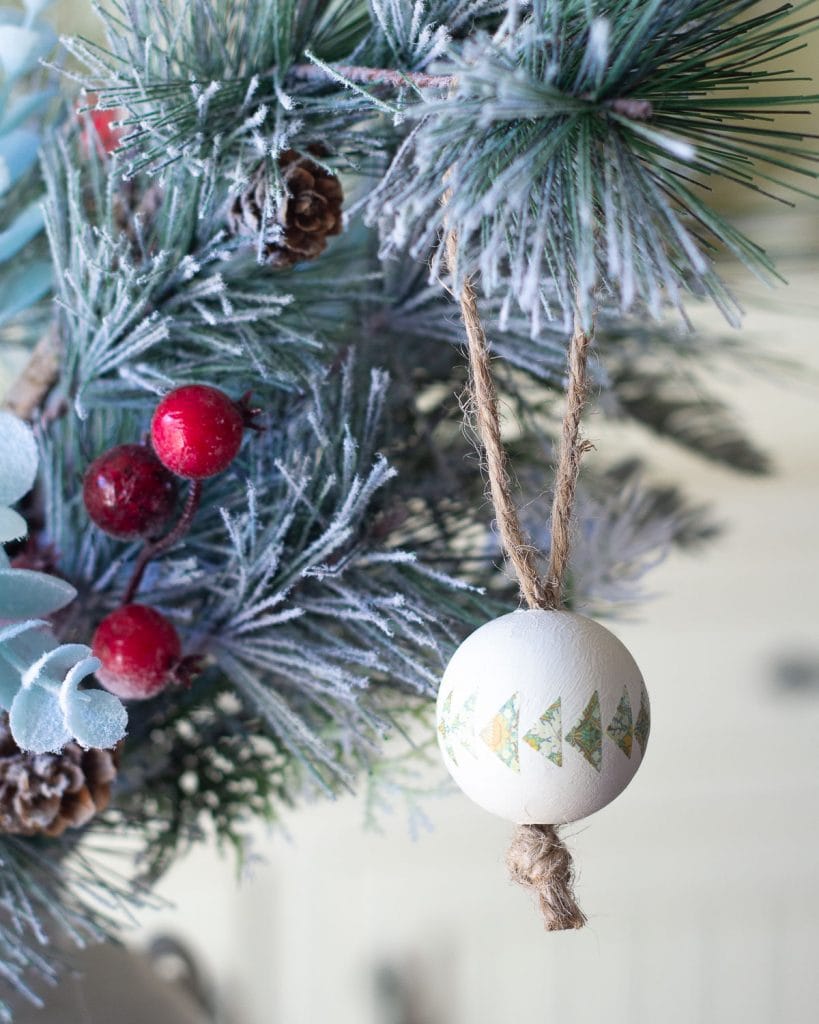
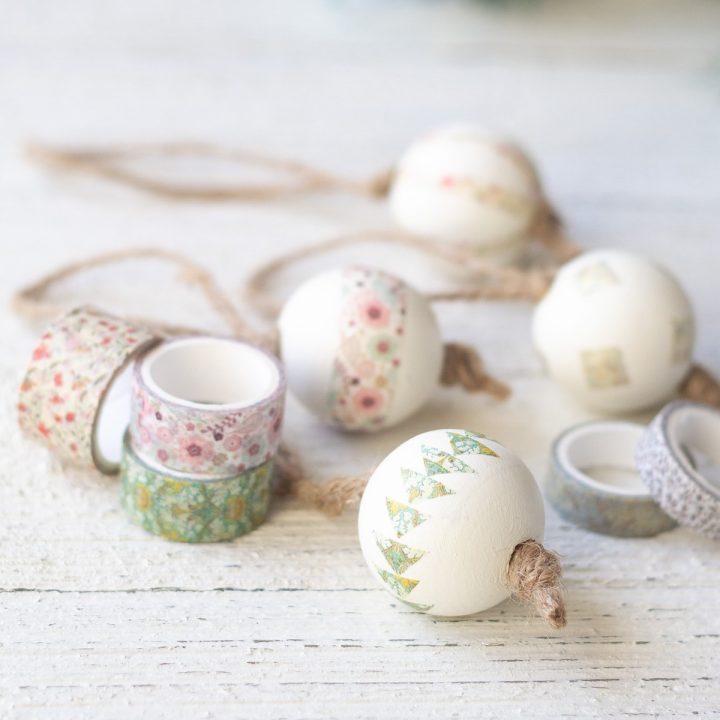
These handmade Christmas ornaments are created with wooden beads, chalk style paint, and washi tape.
After painting the beads, washi tape is then applied in attractive designs and everything is sealed with a polycrylic (or similar) top coat. A simple strand of twine is used to create ornament hangers.
Weekly Crafting Fun!
Join my list and get a weekly email with relaxing craft ideas, freebies, sewing tutorials, and more!
These ornaments are an inexpensive Christmas craft, and they are a great way to showcase your favorite washi tape patterns. Get creative and try making your own designs too!
Shopping List
- 38mm wooden beads (about 1.5″) (Hobby Lobby // Amazon)
- chalk style paint
- washi tape in various widths
- polycrylic or liquid wax for sealing
- twine

Where Can I Buy Washi Tape?
You can find washi tape in craft supply stores, but there is even more variety online. I like browsing through different shops on Etsy (this linked post has my favorite washi tape shops) to find unique designs, but you can also purchase online from Amazon too.
You can find the set of washi tape that I used here on Amazon. Choose something with a variety of widths to give you options as you create your own designs.

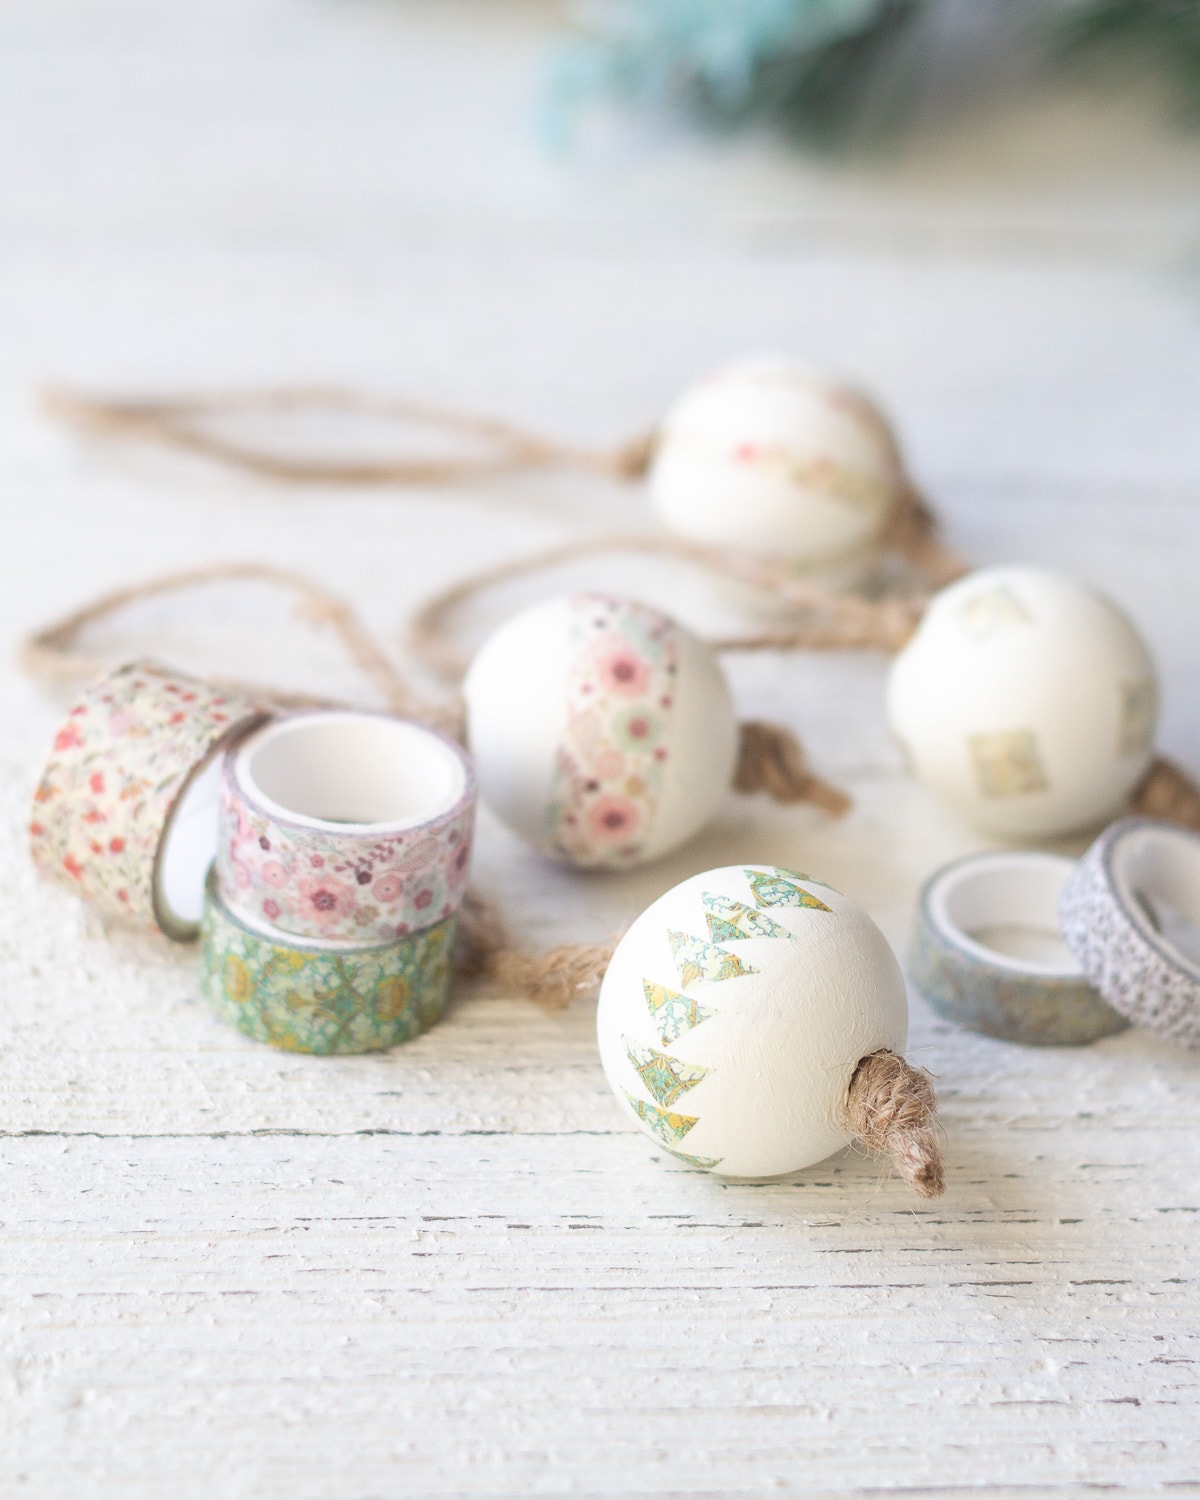
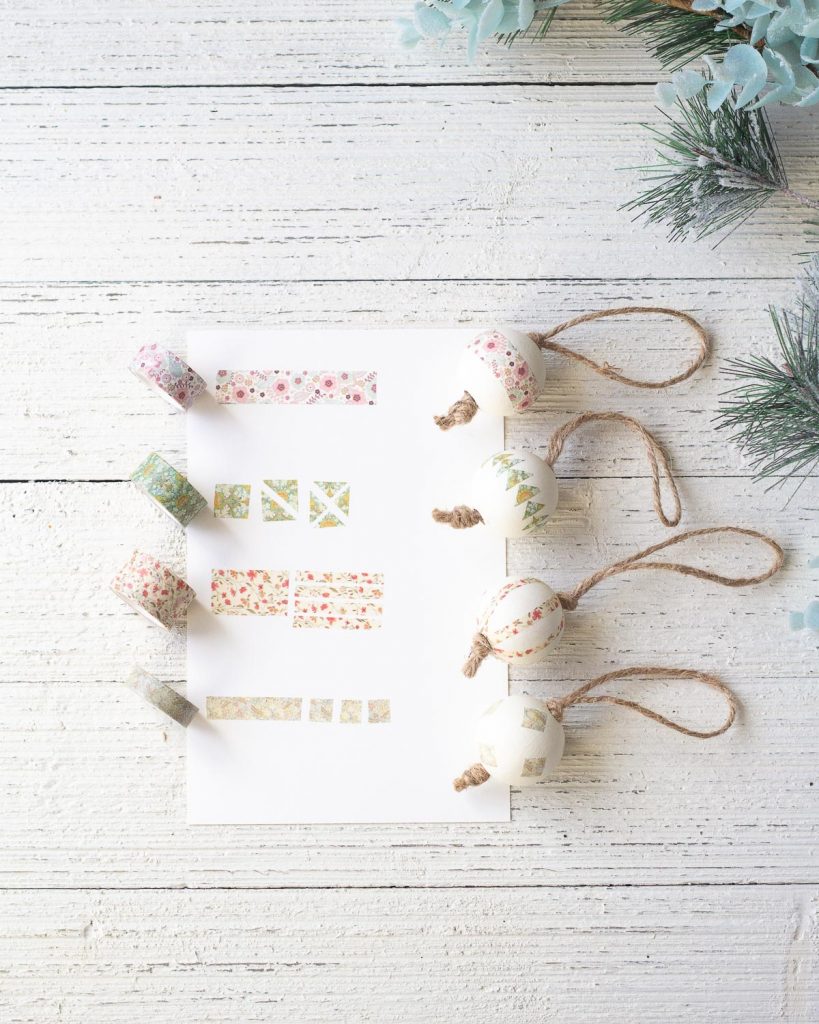
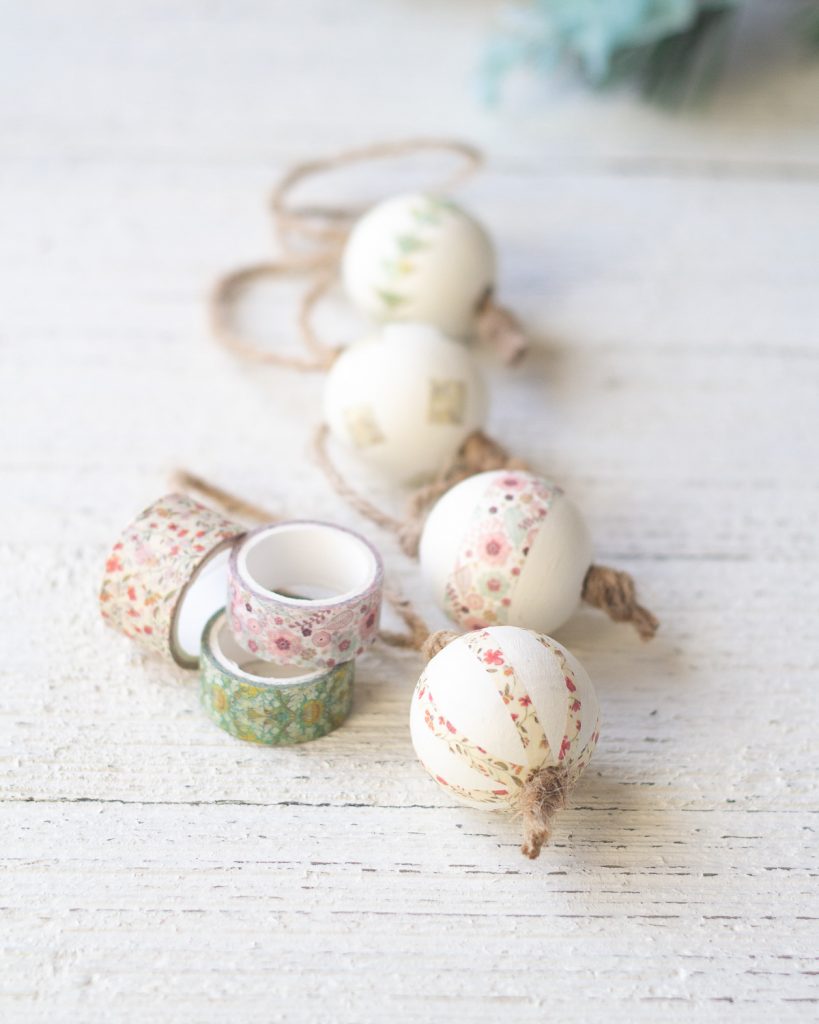
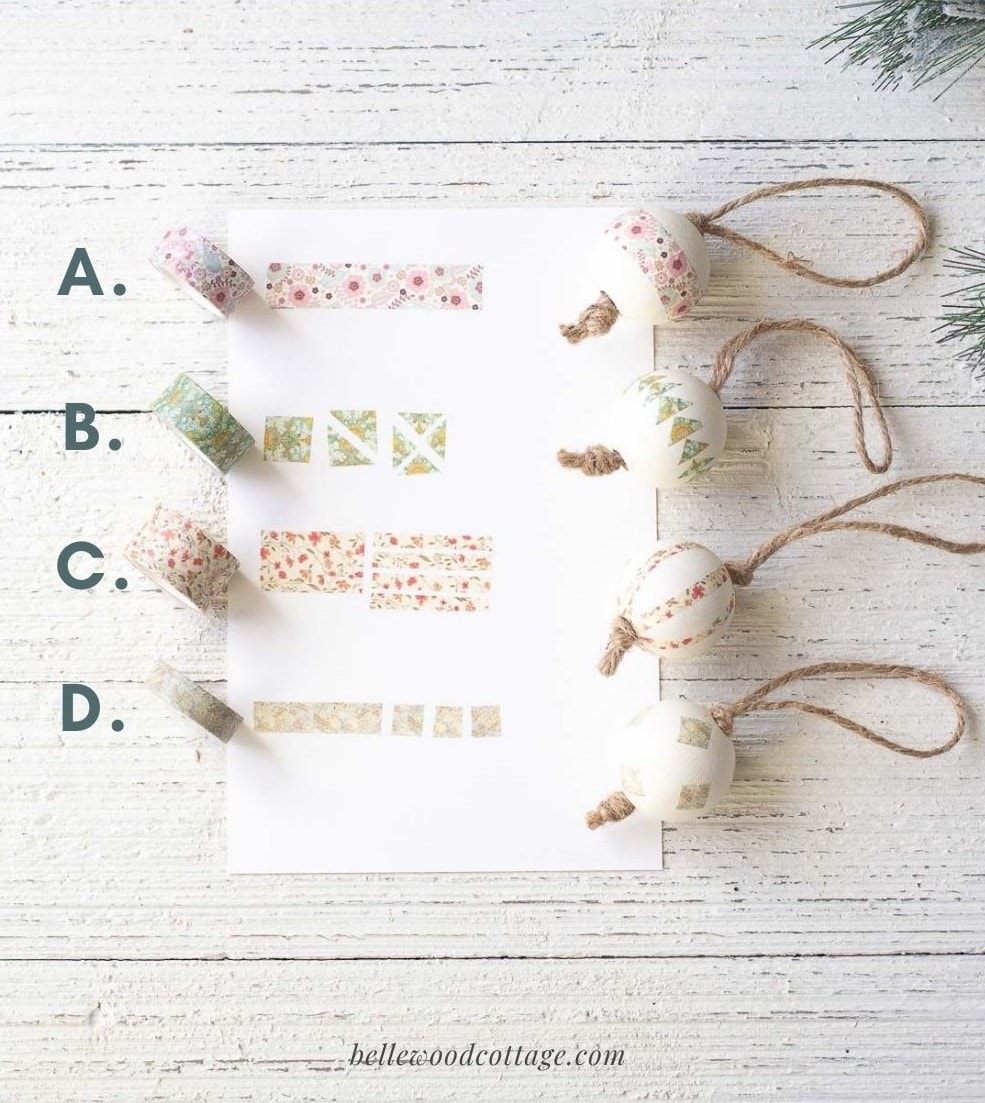
I used 3/8″, 1/2″ and 3/4″ widths of washi tape for these ornament designs. You can create any patterns you like, but I started with the four patterns shown here.
Washi Tape Ornaments – Notes
Painting the beads | I settled on using wooden beads for this craft because I liked the rustic look paired with the washi tape. I used two coats of a chalk style paint (you could also use regular acrylic craft paint) in a creamy color. Paint the ornaments any color you like to match the washi tape you choose.
I use a discarded pencil or old knitting needle to slide the beads onto while I paint around them.
If you would like larger ornaments, you can choose larger beads, like these 51 mm ones. Because of the larger hole, you may need a small wood bead on either end to stop the twine from sliding through after tying the handmade ornament.
Do I need a top coat? After applying the washi tape to these Christmas ornaments, you don’t expressly need a top coat. But, I recommend it because it’s a great way to seal the washi tape on the ornament. Plus, the top coat protects the chalk style paint finish and gives the finished ornaments a bit of shine.
What to use for a top coat? For a top coat you can use a polycylic you already have on hand (I use Rust-Oleum Matte Clear for furniture painted with Rust-Oleum’s Chalked paints, so I already had some of that on hand), or you can simply use a liquid wax which is found with the craft store acrylic paints. Folk Art is a popular brand of craft paint and they sell a nice liquid wax as well as their chalk style paint.
Enjoy!
Washi Tape Christmas Ornaments
Whip up cute Washi Tape Christmas Ornaments using wooden beads, chalk paint, and of course, washi tape! These easy handmade ornaments are the perfect way to showcase your prettiest washi tape rolls.
Materials
- 38mm wooden beads (about 1.5")
- chalk style paint
- washi tape in various widths
- polycrylic or liquid wax
- twine
Tools
- paintbrush
- a spare pencil or discarded knitting needle (for painting the beads)
- scissors
Instructions
The Patterns
How to Make Washi Tape Christmas Ornaments
Be sure to check out the video for a full step-by-step view of each design.
- Paint the Beads: Paint four large wooden beads with two coats of chalk paint (let dry in between). I like to place the bead onto a pencil or a discarded knitting needle (be careful please!) and paint it that way. Note: Regular acrylic craft paint works great too.
- Washi Tape Variation A: Take a spool of 1/2" wide washi tape and begin wrapping it around the middle of the painted wooden bead. When you've wrapped the tape all the way around, trim and smooth down. It won't be perfectly smooth, but the large size of the bead helps avoid too many wrinkles.
- Washi Tape Variation B: Cut squares from a spool of 1/2" wide washi tape. Cut each square diagonally down the middle. Take each of these two squares and cut diagonally down the middle again. You'll now have four triangles cut from one square of washi tape. Place these around the wooden bead. Repeat until the pattern wraps completely around the bead.
- Washi Tape Variation C: Using a spool of 3/4" washi tape, unroll a length of tape and place it on the top of the bead and wrap it down to the bottom. Trim (leaving a bit of extra length). This allows you to see how much tape you will need to wrap the bead from top to bottom. Cut this length of tape the in half the long way, and then each section in half the long way again. Now you have four long strips. Place these evenly around the wooden bead, securing them from top to bottom and applying them an equal distance apart. Repeat with another length of tape and add these new strips in between those you previously placed.
- Washi Tape Variation D: Cut squares from a 3/8" wide spool of washi tape. Arrange three of them evenly across the top of the ornament. Repeat this on the bottom edges of the ornament. Fill in the rest of the space keeping the squares arranged in a diamond shape.
- Apply Top Coat: Apply a top coat using a paintbrush to secure the washi tape to the ornament and let dry. I used a polycrylic that both seals the chalk paint and the washi tape. I like using Rust-Oleum Matte Clear, but you can use another polycylic you have on hand (anything you have used for finishing furniture works great) or you can use a liquid wax (made for chalk paint) from the craft store.
- Make the Twine Hangers: Cut a 20" piece of twine and fold it in half. Pass the folded end through the base of the ornament and pull it through until you have several inches sticking out the base. Tie this section into a thick double knot (note: if your twine isn't very thick, you may need to add a small wooden bead to the top and bottom to keep the twine secured) and trim. Now tie the top loop into a single knot, sliding it down to meet the top of the ornament (this helps keep the ornament in place a bit, but mostly it's just decorative).

More Crafts from Bellewood Cottage
- The Best Washi Tape Shops on Etsy
- DIY Bias Tape Hair Bows for Babies, 7 Ways
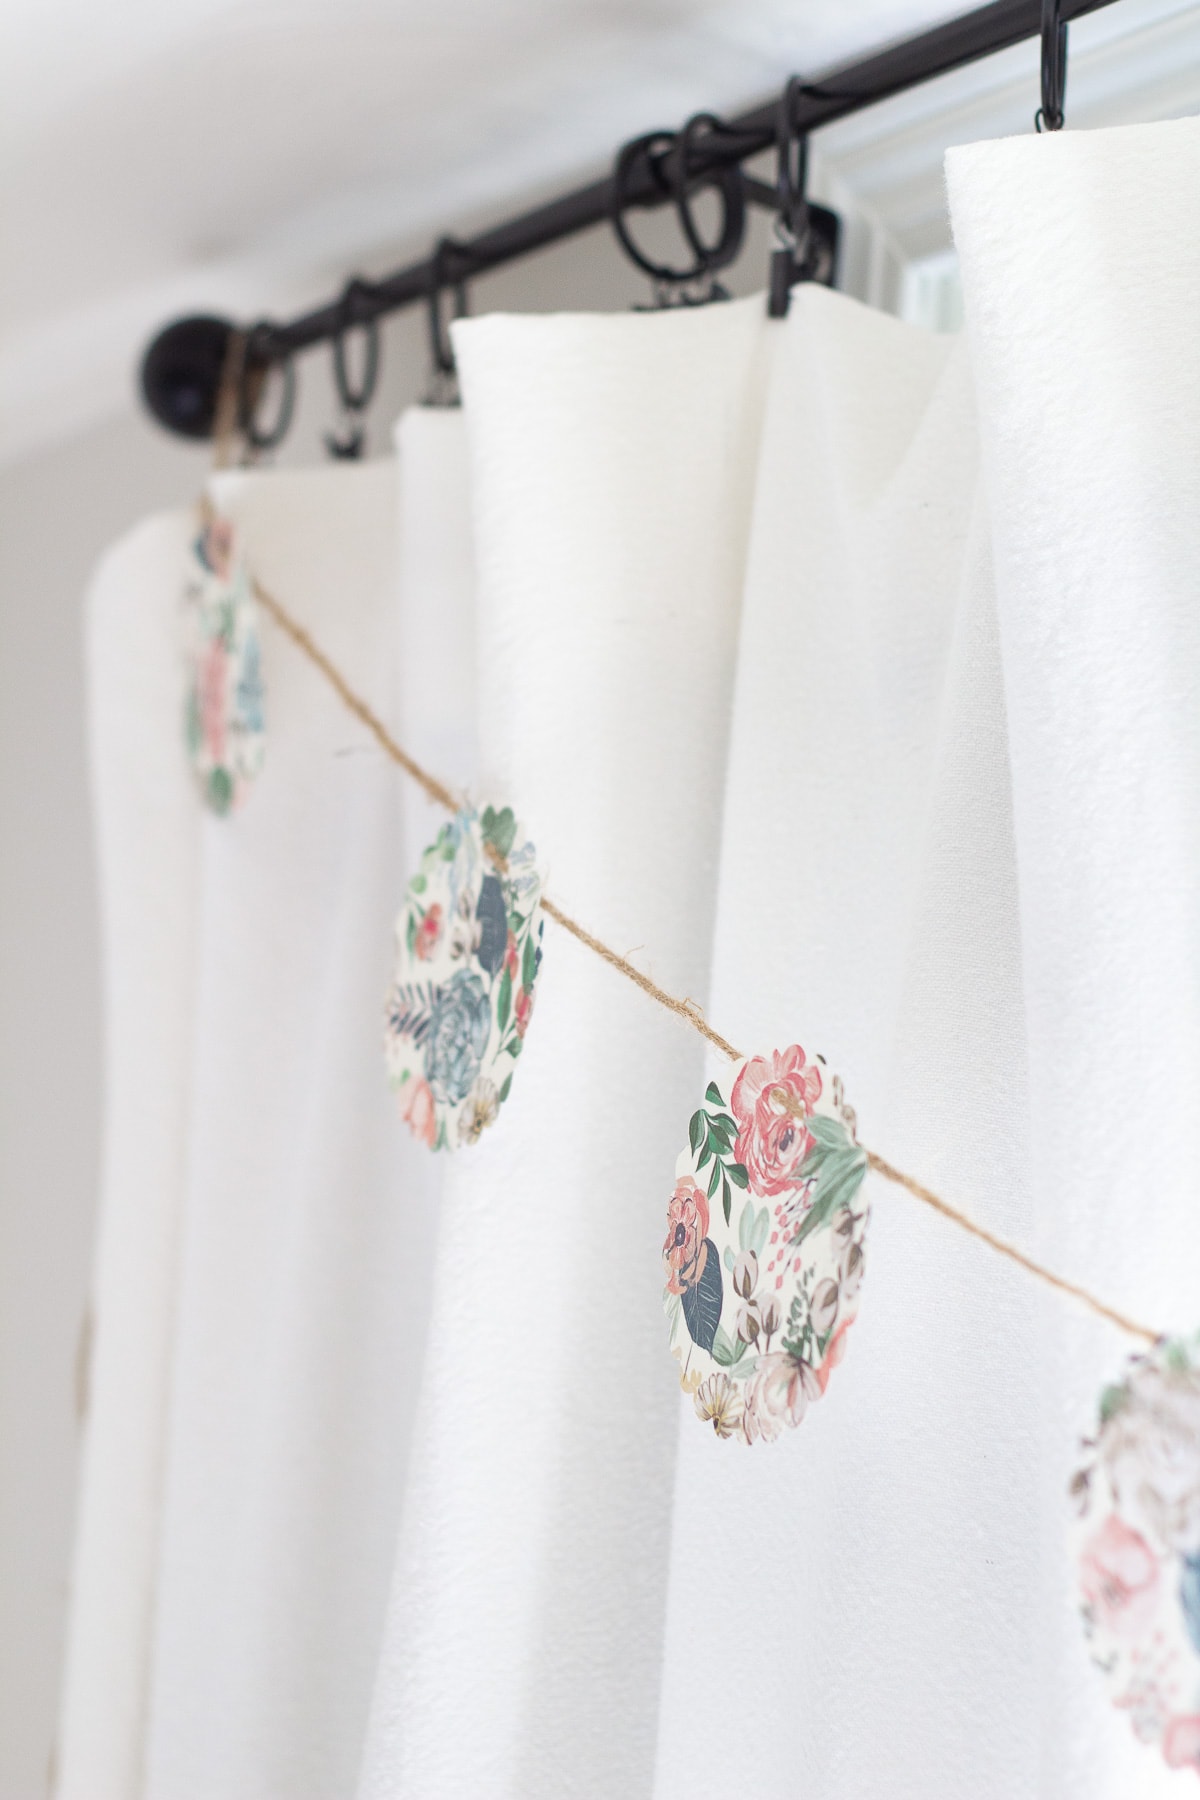
- 10-Minute No-Sew Paper Garland
- How To Bleach Drop Cloths Successfully
- What Is So Great About Chalk Paint?
Weekly Crafting Fun!
Join my list and get a weekly email with relaxing craft ideas, freebies, sewing tutorials, and more!