How to Sew French Seams with 5/8″ and 1/2″ Seam Allowances
Learn how to sew enclosed French seams with this easy step-by-step tutorial showing you how to sew French seams with a 5/8” seam allowance or 1/2” seam allowance. A great easy sewing lesson for beginners!

What is a French Seam?
A French seam is an enclosed seam that is created when one first sews the wrong sides of the fabric together, presses and trims the seams, and then brings the right sides of the fabric together and sews with a slightly larger seam allowance to enclose the seam.
The following photo illustrates what an enclosed (French) seam looks like:
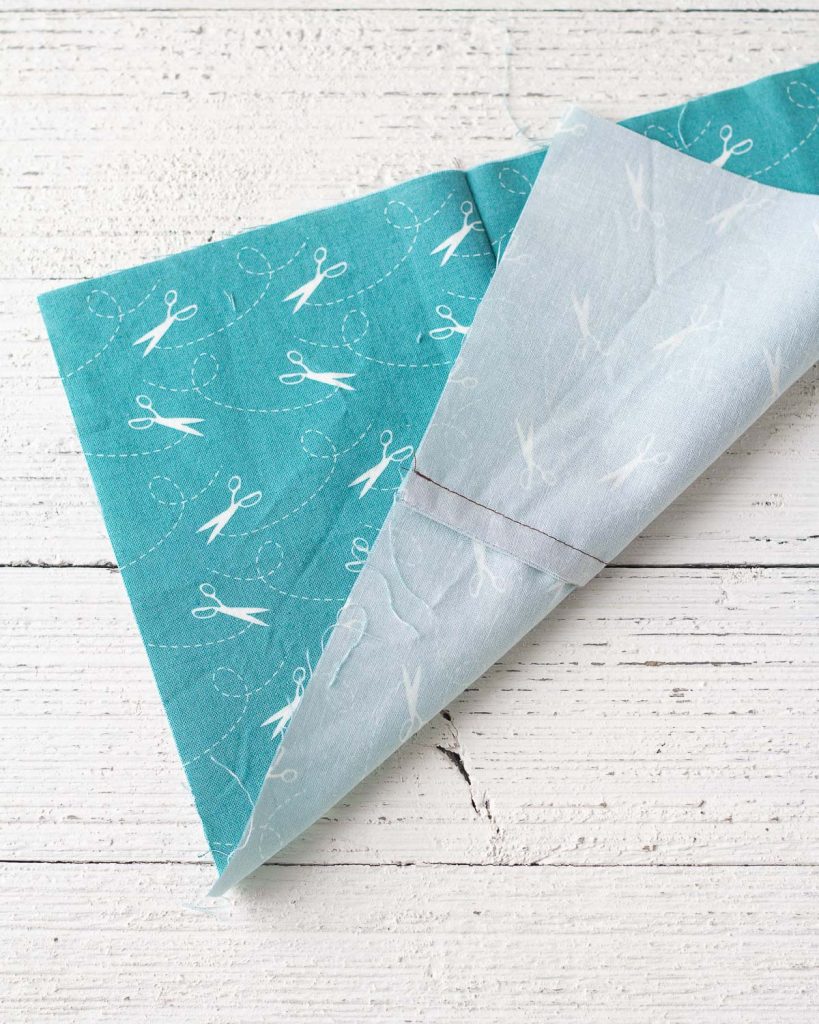
A French seam might sound complicated, but it is actually a simple way creating an enclosed seam that allows for a finished sewing project that looks just as lovely on the inside as the outside.
Weekly Crafting Fun!
Join my list and get a weekly email with relaxing craft ideas, freebies, sewing tutorials, and more!
You can click through the following web story (tap on mobile) to see step-by-step how it’s done or scroll down and check out my step-by-step instructions followed by a printable version:
In order to keep the first seam from poking through the final seam, French seams are often sewn as follows:
How French Seams are Usually Sewn
Before starting, subtract 1/4″ from your seam allowance. Say we are working with a 5/8″ seam allowance, that leaves us with 3/8″. Then, use that amount (3/8″) for your first seam allowance: sew fabric WRONG sides together at 3/8″. Trim seam allowance to 1/8″. Press and now sew fabric RIGHT sides together with the remaining 1/4″ of seam allowance.
The key is to always use a slightly larger seam the second time you sew so that it encloses the first seam. It’s also crucial to sew accurate seam allowances, both to avoid any seams poking through and to avoid accidently making your project smaller than intended!
Why Do I Have to Trim French Seams?
French seams are often trimmed before sewing the second seam because a sewing machine generally cannot handle seam allowances smaller than 1/4″. So, you would sew a 1/4″ (or 3/8″ in the case of a larger seam allowance) seam, trim it down to 1/8″ (so it won’t poke through), and then sew your final 1/4″ seam.
However, know that for 5/8″ seams, you do not have to trim them. In this tutorial, I show you how to sew a French seam (with a 5/8″ allowance) and no trimming. I love this way because it is quick and serves me well for plenty of projects.
However, if your project calls for 1/2″ seam allowances, you will have to trim the first seam to 1/8″ and I show you that method below too.
How to Sew French Seams Step by Step
As noted in the tutorial above, 5/8″ is a very common seam allowance. You have two options when sewing this seam allowance. The first way (shown below) is to simply sew WRONG sides together at 1/4″, press, and then sew RIGHT sides together at 3/8″.
Note: You can also sew the FIRST seam at a 3/8″ allowance, trim to 1/8″, and sew SECOND seam at 1/4″ for even less bulk. I like avoiding all the extra trimming, so that’s why I do it the first way!
How to Sew French Seams with a 5/8″ Seam Allowance
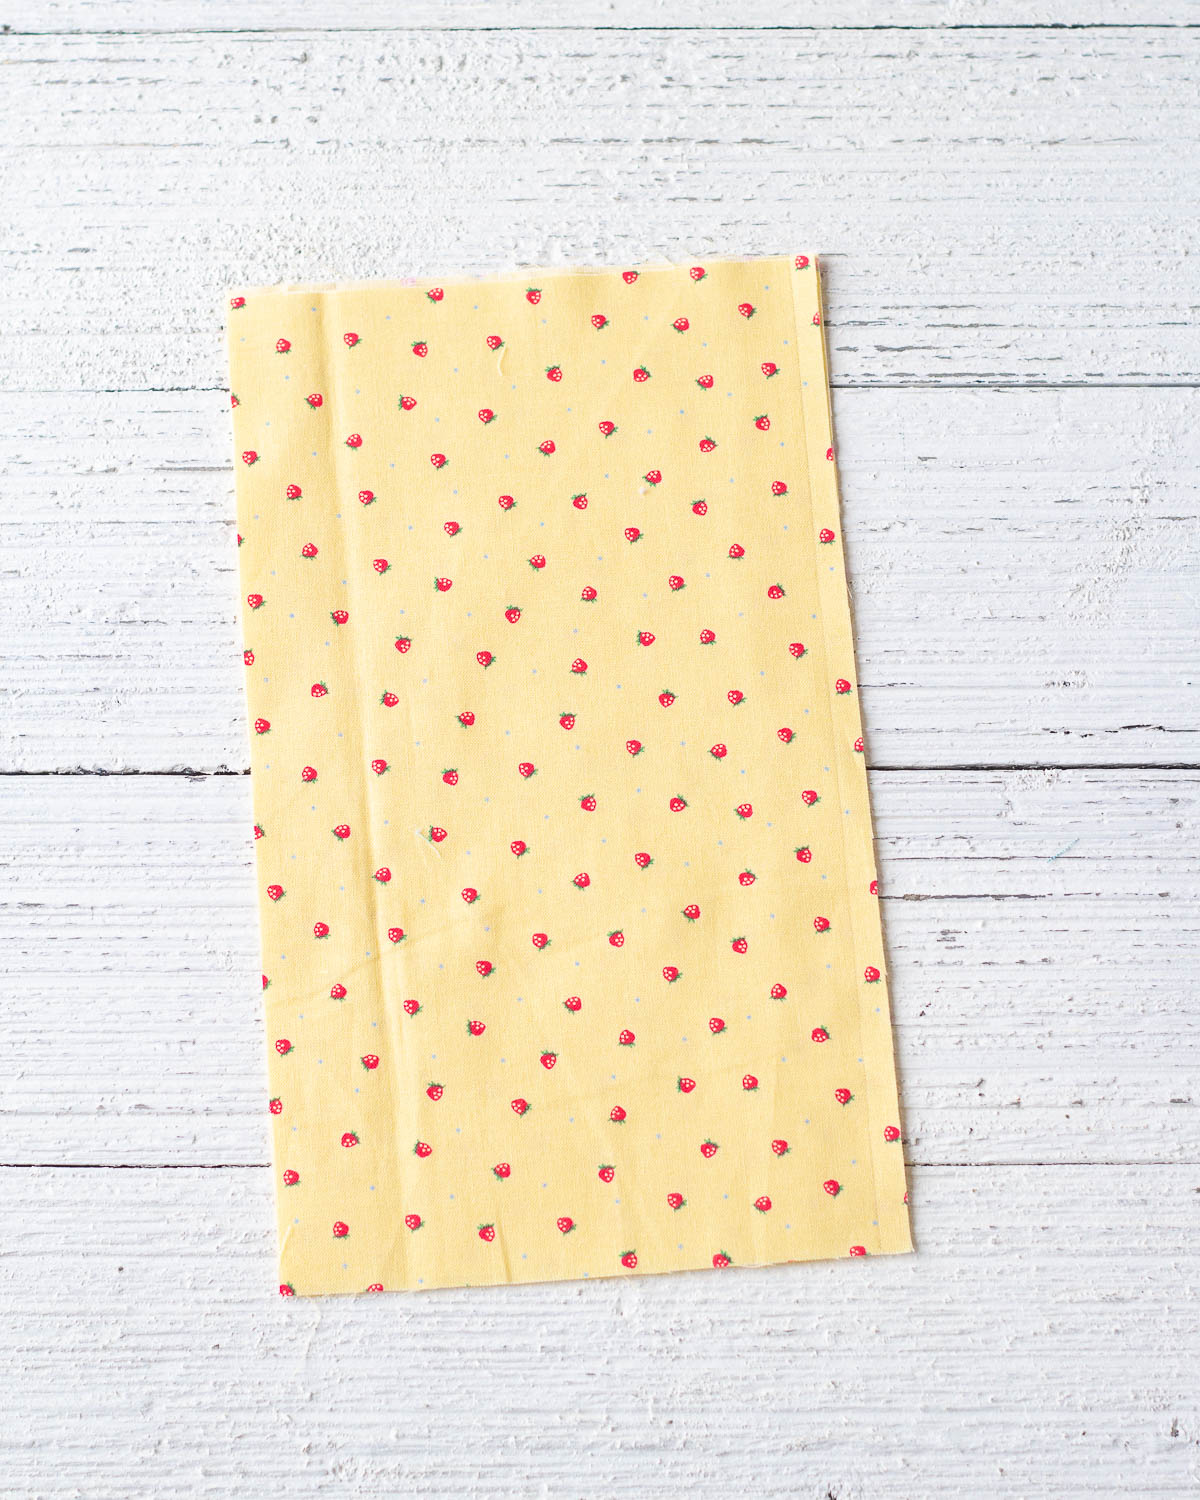
Bring the WRONG sides of your fabric together. Mark a 1/4″ line with a washable fabric pen (or use your machine to guide you) and pin as needed.

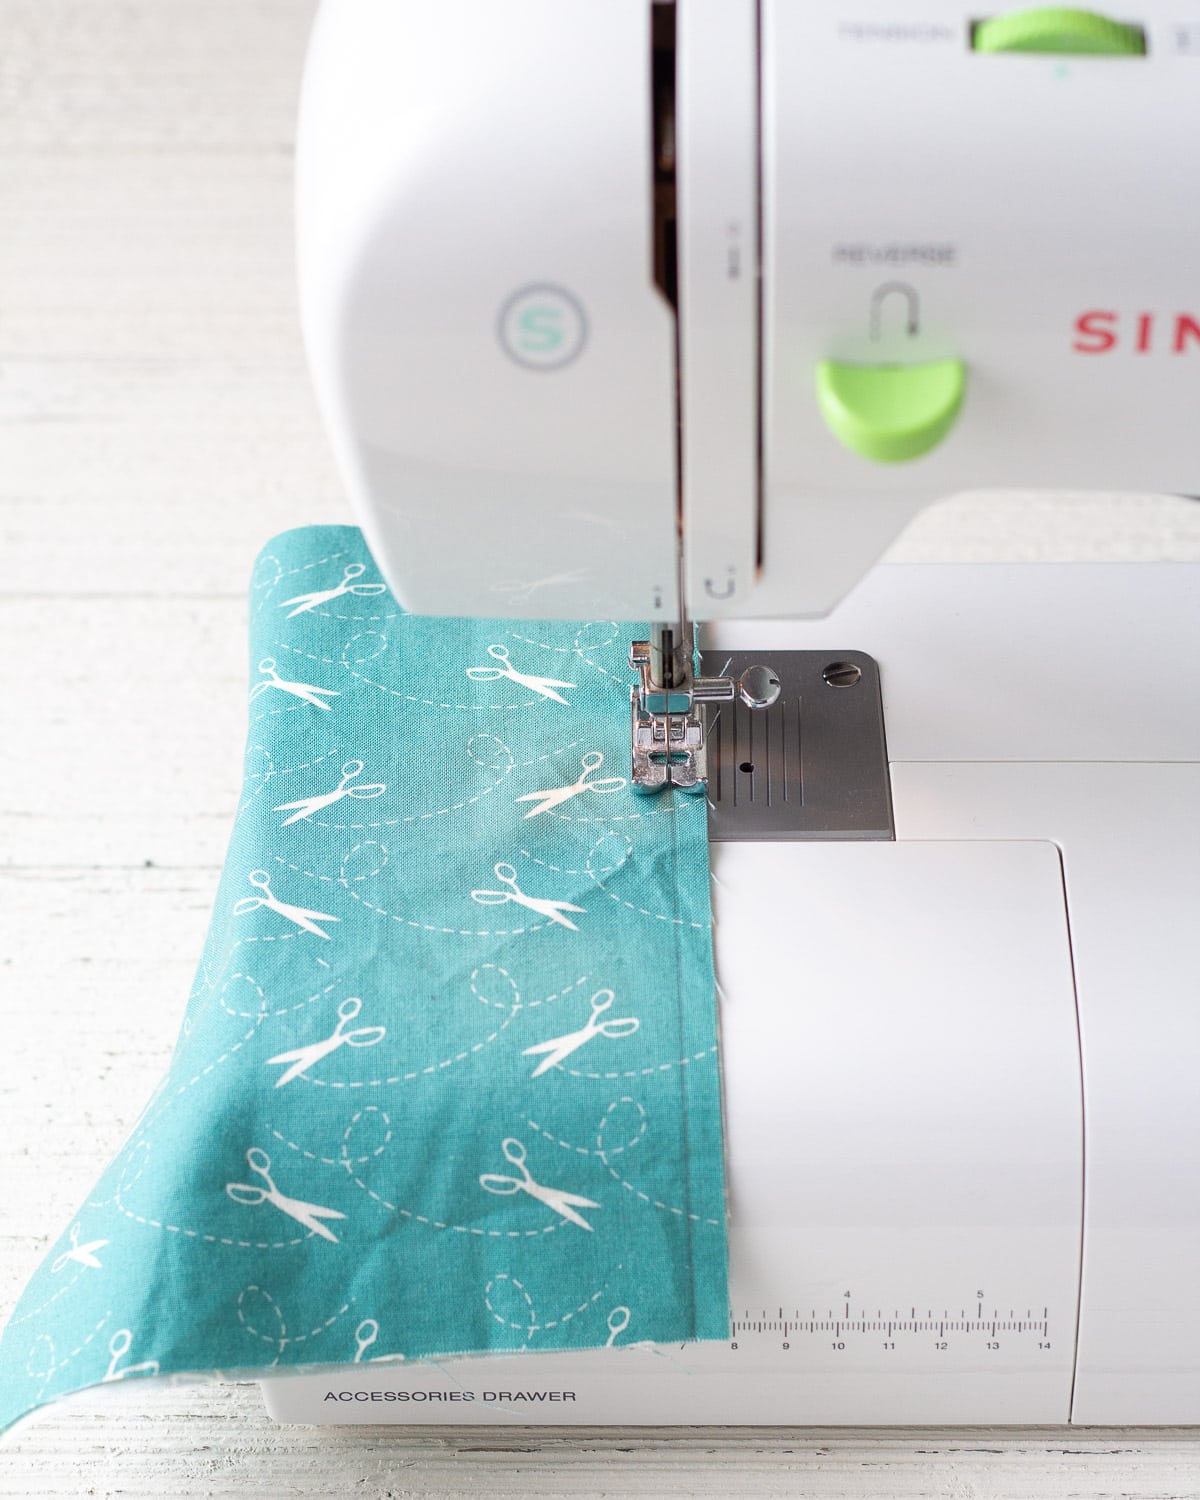
Stitch the 1/4″ line (note: use matching thread. Contrasting is used for visibility here.)

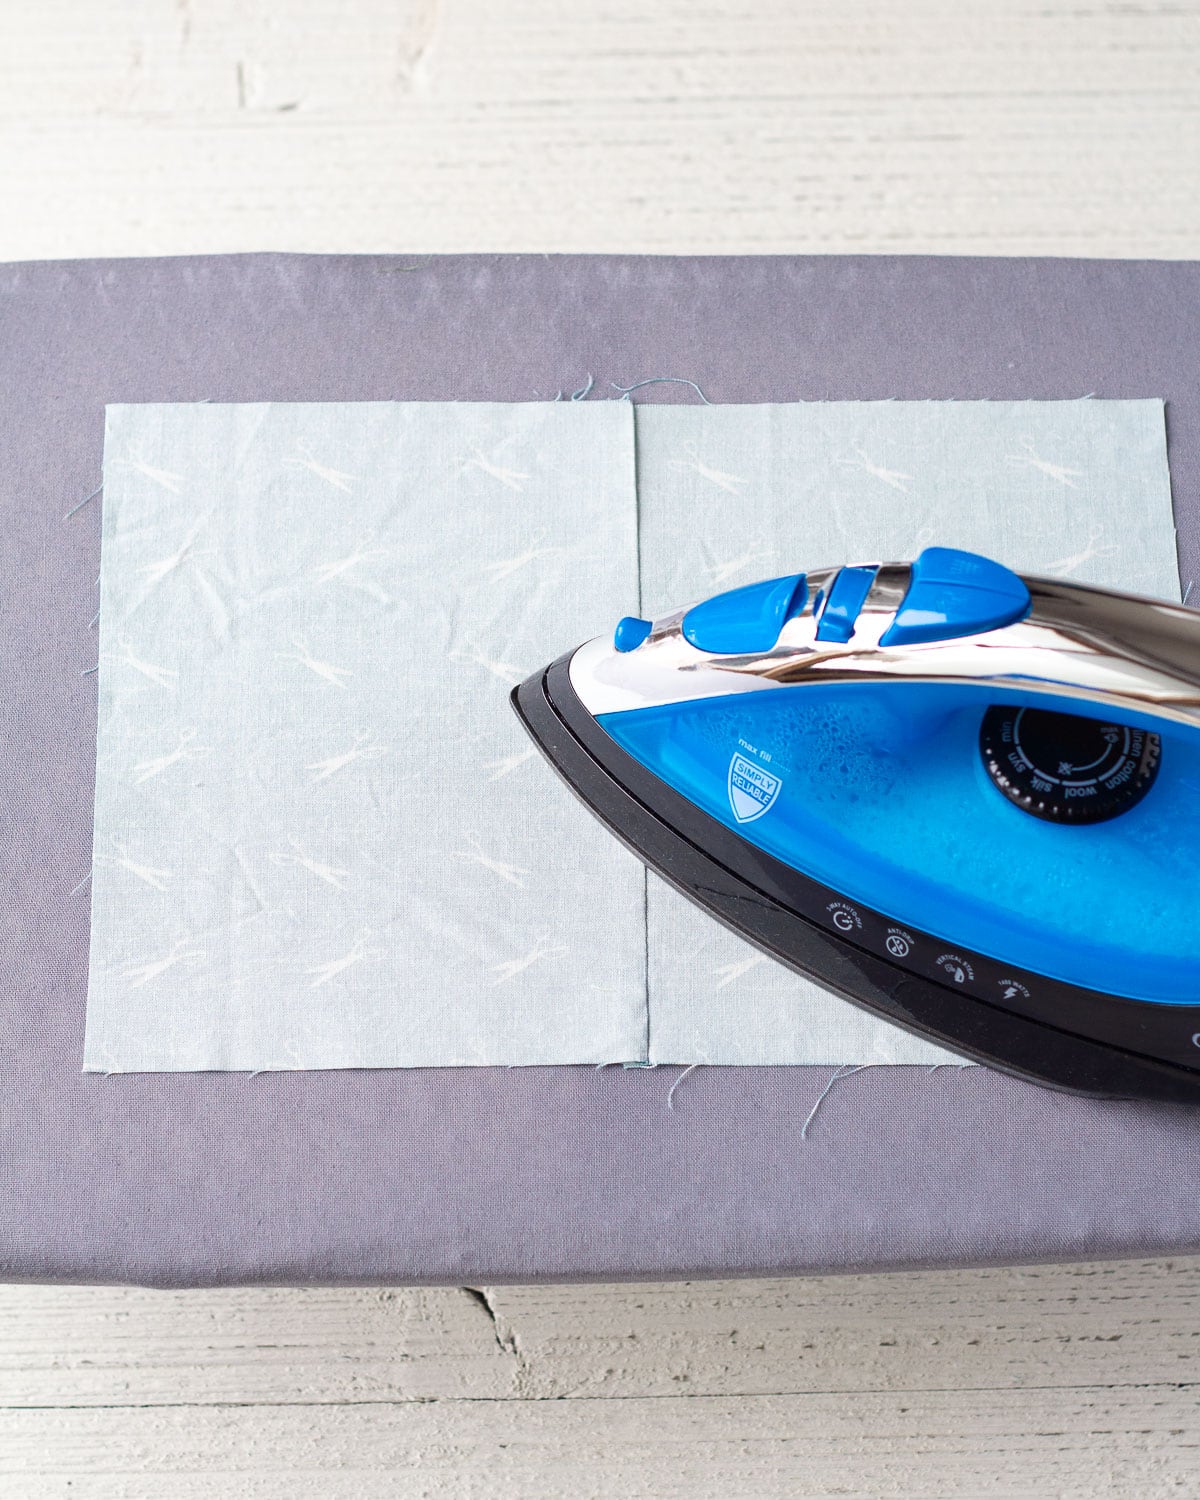
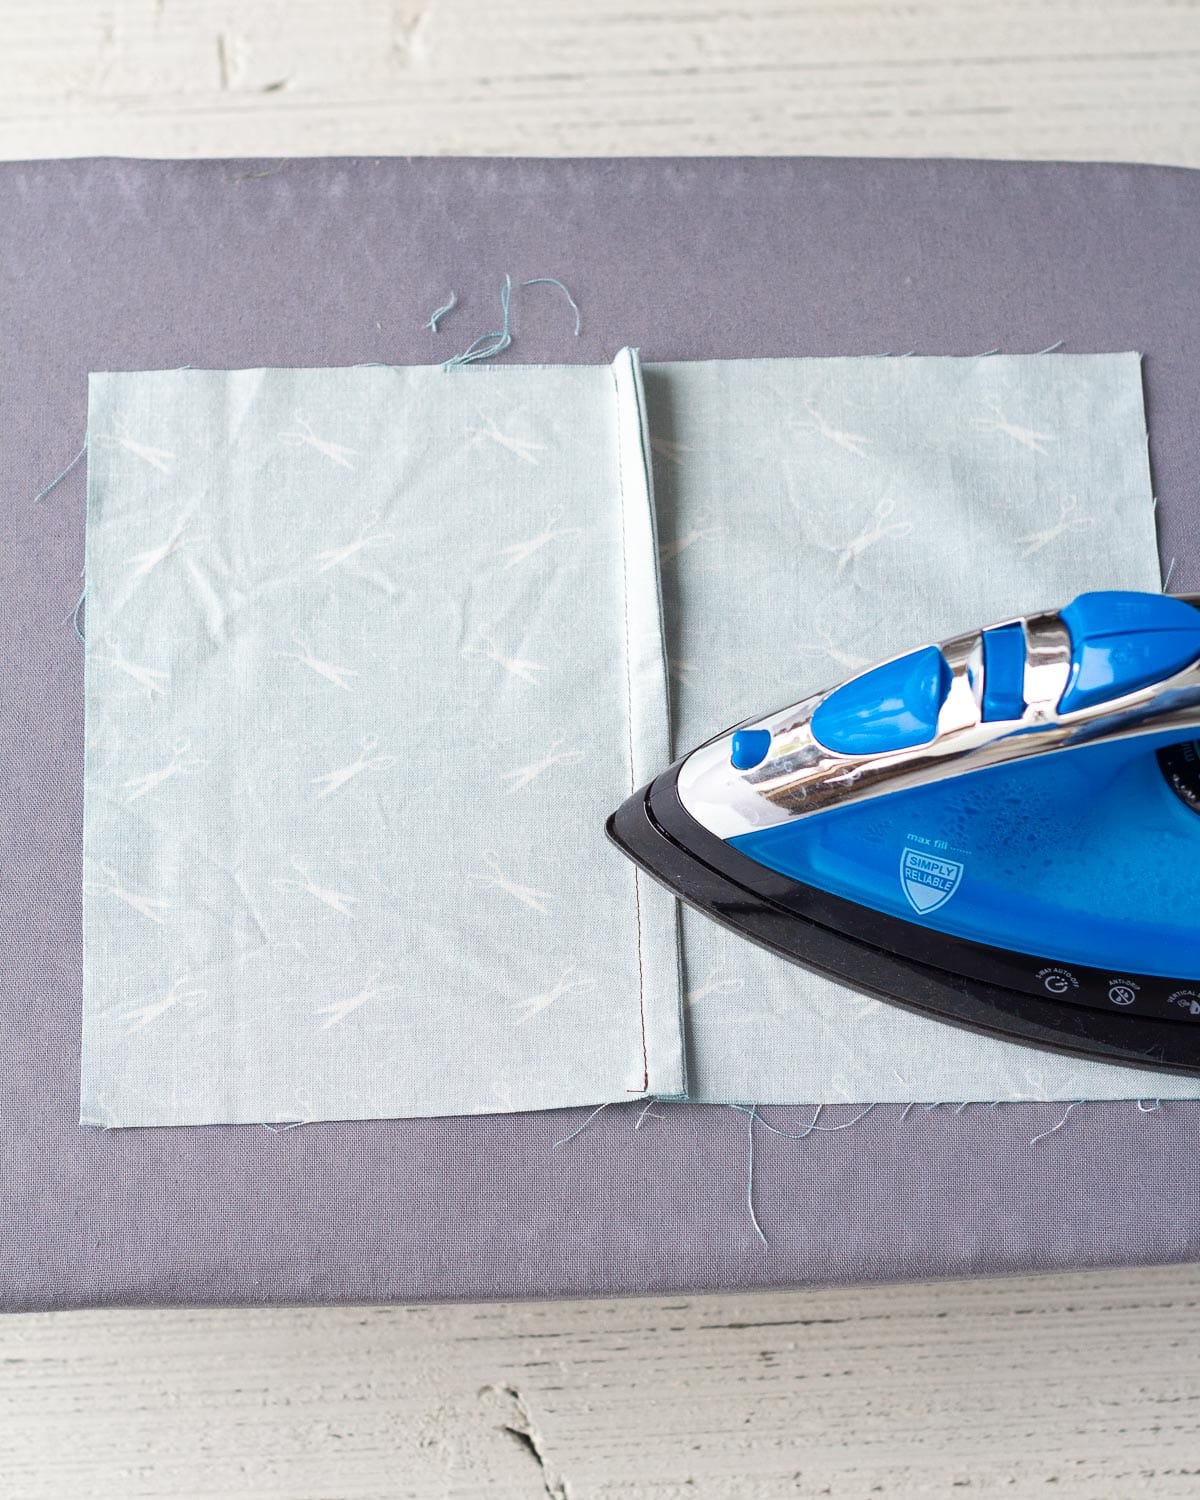
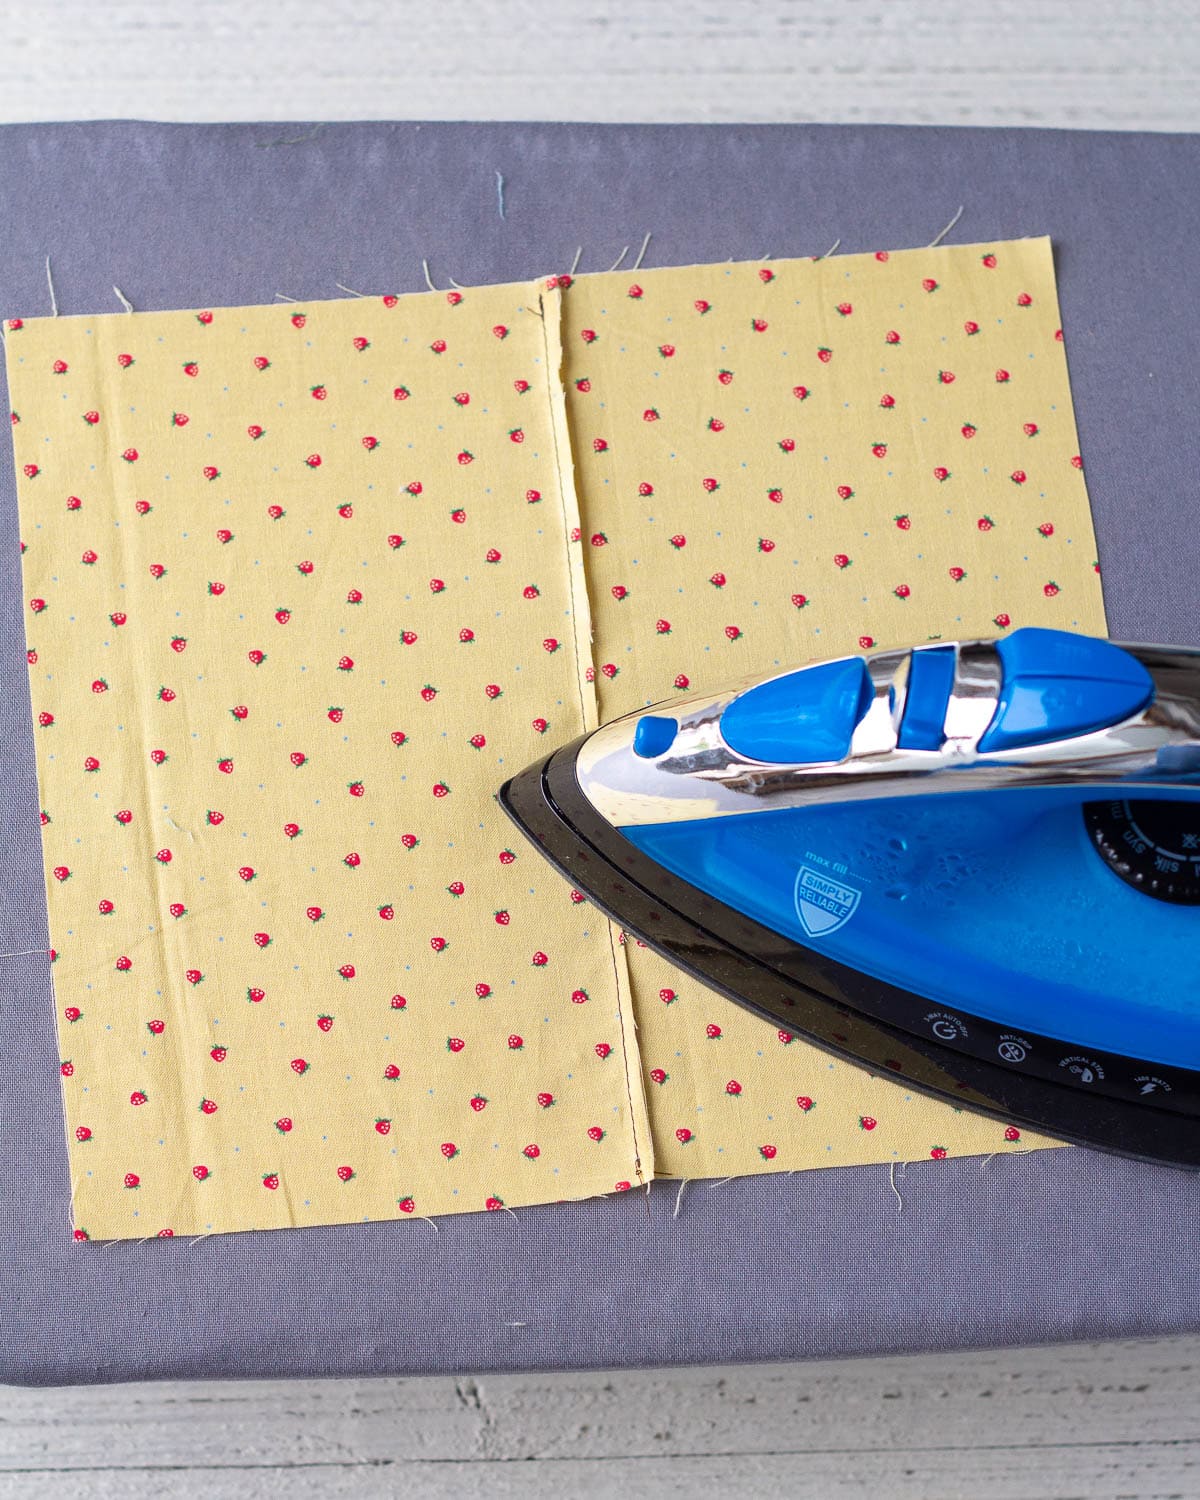
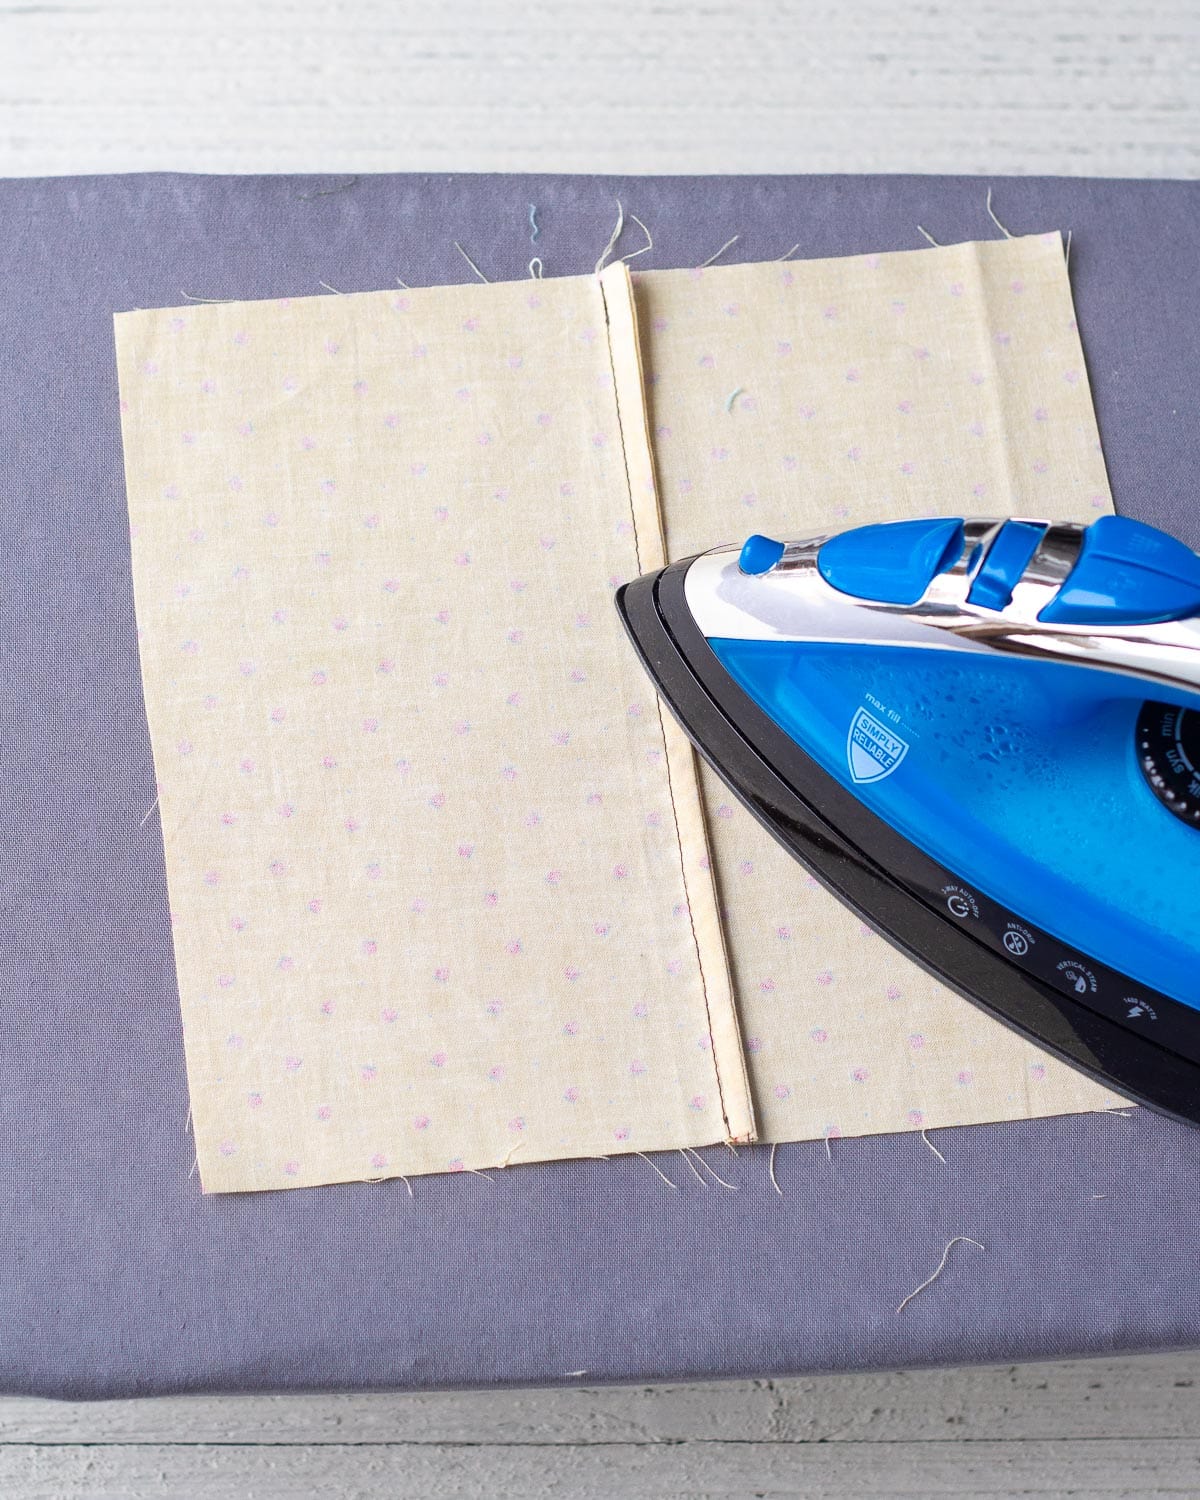
Open the fabric and press the seam towards the back of your project.

Reverse the fabric and iron the reverse flat as well.
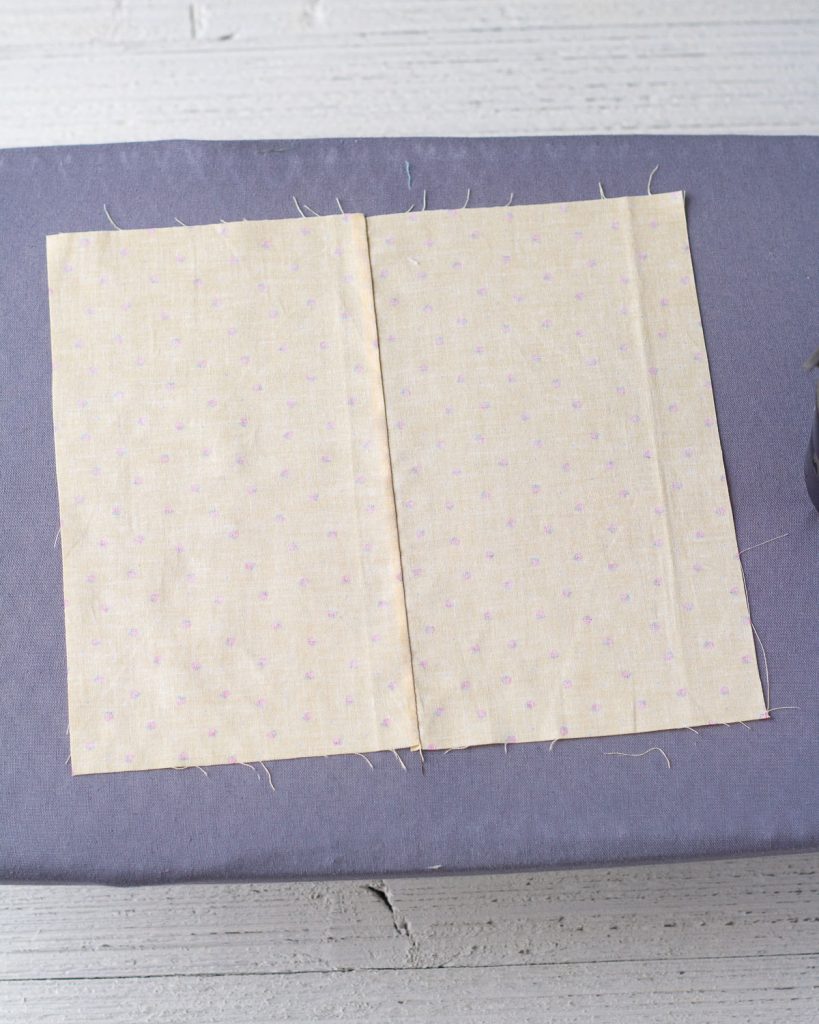
Fold the fabric RIGHT sides together and press evenly. Don’t allow the seam to slide off center.

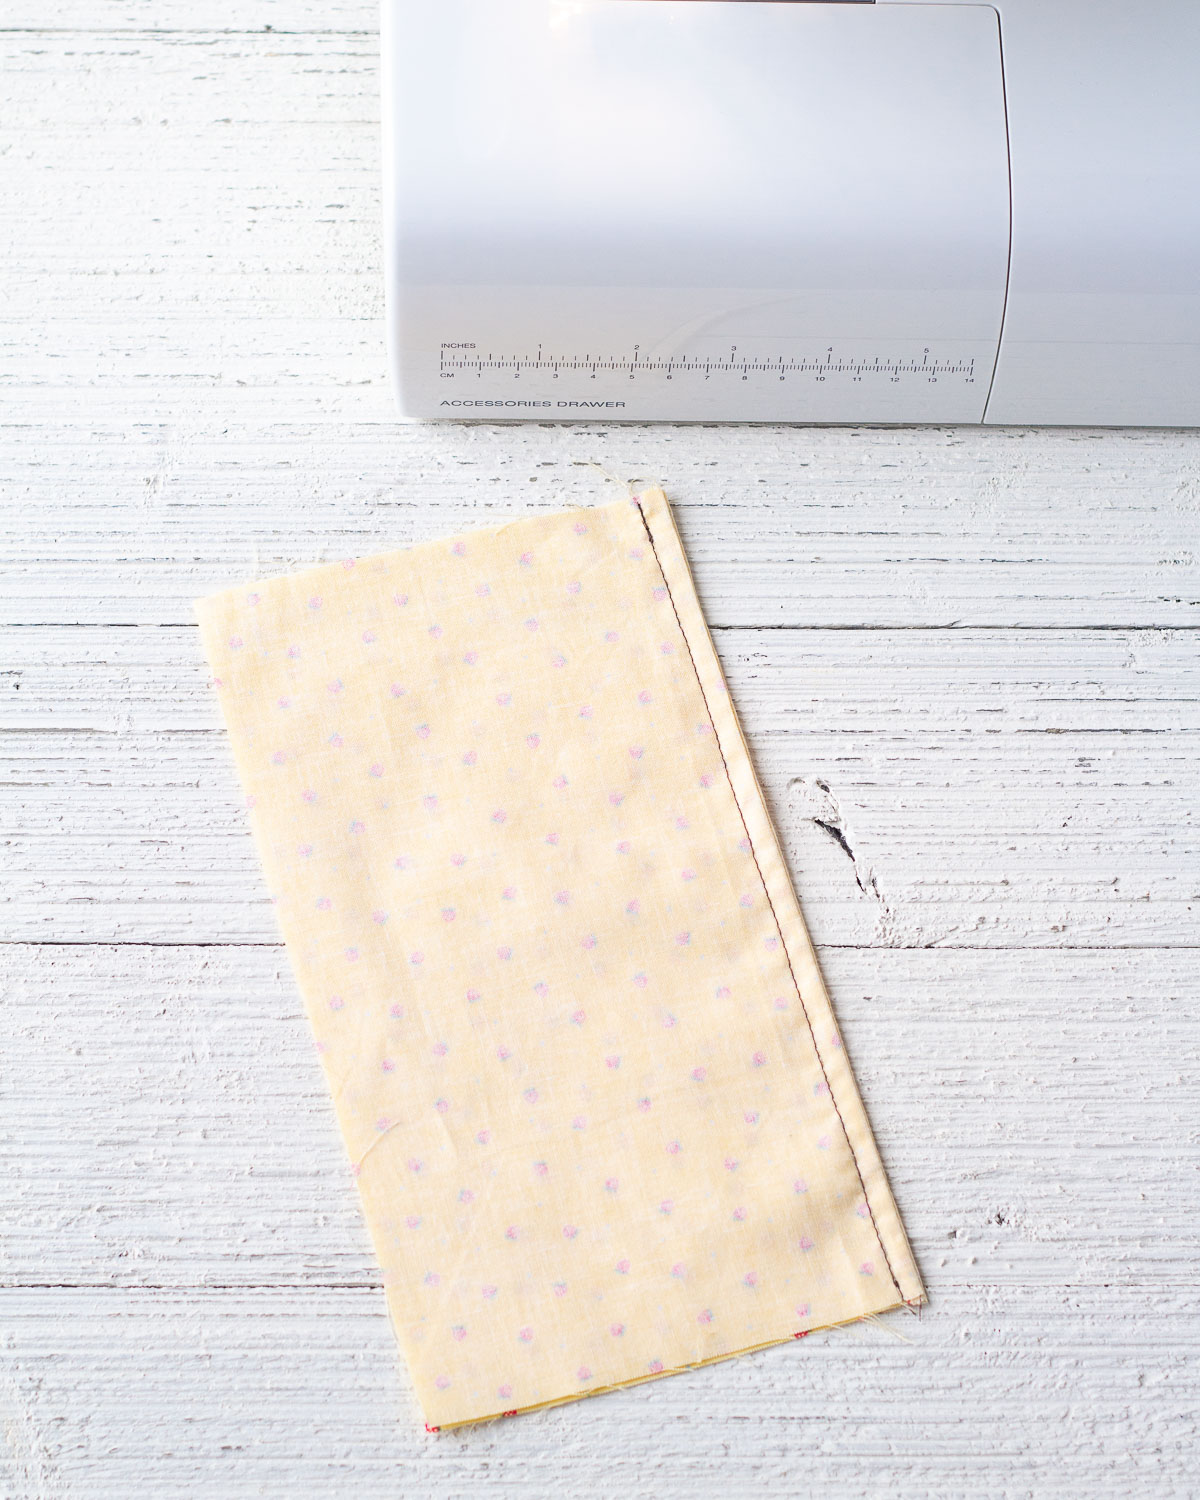
Stitch a 3/8″ seam using your machine to guide you. Pin as needed.

This seam will completely enclose the prior seam.

Press seam towards the back of the project.
Briefly press the seam open on the front side of the project too.


How to Sew French Seams with a 1/2″ Seam Allowance
Now, on the other hand, if your pattern or project calls for a 1/2″ seam allowance, you will need to trim the seam before sewing the second seam. In this case, sew a 1/4″ seam with WRONG sides together. Press. Trim to 1/8″. Fold over fabric so RIGHT sides are together and sew another 1/4″ seam. Press. Done and done!
Here it is with photos to illustrate:
Bring fabric WRONG sides together, pin as needed, mark a 1/4″ seam line with a washable fabric pen.
Stitch 1/4″ seam.


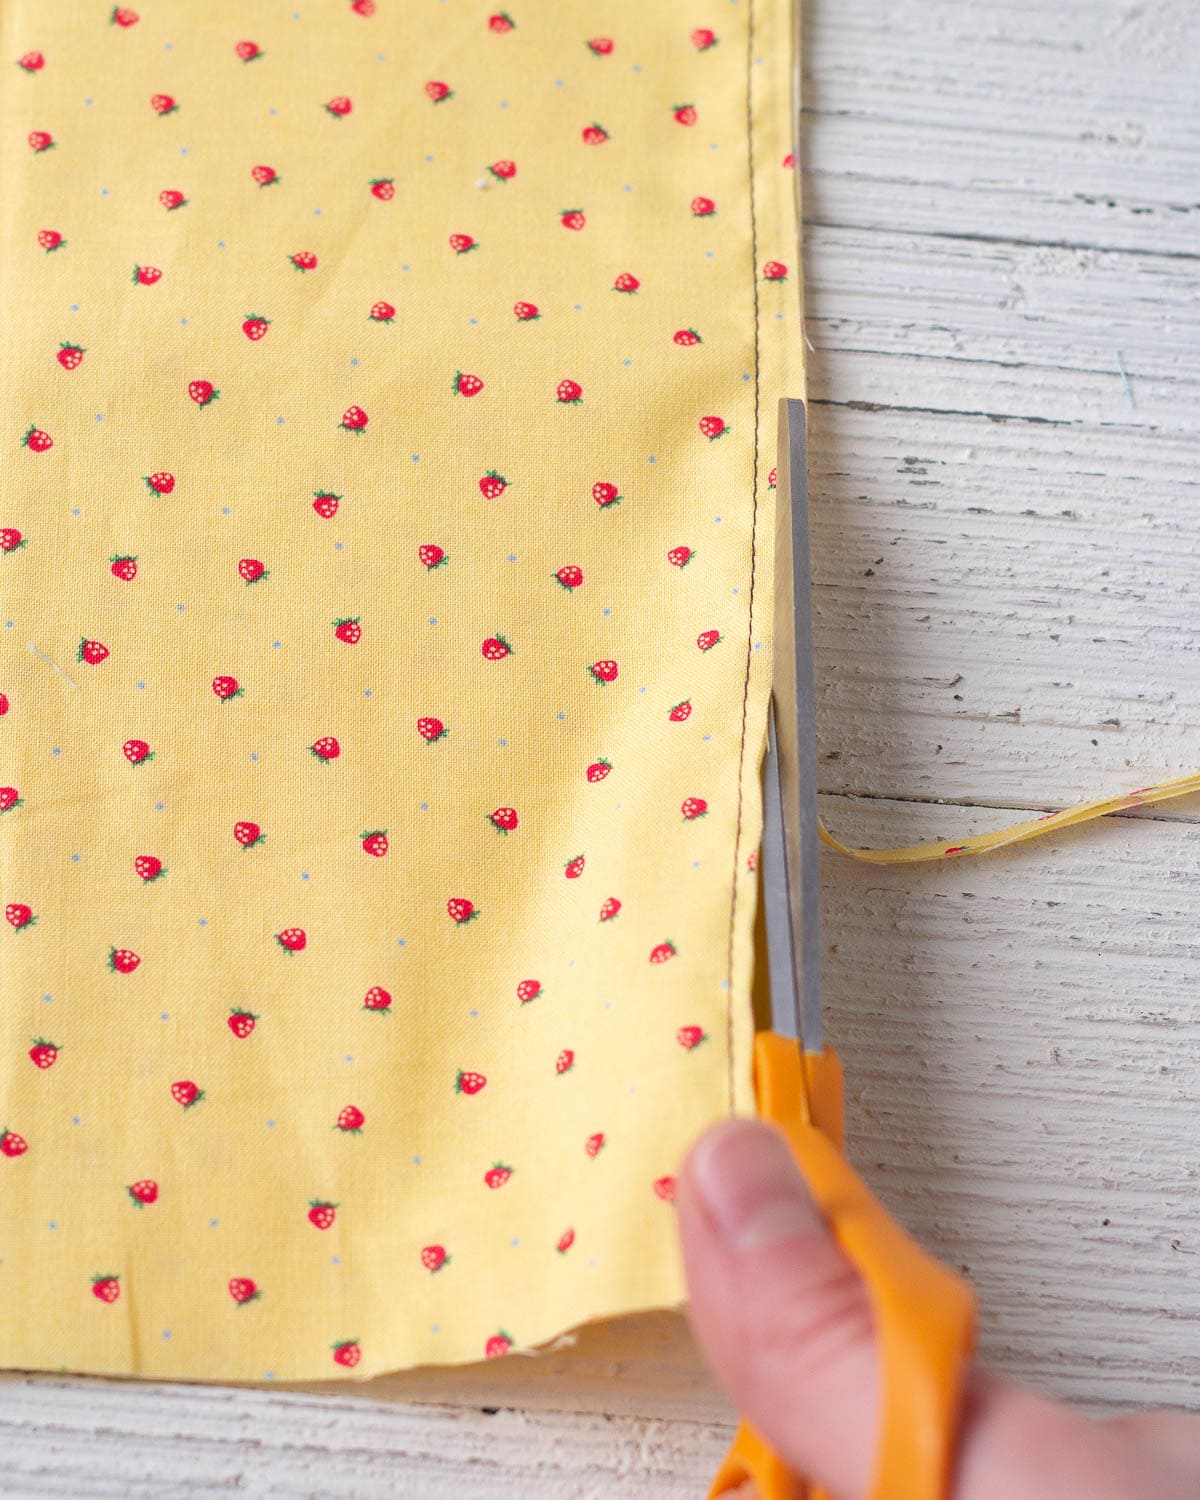
Carefully trim seam to 1/8″.
Press seam towards back of project.
Press the reverse of the fabric.
Fold the RIGHT sides of the fabric together and press.

Mark a 1/4″ seam line.

Stitch.
Press seam towards back of project.
Press the front as needed. The finished seam is completely enclosed and neat.

Try it! Use French seams to make these easy reusable drawstring gift bags.
What is a French Seam Used For?
French seams are a great alternative to finishing seams with a serger, zig-zag stitch, or pinking shears. They are usually used for straight seams and give a professional look to sewing projects.
French seams are commonly used for sheer fabrics as a simple way to create neat (and strong) seams and manage fraying. French seams work best for light to medium weight fabrics–they will become rather bulky on thick fabrics.
If you are wondering when you should use a French seam, here are some examples of when they are useful:
- sewing sheer fabrics
- when sewing fabrics that fray easily
- projects that will be washed frequently (such as pillowcases)
- adding durability to projects
- giving a finished piece a clean look inside and out (especially for garments that are unlined)
Can I Sew French Seams with a 1/4″ Seam Allowance?
Can French seams be used with a pattern that calls for a 1/4″ seam allowance? No, not really. You would have to somehow manage to sew a bit less than an 1/8″ seam the first time, and a teensy bit more than an 1/8″ seam the second time.
Not to mention you would need to hand-stitch since a machine can’t handle such tiny seam allowances.
Tips for Sewing Enclosed Seams Neatly
Try purchasing a 1/4″ presser foot for your sewing machine. This is useful for French seams and any project (like quilting/patchwork) that requires lots of 1/4″ seams.
Always double check your seam allowances are correct. This caution will help you avoid threads poking through the finished seams. It will also ensure the finished piece will be the correct measurements.
Trim any fraying threads before sewing the final seam. If your fabric has any longer threads that have frayed it’s best to neaten these up before enclosing the seam.
Press between seams. Have your iron heated and ready to go and this will be easy. I found that my sewing results changed dramatically when I prepared my iron before I began sewing.
How to Sew French Seams

Learn how to sew enclosed French seams with this easy step-by-step tutorial showing you how to sew French seams with a 5/8” seam allowance or a 1/2” seam allowance. A great easy sewing lesson for beginners!
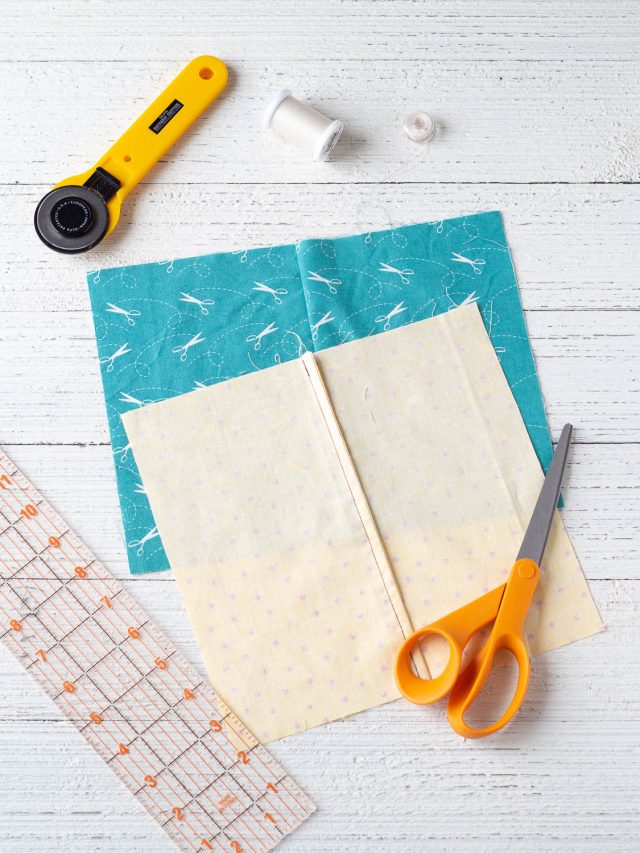
Materials
- Fabric
- Matching thread
- Ruler
- Fabric pen
- Pins
- Sewing machine
- Iron
- Ironing board
- 1/4" presser foot (not necessary, but useful!)
Instructions
How to Sew French Seams with a 5/8" Seam Allowance
As noted in the tutorial above, 5/8" is a very common seam allowance. You have two options when sewing this seam allowance. The first way (shown below) is to simply sew WRONG sides together at 1/4", press, and then sew RIGHT sides together at 3/8". Note: You can also sew the FIRST seam at a 3/8" allowance, trim to 1/8", and sew SECOND seam at 1/4" for even less bulk. I like avoiding all the extra trimming, so that's why I do it the first way!
- Bring the WRONG sides of your fabric together. Mark a 1/4" line (or use your machine to guide you) and pin as needed.

- Stitch the 1/4" line (note: use matching thread. Contrasting is used for visibility here.)
- Open the fabric and press the seam towards the back of your project.
- Reverse the fabric and iron the reverse flat as well.
- Fold the fabric RIGHT sides together and press evenly. Don't allow the seam to slide off center.
- Stitch a 3/8" seam using your machine to guide you. Pin as needed.
- This seam will completely enclose the prior seam.
- Press seam towards the back of the project.
- Briefly press the seam open on the front side of the project too.
How to Sew French Seams with a 1/2" Seam Allowance
Now, on the other hand, if your pattern or project calls for a 1/2" seam allowance, you will need to trim the seam before sewing the second seam. In this case, sew a 1/4" seam with WRONG sides together. Press. Trim to 1/8". Fold over fabric so RIGHT sides are together and sew another 1/4" seam. Press. Done and done!
- Bring fabric WRONG sides together, pin as needed, mark a 1/4" seam line.
- Stitch 1/4" seam.
- Carefully trim seam to 1/8".
- Press seam towards back of project.
- Press the reverse of the fabric.
- Fold the RIGHT sides of the fabric together and press.
- Mark a 1/4" seam line.
- Stitch.
- Press seam towards back of project.
- Press the front as needed. The finished seam is completely enclosed and neat.

Use French seams anytime you need neat enclosed seams. Or for delicate fabrics. It's such a handy technique!
Notes
Try purchasing a 1/4" presser foot for your sewing machine. Not only is this useful for French seams, but it is handy for any project where you need that exact measurement (quilting/patchwork projects).
Always double check your seam allowances are correct. This caution will help you avoid threads poking through the finished seams (and will ensure your finished piece will be the correct measurements!).
Trim any fraying threads before sewing the final seam.
Always press between seams. Have your iron heated and ready to go before you start.
More Sewing Projects
- How to Sew a Drawstring Bag with French Seams Tutorial
- How to Sew Baby Bibs from Kitchen Towels
- DIY Muslin Swaddle Blankets
- DIY Drop Cloth Pillows with Antique Lace
Weekly Crafting Fun!
Join my list and get a weekly email with relaxing craft ideas, freebies, sewing tutorials, and more!