How to Fix Chalk Paint Bleed-Through
Have you ever been painting a piece of furniture and suddenly noticed dark spots bleeding through the paint? Adding another coat of paint will not solve this problem! Learn what’s going wrong and how to fix chalk paint bleed-through with this step-by-step blog post.
Please note that this post contains affiliate links which allow me to earn a small commission when a purchase is made at no additional cost to you. As an Amazon Associate I earn from qualifying purchases. Read more here.
If you enjoy chalk painting furniture, learning about what causes blemishes and bleed-through is essential. Sooner or later you will encounter a piece that presents this issue and with the help of this post you will know what to do!
What Is Bleed-Through?
Bleed-through is staining that happens when you are painting a piece of old (or sometimes even new!) furniture and dark spots (sometimes brown or red) show through the paint.
Weekly Crafting Fun!
Join my list and get a weekly email with relaxing craft ideas, freebies, sewing tutorials, and more!
Bleed-through happens when tannins or old stains in the wood rise through the paint causing ugly stains. Sometimes you’ll even see old water damage showing through. It often shows up as dark spots (sometimes pink or red). Unfortunately, it can keep coming back no matter how many coats you apply—unless you properly block it.
At first, you might think that all that is needed is another coat of paint, but trust me, the problem won’t go away so easily! So don’t waste extra coats of that pricey chalk paint trying to solve the problem.
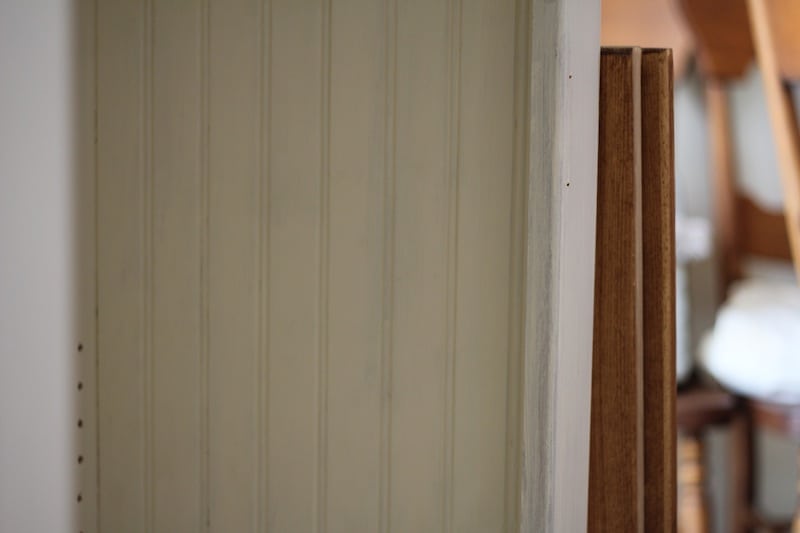
Here’s a few examples of what bleed-through might look like. In fact, it actually looked worse in person. These photos were taken after two coats of (regular) primer and one coat of chalk paint:
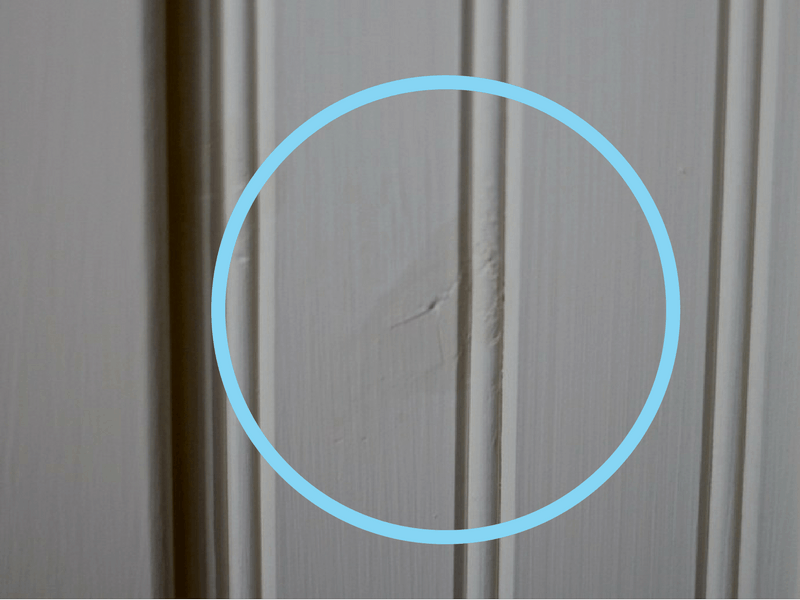
Bleed-through can be more severe, depending on what it causing it. Since the spots above were caused by the knots in the knotty pine wood that the hutch was made from, the staining was isolated to those areas.
Funnily enough, since working on this project, I’ve actually noticed bleed-through on our professionally manufactured IKEA cabinets. IKEA uses lots of pine, so you might notice bleed-through on your IKEA products too. It’s not ideal, but it made me feel better about experiencing my own struggles with bleed-through staining.
My Experience with Bleed-Though
Years ago after I’d completed a handful of successful chalk painting ventures, I was fairly confident in my refinishing abilities. I’d experimented with several different pieces of furniture, different brands of “chalk-style” paint, and variations on proper prep (like priming and sanding).
So, I eagerly embarked on a big project. A large hutch from Facebook Marketplace that I decided to paint farmhouse white (as one does).
I ended up making several errors with this project.
- painting knotty pine (more on this in a bit)
- painting an unsealed surface (whoops)
- wasting SO much expensive Annie Sloan paint (tears)
Here’s a photo of the piece in its original finish (you can see it’s chock-full of knots!):
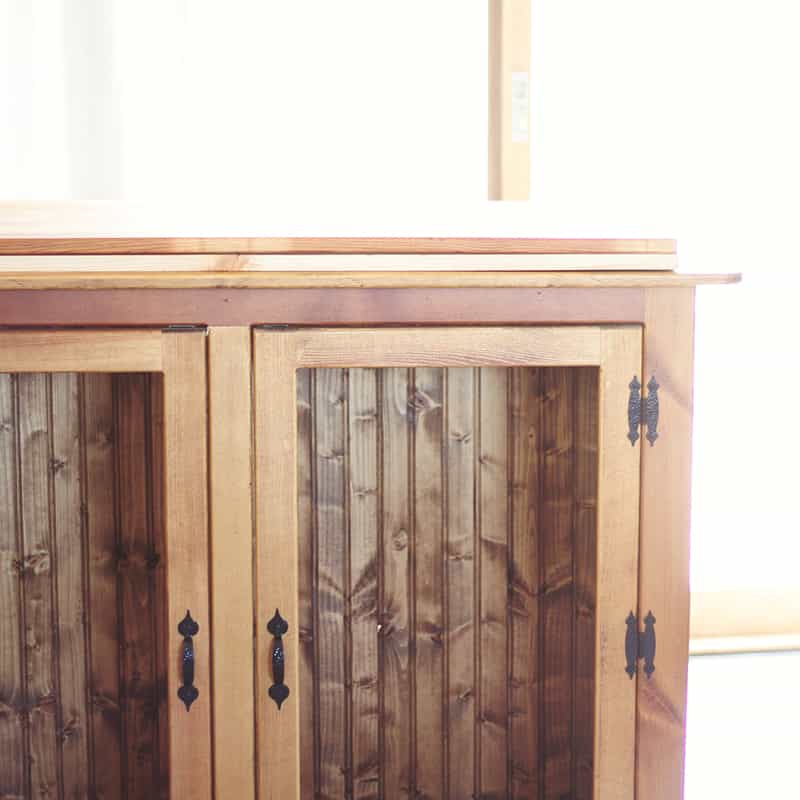
Eventually, I figured out that I shouldn’t have started with a piece made from knotty pine in the first place. Those knots are not messing around and they have enough resin to bleed through even the strongest stain-blocker.
I also realized chalk paint should only be applied to finished wood. Simply oiled is not enough. The chalk paint just soaks in–a huge waste.
Now, I found plenty of places online that say it is just fine to use chalk style paints on raw wood, but in my experience it was a terrible waste of pricey Annie Sloan paint. I would say, definitely test first before starting the whole project!
Takeaway: Avoid painting unfinished wood with chalk paint. The paint will soak in like water in a sponge! If you still want to try, do a test first.
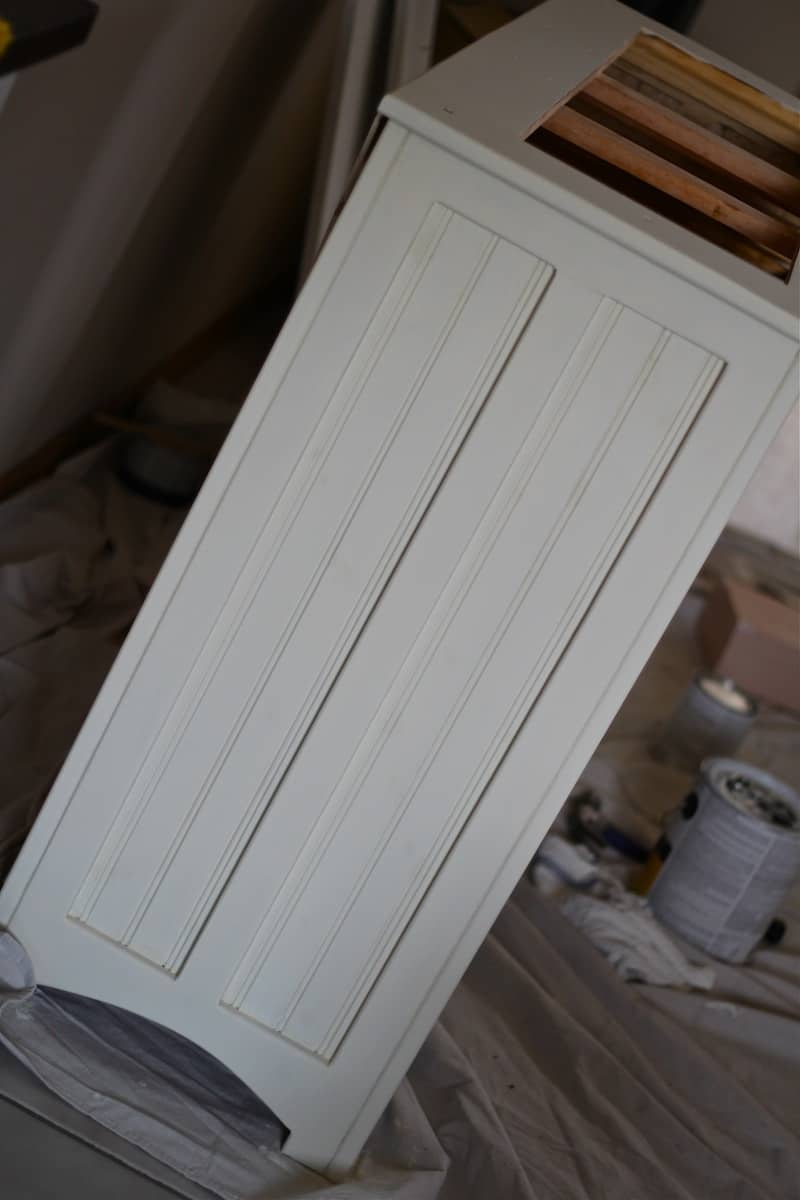
Here’s what one coat of Annie Sloan looked like on unfinished wood. It was so patchy and soaked right in–more coats was not helping!
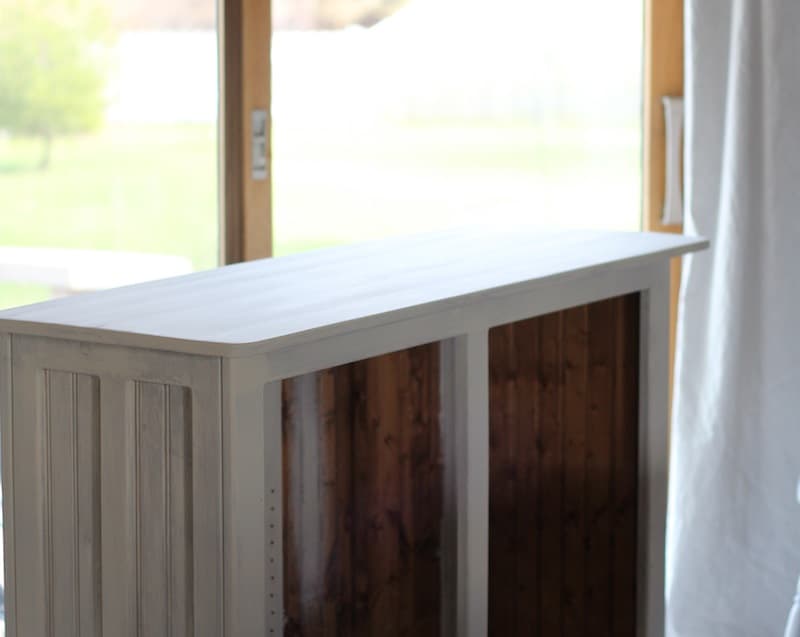
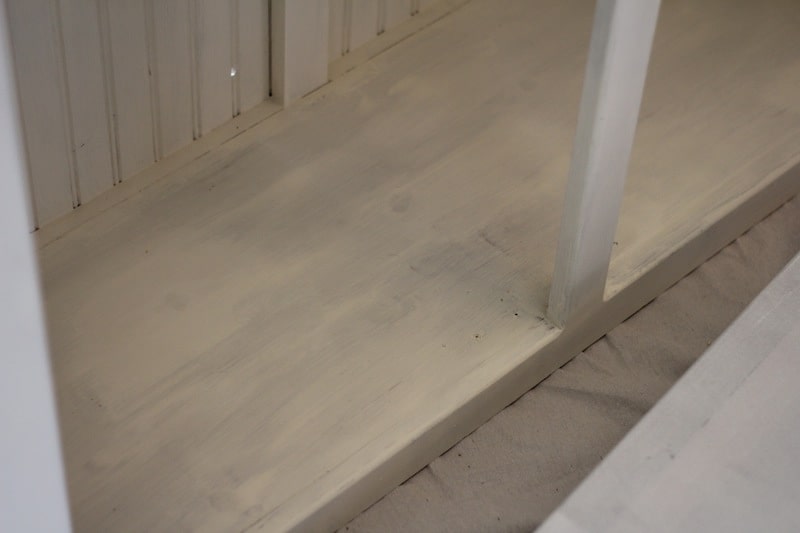
Here’s the second coat (not much better!):
Eventually, I got things sorted out and learned the correct method for dealing with furniture like this. I’ve detailed everything below so you can learn from my mistakes too!
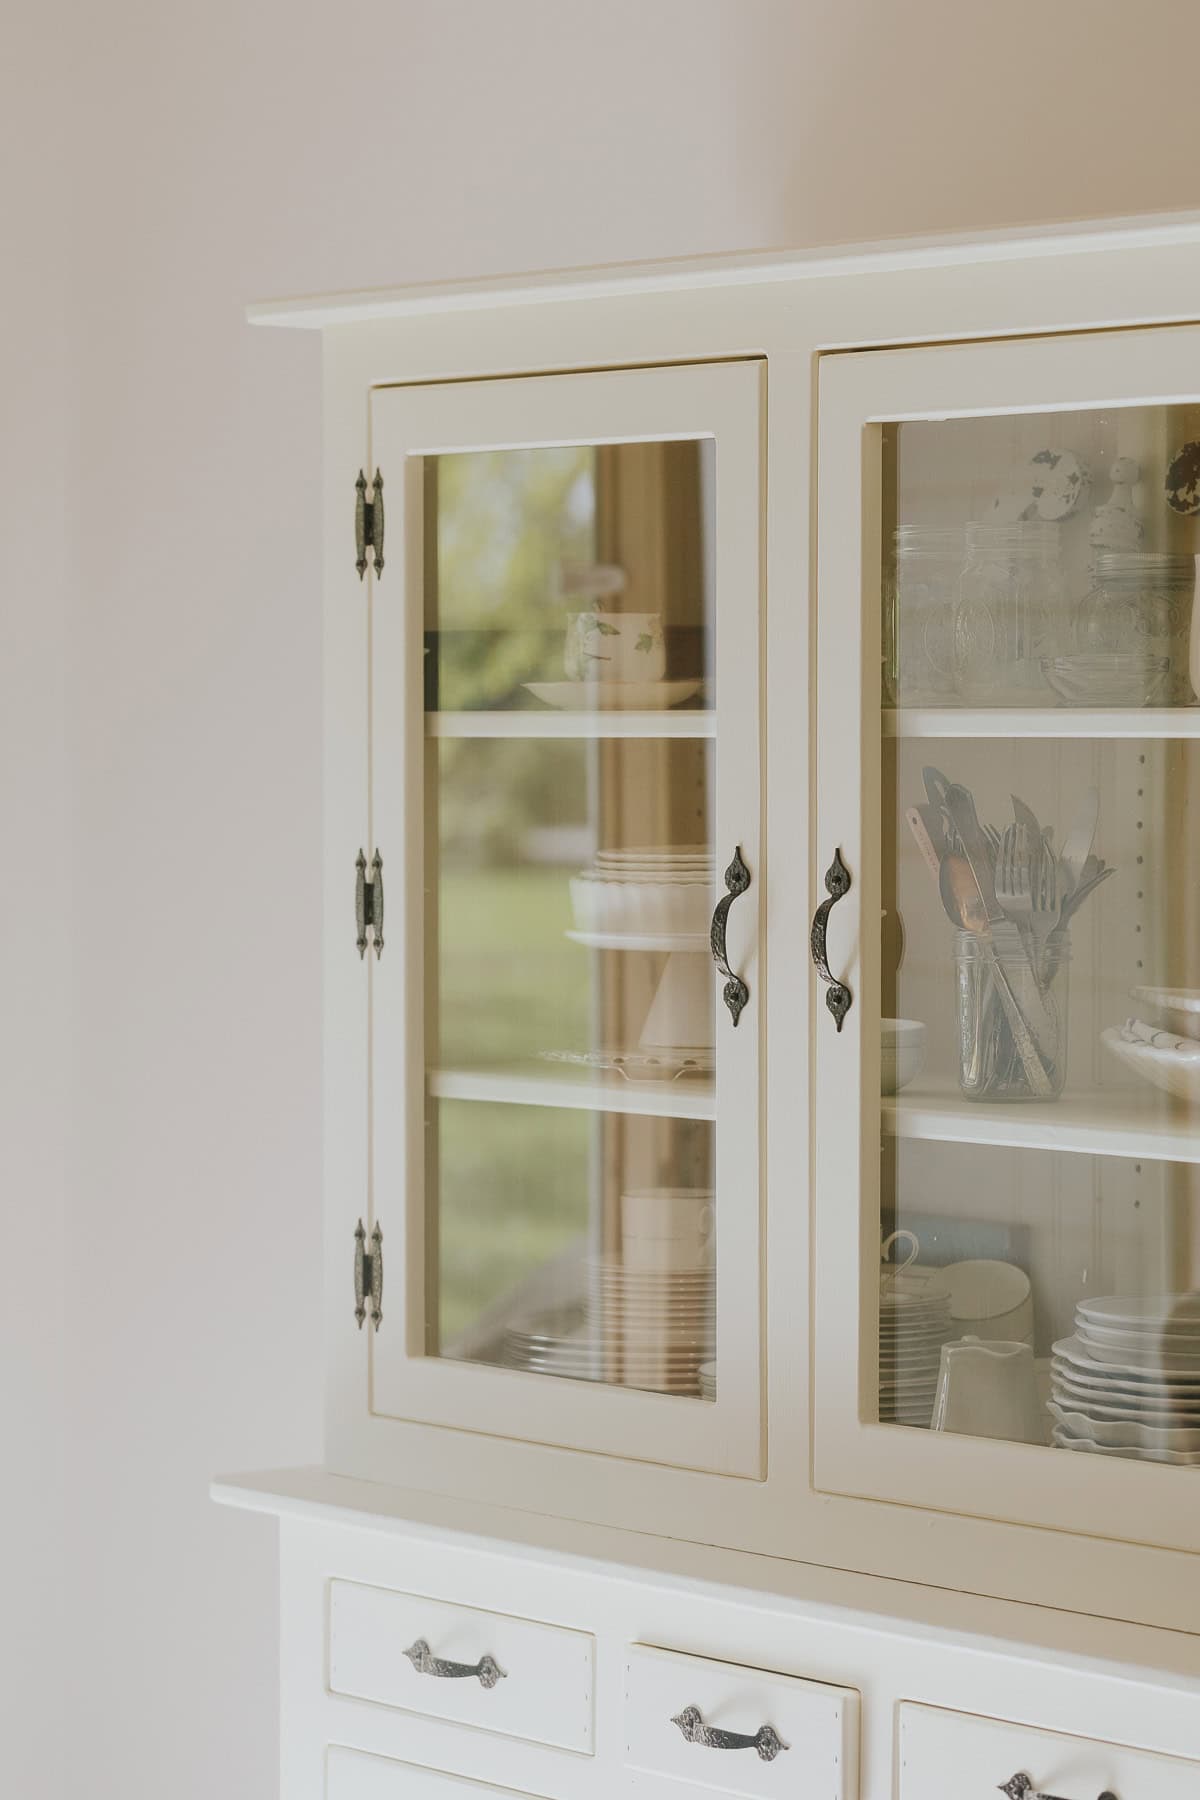
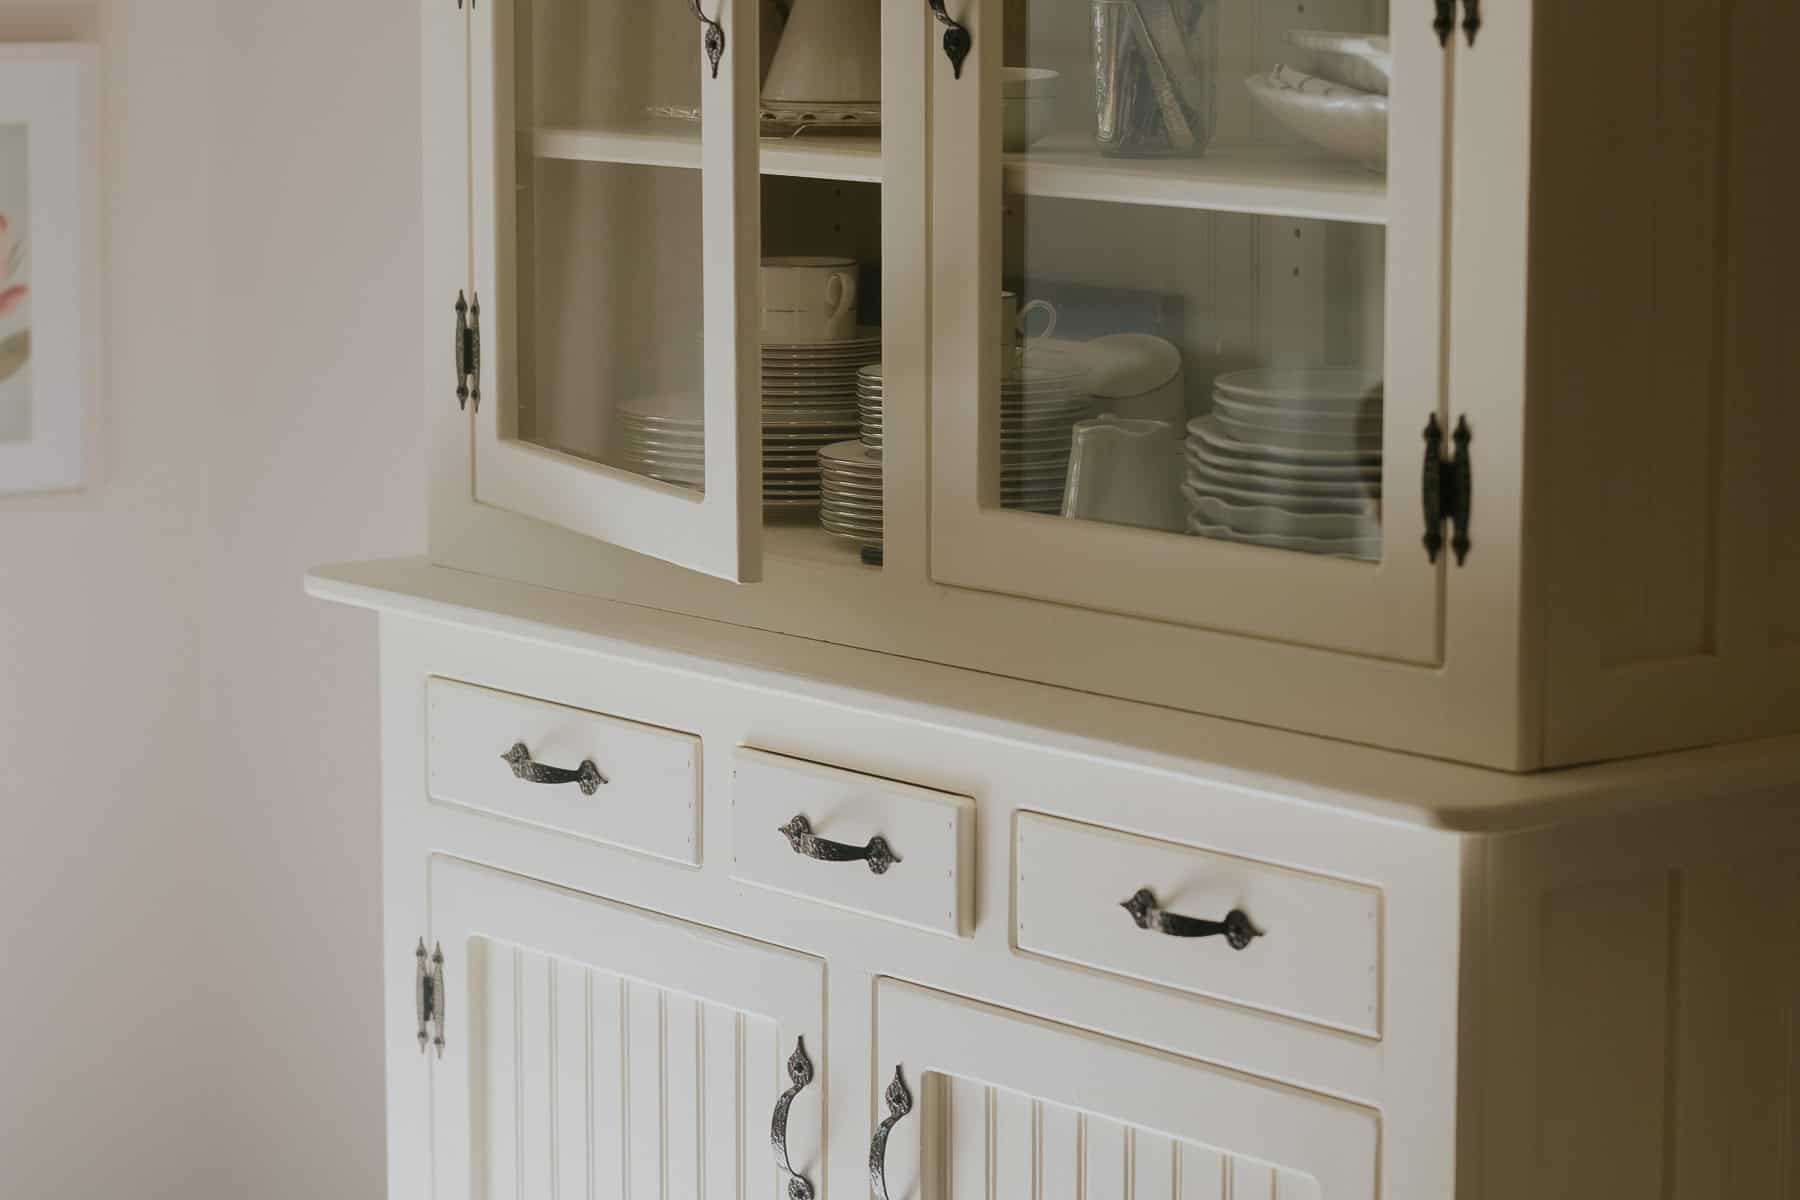
And yay, the hutch finally came together and looks so pretty now:
How to Combat Bleed-Through
So, let’s learn from my mistakes together. Here’s how to strategize and avoid bleed-through.
Avoid Furniture Made From the Following Wood
Certain types of wood are more prone to bleed-through, so even though you might decide to give it a go with a piece made from one of these woods, I personally will avoid them forever! It’s just not worth the hassle.
- Mahogany – often bleeds deep red/pink tannins
- Cherry – can bleed pink or orange
- Pine – knots can bleed sap even years later; knotty pine is the worst (see my note above, even IKEA has bleed-through on their pine furniture)
- Oak – I’m less nervous about oak, but it’s worth noting that old finishes may cause bleed-through
- Cedar – this is another wood species that may bleed-through
How to Fix Bleed-Through After It Happens
If it’s too late and you are already experiencing bleed-through, it’s going to be okay. The piece may never look completely perfect, but we can improve it a ton by taking the right steps. So first:
- Stop painting – more paint won’t help.
- Apply a stain-blocking primer (more in a minute).
- Let the primer dry fully.
- Consider a second coat of primer.
- Repaint with your chalk paint.
Stain-Blocking Primers to Fix Bleed Through
Once you notice you have bleed through, just stop painting and let everything dry completely. Then, head over to your nearest home improvement store and grab a can of really good (and really stinky and toxic unfortunately) primer.
Ideally, head outside for this step. Stain-blocking primer is smelly and it’s pretty bad for you. Definitely don a mask and take note of any safety considerations on the can. Taking lots of breaks helps too.
Not Enough: Zinnser Smart Prime
This is a great primer, but it’s not going to be enough to combat the dastardly bleed-through of knotty pine and similar woods. After I realized that things were going wrong with my hutch, I actually applied two coats of this and the next day the knots were STILL bleeding through! More primer power needed.
Note: I now use Zinnser Smart Prime as insurance ANY time I chalk paint something. However, if I suspect that I will encounter bleed-through I skip Smart Prime and move immediately to the following, B-I-N primer.
Recommended: Zinsser B-I-N Shellac-Based Primer
Zinsser B-I-N Shellac Based primer is pretty miraculous! After using it and then applying two coats of chalk paint, I loved the look of the final piece. It’s been several years since I’ve finished it now and if I look closely I can see some of the knots, but it’s very subtle. So it wasn’t a perfect solution, but it got me 90% of the way there!
This is really strong stuff, so read the instructions on the can and work carefully. This primer also works on odors, so if you have a strong-smelling piece it could help with that too.

Recommended: Shellac
In my research, I came across several useful articles like this article from Salvaged Inspirations which had lots of helpful comments. I also came across a tutorial from the Purple Painted Lady on how to use shellac for bleed-through issues.
Shellac is a different product than shellac-based primer and I haven’t used it myself, but I would suggest looking into it if you are still struggling with bleed-through.
And remember as with most hobbies, if you are not having fun, it’s okay to stop! Some furniture just does not work out with painting. It’s okay to cut your losses and move on to a different piece.
Final Tips for Success
- When in doubt, prime first—especially before painting light colors.
- Don’t skip sanding if the surface is glossy or peeling.
- Always let your primer dry completely before painting.
- If you’re painting pure white over dark wood, two coats of shellac primer like Zinsser B-I-N may be your best bet.
No More Bleed-Through!
With the right prep and primer, you can conquer even the most stubborn bleed-through and get that flawless, matte chalk paint finish you love. Whether you’re refreshing an heirloom dresser or updating a thrifted hutch, a little extra prep makes a huge difference.
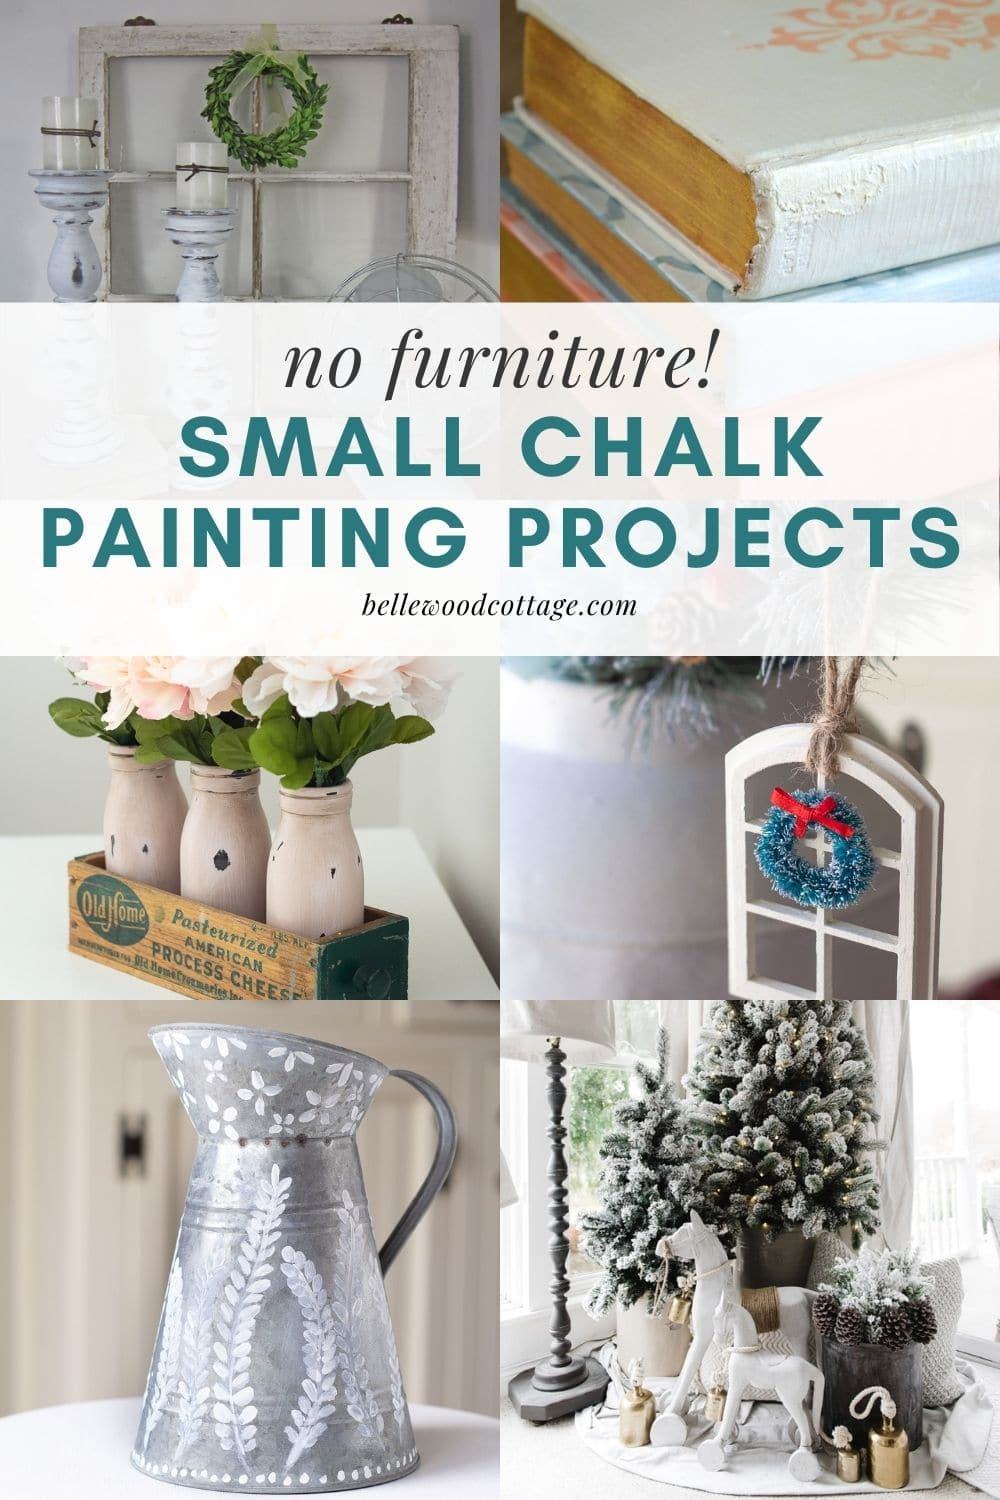
Pin It for Later!
Weekly Crafting Fun!
Join my list and get a weekly email with relaxing craft ideas, freebies, sewing tutorials, and more!

6 Comments