How to Paint Mason Jars
Learn how to paint mason jars with chalk style paint, spray paint, and more. Painted mason jars look beautiful for home décor and weddings and are great for gifting and organizing too!
Please note that this post contains affiliate links which allow me to earn a small commission when a purchase is made at no additional cost to you. Read more here.
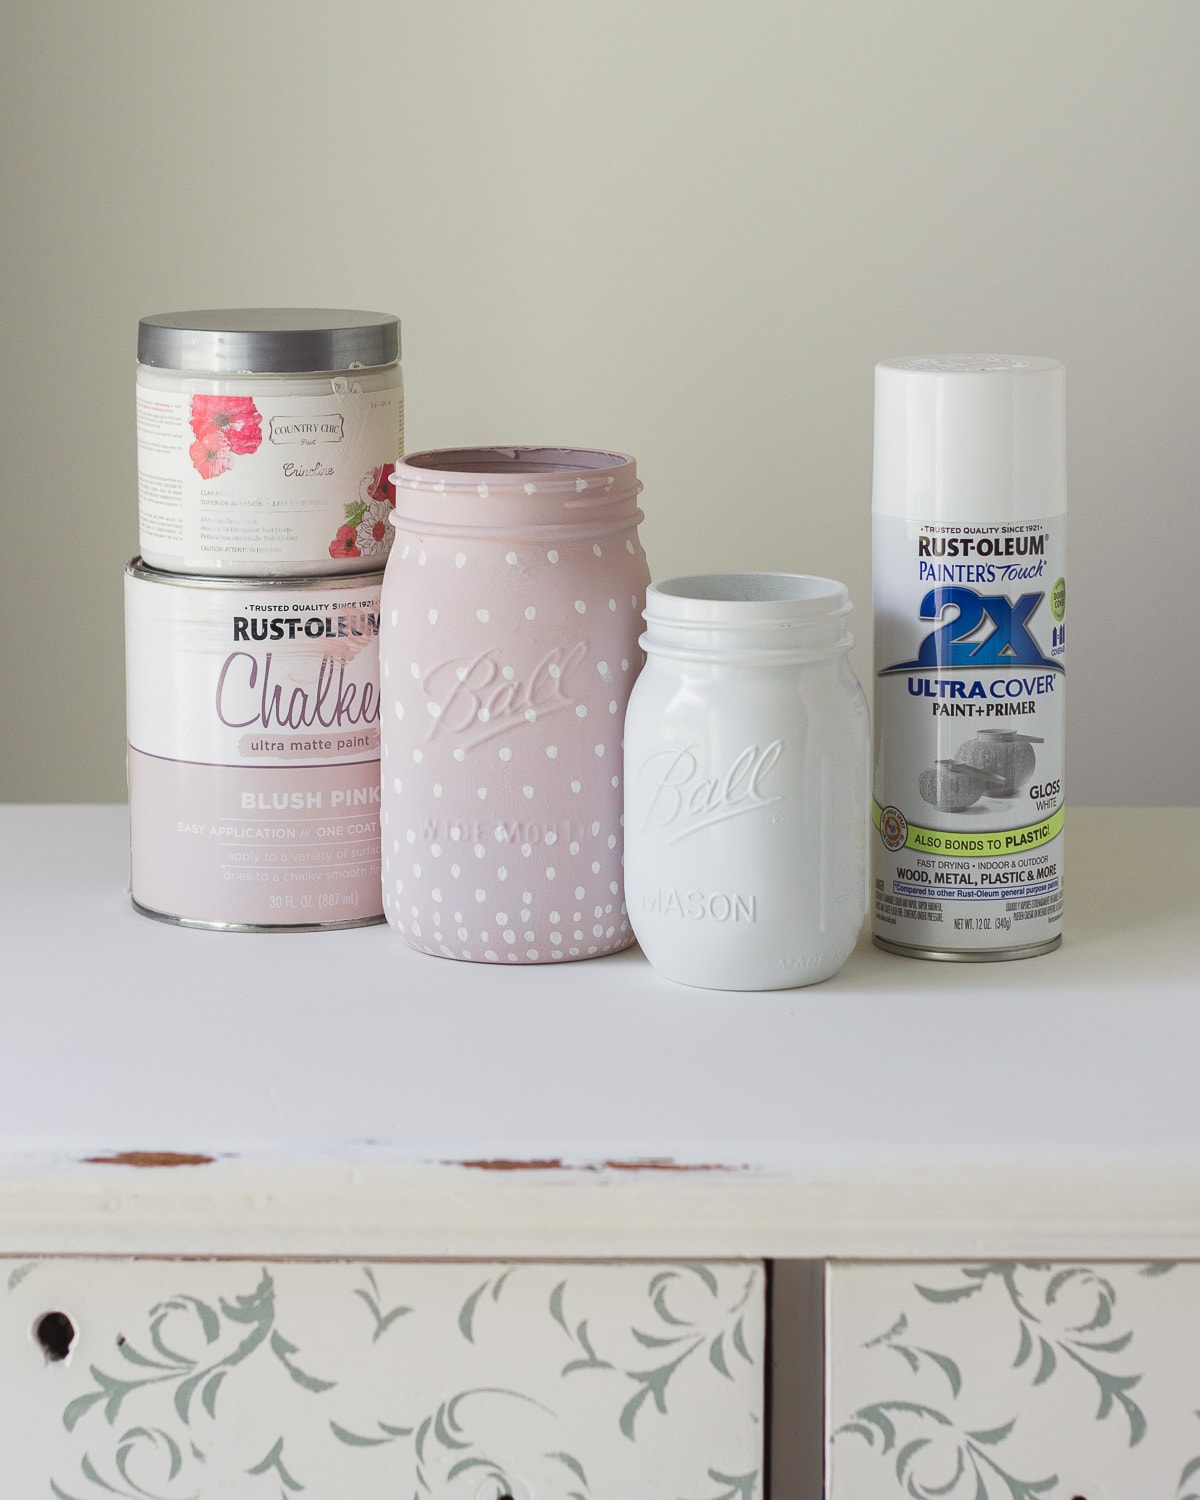
There are many great resources out there on how to paint mason jars, but I hope to add a few more thoughts and details with this post. I’ll chat through several ways to paint the jars to achieve different looks and tips for customizing your jars even further.
The finished jars are great for home décor (think vases, centerpieces, storage, organization, etc.) and for gifting too.
Whether you use matte chalk paint, glossy spray paint, metallic paint, or even try swirling paint inside a jar, you’ll love the many ways you can transform a mason jar!
Supplies Needed for Painting Mason Jars
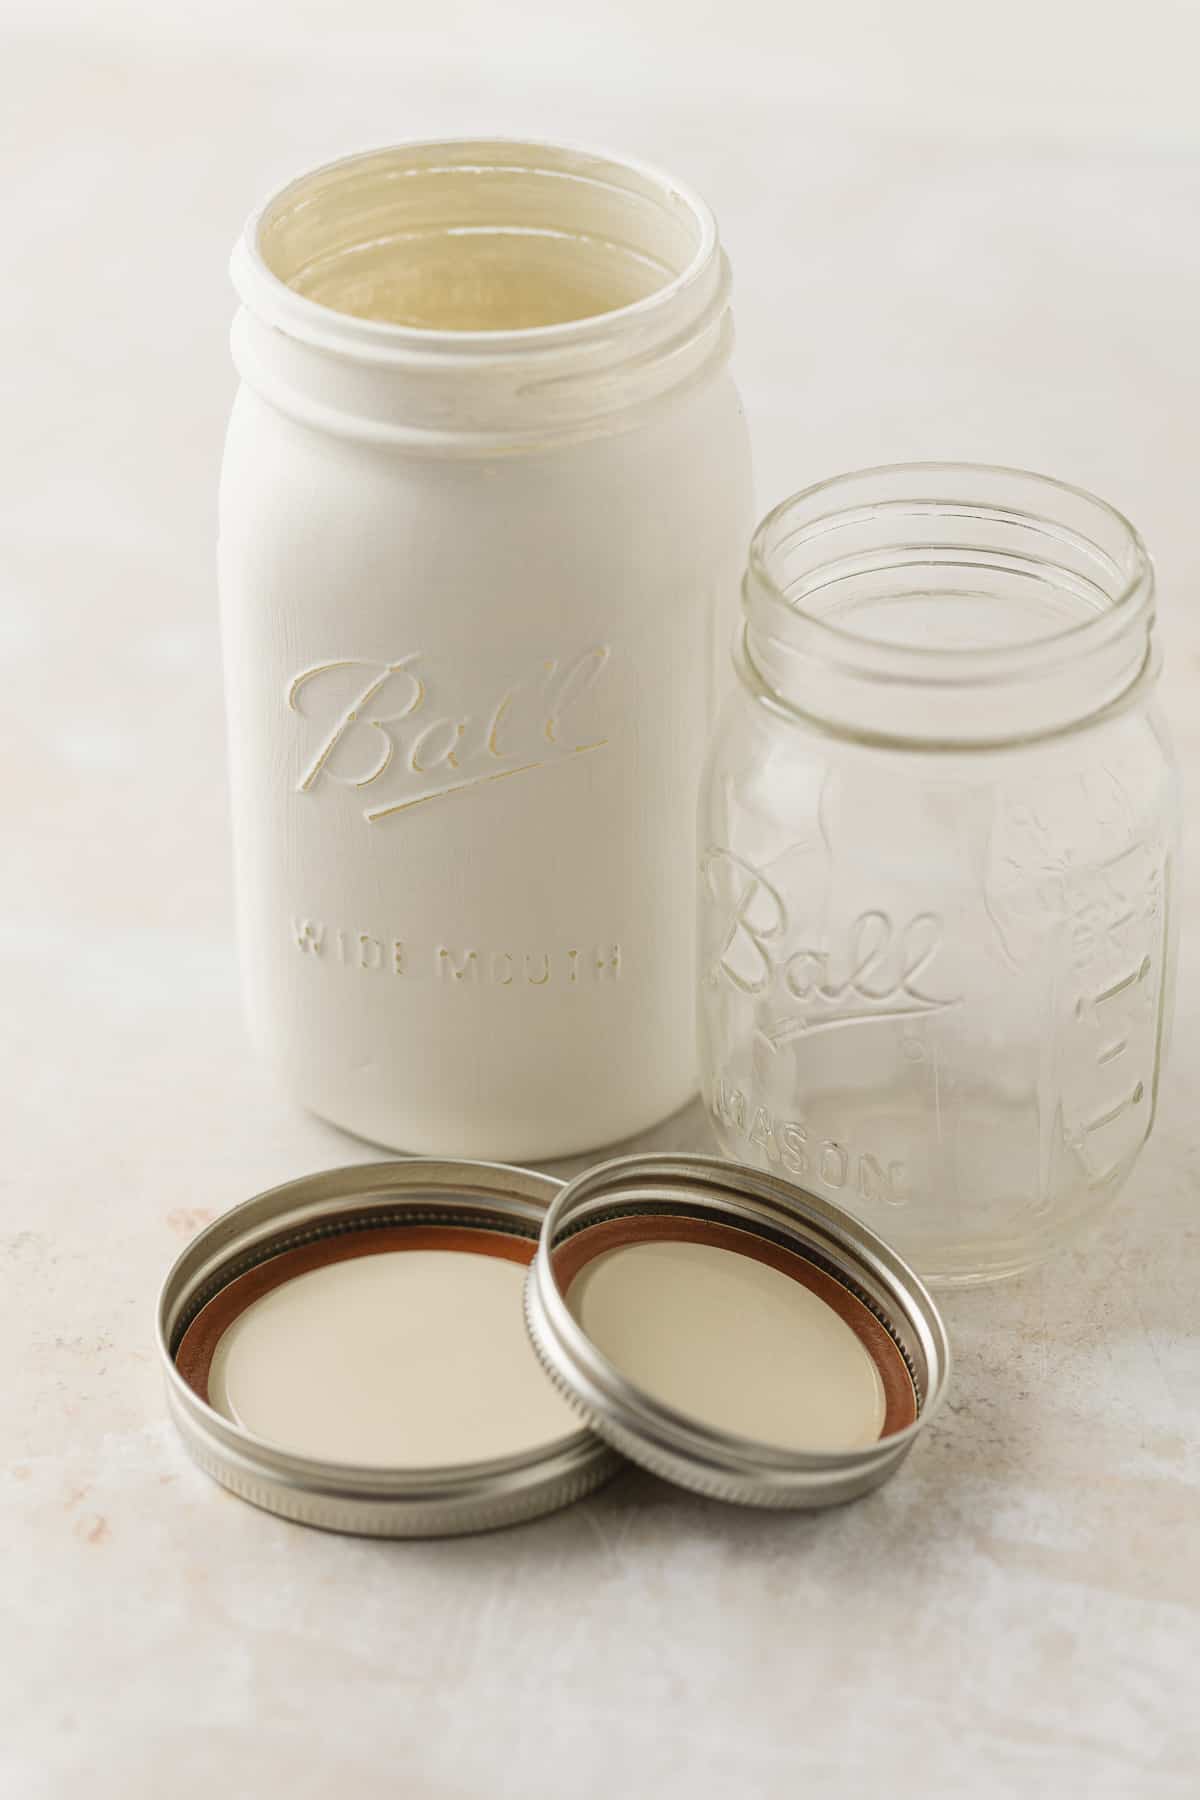
Of course, the primary thing you’ll need to get started is a jar. Mason jars (or similar glass jars) come in many shapes and sizes. In fact, you can even use recycled glass jars. Keep an eye out for interesting jars when you are grocery shopping.
My favorite jars to use are wide-mouth quart jars and the 16 oz ones. I like the wide-mouth quarts because it’s easy to fit things inside (especially if you are putting together a gift jar). Pint-size jars are great for organizing smaller items or putting together for a centerpiece.
There’s more options of course, like 4 oz jars and quilted jars. You can also check your local craft store for jars. I often use the jars at Hobby Lobby when I want something without the raised lettering (they are just plain glass with gold lids).
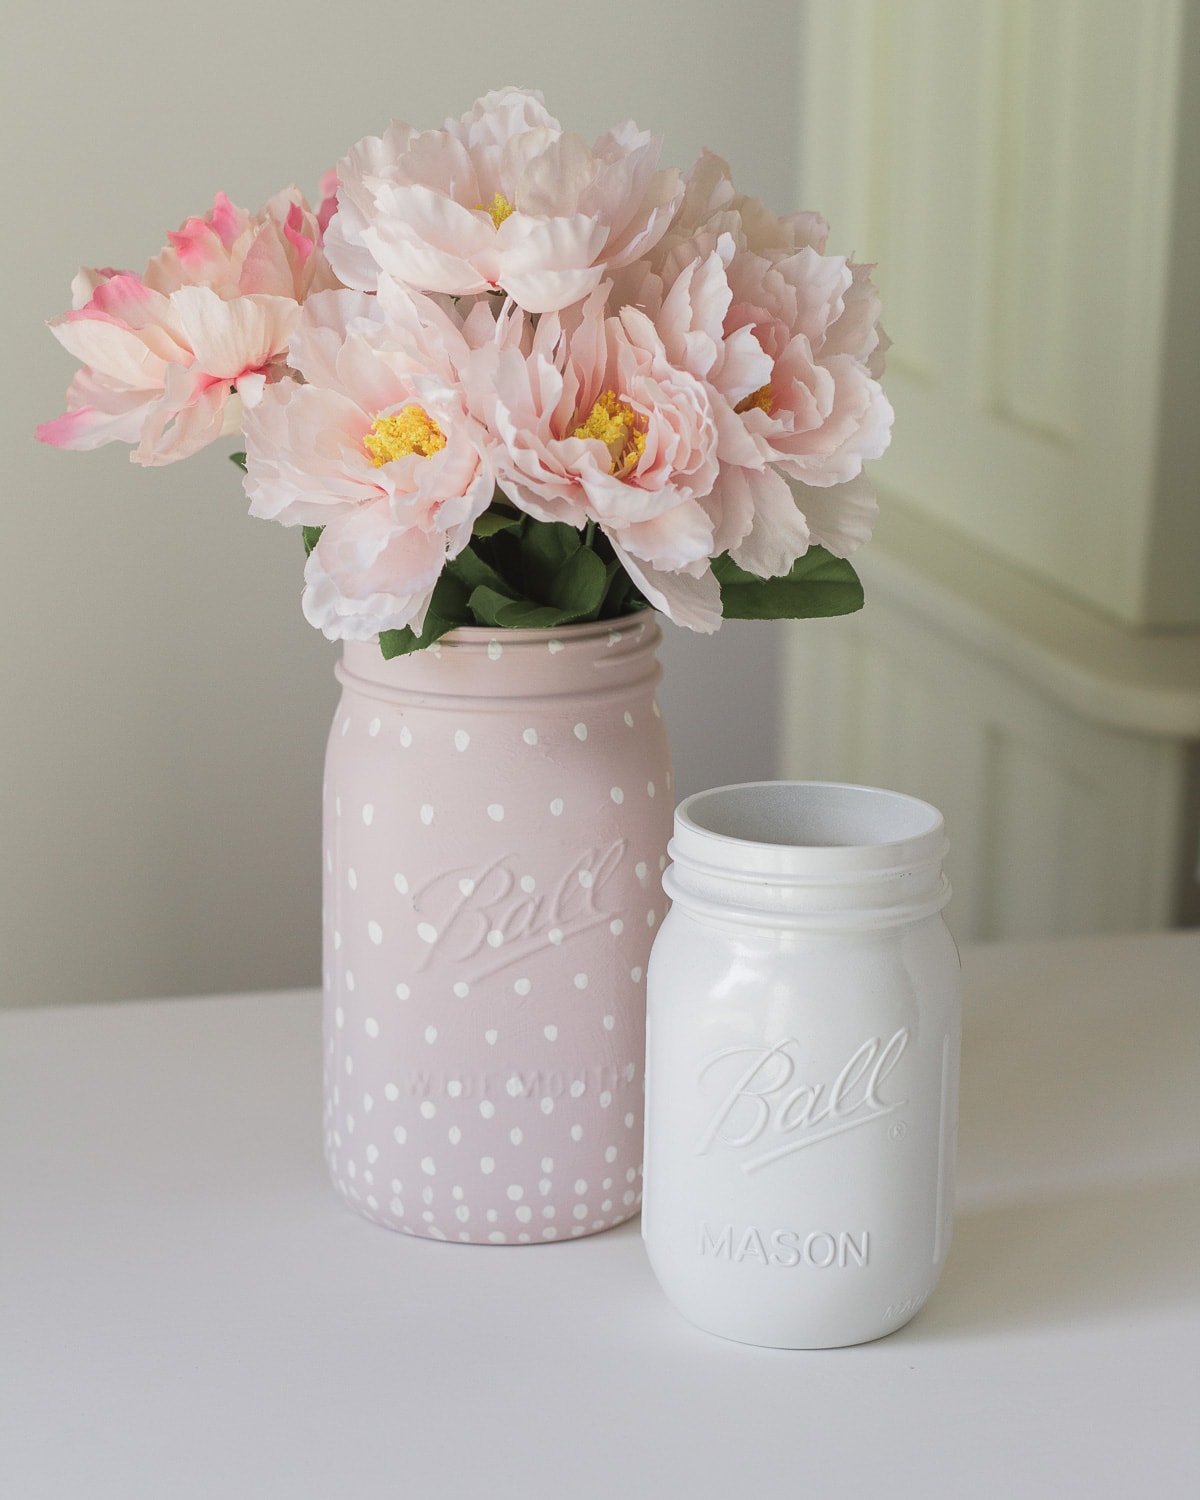
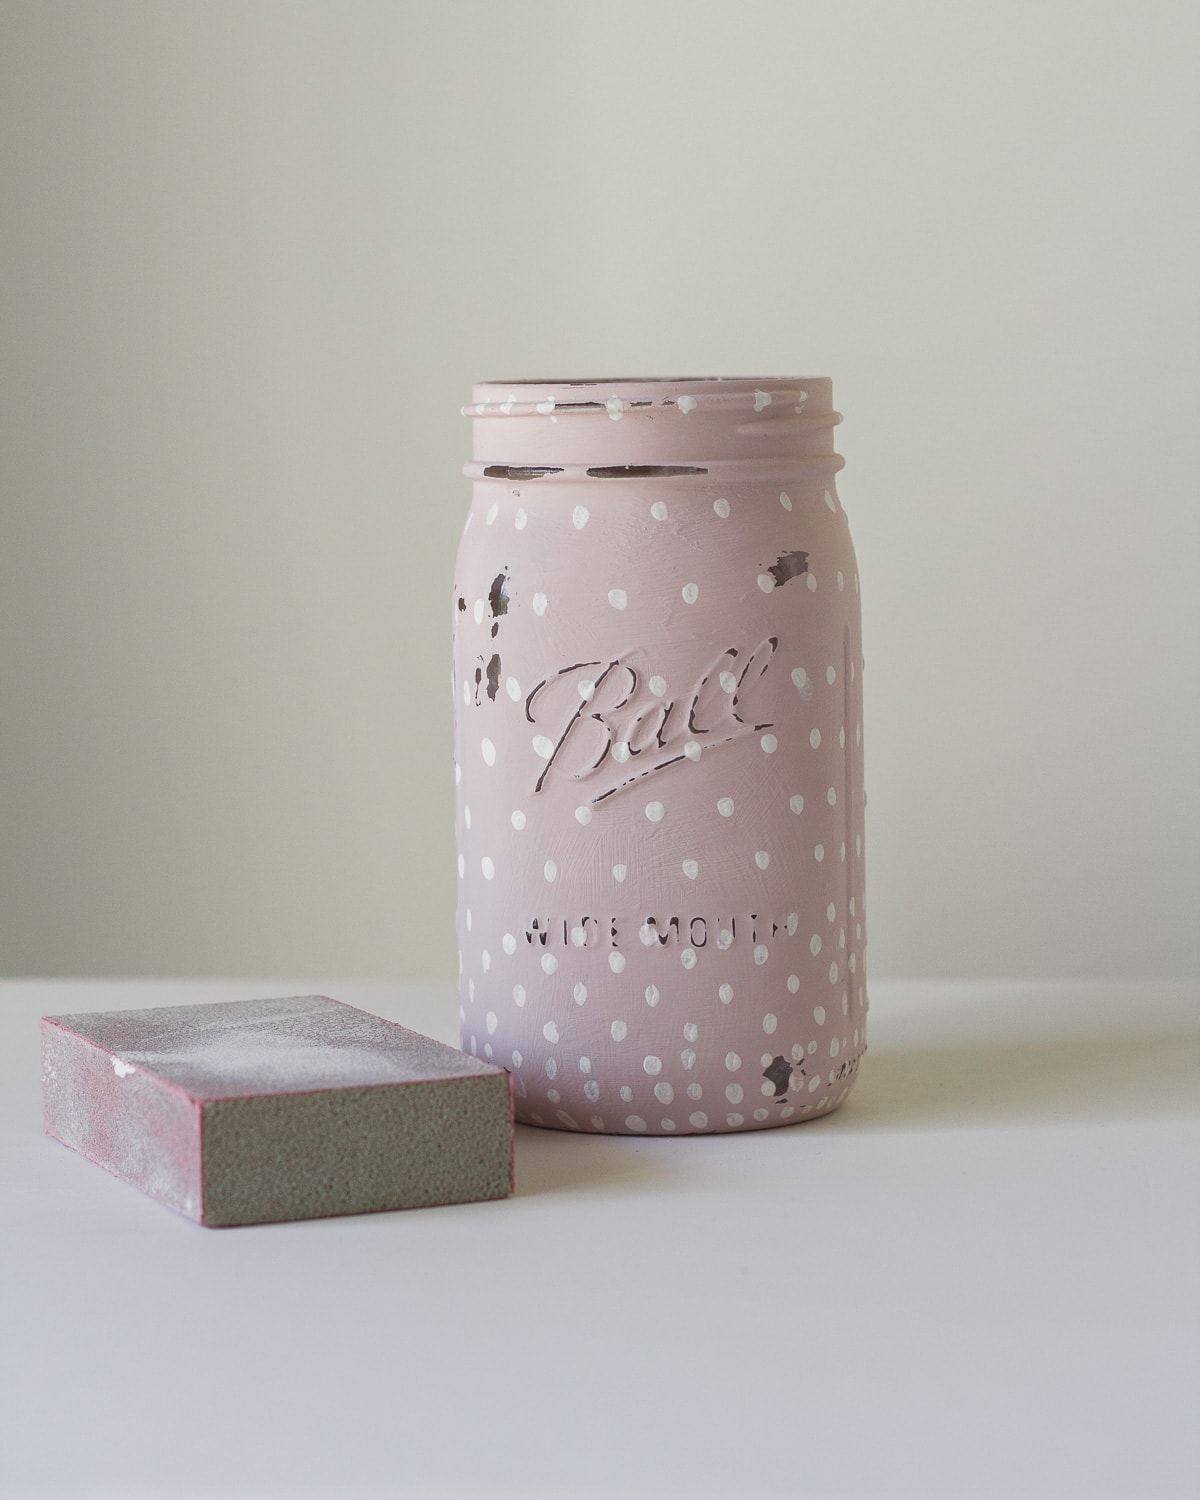
Note that for painting, using the traditional mason jars (or any glass jar with raised lettering) is great for distressing. After the paint is dry, just lightly sand the raised areas with a sanding block (or paper) if you like that vintage/farmhouse look.
What Kind of Paint to Use for Mason Jars?
From chalk paint to spray paint, there’s plenty of options (and numerous brands) to choose from. Whether you are looking for matte, metallic, glossy or another type of finish, there’s probably a paint that’ll work. Let’s chat through the choices!
Note before starting: use clean jars. Brand-new jars are good to go, but thoroughly clean any previously used jars you plan to paint.
Paint with Chalk Paint
Using chalk paint/chalk style paint is probably the most popular option. The paint tends to stick well to the glass surface and the matte finish has a pretty vintage look. It’s also easy to add a top coat if you want a different finish (just choose your top coat based on the final sheen level you are after).
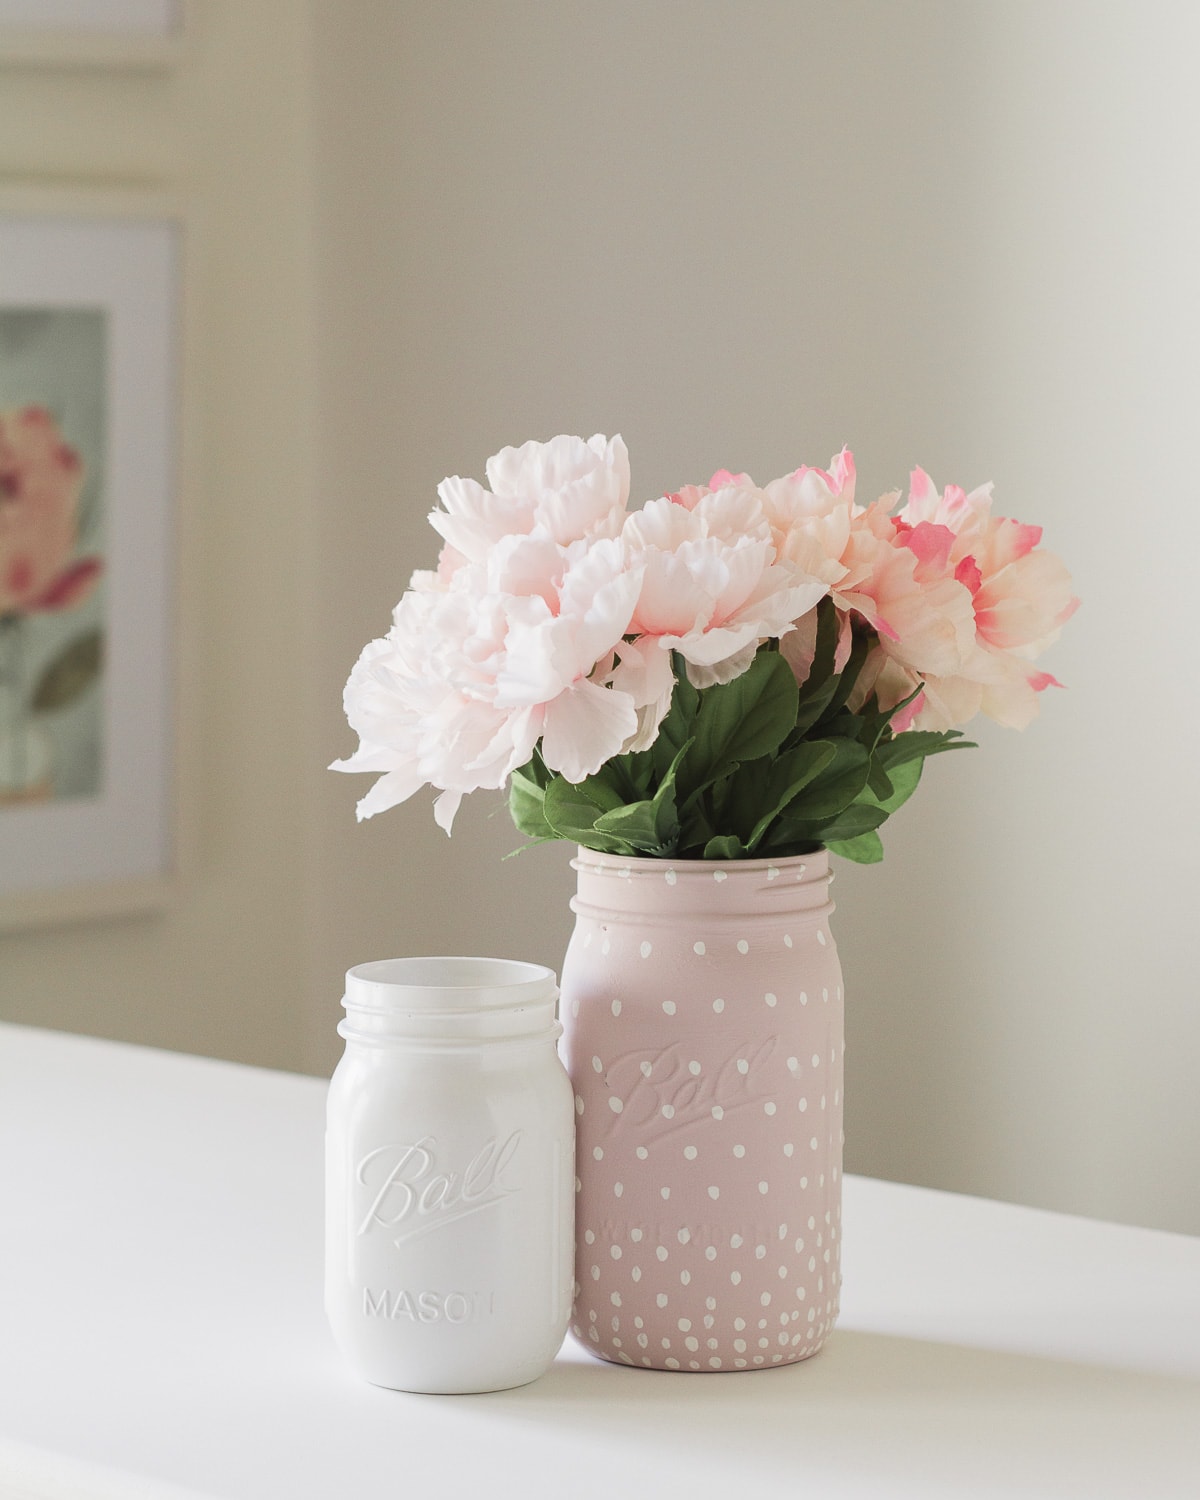
Below I’ve used Rust-Oleum Chalked in Blush Pink for this simple dotted vase idea (no top coat).
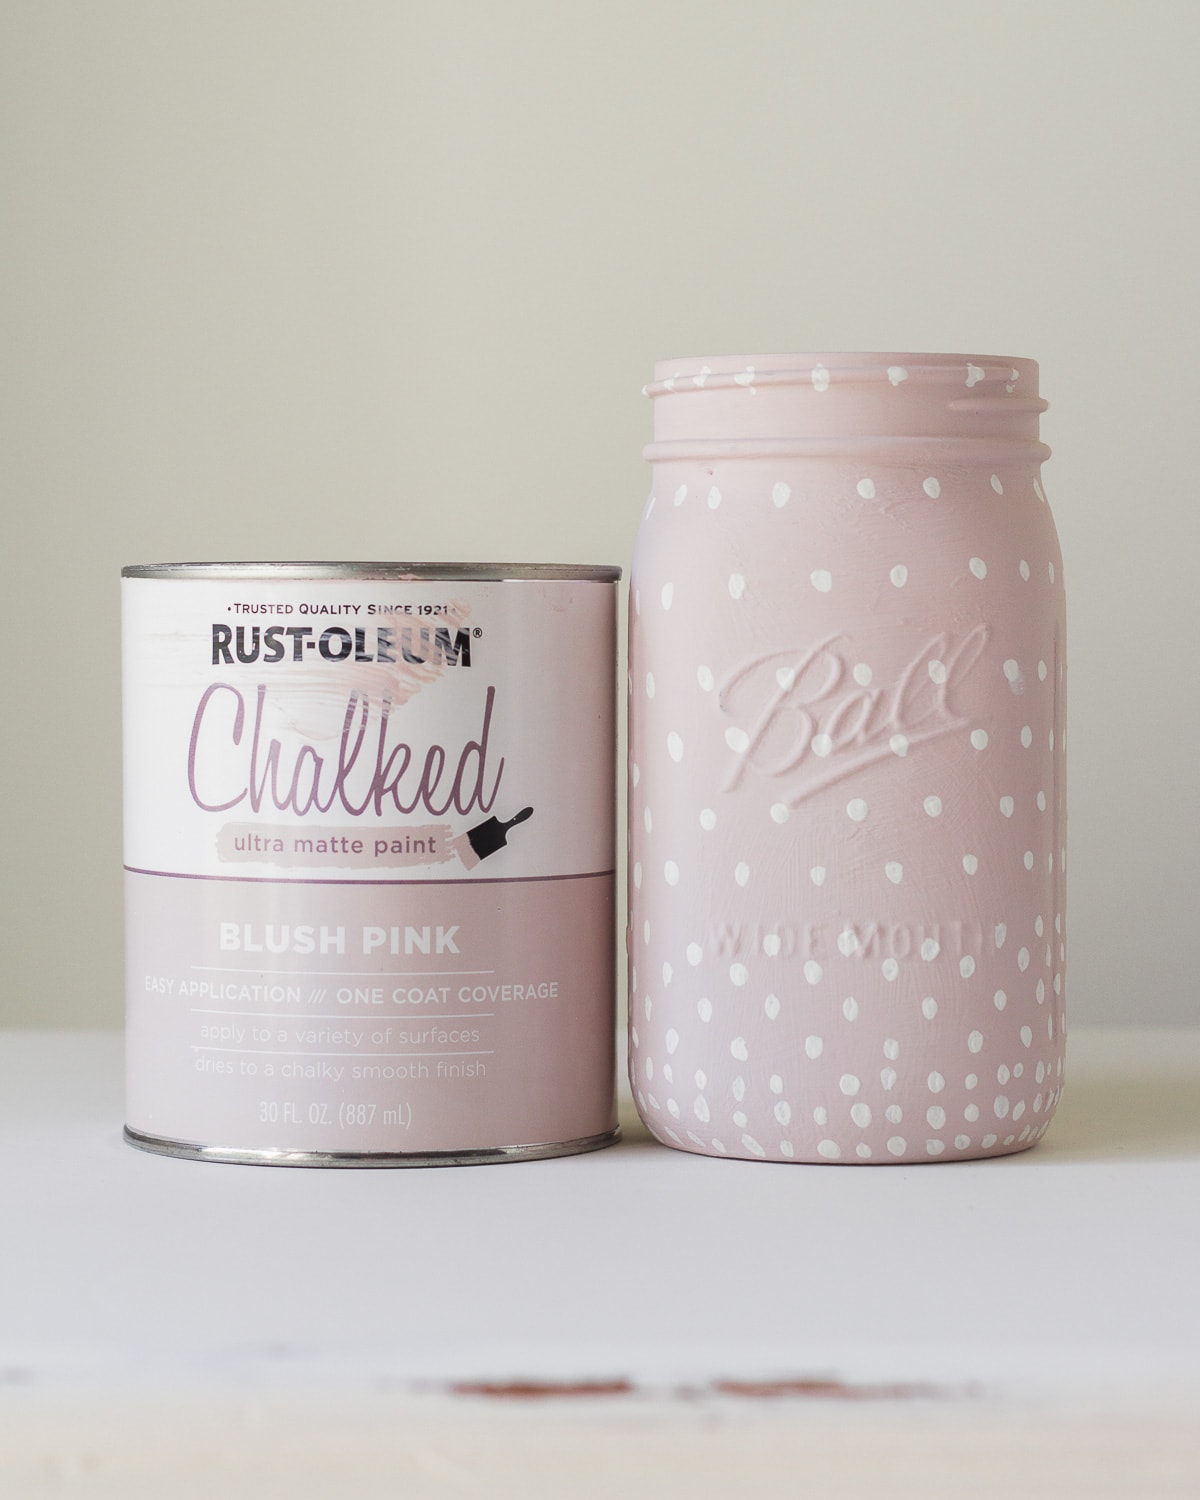
Nearly any chalk type paint will work. I like Annie Sloan, Rust-Oleum, KILZ, and lots of others. I use the brush-on paints. I’ve not had good luck with the “chalky spray paints” (coverage wasn’t great), but I do plan to test that again at some point since there are more brands that have produced these recently.
How to Paint the Jars with a Brush
There’s a few different ways to paint mason jars. For quart-size jars, currently I tend to do a method where I paint the entire lip of the jar first and then let it dry. It doesn’t take long for that amount of paint to dry and it’s easy to touch up if it smudges.
Then I stick my hand inside the jar and paint the rest of the outside. When I’m ready to remove the jar from my hand, the lip of the jar is of course dry from earlier and it’s easy to take the jar off my hand and let the rest of it dry.
For pint size jars, I do a similar method, but I actually paint more of the top of the jar (and then let dry) to give myself a larger area to hold onto while I paint the rest of the jar (as hands don’t fit inside that size jar!).
I usually plan for three coats of paint. The first two coats are essential and the third is mostly to touch up any missed spots and make sure the paint is perfectly opaque.
Reference the dry/recoat times on your can of paint to avoid adding second or third coats too soon and causing the paint to pull away from the jar.
To seal, I either leave the jars as-is or use a sealer I have on hand. A spray aerosol is easy to use or sometimes I’ll use Rust-Oleum Matte Clear since I usually have that on hand (or another water-based poly). Be sure to choose a matte finish sealer if you want to maintain the matte chalky finish.
To distress the jars, just use a simple sanding block or a piece of sandpaper. I find anything around 80-120 grit works pretty well.
(note: I actually don’t like the way the jar below turned out! I think I prefer the distressing on jars that are just plain.)
Paint with Spray Paint
Spray painting mason jars is where things get really exciting. Look for a spray paint that is rated for metal and plastic.
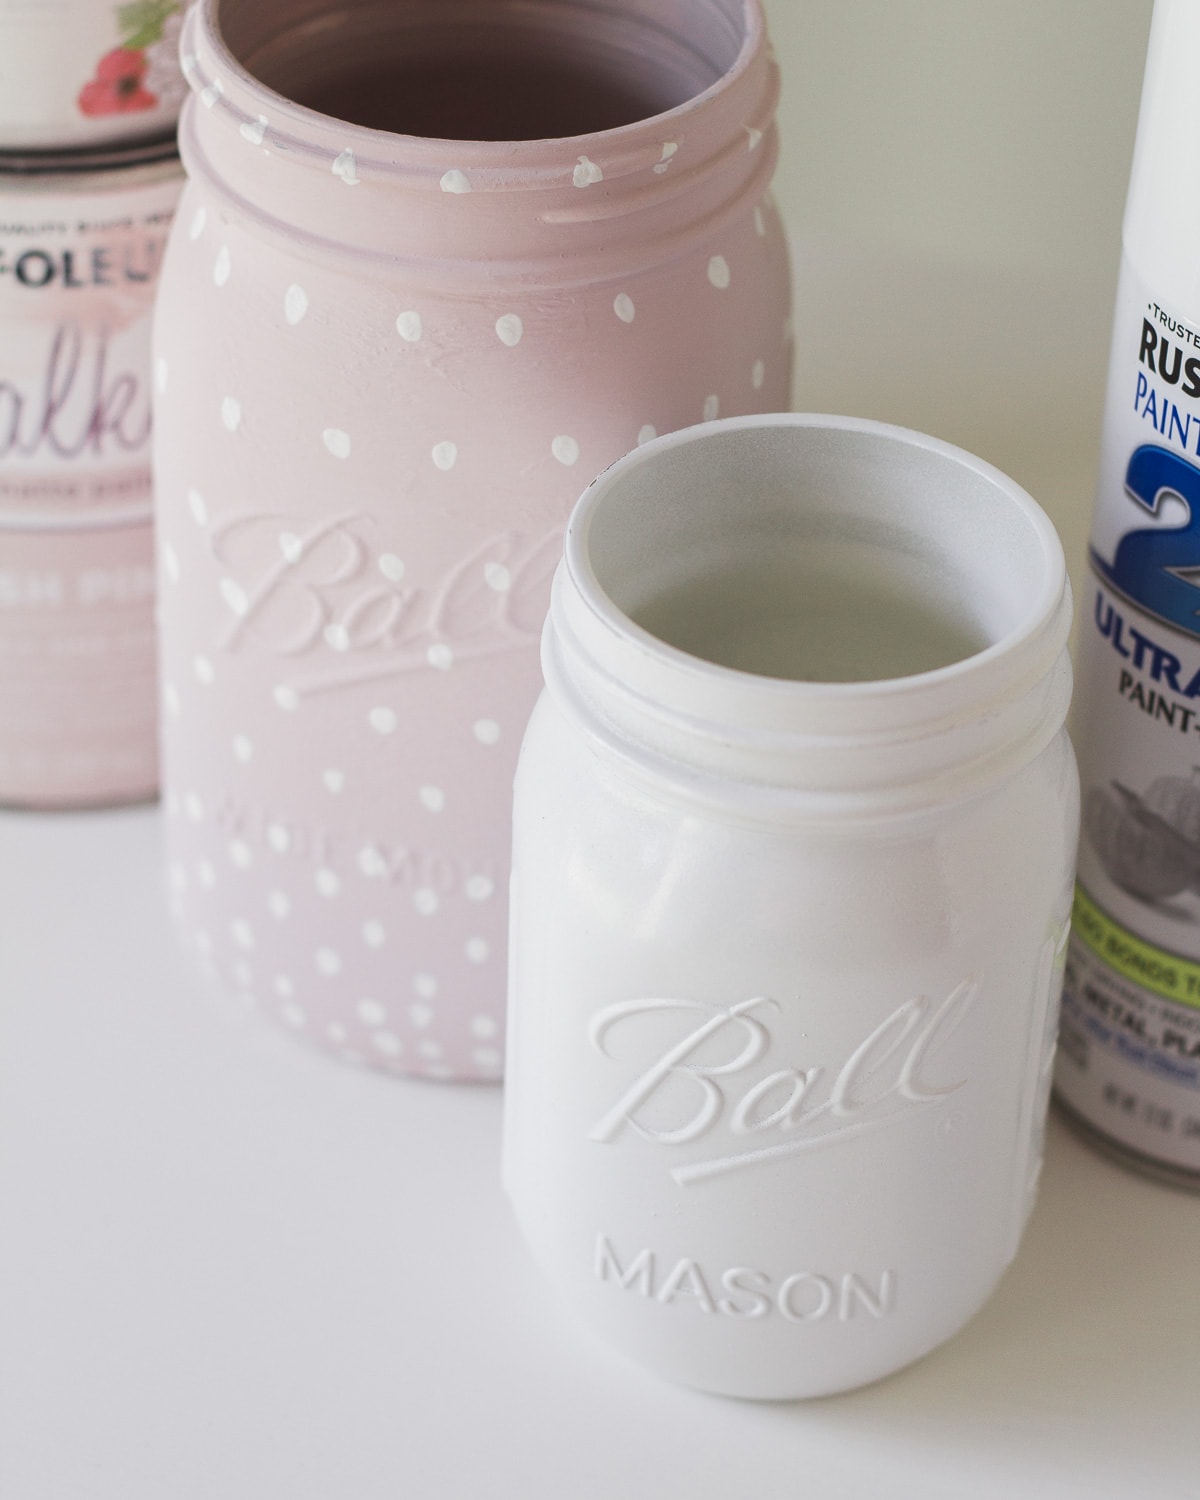
Sometimes the can will list glass as an option too which is helpful, but if you don’t see it I find that a paint rated for metal/plastic seems to do the job. Look for a paint & primer for maximum adhesion.
Here, I wanted to maintain the glassy appearance and get the effect of jars that have been painted on the inside, but without the hassle (more on that in a minute). So, I went with a glossy finish paint. It’s not quite the same of course, but I like it!
For the jar shown below I used Rust-Oleum Painter’s Touch 2X Ultra Cover Paint + Primer in a Gloss finish.
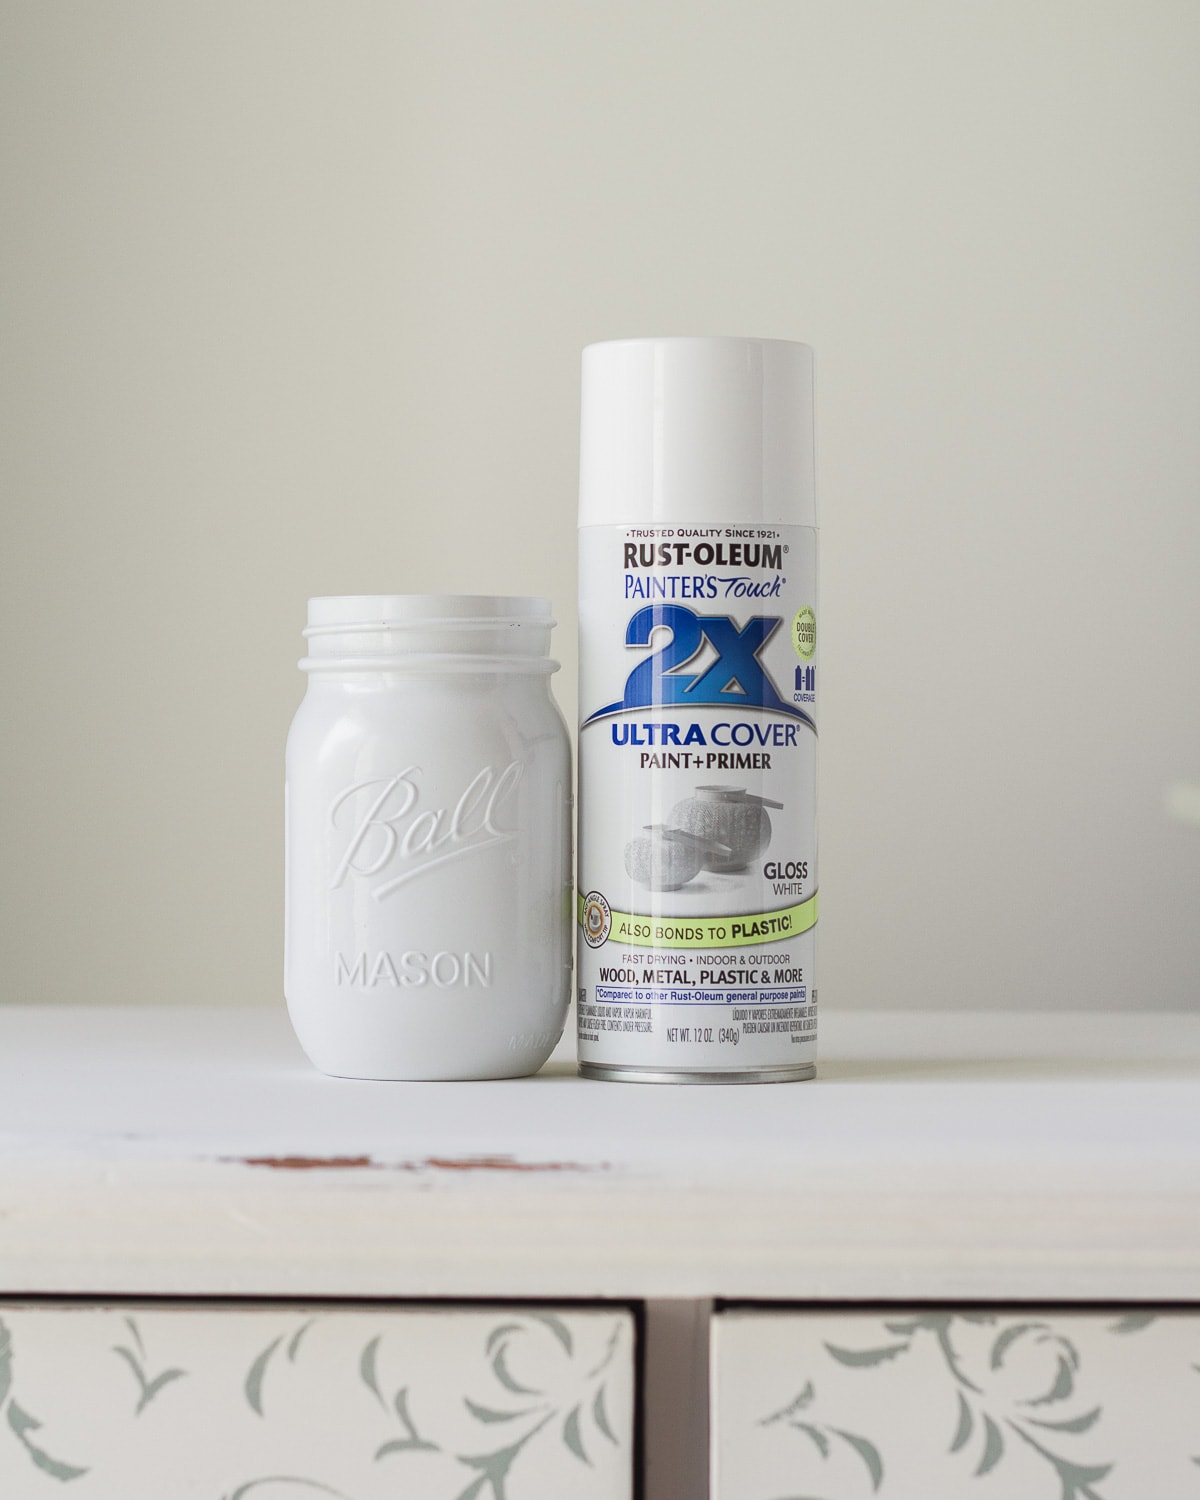
For spray painting, read the back of your can to check re-coat times. Usually it’s something awkward like you have to recoat within the first hour, otherwise wait 48 hours.
How to Spray the Jars
I flip my jars upside down on a flat surface (make sure you have a large area to safely spray in) and spray the entire thing until covered. Be careful not to spray so much paint that you get drips running down the jar–that’s a hard problem to solve!
Within one hour, or whatever your can said, I look carefully at the jar to see where I missed spots and respray.
If I later realize I need to touch up the jar I’m careful to wait the recommended amount of cure time to avoid sticky/gunky paint.
Spray paint can be delicate until it’s cured, so handle these carefully until they’ve had a few days to dry out.
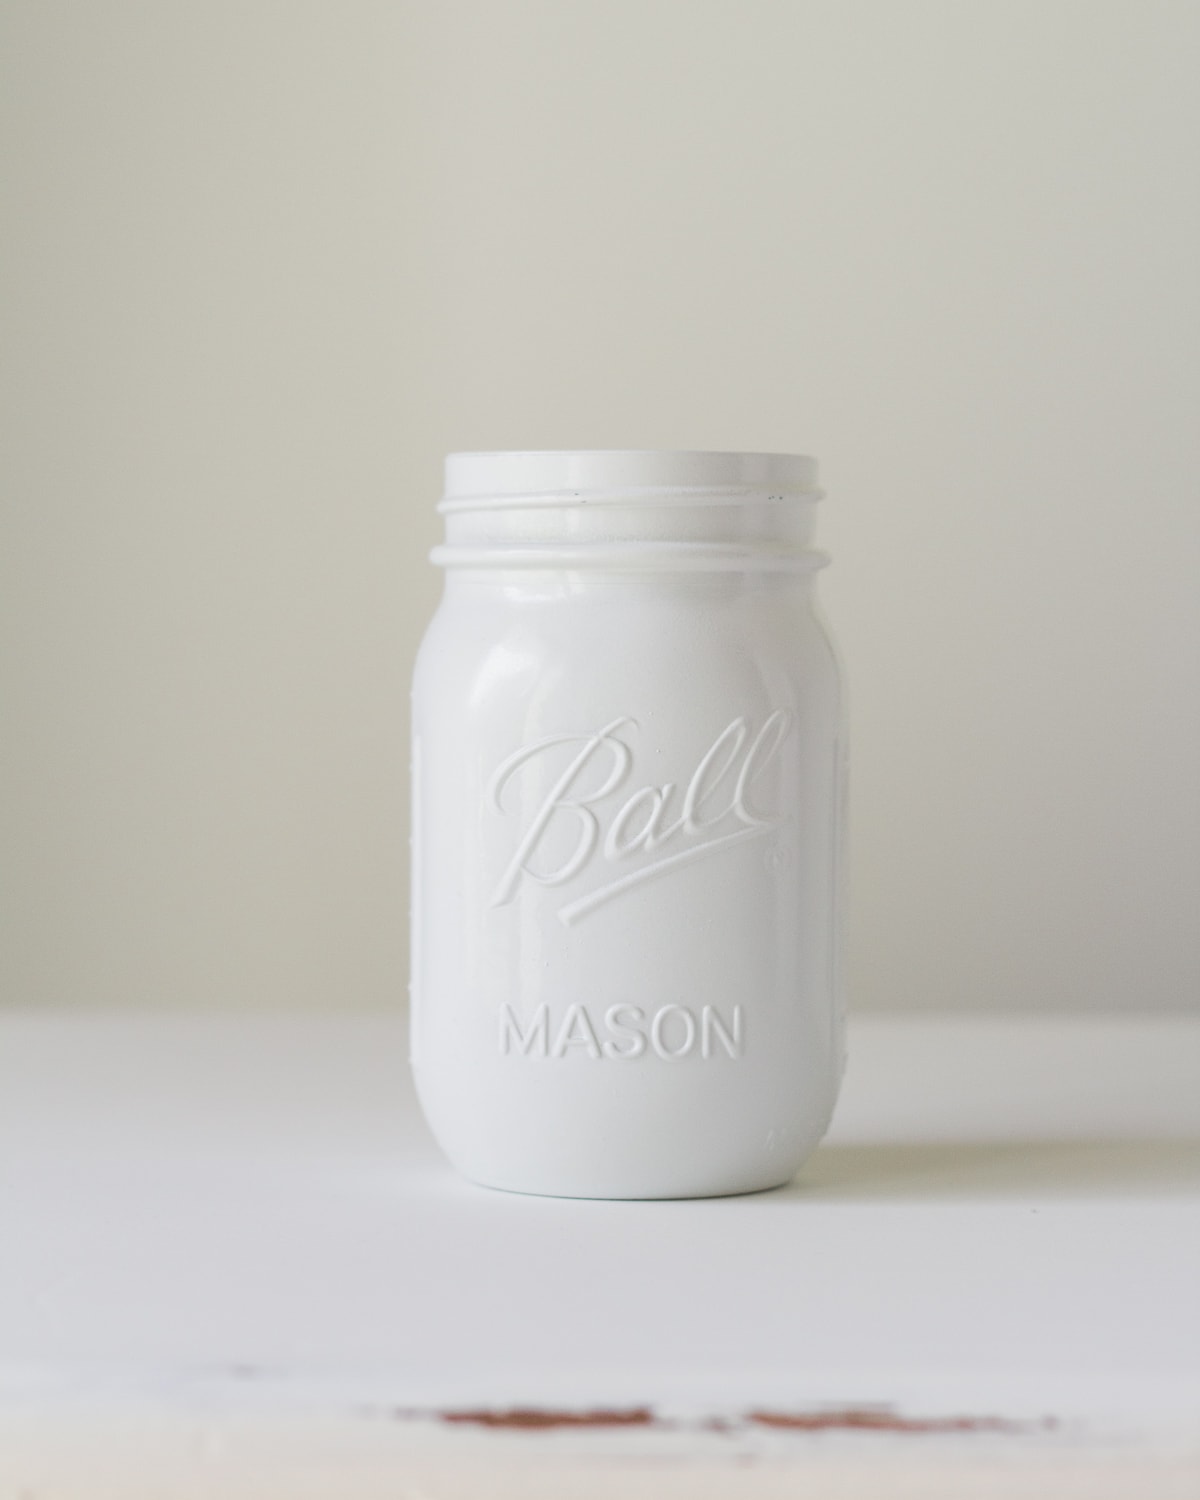
Overall these spray-painted jars are really fast to do and I love the gloss! You could also test out using a metallic finish spray paint for a different look. Spray painted mason jars are great for weddings because it’s a little faster than brushing on paint and it’s a professional-looking finish.
Paint with Glitter (Spray) Paint
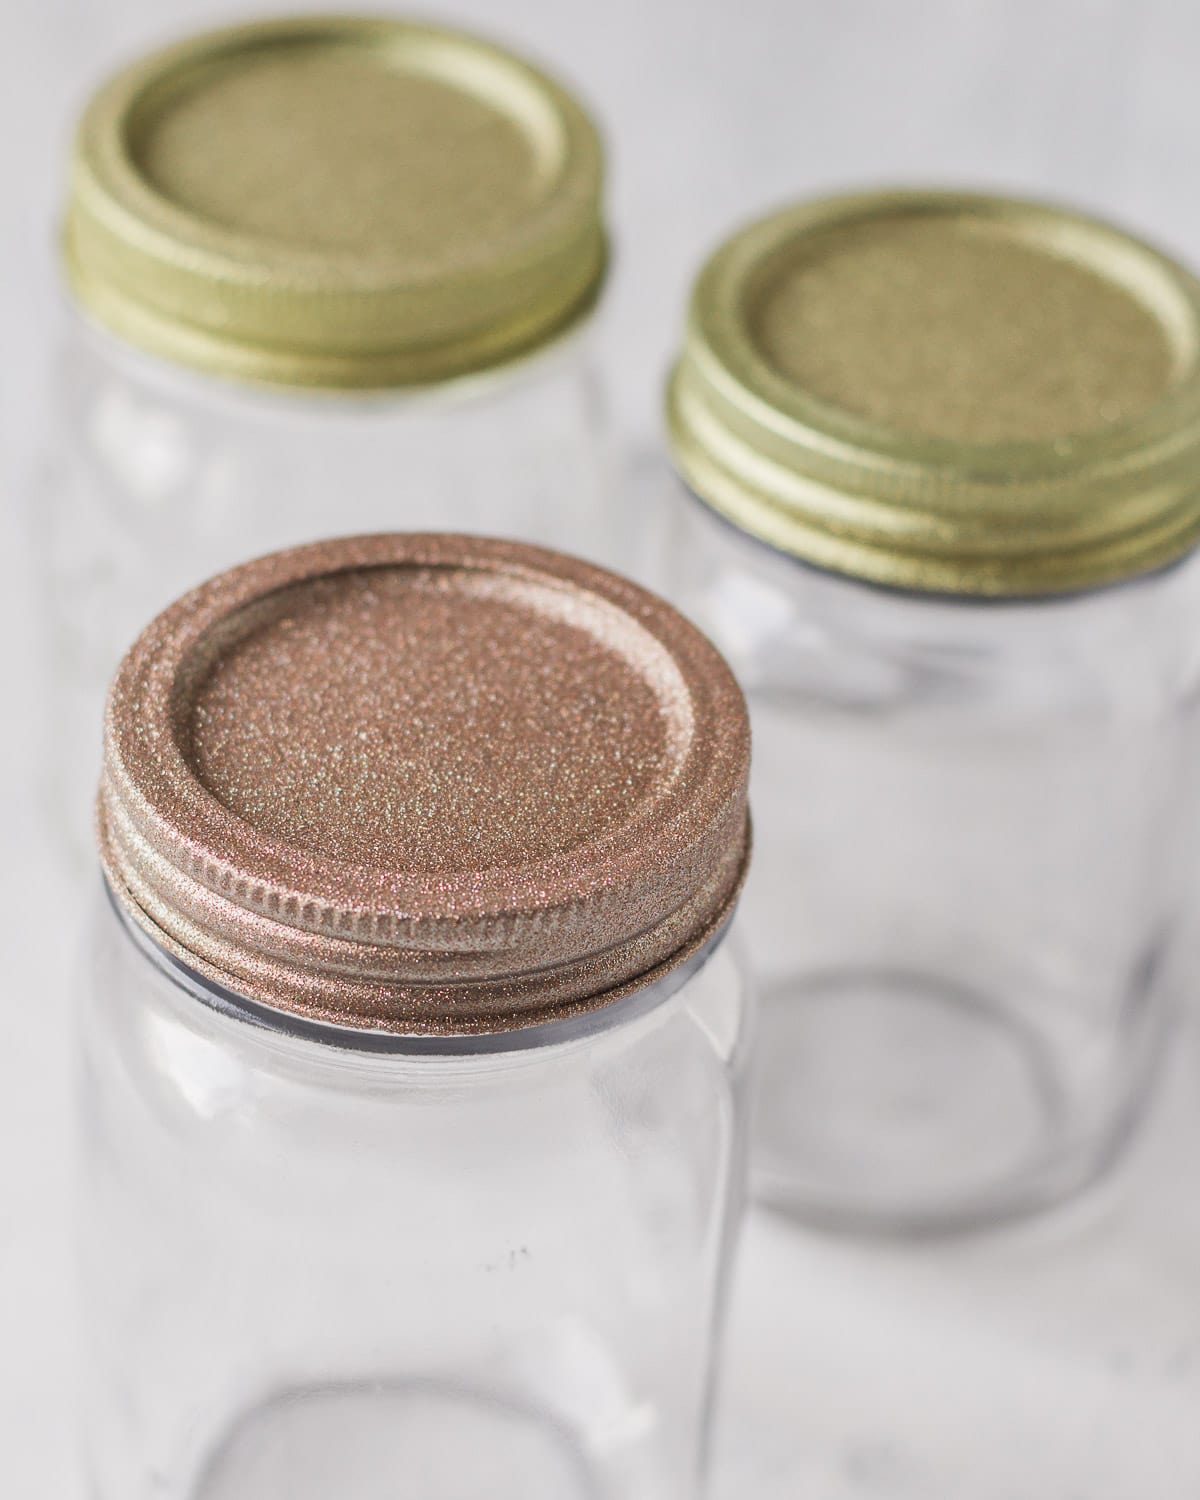
And don’t forget about the lids. Mason jar lids take spray paint well (look for a paint rated for metal) and adding a glittery top to your jar is easy to do.
However, I’ve found glittery spray paint to be a little fussy to work with, so I wrote up a quick tutorial on how to paint mason jar lids with glitter spray paint. I share my preferred brand of glittery paint and a couple of tips for getting a good finish on the lids.
Paint with Acrylic Craft Paint
I usually just use the various chalk style paints I already have on hand from painting furniture, but there are also small bottles of acrylic craft paints (or even “matte chalk” paints) you can grab at the craft store.
These are nice because there is such a large color selection and you don’t need to buy a whole quart of paint for a small mason jar. I haven’t used these myself, so I’ll update this suggestion when I have given it a try!
Paint Inside the Jar
This is also another popular way to paint mason jars. Basically you add paint inside the jar, swirl it around, empty out the remaining paint, and set it upside down to dry. It’s a cool look, but a little on the messy side.
Another downside is that the paint is inside the jar, making it hard to use the jar for more than holding faux flowers without ruining the paint.
Customize Your Jars
Once you’re done painting the jars, you can customize even more with different tools and techniques.
Distressing
Grab a sanding block and distress your jar. I think this looks best with jars that have a solid color rather than a pattern.
Permanent Marker
I have yet to try this on the chalk paint finish, so I’m not sure if it’ll work, but I thought permanent marker could be neat for adding more detailed designs to a jar.
Washi Tape
I love to decorate with washi tape and I’ve used it on bud vases, for wall art, and plenty of other projects. It’d be great on mason jars too.
Patterns and Designs
You can use stencils, rubber stamps, a paintbrush and more to add design and pattern to your jars. The sky’s the limit!
Enjoy crafting!
