How to Flip Furniture With Pink Chalk Paint
Learn how to flip furniture with pink chalk paint! I’m sharing the supplies I use, helpful techniques, and my latest before-and-after.
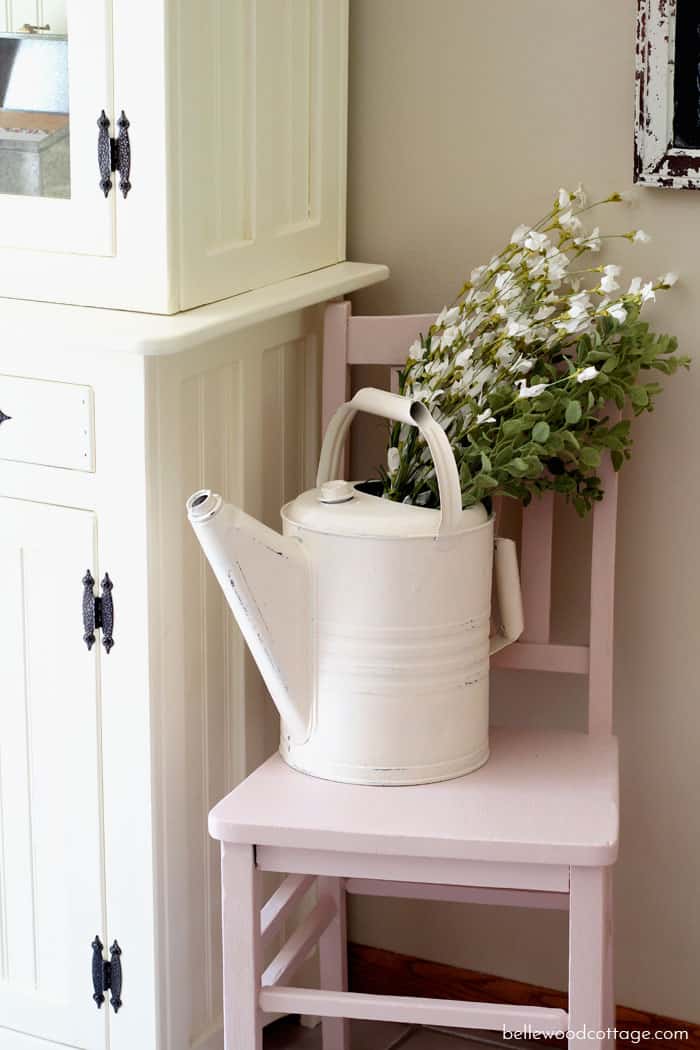
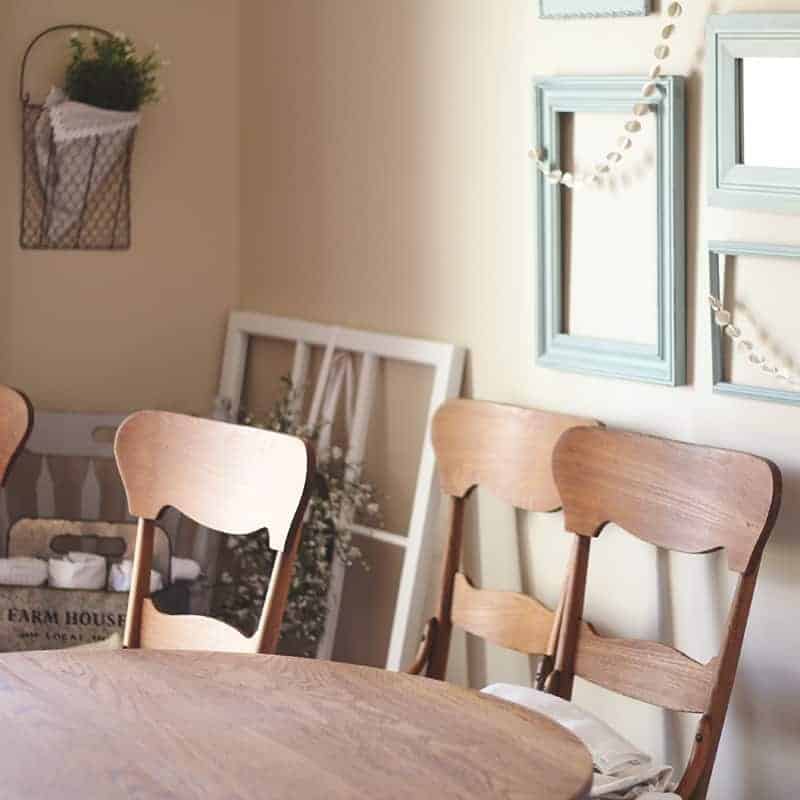
Last summer a friend passed along two identical antique chairs. They hung out in my furniture queue for a while, and once I started playing around with nursery ideas, I knew exactly what I should do with them. They are both so charming and petite, what better use than in a nursery? I decided to use pink chalk paint on this one and blue or green milk paint (still gotta order my color) on the other.
Since we aren’t finding out gender, I’ll add the chair to the nursery after baby comes. Thankfully this pink chair is subtle enough that hubby is allowing me to use it elsewhere in our home if we don’t have a girl!
Please note that this post contains affiliate links which allow me to earn a small commission when a purchase is made at no additional cost to you. Read more here. Also note that Rust-Oluem didn’t sponsor this post, I just like their paint!
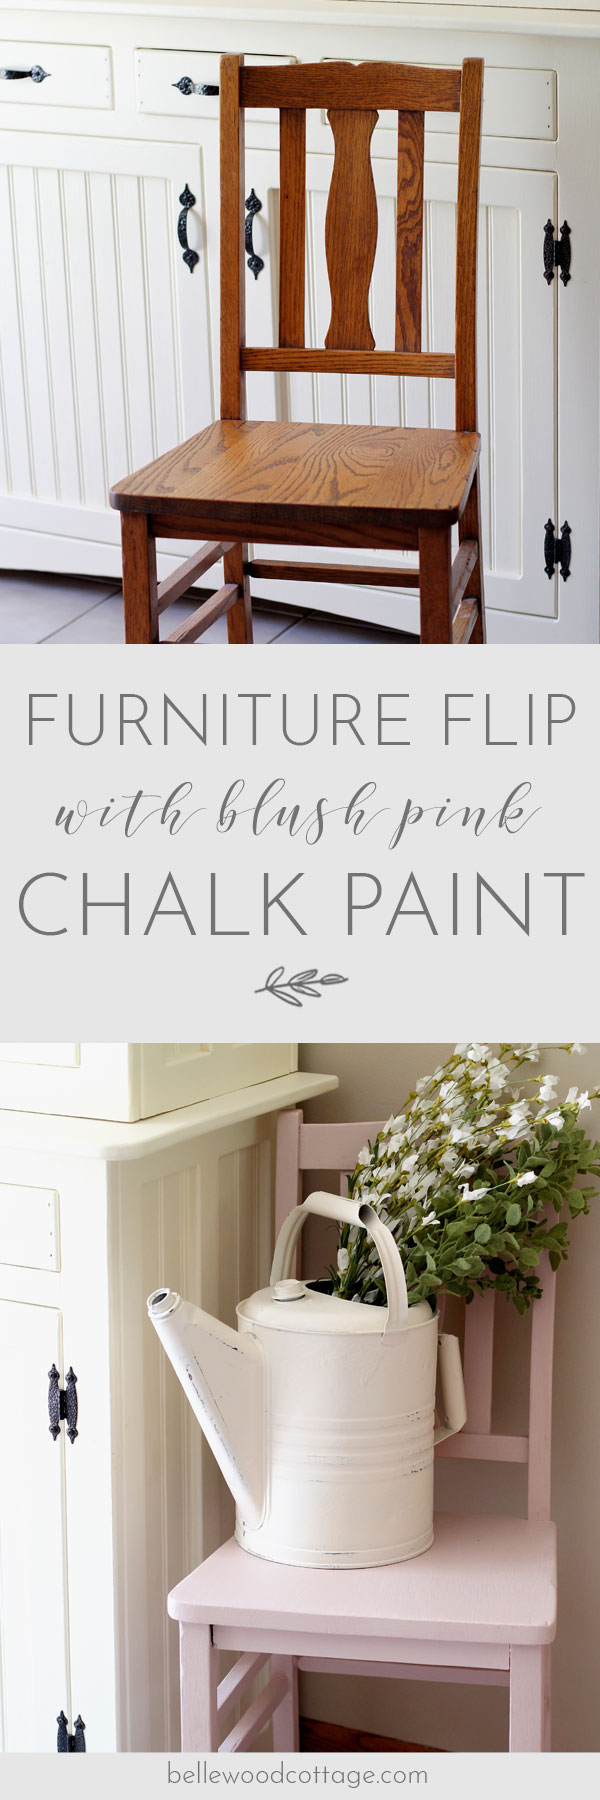
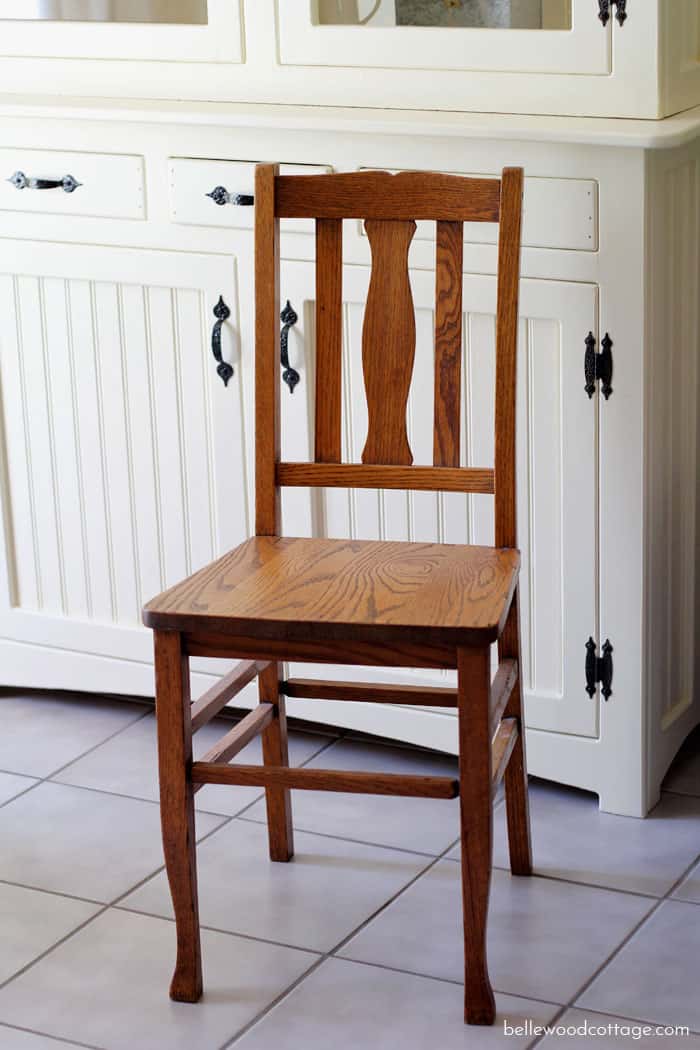
Here’s my before:
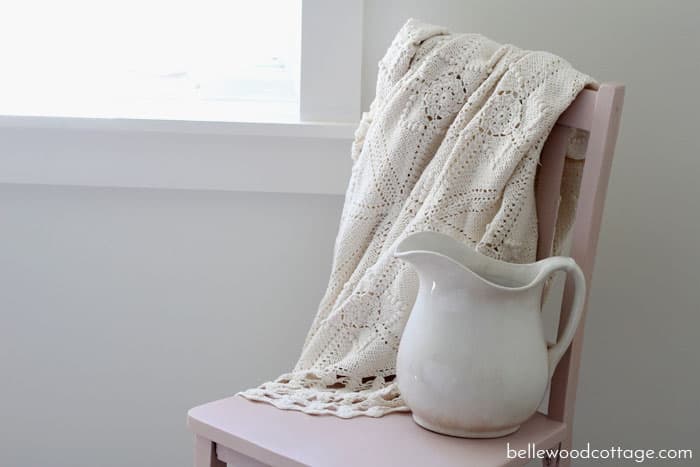
And after!
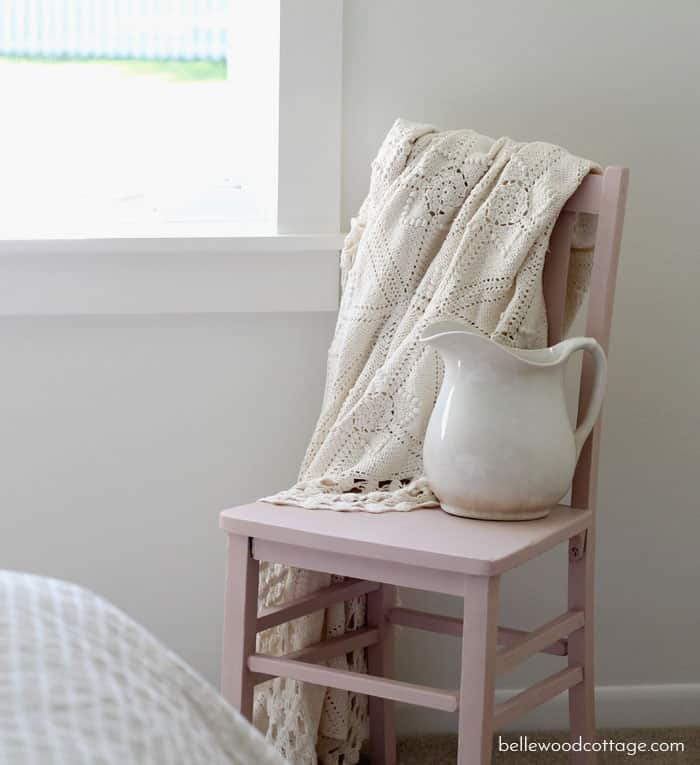
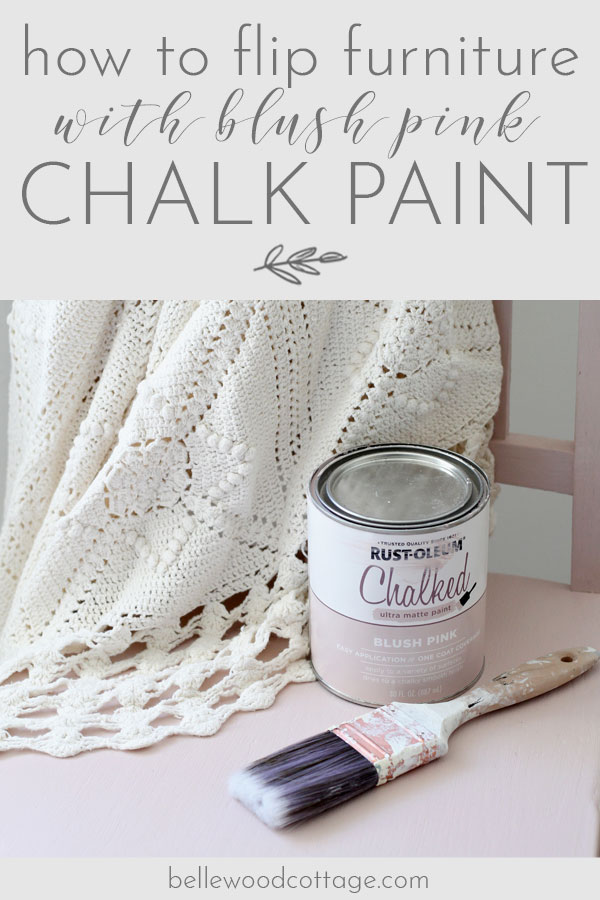
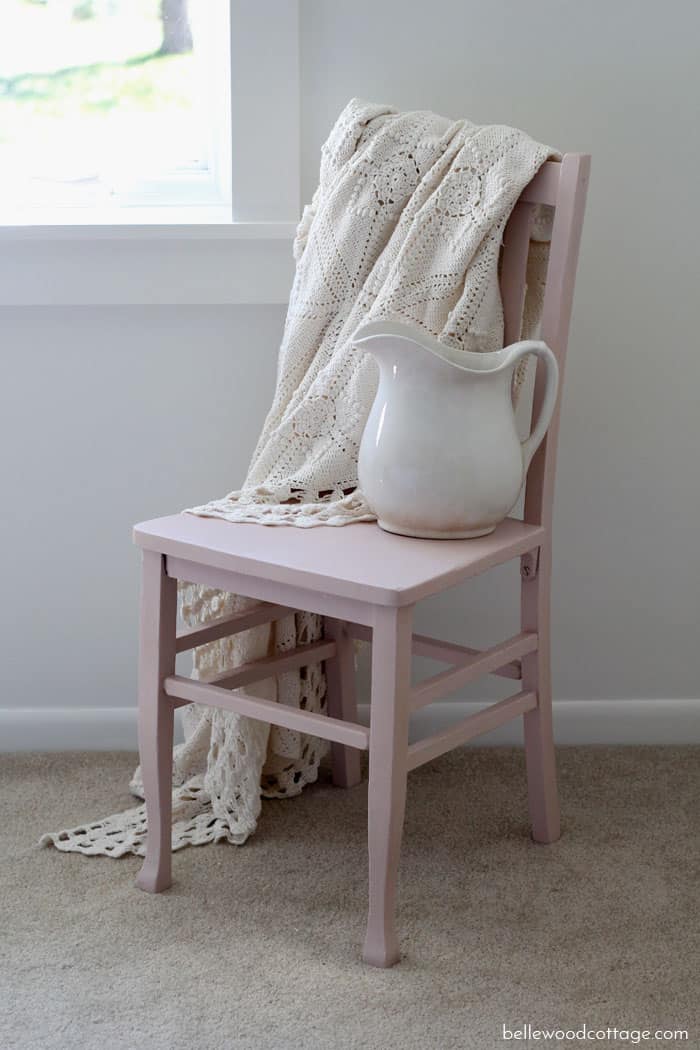
I honestly kept things really simple with this chair. No distressing or other techniques. Just two coats of Rust-Oleum Chalked Paint in Blush Pink finished with a coat of Chalked Matte Clear. Easy!
How Can I Flip Furniture with Pink Chalk Paint?
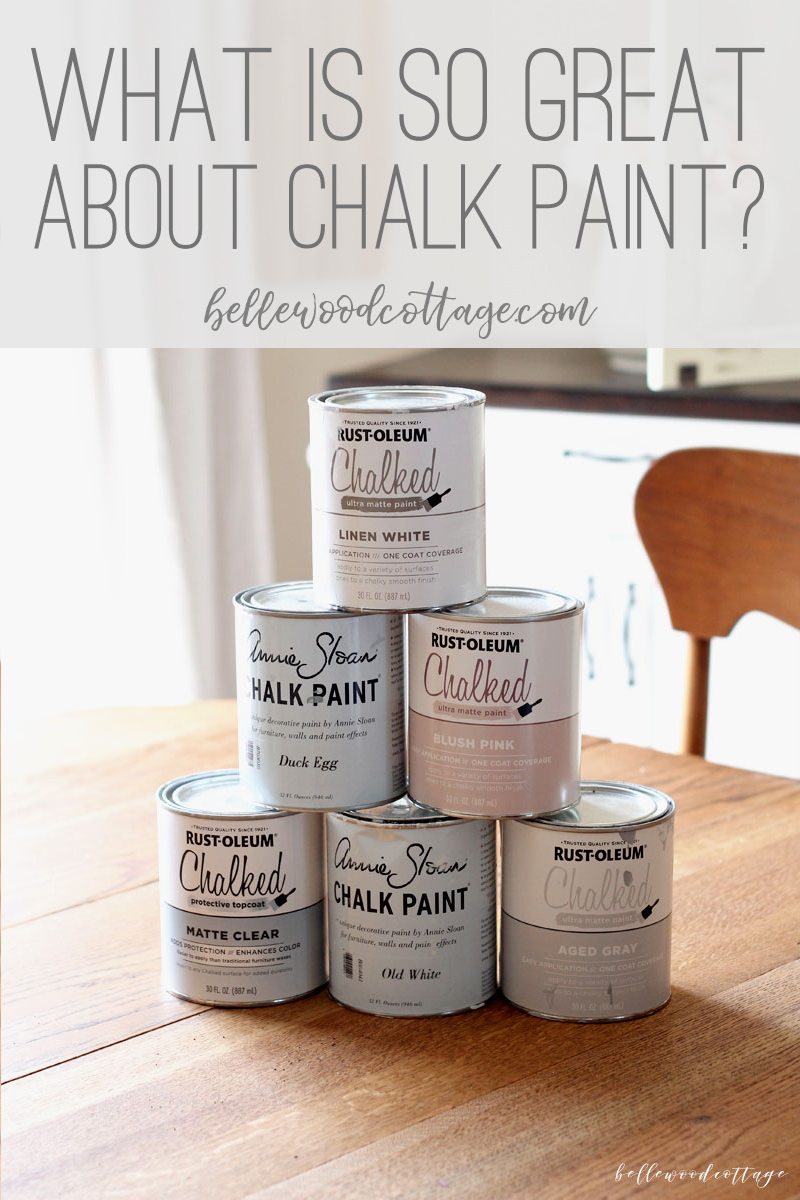
Chalk paint my friends. Buy yourself a can of chalk paint (I usually use Rust-Oleum or Annie Sloan). Clean off your chair with a damp cloth and then give it a light scuff sand. Sanding is totally optional, but I love the results I get when I take the time to do it.
Wipe away the sanding dust. Grab a good paintbrush, dip it into your paint, and start painting away. Plan on at least two coats of paint and then finish off with a clear polycrylic or wax. You can also start with a primer if you are concerned your piece may “bleed through” or if it just really needs a fresh start.
What supplies should I buy to flip furniture with pink chalk paint?
Here’s my short list of everything I use when I flip a piece of furniture with pink chalk paint (or any color!). I always grab all my supplies before getting started and it makes things run really smoothly.
- A good primer for blocking stains or just giving the piece a fresh start
- Sandpaper to scuff sand or sand away any imperfections
- Rust-Oleum Chalked Paint in Blush Pink (or another one of your favorite chalk style paints)
- Rust-Oluem Chalked Matte Clear top coat (or a similar polycrylic, or furniture wax)
- A good brush like this one (read my whole post here)
- Painter’s tape (optional; to tape off any areas you don’t want painted)
- Old washcloths or similar to wipe up any spills
- Plastic cups for pouring small amounts of paint into
What techniques should I know before I flip furniture with pink chalk paint?
Here’s a short list of techniques I use to keep things looking good when I flip furniture:
- Always clean your piece of dust/cobwebs etc. A damp cloth will do it!
- Scuff sand extra shiny pieces and take the time to properly sand any piece with lots of scratches or imperfections. Optional depending on how “rustic” you want the final look.
- Use a coat of primer first for the optimal painting surface. Again, optional, and I skipped it on this chair, but my preference is to always start with primer.
- Plan for two coats of chalk paint regardless of what the can says. Two coats is best practice for painting anyways, because it gives a chance to even out any spots that may been missed the first time around. Insurance, people.
- Add a tiny bit of water to your paint if it’s hard to brush on (too thick). Put your paint in a separate container for this (like a plastic cup). Don’t add it directly to your can!
- Use a good brush. Brush bristles in the finished product is not a cool look.
- Always use a top coat. The resulting finish is beautiful and the piece will have more longevity.
- Allow your top coat to cure completely (read the can) before setting things on top of your piece. And use coasters! Coasters are our friends.
And there ya have it! Now go and chalk paint somethin’!
