Embroidered Felt House Christmas Ornaments Tutorial
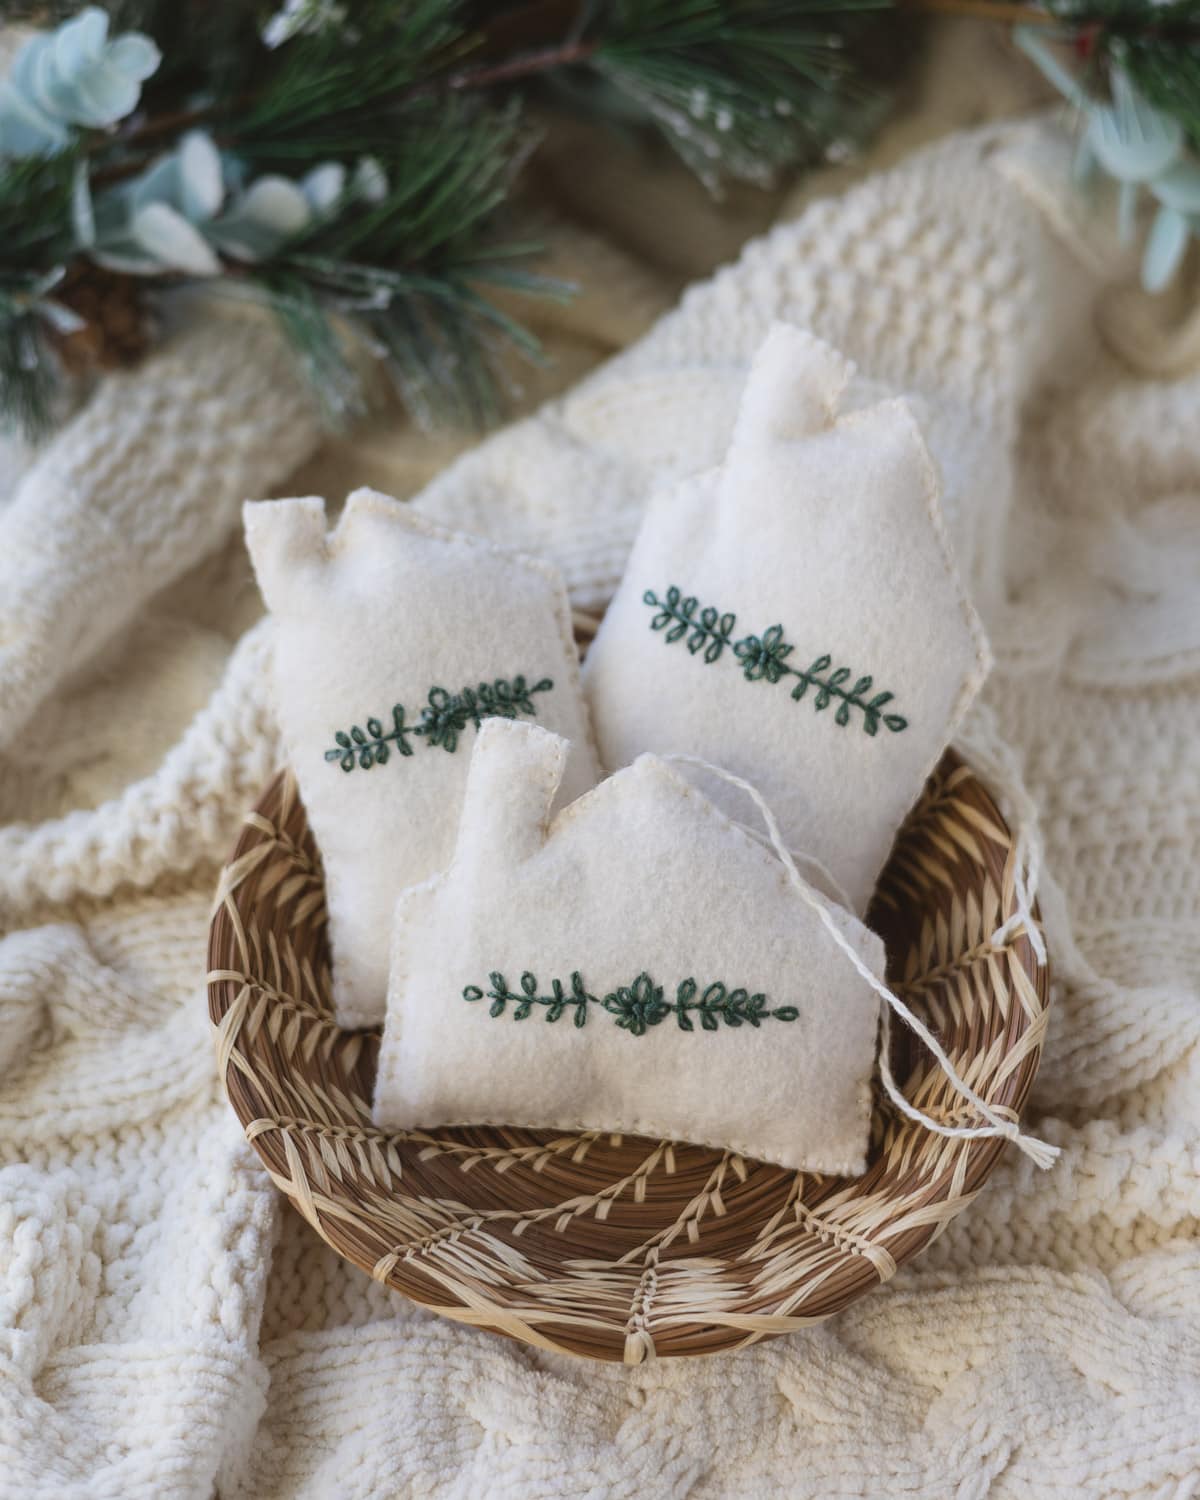
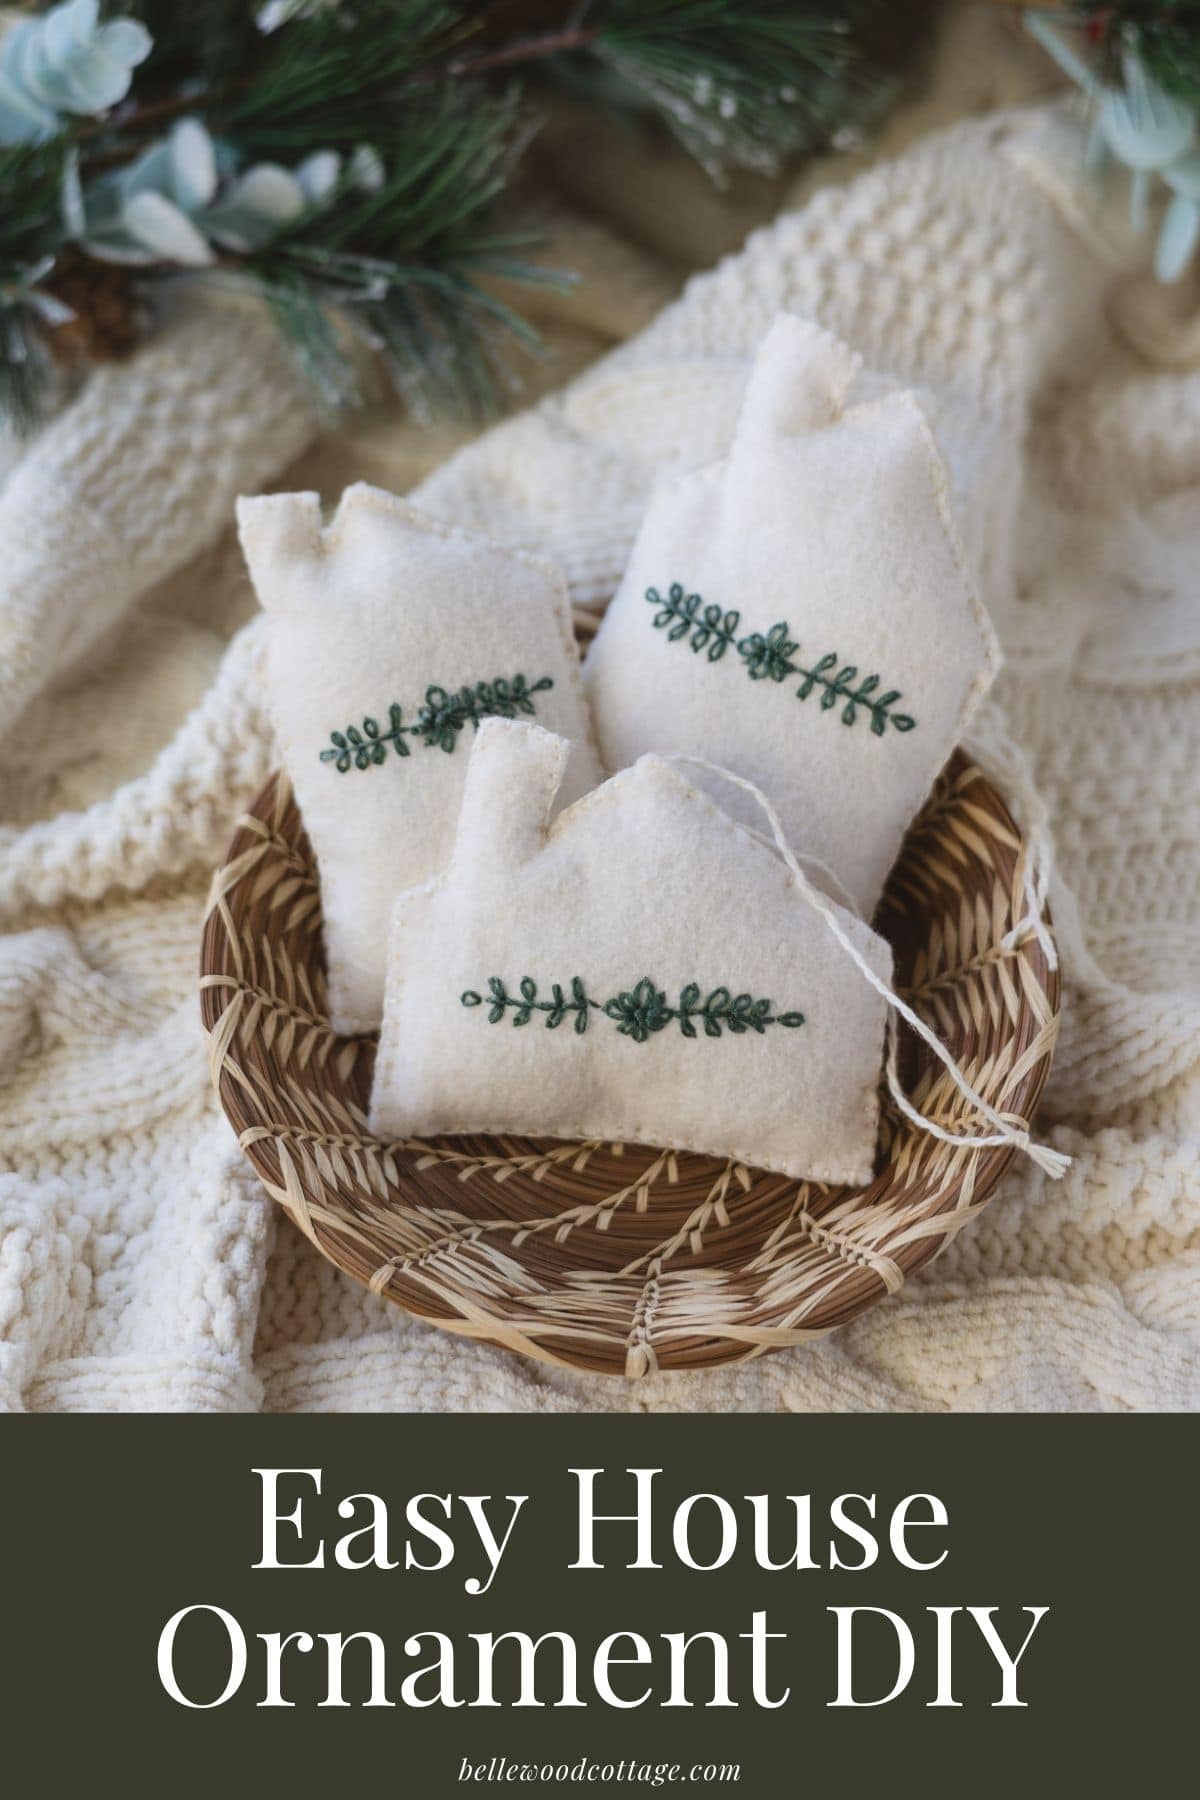
Use simple sewing supplies to craft these embroidered felt house ornaments for your DIY Christmas tree ornament collection! These easy homemade Christmas tree ornaments are a great sewing and embroidery project for beginners. I’ve provided a printable template, step-by-step instructions, a process video, and ideas for customizing your ornaments.
Please note that this post contains affiliate links which allow me to earn a small commission when a purchase is made at no additional cost to you. Read more here.
Little decorative houses have been a big trend for a while now. Every time I stop by the dollar area at Target it seems like there is a new iteration of little wooden or ceramic houses. Searching Amazon or Etsy yields even more ideas.
These little houses are so irresistible that I thought, why not fabric?
Hence, this simple felt house ornament tutorial for your tree. The pattern comes together quickly and the embroidery is totally optional. You can sew these quick houses together with a blanket stitch, wool felt, and a bit of stuffing. Add a loop of yarn to hang them and you are done.
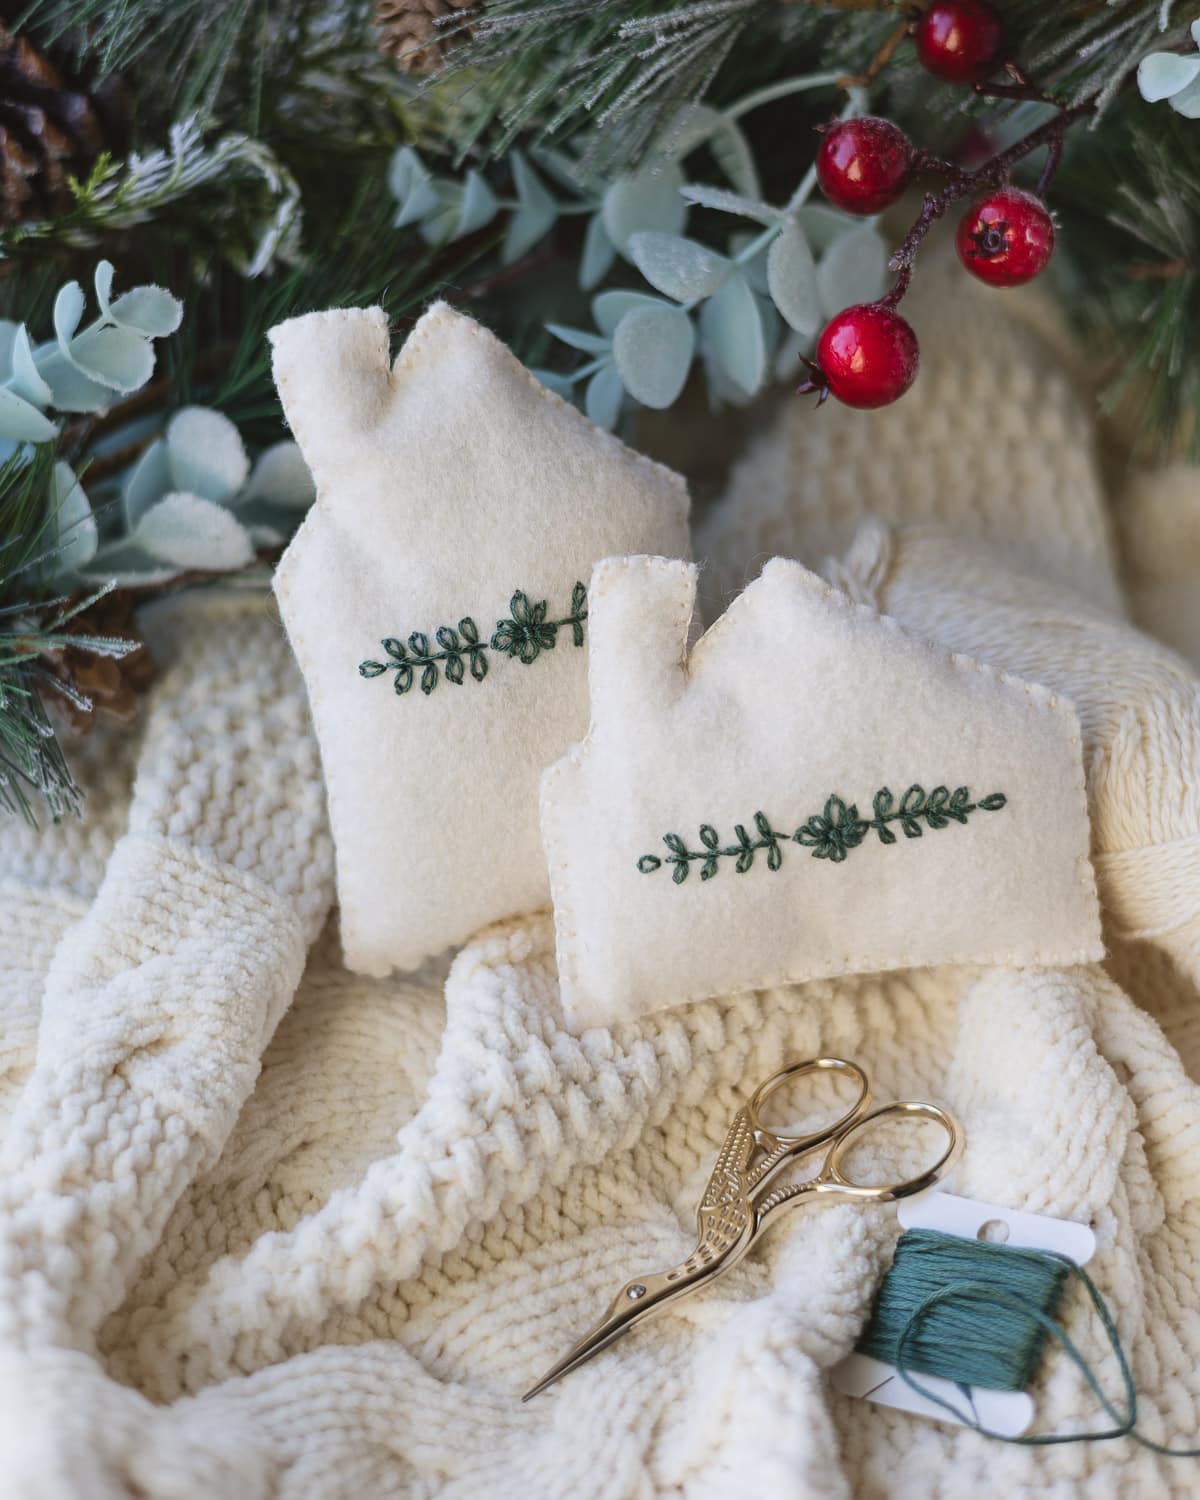
These embroidered felt houses would also make great gift toppers as you wrap presents. If you really love embroidery you could get creative adding names or initials too.
I kept these simple for more of a “farmhouse” style ornament, but at the end of the post I provide ideas for customizing these even further. Have fun with it!
If you love creating your own homemade ornaments, don’t miss my roundup of over 25 DIY Christmas ornaments to make.
Supplies Required

Wool Felt – You can use craft store felt, but I like using wool felt for the stability and overall appearance. I buy my felt from Over the River Felt on Etsy and have been thrilled with the quality.
One 12″x12″ piece of the felt is enough to make all three house ornaments.
Polyester Stuffing – The “poly-fil” kind used in stuffed animals or similar. You’ll just need a small handful per ornament.
Yarn – A 12″ scrap of fine (but sturdy) yarn or string for each ornament. I used a fingering weight sock yarn.
Fabric pen – a removable fabric pen is used for tracing the template onto the felt.
Embroidery Floss – I used regular DMC floss from the craft store in a cream color to match my felt (separated in 3-strand lengths) for the blanket stitching. I linked to a large pack (which may be a good fit if you do a lot of embroidery), but generally I prefer to pick what I need at the craft store since I don’t need a lot of thread at once.
For the decorative stitching, I used the same DMC floss, but in green.
Embroidery Needle – You’ll need an embroidery needle as well as a needle with a larger eye for sewing the yarn loop through the back of the ornament.
Embroidery Transfers – If you’d like to add embroidery to your ornaments, it can be helpful to start with a transfer. For my ornaments, I just sketched my design on paper and stitched it in freehand (I offer more notes on what I did within the tutorial).
Check the size of any transfer before buying to ensure it’ll fit on one of the these ornaments.
You can certainly go freehand as well, or check out some free designs:
- Free! Miniature Designs from The Spruce Crafts
- Free! An assortment of patterns, but see #3 for Miniature Holiday Designs.
- How to stitch tiny flowers.
Or designs on Etsy:
How to Make Embroidered Felt House Ornaments
First, you will need the house template. In the photos you’ll see my messy hand-drawn template, but I cleaned it all up for you and published a PDF you can grab for free here:
Grab the Template
Get the free PDF for these easy house ornaments when you subscribe to my newsletter:
Copyright notice: Remember, this house template is free for personal use only.
No commercial use or using the template to create products for sale.
Prepare the Pieces
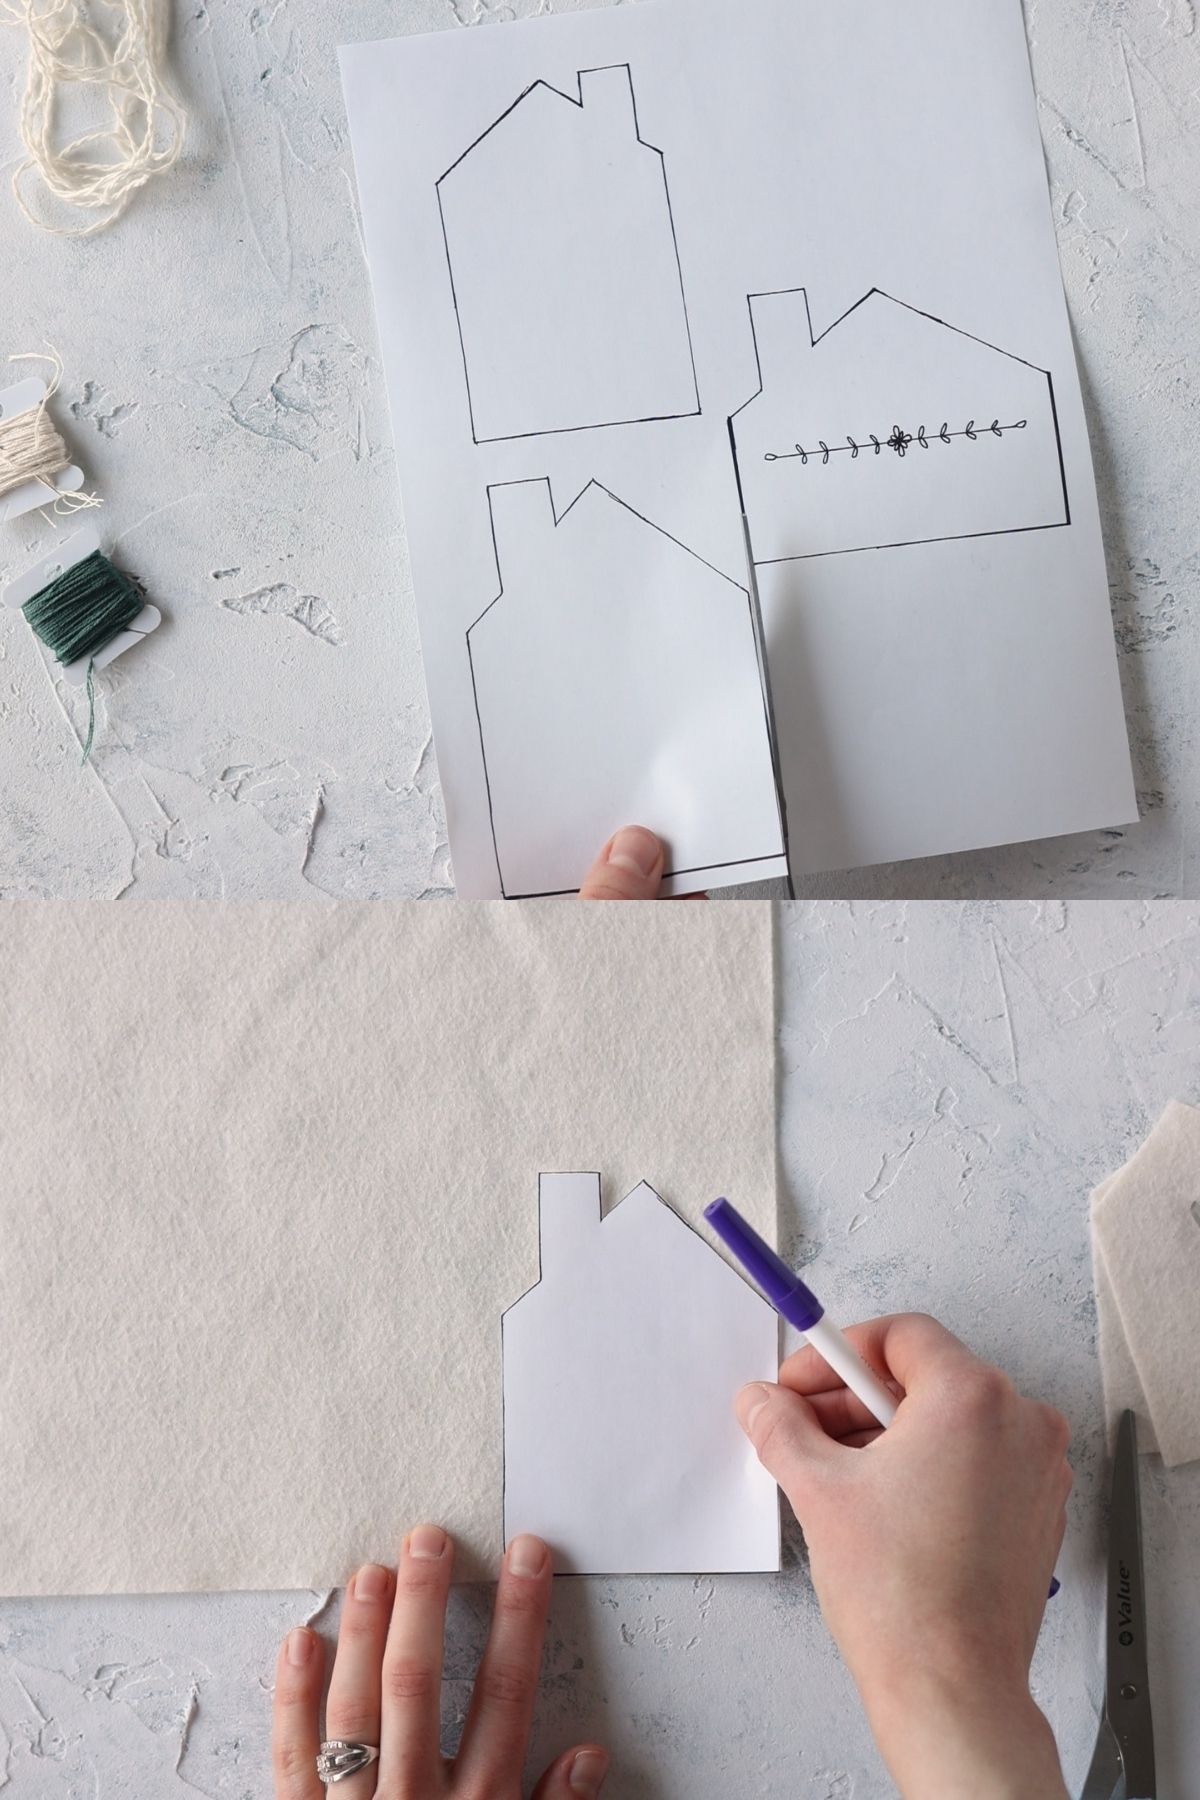
Once you have your template, print it off and use a pair of scissors to cut out the three house templates.
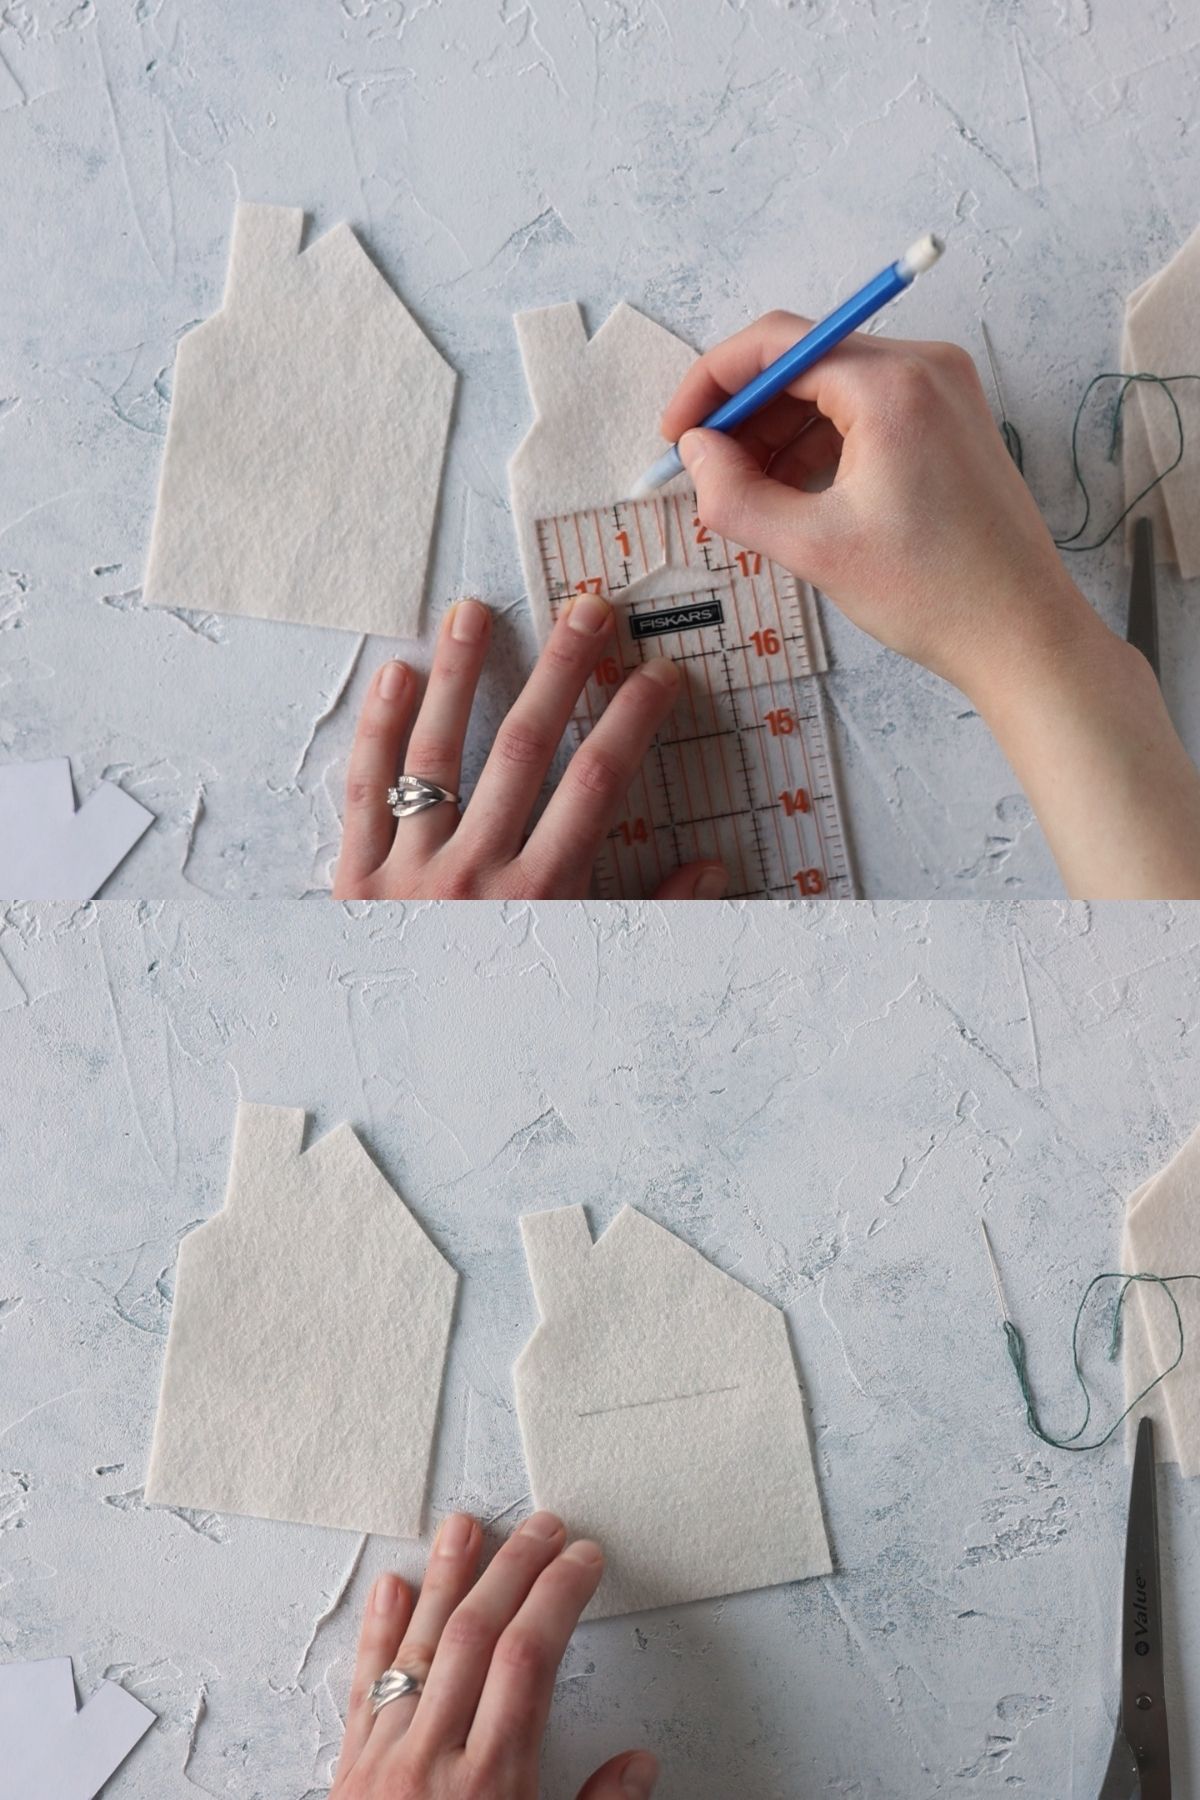
Arrange a template on a piece of wool felt and trace around it with a removable fabric pen. Note: In a pinch I’ve used a normal pen or pencil. I just trim off any excess ink before stitching.
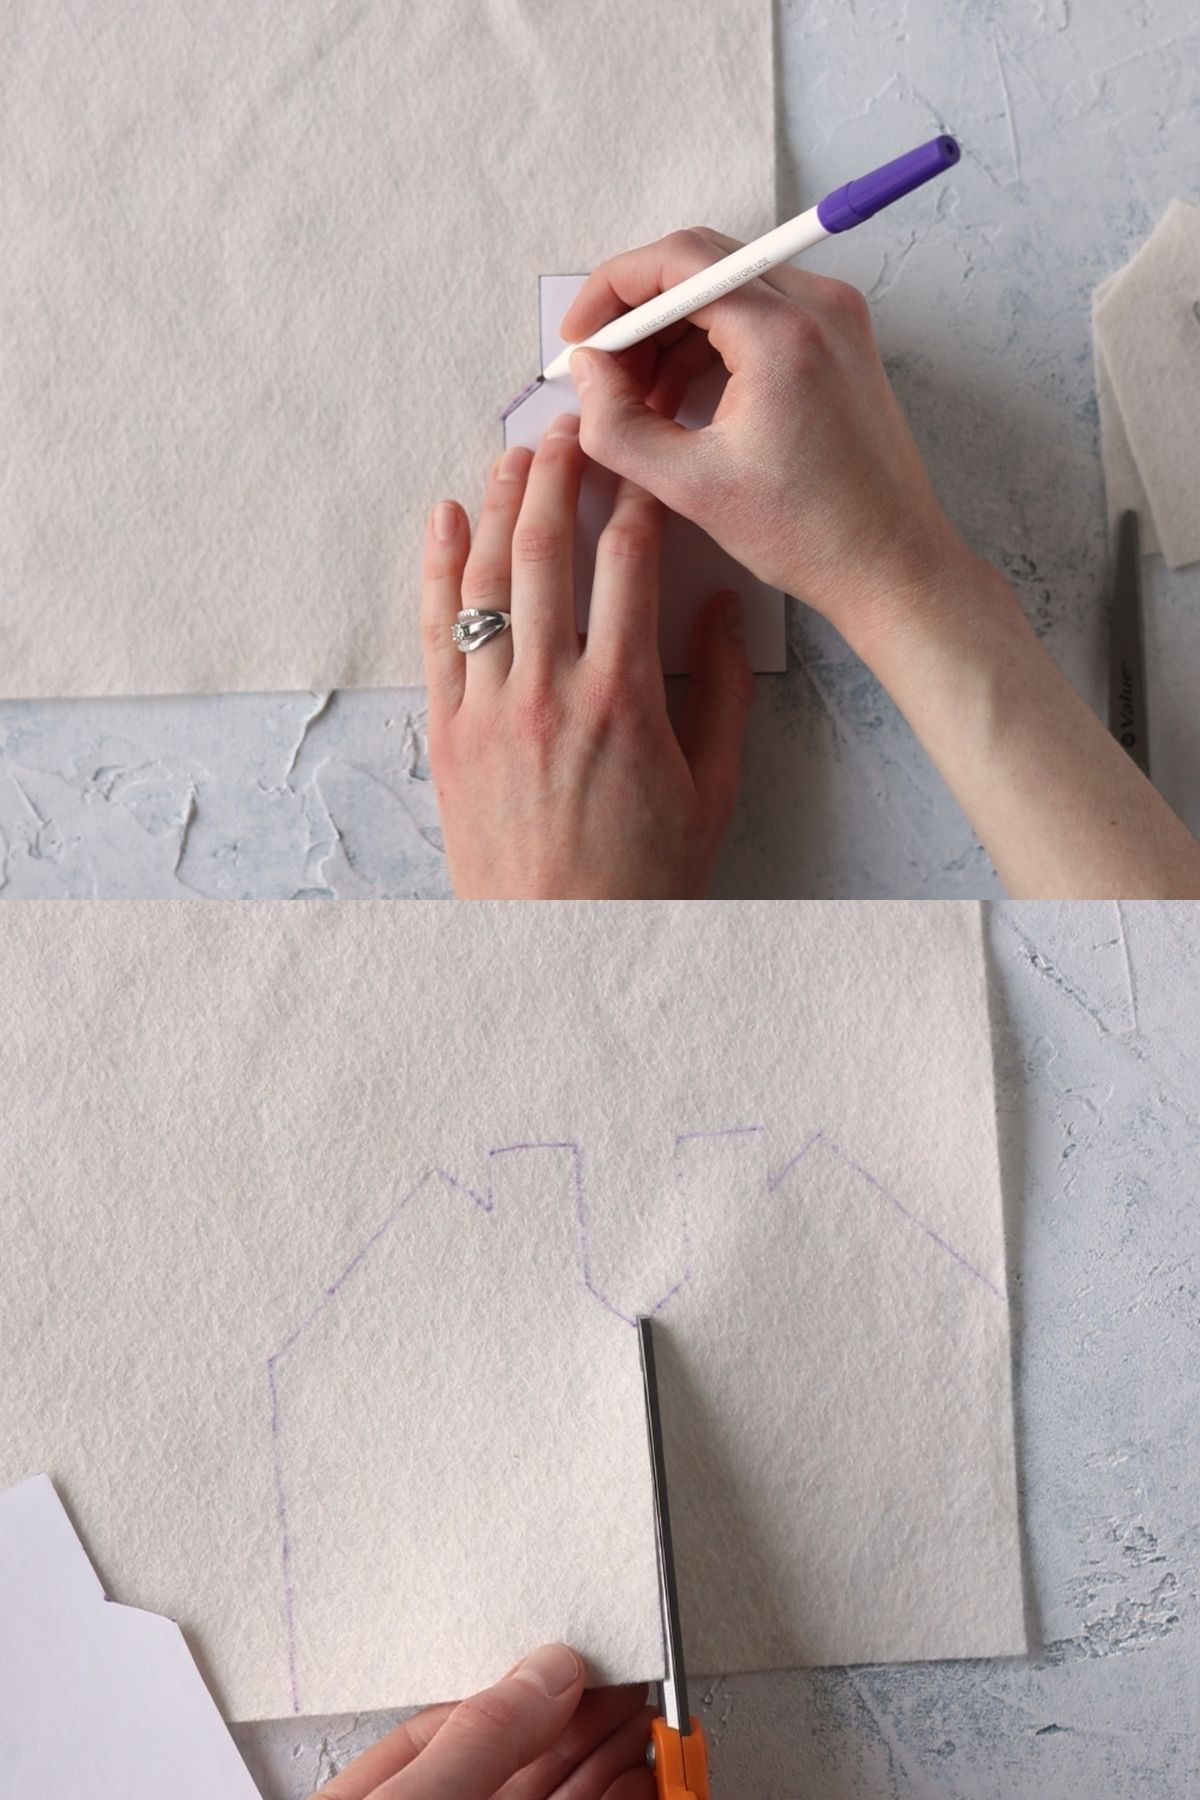
Flip the template over and trace the reverse of the ornament onto the felt.
Cut out the templates of the ornament from the felt using fabric scissors. Carefully trim away the markings or gently remove them per the instructions on your removable fabric pen.
Optional: Add an Embroidered Motif:
At this stage, you’ll want to add the embroidered motif if you wish to add one. I just free-handed a motif, so you are certainly welcome to do the same or reference some of the embroidery patterns and motifs I included above in the supplies list.
If you want something similar to what I stitched:
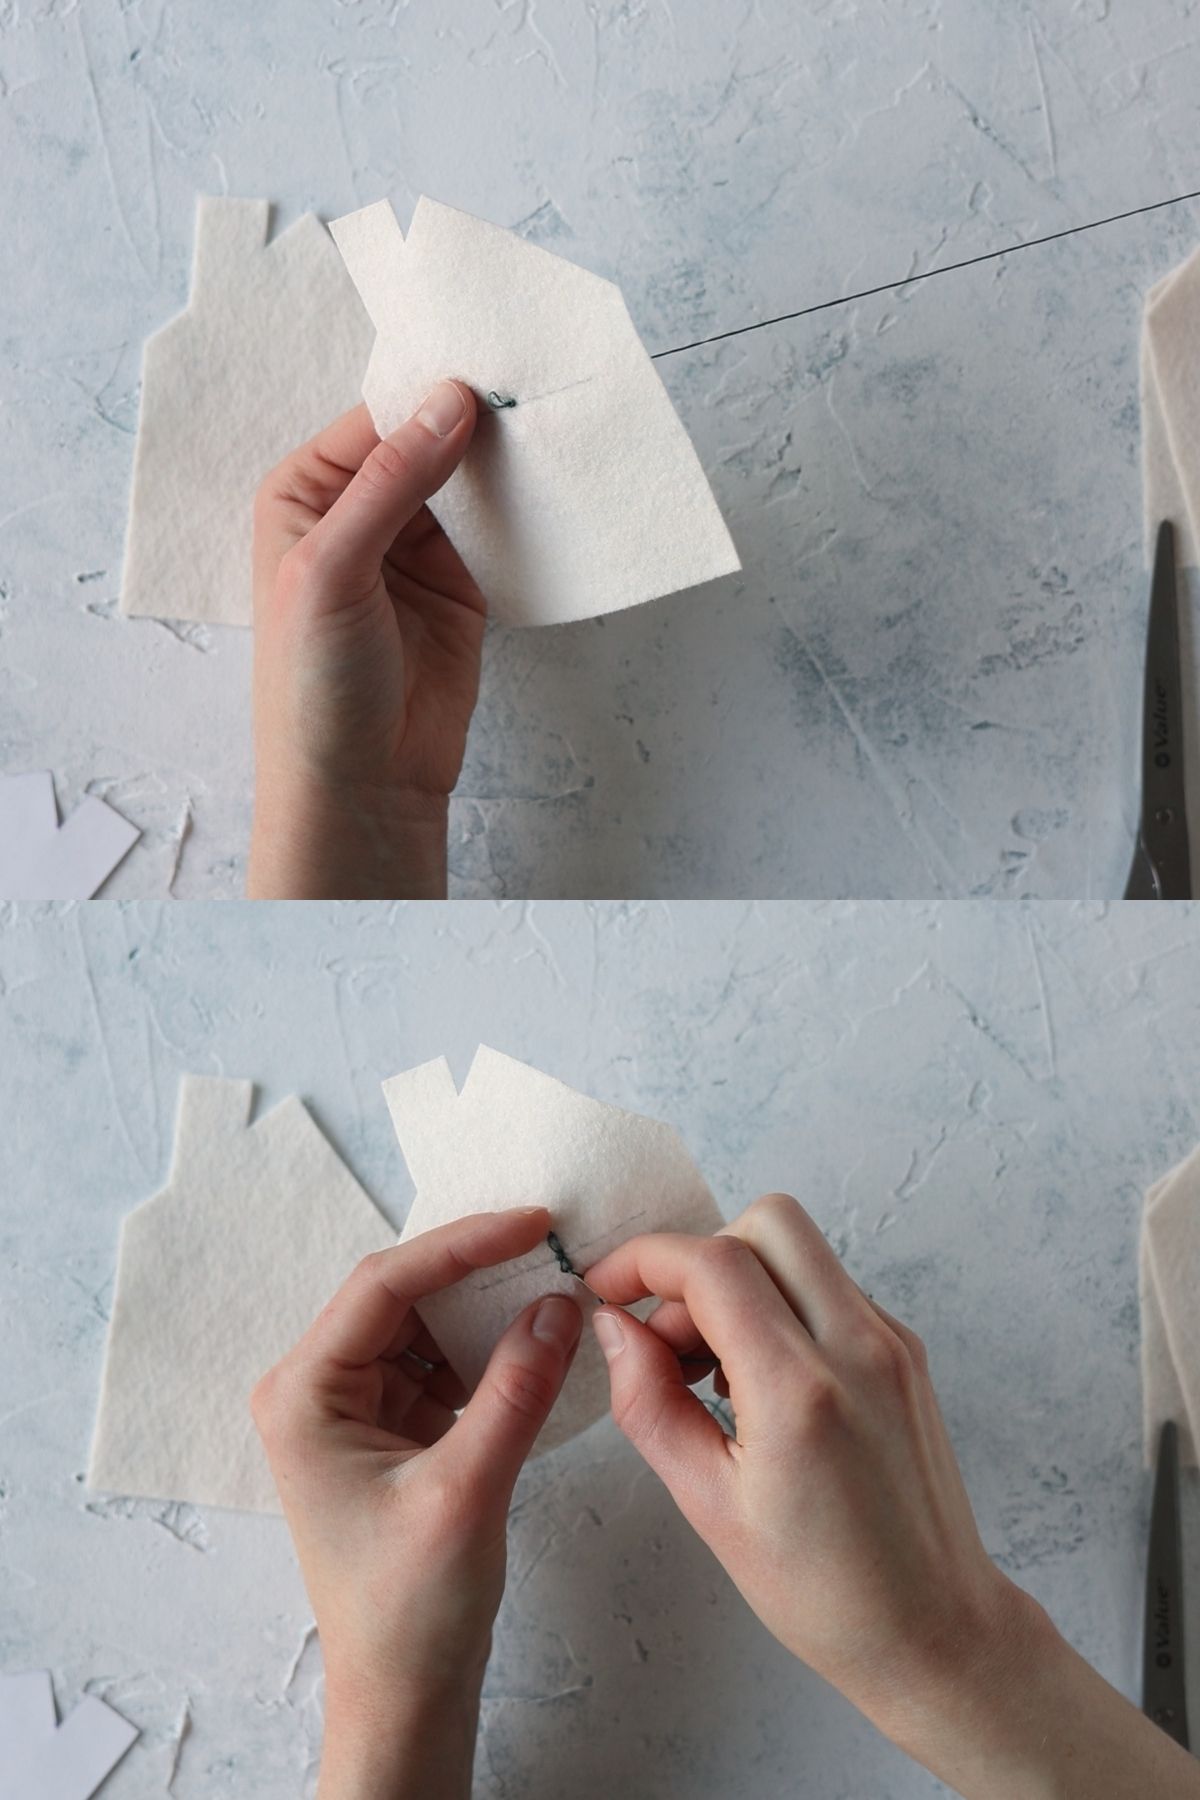
I used 3 strands of green embroidery floss to make my motif and I just free-handed it. To guide my stitches, I started with a line about 2/3 of the way up the ornament and extended it to within about 1/2″ on either side of the ornament. I lightly drew this guideline in with a pencil.
I started with a French Knot in the middle and worked Detached Chain Stitches (or Lazy Daisy stitches) around that in a flower shape. Then, I added a Stem Stitch line to either side.
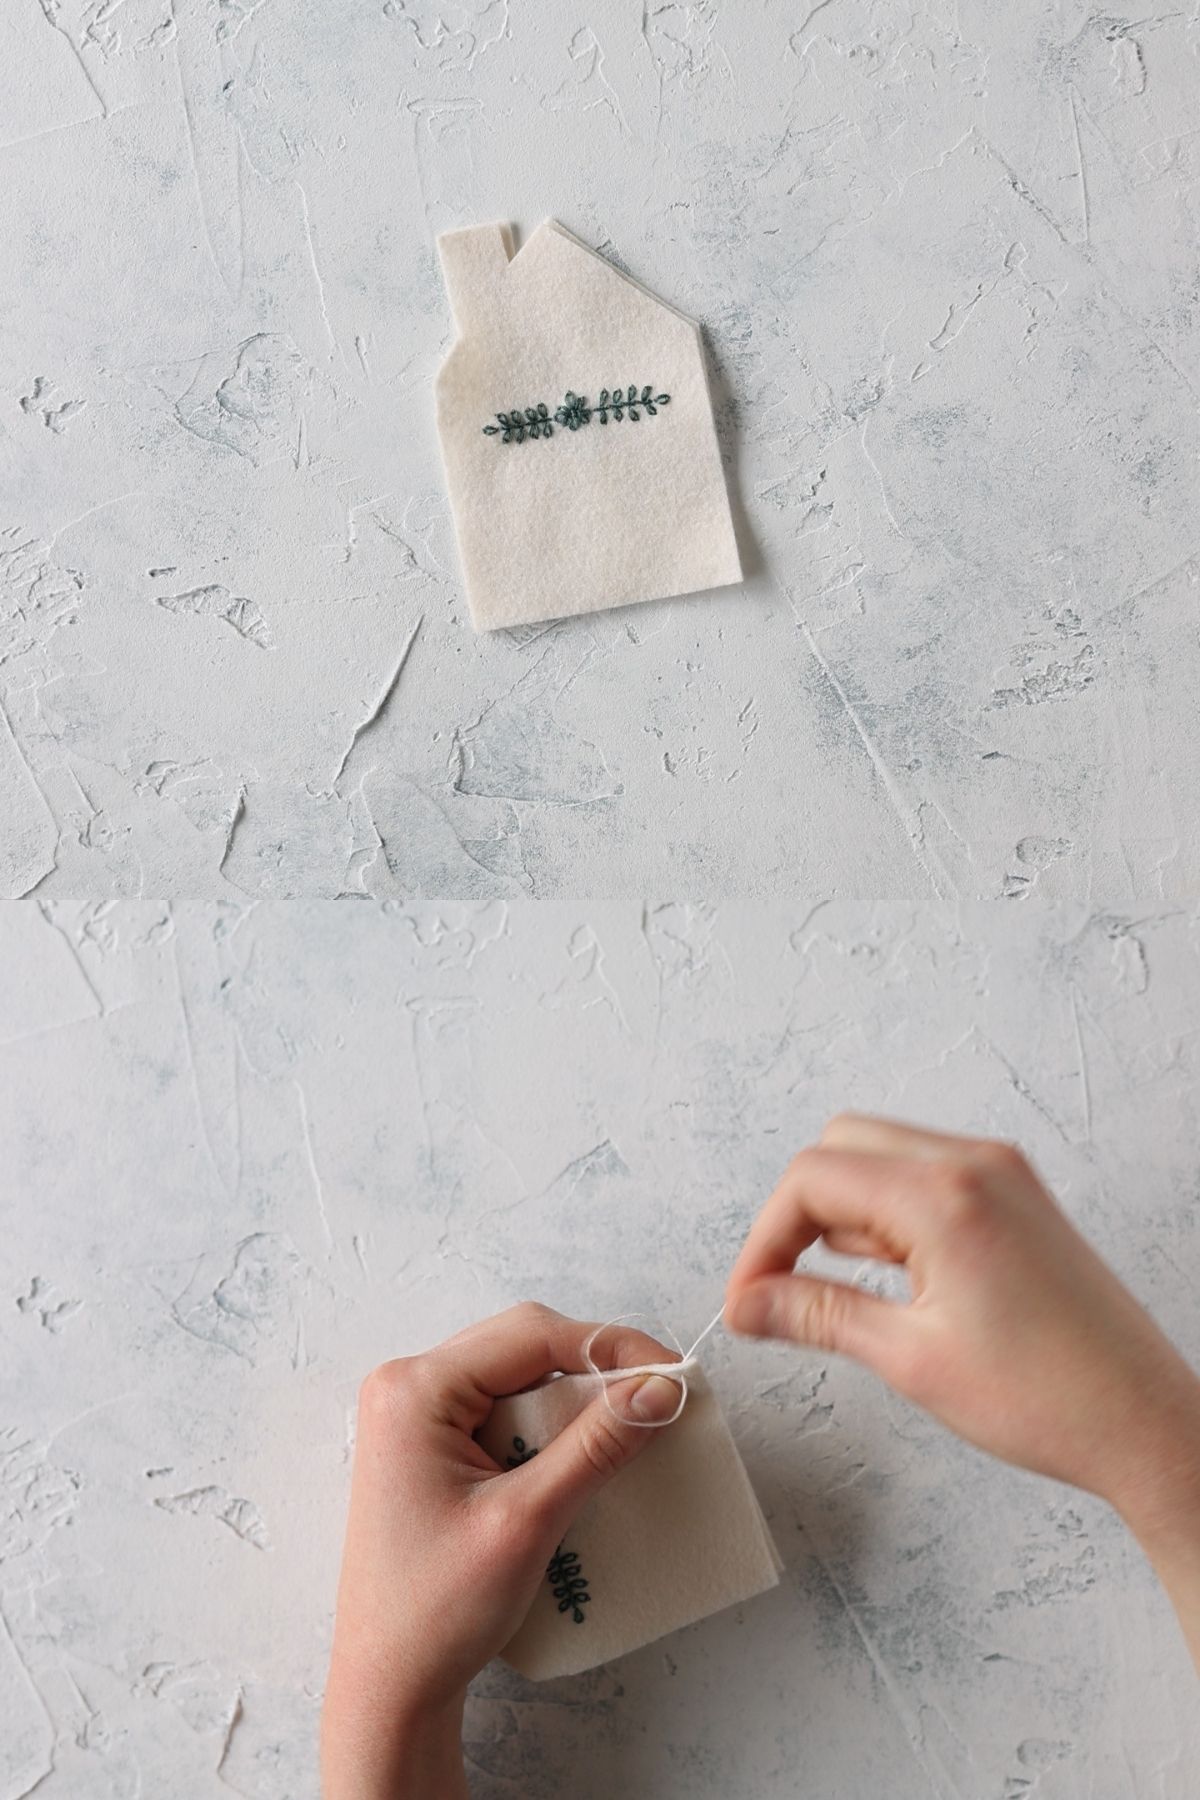
Finally, I finished by adding Detached Chain Stitches at the end of the line on both sides and along the lines to make little leaves.
Sew the Ornament Together
Thread a small embroidery needle with a 3 strand length of embroidery floss. Sandwich both felt pieces together and use a Blanket Stitch to stitch them together. Leave about 1.5″ of the the bottom edge of the house ornament unsewn for stuffing.
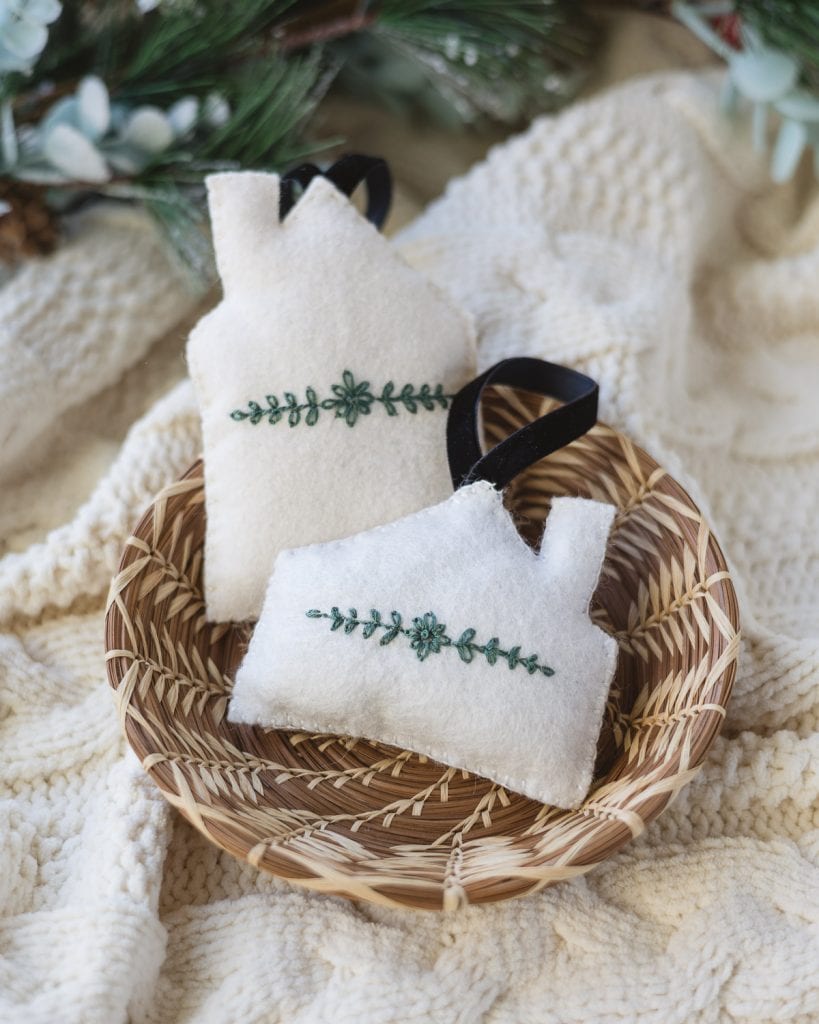
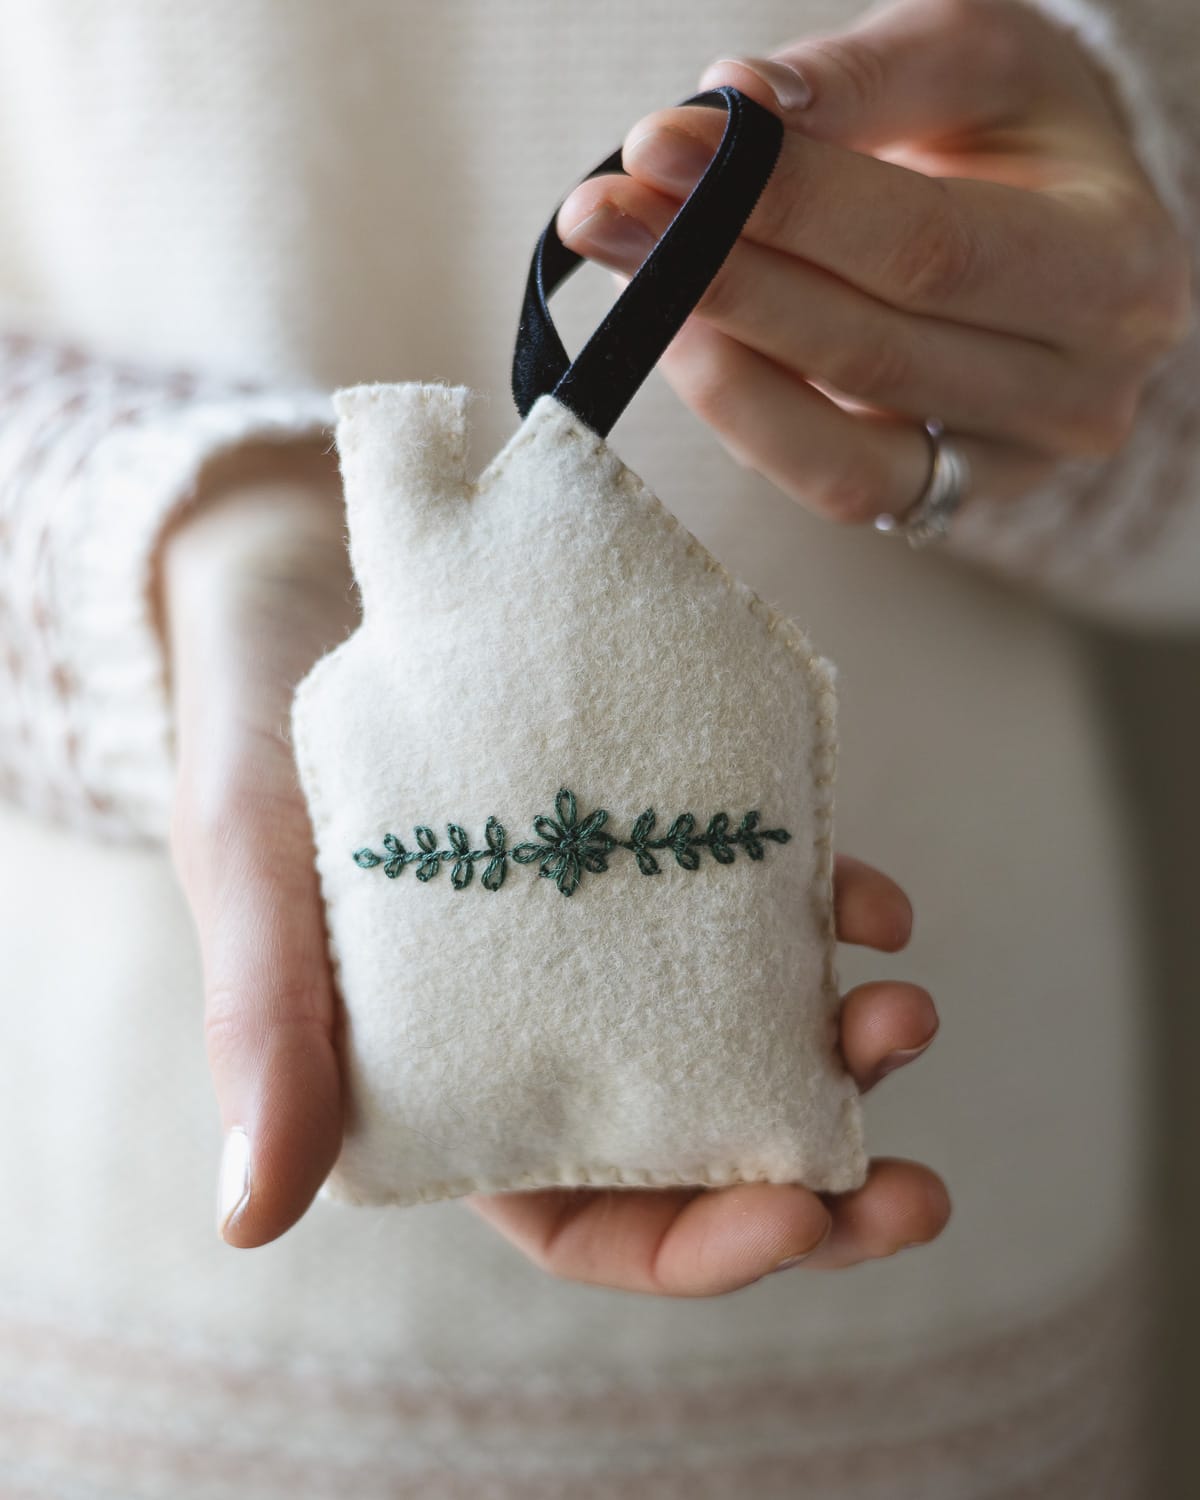
Note: At first, I added a velvet hanger into the ornament as I stitched, but I felt like it was a little untidy looking. So I ended up waiting until the end and adding a yarn hanger. Here’s what the velvet option looked like:
Stuff the Ornament
When you have that 1.5″ space remaining, it’s time to stuff. Use the end of a pencil to work a little stuffing into the chimney of the house.
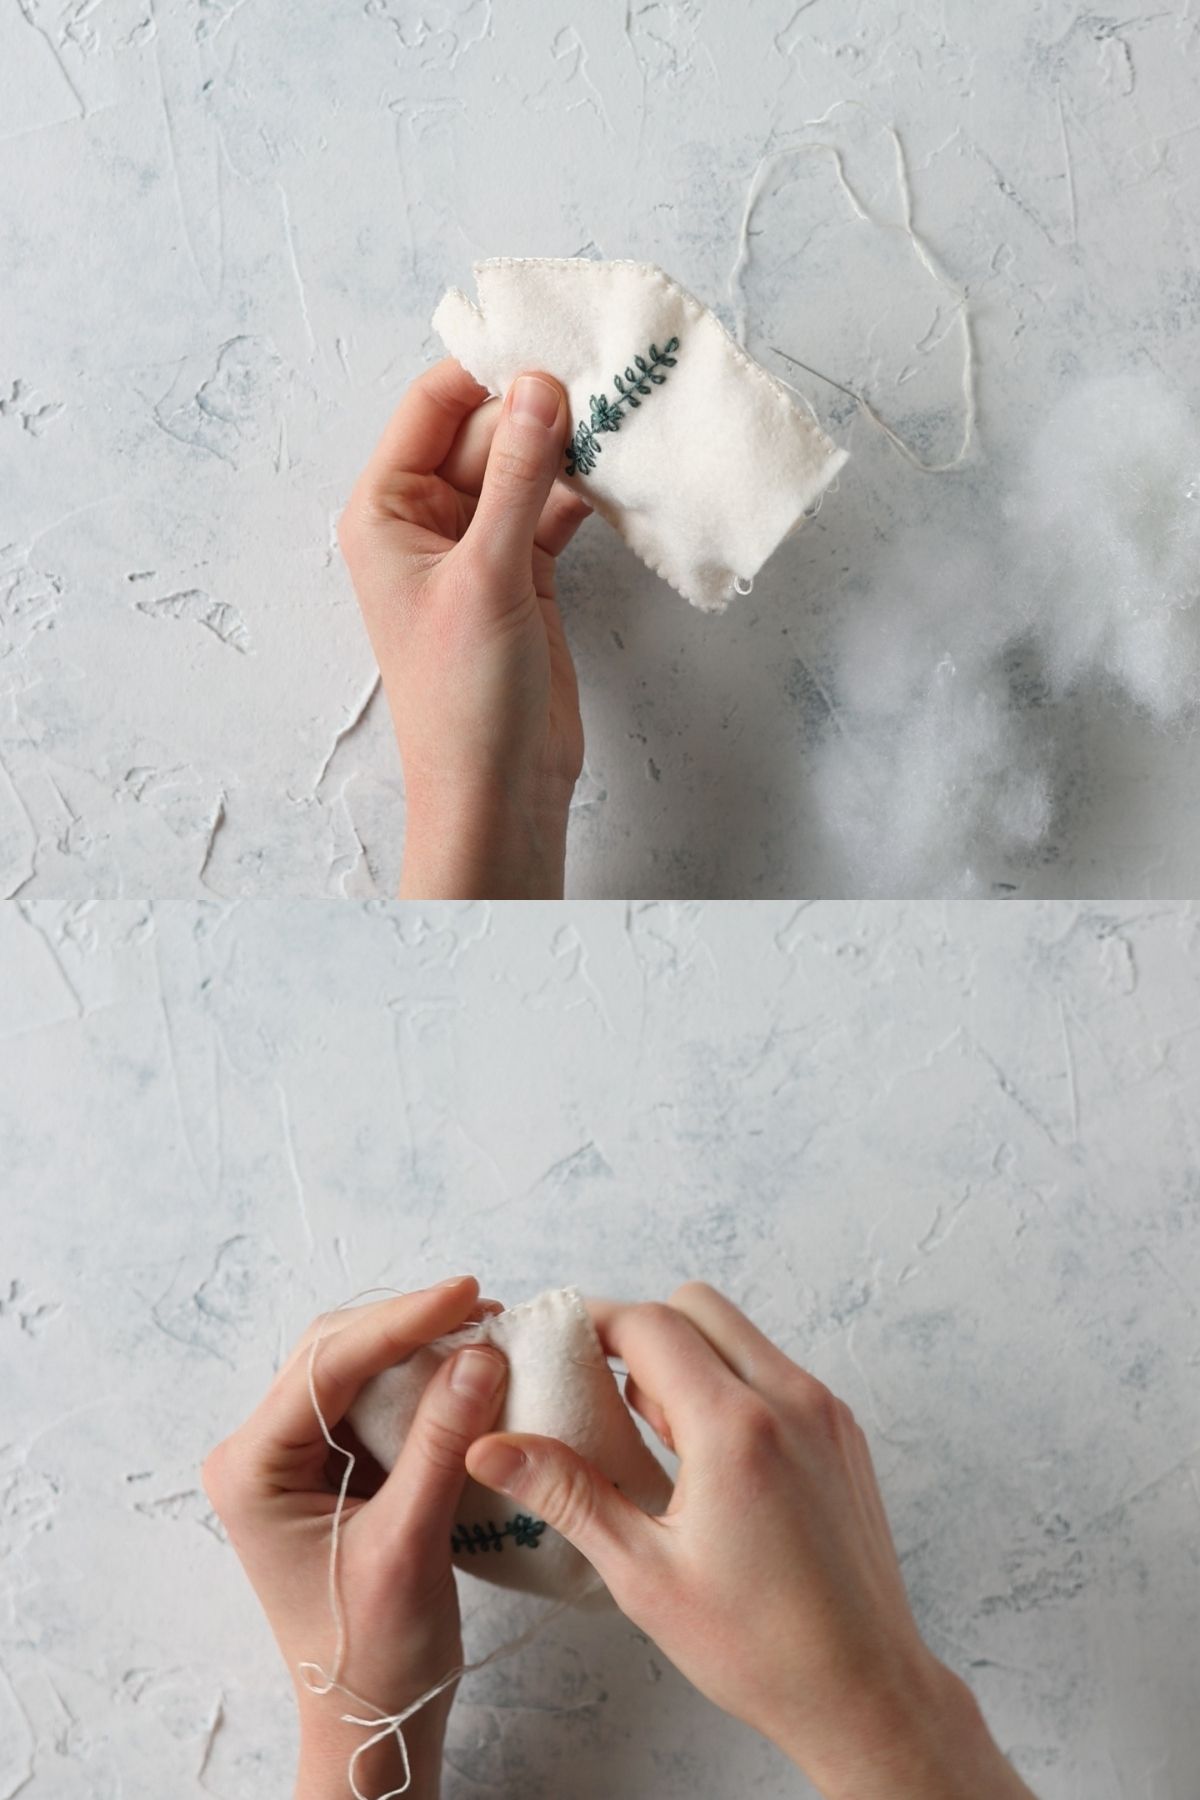
Then, stuff the remainder of the ornament. I like to make it only moderately puffy, but you can add as much stuffing as you like.
Add a Yarn Loop for Hanging
Trim a 12″ piece of sturdy fine yarn (about a fingering weight) or string. Thread it through a needle large enough for the yarn and stitch it into the back layer of the ornament. Stitch completely through the back layer of felt for the most security.
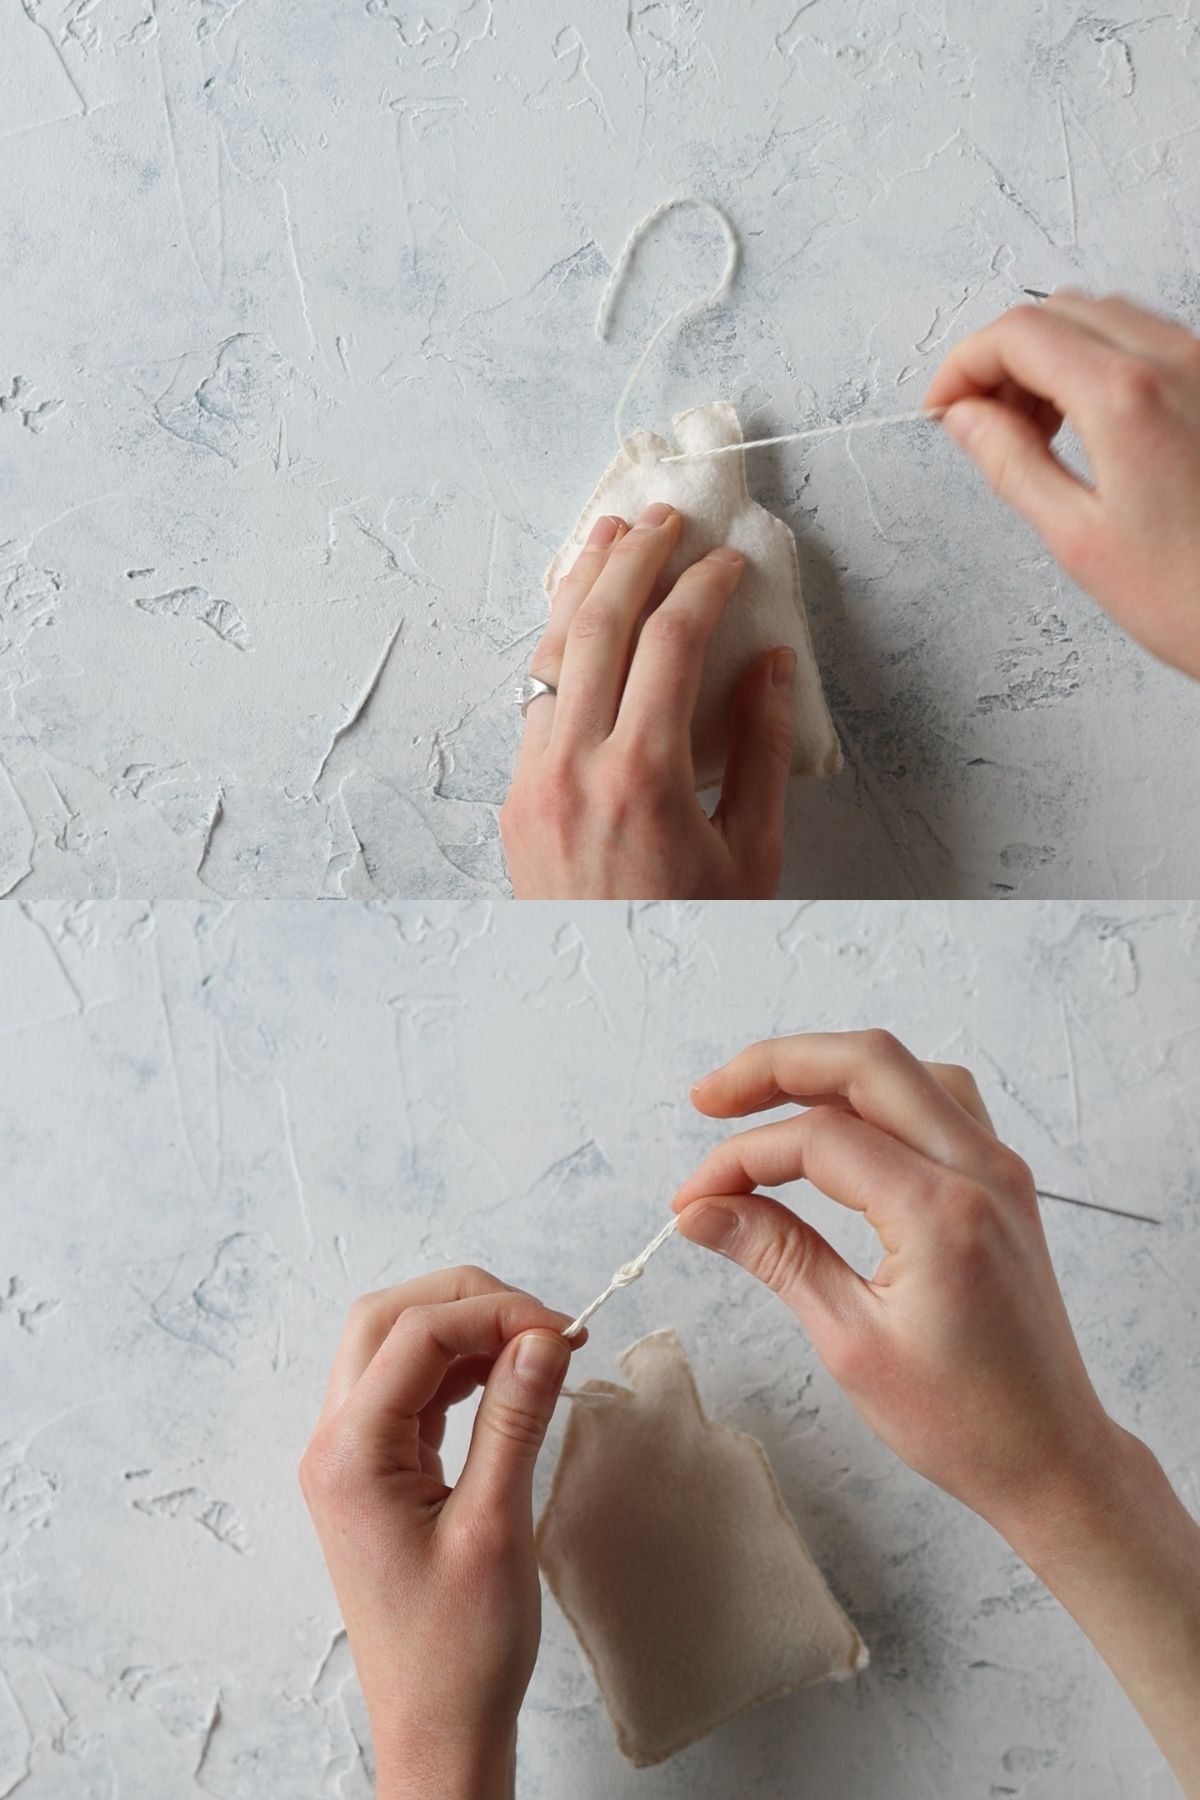
Bring the ends of the yarn together and knot, leaving about a 6″ long loop for hanging. Trim the excess.
Repeat to make the other two house ornaments as desired.
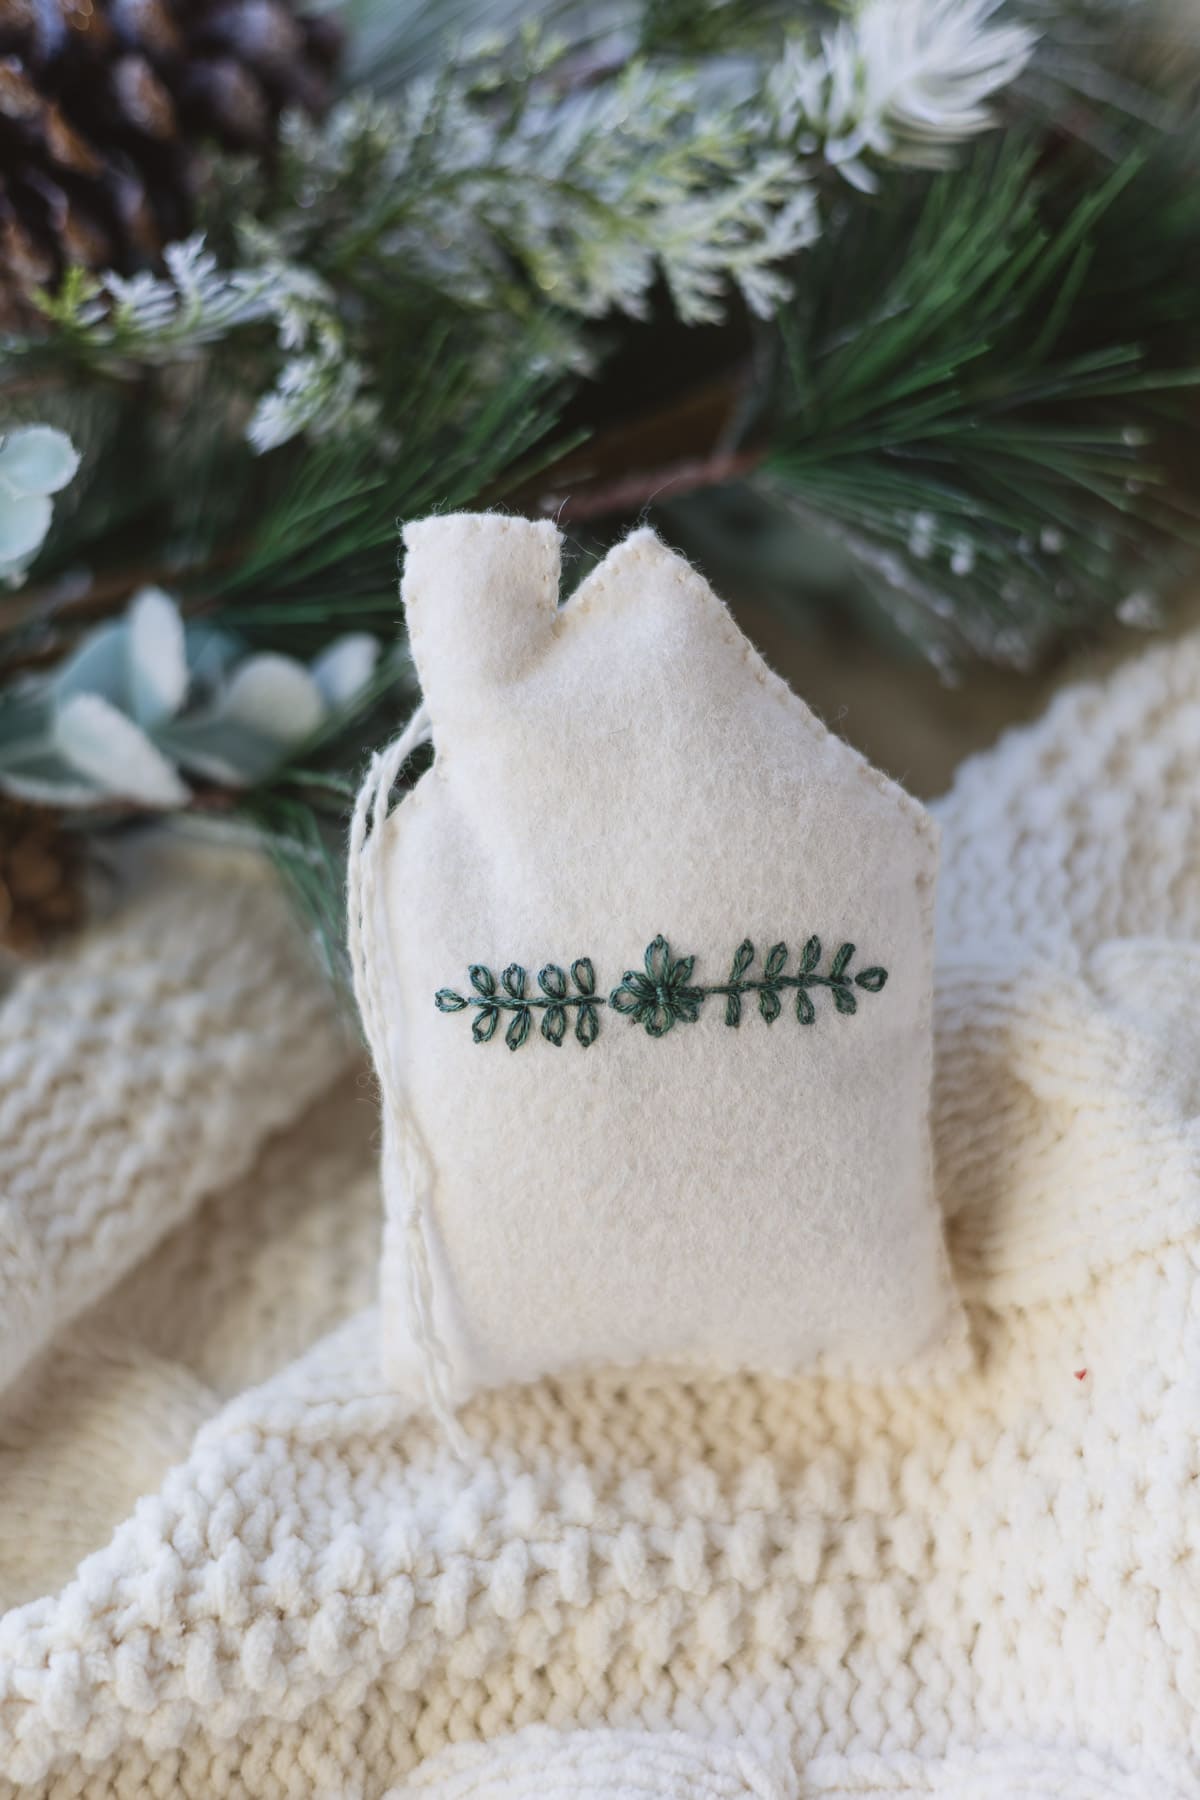
Craft with me! If you try this tutorial, tag me on Instagram or use the hashtag #BellewoodCottageCrafts. Watch my videos on YouTube and follow along on Pinterest for more ideas like this one!
Ideas for Customizing the Ornaments
I love making homemade ornaments because it’s so easy to customize them. One of the simplest ways to customize these small felt house ornaments is to simply change the colors. Here’s some ideas:
- dark blue fabric with white accents
- white felt with red embroidery
- brown “gingerbread” house with white embroidery
- stitch on beads or glitter for a glam ornament
- stitch on vintage buttons
- use glittery embroidery thread
- skip the embroidery, but use a contrasting thread color for the blanket stitch
I hope you enjoyed making these simple DIY felt ornaments!
Happy crafting! ~Ellen
