2-Ingredient Cinnamon Applesauce Ornaments
These 2-ingredient cinnamon applesauce ornaments are so easy to make (especially with kids)! Use the dough to cut out shapes for ornaments, gift tags, garlands, and more. And don’t stop there, once the cinnamon ornaments are dry, you can decorate to your heart’s content!
Please note that this post contains affiliate links which allow me to earn a small commission when a purchase is made at no additional cost to you. Read more here.
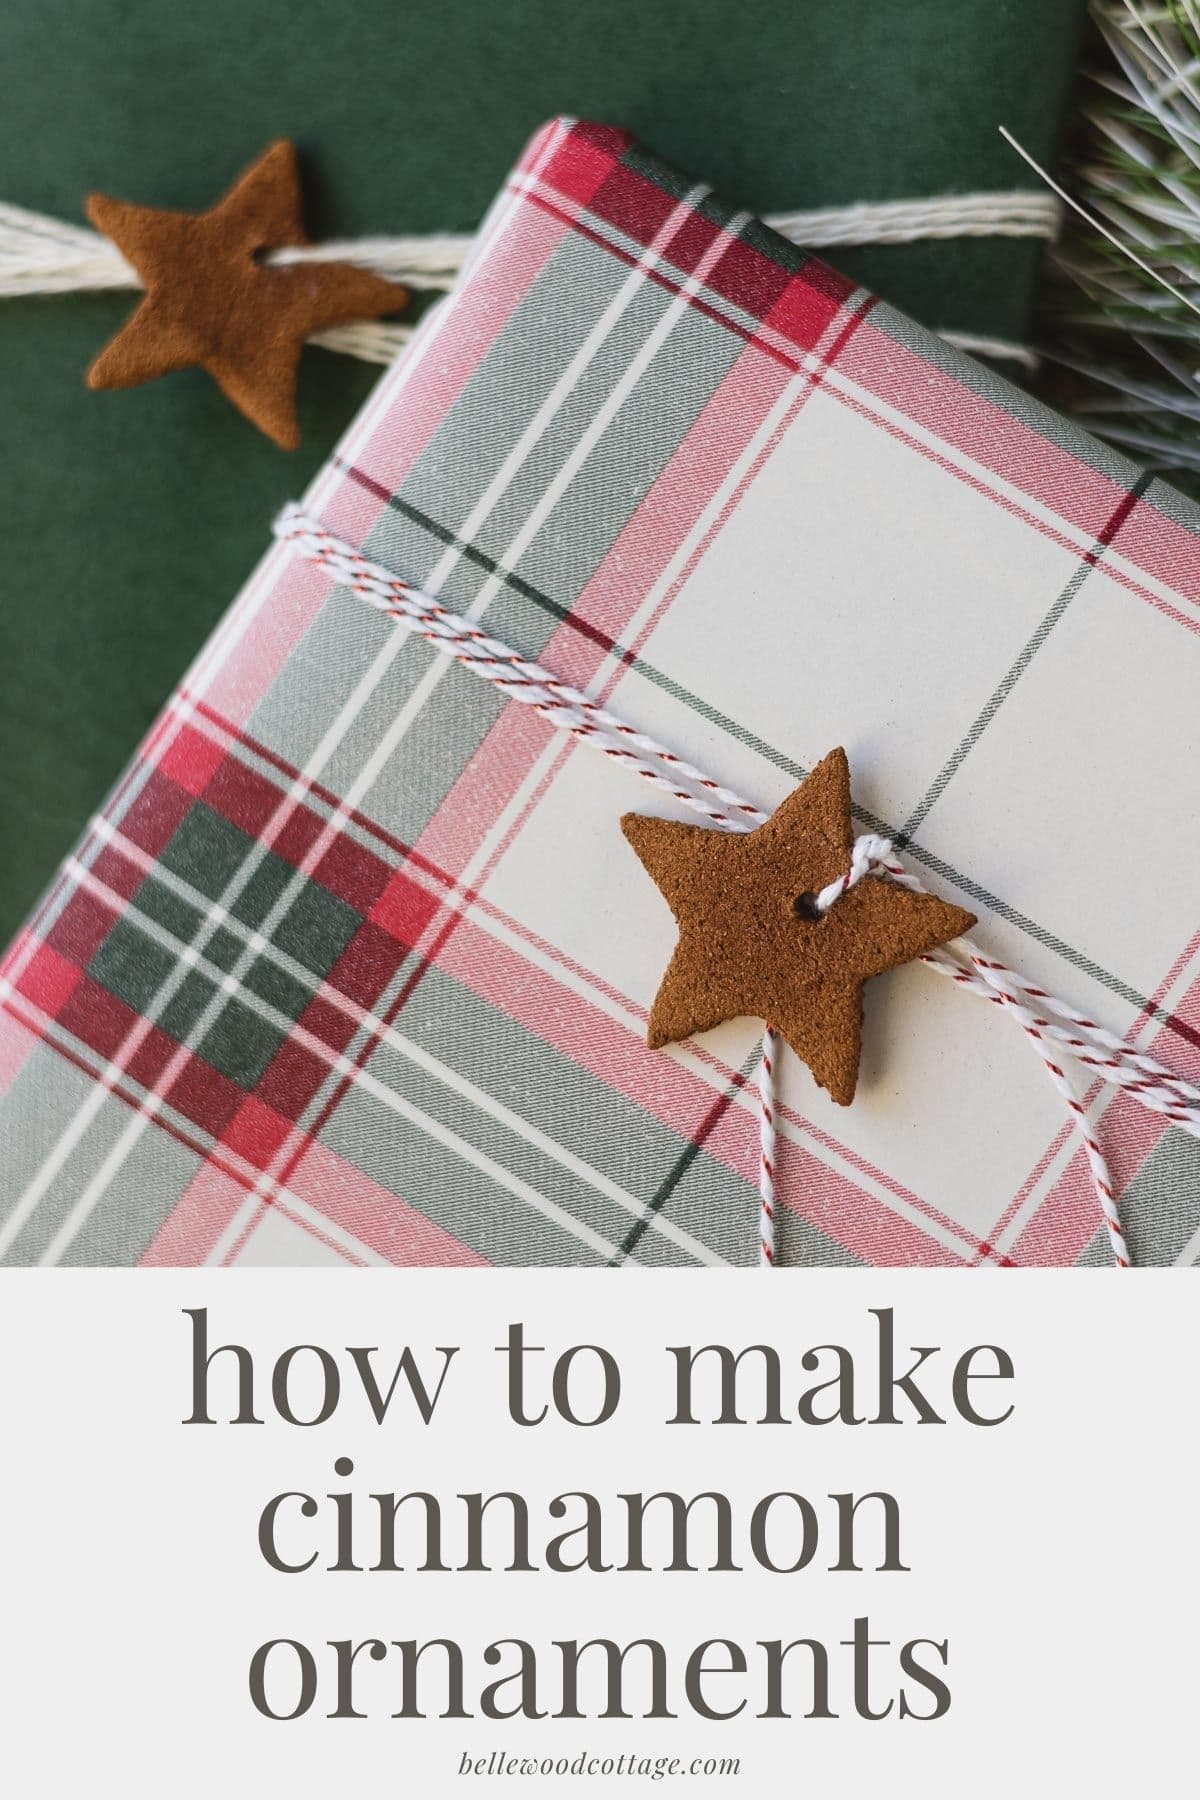
If you are looking for easy holiday crafts for kids (or adults!) this is the project for you. These cinnamon applesauce ornaments really are as easy as mixing applesauce and cinnamon together! The simple dough is a holiday classic and the finished ornaments last for years.
You can use this 2-ingredient cinnamon applesauce dough to roll out ornaments, gift tags, garland pieces, and anything else you envision. You could even use it to create permanent gingerbread house cookies that can last for years–not just until after Christmas.
And bonus? It smells delicious. All that holiday cheer wrapped up into one recipe.

I make my dough without glue and these cinnamon ornaments can be dried in the oven or with the “no bake” air dry method.
Love free craft ideas? Subscribe to Bellewood Cottage for more fun and relaxing craft ideas straight to your inbox!
Cinnamon Ornaments Versus Salt Dough Ornaments
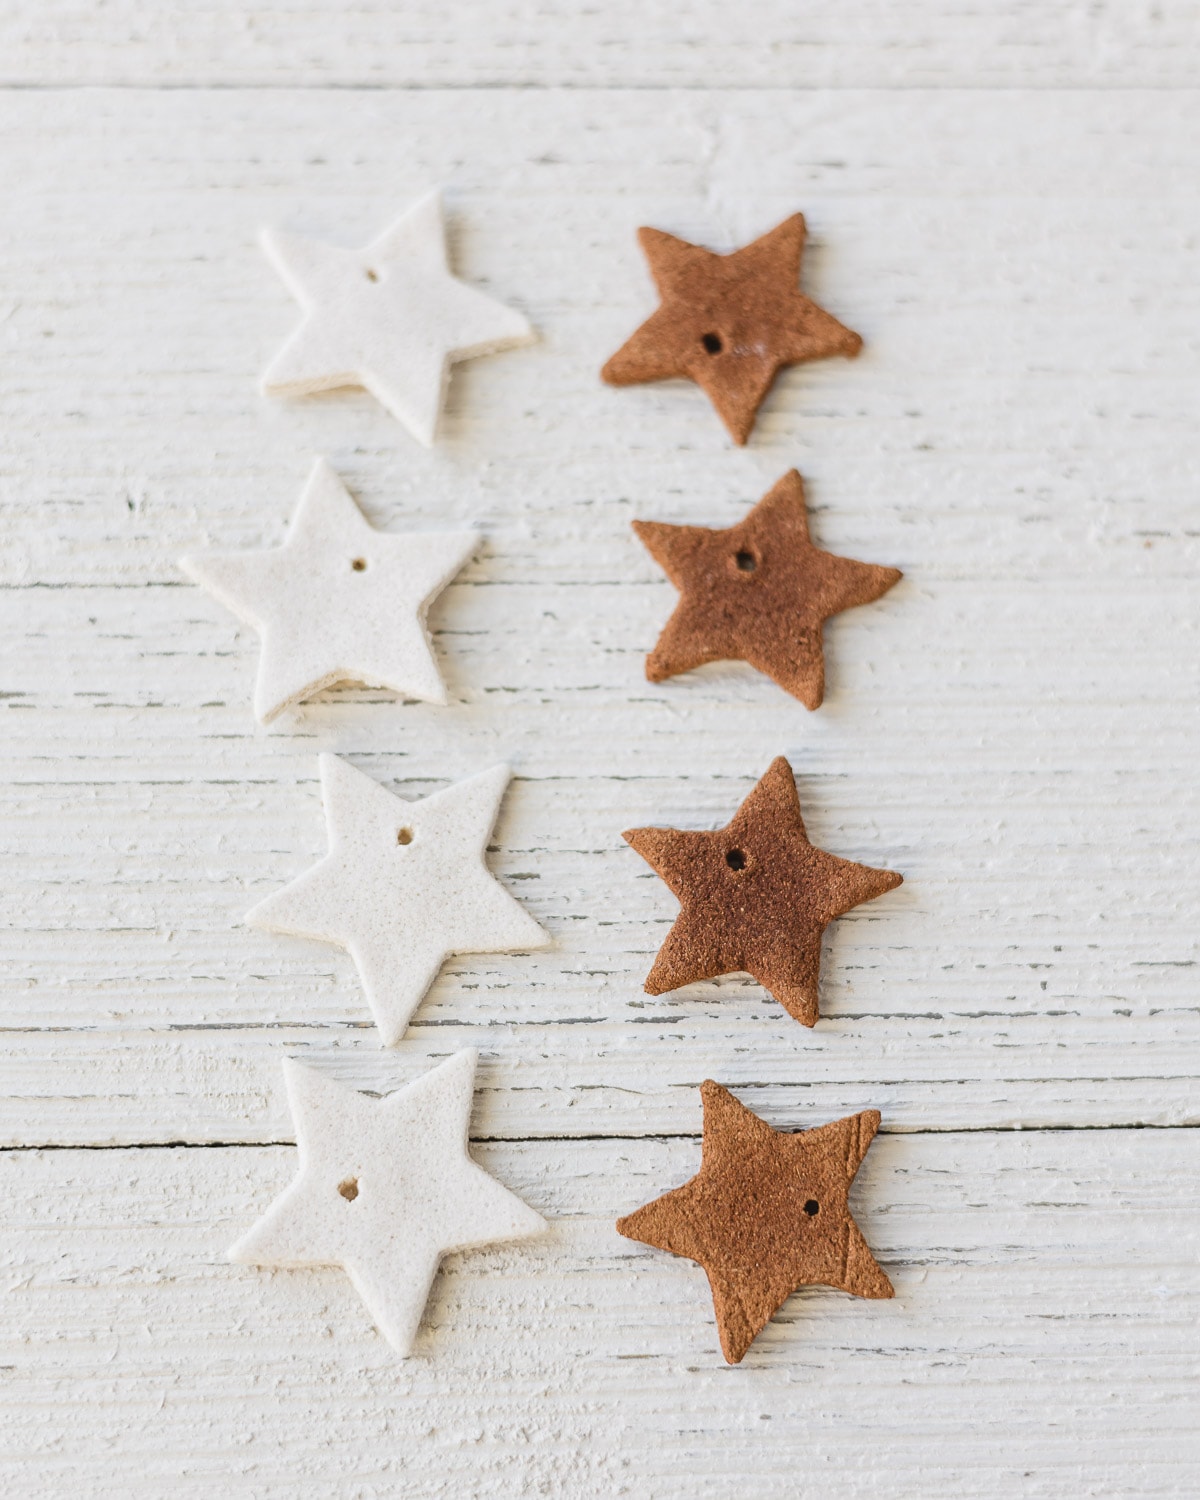
You might be wondering, should I make cinnamon ornaments or salt dough ornaments? Well, I highly suggest trying both if you can! But, they are quite similar in a lot of ways.
The primary difference is that the cinnamon applesauce dough is a pretty brown whereas the salt dough ornaments dry to be a soft white color.
Both the ornaments are sturdy (but can be broken if not handled gently) and the dough is easy to work with.
Salt dough ornaments also have a similarly short ingredients list: just salt, flour, and water.
I do notice the cinnamon ornaments tend to leave tiny “crumbs” when handled a lot (even after drying) whereas the salt dough is more stable.
Give them both a try!
Supplies You’ll Need
Here’s what you’ll need for the cinnamon applesauce dough:
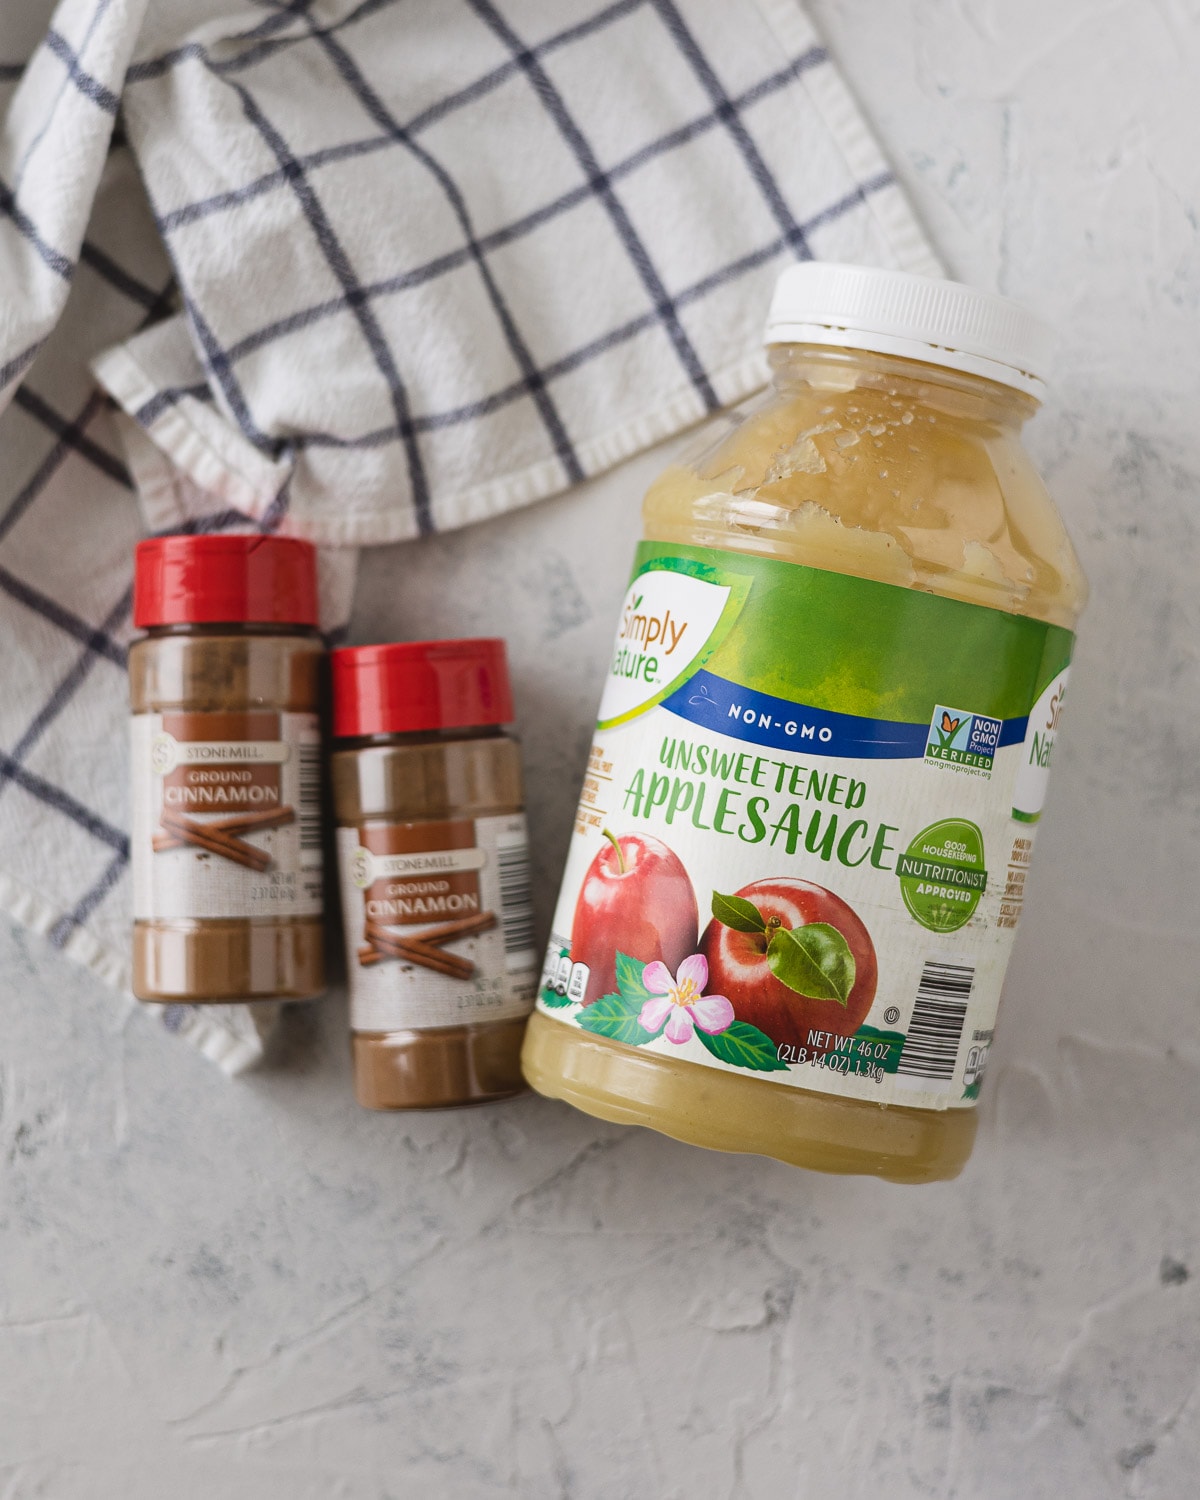
Cinnamon – Use the cheapest cinnamon you find at the grocery store. I grabbed mine at Aldi which was I think $1 for each container (about 1/2 cup) of cinnamon.
Applesauce – Any applesauce will do!
Other stuff: A bowl, rolling pin, cookie cutters, a toothpick or straw for poking holes, and baking sheets.
How to Make Cinnamon Applesauce Ornaments
Don’t miss the step-by-step printable instructions at the end of this post!
You can make any quantity of dough just by using a 1:1 ratio of cinnamon and applesauce. It’s so simple you don’t even need to print the recipe card–unless you want the tips & tricks handy!
Grab a medium-sized bowl and fill with 1 cup of cinnamon. Measure out 1 cup of applesauce, but don’t add it all quite yet. I like to reserve a couple of tablespoons and see how the consistency of the dough shapes up.
Mix up the dough with a spoon then knead it for a few minutes on a countertop. The dough will be quite wet, but shouldn’t be sticky. Add more cinnamon if it’s too wet or sticky-feeling. Add more applesauce if it’s too dry.
This amount of dough will yield maybe 12-15 thick (1/4″) shapes with standard cookie cutters. I rolled mine out to 1/8″ and used mini cutters (about 2″ or less) and got dozens and dozens of cut outs.
Roll Out the Dough
Use a rolling pin or a one-handle roller (these are so nice!) to roll out the dough.
For kids, shoot for about 1/4″ thickness. For adults or home decor use, I love a 1/8″ thickness. Experiment and see what you like. Thicker/larger ornaments are much harder to break, so bear that in mind.
You can re-roll scraps as needed.
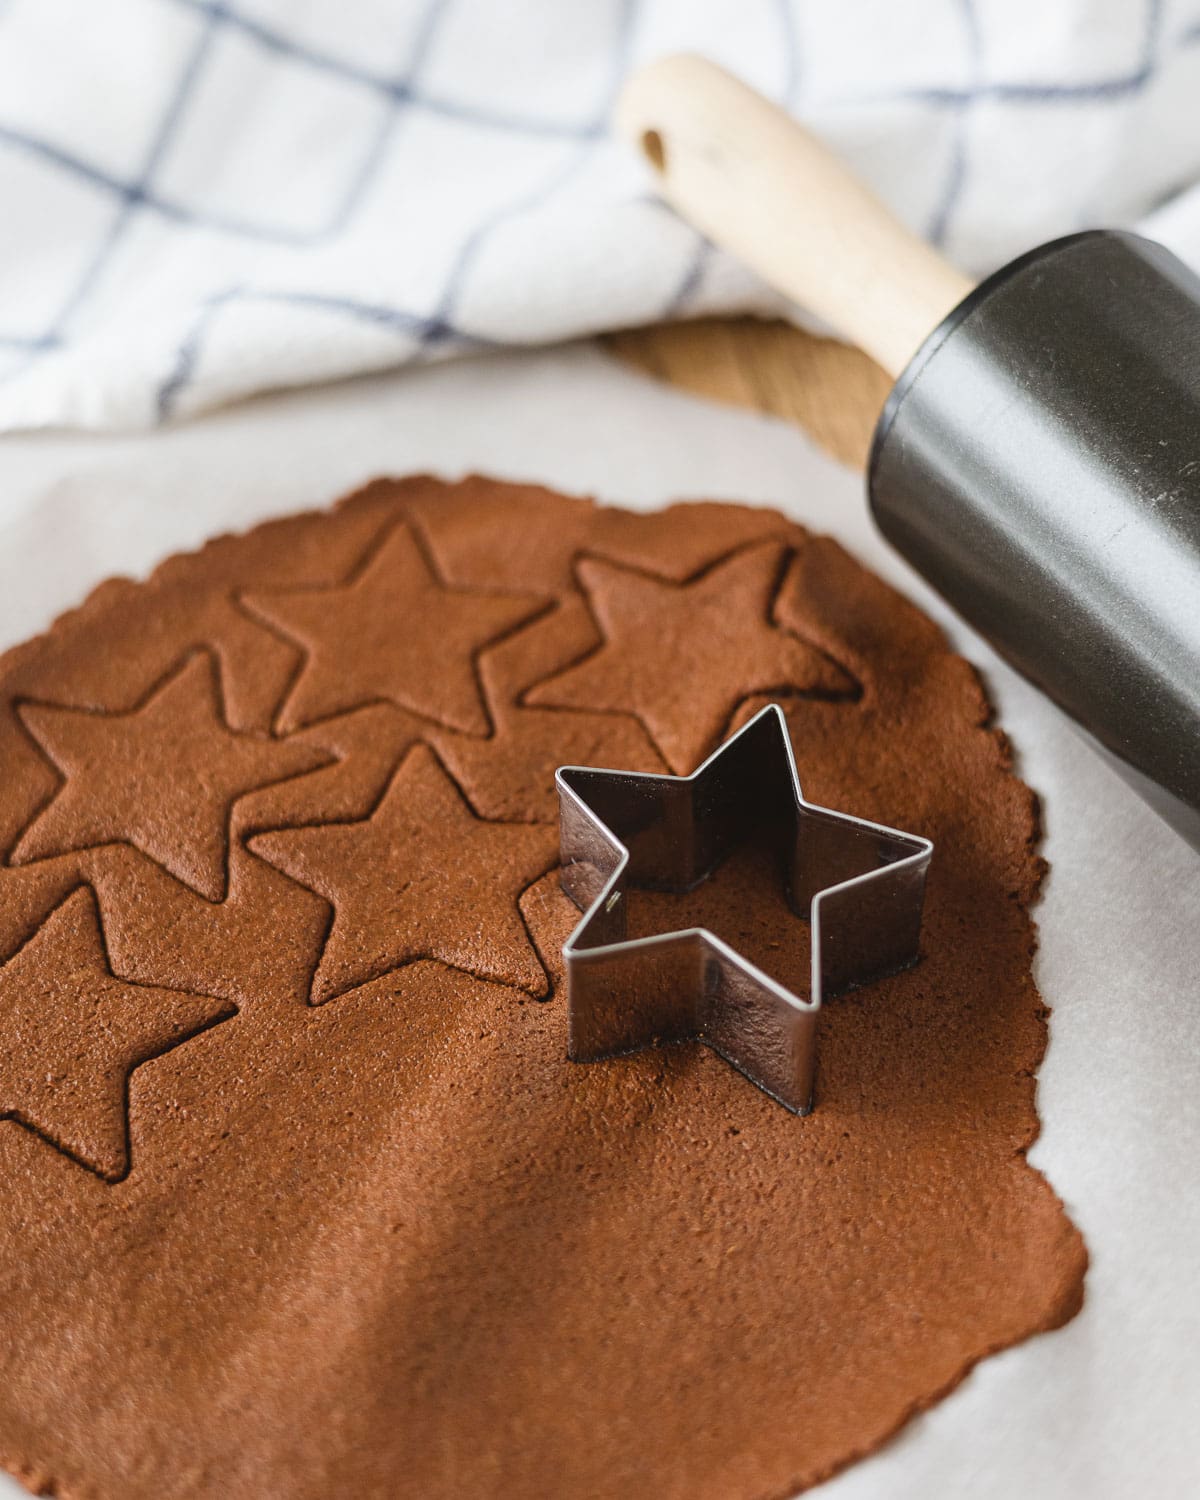
Roll the dough between two sheets of parchment or plastic wrap if you are having trouble working with it.
A Note About Rolling Pins
A little note here, I see a lot of people using those beautiful embossed rolling pins (check the link to see what I mean) to get imprints on their cookies or clay ornaments. I’ve found that this dough is just too wet for that. It’s best for cutting out and then decorating later.
Cut Out Shapes
Use cookie cutters to cut out shapes and place them on lined baking sheets. Punch holes with a straw or a wooden toothpick. Wiggle the toothpick to create a larger hole.
To Bake
Bake ornaments at 200° F for about 1 hour or until dry, flipping halfway through. The thicker ornaments generally need more time, but you can also allow them to finish drying out at room temperature.

For No-Bake Ornaments
I was curious to see how well this dough worked for a no-bake ornament and it works great! Just place your cutouts on baking sheets (line with parchment if you like) and allow to dry overnight. Flip them over and continue to dry.
The cut-outs will be totally dry within 24-36 hours. I’ve only tried this with thinner ornaments, so if you have very thick ornaments, you might prefer going with the oven route at least to start.
Decorate the Ornaments
The sky is the limit for decorations! Use glitter glue, puffy paint, buttons, ribbons, and anything else you desire to decorate your ornaments. Allow embellishments to dry before hanging your ornaments.
These ornaments make such a great activity to do as a family around Christmastime. You can even split up the process and make the ornaments one weekend and then decorate them the next.

FAQ for Cinnamon Ornaments:
Cinnamon Christmas ornaments can last for years and years. They do not tend to go bad or get moldy. The best way to store them is to be sure they are COMPLETELY dry and layer them between sheets of tissue paper. I find that tiny little crumbs of cinnamon tend to fall off, so I store them separately from other holiday decorations. If you ever do see signs of mold, toss them.
The ornaments dry to be hard, but brittle, so yes, they are delicate. The thicker the ornaments, the more sturdy they are. The mixture also has a tendency to slough off little crumbles of cinnamon, so be aware of that.
I find the dough becomes even more wet and a little sticky with time, so I suggest adding less applesauce and making a more dry dough if you want to make it advance. Adjust with more applesauce or cinnamon when you are ready to roll. I would only make the dough up to 3-5 days in advance and be sure to store in the fridge.
Oh yes! The cinnamon applesauce dough is a great fit for kids’ crafting, because it’s a “wet” dough versus a “sticky” dough (like how sugar cookies can turn into quite the mess!). Like salt dough, it’s easy for kids to work with and they love creating their own custom ornaments.

Happy Crafting! ~Ellen
More Crafts Like This
- Embroidered Felt House Ornaments Tutorial
- 30+ LAST MINUTE Homemade Christmas Gift Ideas
- 20+ Mason Jar Christmas Décor Ideas
- Mason Jar Christmas Scene DIY
- How to Make Washi Tape Christmas Ornaments
Craft with me! If you try this tutorial, tag me on Instagram or use the hashtag #BellewoodCottageCrafts. Watch my videos on YouTube and follow along on Pinterest for more ideas like this one!

Cinnamon Applesauce Ornaments
Supplies
- 1 cup cinnamon
- 1 cup applesauce
Instructions
- Measure 1 cup of cinnamon into a bowl. Measure 1 cup of applesauce and add all but a few tablespoons of it into the cinnamon. Stir with a spoon until combined. The dough will be fairly wet, but not sticky. As needed, adjust the consistency with the remaining applesauce or more cinnamon.
- I like to knead the dough a little bit with my hands before rolling. If you are having trouble with the dough breaking as you roll, knead again for a few minutes. Adding more cinnamon can also help.
- For adult crafting I like to roll out the dough (using a rolling pin) to a 1/8" thickness. This will be harder to work with and yield more delicate pieces. For kids, roll to about 1/4" thickness. If the dough is too wet or sticky, you can roll it out between two sheets of parchment.
- Use cookie cutters to cut shapes from the dough and punch holes with a straw or a wooden toothpick. Toothpicks will need to be wiggled around a bit to create a large enough hole. Place on parchment lined baking sheets.
To Bake:
- Bake ornaments at 200° F for about 1 hour or until dry, flipping halfway through. The thicker ornaments generally need a little more time, but you can also allow them to finish drying out at room temperature.
To Air Dry:
- To air dry: arrange ornaments on a baking sheet and flip over after they have dried overnight. Within 24-36 hours they should be completely dry.


