Essential Tools for New Homeowners
Moving into a new home? This post will walk you through all the essential tools for new (or first-time) homeowners. Figuring out which home improvement tools to buy first can be overwhelming. Here we’ve rounded up our must-have tools for basic DIY projects and provided details on how we use them–plus some tips for saving money!
Please note that this post contains affiliate links which allow me to earn a small commission when a purchase is made at no additional cost to you. Read more here.
This post is a collaborative effort between myself and my husband. After about five years of living in our first home, we realized we each had tools we couldn’t live without.
This list is a compilation of essential tools for new homeowners and we hope it helps you start your own tool collection as you make your home your own!
Everyone’s unique journey in their home will be different. Some homes may require more DIY work than others and you might find that your tool needs quickly outgrow that designated shelf in the garage. You might also discover a passion for building and renovating and quickly accumulate gear far past the scope of this list.
But this list is written for you, the new (or first-time) homeowner. Maybe you are overwhelmed with the project lists, the shopping lists, and above all, choosing which tools to buy to get these jobs done. This list will help you figure out the tools you will need and what you will use them for.
What Tools Should I Buy First?
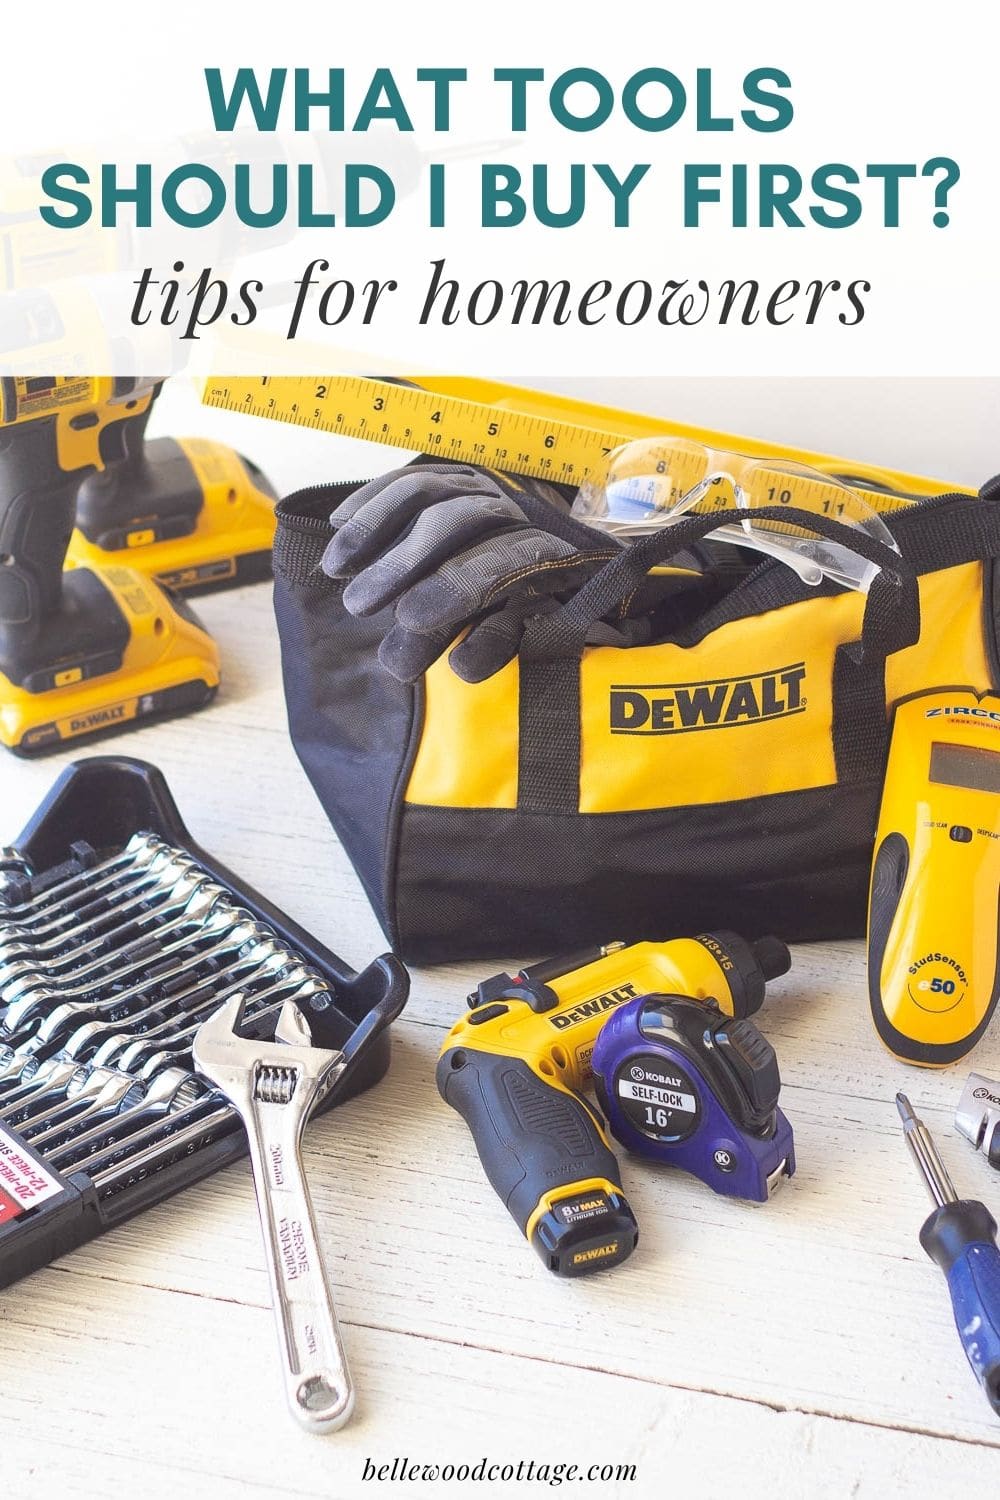
It can be really overwhelming to start shopping for tools and realize just how many choices are available. If you truly don’t own any tools yet, we suggest starting with a simple beginner’s tool set.
A Beginner’s Tool Set
These generally include the basics like a hammer, screwdrivers, tape measure, and in the case of this Stanley beginner’s set, a helpful picture hanging kit.
We were given the Kobalt 22 Piece Tool Set soon after we moved into our first home and it’s another great starter set. You may eventually add onto these sets (or upgrade some of your favorite tools), but they are fantastic for a quick start home improvement kit.
Plus, purchasing a set of tools can be a great way to save both time and money.
If you are heading out to the home center to grab a beginner set, be sure to pick up some work gloves, safety glasses, and this handy all-in-one hole repair tool (if you have a lot of holes to fill) if your chosen tool set does not already include these items.
What Essential Tools Do New Homeowners Need?
Many needs of a new homeowner can be fulfilled with a simple beginner’s tool set, however, you might have more specific needs, or wish to hand select each of your tools.
The following list details the tools we have considered essential as we worked on basic home maintenance projects, hung wall art, secured custom built-ins, and completed various DIY projects.
Work gloves
You’ll use work gloves frequently for protecting your hands as you accomplish tasks even as simple as unloading 2x4s from the back of your vehicle after a trip to the home center.
Safety Glasses
A must for drilling, sanding, sawing, hammering, painting a ceiling…you name it! Protecting your eyes is essential to safe DIY work. We suggest buying a pack of safety glasses and keeping some around the house so they are handy when you need them.
Masks
If you’ll be doing any sanding, you’ll want a mask. N95 masks are what you will want to look for (rated for dust) if they are available. Protect your lungs!
Electrical Non-Contact Tester
A non-contact tester is the start to working safely around electricity. Bring this tool along before drilling into a wall or messing with outlets. It lights up and beeps when electricity is in the vicinity. Have it handy whenever you’re cutting into walls or testing breakers. This electrical non-contact tester is the one we own.
All-in-One Hole Filler Tool
Have nail holes? If you bought a previously owned home, you probably have many holes to repair. This is a quick all-in-one solution that fills holes and preps your walls for painting. Instead of buying spackle, a putty knife, and sand paper, this tool has it all. Used for small hole repair.
Note: They do tend to dry out after being open for awhile, but we’ve found that these filler tools are actually still a budget-friendly option since we aren’t paying for a large container of spackle that we won’t use up.
Sanding Blocks
We love sanding blocks for simple sanding needs. They are convenient and great to have on hand whether you are distressing a piece of chalk-painted furniture or sanding other small DIY projects.
Hammer
An obvious tool for new homeowners, you really will need a hammer (or two!). Good for nailing things in, demo, forcing things into place (carefully), and ripping out nails.
Quick tip: If you end up with duplicates of basic tools like a hammer, tape measure etc. keep the extras in a main hub of your home. We have a drawer near our kitchen with our extras and it is so handy for those quick home improvement tasks that only require a tool or two.
Prybar
If you’re doing any kind of demo work, buy a prybar. A prybar can be used to lift boards, pull nails, or pull boards off through the nails.
Variety Screw Set
When you move into your new home, you’ll need a variety of screws handy to accommodate different projects and maintenance items.
This assorted drywall screw set is the one we own. These come in handy for nearly everything, and can be used for (indoor) DIY projects in a pinch.
Utility Knife
A good utility knife and a pack of replacement blades will be an invaluable tool for new homeowners. A sharp blade allows for more control and less force which usually leads to less injuries. Be safe as you cut and don’t be stingy swapping out blades.
Stud Finder
If you plan on hanging anything on your walls, you’ll want a stud finder. Many of the new models have an option for testing if electricity is near too, which is a bonus when drilling heavy-duty mounts into studs (you definitely want to avoid hitting your electricity while drilling!).
Tape Measure
We like the Milwaukee tape measure because it has a 15′ reach, which is the length the tape measure can be used without getting that dreaded bend. It also has a magnet on the end and can be flipped upside down with measurements on the back as well.
Having the measurements on the back is helpful when measuring out wood, as the measurement lines are flush against the board for marking.
Level
For checking if things are level of course. Use for hanging pictures and beyond. Grab a 24″ level to start. A 48″ has some uses when you get into larger DIY projects.
Drop Cloth
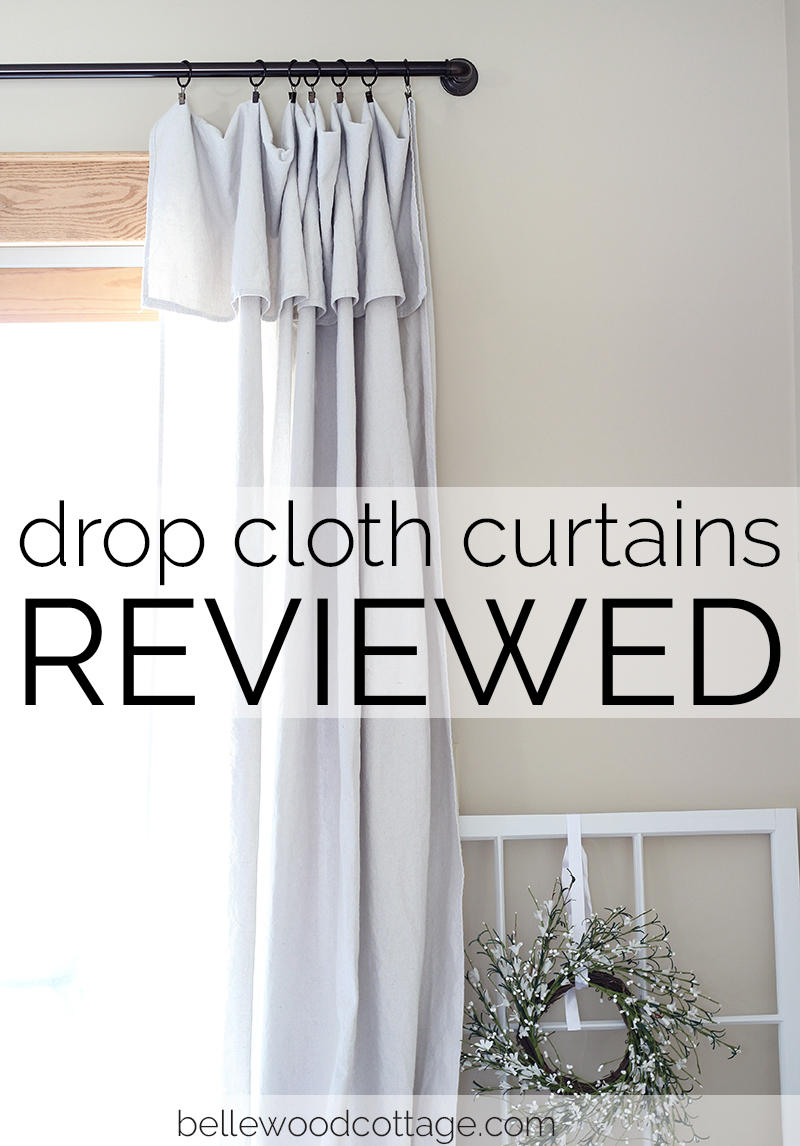
In addition to making fantastic DIY curtains, a drop cloth can come in handy if you start painting or have another large mess to make.
Drywall Anchors
Inevitably you’ll have a few simple things to replace right away: towel bars, toilet paper holders, adding a mirror, etc. Often, the drywall anchors that come with these items are terrible. Buy some nice ones that don’t need to be predrilled, and can go through just drywall or drywall and a stud.
These medium-duty anchors are the ones we used were used while we built our IKEA built-in wall. They worked well and did not break through as frequently as some other varieties. However, if you plan to use a stud, try this metal Stud-Solver variety.
And in case you are hanging some really stuff–these heavy-duty toggles hold up 100 lbs.
Painter’s Tape
As useful as your imagination. Sticks to things without leaving a residue. Great for marking off areas for project planning, or planning to hang a picture.
Note: If you’ll be painting, we haven’t included other painting supplies in this list, but we do love this inexpensive paintbrush for painting furniture or cutting in walls around our home.
Tip: Drilling holes into a wall? Stick a piece of tape underneath in a horizontal line with only the bottom edge attached and the top flared away from the wall. The tape will catch all the drywall debris, and if you’re careful, can be folded in on itself for quick cleanup.
Drill or Impact Driver (Battery)
One of the most expensive tools for new homeowners is a drill. This essential tool is going to become a backbone of your tool set, so think what brand you want to get stuck with before buying, and how much you’ll use it. We suggest investing in a high-quality drill.
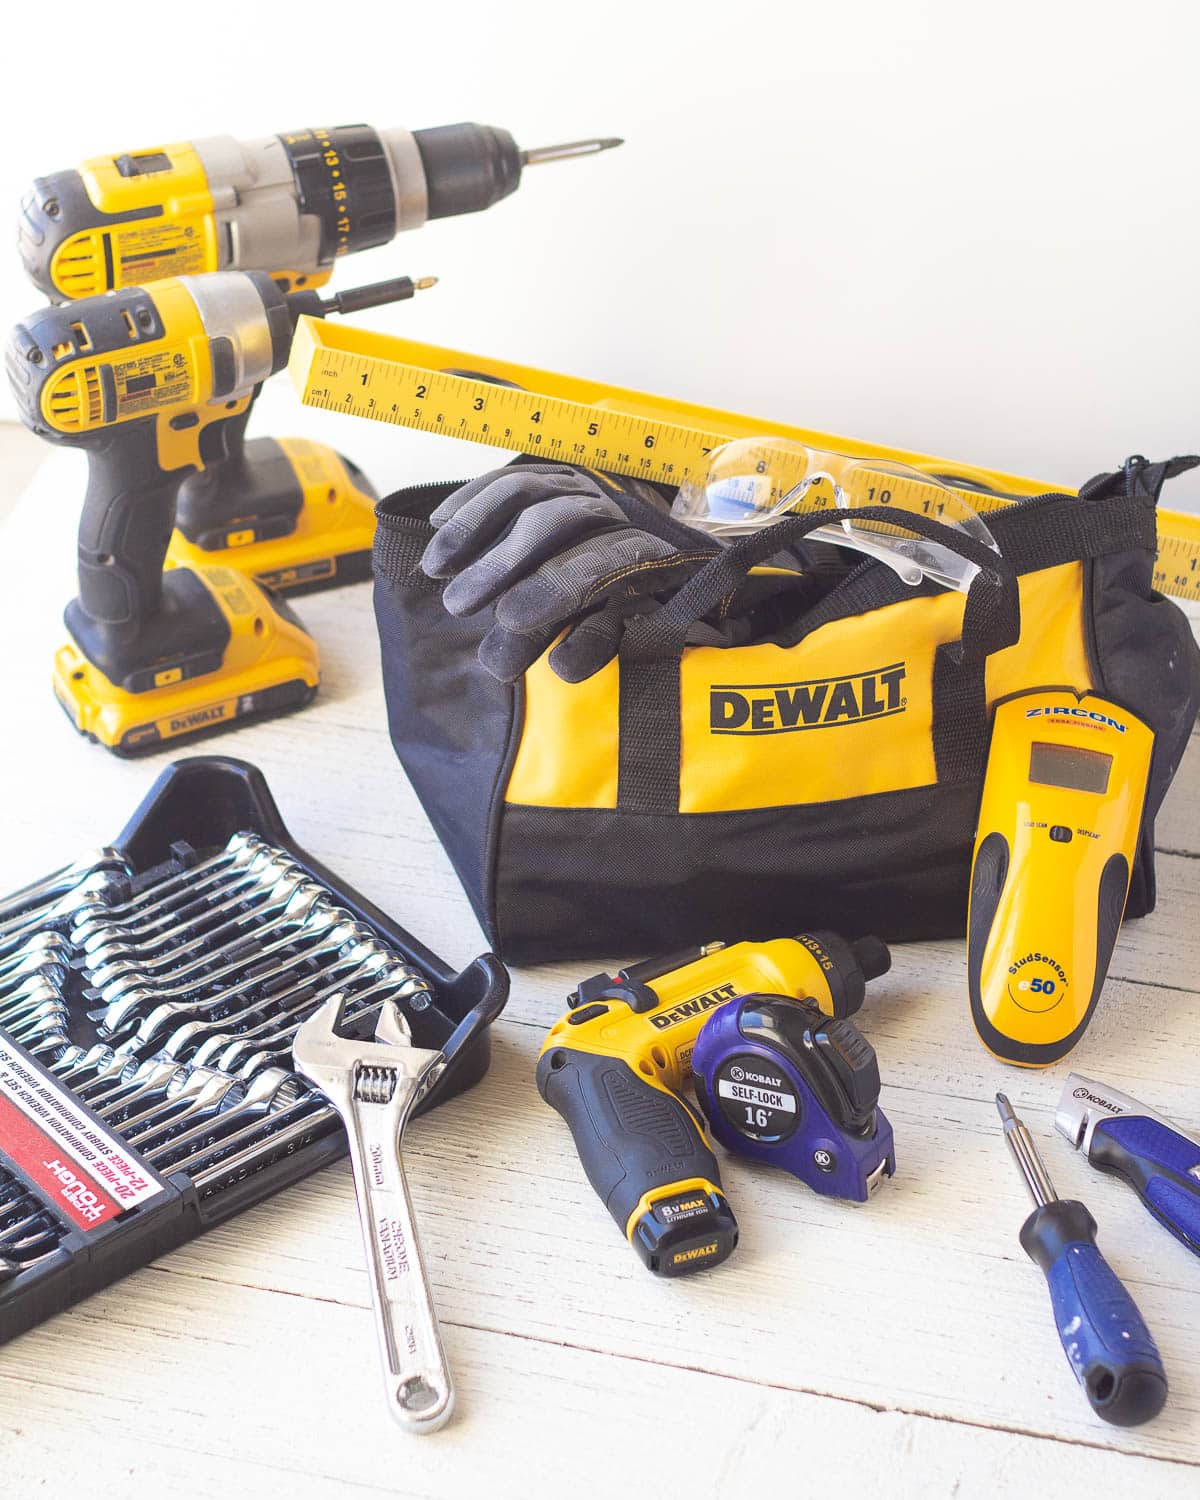
We use DeWalt (this is the current drill combo set that most closely matches what we own), but other great brands include: Milwaukee, Rigid, Ryobi, Makita, Bosch, Porter Cable, and Hitachi.
Just want a basic drill?
If you just need a no-frills drill, this Ryobi drill is a basic model that will get you started. Buy a drill (like the Ryobi one linked) with a LED light mounted on it for additional lighting as you drill.
Consider the battery
How many battery-powered tools do you want? You can save money by starting to collect tools from a product line that are all supported by the same battery. For instance, the DeWalt batteries are used for both our DeWalt drills and work lights which is convenient.
Do I need a hammer drill?
Let’s quick talk about hammer drills. If you plan to drill into concrete, you should consider a hammer drill. If not, then stick with a basic drill or drill/impact driver.
With a hammer drill, the drill has an added feature that hammers the bit down into the concrete as you’re drilling (usually indicated by a hammer emblem on the collar). A hammer drill requires special bits for drilling into concrete (look for concrete or masonry). Here’s the Dewalt combo kit (with hammer drill).
There are also standalone hammer drills that are much more heavy duty, and require special bits with special shafts to lock into special chucks. You’ll know if you need one of these.
And don’t forget–you can always ask to borrow tools from a friend if you aren’t sure if you’ll need to use a particular tool much.
Do I need an impact driver too?
If you have a standard drill driver, then you don’t “need” an impact driver, but you may still want one. This article about the difference between drills and impact drivers from the Home Depot details the distinctions, but one of the primary takeaways is that “Impact drivers are superior at directing their force downward, making them more comfortable to use over a long period of time.”
There’s plenty of other differences between the two, but the bottom line is if you foresee yourself using your drill often, pick up a combo set with an impact driver as well.
We love our DeWalt drill/impact driver, and this Ryobi combo kit is a great option too.
Drill Bit Set
This is an involved topic, but if you don’t have any drill/drive bits buy a cheap set, and replace with nicer sets as you go. It’s nice to have cheap bits to drill through drywall (dulls bits quickly). It’s also just helpful to have a variety of different styles of bits for odd tasks that a full kit isn’t needed for.
This is the simple drill bit set that we own (and have expanded off of from there).
Screwdriver Set
For screwdrivers, we’d suggest getting a kit with standalone screwdrivers, most notably for the flat heads (which double as prybar) and Phillips heads with thin shafts for tights holes. Screwdrivers can be hammered as a light duty chisel as well.
Multibit Screwdriver
You might also want to consider a multibit screwdriver. Here’s some features of the multi-bit screwdriver we like: Ratcheting handle for tough screws (allows you to keep pressure on the screw), bit storage in the handle, a removable shaft (so you can make it into an extra-short screwdriver). Also note that the shaft can be placed in a electric drill for more reach if needed.
Gyroscopic Screwdriver with Adjustable Handle
This is an awesome tool to have in your toolset, though takes a little bit to get used to. If you are doing lots of electrical outlet work or ready-to-assemble furniture you’ll love this one.
Standard battery-powered drills are large and heavy and trying to line up your drill with small hardware is a pain–and tends to slip off the screw. So you use a hand-held screwdriver right? Anyone who has put together a piece of IKEA furniture knows how tiring that is!
Instead, you can use this gyroscopic screwdriver. It’s lightweight, can torque a screw to about the same amount as your hand, and the battery is fairly long-lasting.
What makes it gyroscopic? Press the trigger and turn your hand clockwise to drive clockwise, counter clockwise for driving counter clockwise. The amount you turn your hand after pressing the trigger determines the speed of the drilling. Once you get the hang of it, you’ll ask yourself how you managed without one!
Work Light
Whether working under a sink or turning out the power to work on something else in your home, you will want a good work light. Work lights come in all shapes and sizes, so start with something small and inexpensive and add more as needed. Note that some drill combo kits also include work lights, which can be a great way to save a few dollars if you still need to purchase your drill.
Pliers
Useful for pulling nails, staples, etc. Good for tightening or loosening various screws. Helpful as well for bending wire in a pinch.
Wrenches (Adjustable or Standard)
Handy for doing some light duty mechanical work on cars, bikes, appliances, etc. Buy an SAE & Metric set with the largest array of sizes, and you’ll be set for a while. Note that sockets don’t fit everywhere, so consider just buying standard wrenches if you’re getting started and want to save a few dollars.
Shims
Scrap pieces of wood. Use them for protection for your wall when pulling out nails, or for jamming small spaces, or leveling things that are almost there.
What Else Did You Need?
What are some of the tools that you would consider essential for new homeowners? Share with us in the comments!


