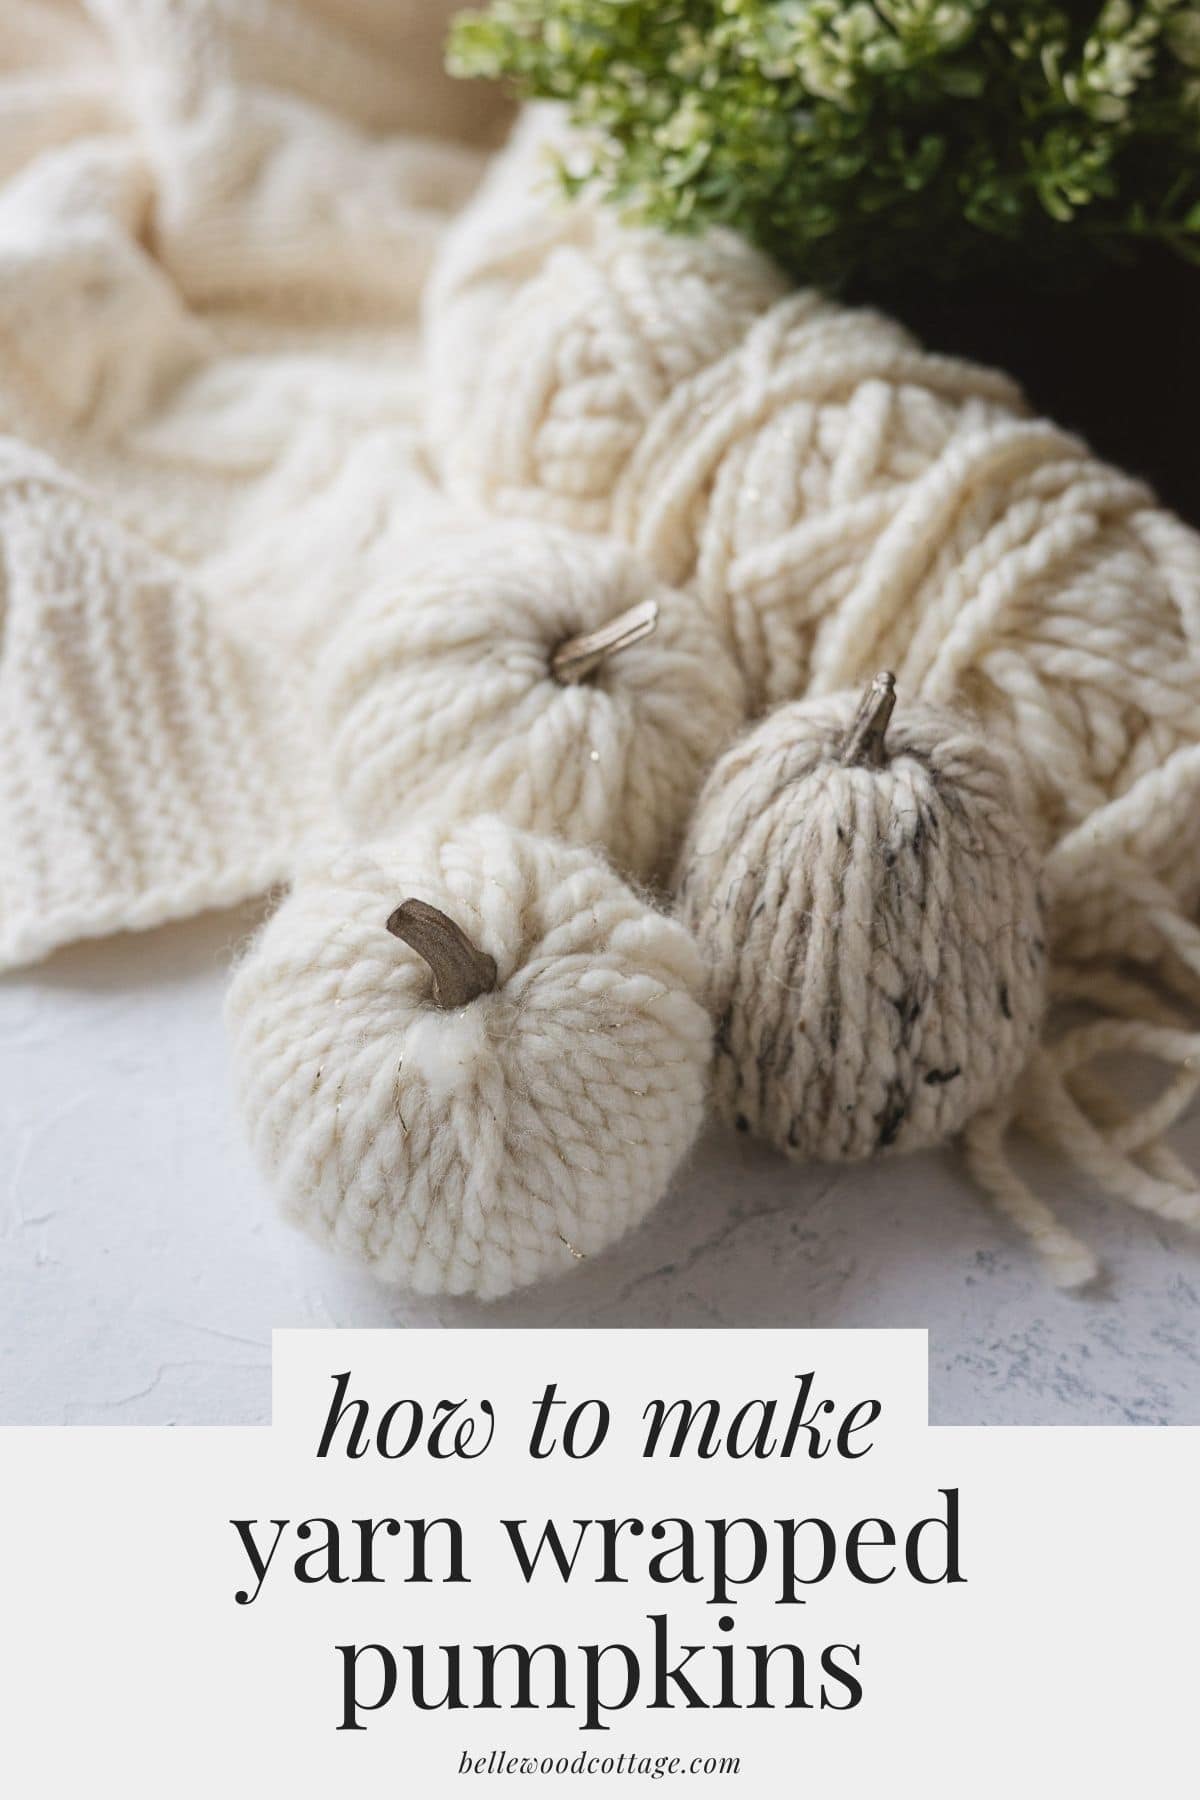
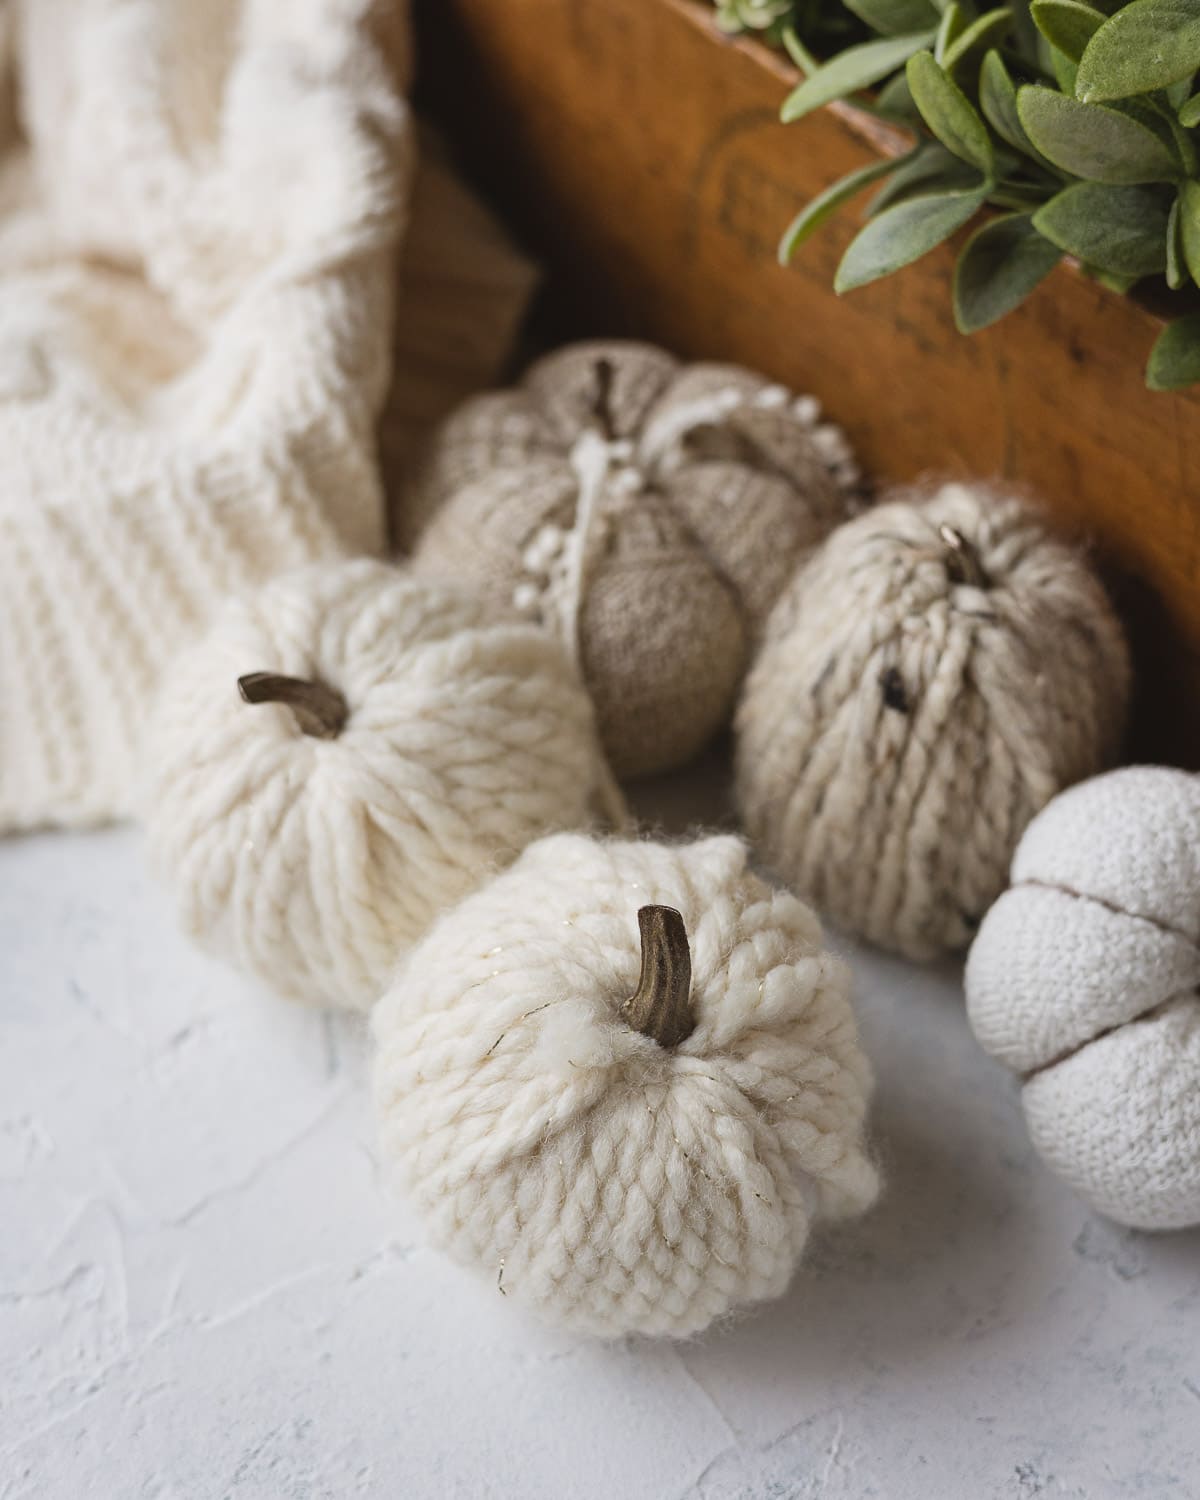
DIY Yarn Wrapped Pumpkins (with faux pumpkins!)
Use faux pumpkins from the craft store or dollar store to make these sweet DIY yarn wrapped pumpkins! Customize them with any bulky weight or novelty yarn that you like. If you love homemade fall crafts, then don’t miss trying my sock pumpkin tutorial as well!
Please note that this post contains affiliate links which allow me to earn a small commission when a purchase is made at no additional cost to you. As an Amazon Associate I earn from qualifying purchases. Read more here.
Yarn pumpkins. Let’s chat. I kept seeing this project pop up in my Pinterest feed and was curious. How to make these cute little yarn wrapped pumpkins?
After some tutorial perusing, I found that they tended to be made from either faux foam pumpkins or Styrofoam craft balls–along with a healthy dose of yarn.
Weekly Crafting Fun!
Join my list and get a weekly email with relaxing craft ideas, freebies, sewing tutorials, and more!
What I didn’t realize (and which I quickly found out) was that this “quick & easy” project is actually a little messy and even a little time-consuming.
Cutting the Styrofoam is messy. And, if you don’t cut a large enough hole to thread the yarn through, you’ll run out of space before you can wrap the pumpkin completely.
So, what I decided to do is share my tips and tricks for making these DIY yarn pumpkins a little more easily, AND I also wrote a post about a completely new method of making these from scratch that requires a little bit of fabric, but no Styrofoam mess.
Looking for yarn pumpkins made WITHOUT Styrofoam?
Here’s the tutorial if you want DIY Yarn Pumpkins WITHOUT Styrofoam (or faux pumpkins)!
What You Need to Make This Craft
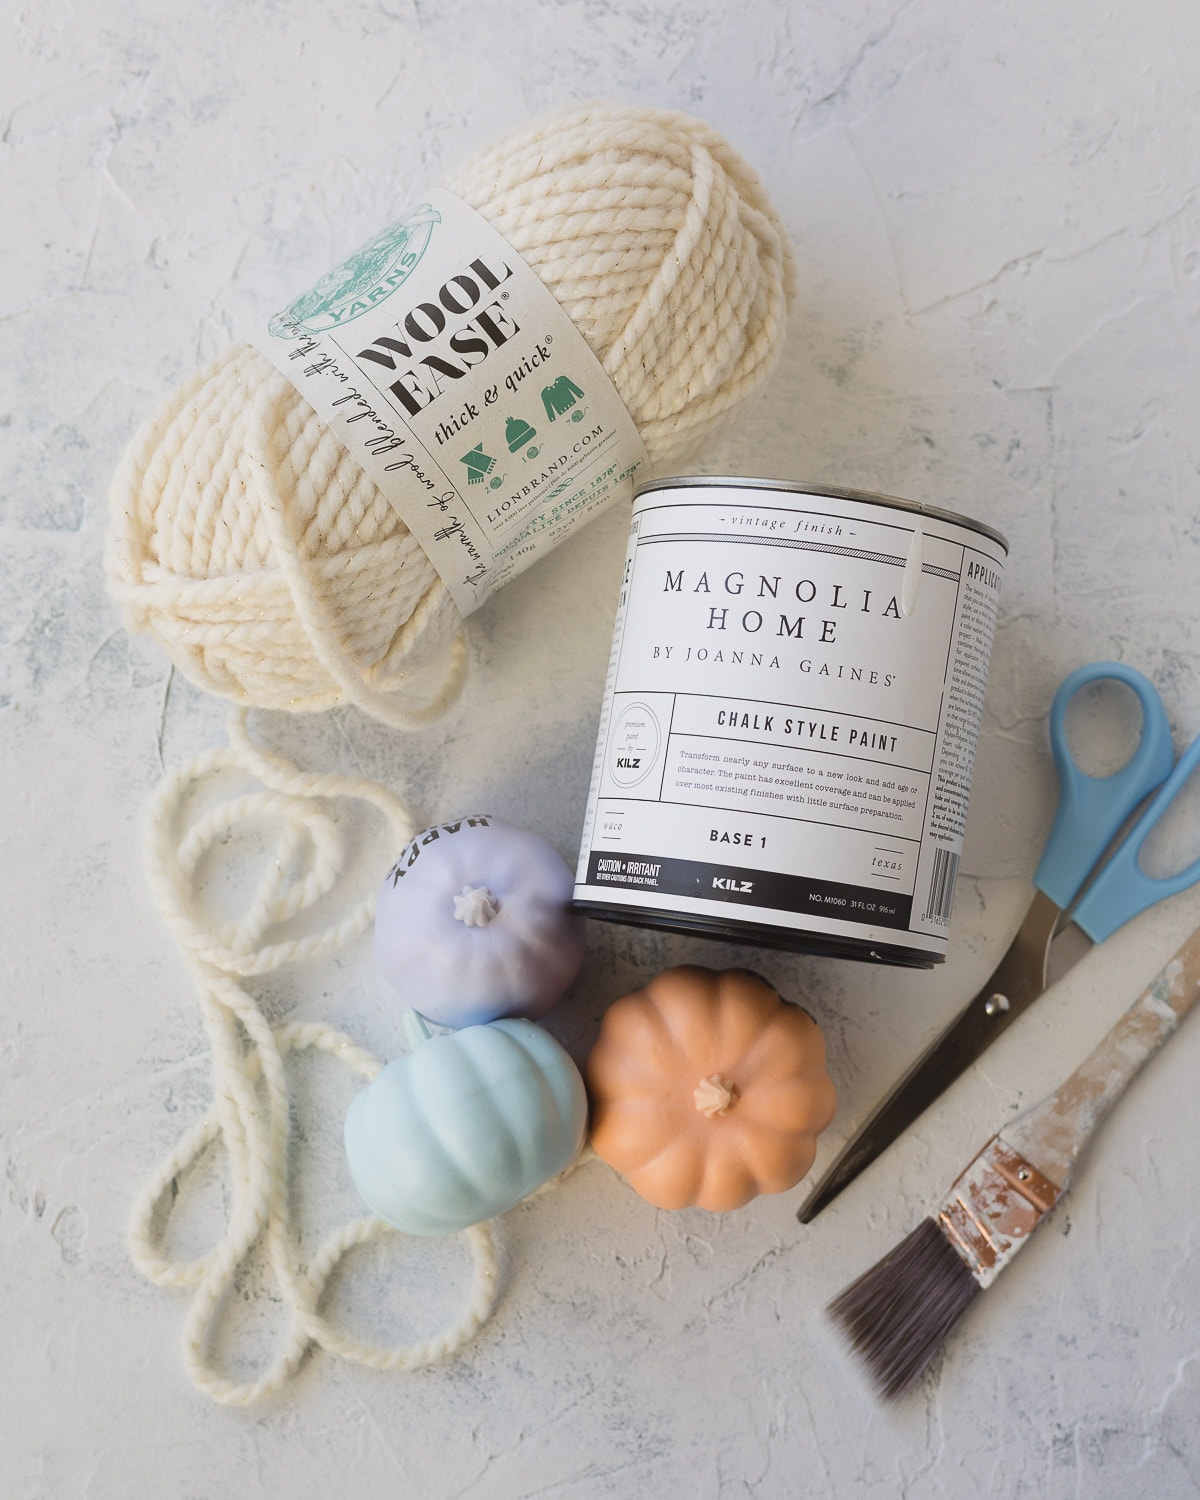
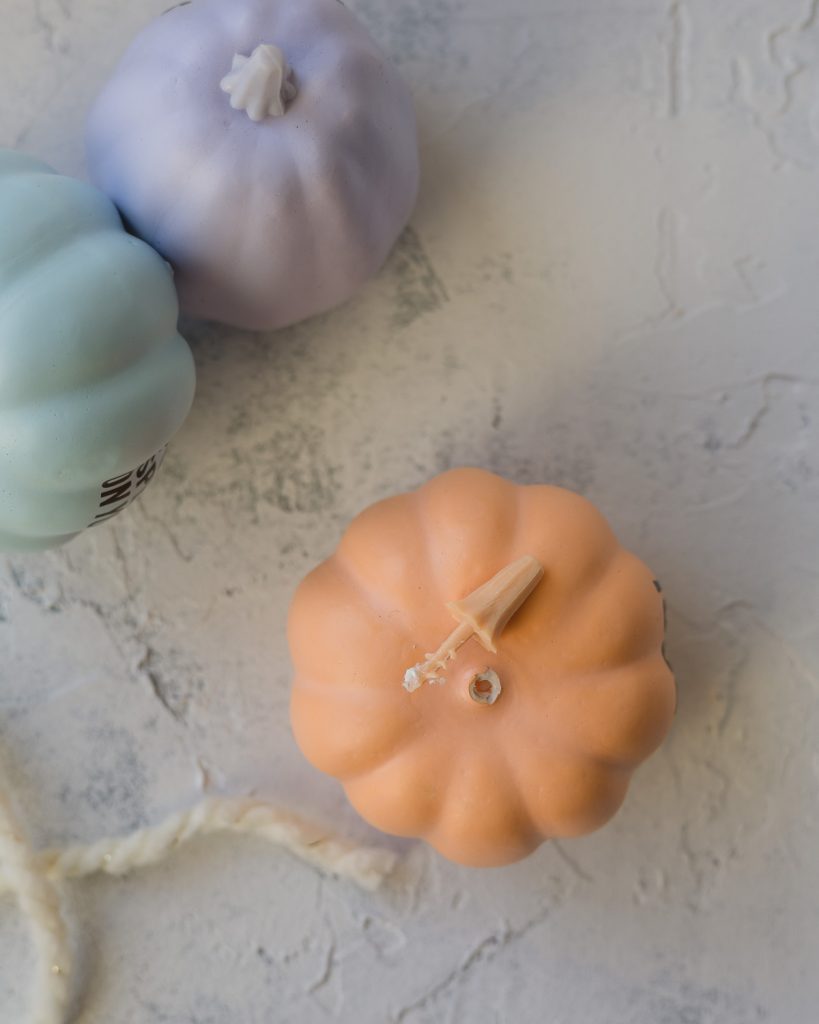
Faux Foam Pumpkins – I tried using Styrofoam balls first and they were just so annoying to cut and it was hard to get the right shape. Instead, grab faux foam pumpkins from the dollar store or craft store. If you can find these on clearance off-season that is ideal.
The faux foam pumpkins are still basically Styrofoam, but the shape is already pumpkin-y and I found them easier to break a hole into than the Styrofoam spheres.
Yarn – What kind of yarn to use? These pumpkins are best made with bulky yarns. Really good yarns for this are the fluffy novelty yarns that have a lot of volume, but also compress easily if that makes sense.

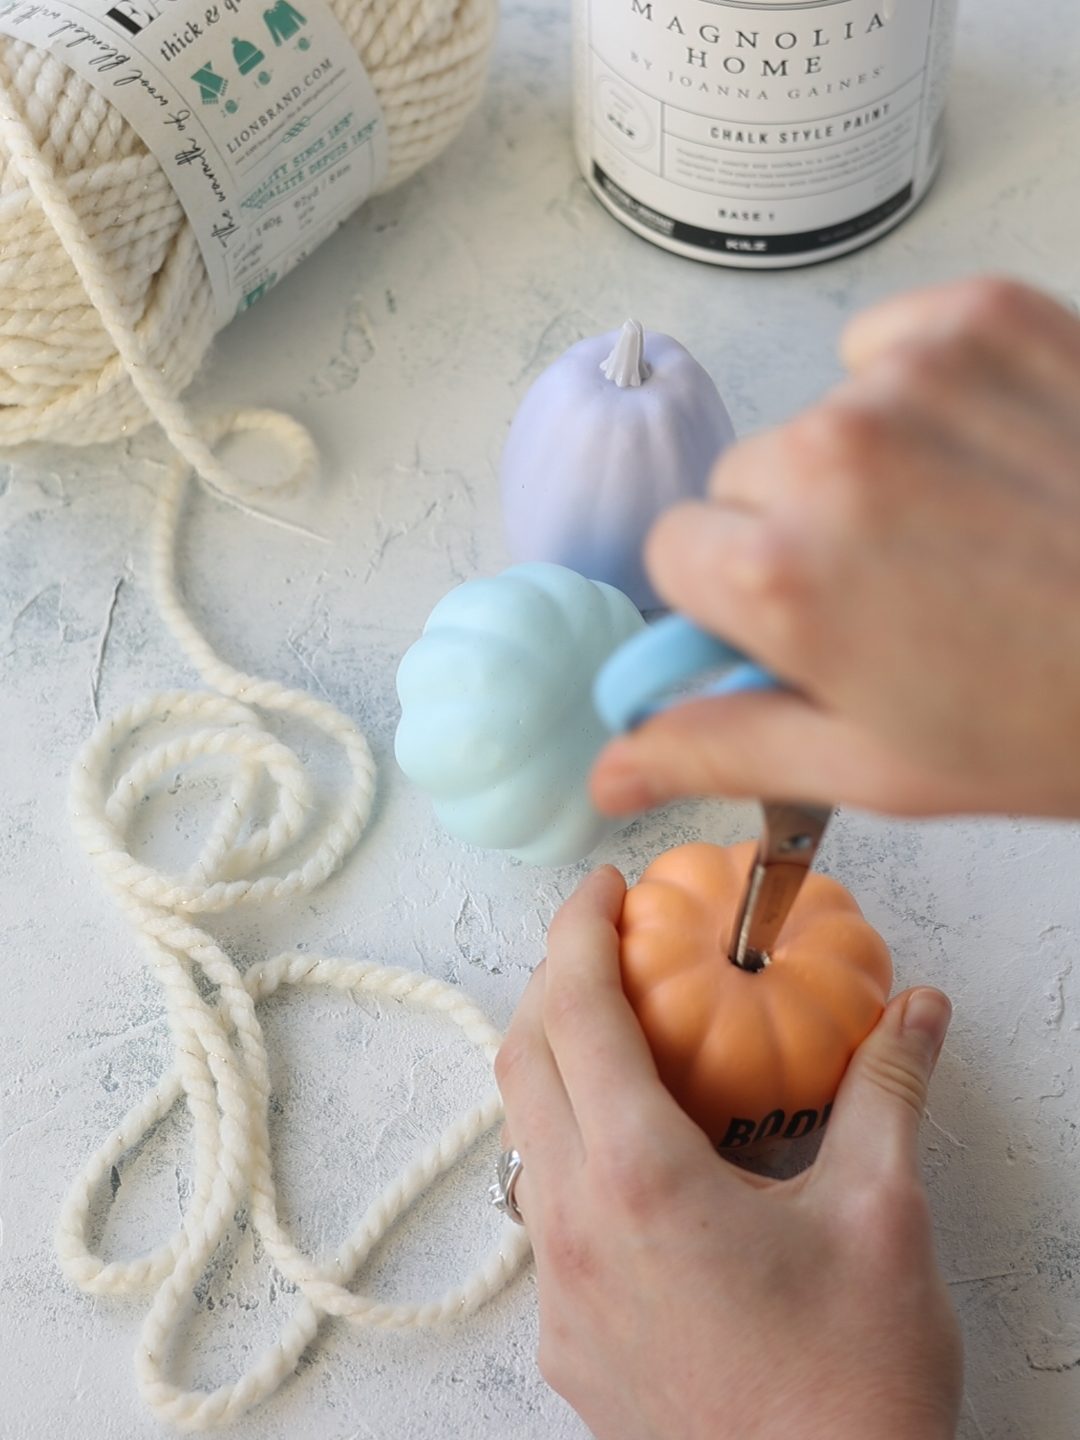
I used Lion-Brand Wool-Ease Thick and Quick. I would suggest avoiding thin or medium weight yarns. They just take way too long to wrap!
Plastic yarn needle – If you don’t already have one of these, buy a few! They are handy to have and essential to this craft.
Scissors – A sturdy pair of scissors.
Chalk Style Paint – Unless your pumpkins are already the same color as the yarns you are using, you may want to give them a quick coat of paint. Spray paint works fine (go with paint/primer graded for use on plastic). I used some white chalk paint I had on hand.
Pumpkin Stems – You’ll need metallic paint to paint the existing pumpkin stems, OR, use twigs from your yard, cinnamon sticks, or even a tiny roll of craft felt to make a stem.
Stay safe! Be careful while you are using your scissors and find my complete disclaimer here.
How to Make DIY Yarn Wrapped Pumpkins
Quick Tip: Remember that the fluffy yarns will make these pumpkins come together much faster. Avoid thinner or medium-weight yarns. Those will take a lot of time to wrap.
First, remove the stem from your faux pumpkins. Save it to paint and replace in the finished pumpkin if you like.
Prep your crafting surface with some paper towels so it’s easy to throw away the bits of Styrofoam afterwards.
Then, use your closed scissors to puncture the area of the pumpkin where the stem was. Very gently and carefully (do not hold your hand under the pumpkin obviously!) rotate the scissors and push them downward to create a hole all the way down the center of the pumpkin.
You’ll need to do this a few times.
Then, reverse the pumpkin, punch a hole carefully in the other side and rotate the scissors to keep expanding the hole. You need the hole to be pretty large to fit all the wraps of yarn, so make it pretty big–at least 1/2″ and closer to 3/4″ is better.
When finished, clean up the Styrofoam particles.
Then, since I was using very colorful pumpkins and wanted a more neutral look, I opted to paint my pumpkins. Maybe I should have done this before making all the Styrofoam crumbles!
A lot of novelty yarns are so voluminous that you won’t have any problem covering up the old color of the pumpkin, but I find that with a more standard yarn strand, there will be little gaps that show.
I used a chalk style paint and applied two coats to the pumpkins.
How to Cover the Pumpkin with Yarn
Once the pumpkins are dry, we’re going to pre-wrap the pumpkin to figure out about how much yarn we’ll need.
Wrap your yarn all the way around the pumpkin until you’ve covered a bit more than half, then trim the yarn and unwind.

Thread the yarn through a plastic yarn needle and bring the needle up through the hole of the pumpkin. You can secure the end with a knot if you like, or just leave a little tail (we will tuck in later).
Wrap the yarn around and around the pumpkin until you have covered half the pumpkin.
Then, repeat with another strand of yarn (I pre-wrap the yarn as before to determine length needed). You can work in halves as demonstrated or even in thirds if you want. It goes faster when you can work with shorter lengths of yarn, but the trade-off is having more ends to weave in.
The yarn might become challenging to thread through the pumpkin towards the end. This is why you want to make sure you start with a larger hole that you might think.
A little trick I learned here is that you can fake wrapping the yarn on some of your passes by weaving it into an already secured wrap of yarn and bringing it up to the top of the pumpkin. Weave it again through another wrap and bring it back down. It works in a pinch!
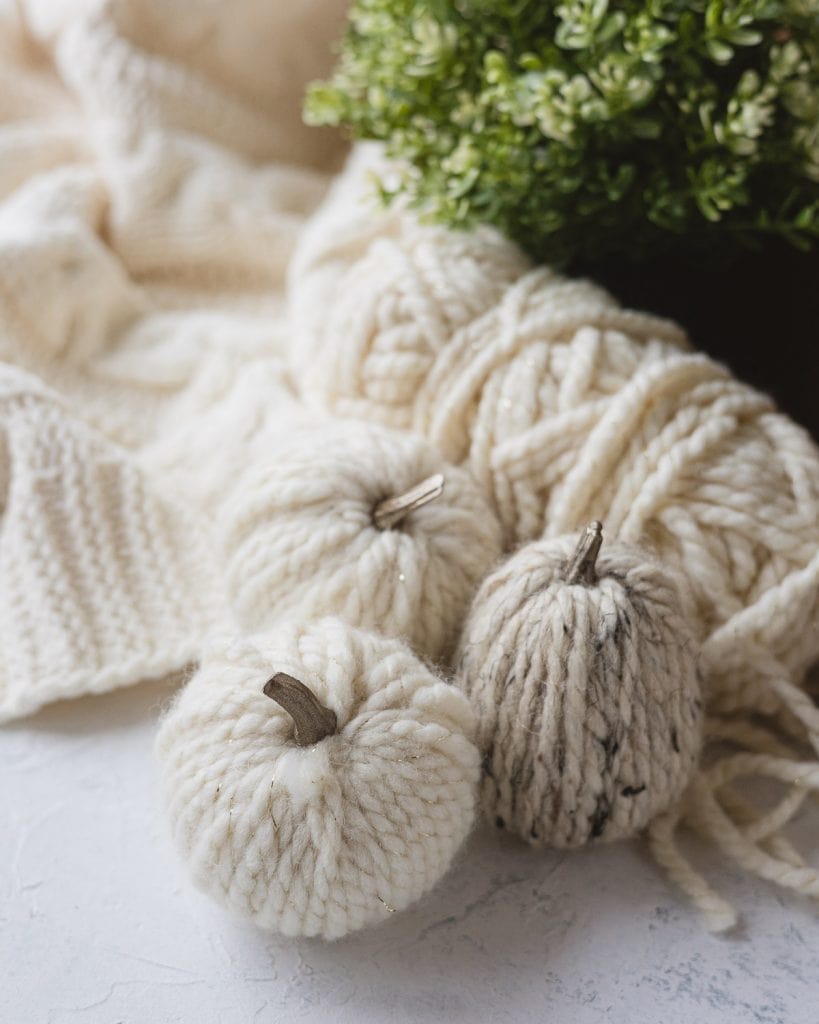
After wrapping the pumpkin completely, tuck in the ends and secure with hot glue (optional).
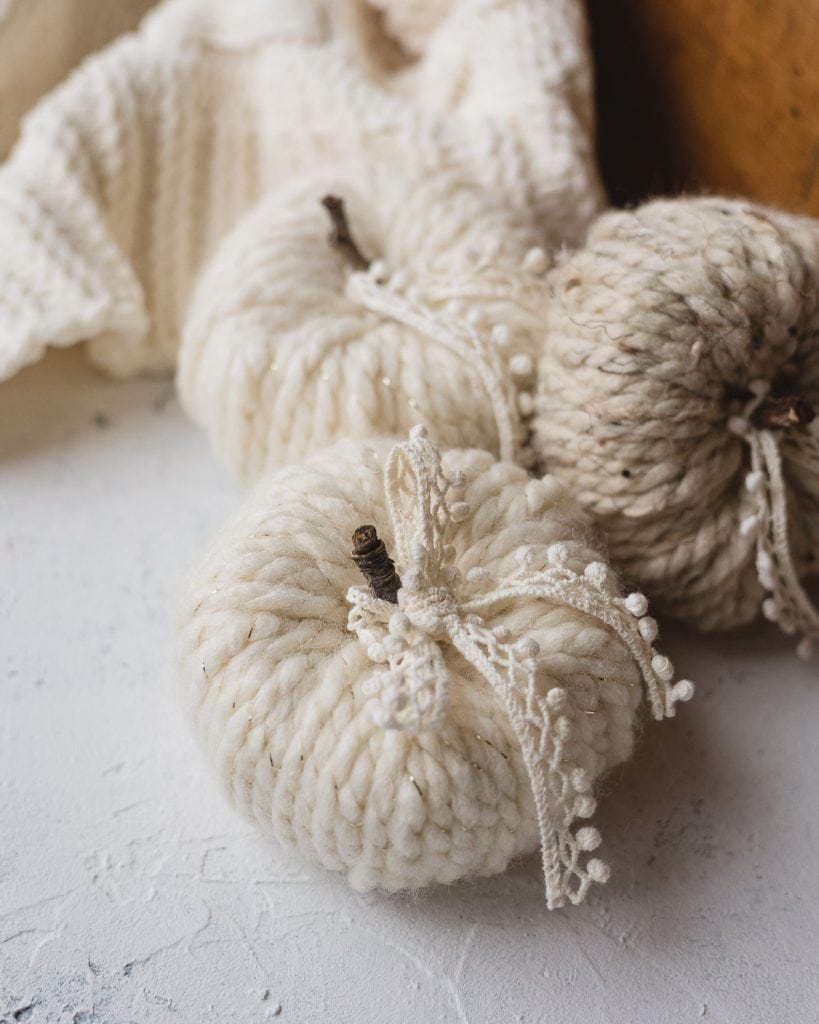
Tuck in a stem (like a twig, cinnamon stick, or small roll of brown felt) or replace the old faux stem that you’ve painted.
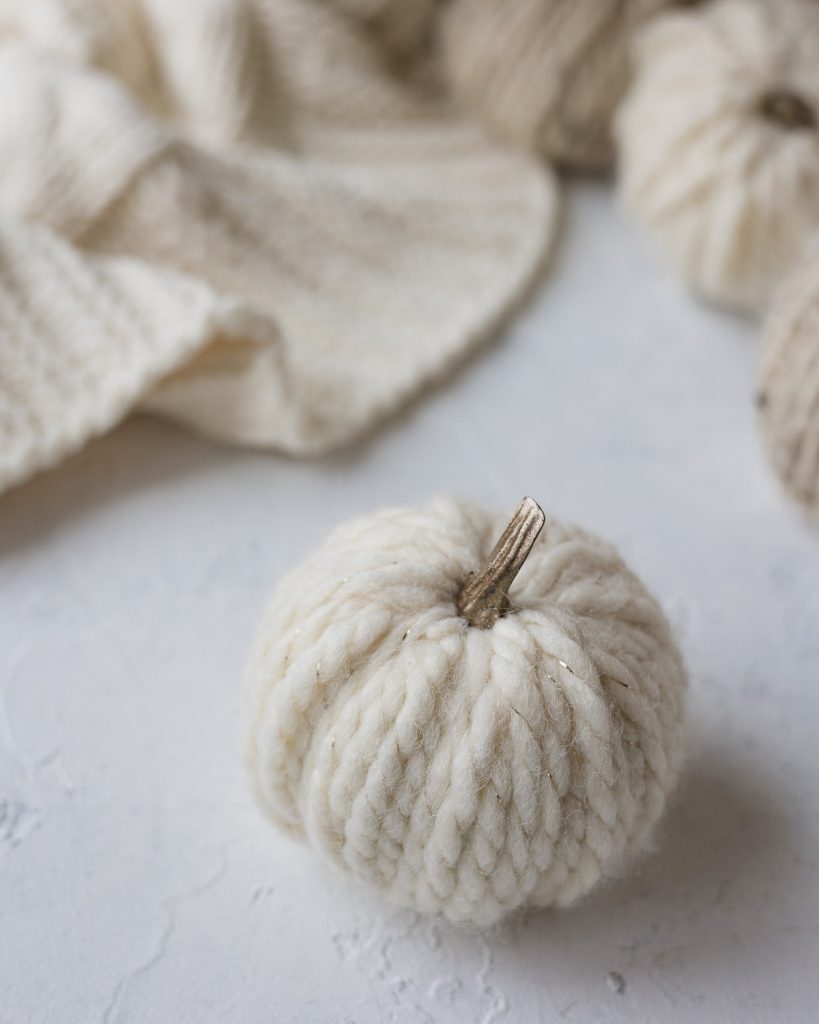
Repeat to make a field of pumpkins!
Happy crafting! ~Ellen
Craft with me! If you try this tutorial, tag me on Instagram or use the hashtag #BellewoodCottageCrafts. Watch my videos on YouTube and follow along on Pinterest for more ideas like this one!
More Crafts Like This
- How to Make DIY Sock Pumpkins + Video Tutorial!
- DIY Drop Cloth Pumpkins
- Chalk Painted Pumpkins Tutorial + VIDEO
- Mini DIY Ticking Stripe Pumpkins
Weekly Crafting Fun!
Join my list and get a weekly email with relaxing craft ideas, freebies, sewing tutorials, and more!

I have found it much easier to use an old apple cover to cut a hole through the styrofoam pumpkins. It has a serrated edge which cuts through the foam pumpkin from top to bottom and makes a nice size hole. This is much easier to manage with bulky yarn.