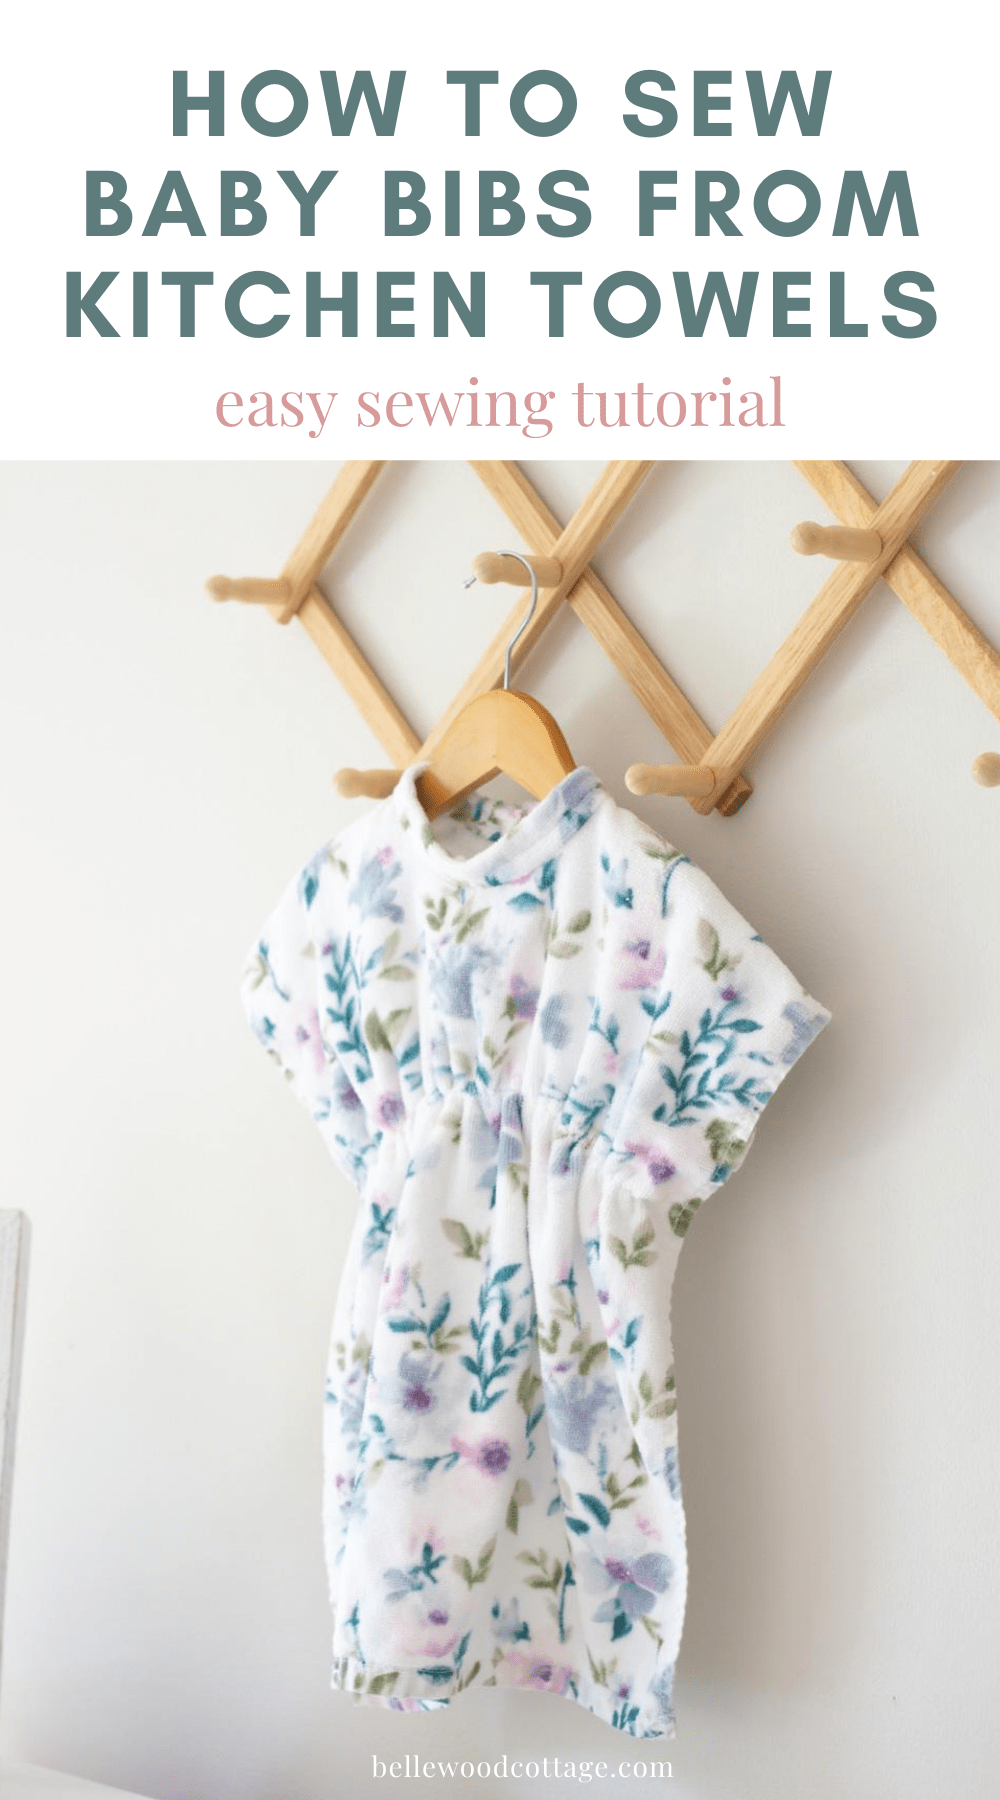
How to Sew Baby Bibs from Kitchen Towels
Want to learn how to sew baby bibs from kitchen towels? This simple sewing tutorial is a fast and easy project that makes an effective baby bib.
Please note that this post contains affiliate links which allow me to earn a small commission when a purchase is made at no additional cost to you. As an Amazon Associate I earn from qualifying purchases. Read more here.
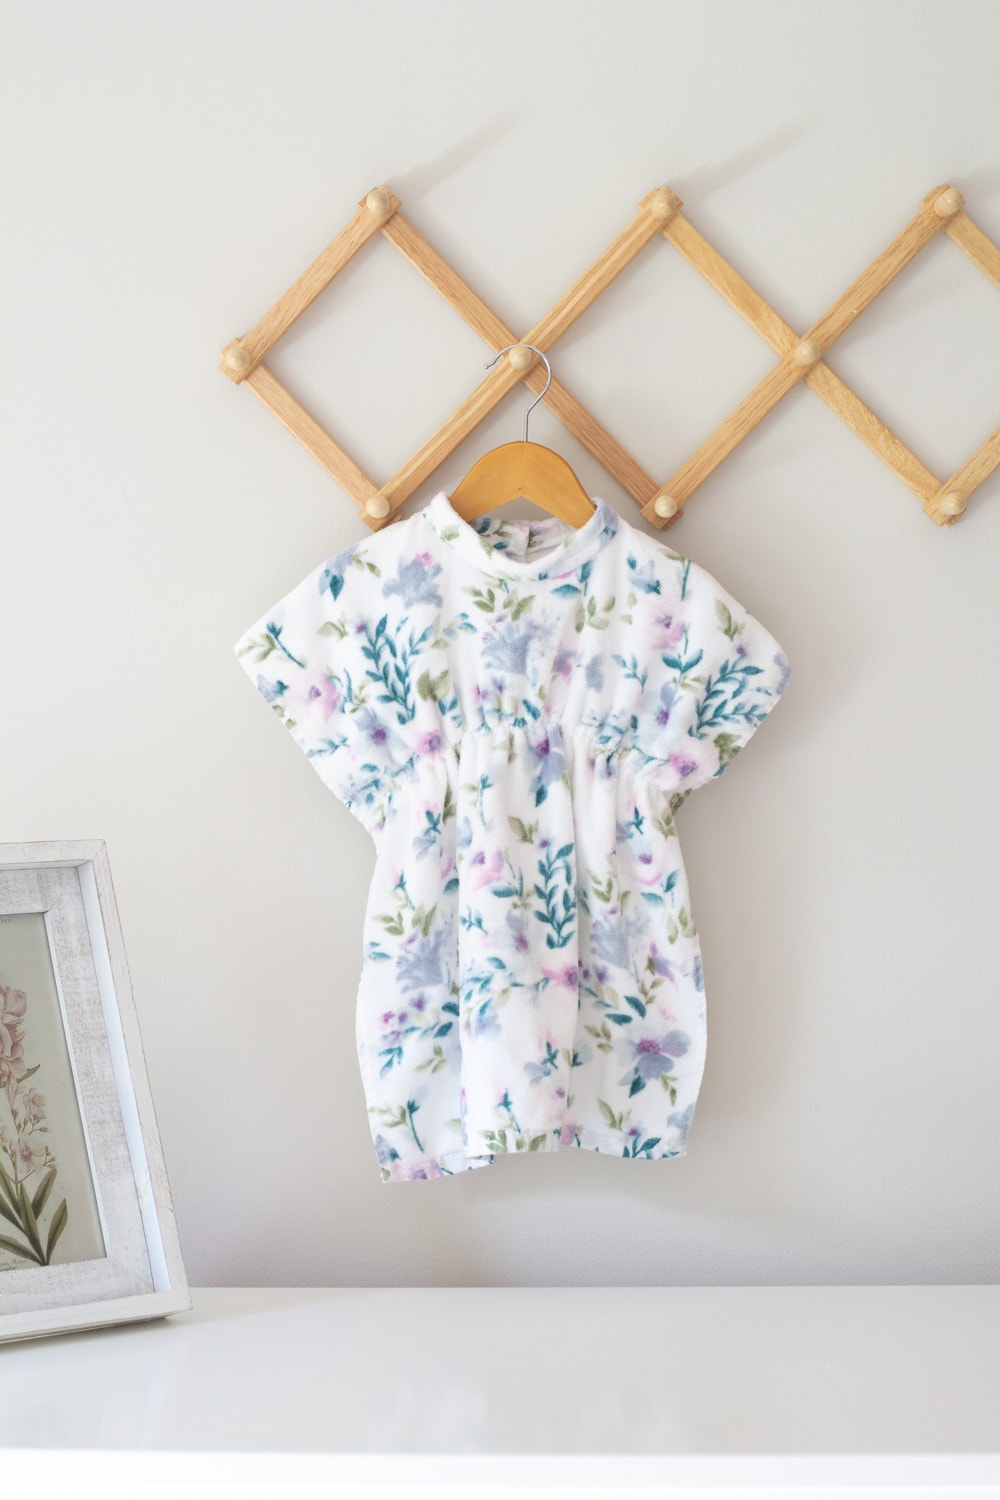
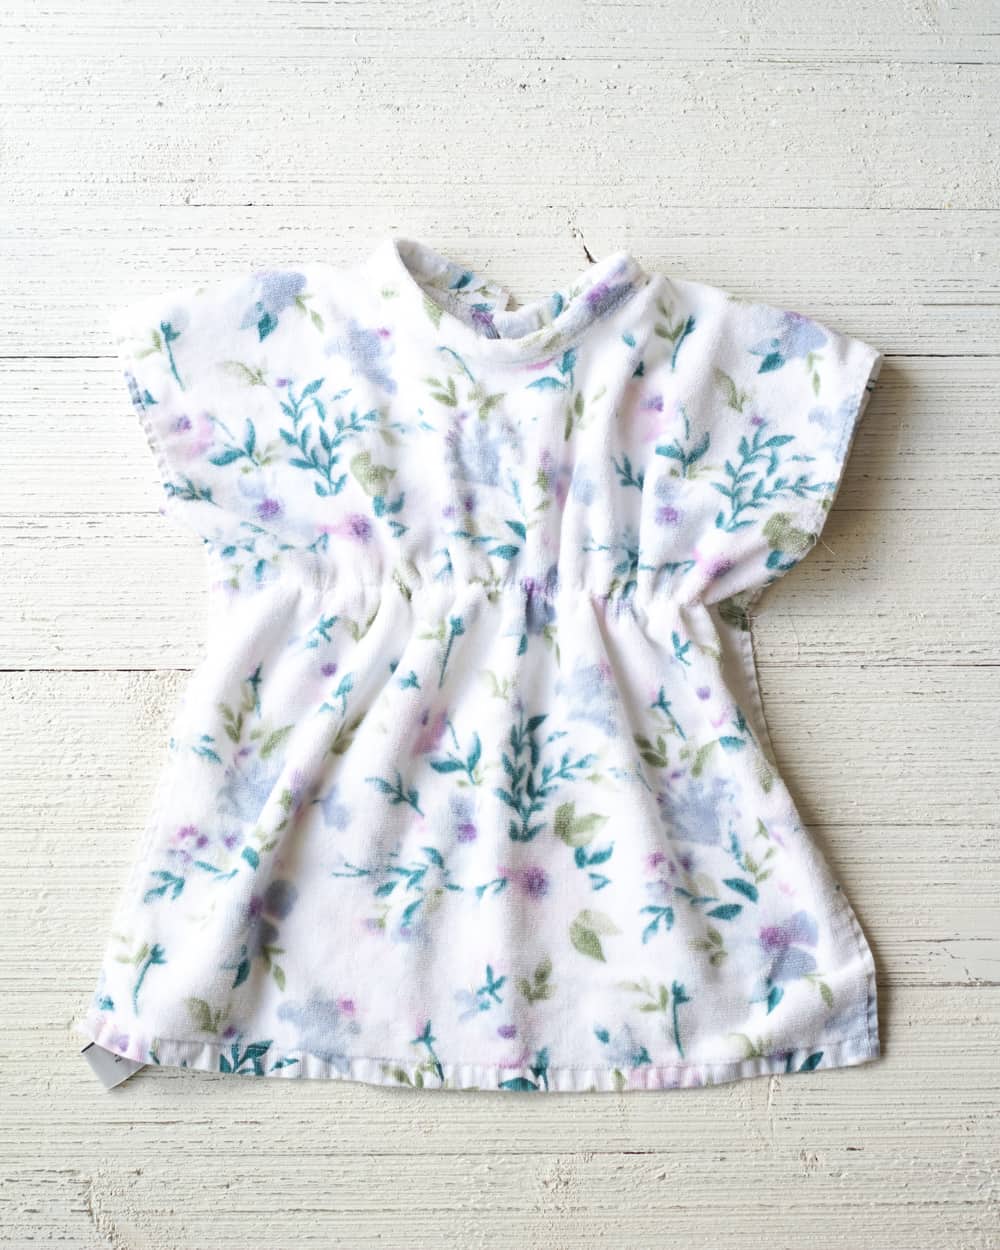
Wondering how to sew a kitchen towel into a baby bib? It’s easy! Once you have the method down, you can produce these very quickly. And the best part is they work SO well.
The coverage over a messy baby/toddler is fantastic. You can just scoop up the edge of the bib, remove the sleeves and slip it off your baby without adding any extra food particles to your floor.
Weekly Crafting Fun!
Join my list and get a weekly email with relaxing craft ideas, freebies, sewing tutorials, and more!
Joyful Homeschooling
Join my homeschooling email list to receive homeschooling ideas and encouragement straight to your inbox!
The absorbency is also a huge help when baby is chowing down on things like applesauce or yogurt.
Pro tip: Let really sticky stuff (oatmeal, rice, etc) dry a little and then brush it into the garbage before washing the bib. OR, thoroughly rinse the bib after eating and then launder promptly to prevent mildewing.
What Do You Need to Make These Baby Bibs?
To sew baby bibs from kitchen towels, you’ll grab a simple kitchen towel, trim off the top edge (which will later become the collar) and cut away a circle in the middle for the neckline. You’ll need a few additional supplies like a piece of elastic, a fastener, and sewing supplies.
Supplies for the Bibs:
- 1 Kitchen Towel 28.5”L x 17.5” W (see notes below)
- 1 Fastener (I prefer to use a piece of snap tape, but Velcro works too)
- 9” piece of ¼” wide elastic
- A small cup or bowl (about 4”) for measuring the neck area
Basic Sewing Supplies:
- Sewing Machine
- Needles
- Thread
- Washable fabric marker (I use a pencil in a pinch…it’s just a bib, the stakes are low!)
- Scrap paper
What Size Kitchen Towel to Use?
First off, always wash & dry your towel before starting to sew in order to account for any shrinkage!
I used a towel that measured 28.5”Lx17.5”W after washing (my towel actually did not shrink, but expect shrinkage and always wash/dry FIRST). You can certainly use a towel that is a bit shorter than that (you’ll get a shorter bib in the end), and longer is perfectly fine as well.
As far as width, I haven’t experimented with anything that is narrower than about 17-18”, but I would suggest sticking with that minimum for the best fit/coverage. Of course, if you find a towel that is a little wider, that should work fine too!
As far as material goes, I like to select towels that are on the thicker side for maximum bib success. Really thin flour sack towels make cute bibs, but they won’t hold up to the damage a toddler can do!
Are These Bibs Hard to Sew?
Not at all! I hope the video tutorial below helps you along, but I have assumed some basic sewing knowledge (using a machine etc.) in this tutorial, so don’t hesitate to reach out if you have any questions as you sew.
What Size Are These Bibs for?
Fits 6-18 months, about up to 25 lbs. If you aren’t sure, I suggest basting the armholes (before sewing the elastic on), trying the bib on your baby and then adjusting from there. It’s easy to lengthen the armholes and elastic placement a bit. Tip: You could also use safety pins to pin the arms instead of basting.
If you fear the bib will be too big, you can definitely adjust the collar/neckline, but babies grow SO fast that I like making the larger bib. It seems to fit new eaters just fine!
How to Use This Tutorial
At the bottom of this post you can go ahead and print the “recipe” card that I have available for you. OR, go ahead and just watch the video below and follow along with the steps!
How to Sew Baby Bibs from Kitchen Towels
How to Sew Baby Bibs from Kitchen Towels
Want to learn how to sew baby bibs from kitchen towels? It’s a fast and easy project that makes an incredibly effective baby bib. This simple sewing tutorial will help you make the perfect baby bibs in no time at all.
Ingredients
- 1 Kitchen Towel 28.5”L x 17.5” W, See notes regarding towel size.
- 1 Fastener , Snap tape is my favorite, but Velcro works too.
- 9 inches ¼” wide elastic
- Small cup or bowl , (about 4”) for measuring the neck area
- Matching Thread
- Sewing Machine
- Needles
- Washable fabric marker , (I use a pencil in a pinch...it's just a bib, the stakes are low!)
- Scrap paper
Instructions
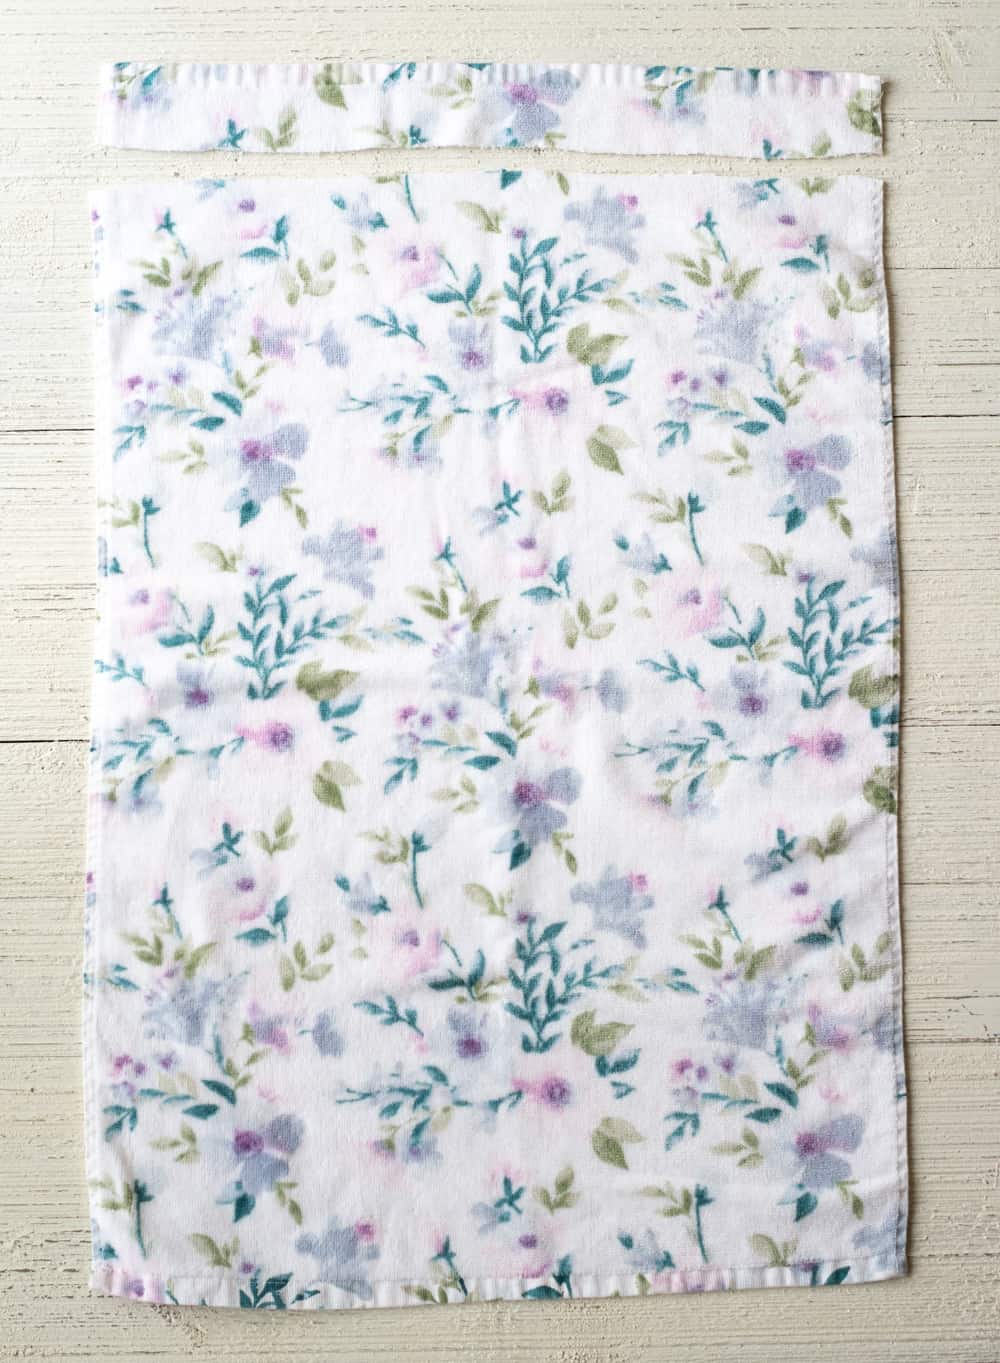
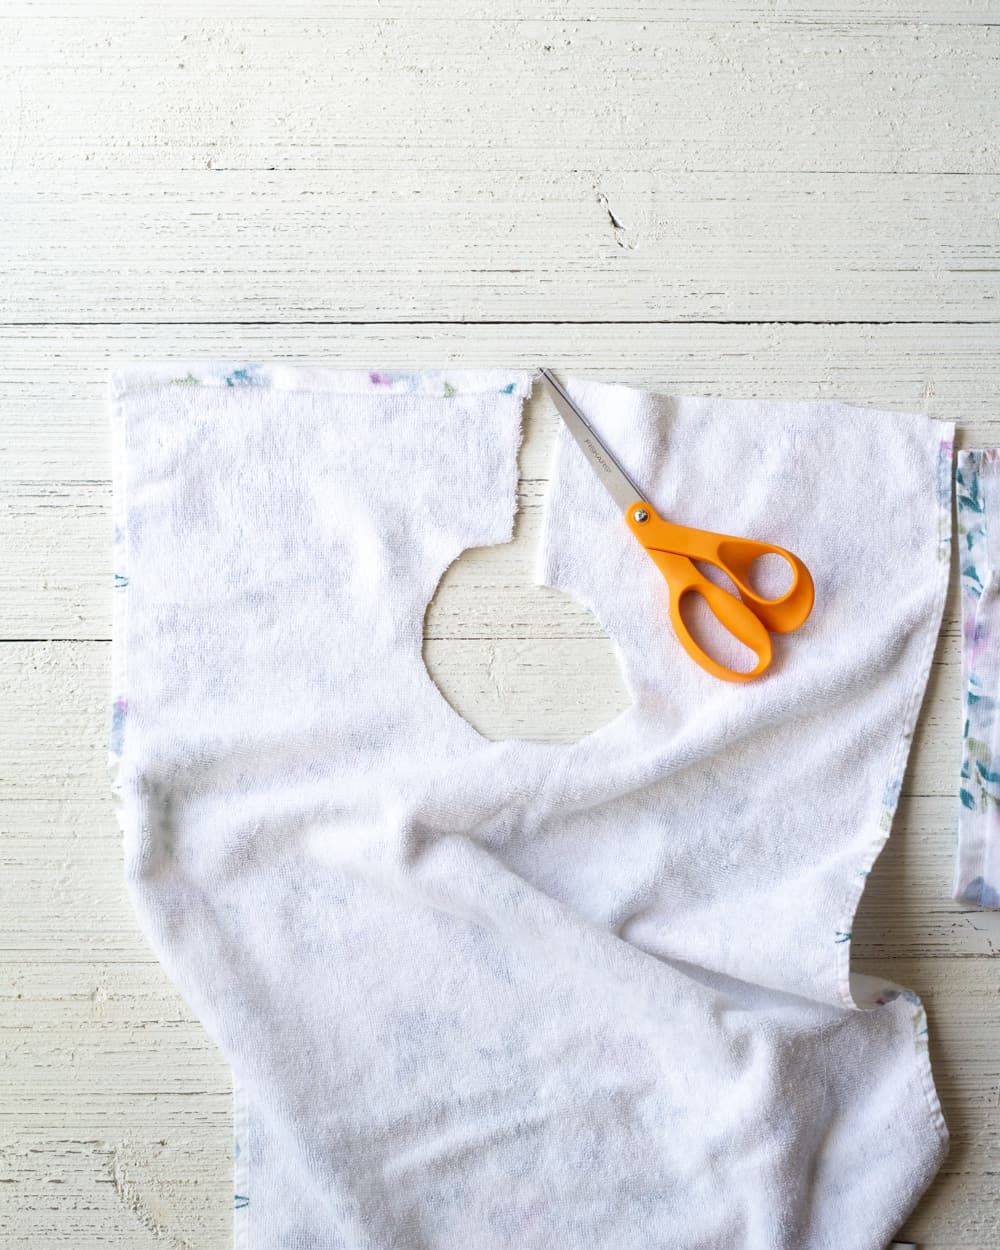
- Lay your towel out flat and measure and mark a horizontal line 2" down from the top horizontal (short) edge. Carefully cut away this strip of fabric and set aside (it will later become the neckline/collar).

- Fold your towel in half lengthwise (hotdog fold) to locate the center of your bib. Make a small cut to mark the center and open the bib back up. Using that cut, mark a vertical line that continues 4.5” down from the top edge of the bib towards the middle. Cut this line.
- Prepare a simple circular template by grabbing a round object (bowl, cup, mug, etc) and trace around it on a scrap piece of paper to create a 4.25” diameter circle. Cut this out and double check that the diameter is correct.

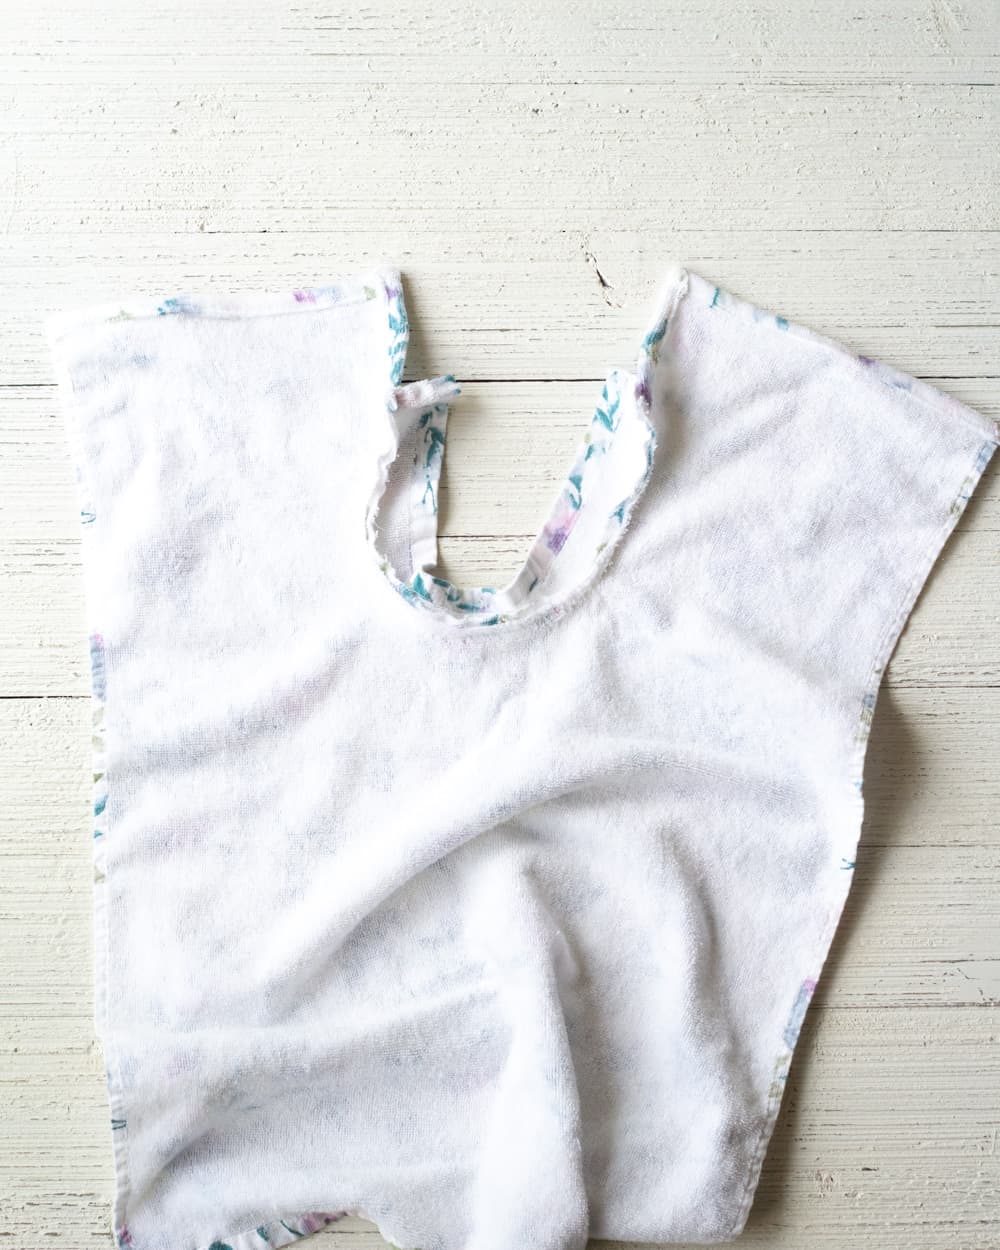
- Place your circle template at the edge of the vertical line you cut in step 2. Trace around the template and then carefully cut away the fabric. This creates the neckline/collar area.

- Now it's time to hem the raw edges. Ignore the curved collar area for now. Starting with the top raw edges, fold 3/8” of the edge under and then 3/8” under again to create a folded hem on the top edges. Stitch these hems. Trim away a small corner of the seam allowance (on the short side raw edge) to prepare for repeating this step on the next raw edges. On the short edges, fold fabric under onto the wrong side 3/8” and 3/8” again to create a folded hem. Stitch.

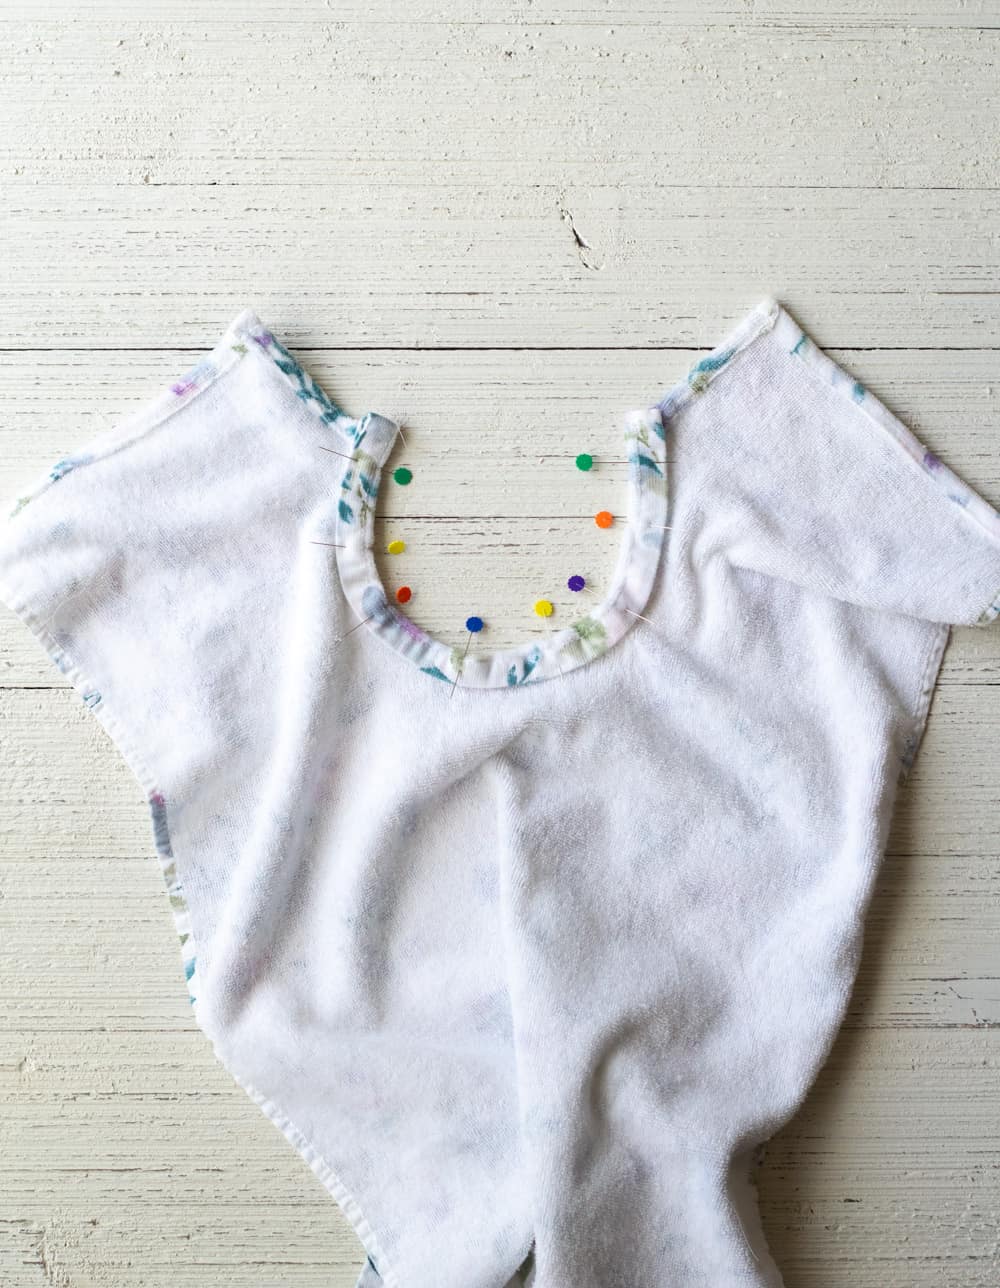
- Sew the collar: Because the collar piece was trimmed from our towel, we have some finished seams to take advantage of. You’ll pin right sides & raw edges together, but you’ll have a bit of leftover fabric at the end of pinning the collar to the neckline.
- This edge will be hemmed and then pinned down. Here's how:
- Grab your 2" wide strip of towel we trimmed in the beginning and locate the raw edge. With right sides together and matching the starting edges of the bib and the collar, pin the collar along the neckline area. When you are almost to the end, finish pinning and then trim the excess of the collar leaving about 1”. Hem this excess piece making sure that it matches up with the edge of the neckline. Pin it down. Using a 3/8” seam allowance, stitch around the collar to secure it to the bib.
- Now we get to take advantage of another finished edge! The edge that was once the top of our bib will get folded down and stitched to finish the collar. Make sure your seam allowance from the previous step is folded up along the collar area. Now, fold the collar down in half, covering the seam allowance with that original finished edge and pin. Stitch, being sure to keep the seam allowance enclosed.

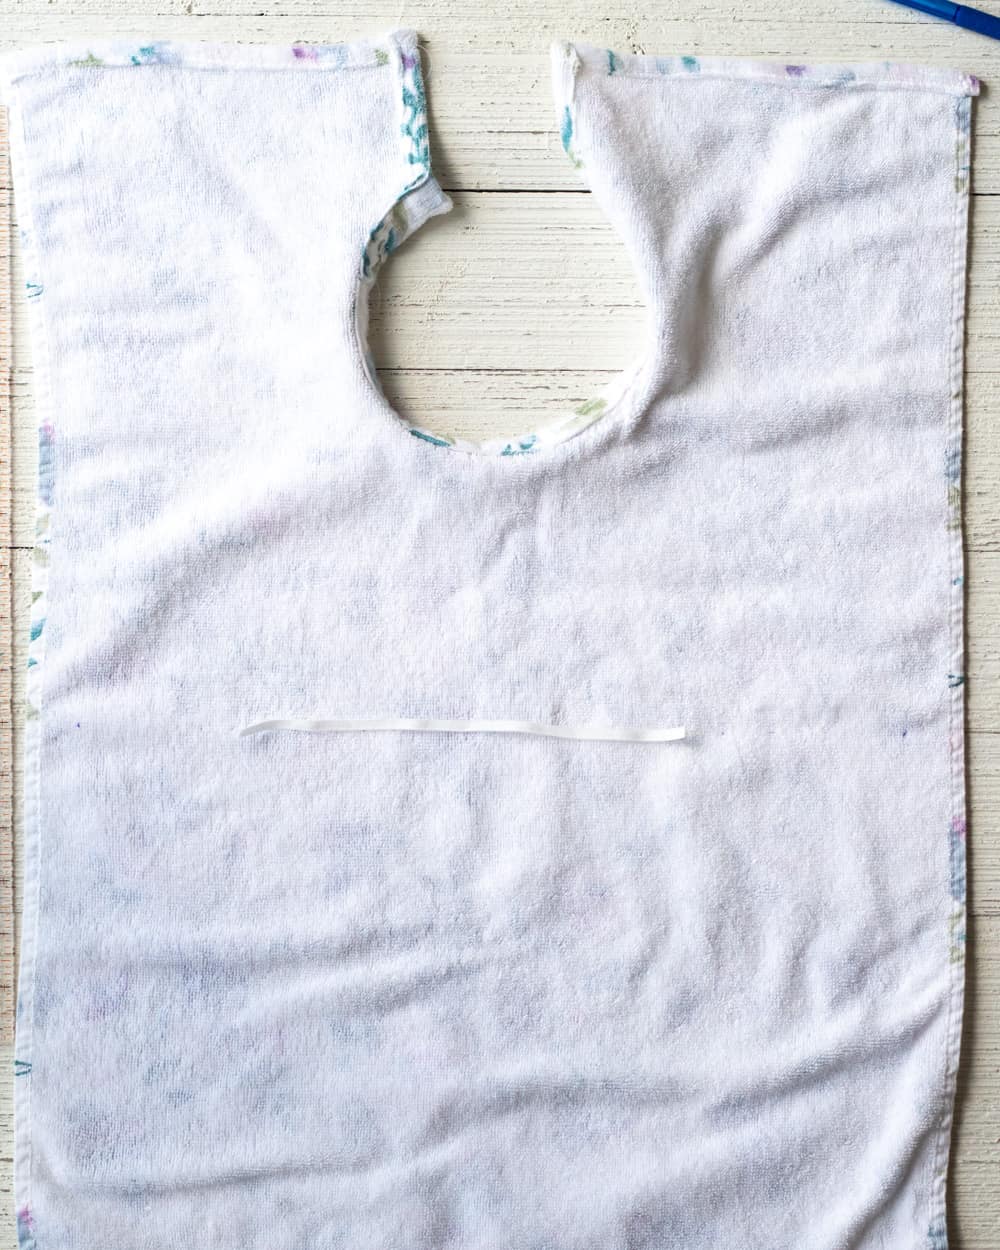
- Cut a 9” piece of ¼” wide elastic.
- Measure vertically down from the top edge of the bib and mark down 13” on each side of the bib. You can use a ruler to draw this line all the way across the bib if you wish. This line is where the elastic will go.
- Add the waist elastic: Use the 13” line you marked to guide you in where to place the elastic. Starting the piece 1” into the side of the bib tack it down with your machine, back and forward. Now stretch the piece alllllll the way across that line until the opposite edge of the elastic meets the opposite side of the bib (again, you will leave a 1” allowance on this side of the bib too). Stitch the elastic while continuing to stretch and hold it down. Take your time.
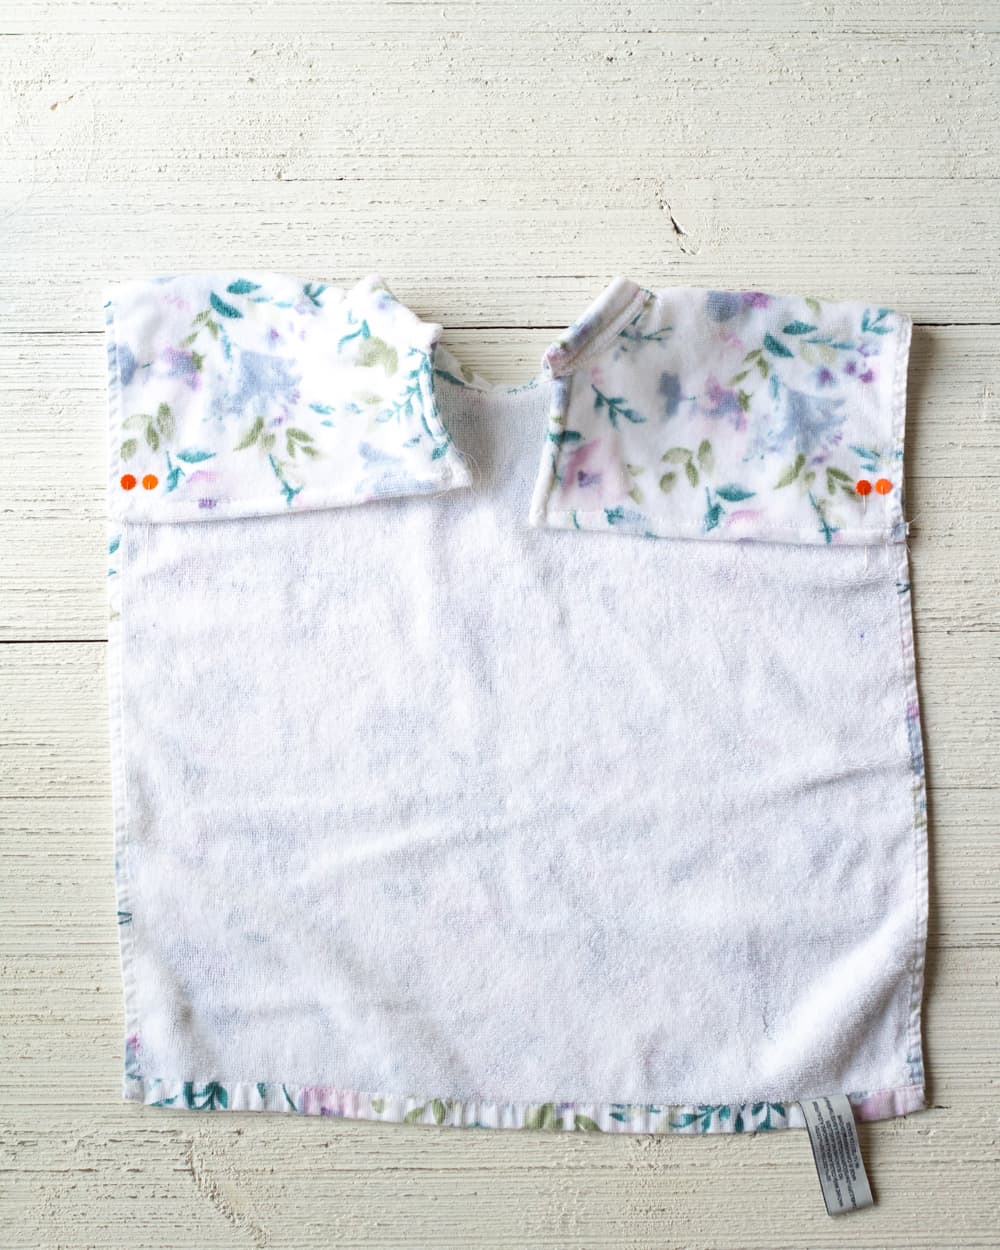
- Mark the armholes: Measure vertically down from the top edge of the bib 11” on each side. Mark this spot.
- Fold the top edges down to the middle of the bib (wrong sides together) and stitch a ½” of stitching on each edge to secure arms.
- Add your fastener: If you want to use a snap, use a piece of snap tape to avoid needing additional reinforcement. It's simple to trim snap tape for 1-2 snaps and stitch the tape onto the bib.
- Velcro is also a good choice, although it’s a lot easier for toddlers to pull their bib off if it’s secured with Velcro! If you choose to use it, cut a 2” strip of 5/8” Velcro. Apply the soft side to the side of the bib that will go OVER the other side.
- Trim any excess threads from sewing and enjoy your bib!


Notes
A note about bulky seams: Because we are working with a towel that is already factory finished, sometimes the seams can get pretty bulky. Trim away allowances if you need to and sew slowly and carefully.
Starting to stitch in the middle of a seam out towards the bulky areas (rather than beginning to stitch right on them if they are the beginning of a seam) can help if needed.
What Size Towel to Use?
First off, ALWAYS wash and dry your towel before sewing to account for any shrinkage!
I like using towels that are at least 28.5"Lx17.5"W after washing. You can certainly use a towel that is a bit shorter than that (you’ll get a shorter bib in the end), and longer is perfectly fine as well. As far as width, I haven’t experimented with anything that is narrower than about 17-18”, but I would suggest sticking with that at a minimum for the best fit/coverage. Of course, if you find a towel that is a little wider, that should work fine too!
Finished Bib Size: Fits 6-18 months, about up to 25 lbs. You can also adjust (lengthen) the armhole and elastic placement a bit so the bib will fit a taller kiddo, but this will take fabric away from the "apron" area of the bib.
Nutrition Information:
Yield:
1Serving Size:
1 gramsAmount Per Serving: Unsaturated Fat: 0g
More from Bellewood Cottage
- DIY Muslin Swaddle Blankets
- How to Sew Burp Cloths for Baby
- The Best Baby Board Books to Buy or Gift
- 5 Reasons Why Your Baby Needs a Copy of Dear Zoo | Board Book Review
- Newborn Baby Essentials Checklist for Months 0-3
Weekly Crafting Fun!
Join my list and get a weekly email with relaxing craft ideas, freebies, sewing tutorials, and more!