How to Style a Hutch for Spring
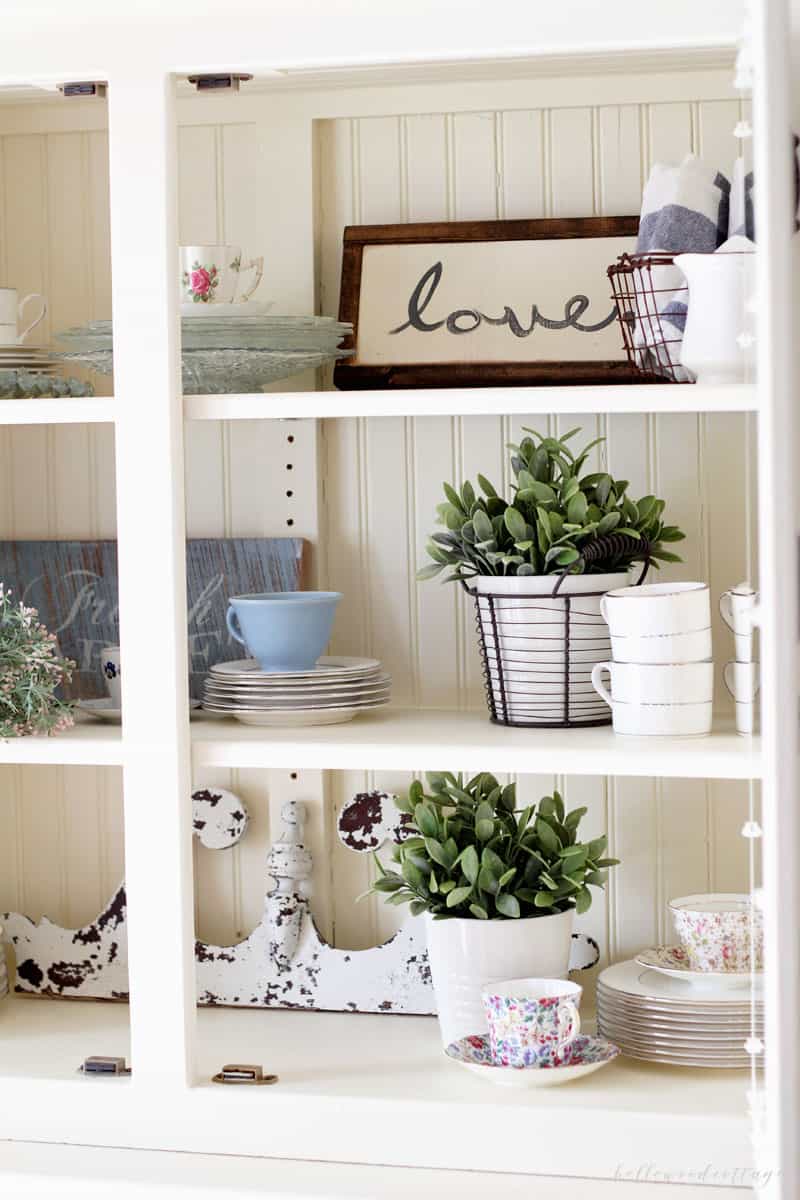
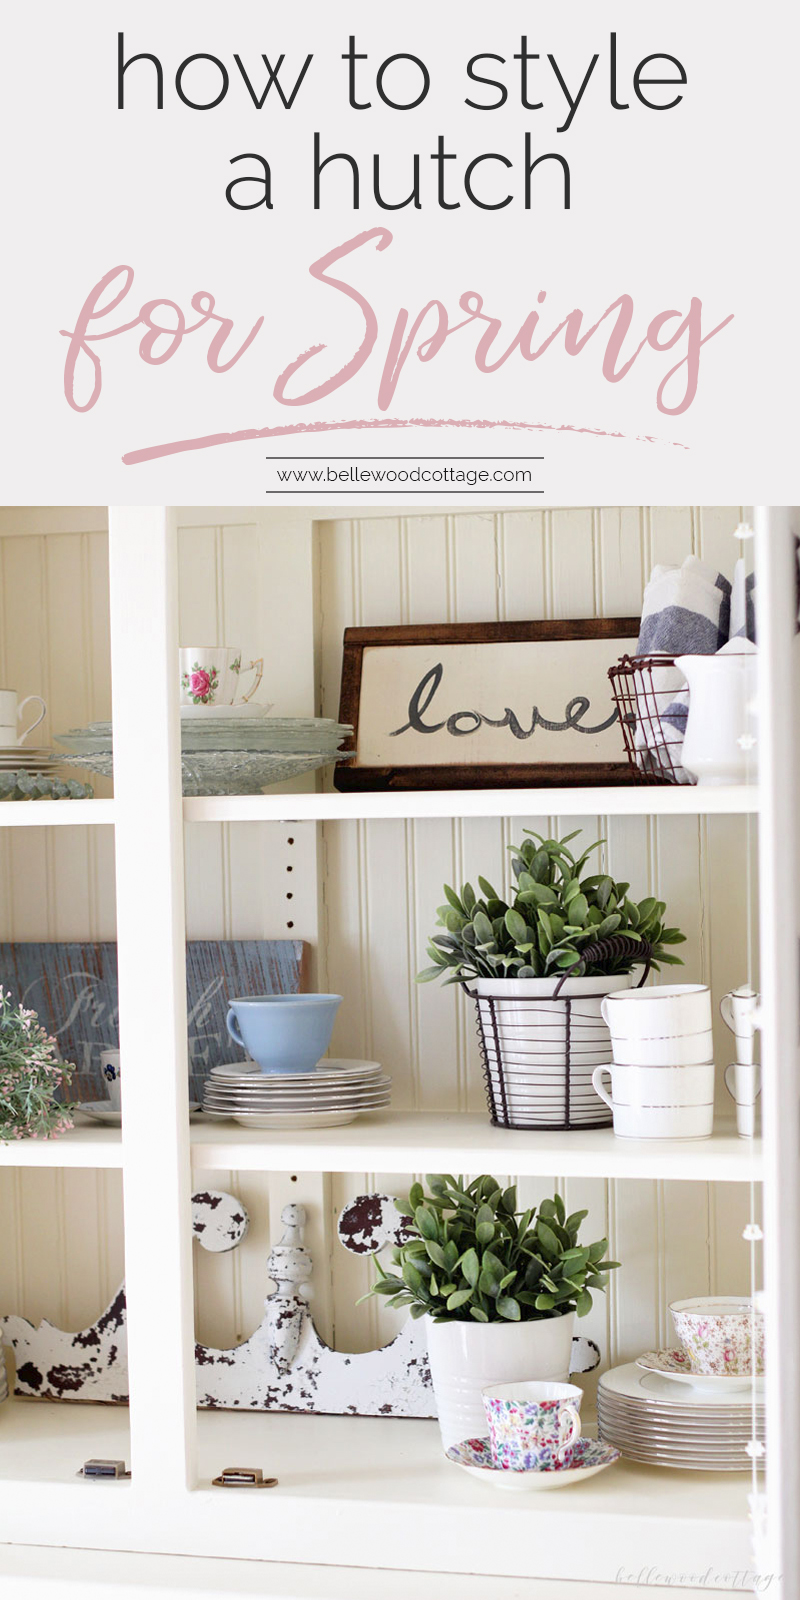
The weather might not be cooperating, but that doesn’t mean we can’t get spring started inside our homes. I had fun this week updating my hutch a little bit and am excited to share with you how to style a hutch for spring!
How to style a hutch for spring
Please note that this post contains affiliate links which allow me to earn a small commission when a purchase is made at no additional cost to you. Read more here.
I always start with my Lenox china, given to me by my grandma when my husband and I got married. It’s a lovely set, and it’s fun to enjoy it (though admittedly we don’t use it all that often!). At least it looks good, right?
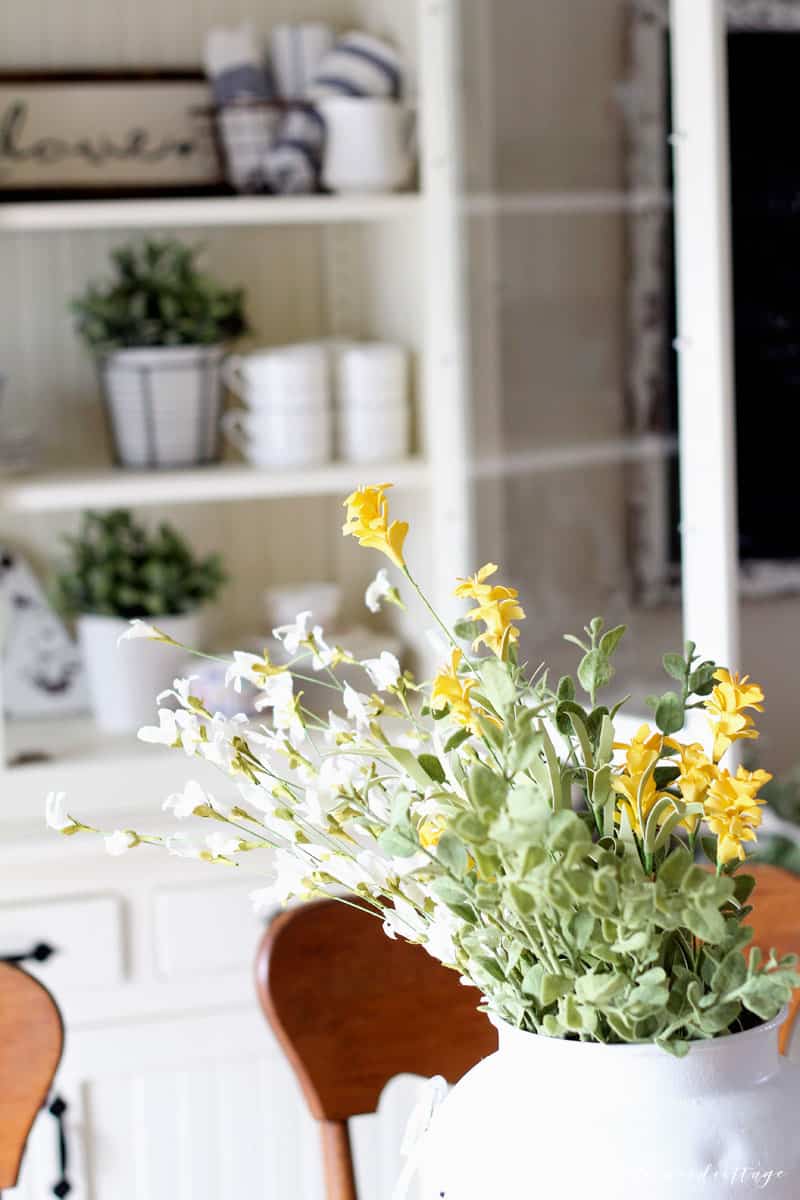
I eventually would love to fill the remaining space with some gorgeous antique ironstone, but since it’s hard to come by in MN (and $$$), I just work with what I have.
If you are starting from scratch to fill a hutch, I would pick one main color and then work in some accents around that. It looks a lot more cohesive if you can stick with one color versus just adding aaaaall the dishes in. And yeah, obviously, pick the pretty stuff. No plastic dishes or sippy cups here!
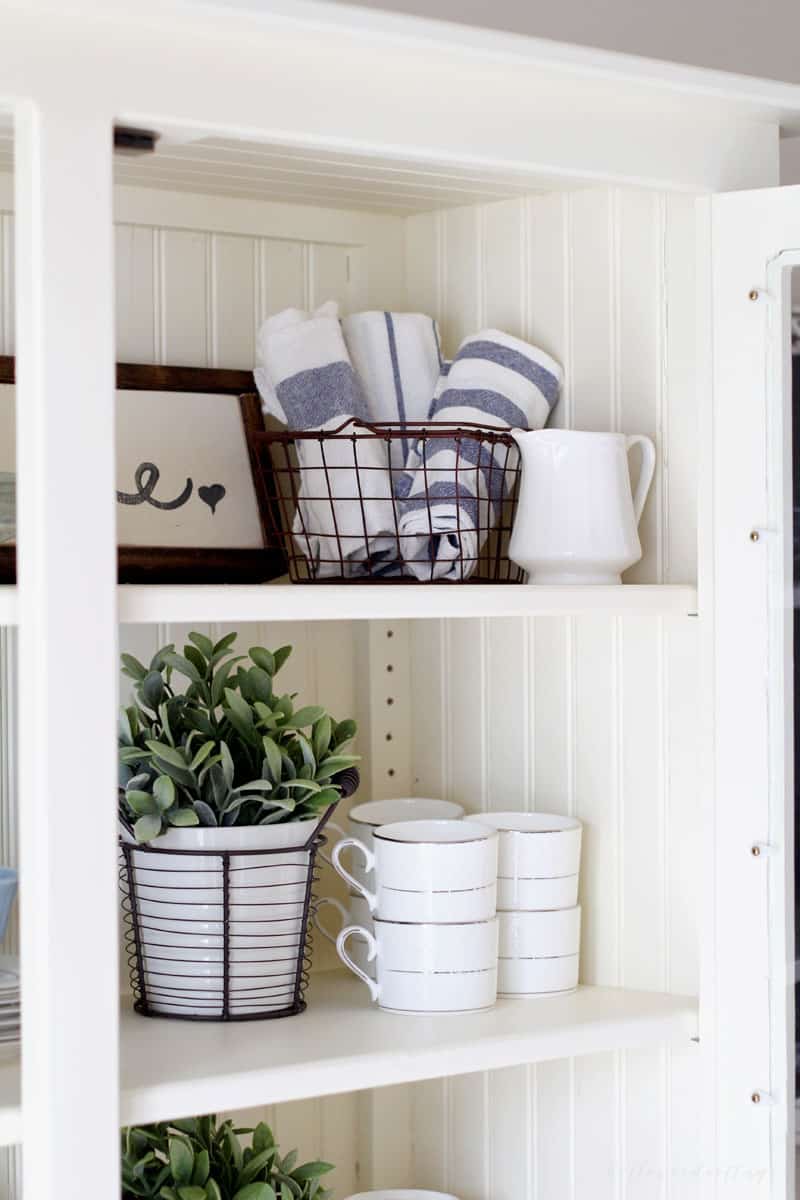
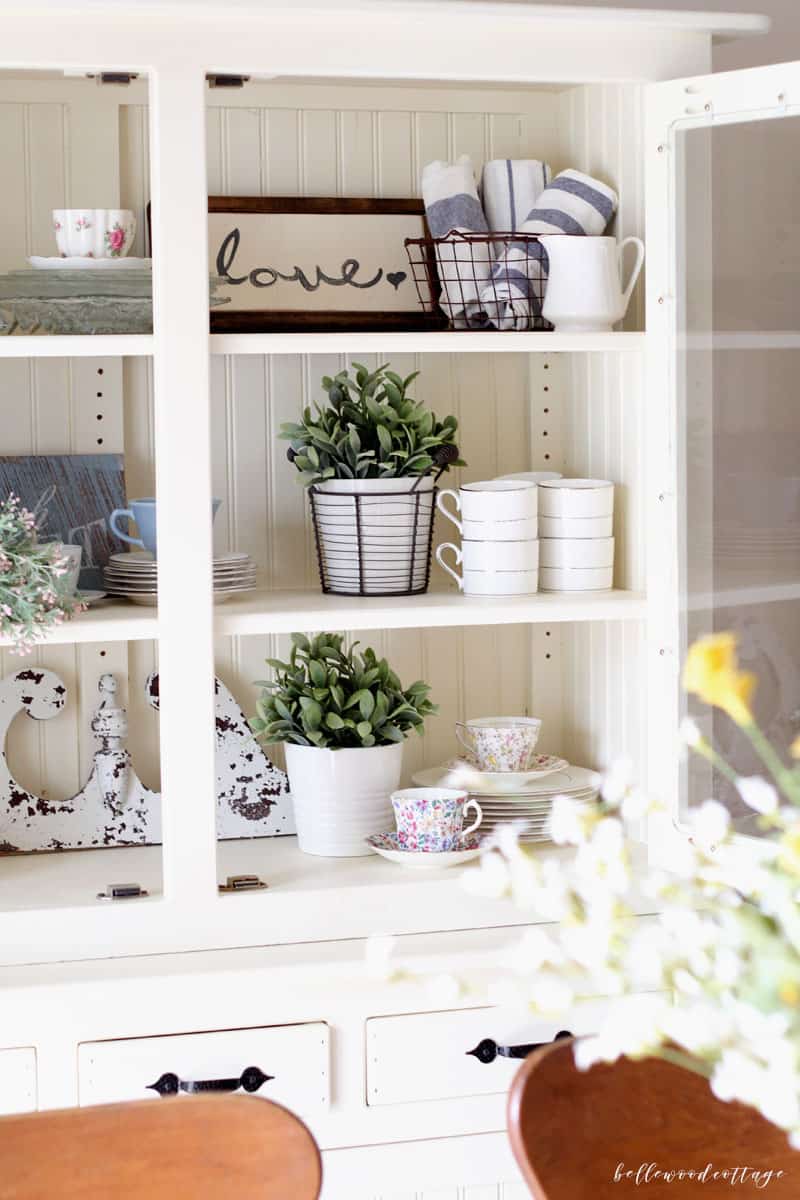
After I stacked and arranged the china/dishes, I just added in some simple greenery. The natural green plants (if you can call fake plants natural??) give some depth and help it look like spring. And of course you know I had to include my trusty IKEA plants. Seriously love these little guys. If you don’t own a few, I can’t recommend them enough. They are a bright pop of spring without requiring any babying at all. Well, I mean you could dust them now and again. But totally your call.
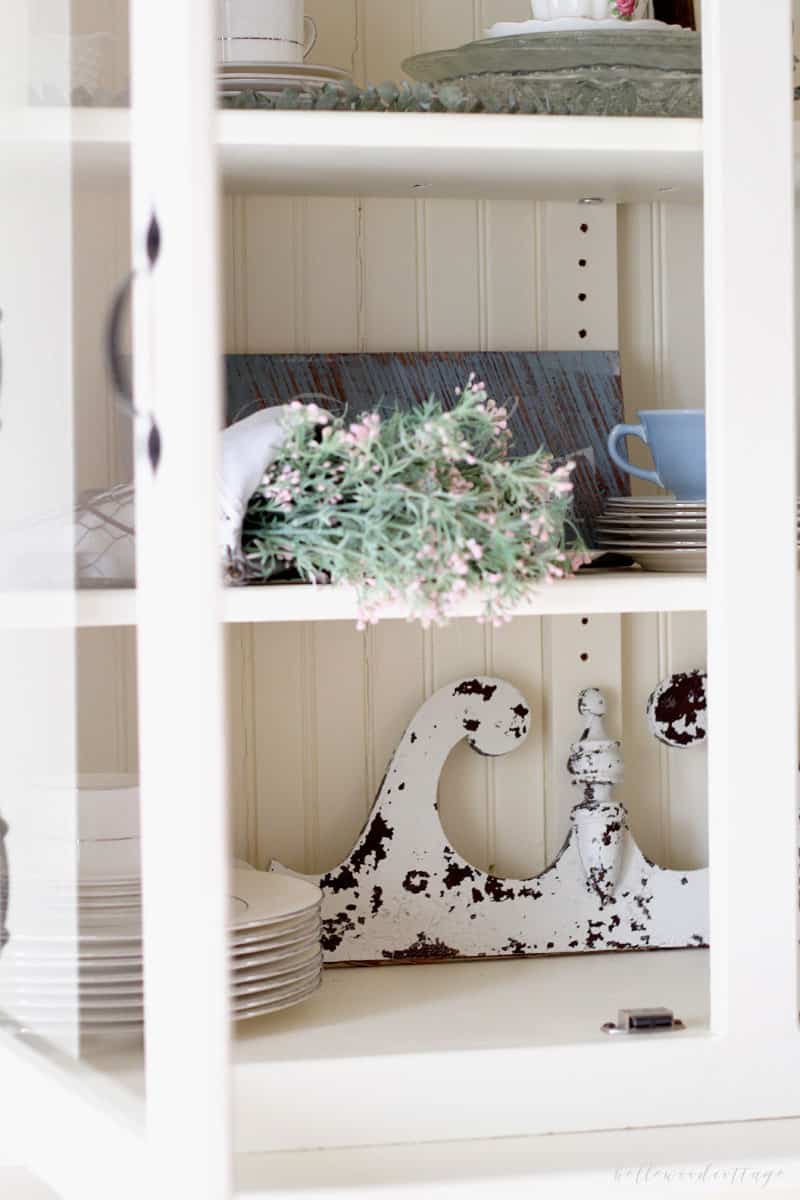
Besides the IKEA plants, I also filled a hanging basket with a fluffy stem full of tiny pink flowers from Michaels. I just laid the basket on the shelf and let the flowers fall off the edge of the hutch. To hide the stem, I just wrapped it with a lace-trimmed cloth napkin.
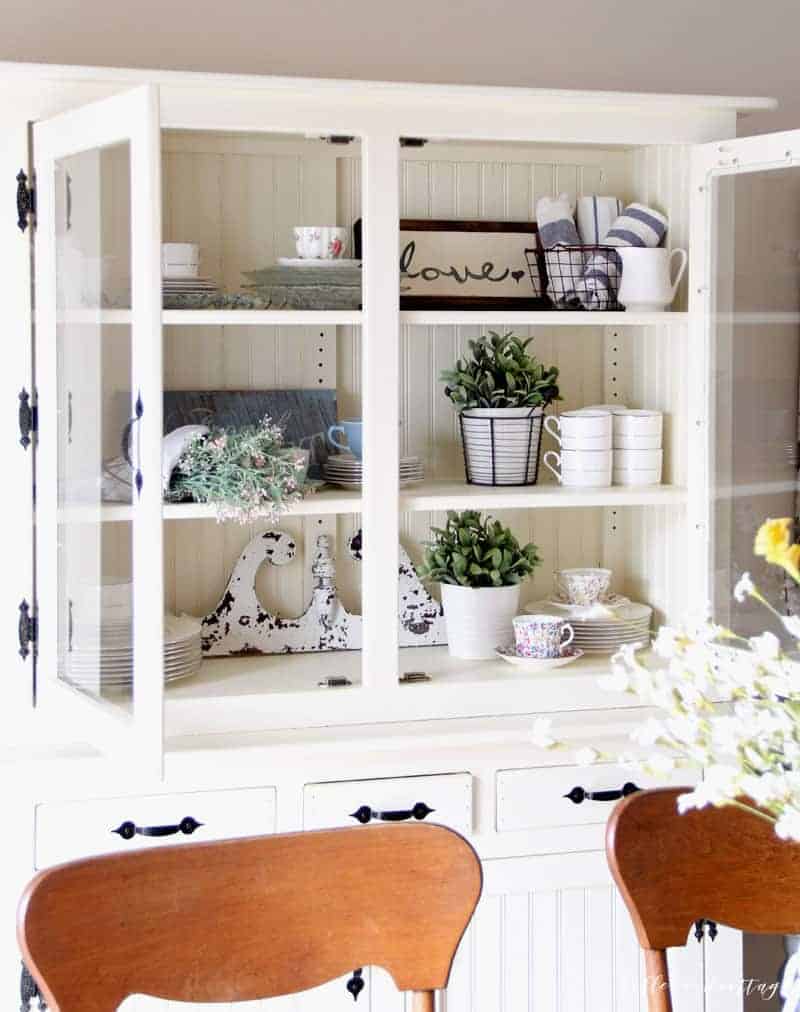
Finally I added some signage and a cool architectural piece that you might remember from when I made my mirror-to-chalkboard project. We were able to snap it off the top of the mirror and I think it looks SO much better on its own. And in the background, ha!
One final tip to style a hutch
Whenever you finish adding all your goodies into the hutch, I would just take a step back and remove one item. You know, like the great Coco Chanel recommended for dressing stylishly. Remove some of that bling before leaving the house! It really does make a difference.
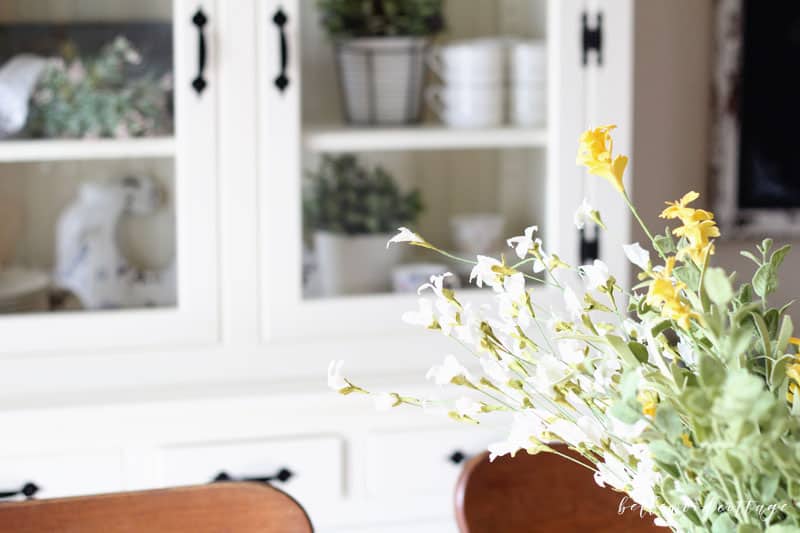
In this case I had some dried lavender filling a few mini pitchers/vases. It wasn’t overkill by any means, but it added another color/texture and the whole look was far more streamlined without it. So, edit. It’ll do ya good!
If you’d like to shop some similar items to what I shared in my hutch, you can check out the slider below. Otherwise, I’d love to hear how you are decorating for spring in your own home!
Pin it here!
