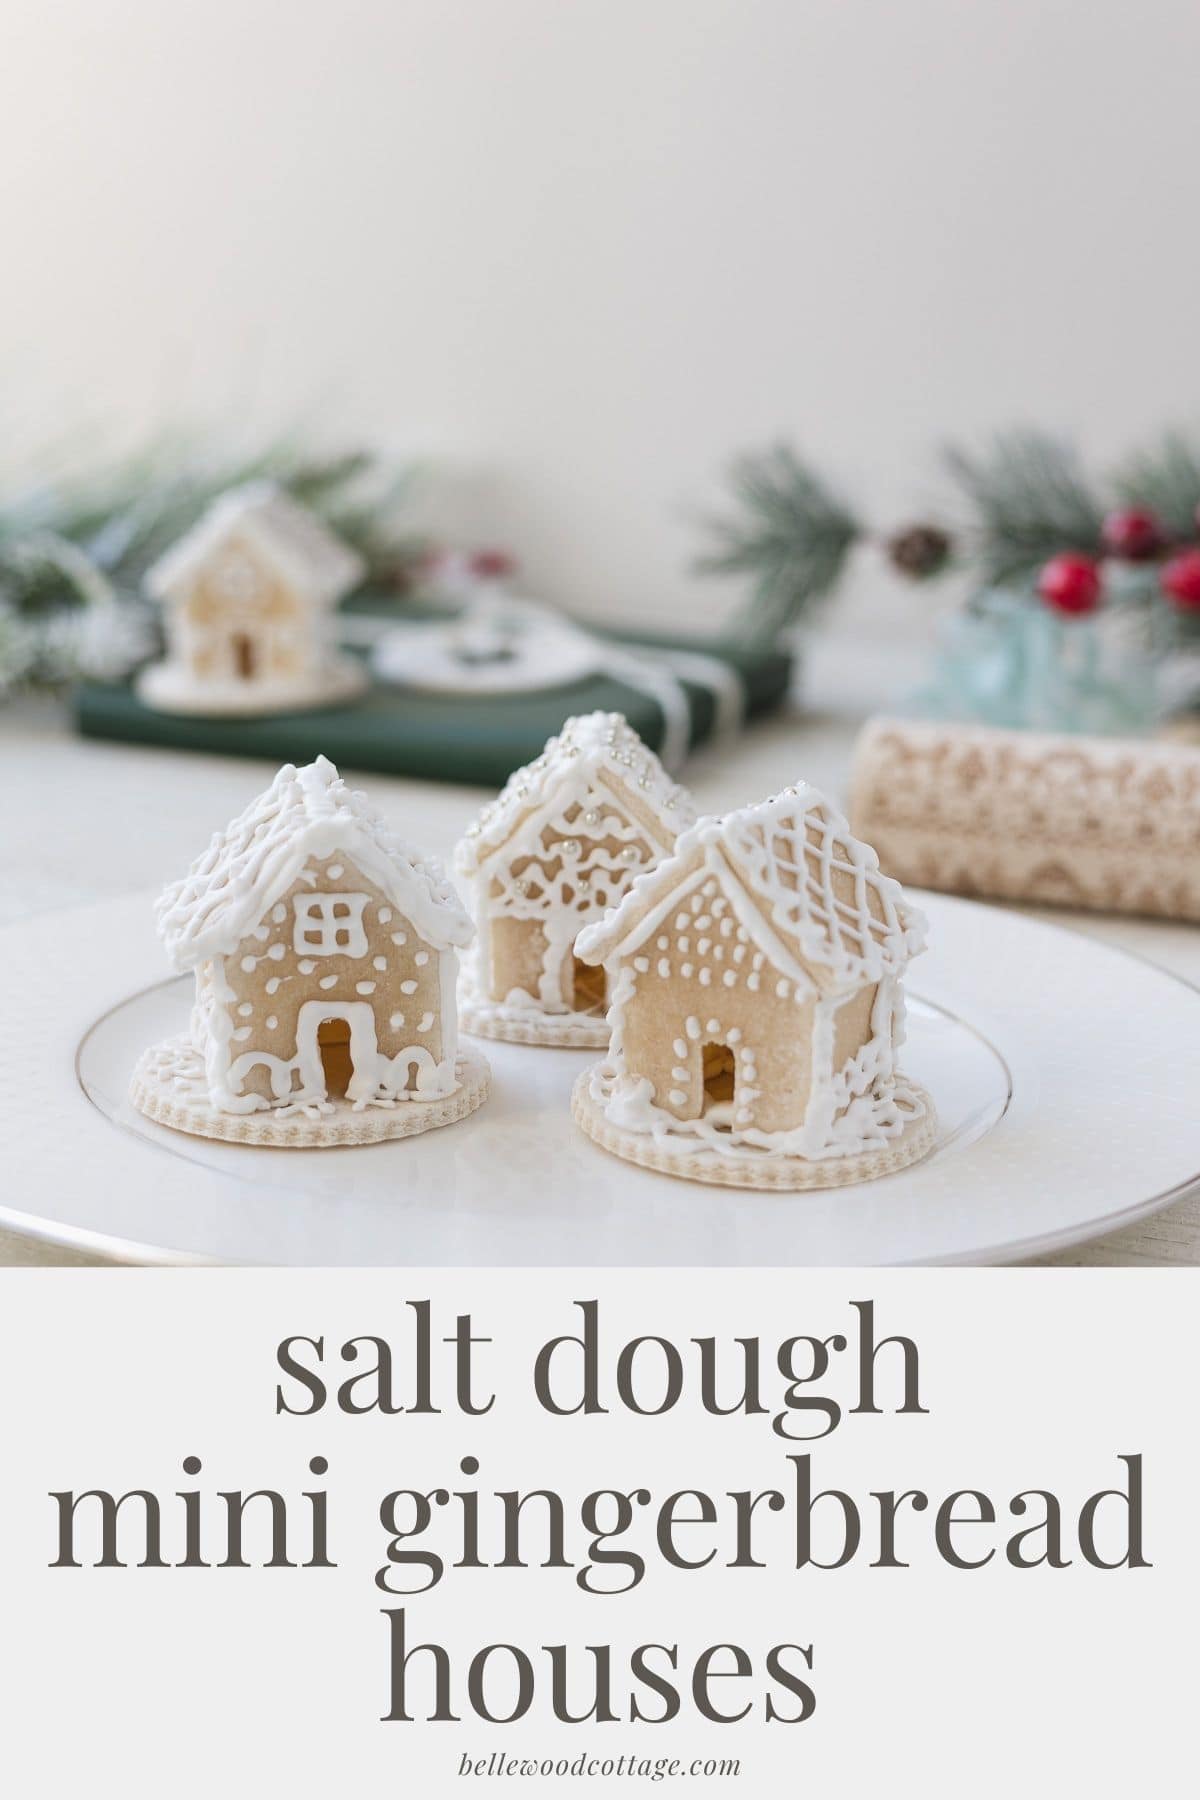
Mini Salt Dough Gingerbread Houses
Looking for an easy way to create gingerbread houses this holiday season? These miniature salt dough gingerbread houses make the process a breeze. The simple salt dough recipe shortens the time commitment substantially (just three ingredients!) and these houses look so cute under a cake stand on a Christmas table. Next up: Don’t miss these easy Salt Dough Hearts for Valentine’s Day!
Please note that this post contains affiliate links which allow me to earn a small commission when a purchase is made at no additional cost to you. As an Amazon Associate I earn from qualifying purchases. Read more here.
Love decorating for Christmas? But also, short on time or energy? This simple craft is for you this holiday season.
These “gingerbread houses” are quick, low-stress, and rewarding. I’d seen mini gingerbread houses around the internet before, but when I saw Miss Mustard Seed’s beautiful salt dough gingerbread houses, I knew I had to try making some myself.
Weekly Crafting Fun!
Join my list and get a weekly email with relaxing craft ideas, freebies, sewing tutorials, and more!
I thought the idea of using salt dough was just brilliant! Half the fuss of making gingerbread is dealing with creating the cookie pieces, right? Reading recipe reviews, shopping for ingredients, carefully trimming and assembling the house. And you haven’t even started decorating yet!
Using the salt dough makes the whole process far more streamlined. It’s only three ingredients! Plus, you can save the houses for next year (see my suggestions about that at the end of the post).
Do note that these are mini houses (another vote in their favor I think). If you really want the large traditional gingerbread house, then opting for the traditional gingerbread + royal icing might be your best bet!
Also, I think this project is best suited to adults or teens. The mini size and the delicate construction makes creating the houses a little fiddly. I found it WAY more relaxing than a typical gingerbread house, but I love working on tiny projects!
How to Make Mini Salt Dough Mini Gingerbread Houses
I did things a little differently than Marian’s tutorial I referenced earlier, so I’ll walk you through the process I used to create these little houses from scratch.
Salt Dough Recipe to Use
Marian created her mini houses with a cinnamon salt dough recipe. This gave the houses a pretty gingerbread appearance. I wanted to try a lighter house (much like the beautiful sugar cookie house from Zoë François).
I went with my standard salt dough recipe and used maybe 2/3 of the dough to cut five houses (and the bases) with scraps leftover.
Note: It probably goes without saying, but salt dough is NOT edible.
Template for Mini Gingerbread Houses
For the miniature house template, I thought about drawing up my own, but then I found this excellent template from Baked Ambrosia. The size was quite small which is what I wanted (tip, you can also adjust the printing percentage before printing to make templates larger/smaller if desired).
After printing, I cut out the template.

Prepping the Salt Dough Houses
I mixed up the salt dough and rolled it to about 1/8″ thick. Then, using the template I’d cut earlier, I sliced out the pieces for five houses with a butter knife.
I often like allowing salt dough to air dry so the salt appears on both sides, but you can also bake it. With baking I usually end up with a “salty” (white) side and a “sugar cookie” (light brown) side.
For these houses, I baked the pieces and planned to use the “sugar cookie” side to make the houses.
At the same time I cut out the gingerbread houses, I also cut five bases with a round cookie cutter (about 3″).

Icing to Use
See notes at the end of the post about building these houses to last permanently.
For icing, I used Food Network’s royal icing recipe. It was a breeze to make. I made the whole recipe, but only needed a small amount. You could make half (or even less).
Now, I’ll mention this again later, but the icing was excellent for constructing the houses. It was easy to build and decorate with. No toppling houses or anything like that.
However, I realized after the icing had dried thoroughly how delicate it remained. I accidently brushed off a whole side of decorations with a touch of the hand and that clued me in to the fact that the icing (though strong itself) hadn’t adhered well to the salt dough.
It seemed to be sitting on top of the dough which was not ideal. Both for lasting through the Christmas season or storing for later. So, if you want more sturdy houses, I’ll provide more thoughts on possible alternatives in just a bit.
Constructing
Before getting started with construction and decorating, I prepared two small icing bags. I used small disposable sandwich baggies and cut the tiniest hole in the corner of one and a slightly larger hole in the other. I marked the top of the bags with a permanent marker to remember which bag was which.
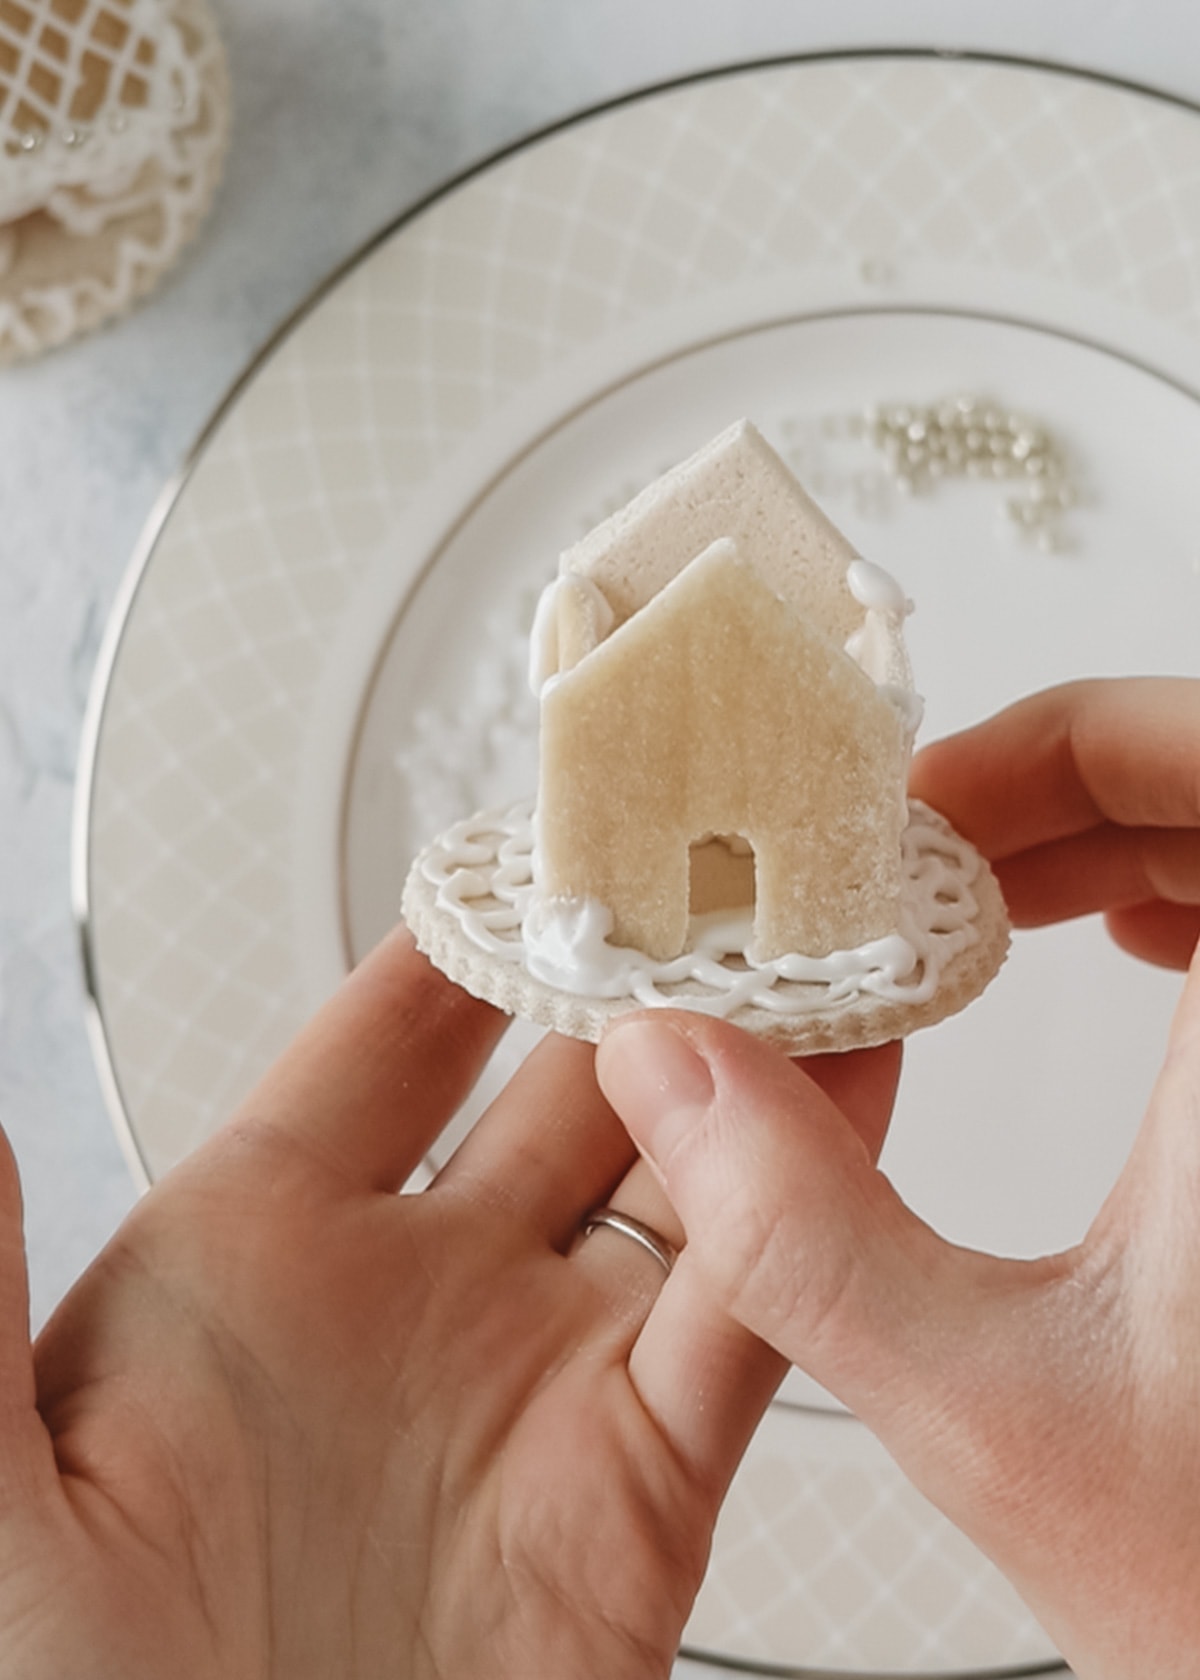
Using the bag with the larger hole, I glued all the house pieces to the base. I started by gluing (using the royal icing) the bottom edge of the back piece and then adding in the sides and finally the front.
Holding the back piece steady for a few moments (or propping it up with a couple toothpicks) worked to solidify that first seam. After that it was quick progress.
I used a pretty generous amount of royal icing throughout. The look of the frosting oozing out the seams is a favorite gingerbread house characteristic (and it covers any less-than-perfect joins).
Decorating
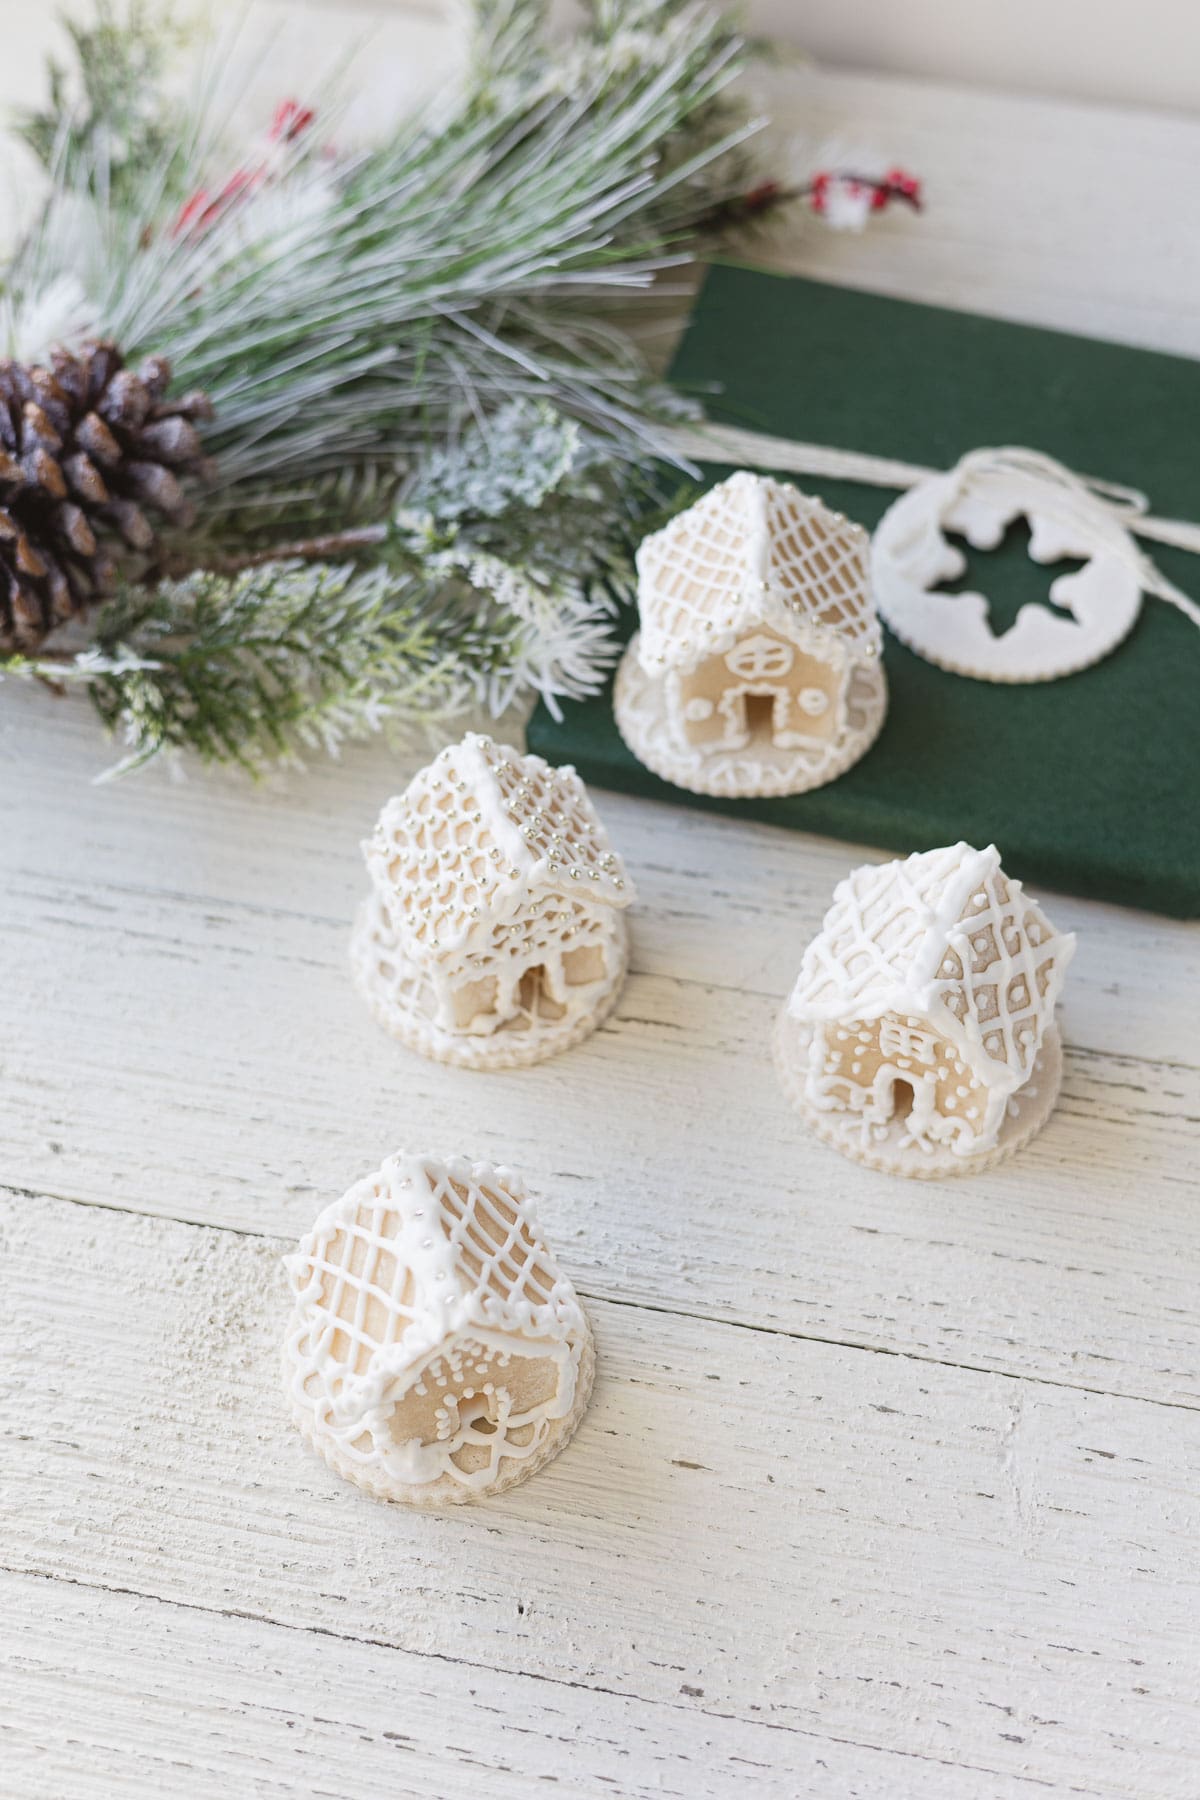
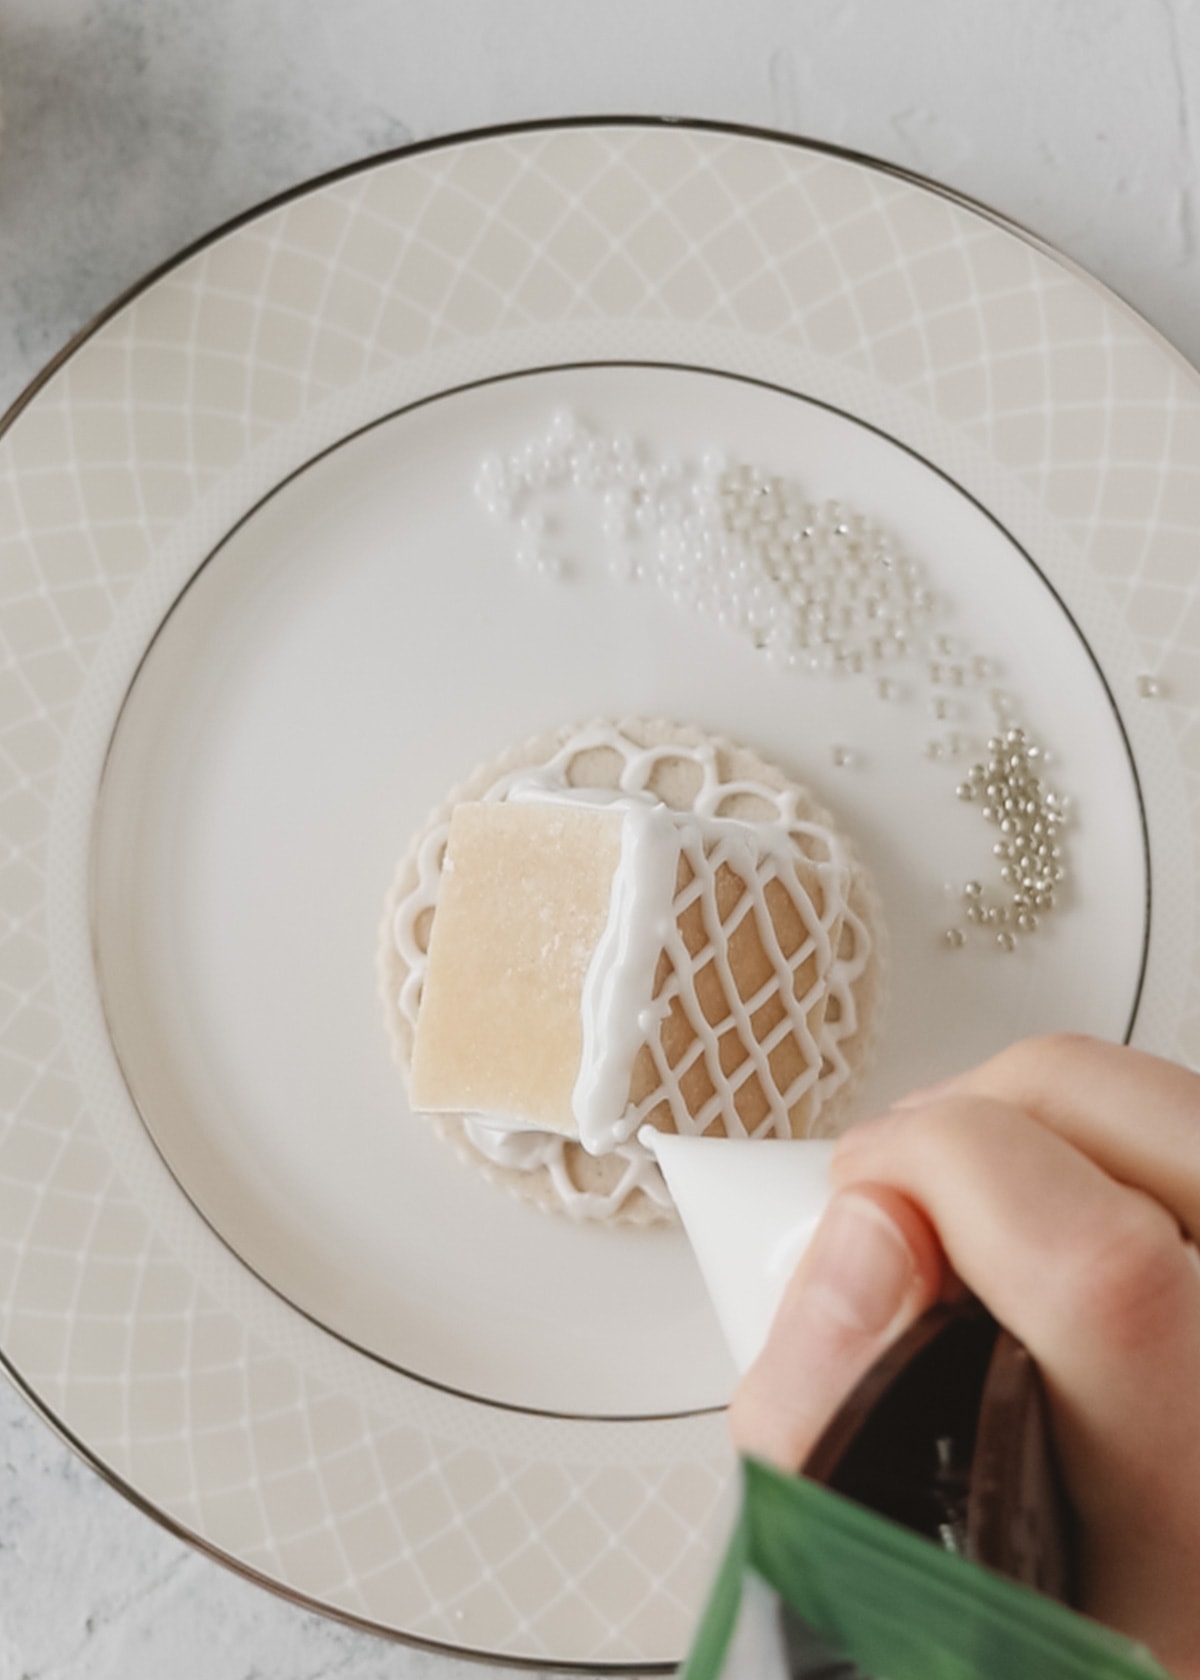
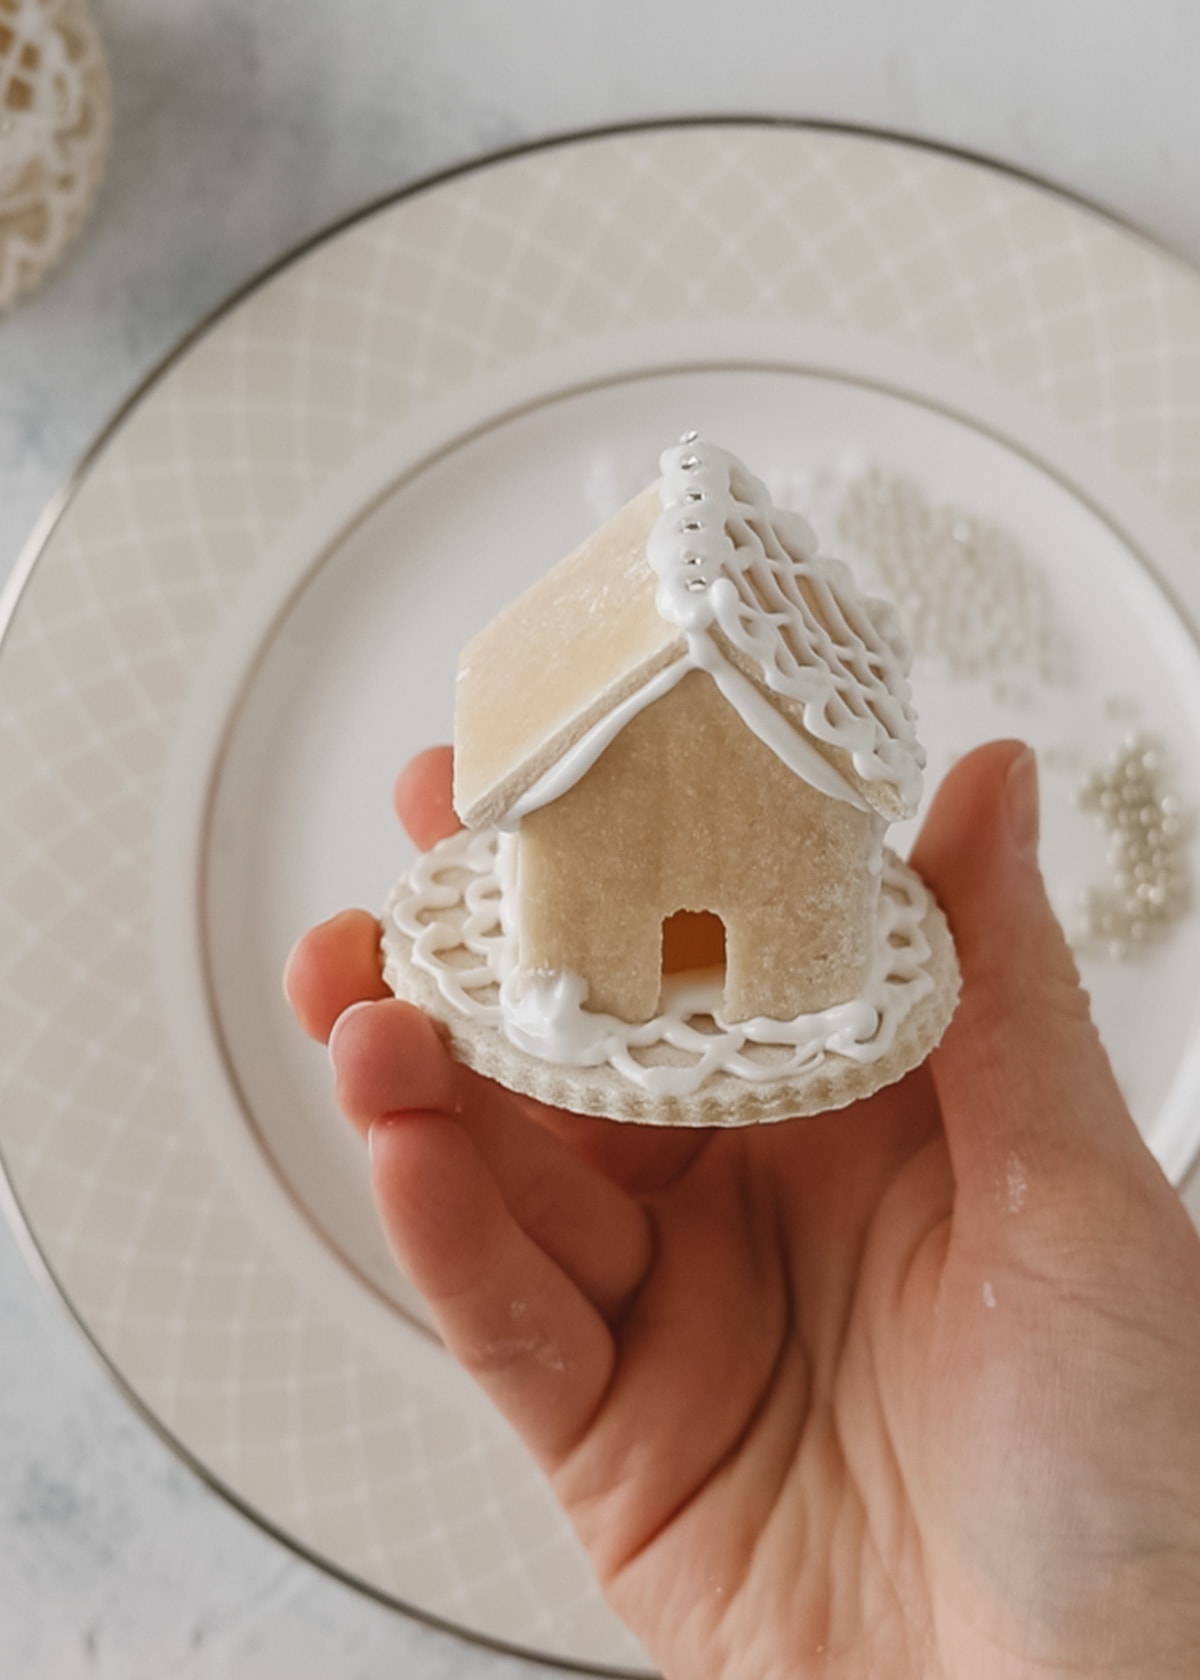
For decorating, I used the bag with the smallest hole and added crosshatching for the roofs, outlines of doors, windows, shrubs, and just general swirls and flourishes of frosting. That part was really fun.
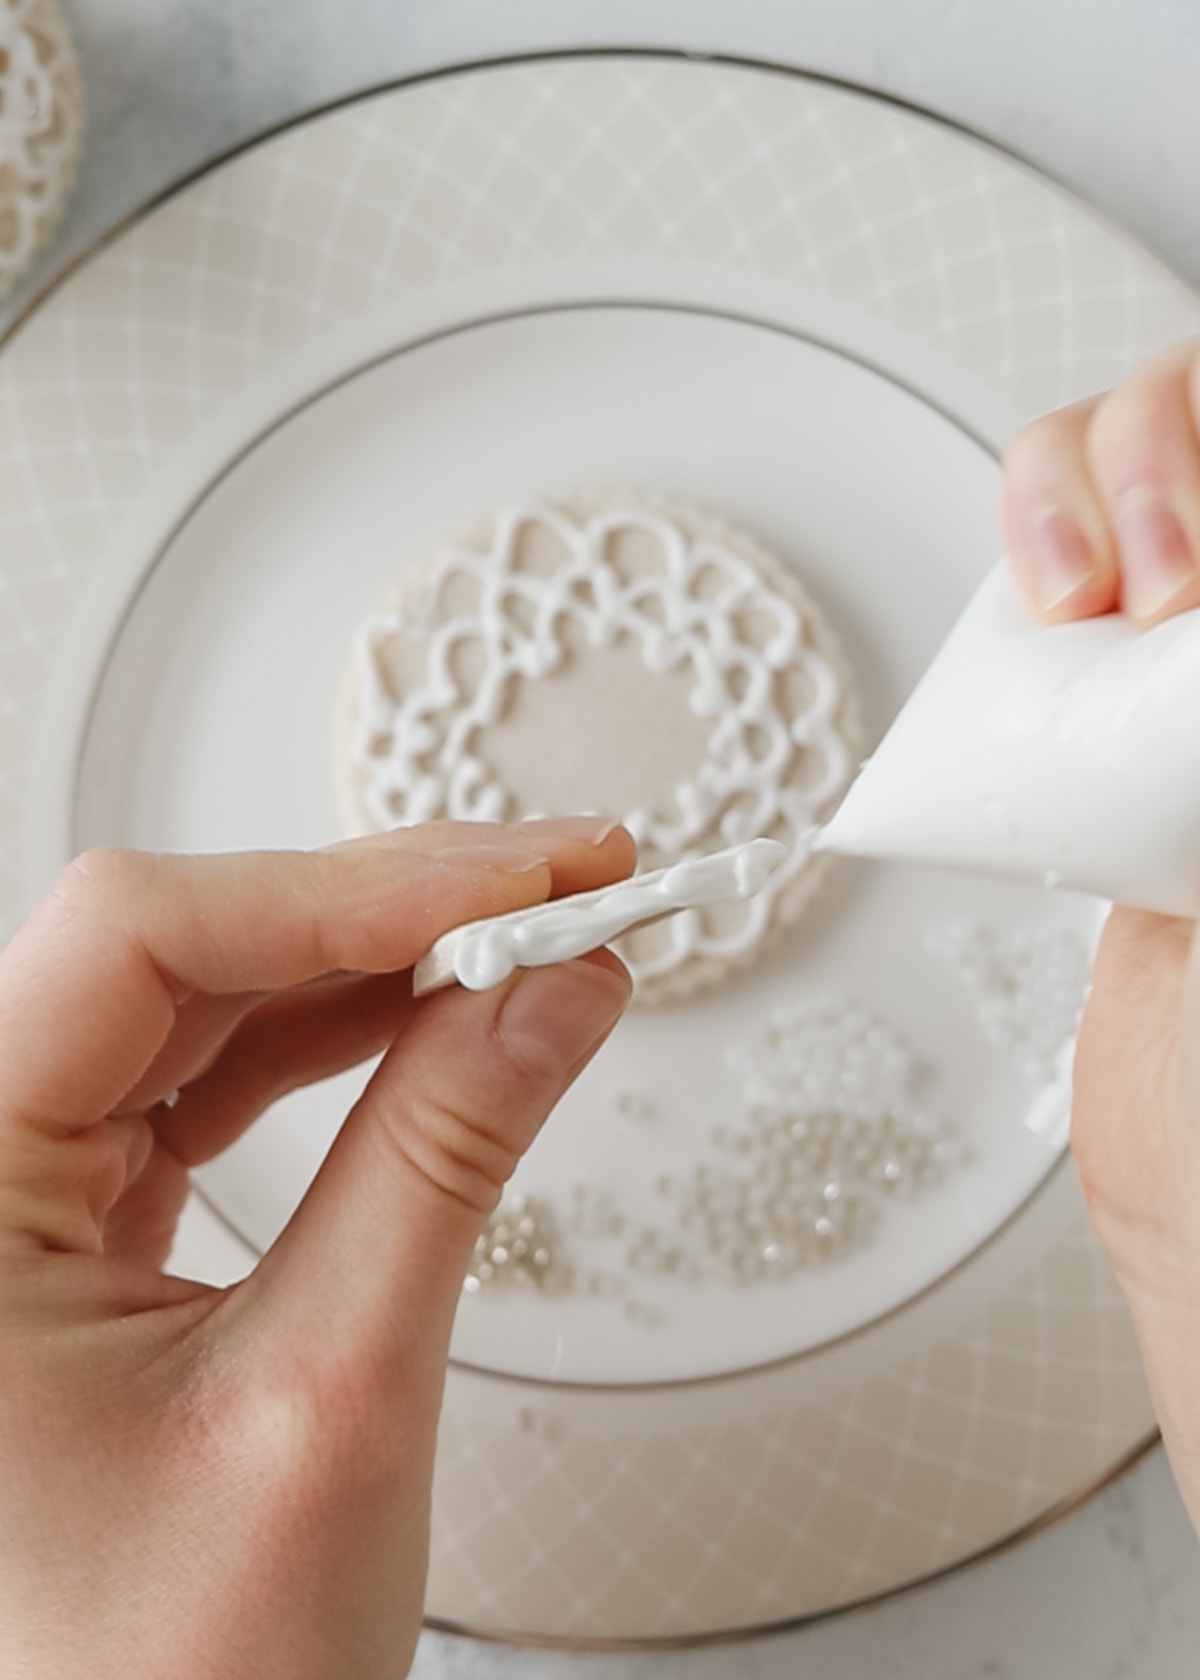
I also experimented with decorating the bases first. My favorite was one that I applied cross-hatching all over before assembling the house on top. After the house was complete, a peek through the doorway revealed the crosshatching inside for a fun extra detail.
However, too much decoration on the base made it hard to adhere the actual house down, so be mindful of that.
Seed Beads for Sparkle
As I decorated I added some sparkly seed beads too. I placed them with toothpicks.
I also sprinkled powdered sugar on top when I made the video and loved the look of that.
Note: Remember, these houses are not edible!

Creating Salt Dough Gingerbread Houses to Use Every Year
Alright, so say you want to build these and carefully save them to use each year. Salt dough is a brilliant choice for that since it lasts and lasts when stored in airtight containers.
But the icing? It just didn’t adhere quite well enough to the houses that I have confidence they’ll survive to another year. So, here’s what I’d do instead:
Build on a Base
This is hugely helpful for moving the houses around and certainly for later storage. Whether you create bases from salt dough or use wood slices or another idea, definitely build your minis onto a moveable base!
Try Hot Glue & Puffy Paint
I’m going to make another round of these at some point and I’ll use hot glue for constructing the houses and puffy paint for decorating.
Marian actually did this with her houses and found white glue/sealing wax sticks that gave that lovely frosting look in the seams. I think I would just use the regular hot glue and then add puffy paint into the seams to replicate the look.
I grabbed one of these Tulip Puffy Paints from Amazon in the plain white color and was pleased with the size of the tip. It’s not the tiniest, so detailing might be a bit limited, but it’s definitely petite and will work for these mini houses.
Hopefully I will finish a few before the end of the holidays this year and report back!
Blessings! ~Ellen
More Crafts to Try
- DIY Salt Dough Ornament Kit
- 2-Ingredient Cinnamon Applesauce Ornaments
- Embroidered Felt House Christmas Ornaments Tutorial
- 30+ LAST MINUTE Homemade Christmas Gift Ideas
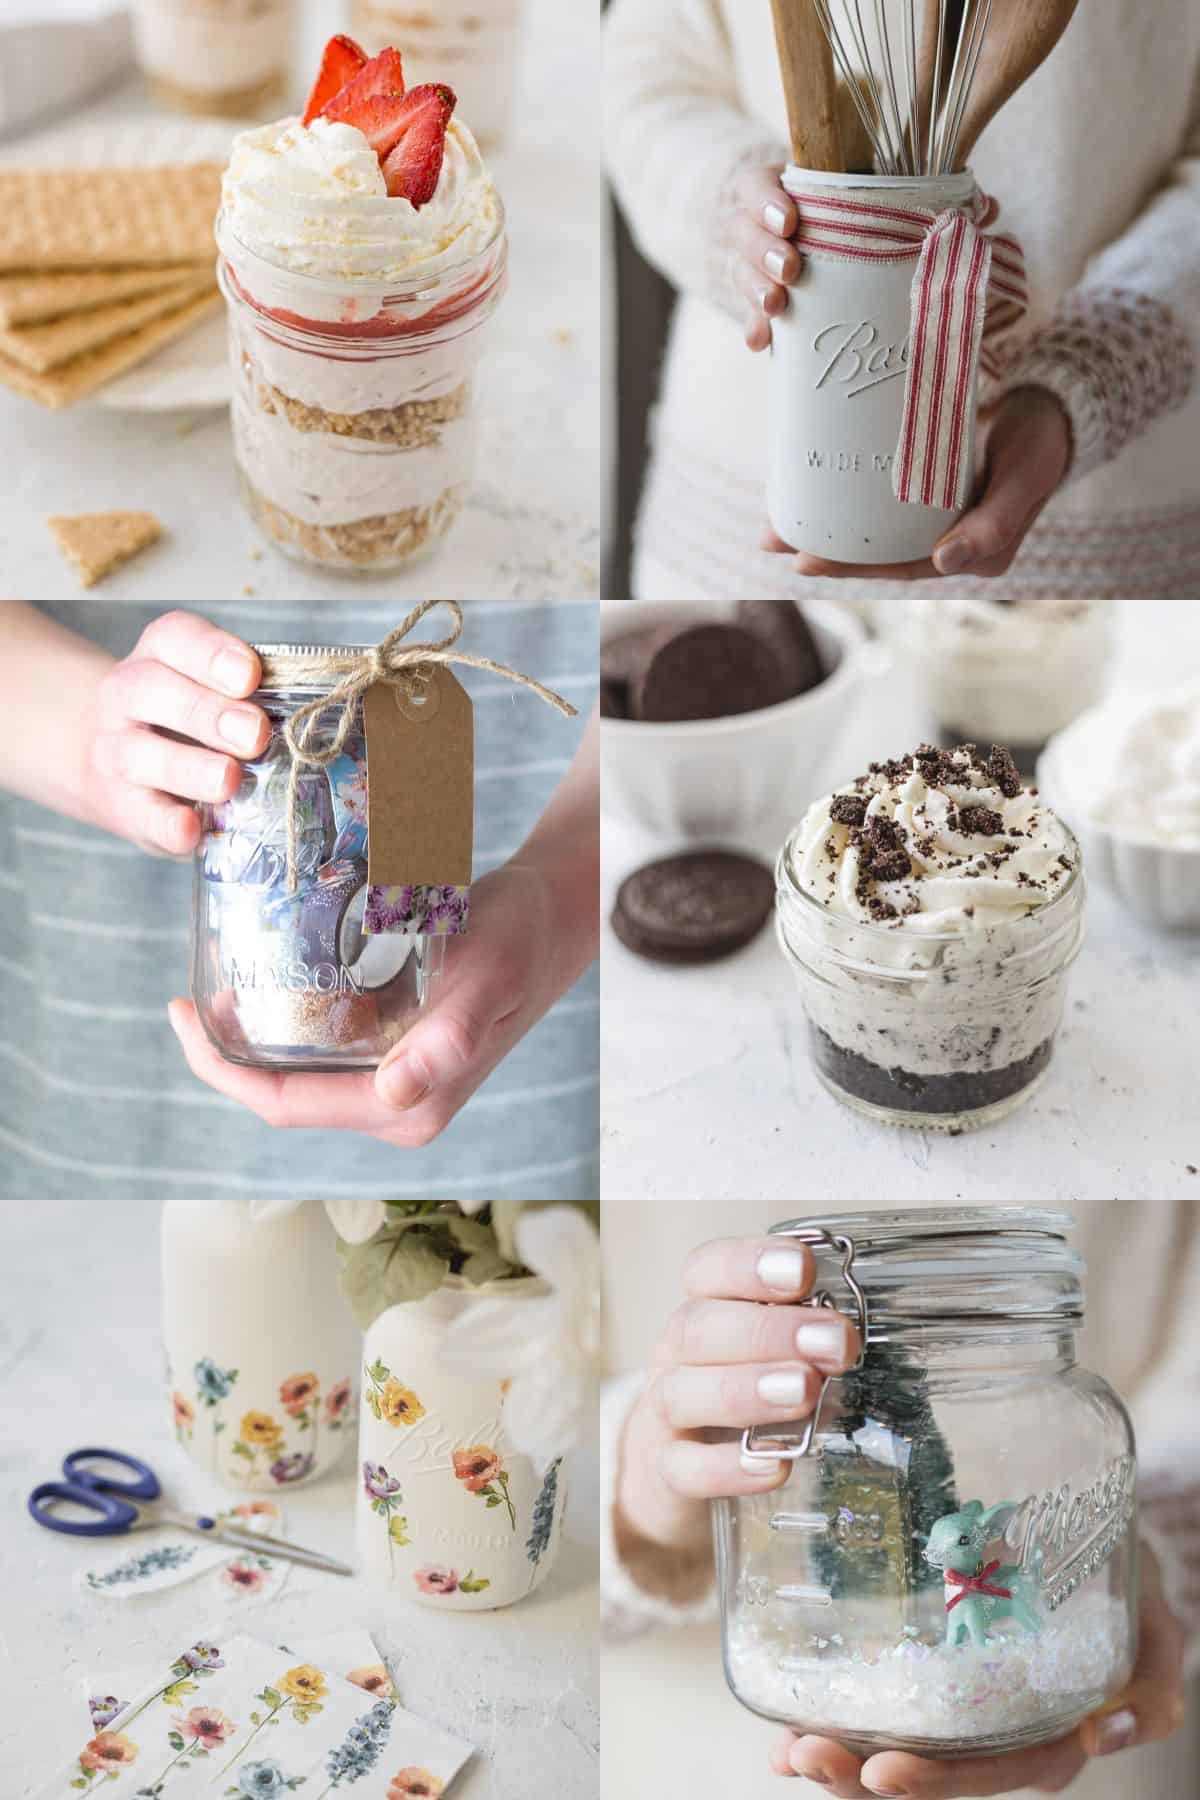
- 20+ Mason Jar Christmas Décor Ideas
Weekly Crafting Fun!
Join my list and get a weekly email with relaxing craft ideas, freebies, sewing tutorials, and more!


I tried hot glue and it doesn’t work/doesnt stick. Seems like tacky glue is working though! 🙂