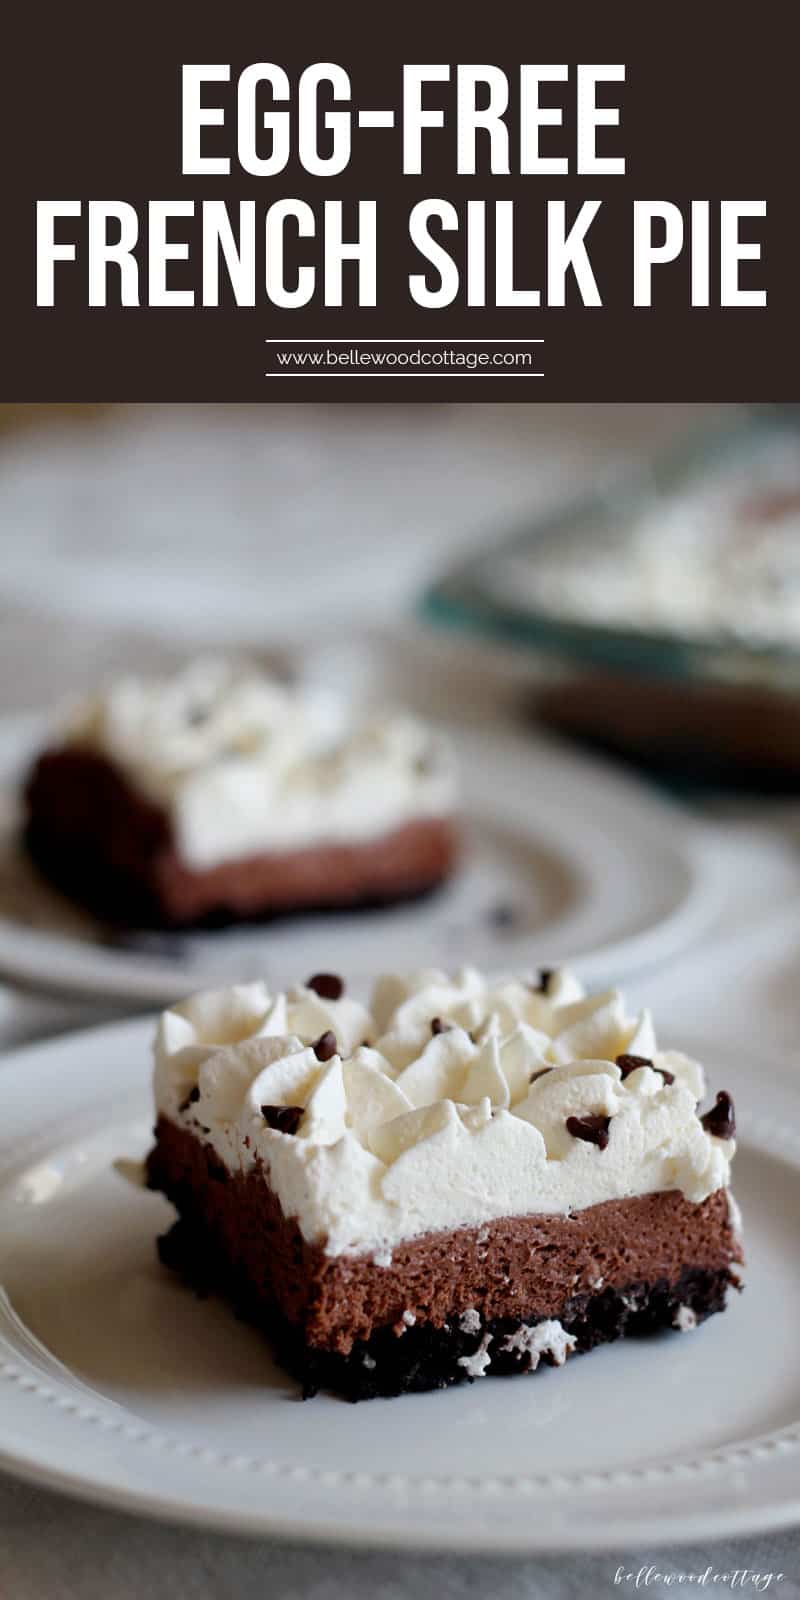
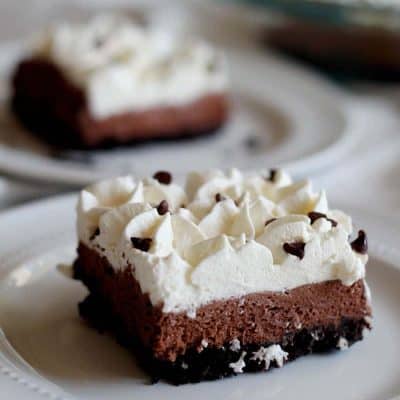
Egg-Free French Silk Pie Recipe
This egg-free French Silk Pie Recipe is easy to make and absolutely luscious. It fills a 13″x9″ baking dish for a crowd-pleasing dessert that will, actually feed a crowd. Skip the raw eggs (no eggs here!) and try this easy twist on a classic French Silk Pie.
Mmk, does anyone actually NOT like French Silk Pie? If so, maybe go ahead and treat that as a rhetorical question, because then we can still be friends.
But I digress. Here’s the thing. In my mind, French Silk Pie is absolute dessert perfection, except for a few small details. Here’s how I changed things up:
Fellow Crumbl Fans!
Join my list and get a weekly email with fresh Crumbl news, delicious copycat recipes, and more!
Make It for a Crowd
First. Is there ever enough? No, no there is not. A mere 9″ pie served up at a holiday feast (because I don’t know about you, but French Silk Pie is a special occasion treat around here) amidst friends and relatives is predestined to just not go far enough. So there’s our first problem.
Skip the Raw Eggs
Second. Um. Raw eggs. They are gross firstly, and they can harbor all kinds of nastiness secondly. And I know you can get those pasteurized ones, but my grocery store doesn’t sell them. And that doesn’t make them any less gross, just less dangerous.
This recipe is 100% free of raw eggs or any suggestion thereof.
Make It Easier to Slice
Finally. Does anyone truly enjoy cutting pies? Especially pies that feature a nice crisp crust (either pastry or cookie crumb in this case) and a super soft and delicate filling? Because that my friends, is a recipe for broken slices and crumbs all over the place. Every. Single. Time.
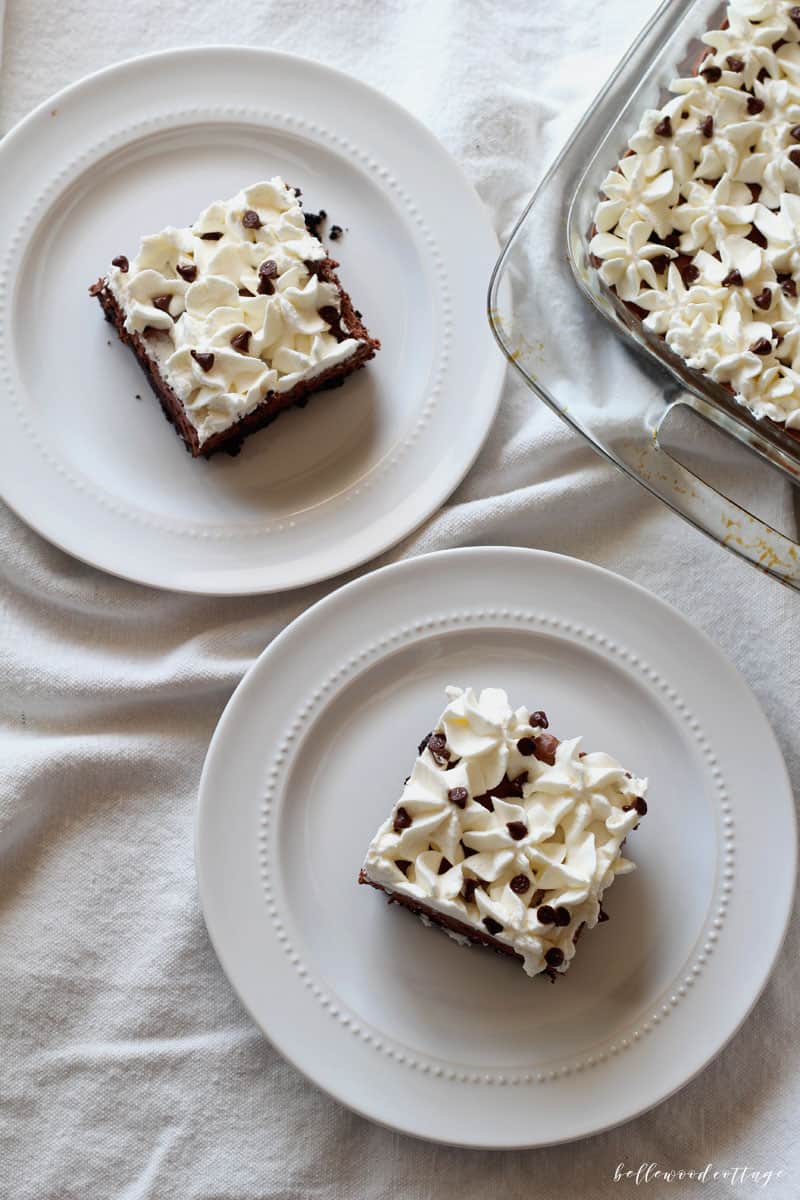
So, enter my egg-free French Silk Pie. This lovely thing is handily prepared in a 13″x9″ baking dish. Meaning, there will not only be enough…there might even be a leftover slice or two. Oh, and cutting slices from a rectangular baking pan? Totally a snap. Even the first slice will come out nice and easy.
The recipe was inspired by the The Domestic Rebel and her easy French Silk Pie recipe, found here.
How to Make Egg-Free French Silk Pie
The making of the pie is so straightforward. Besides the crust, it’s no-bake (yas!), and comes together quickly. First, you’ll whip up an ultra-simple cookie crust. Then the chocolate layer featuring basic pantry ingredients like semi-sweet chocolate chips and cocoa powder.
Finally, a REAL whipped cream topping (because the fake stuff has its place and it’s not here) that will keep you coming back for more. And possibly more after that.
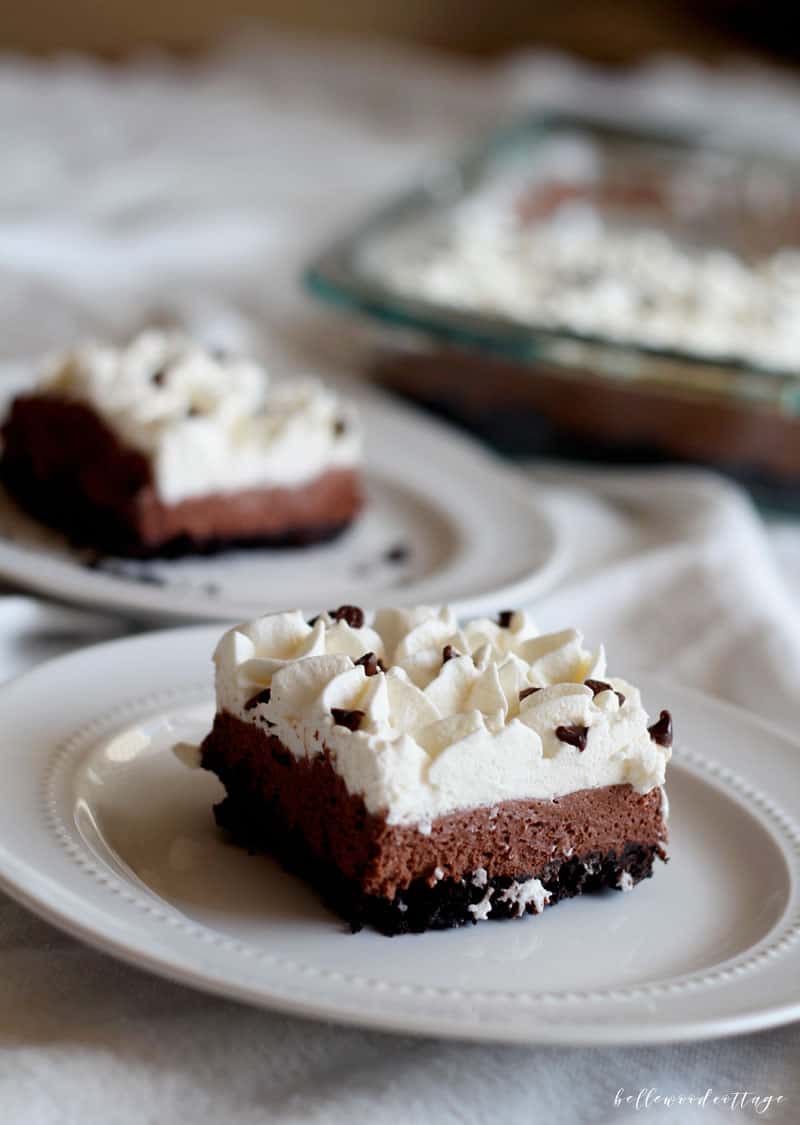
If you are in the market for a delicious dessert that will feed a crowd, give my egg-free French Silk Pie a go! You won’t be disappointed. Now go. Make pie.
I love creating easy desserts for serving at parties and family gatherings. A few recent favorites include my Mason Jar Oreo Cheesecakes (no bake!) and Strawberry Cheesecakes in a jar (also no bake).
More Desserts to Try
- 35+ Best Mason Jar Desserts – The Ultimate Roundup!
- No Bake Pumpkin Cheesecake Mason Jars
- Nutella Whipped Cream Recipe
- Honey Whipped Cream
- No Bake Banana Pudding without Cool Whip
If you loved this recipe, leave a 5-star rating! I would so appreciate it!
Egg-Free French Silk Pie Recipe
Ingredients
Cookie crust:
- 1 14.3 oz package chocolate sandwich cookies (i.e. Oreos) (36 cookies)
- 5 tbsp unsalted butter
Chocolate layer:
- 4 tbsp unsalted butter
- 4 oz semi-sweet chocolate chips
- 8 oz cream cheese
- 1 1/2 cups powdered sugar
- 1/4 cup cocoa powder
Whipped cream layer:
- 2 1/2 cups heavy whipping cream
- 1/3 cup powdered sugar
- 1/2 tsp vanilla extract
- 2 tbsp mini chocolate chips (optional; for garnish)
Instructions
Cookie crust:
- Preheat oven to 350° F. Place chocolate sandwich cookies in a gallon-size zip top bag, close it, and crush with a rolling pin until cookies are ground into coarse crumbs. You can also use a food processor if you have one. P.S. No need to remove the filling!
- Using the microwave, melt 5 tbsp of unsalted butter in a large bowl. Add the cookie crumbs to the bowl and mix together. Dump the mixture into a 13″x9″ baking dish and press it down evenly across the pan to form the crust. Bake for 6 minutes until heated through and set/dry. Let cool.
Chocolate layer:
- In a small bowl, melt 4 oz of semi-sweet chocolate chips with 4 tbsp unsalted butter in the microwave at 30 second intervals, stirring between each interval, until fully melted and combined. Let cool.
- In a large bowl, microwave 8 oz cream cheese at 15 second intervals, stirring between each interval, until very soft. With a hand mixer or stand mixer, beat the cream cheese until smooth (no lumps!), about 1 minute. Add in 1.5 cups of powdered sugar. Beat until combined. Pour in the cooled chocolate/butter mixture and 1/4 cup cocoa powder and beat until combined. Set aside.
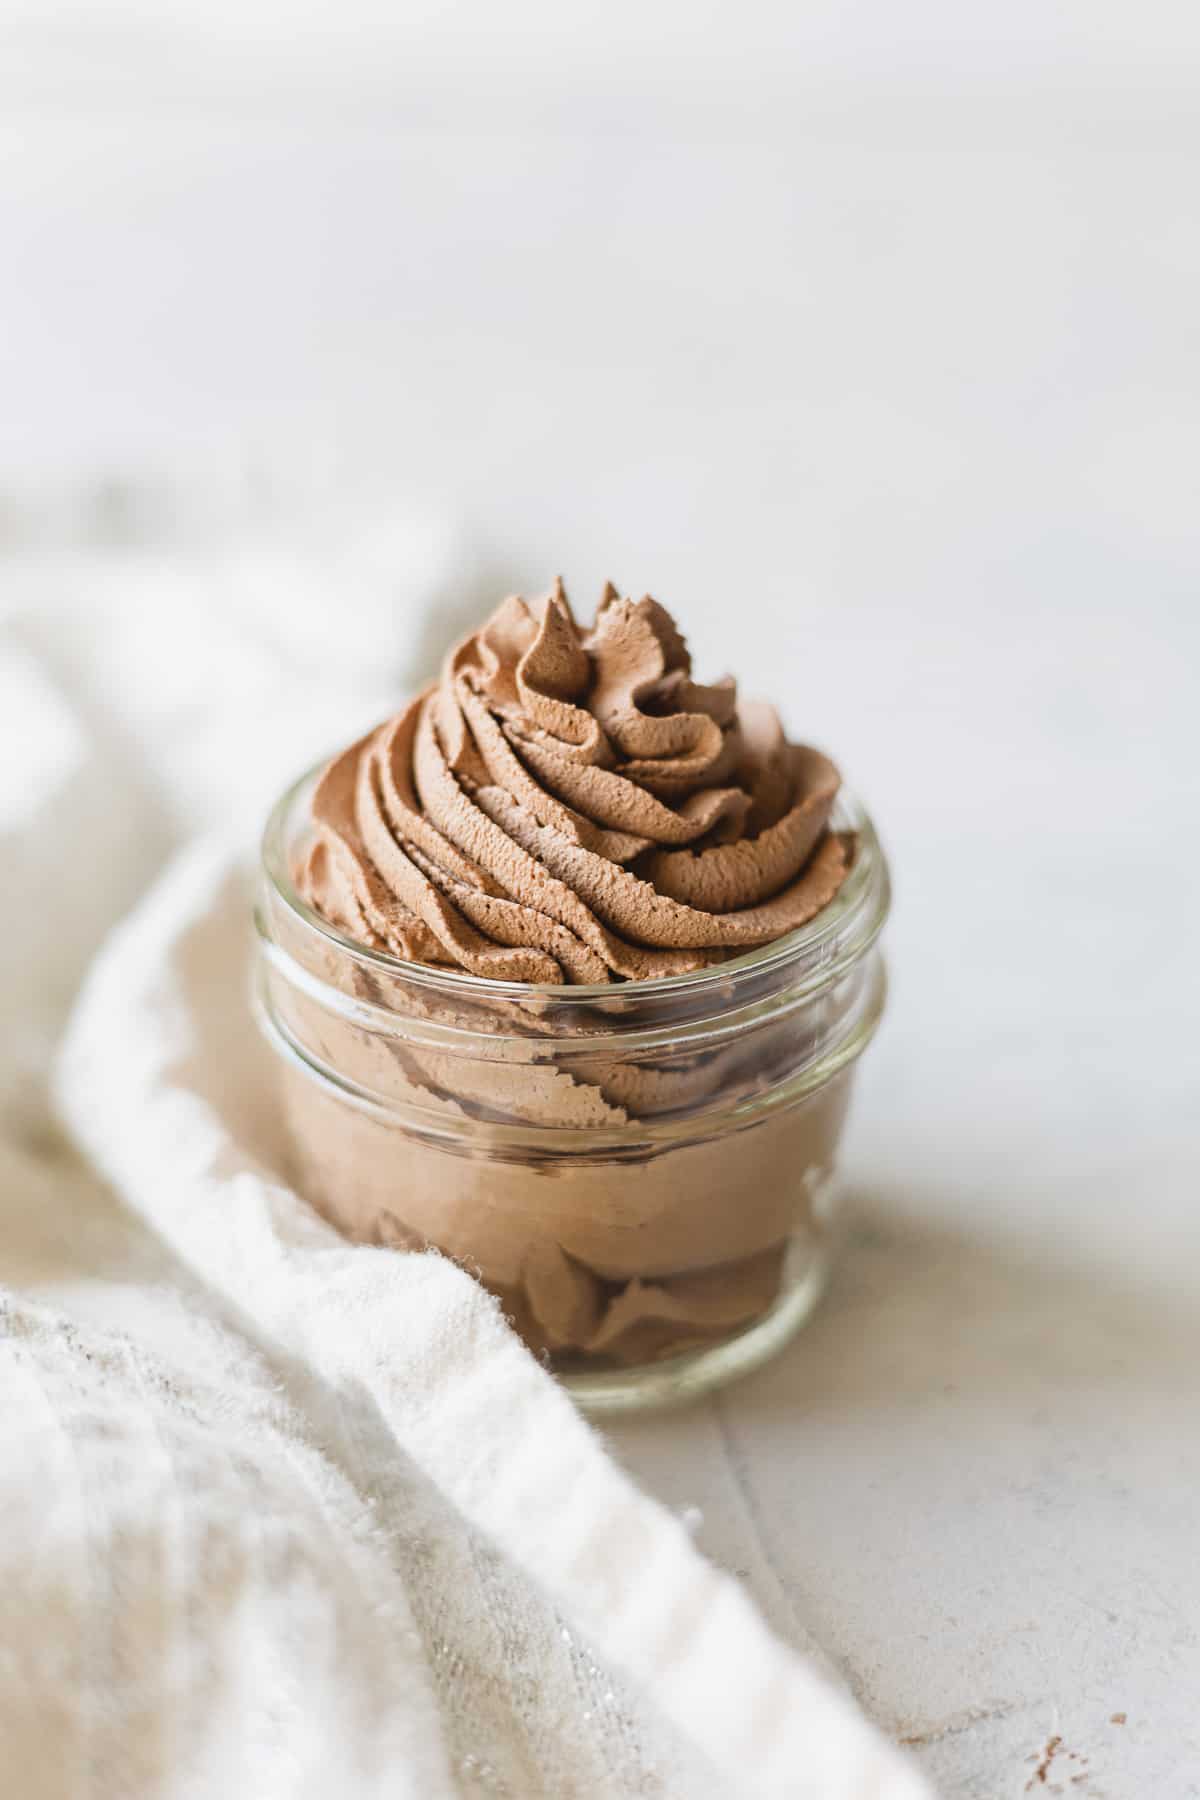
Whipped cream layer:
- With a hand mixer or stand mixer (using the wire whisk attachment) and a large bowl, whip 2.5 cups of heavy cream until frothy and beginning to thicken. Add in 1/3 cup of powdered sugar and 1/2 tsp of vanilla extract. Continue beating until soft peaks form and then beat a bit more until the whipped cream is just beginning to form stiff peaks. Don’t overbeat.
Assembly:
- Roughly divide the whipped cream in half and add half to the chocolate layer mixture we set aside earlier (no need to be too precise!) Fold the cream in gently, taking care to avoid removing too much air. When no streaks remain, pour the chocolate filling over the (cooled) cookie crust. Spread evenly. NOTE: if you want to pipe the whipped cream layer onto your pie, you should reserve a bit more than half the amount of cream to ensure you will have enough for piping.
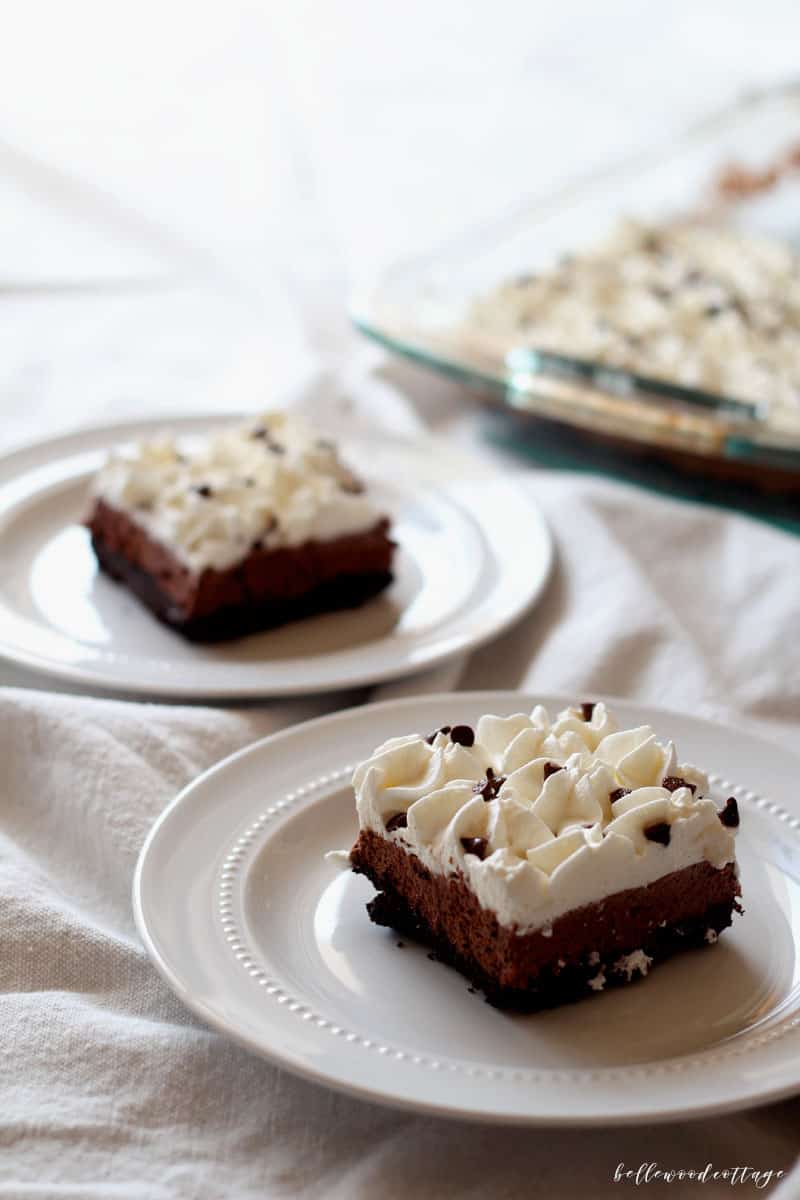
- Finally, top the chocolate layer with the remaining whipped cream. You can choose to pipe it from a pastry bag if you are feeling fancy. Otherwise just spread it with a spoon.
- Garnish with mini chocolate chips, chocolate curls, shavings from a chocolate bar, or even mini oreos! Chill the pie for at least 3 hours or overnight. The longer the better for easy cutting. Store refrigerated for up to two days.
Notes
Fellow Crumbl Fans!
Join my list and get a weekly email with fresh Crumbl news, delicious copycat recipes, and more!


Made this for Thanksgiving and everyone loved it! Excellent recipe, thank you!
Oh I’m so glad to hear that! Yay! =)
I just made it for my daughter’s birthday Monday. My mom used to make it and we all loved it. I haven’t tried it yet but it was a very nice recipe to follow. Great instructions. I can’t wait to try it . It’s going to sit in the fridge for 2 days. I might try a corner. Thank you!
Absolutely amazing.