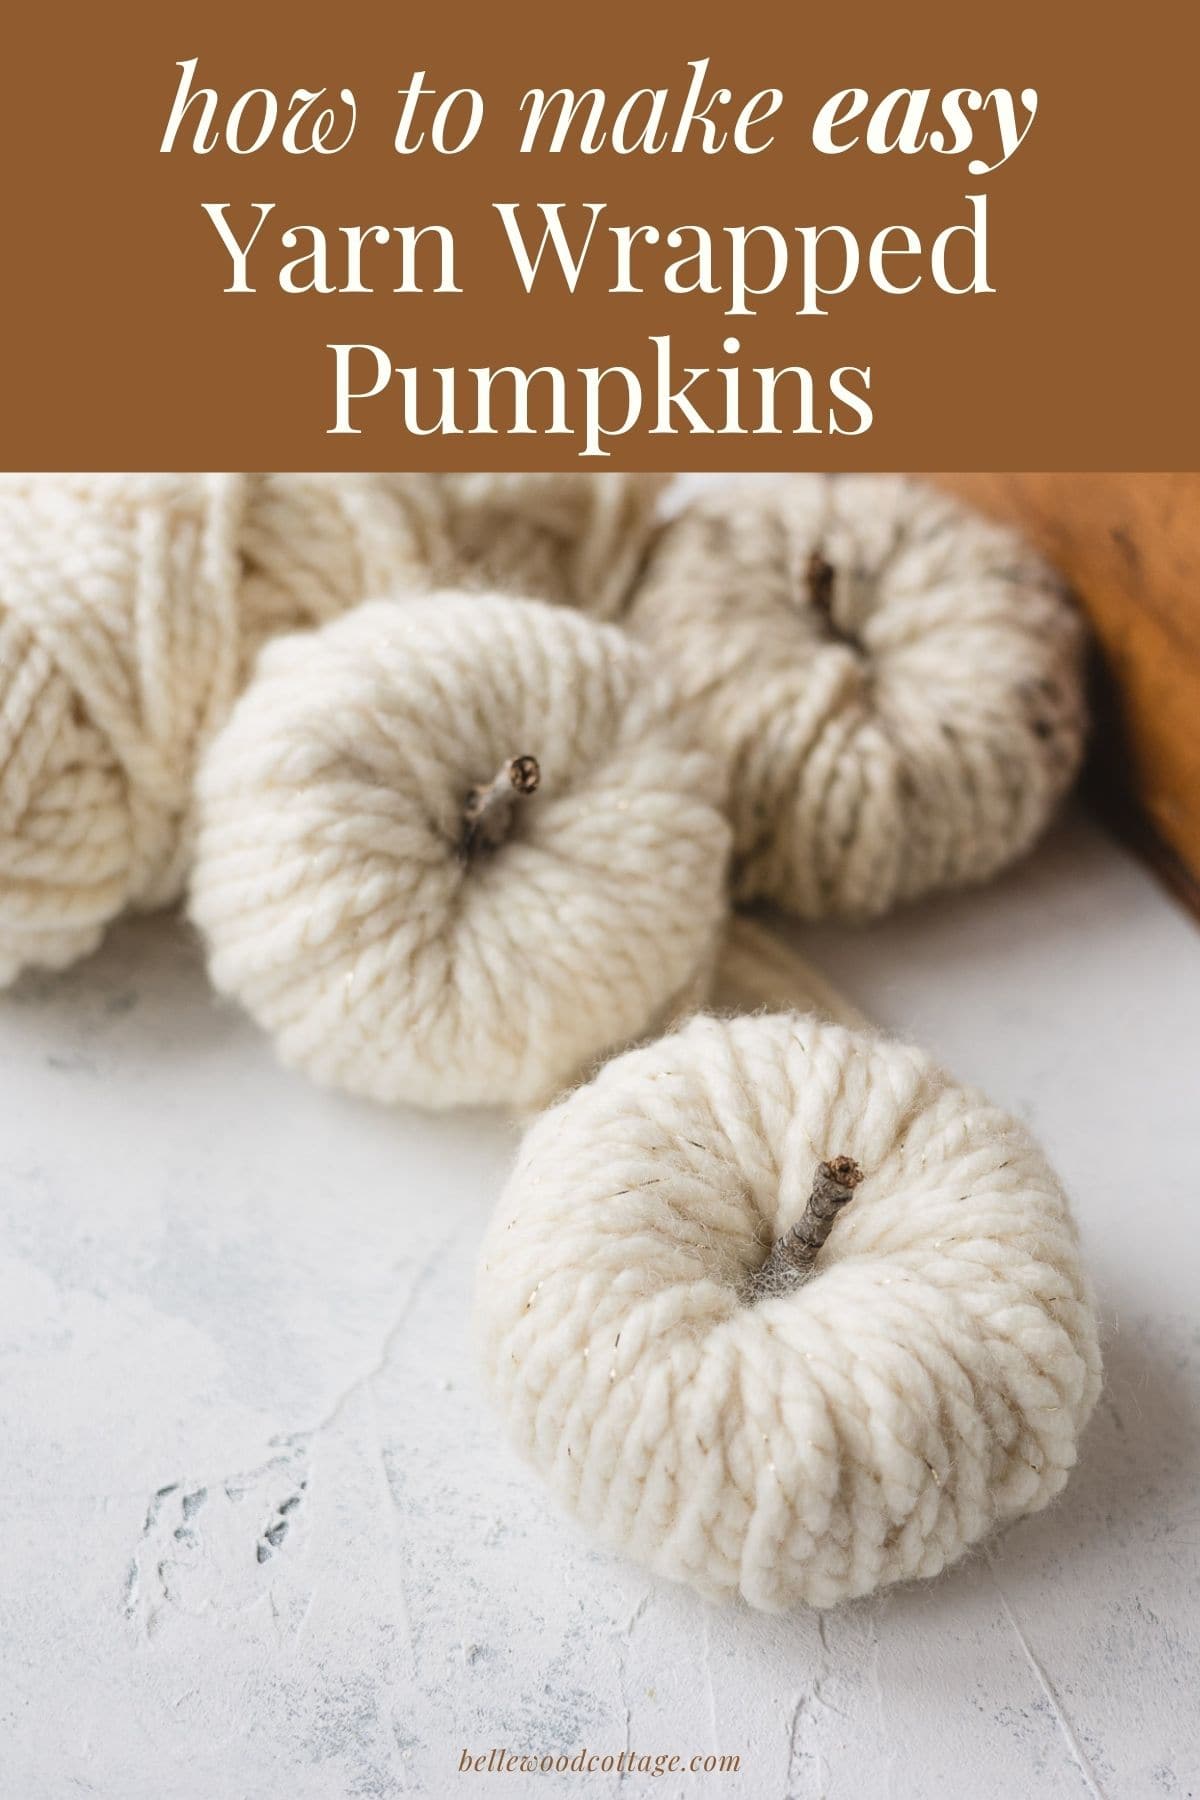
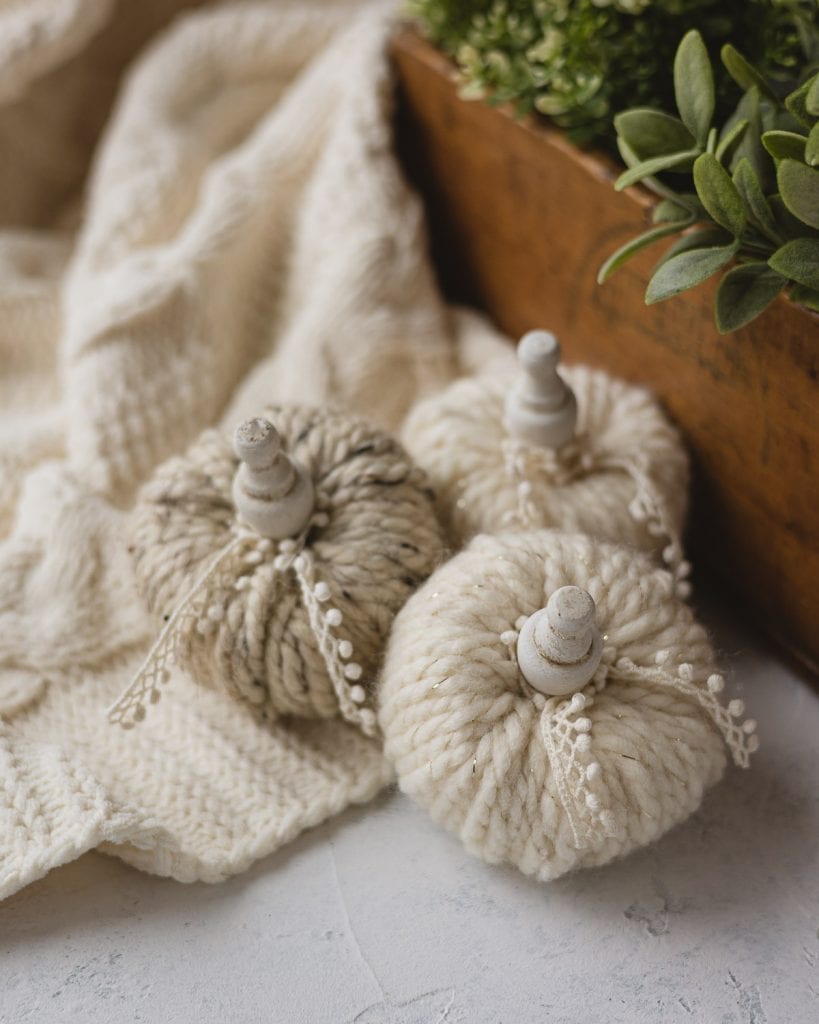
DIY Yarn Pumpkins (NO Styrofoam!)
These DIY Yarn Wrapped Pumpkins are made completely without Styrofoam or fake pumpkins. This tutorial allows you to make yarn pumpkins completely from scratch and without attempting to cut messy Styrofoam. You’ll just do a bit of sewing and can make dozens of yarn wrapped pumpkins with ease–and feature the bulky or novelty yarns of your choice!
Please note that this post contains affiliate links which allow me to earn a small commission when a purchase is made at no additional cost to you. As an Amazon Associate I earn from qualifying purchases. Read more here.
When I first started crafting my own yarn wrapped pumpkins, I was surprised. The craft (contrary to what I expected) was messy, time-consuming, and a bit of a challenge.
You start with a foam pumpkin (or a Styrofoam ball). You cut out the center (messy part), then wrap with thick yarn around and around until the pumpkin is covered.
Weekly Crafting Fun!
Join my list and get a weekly email with relaxing craft ideas, freebies, sewing tutorials, and more!
The main problems are if you don’t make the initial hole large enough, you won’t have enough room to keep winding the yarn around the pumpkin. Plus, Styrofoam is messy to cut and work with, so the project isn’t great for a cozy evening on the couch. I had little bits of foam everywhere.
I also tried starting with a Styrofoam ball, but that was even messier and more challenging to get the right shape.
Though the pumpkins turned out super cute, I felt like the craft could use some improvements. So, after I wrote up how I made the original yarn wrapped pumpkins, I decided to try to improve the process.
This tutorial does require a little fabric and sewing. I promise it’s quite straightforward though. You will essentially create a doughnut shape from fabric, stuff it, sew it closed, and then wrap with yarn.
You can use fabric scraps (I used drop cloth pieces) and there’s no need to mess around with cutting Styrofoam. I also found it MUCH easier to wrap the yarn around. Instead of pushing a needle through a center space that got smaller and smaller, I was able to just wrap the yarn around using my fingers.
So are you ready? Let’s make some yarn pumpkins from scratch!
What You Need to Make Yarn Pumpkins
These yarn wrapped pumpkins are a little different than what you might see on Pinterest. I’ve completely skipped the Styrofoam pumpkins and instead went with hand-crafting a simple fabric doughnut to wrap the yarn around.
How big are the pumpkins? These pumpkins are about 3.5″ in diameter (which can differ a bit depending on the yarn you choose).
Fabric Scraps – Each pumpkin requires a 9″x5″ rectangle of fabric. I like using a neutral color (or something that matches the yarn I plan on wrapping). For these pumpkins, I used drop cloth scraps.
You can play around with the sizing if you wish to create different sizes of decorative pumpkins.
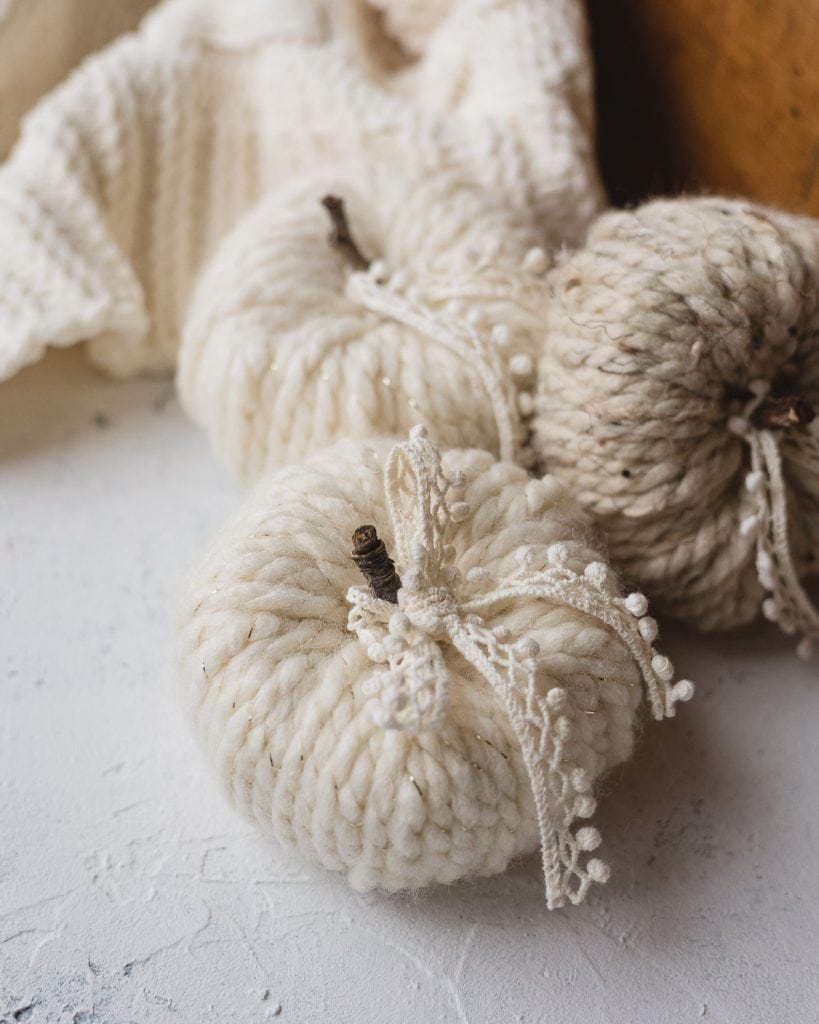
Yarn – Use bulky or super bulky weight yarns. Good yarns for this fall craft are also fluffy novelty yarns that have a lot of volume.
I used Wool-Ease Thick and Quick which worked great. I suggest avoiding thin or medium weight yarns. They take a long time to wrap and the finished effect isn’t as pretty.

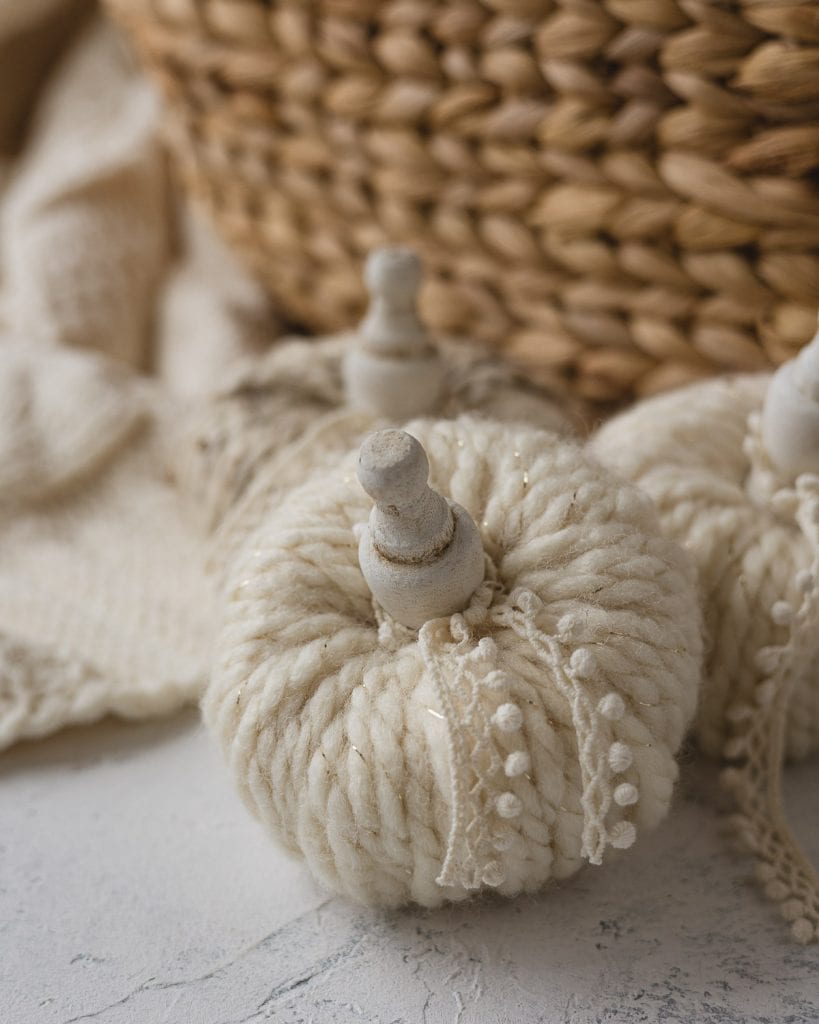
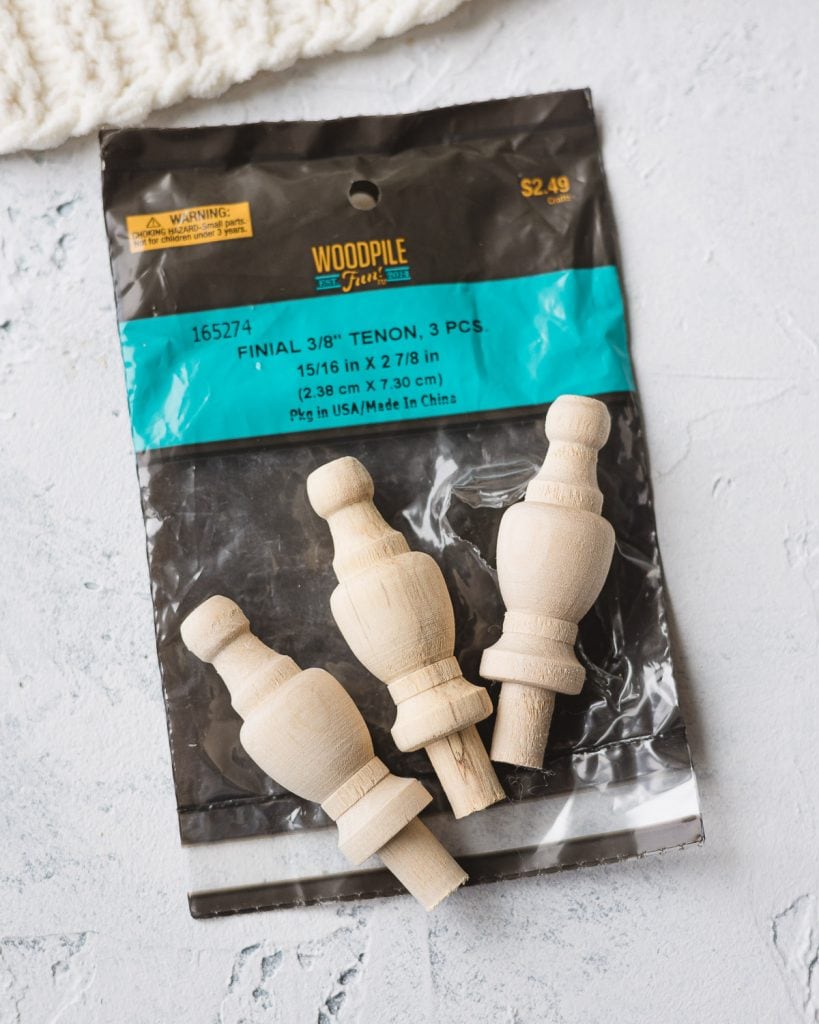
Pumpkin Stem – I like using dry twigs because they are easy to find, but you can also use real pumpkin stems, cinnamon sticks, or even a small roll of felt.
Here I’ve also used these small wooden finials from Hobby Lobby. I painted them with Rust-Oleum Chalked Paint and added antiquing with Rust-Oleum Aged Glaze.
Sewing Needle and Thread – I also used a sewing machine to sew the longest seam, but you can hand sew the whole project.
Poly-Fil Stuffing – You only need a small handful or two per pumpkin.
Hot glue gun – optional, for hiding the yarn ends.
How to Make Yarn Wrapped Pumpkins (NO Styrofoam!)
The first thing we need to do to make these yarn pumpkins from scratch is to create a simple fabric doughnut.
Sew a Fabric Doughnut
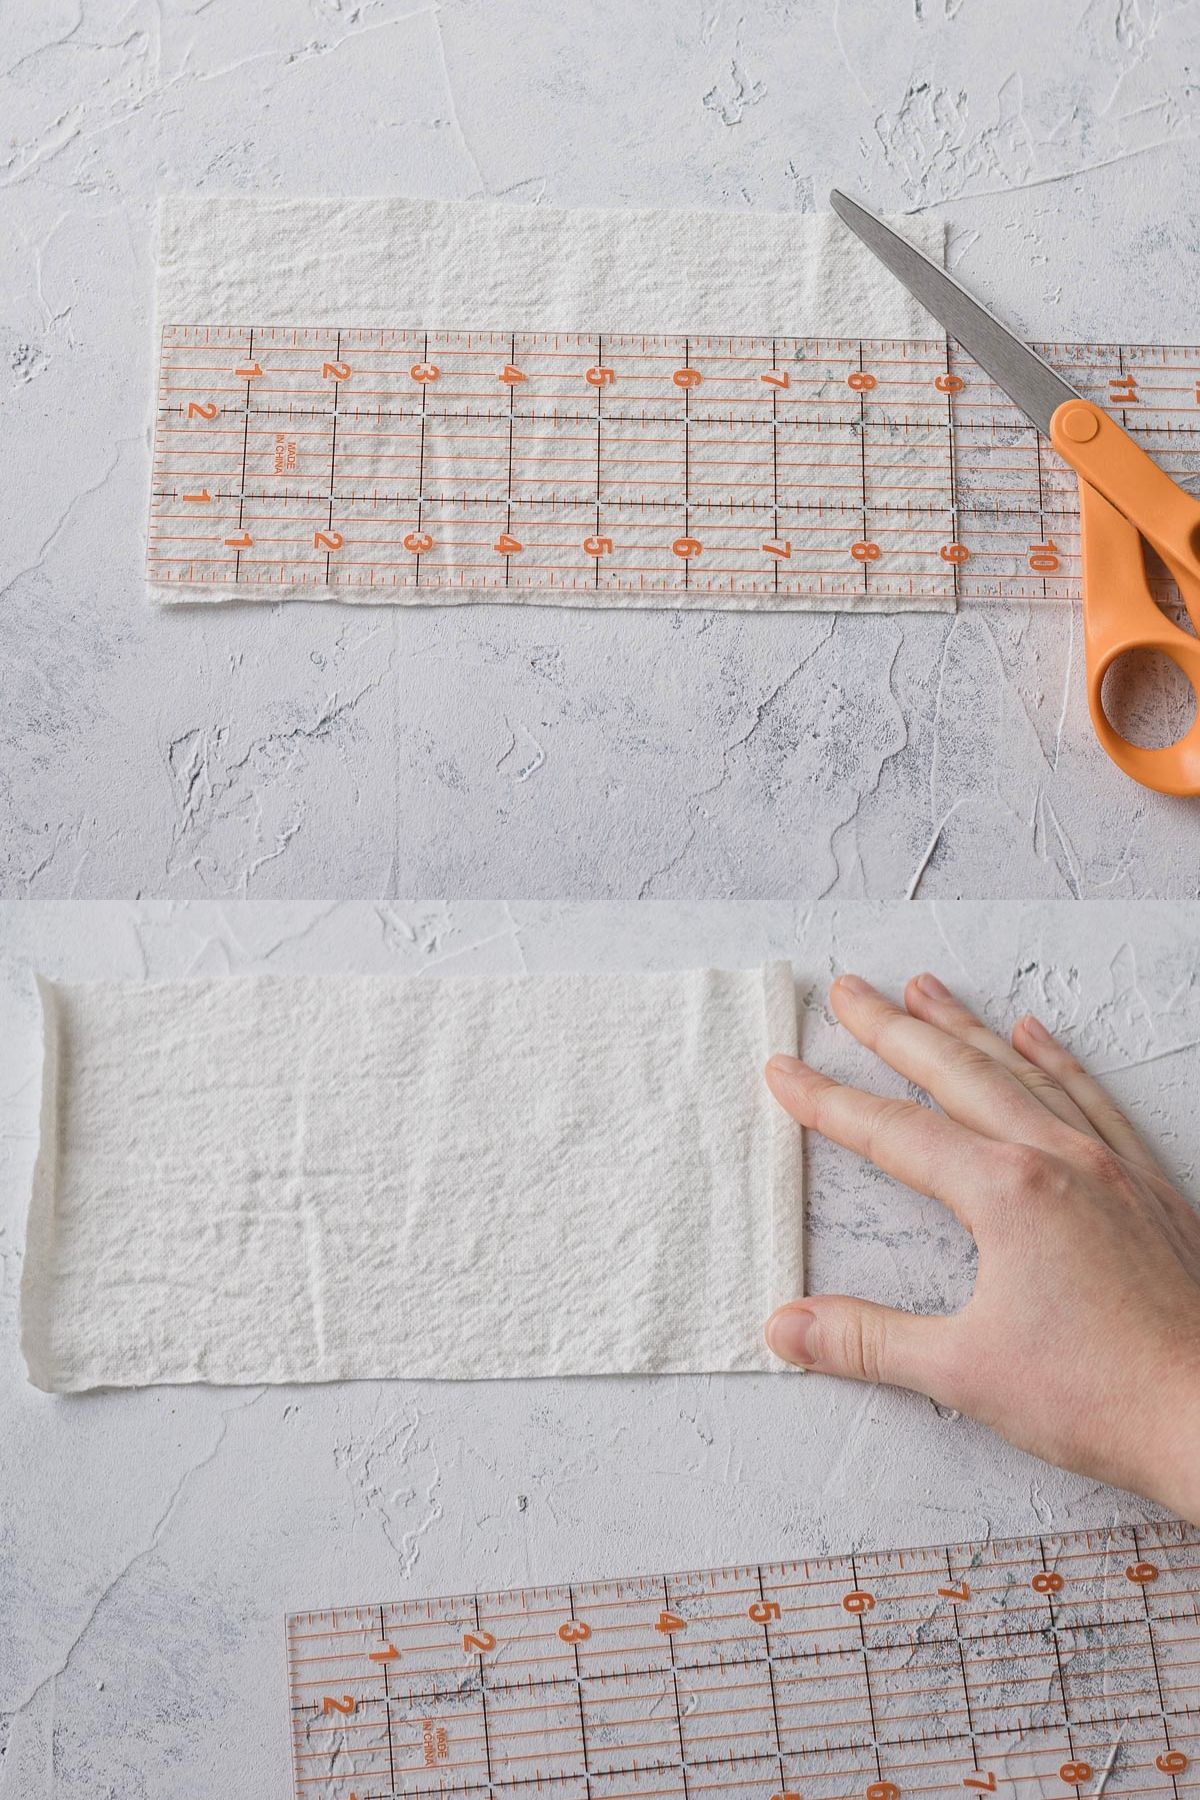
Cut a 9″x5″ rectangle from a neutral-colored woven fabric. Here I’ve used drop cloth scraps.
Use an iron to press over each short edge about 1/4″ onto the wrong side of the fabric. Note that right-side/wrong-side doesn’t matter much here since we’ll be covering the fabric with yarn.
Fold the fabric length-wise with right sides together and stitch down the long seam. Use about a 1/4″ seam allowance.

Turn tube right side out.
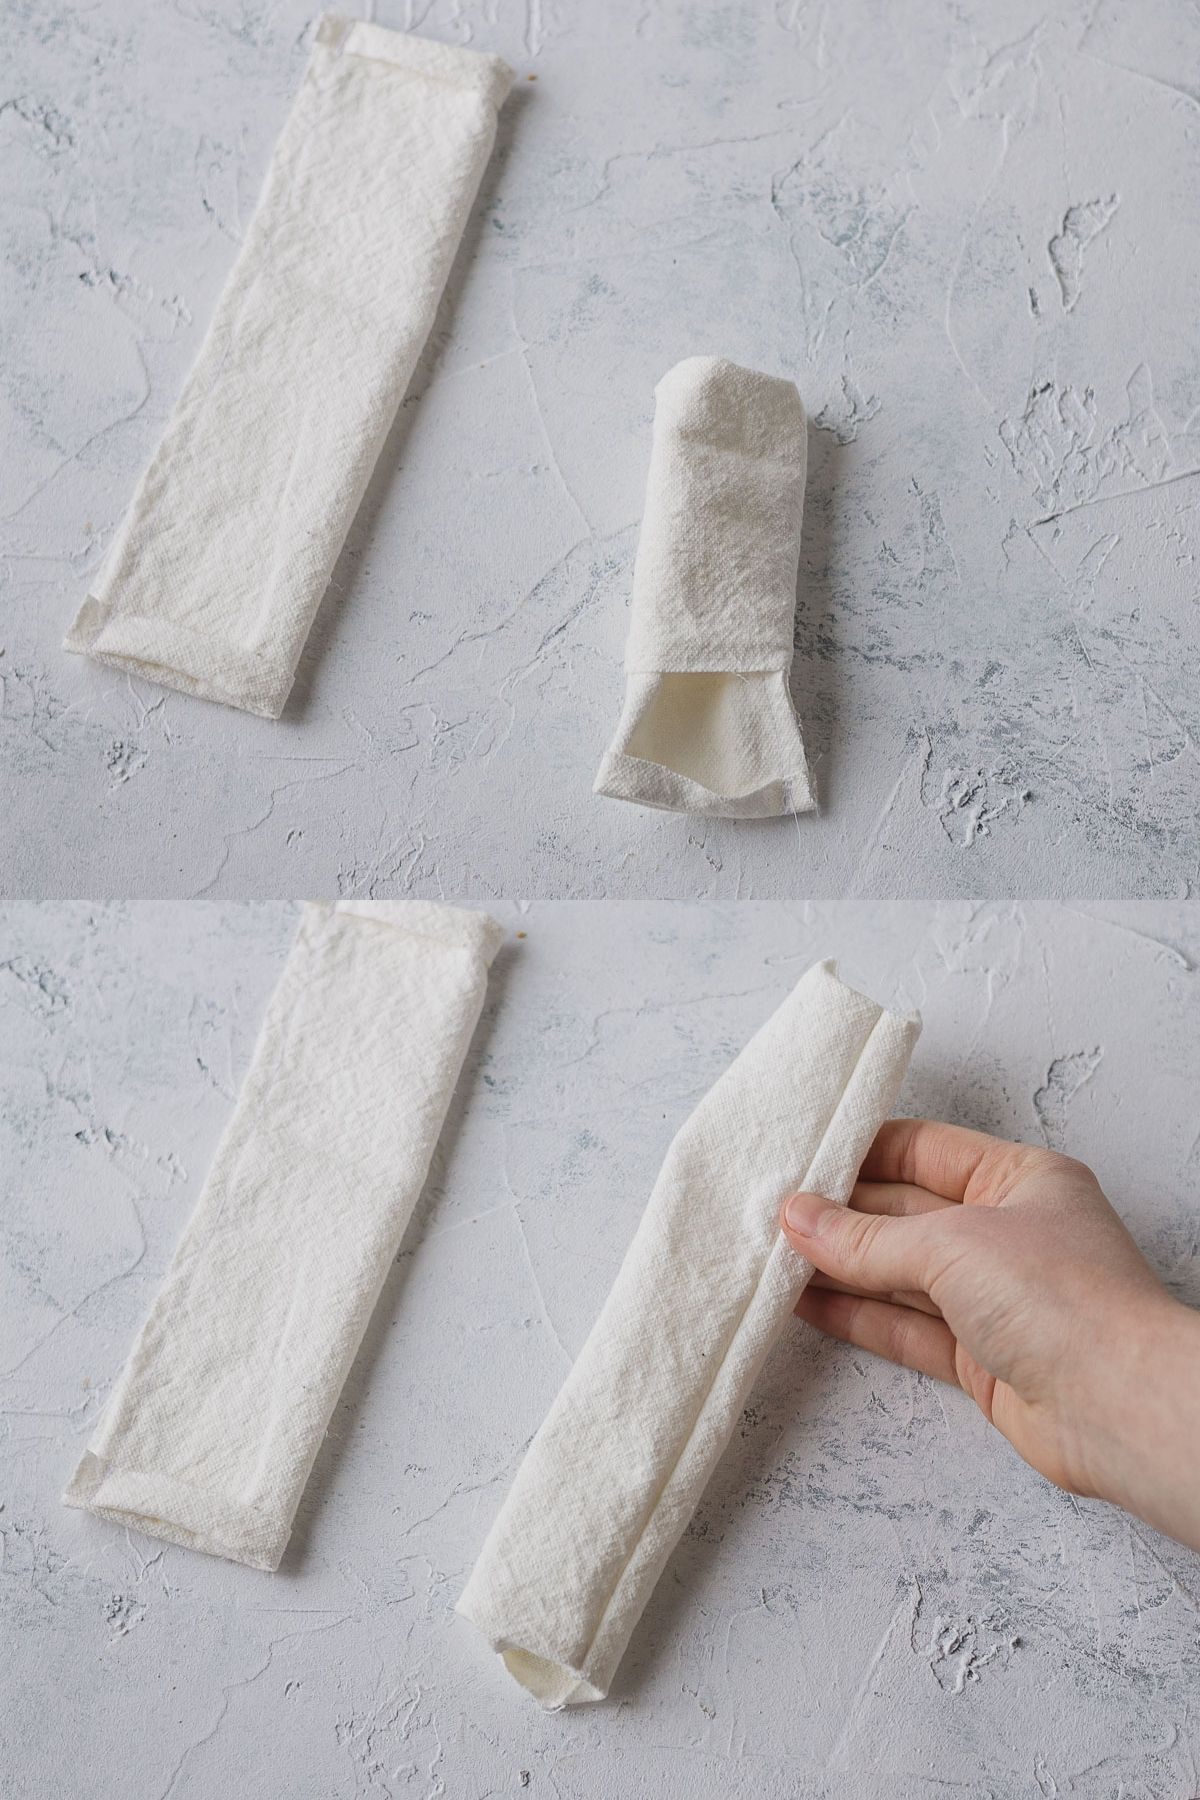
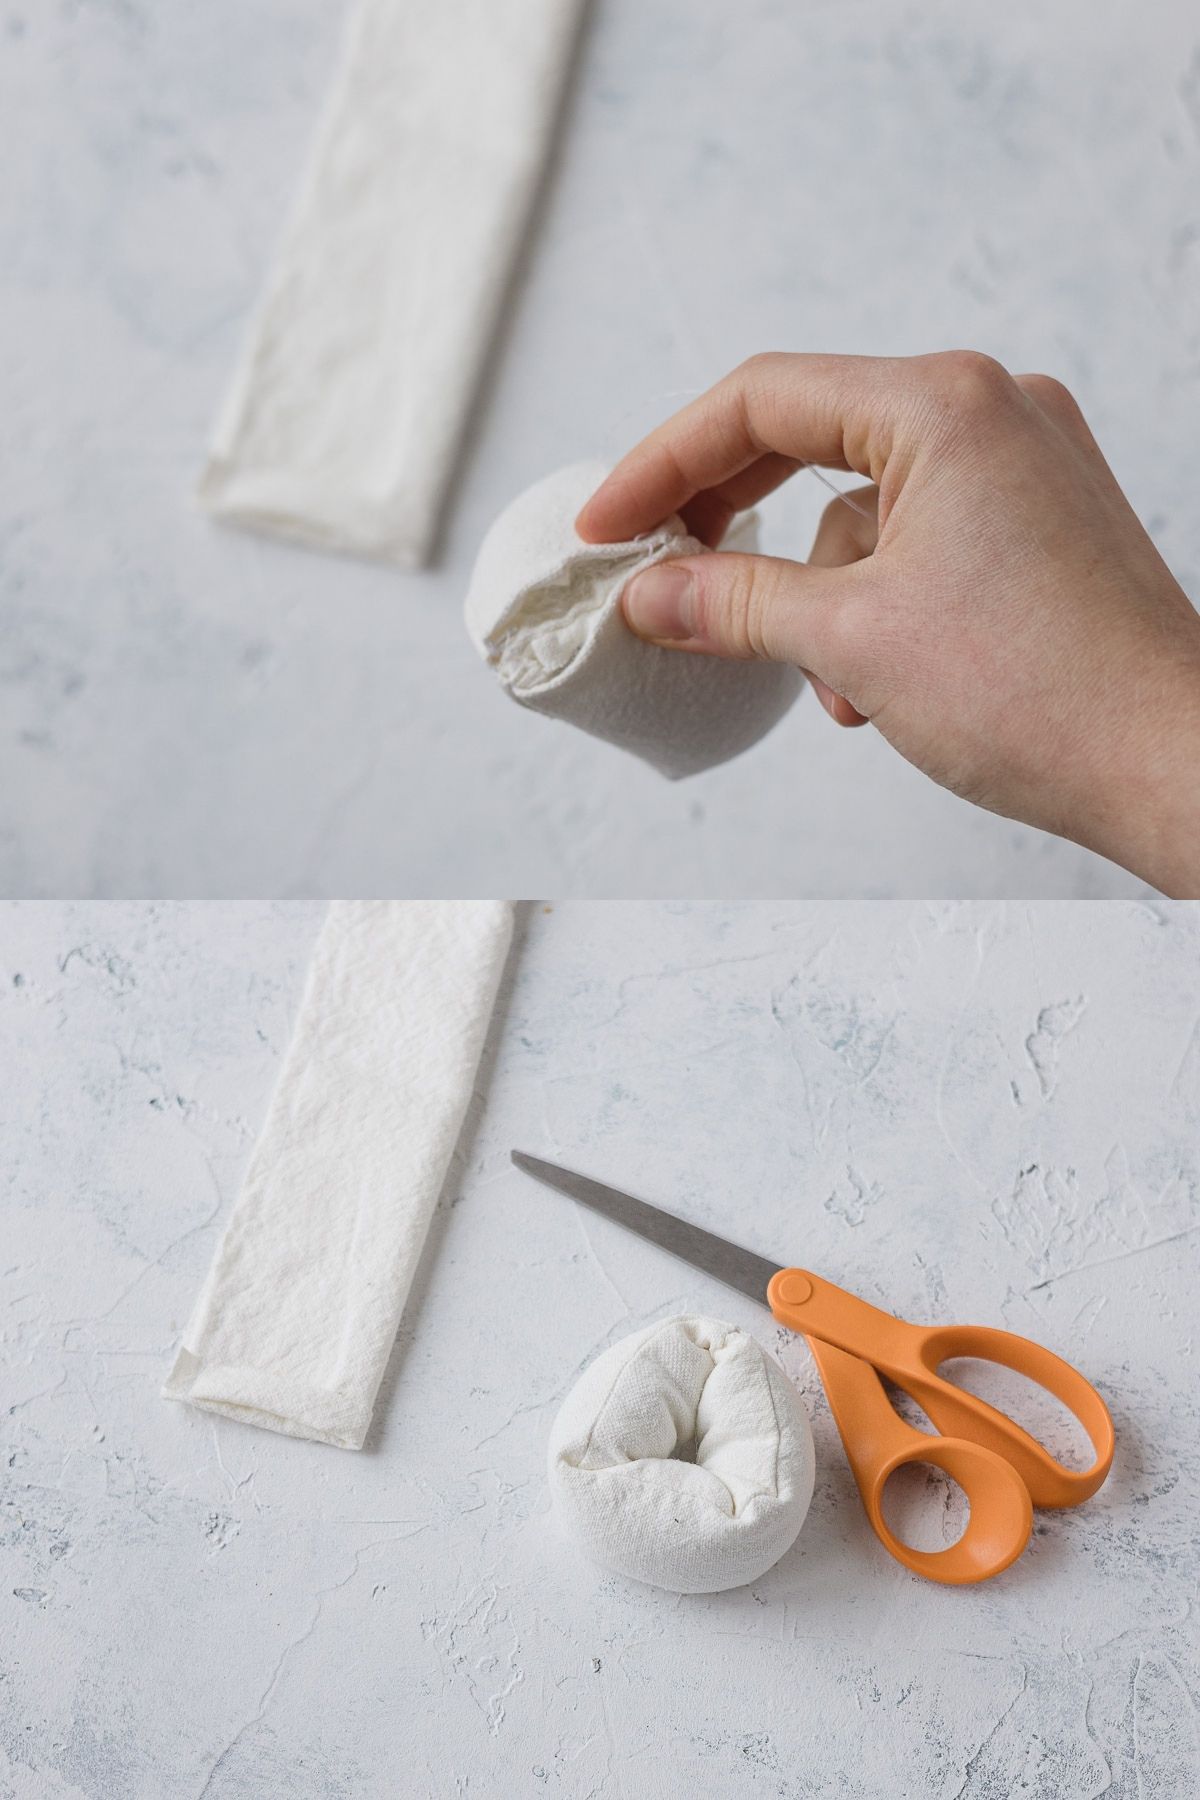
Stuff just the middle of the tube with a little poly fill stuffing. Bring the ends of the tube together to form a doughnut shape. If it’s too hard to bring the ends together, remove a little stuffing for now.
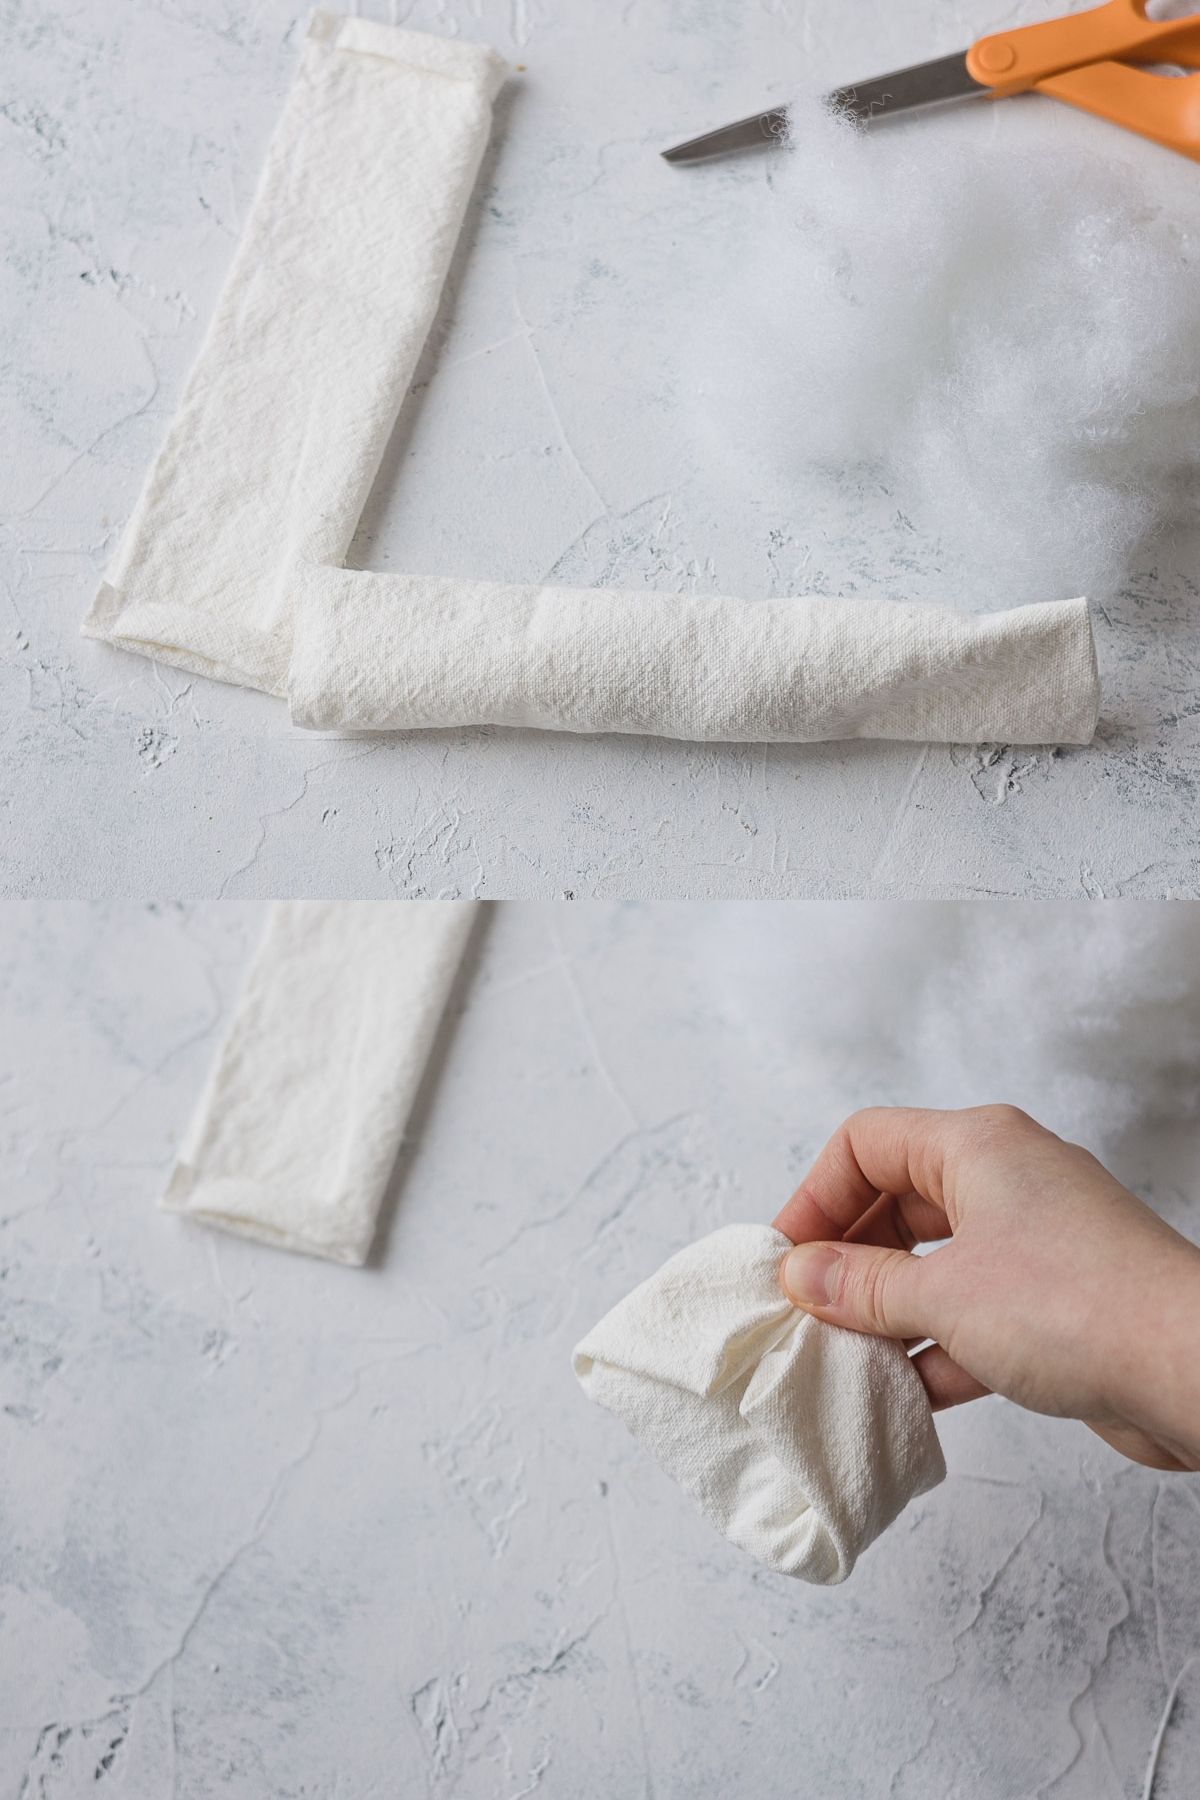
Now, it’s time to close the tube. Use a safety pin to hold the tube together while you start to sew if needed.
You can use a ladder stitch for a very tidy finish, or just whip-stitch it for ease. Using a needle with a doubled and knotted thread, begin to stitch the sides together around the tube (joining the edges, but not sewing through the tube shape).
Note that as you stitch you are simply joining the edges of the fabric together to make a complete tube. Don’t sew all the layers together and lose the tube shape.
When you have only about 1″ left to sew, pause, and finish stuffing the tube with stuffing.

Then, sew the remainder of the tube closed and use your fingers to even out the stuffing distribution over the seam.
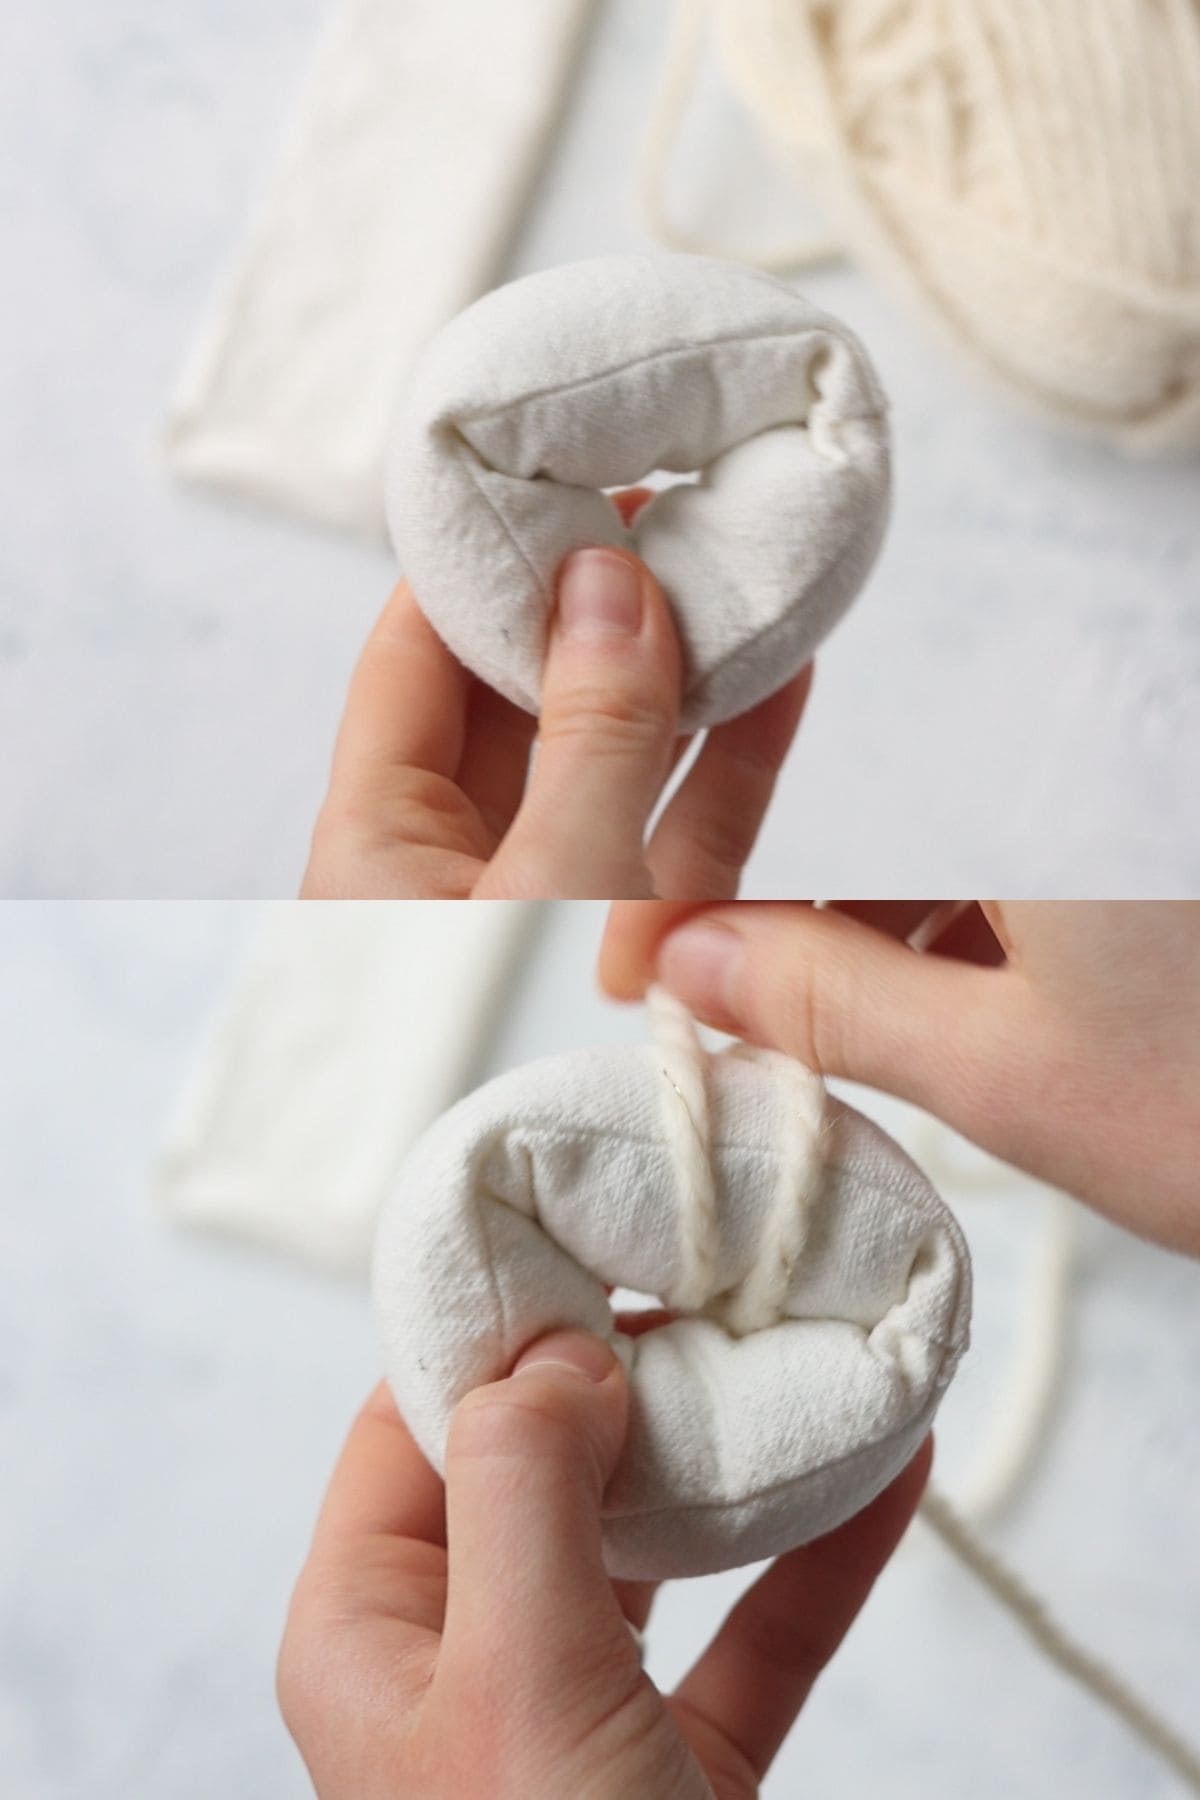
Optional Gathering Stitch
An optional next step is to run a gathering stitch alongside the inside seam of the pumpkin and gather the interior of the pumpkin.
To do this I just used a needle and thread to sew a large running stitch around about where the long seam is. Then I gathered it a bit to tighten the interior and knotted off the thread.
This will tidy up the circular form of the doughnut. It also makes the interior hole smaller, so if the stems you are using are small (like a cinnamon stick or something), you might want to do this step.
Wrap the Pumpkin
Next, you’ll need to cut a long strand of yarn to wrap your pumpkin. I do suggest sticking with bulky or super bulky yarns (or novelty-type yarns with a lot of fluff). The center of the pumpkin leaves plenty of room for threading these yarns through, but if you use a thinner yarn, you’ll be left with a large hole in the middle if that makes sense.
I usually pre-wrap the pumpkin with yarn to determine how much yarn to cut. I also plan yo wrap the pumpkin in two sections to avoid having to wrap super long strands of yarn.
So, start by loosely wrapping the entire doughnut shape with yarn to cover a little more than half the pumpkin.
Then, I cut the yarn and begin wrapping it around the doughnut. Use your fingers to bring the yarn inside and around the doughnut shape to cover it. You can tie off the ends if you want or just leave them for now.
If you bring the middle of the strand through the pumpkin and wrap one end of the yarn and then the other end you’ll have shorter strands to work with which makes these go faster.
Quick Tip: If you are making a lot of the pumpkins, once you figure out how long to cut your yarn pieces, use one of them as a guide and cut a whole bunch of lengths at once to save time.
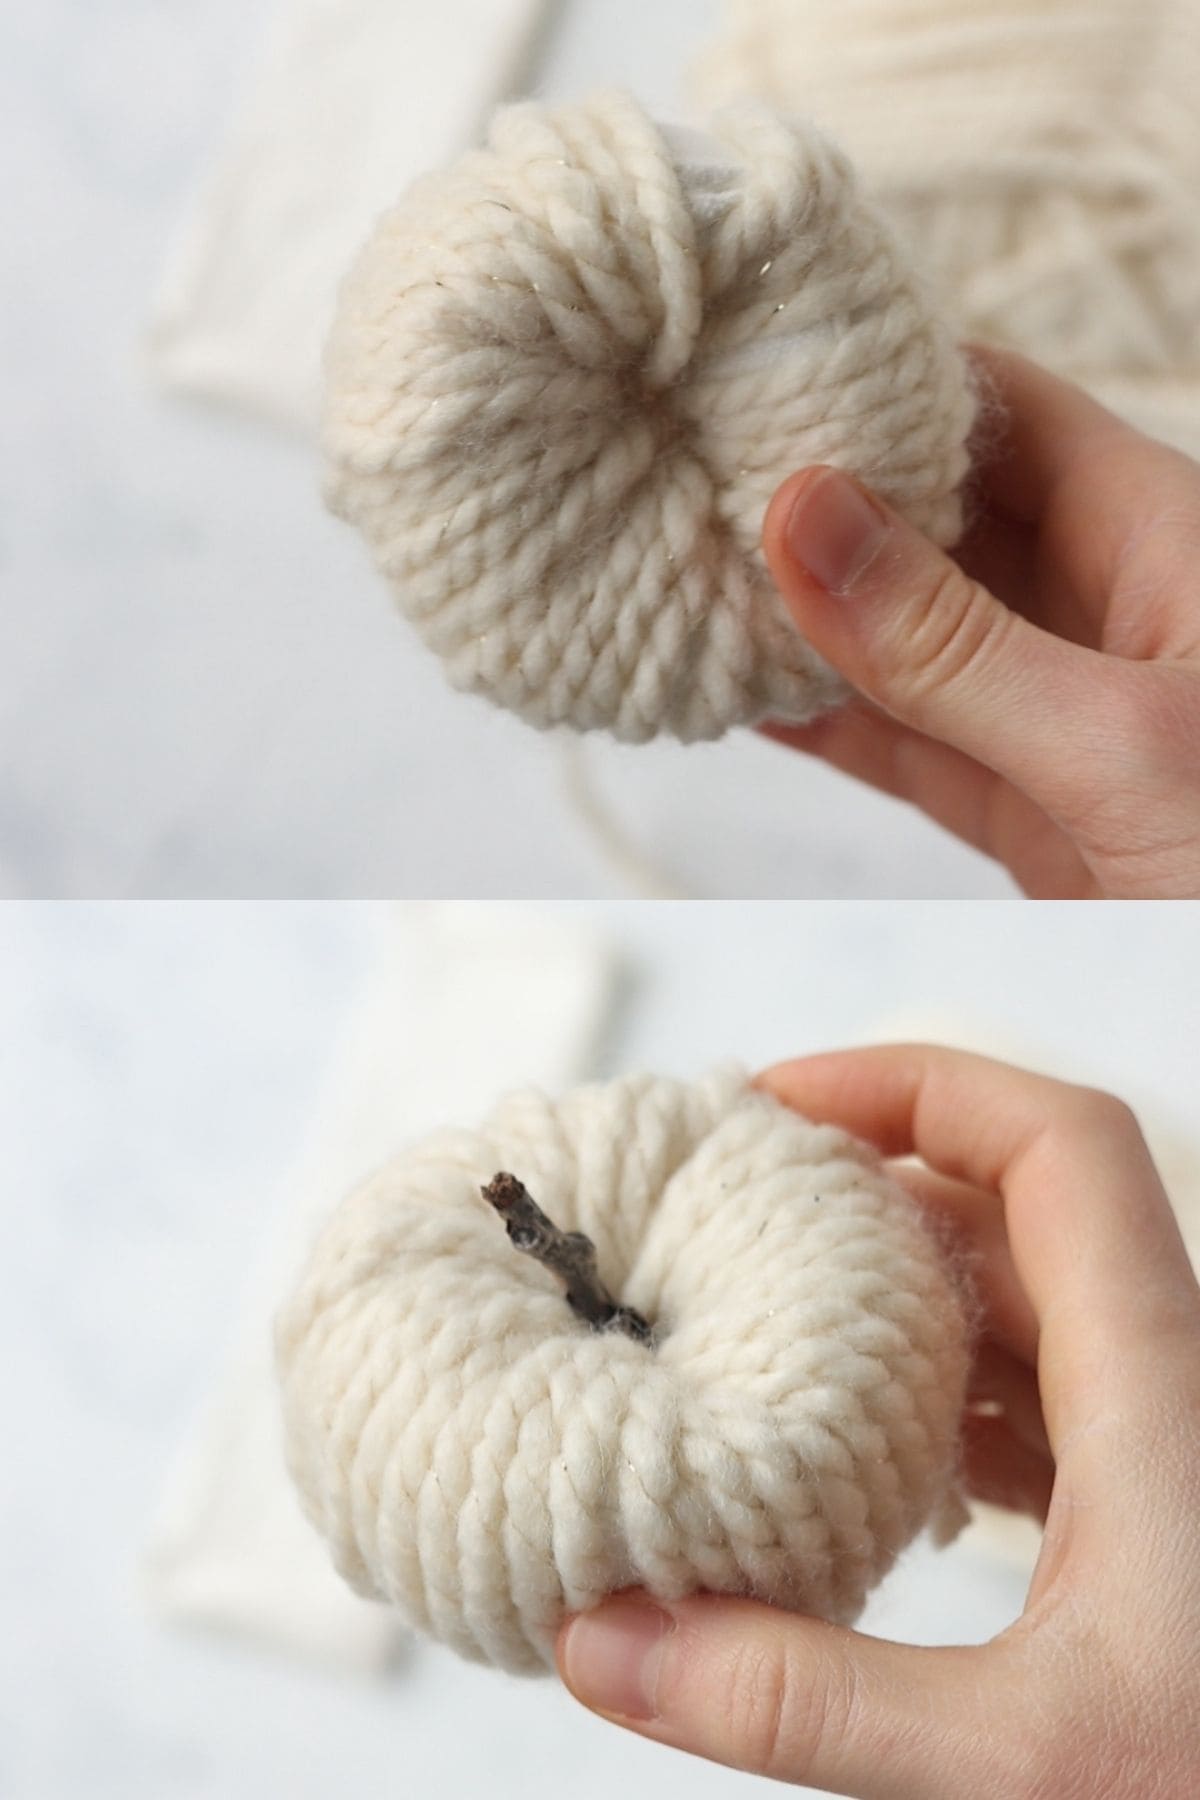
Continue wrapping the pumpkin until it is completely covered. Replace the yarn with another strand as needed.
After the pumpkin is complete secure the ends with hot glue and trim the excess.
Add a stem and secure with a little hot glue from a hot glue gun.
And that’s all there is to it!
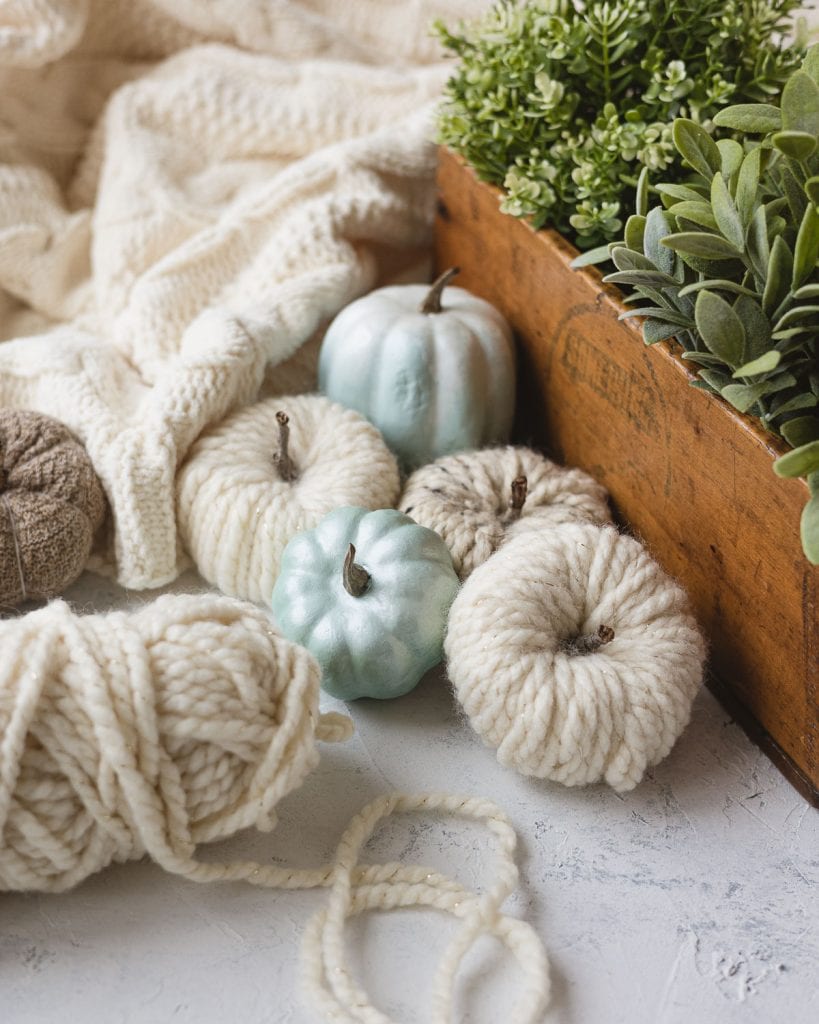
So if you are like me and would rather work with fabric than messy Styrofoam, I think these yarn-wrapped pumpkins are the perfect project for you!
Happy crafting! ~Ellen
Craft with me! If you try this tutorial, tag me on Instagram or use the hashtag #BellewoodCottageCrafts. Watch my videos on YouTube and follow along on Pinterest for more ideas like this one!
More Crafts Like This
- 15 DIY Pumpkin Craft Ideas
- Chalk Painted Pumpkins Tutorial + VIDEO
- How to Make DIY Sock Pumpkins + Video Tutorial!
- Mini DIY Ticking Stripe Pumpkins
- 15+ Tips for Decorating for Fall on a Budget
Weekly Crafting Fun!
Join my list and get a weekly email with relaxing craft ideas, freebies, sewing tutorials, and more!