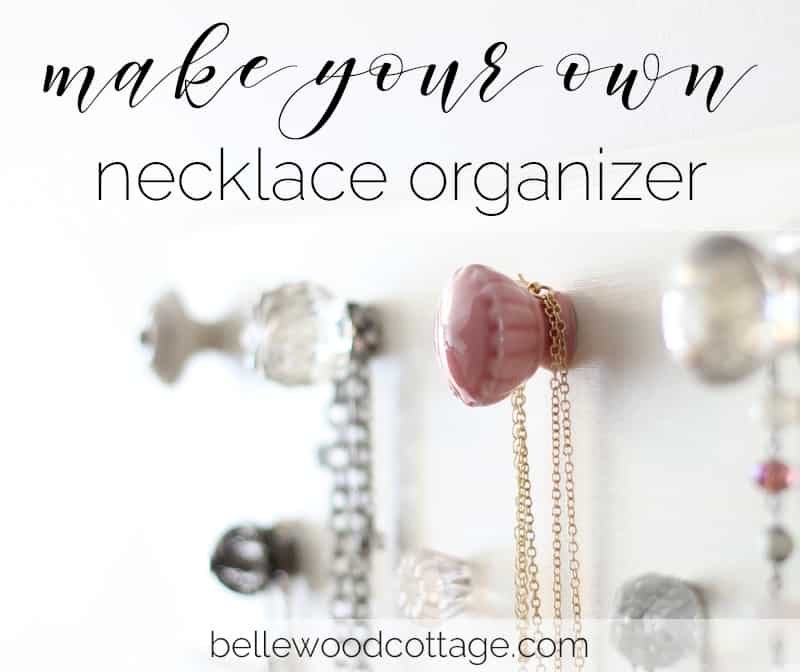
Make Your Own DIY Necklace Organizer
An easy craft idea that’ll help you organize your jewelry! Make your own DIY Necklace Organizer with colorful knobs and a simple wooden board!
Please note that this post contains affiliate links which allow me to earn a small commission when a purchase is made at no additional cost to you. As an Amazon Associate I earn from qualifying purchases. Read more here.
When decorating a home on a budget, I think there are plenty of winning strategies that create a beautiful home, regardless of budgetary limitations. For instance, utilizing attractive organizational solutions is one way to make things pretty while providing functional storage. Thus meaning that those dollars are going further.
This little necklace organizer piece is one project that turns a storage solution into a statement piece. Not to mention that the diy cost of supplies can be easily scaled to whatever your budget allows.
Weekly Crafting Fun!
Join my list and get a weekly email with relaxing craft ideas, freebies, sewing tutorials, and more!
Before I started making this piece, I took a quick inventory of my jewelry collection to see how much storage I’d need and the best solution to display everything. There are lots more fun jewelry storage ideas on Pinterest if you want to take a look!

After donating a few pieces I didn’t wear anymore, I decided that nine knobs to hold my necklaces would work fine.
Supplies to Make a DIY Jewelry Organizer
- Knobs (I picked some out from Hobby Lobby, but you can also order online)
- Wooden board/plaque (check craft stores for a pretty one like this or find similar on Amazon)
- Paint (I used chalk paint and wax to seal)
- Drill
- Something to trim long knobs (we used a dremel–not sure if this is the best way to do it–please be safe!)
How I Made the Organizer
I painted up my plain wooden board (you can find these at craft stores and I think I’ve seen them at Home Depot etc.) and then just drilled holes and screwed in my knobs. The hardest part was probably measuring out the spacing, ha!
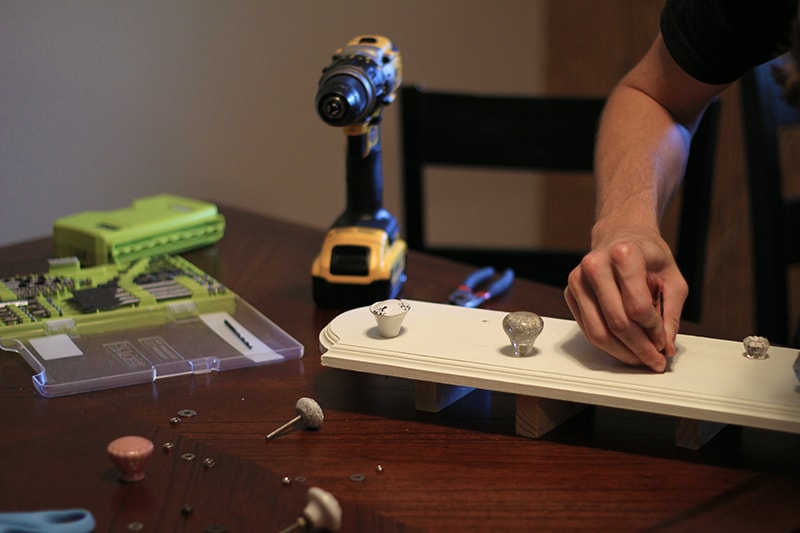
(hubby’s arm, not mine!)
It’s a super simple process, but I have one note to make: if your knobs extend past the back of the board, you’ll need to trim them down. This can be done with the style of knobs where the knob is attached to the screw and the nut/washer secure it (see pic):
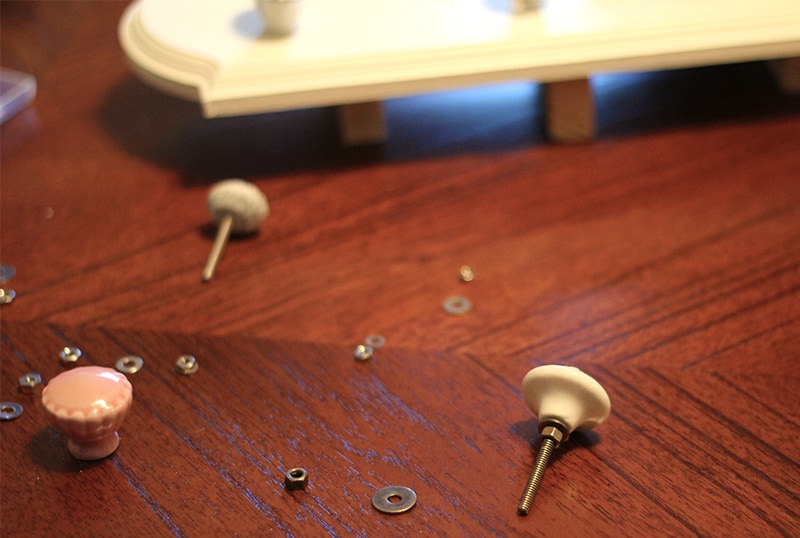
My hubby trimmed them up for me with his dremel, but please be careful! This tutorial on how to shorten a screw that is too long may also be helpful.
We opted to use screws to secure it into the studs in our bedroom wall, which is working great. I wanted it to sit flush to the wall so I didn’t bump it crooked each time I pulled a necklace off. Maybe I should fill and paint those screws though…
Since we haven’t even painted our master bedroom the color we want yet (after living in our house for a year!), this is a fun little piece that I’m enjoying while I wait to get to our room in the (seemingly) never-ending queue of house projects. Tell me I’m not the only one!
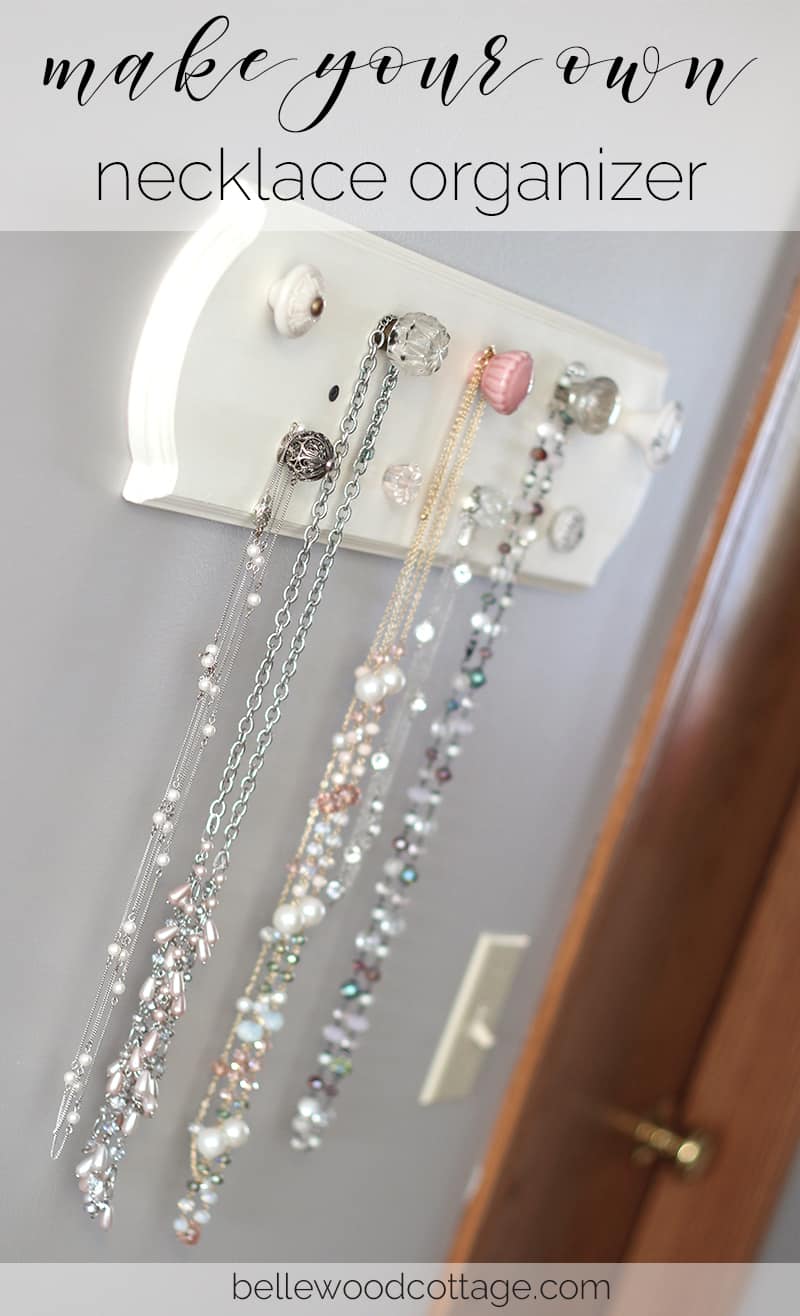
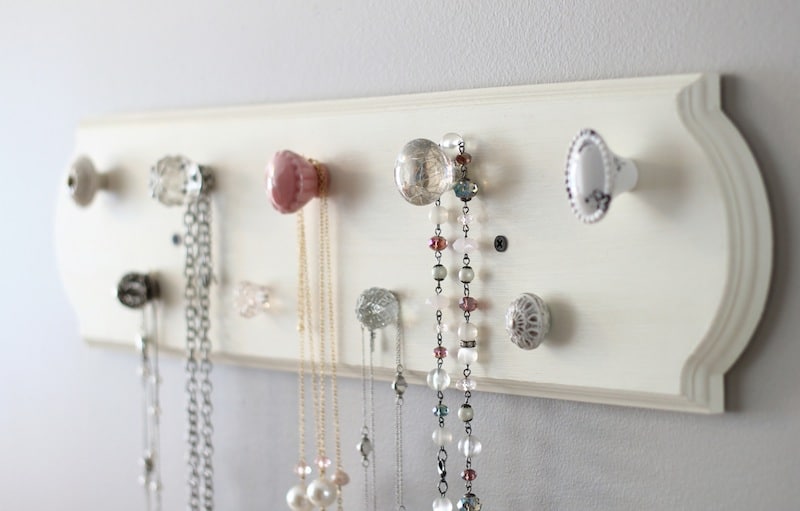
I love how the necklaces catch the sunlight and add a little sparkle. Plus, it’s always easy to choose a piece when I can see them all at once!
If you give it a try, let me know how your jewelry storage solution turned out!

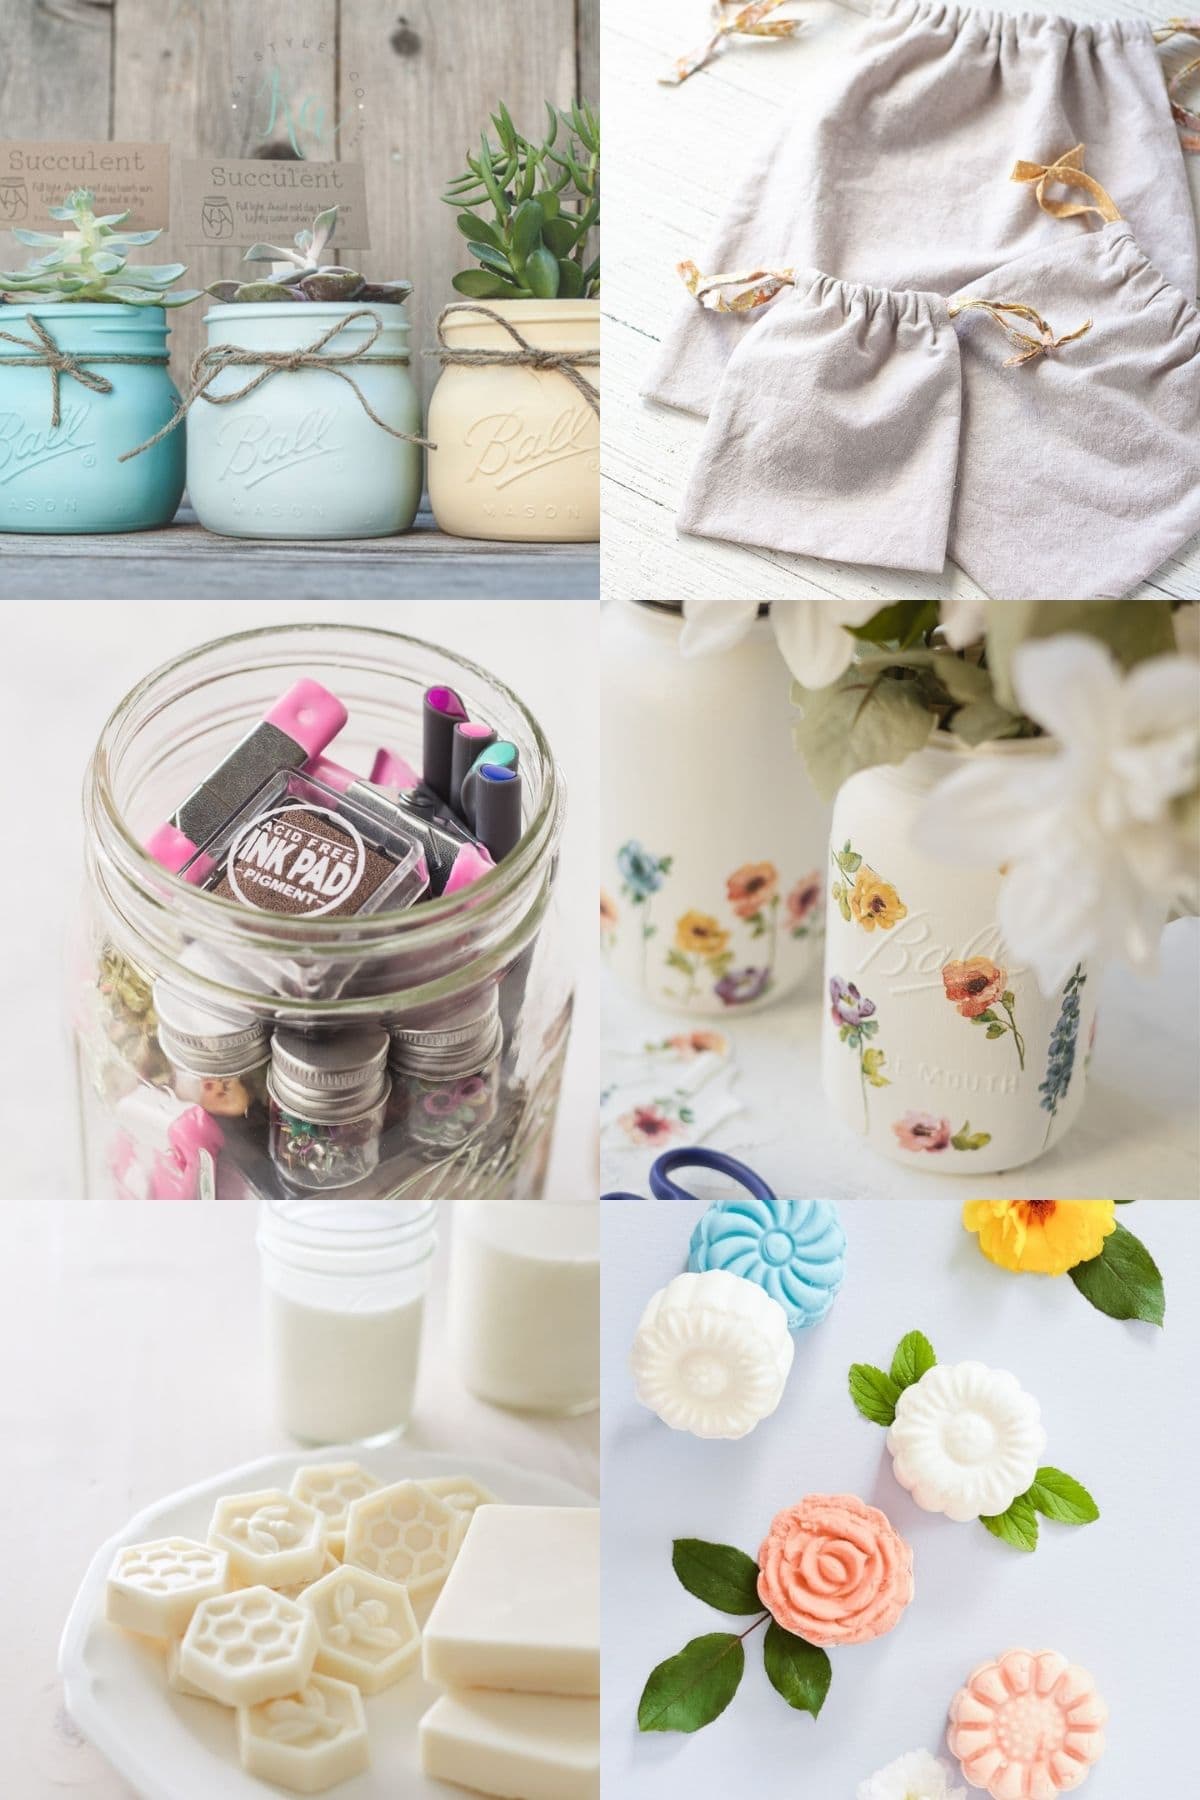
More Crafts from Bellewood Cottage
- Unique Gift Ideas for Crafters and Creatives
- Washi Tape Mason Jar Gift Idea
- How to Paint a Pantry Door with Chalk Paint
- How To Bleach Drop Cloths Successfully
- Repurpose Children’s Books for Wall Art
Weekly Crafting Fun!
Join my list and get a weekly email with relaxing craft ideas, freebies, sewing tutorials, and more!
Ooh that is so pretty! Love it!
Thanks so much! 🙂