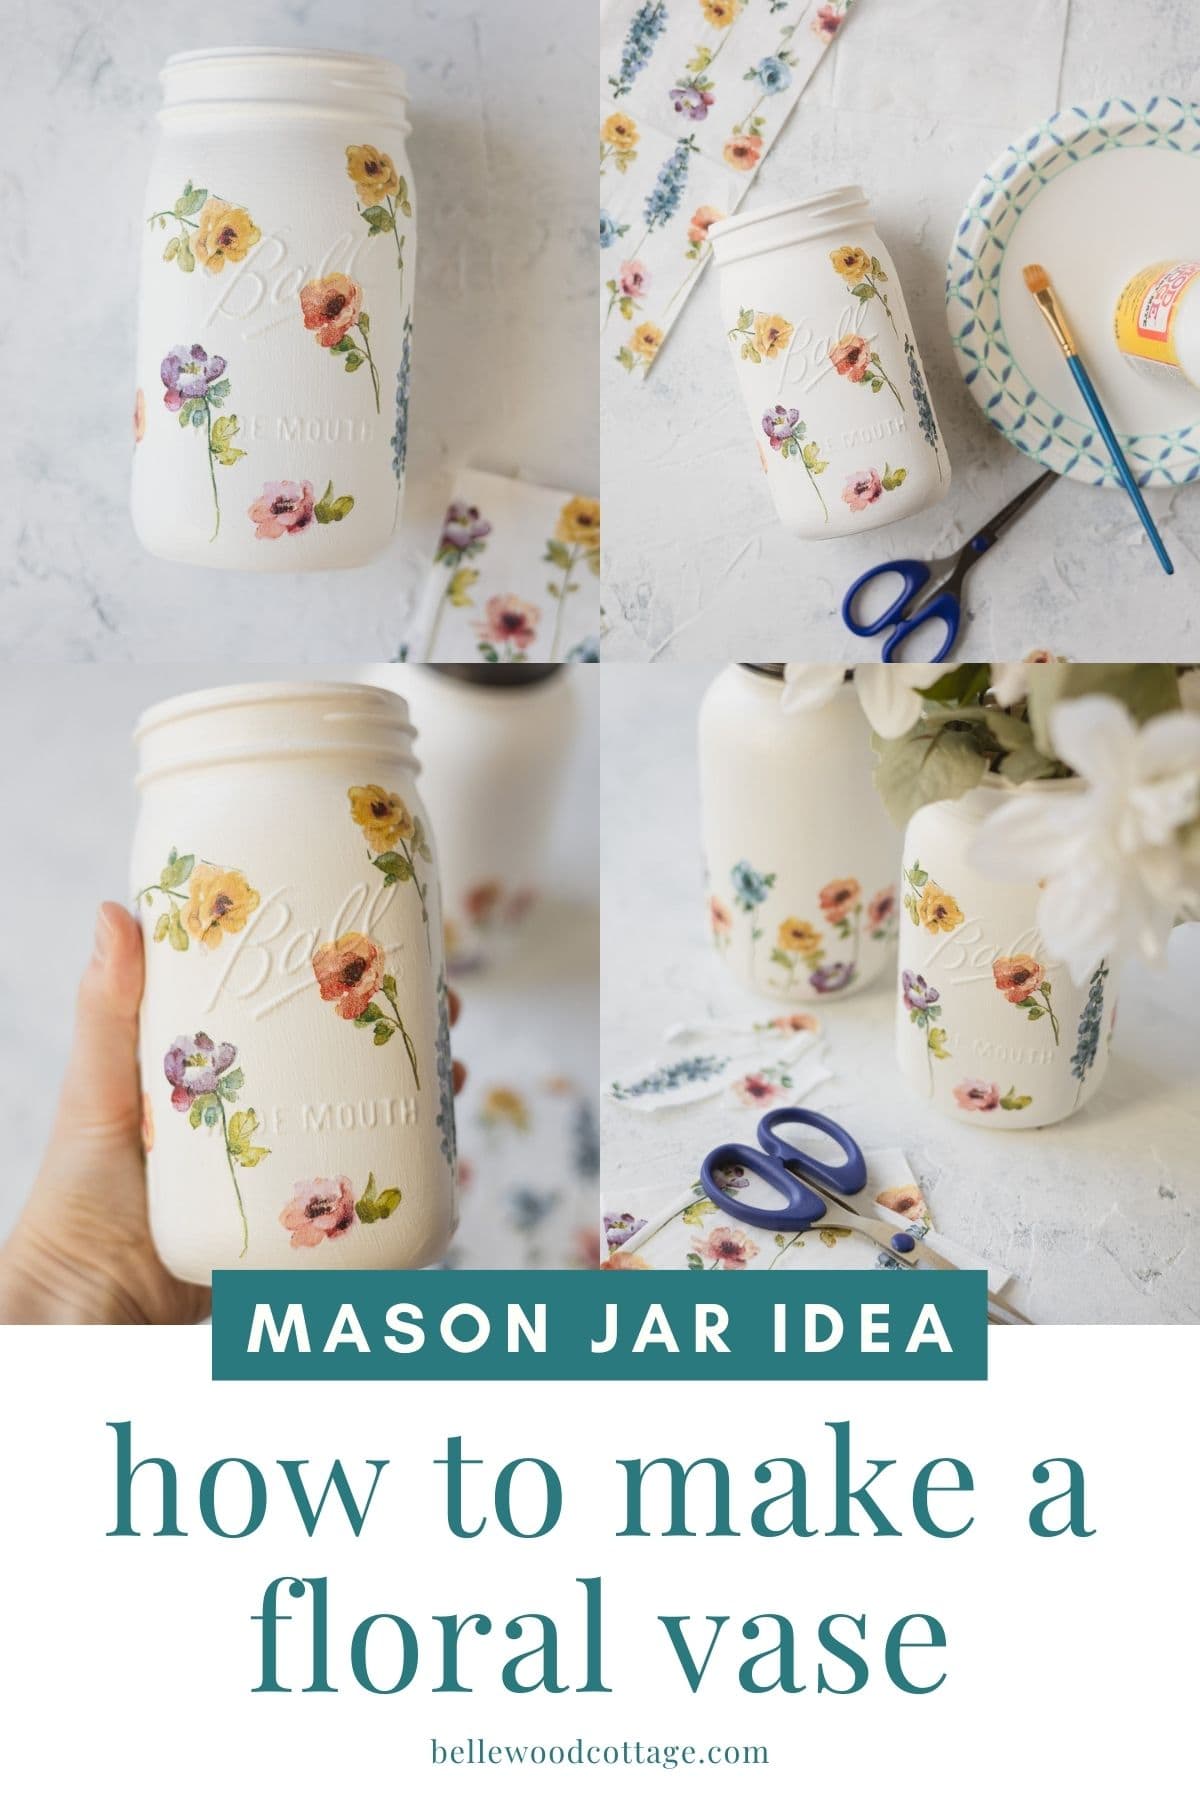
DIY Floral Mason Jar Vase Idea
Mason jars make beautiful vases or centerpieces and this garden-inspired DIY Floral Mason Jar Vase Idea is so easy to create. You don’t need to know how to paint florals to achieve the sweet decorations on this mason jar craft!
Please note that this post contains affiliate links which allow me to earn a small commission when a purchase is made at no additional cost to you. As an Amazon Associate I earn from qualifying purchases. Read more here.
Mason jars are a wonderful blank canvas for all kinds of crafts and home décor ideas. Decorating a mason jar to use as a storage canister, vase, or centerpiece is easy and fun.
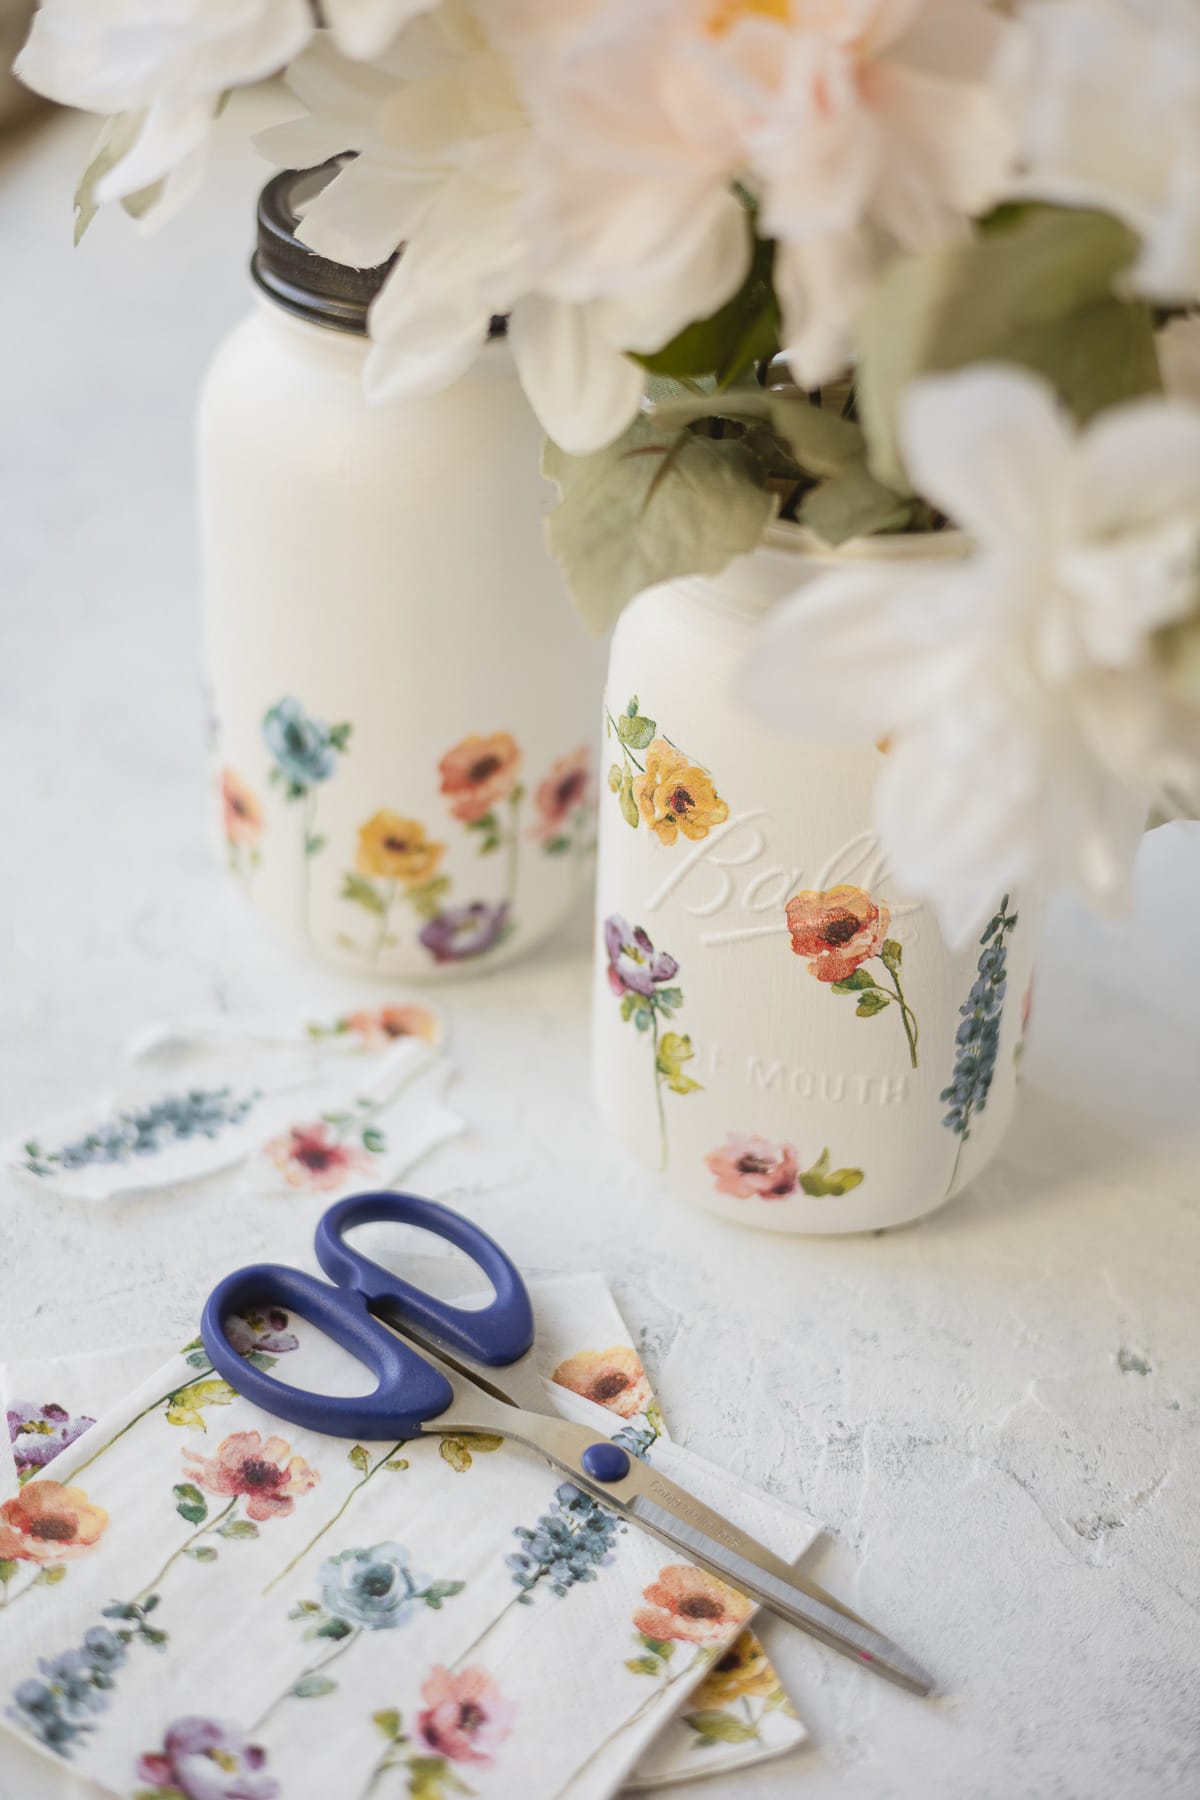
For this floral mason jar vase I used a quart jar, white chalk paint, and paper napkins! Yep, paper napkins. No complicated painting, just a pair of sharp scissors and some Mod Podge will do the trick.
Weekly Crafting Fun!
Join my list and get a weekly email with relaxing craft ideas, freebies, sewing tutorials, and more!
What makes this technique so great is that you can buy napkins with complex designs, cut them out, and create unique artwork–without feeling like you have to have an art degree in painting. This project checks the box for an easy & relaxing craft!
Use the finished jar for a pretty Mother’s Day gift, a vase, pencil holder, centerpiece, or anything else you like!
What You Need to Make This Craft
Mason Jars – Use any quart-size glass jar/mason jar. You could also recycle glass jars from food products (pasta sauce, jams, etc.).
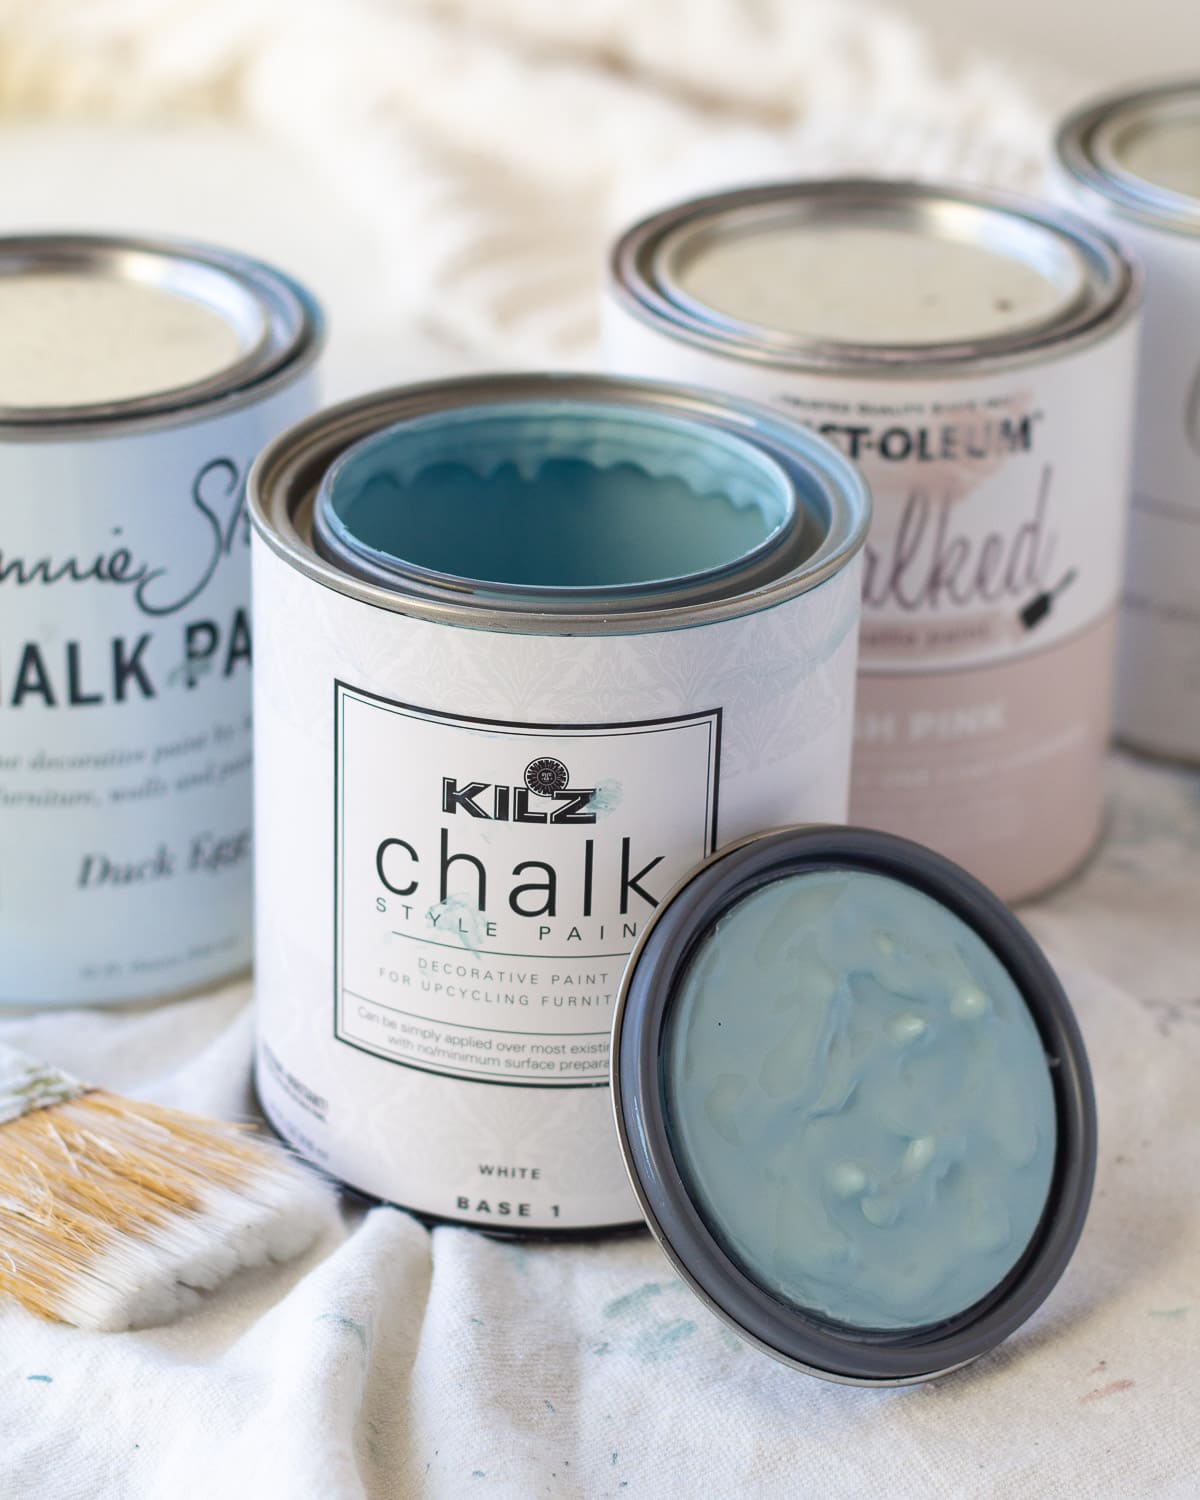
Chalk Paint – Chalk Paint/Chalk Style Paints are what I suggest for painting mason jars. The paints adhere well and leave a matte finish. My go-to white chalk paint is usually Rust-Oleum Chalked in Linen White, but these examples used Country Chic’s chalk style paint in Crinoline.
Paper Napkins – Choose a design that has smaller elements you can cut out. You can also use a full pattern design, but applying an entire napkin sometimes ends in a wrinkly finish. The smaller cut-outs tend to give a more professional look.
Mod Podge Matte – Or you can use any similar decoupage medium.
Sharp Scissors – For cutting the napkins.
Paintbrushes – For the chalk paint and the matte decoupage medium.
(Optional) Clear Matte Spray Paint – For sealing (alternatively, the finished jar can be coated with a complete layer of the Mod Podge).
Where to find cute napkins? I keep an eye out when I visit Marshalls/HomeGoods/TJMaxx. Also, gift shops and craft stores like Michael’s and Hobby Lobby. Target sometimes has pretty paper napkins and Amazon and Etsy have lots too.
Here’s Some Cute Napkins:

How to Make This DIY Floral Mason Jar Vase Idea
Paint the Jars
You can use recycled glass jars or standard mason jars for this project. I find that either a smooth glass jar or one with the raised emblem/decorations works just fine. Just a matter of preference.
I have a whole post on how to paint mason jars, but for this project I suggest applying two to three coats of white chalk paint to quart-size jars (other sizes work too). Be sure to wait the complete dry time between coats. No need to seal the paint quite yet.
Quick Tip: Paint your jar a different base color to coordinate or contrast with different napkin designs.
Prep the Napkins
While the paint dries, prep the napkins. Most napkins seem to be made from three layers. Peel off the back (usually just a plain white/color) of the napkin to start.

Now, using a pair of small sharp scissors, cut out the individual pieces you plan to use. I roughly cut each element and then I go back and trim close to the edges.
If you are using a napkin with a white background and applying it to a white-painted jar it’s ok to leave a little bit of the white napkin around the design as you cut it out.
After you trim the edges of the cut-outs, you might notice another plain white layer of napkin beginning to pull away from the printed side. Discard this layer. You could pull this layer away before cutting, but that makes it challenging to cut the delicate pieces.
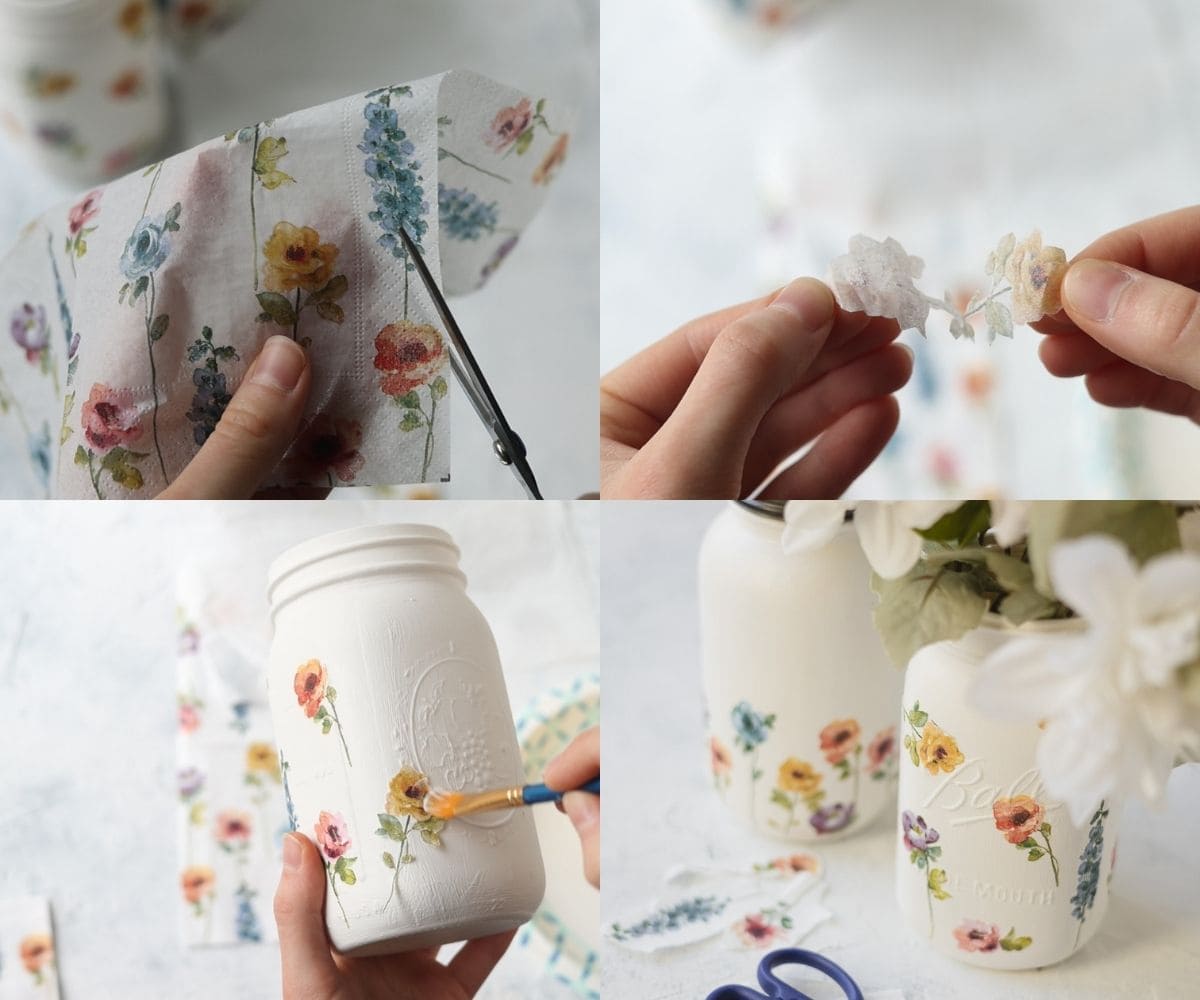
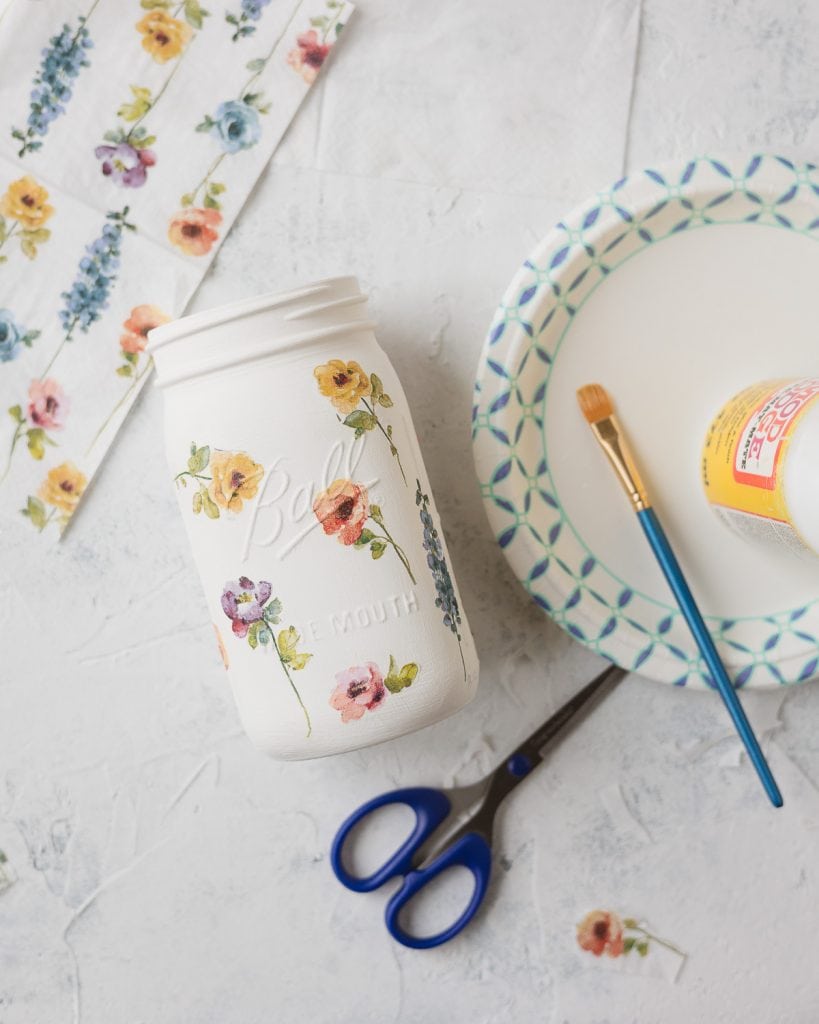
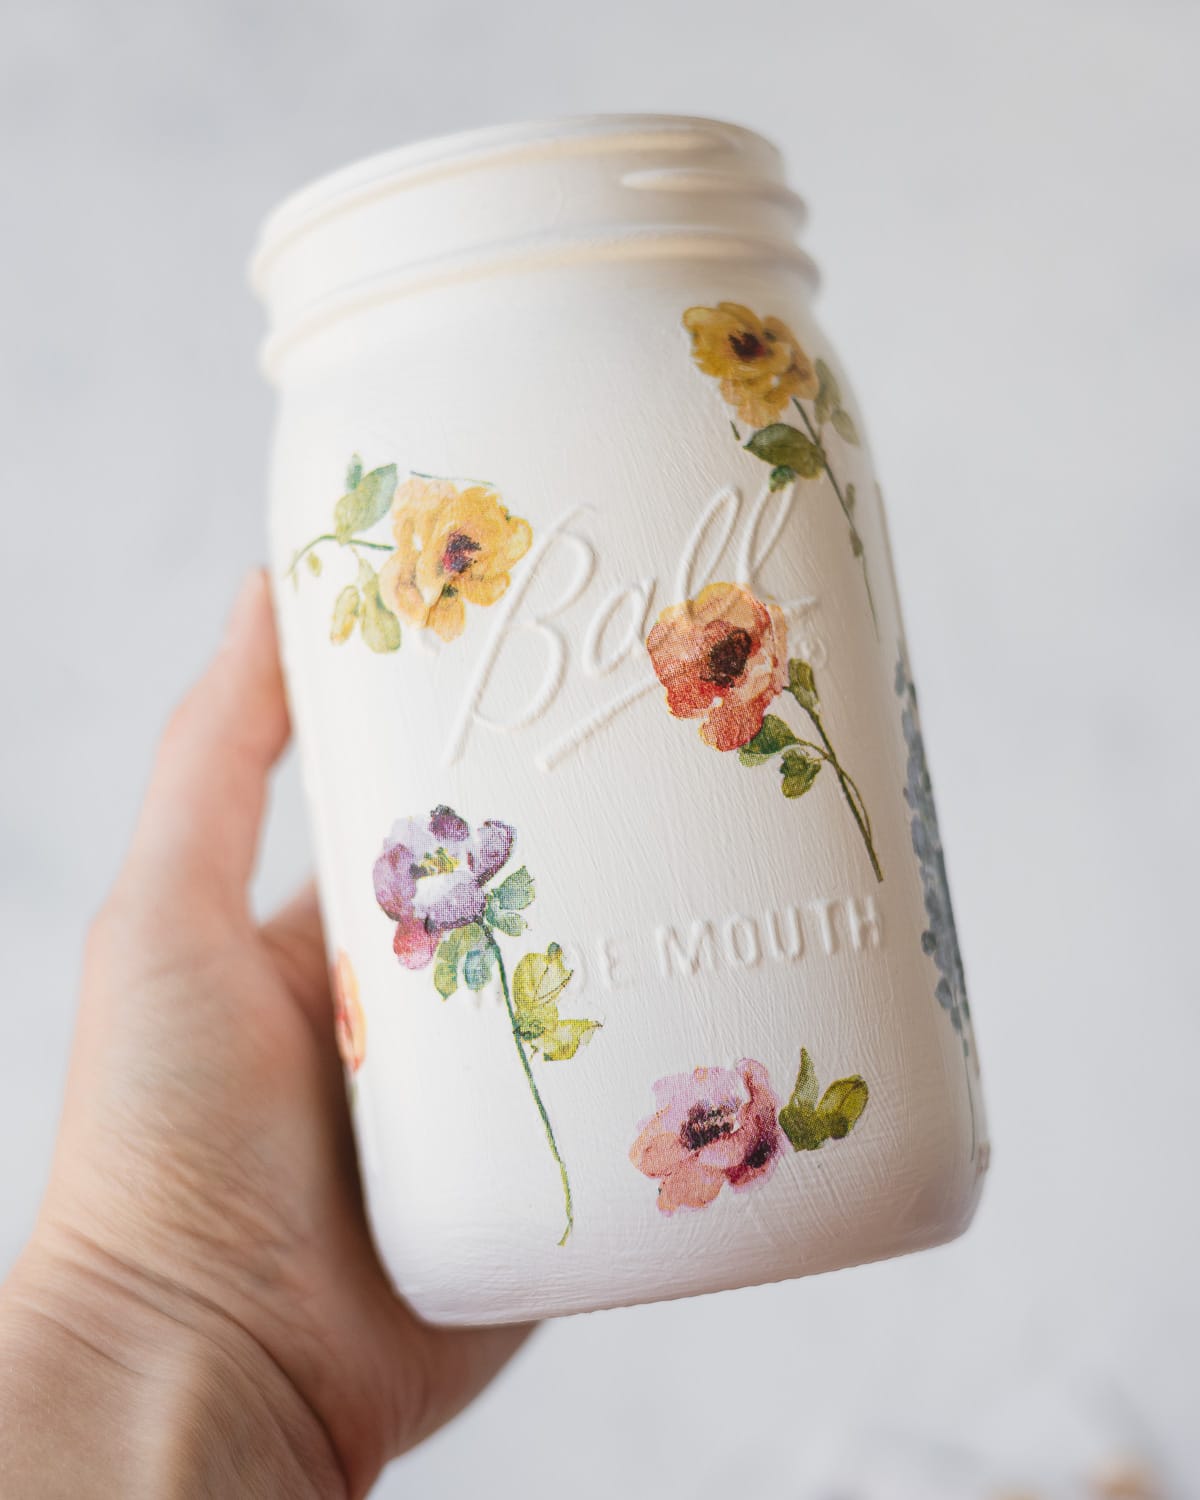
Apply the Images to the Jar
Now, grab some Mod Podge Matte. Use a paintbrush to apply a little where you plan to stick the first image from the napkin. Apply the image and paint over it with more Mod Podge. Repeat to cover the vase.
The Mod Podge (even though it’s a matte finish) left some shine on the jar. To avoid a patchy look, coat the entire jar with Mod Podge when finished or use a clear spray paint (matte) to coat.
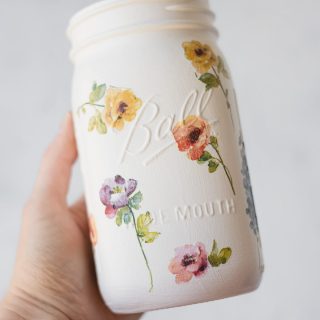
Top with a spray painted ring of the jar lid (glittery or metallic is fun!) or leave as-is. Fill with faux florals. If you’d like to fill with water and real flowers, I do suggest using a sturdy clear top coat for added protection.
How to Use this for Party or Shower Craft
This would be a great craft for parties. However, if you’d like to use this craft idea for a party, bridal shower, or something similar, you’ll likely want to paint the jars ahead of time. You could spray paint them (use a matte finish paint) to make the process a little faster.
Then, for your party, offer a variety of paper napkins, plenty of scissors, and show everyone how to separate the napkins and cut out their chosen designs. Then, offer plenty of paintbrushes, small bottles of Mod Podge (or pour small amounts from a larger jar onto paper plates) and a painted glass jar for each guest to decorate.
The Mod Podge dries pretty quickly, so guests can put a top coat on their pieces and then let them dry while the party continues. A great project for both adults and older kids!
More Mason Jar Ideas
- Mason Jar “Postage Stamp” Pencil Holder with Washi Tape
- Office Survival Kit Mason Jar Gift
- Pink Dotted Mason Jar Vase
Craft with me! If you try this tutorial, tag me on Instagram or use the hashtag #BellewoodCottageCrafts. Watch my videos on YouTube and follow along on Pinterest for more ideas like this one!
DIY Floral Mason Jar Vase Idea
Supplies
- 1 quart-size glass jar (such as a Mason jar)
- white chalk paint (I like Rust-Oleum Chalked)
- paper napkins with floral motifs
- Mod Podge Matte
- sharp scissors
- paintbrushes
- (optional) clear matte spray paint (for a top coat)
Instructions
Paint the Jar(s)
- Apply two to three coats of white chalk paint to quart size jars (other sizes work too). Be sure to wait the complete suggested dry time between coats (check paint can).Quick Tip: Paint your jar a different base color to coordinate or contrast with different napkin designs.
Prep the Napkins
- While the paint dries, prep the napkins. Peel off the back (usually just a plain white/color) of the napkin to start.Use small sharp scissors to cut out the individual pieces you plan to use. Then, trim the edges closely. If the background color of the napkin matches the paint you used on the jar (i.e. white on white) you can leave a little edge.
- There will be one last layer of napkin to pull away. This usually starts falling off as you trim up the smaller cut-outs. Discard this plain layer too.
Apply the Images to the Jar
- Now, grab some Mod Podge Matte. Use a paintbrush to apply a little where you plan to stick the first image from the napkin. Apply the image and paint over it with more Mod Podge. Repeat to cover the vase.
Add a Top Coat
- The Modge Podge will leave a little shine on the chalk paint so to avoid a patchy look, coat the entire jar with Mod Podge when finished. Alternatively, use a clear spray paint (matte) for a stronger finish.
Decorate with the Jar Vase
- Top the vase with a spray painted ring of the mason jar lid (glittery or metallic is fun!) or leave as-is. Fill with faux florals. If you’d like to fill with water and real flowers, I do suggest using a sturdy clear top coat for added protection.
Weekly Crafting Fun!
Join my list and get a weekly email with relaxing craft ideas, freebies, sewing tutorials, and more!