How to Make Salt Dough Ornaments (and other stuff!)
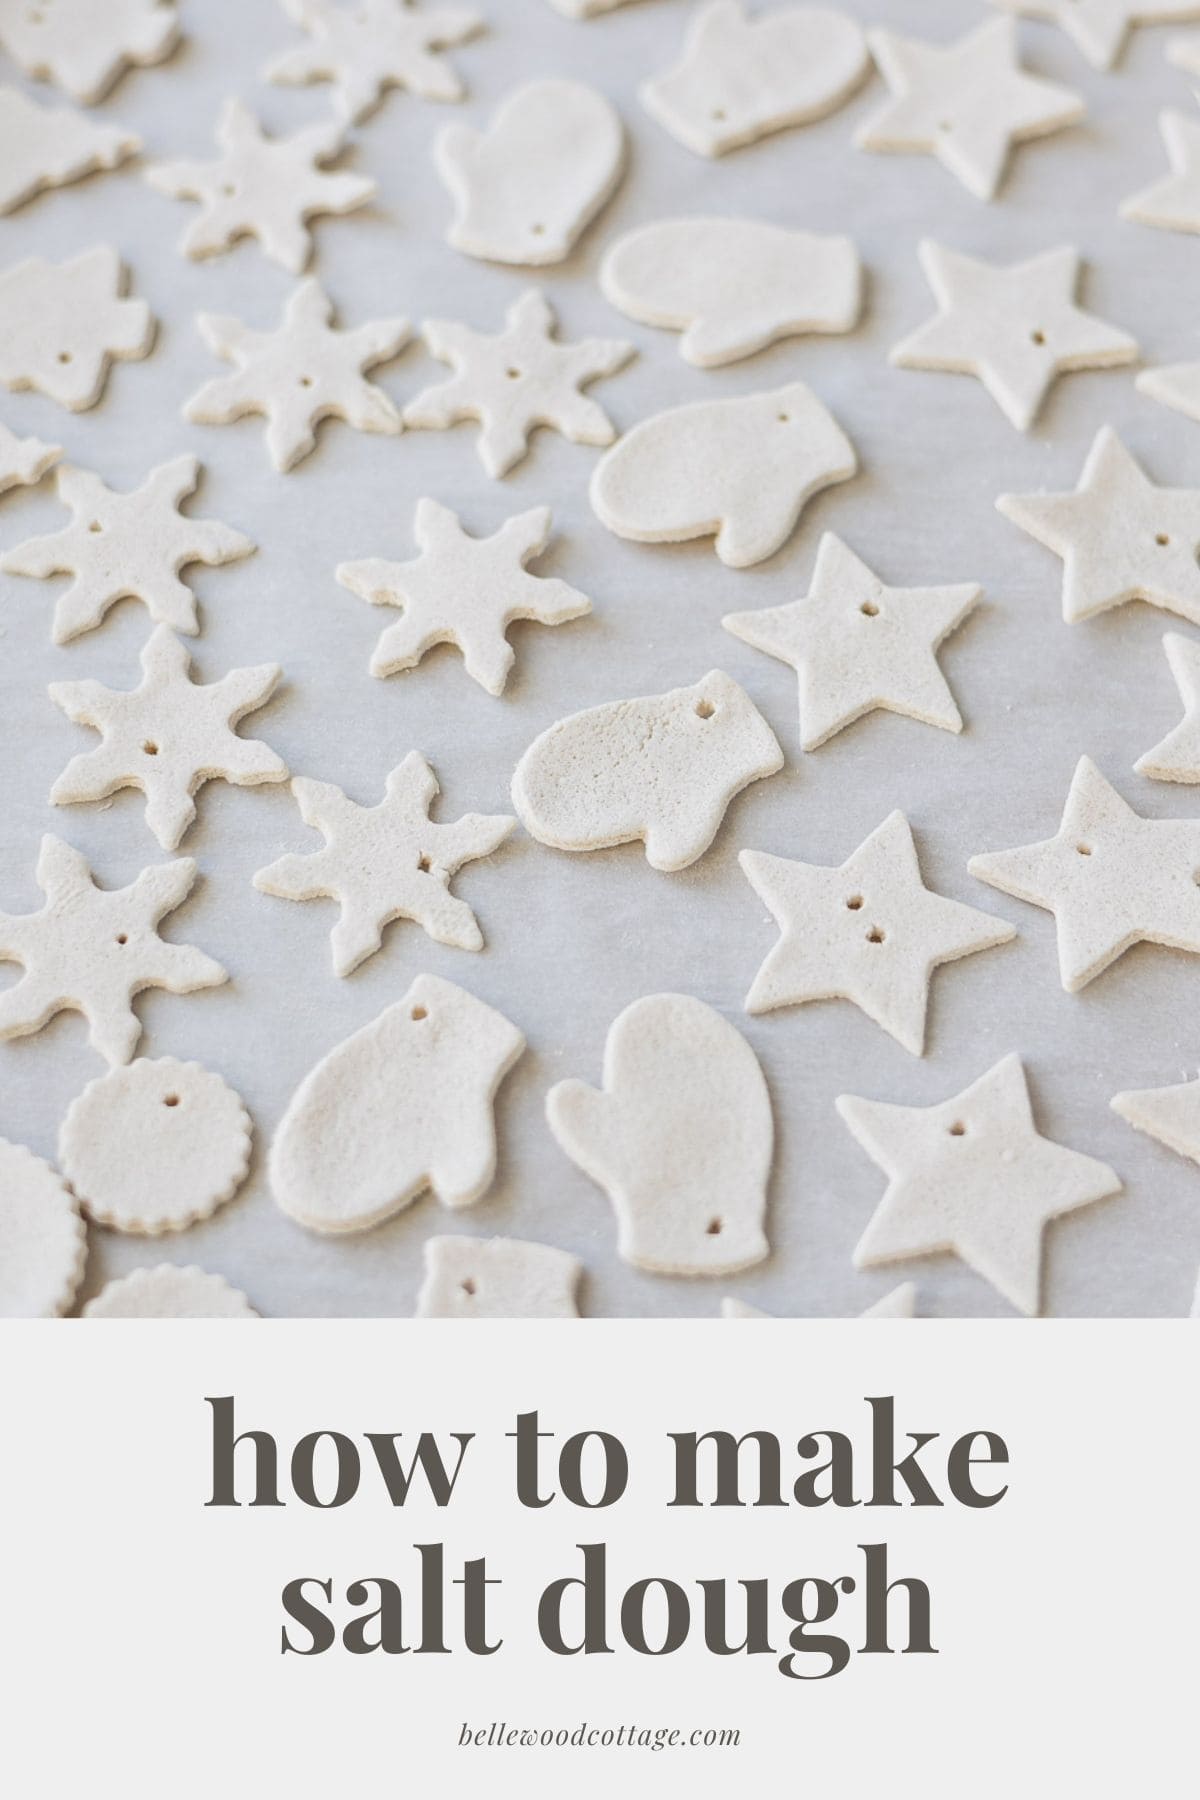
Salt dough ornaments are just about the easiest Christmas craft you can make and they are so much fun! The dough is great for kids, but adults also enjoy crafting special ornaments, gift tags, garlands, and more with this simple 3-ingredient salt dough. Bake it, air-dry it, decorate it, paint it, leave it plain–whatever you choose!
Please note that this post contains affiliate links which allow me to earn a small commission when a purchase is made at no additional cost to you. Read more here.
Before I published this post I wanted to explore the world of salt dough beyond what I’d always done. So I tried different techniques of air-drying versus oven-drying, salt to flour ratios, and how to roll out the dough without tearing or sticking.
With my various experiments, I’ve recorded helpful tips here for you that’ll make your salt dough crafting a success.
The great thing about salt dough is that (in addition to being quick and easy to make) it can be used for neutral ornaments, colorful ornaments (paint them!), bedazzled projects, and whatever else you envision.

You can make classic handprints or footprints with your babies and toddlers and seal them to preserve the memories for years to come.
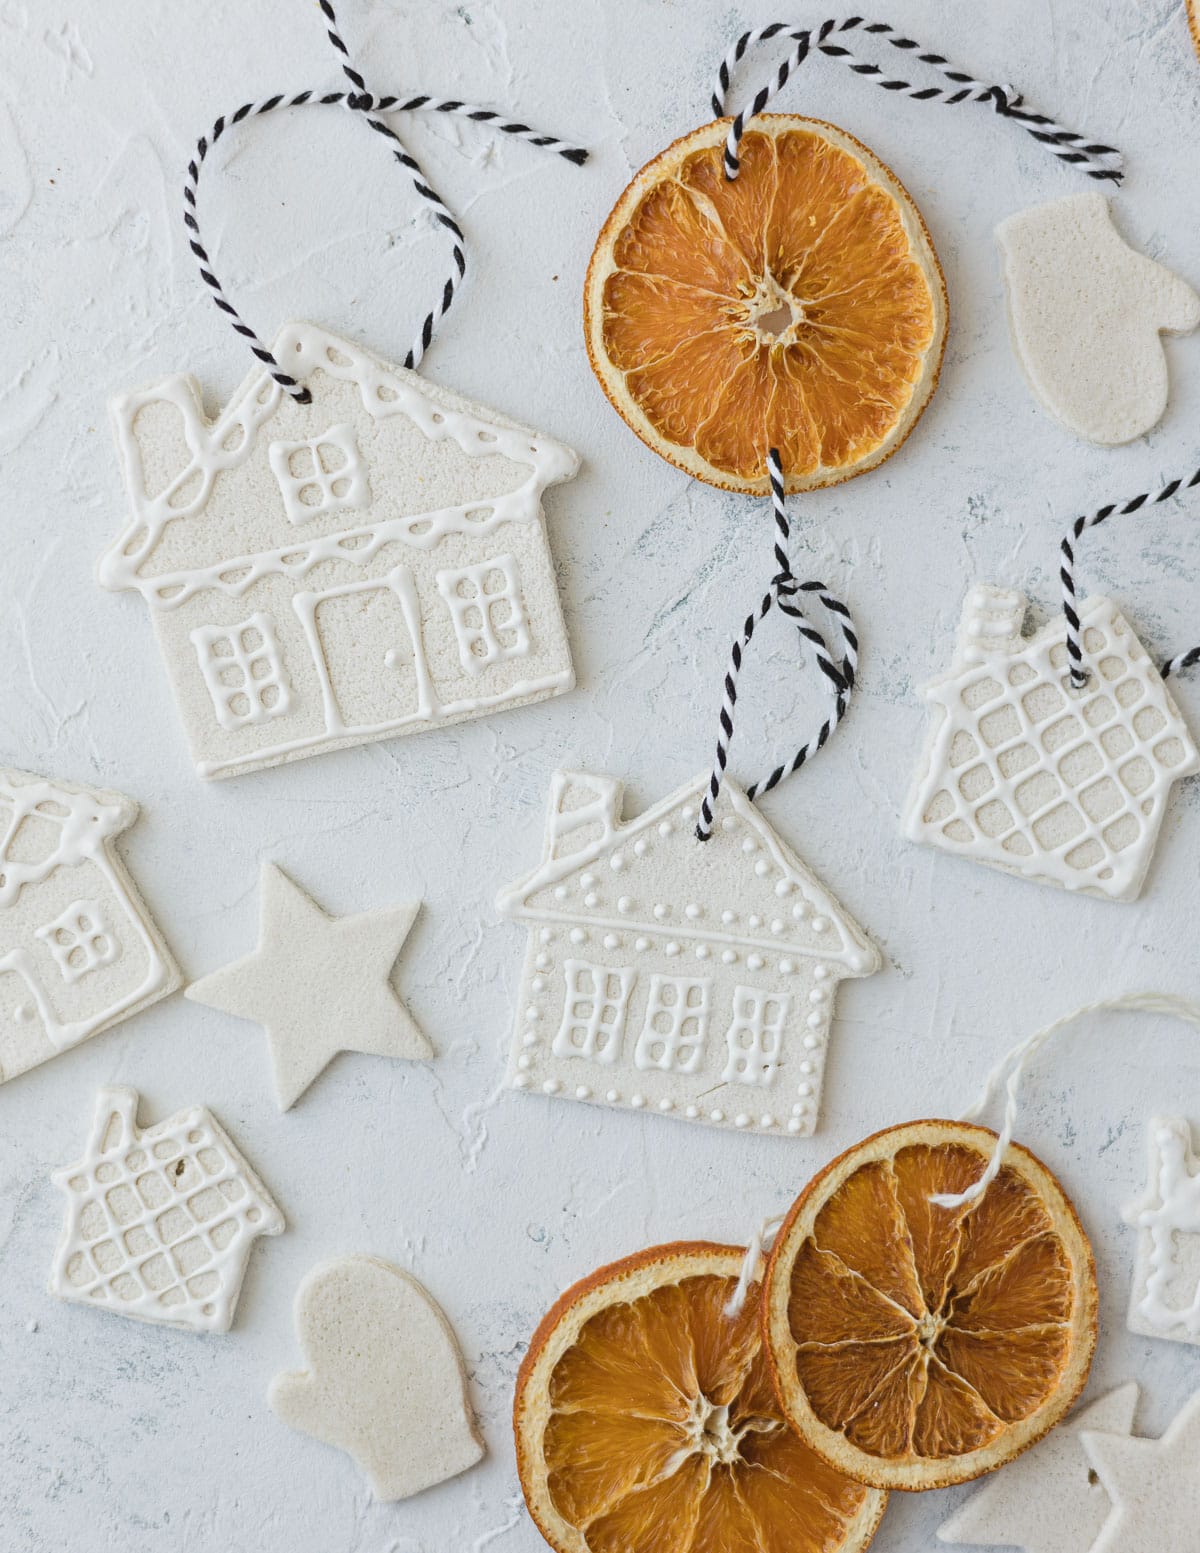
You can create neutral farmhouse style ornaments to cover a tree or string as a garland. Or perhaps gift tags to adorn your holiday packages.
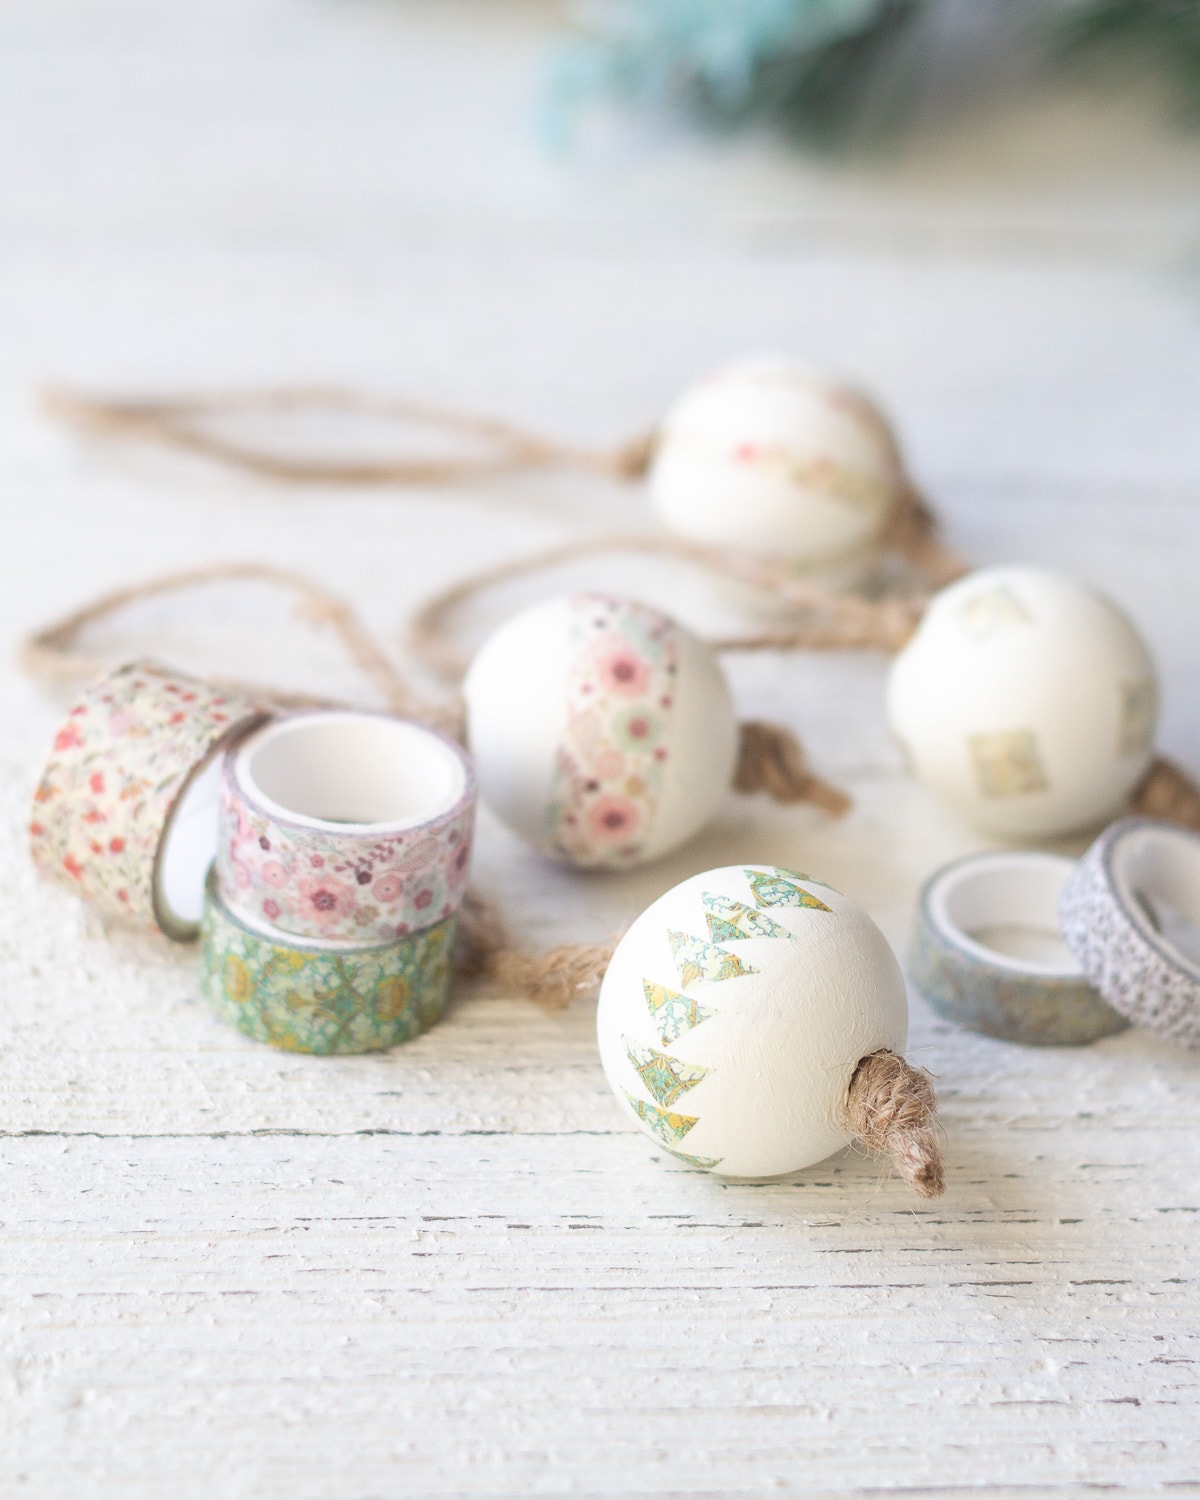
I made these simple house ornaments for use on the Christmas tree or as gift toppers:
You can even (yes!) create your own mini salt dough gingerbread houses. Below I used salt dough and royal icing to create these tiny houses. SO much easier than making gingerbread or sugar cookie pieces from scratch!
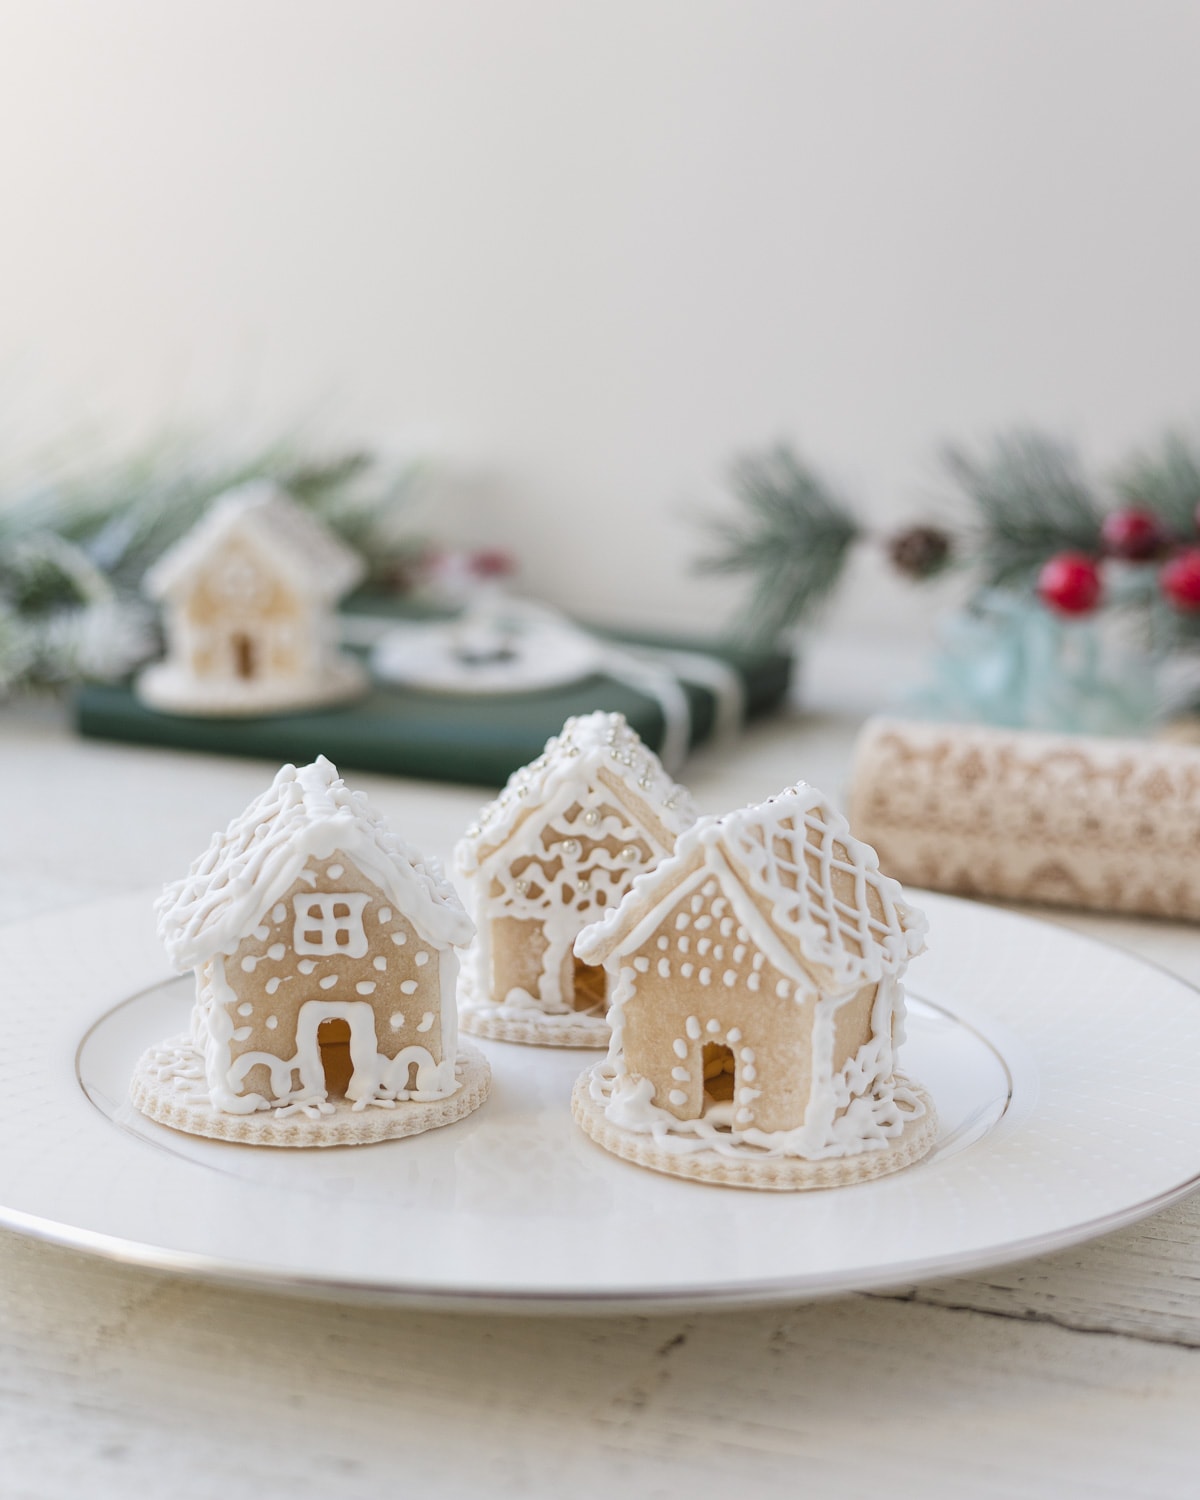
Quick note on the gingerbread houses: while I used royal icing and it was great to work with, I found that it tends to sit on top of the salt dough (rather than truly adhering) and is easily accidentally brushed off.
If you plan to keep these under a cake dome or something like that it shouldn’t be a problem (I didn’t have problems with collapsing houses), but you might consider using a hot glue gun and puffy paint instead.
For Valentine’s Day, I like to add a little pink food coloring and use cookie cutters to make salt dough hearts. Use them for gift tags, a garland, valentines, and more!

Salt Dough Supplies
Don’t miss the step-by-step printable instructions at the end of this post!
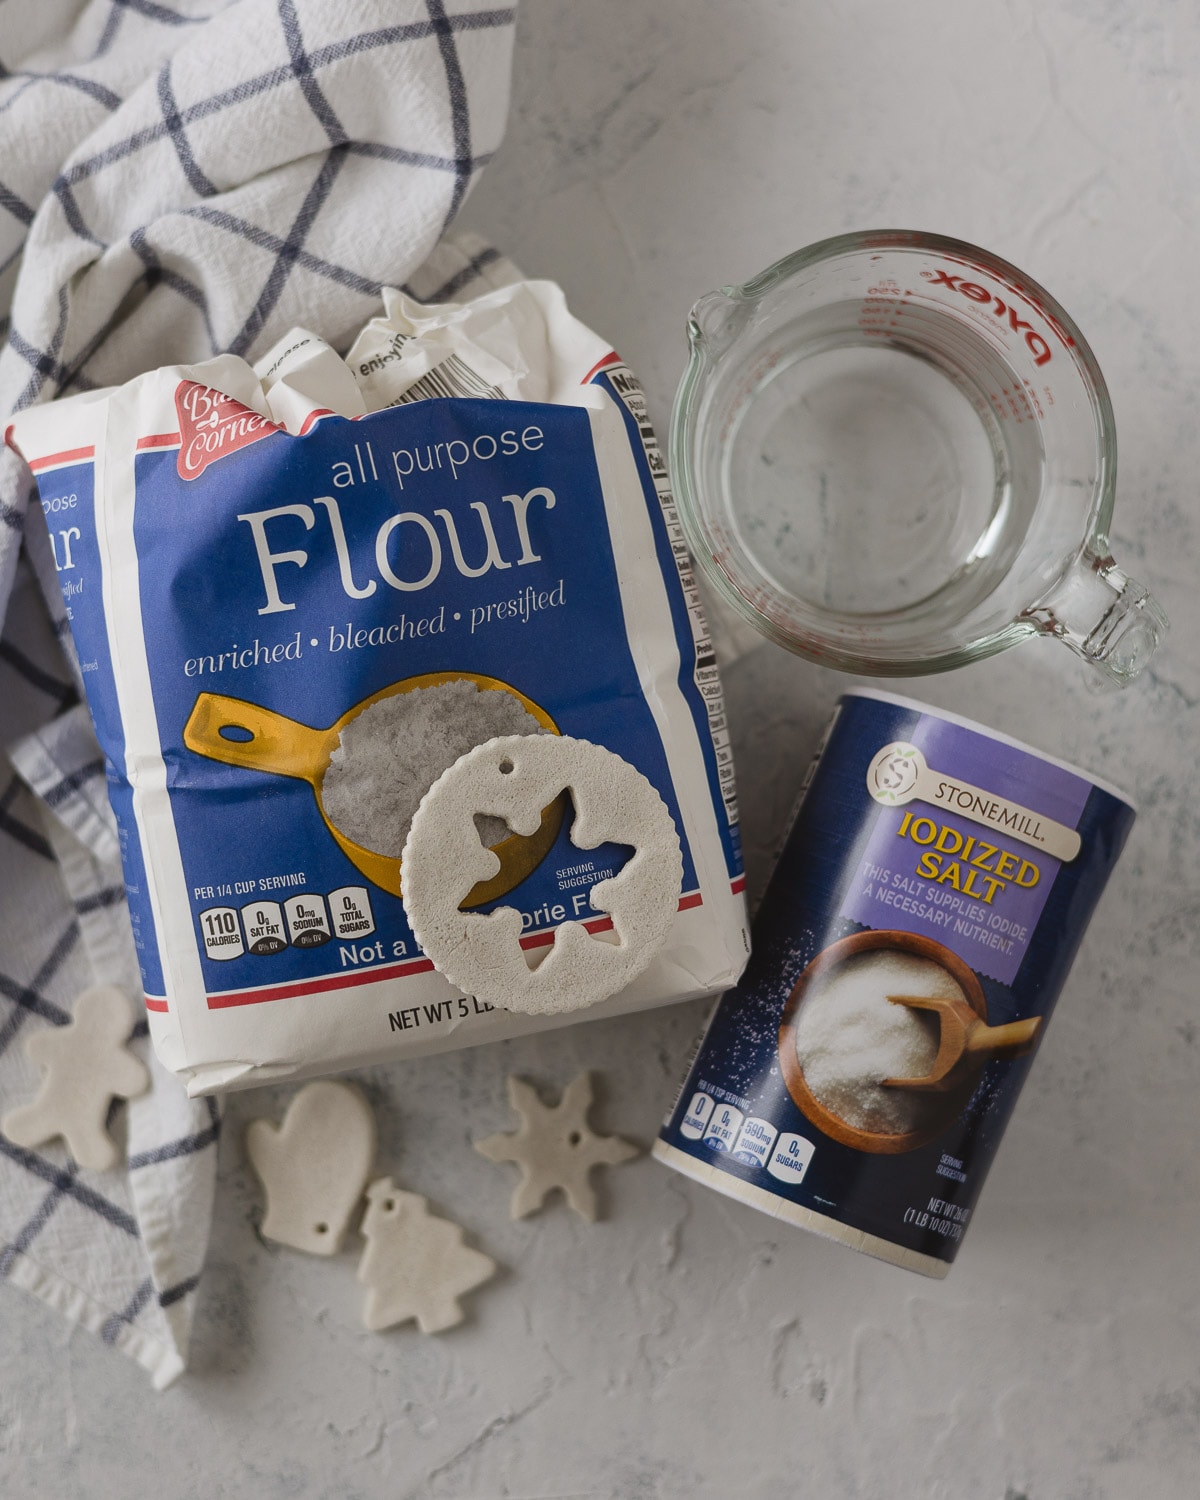
Flour – All-purpose white flour (just your standard baking flour). I grab it from Aldi since it’s so inexpensive.
Salt – Table salt. You’ll need a whole cup so be sure to check that you have enough before starting.
Warm water – Fill up a cup with warm/lukewarm water to mix up the dough.
Other stuff – cookie sheets, parchment paper, cookie cutters, a rolling pin, and decorating supplies will all come in handy. You can also gather paints, embellishments, and Mod Podge or another clear sealer to decorate and seal your finished salt dough pieces.

How to Make Salt Dough and Salt Dough Ornaments
Salt dough is easy peasy, but I’ve included some helpful hints throughout the process that I think you’ll find useful. My tips include thoughts on how to store the dough, rolling techniques, dry times and more.
This dough recipe also has a higher salt ratio than some recipes I’ve seen. I prefer this for the finished look (one side will be white/”salty”) and I think it makes the dough less sticky too.
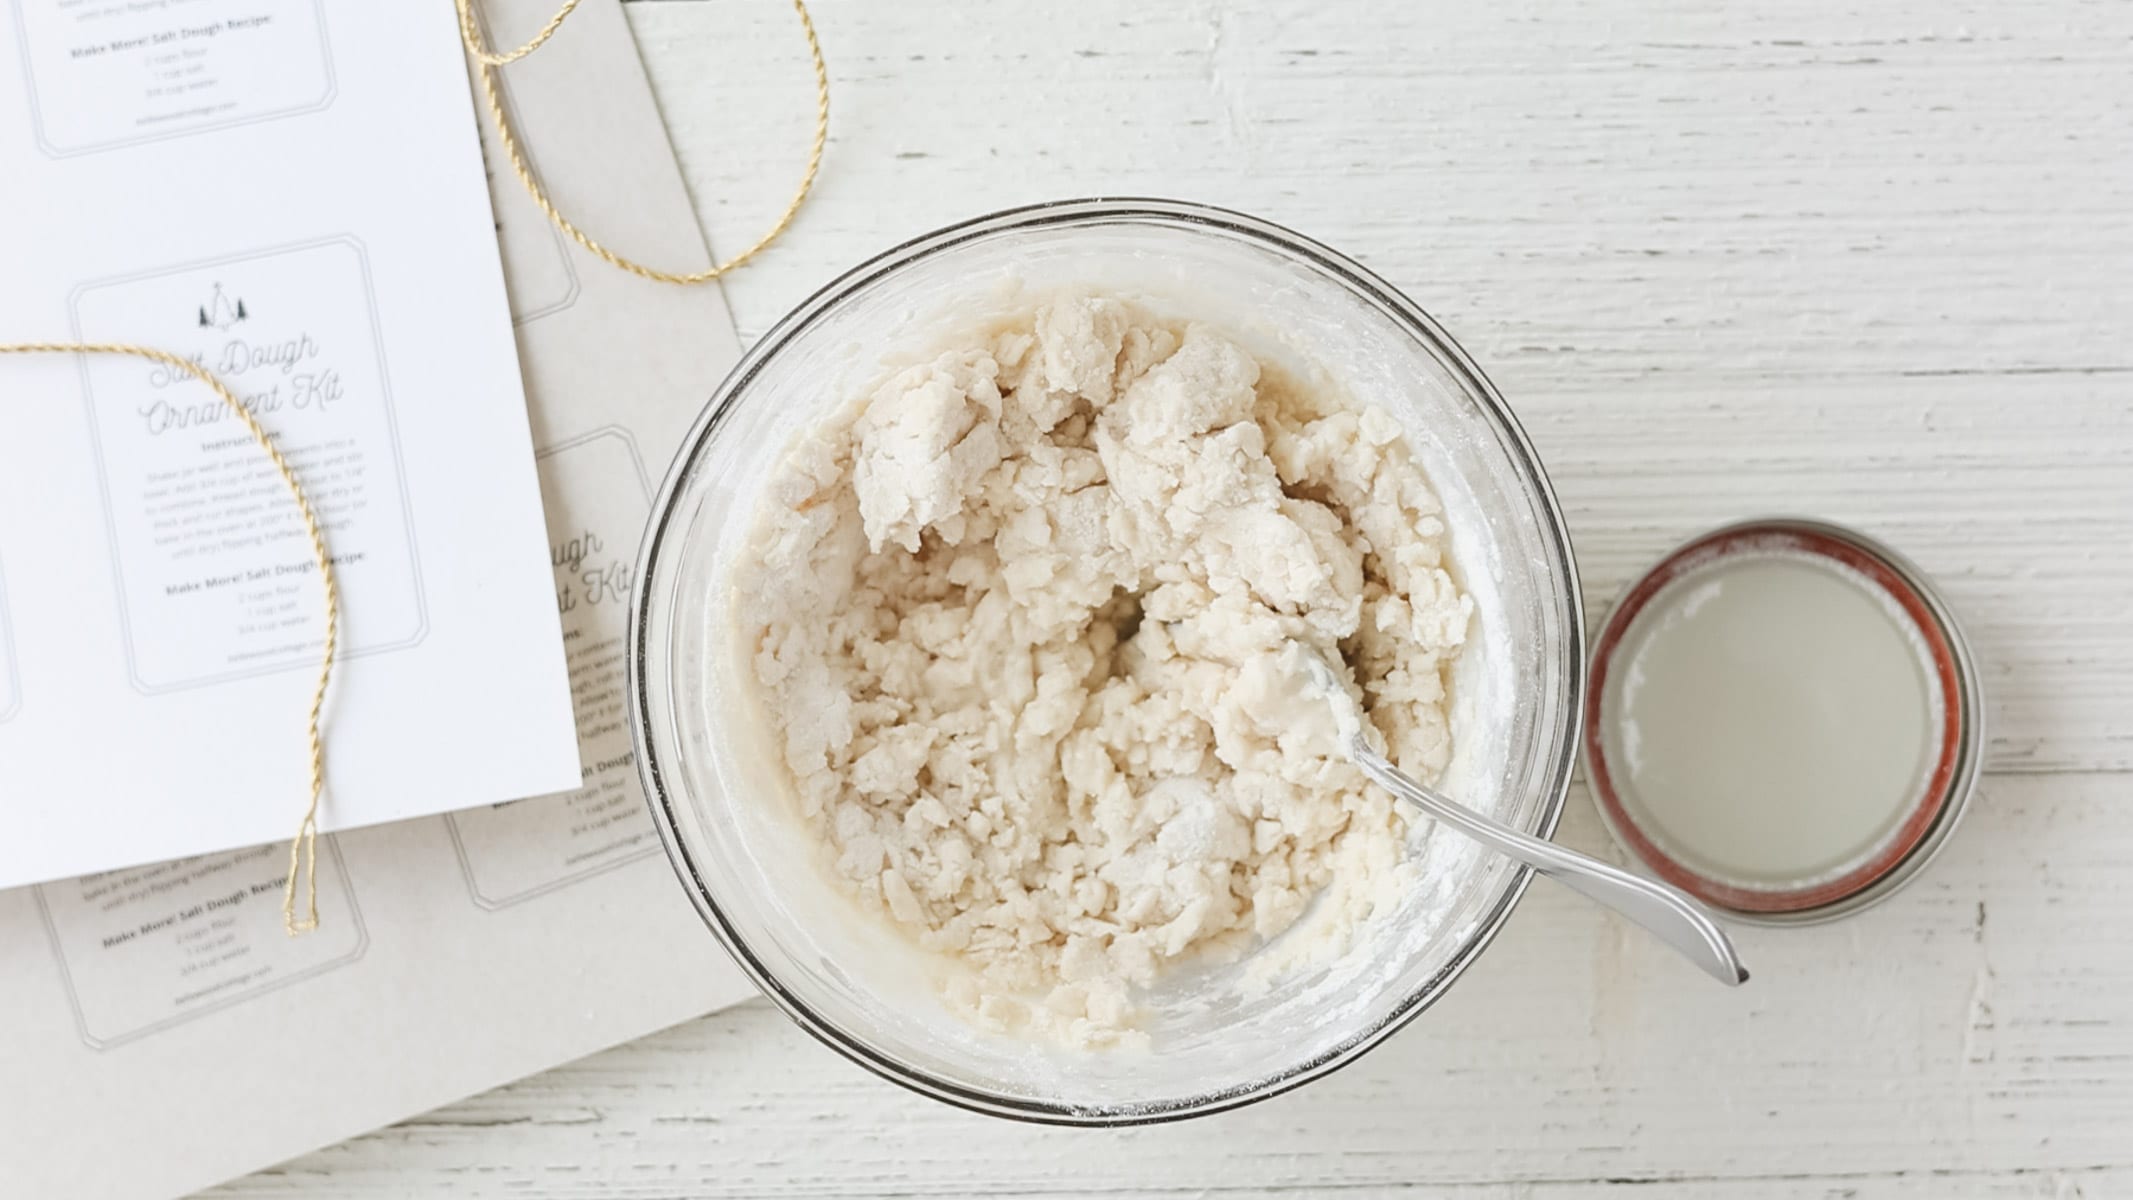
Mix the Dry Ingredients
In a medium bowl, mix together 2 cups of flour and 1 cup of salt.
Slowly stir in 3/4 cup of warm water.
Getting the Right Salt Dough Consistency
Though the consistency of salt dough can vary a bit and still be successful, I like to create a dough that is on the dry side, as it’s easier to work with.
After stirring the dough together, I start kneading it with my hands. If I can get all the flour incorporated without adding extra water, great! If I need a little extra water, I add it in small amounts (about 1 tablespoon or so).
Use flour and water to adjust the consistency as needed.
Rolling the Dough
To easily roll the dough, I sprinkle my work surface with flour. I also move the dough as I roll it (like making a pie crust), rotating it quarter-turns and flipping it. Eventually the dough will become too large to do this, but I still do it a few times in the early stages to prevent sticking.
If you are having lots of problems with the dough sticking or tearing as you roll, add some more flour to give it stability.
Use a rolling pin or one of these pastry rollers to easily roll the dough.
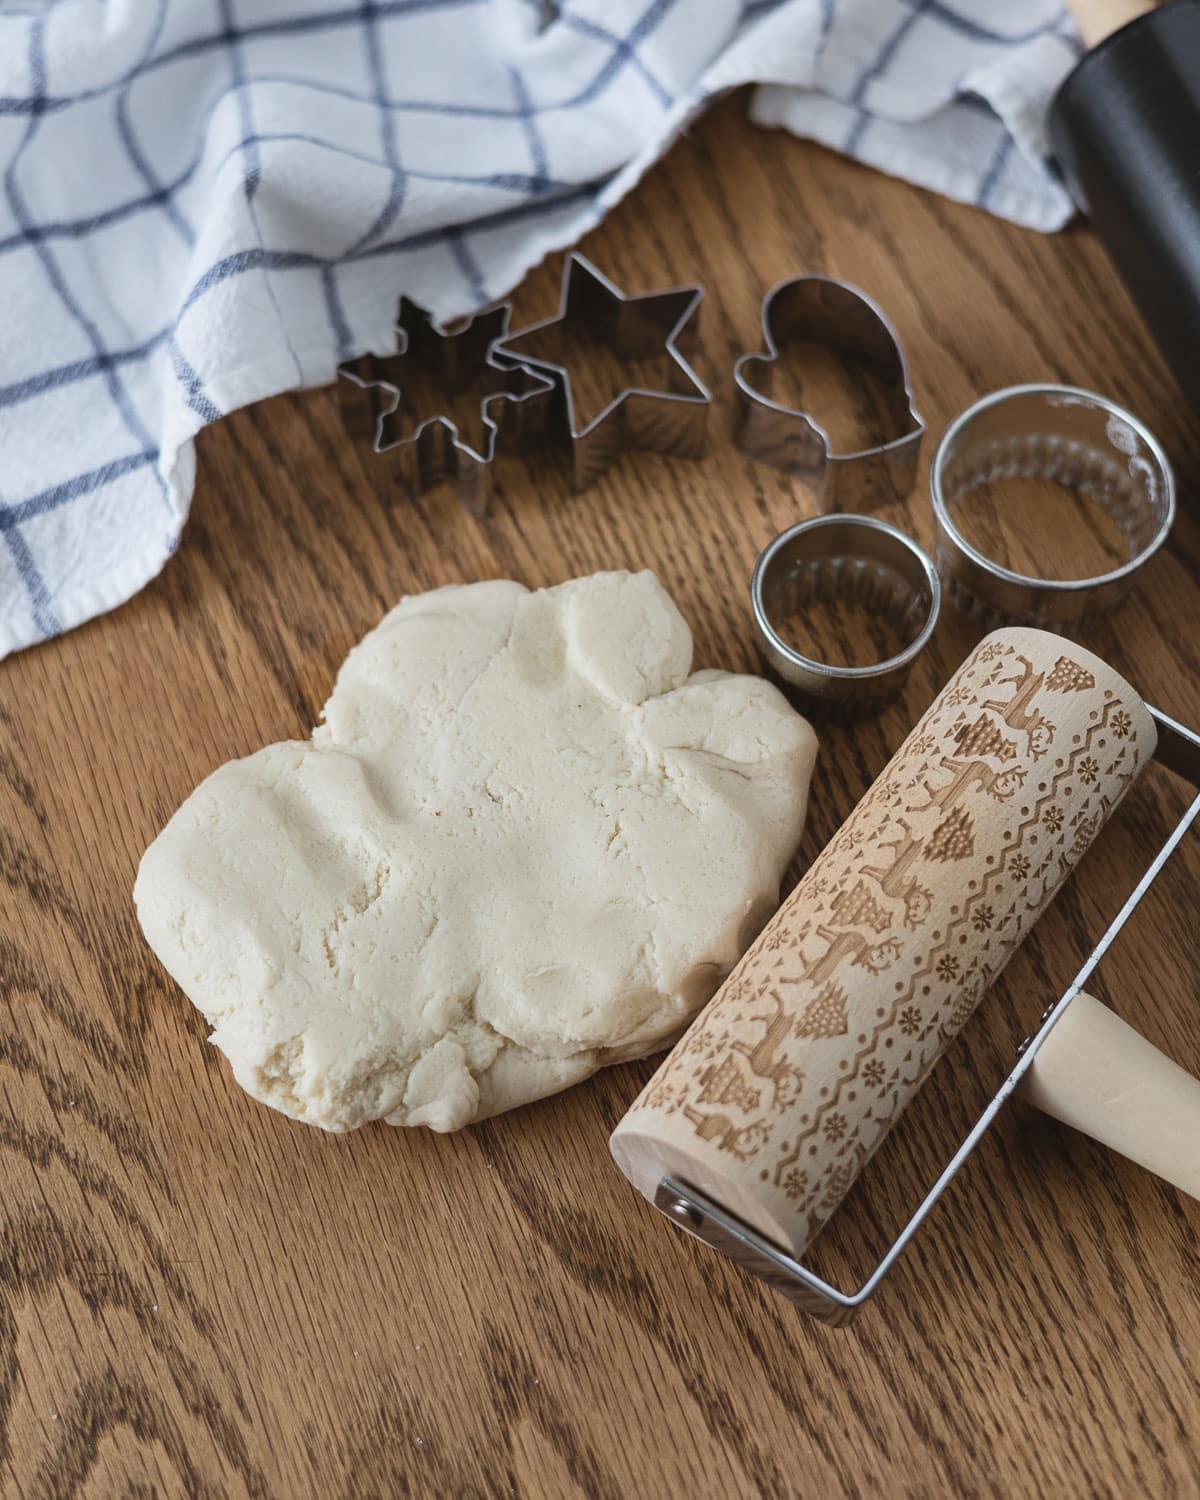
For ornaments, you’ll want to roll out the dough to about 1/4″. I also like making thinner pieces (about 1/8″ thick), but these will of course be more delicate.
You can roll the dough thicker too, but know that it’ll take longer to dry out and you may have to use a combo of oven/air-drying to get your ornaments/crafts completely dry.
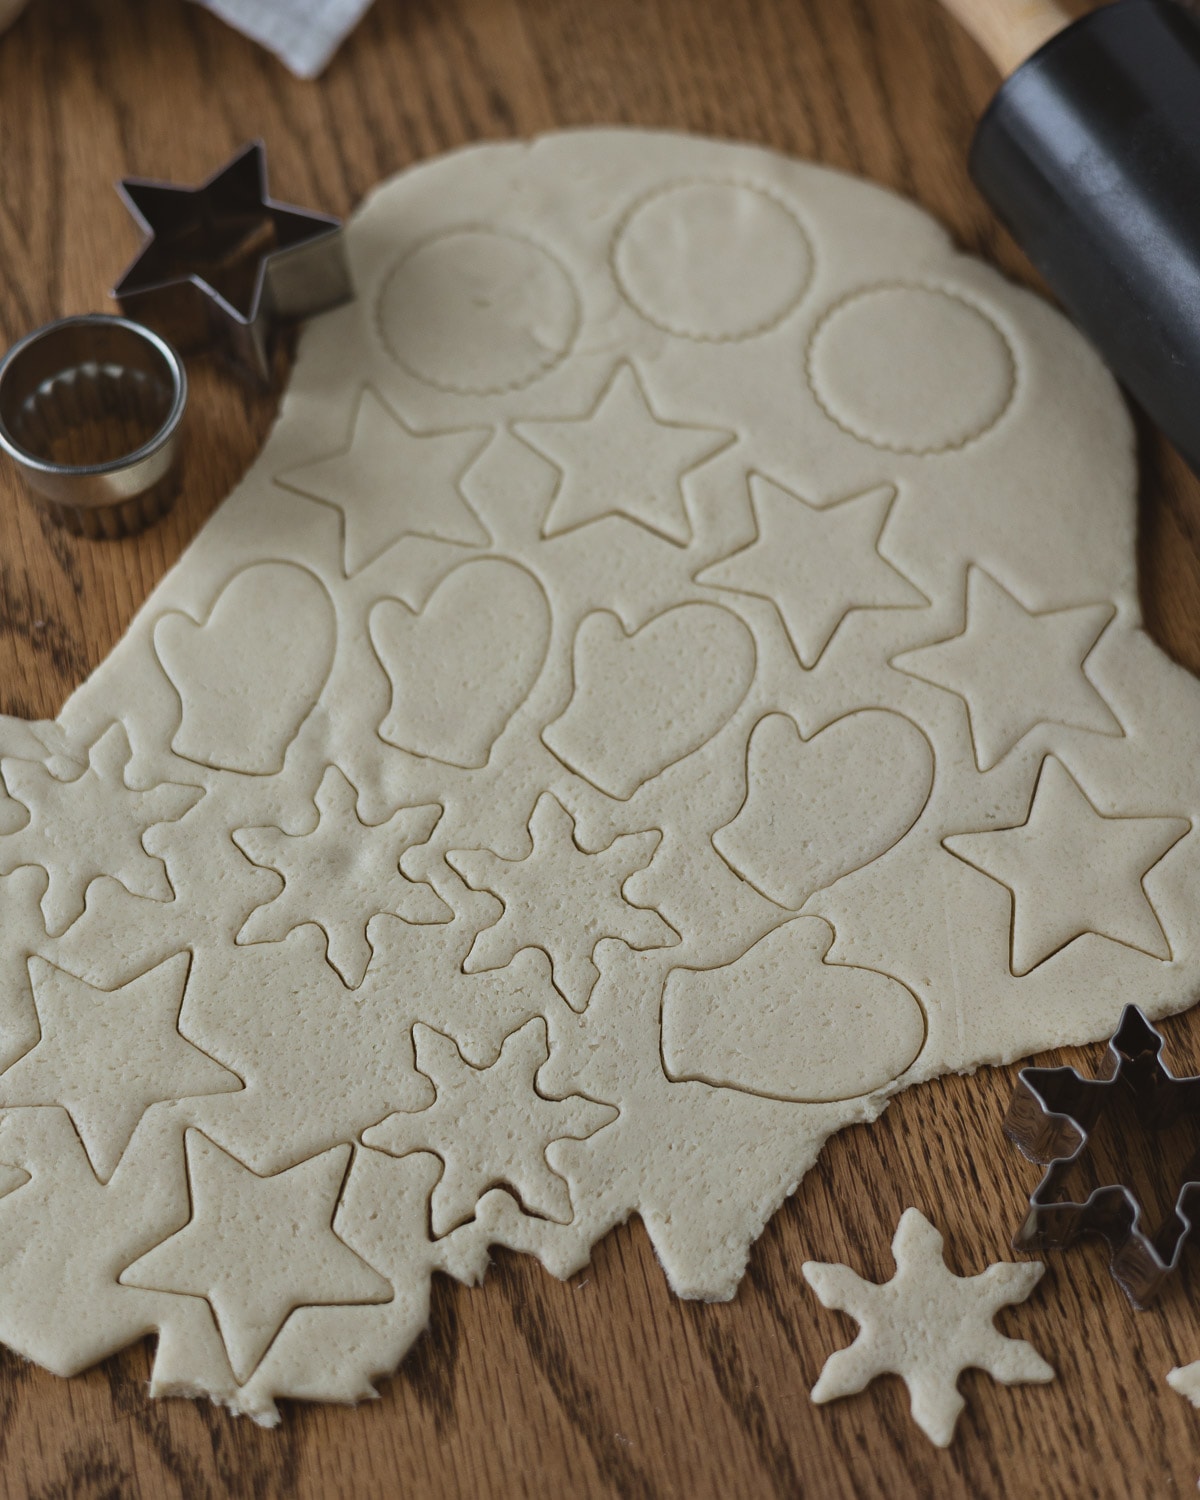
Cutting the Dough
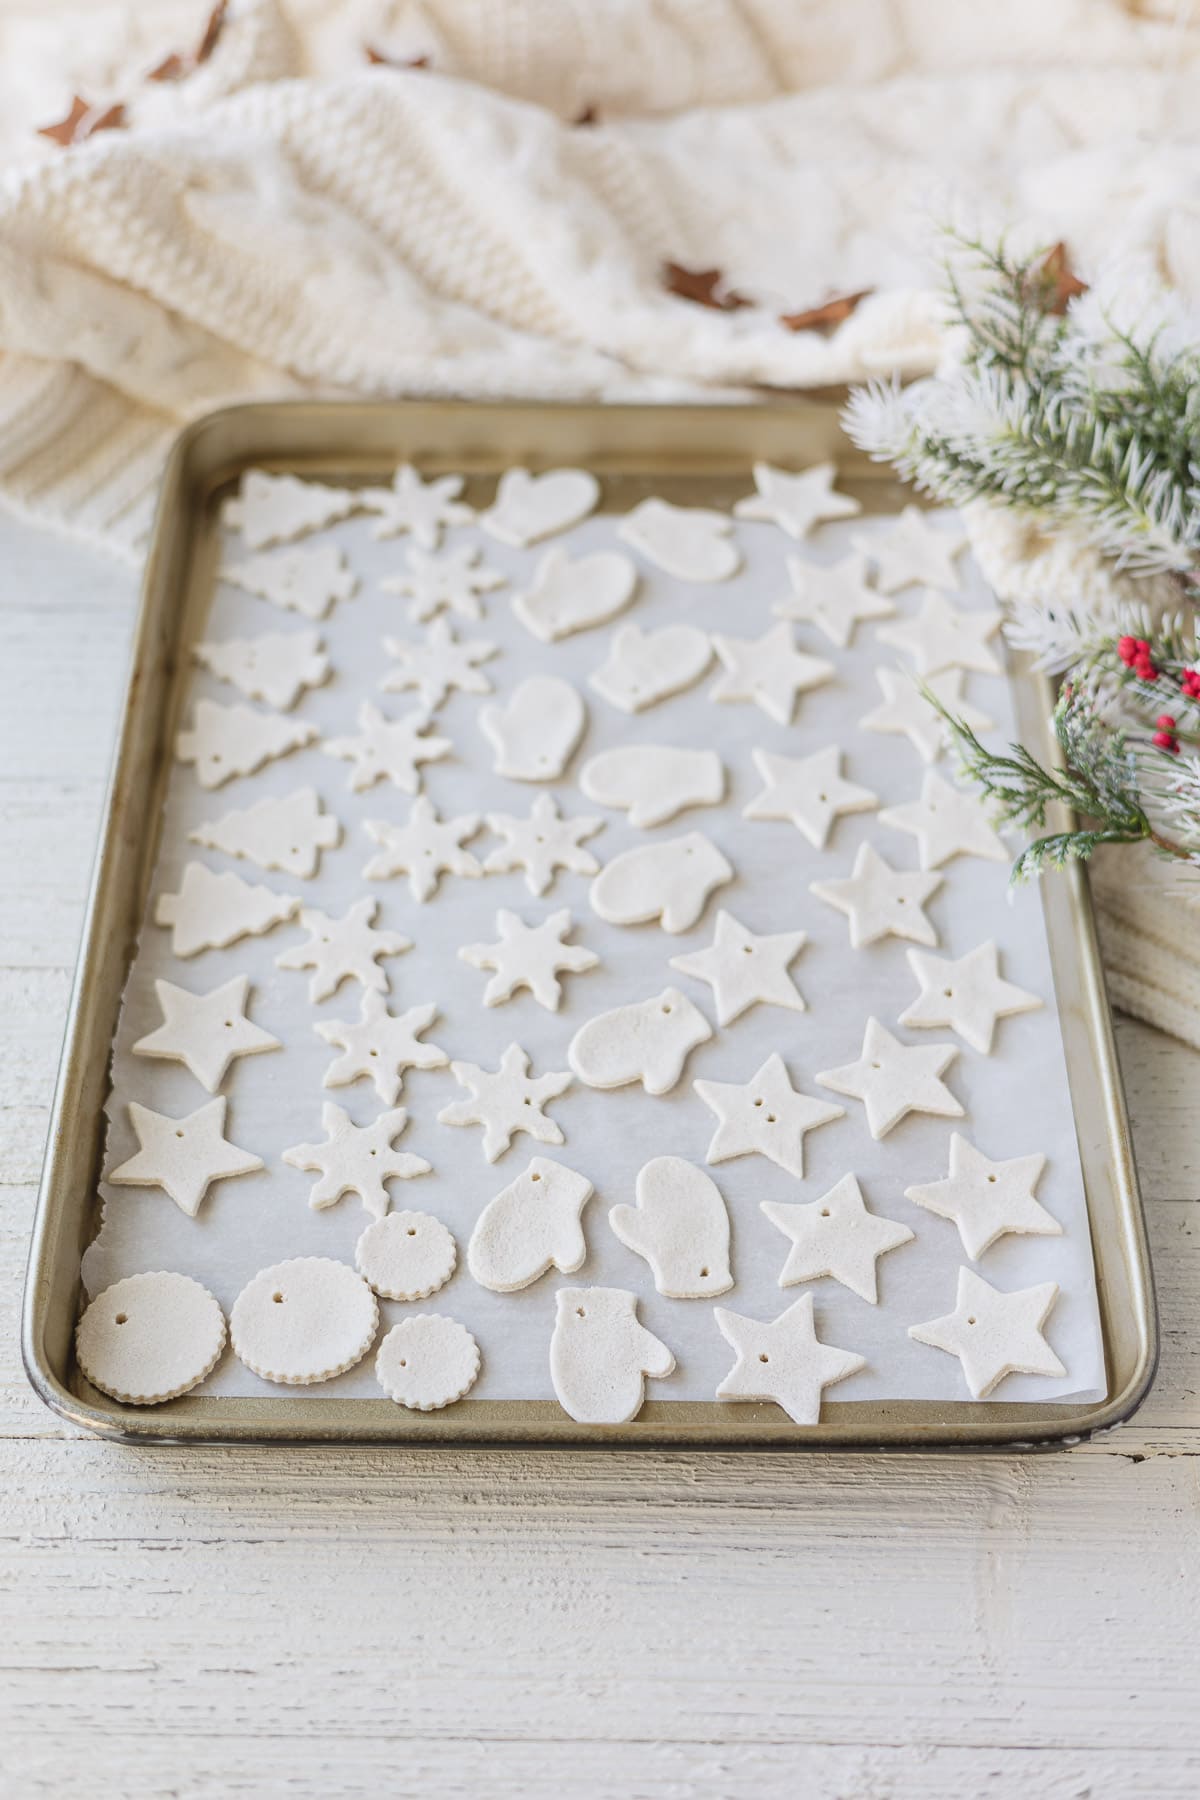
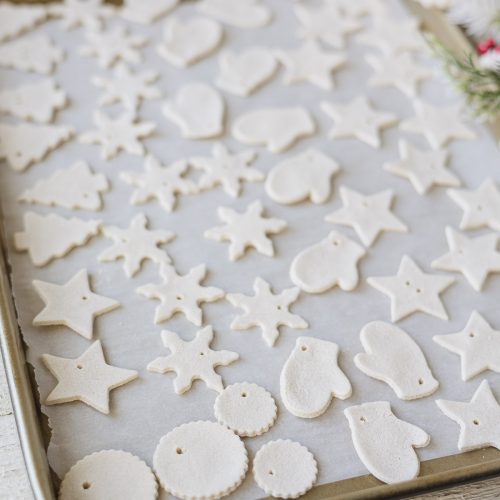
Use cookie cutters to cut shapes from the dough. Place these on a parchment-lined cookie sheet to dry. I love a set of mini cutters or these cute house cutters, but use what you have on hand.
If you are using your cut outs to make ornaments, garlands, gift tags or anything else that requires a hole, don’t forget to add one. Use the end of a straw or a toothpick to add holes to your ornaments.
No Bake Salt Dough (How to Air Dry Salt Dough Ornaments)
To air dry the ornaments, leave them on the parchment-lined baking sheets to air-dry overnight. Flip the ornaments the next day to dry out the other side. Rather large ornaments may take quite some time to dry (up to several days).
Here’s a funny little thing I noticed: I noticed that when I air-dried the dough, the salt would rise to the top and then I’d flip the ornaments and the salt would rise to the top on the other side too! This gave a pretty white surface on both sides of the ornaments.
Alternatively, when I baked the ornaments, one side would get the salty look and the reverse side (even when I flipped them early) would look more like a sugar cookie hue, see below:
Weekly Crafting Fun!
Join my list and get a weekly email with relaxing craft ideas, freebies, sewing tutorials, and more!
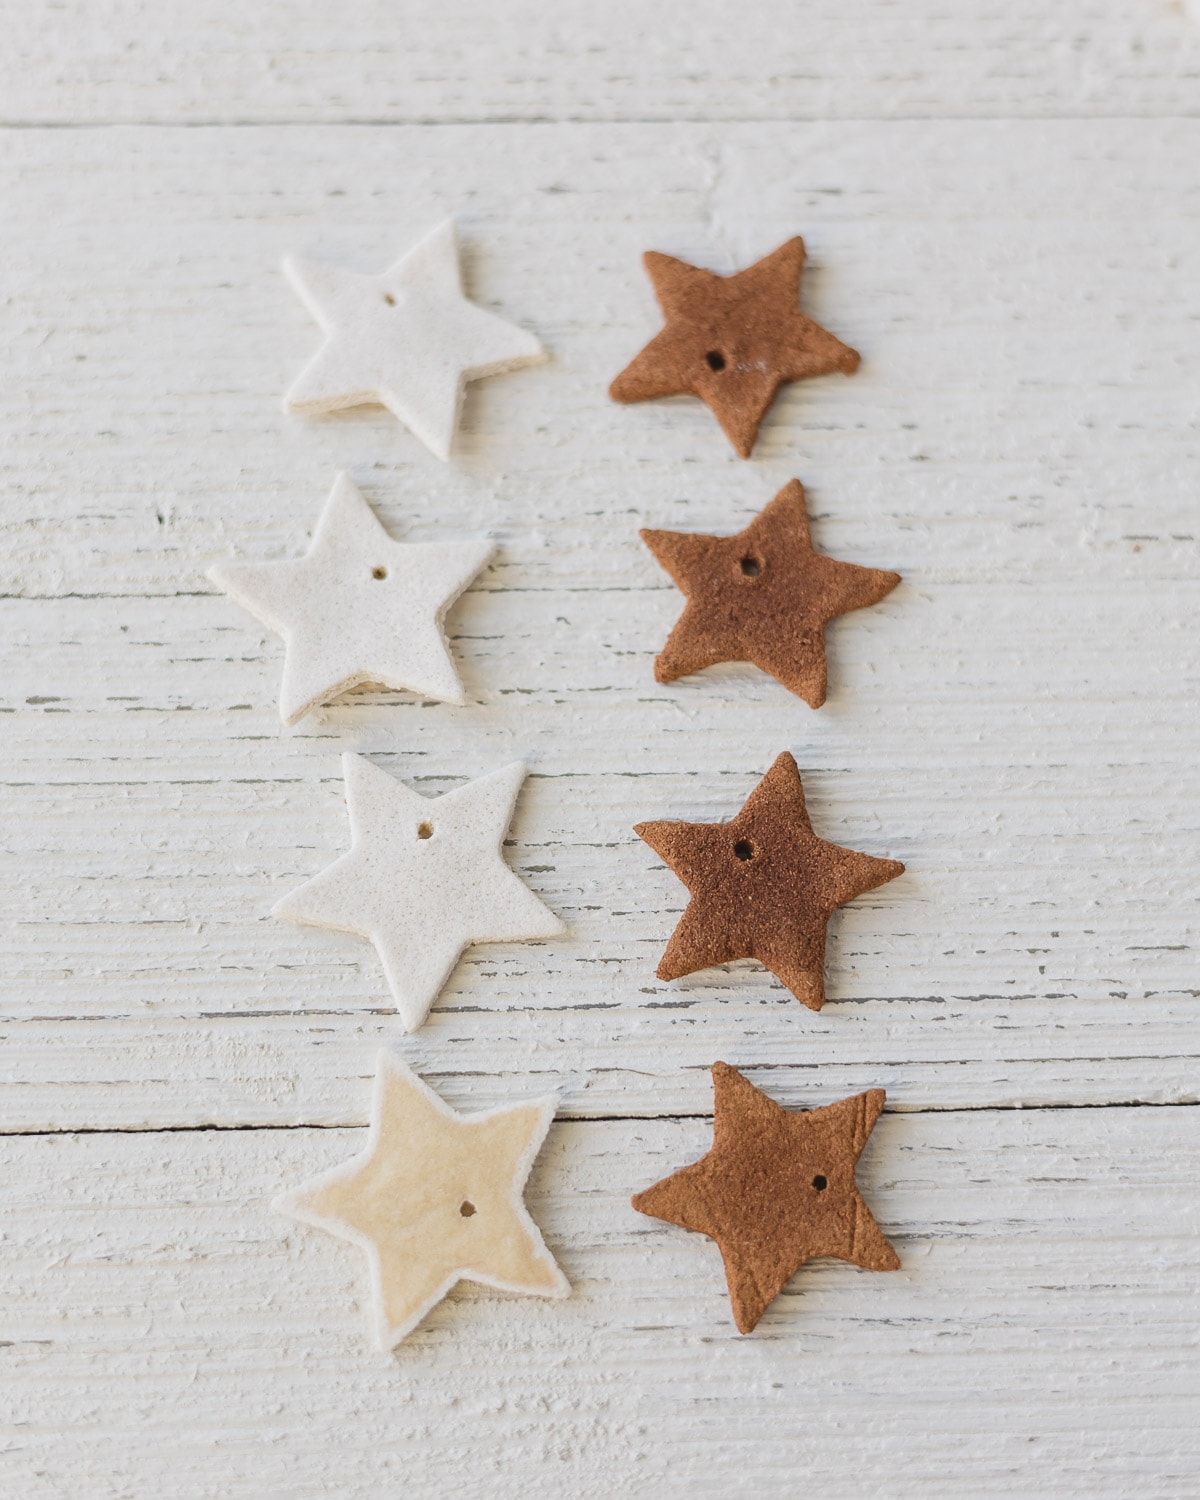
Also: When I tried doughs that were comprised of more flour and less salt, the “sugar cookie” appearance happened over the whole piece.
How to Bake Salt Dough Ornaments
If you’d like to bake the salt dough ornaments, set your oven to 200° F. Bake the ornaments for 30 minutes, flip, and bake for another 30 minutes. Depending on your ornaments, they may need up to a few hours to dry, but small pieces will be done in about an hour.
Remove from the oven when ornaments are dry.
Large pieces that feel like they are taking foreveeeeer to dry out can finish air drying at room temp.
Storing Extra Dough
If you have extra dough to store, I suggest storing the salt dough in the fridge in a sealed plastic bag for up to 3-4 days. You’ll find that the dough is more wet/sticky after being stored, so plan to incorporate more flour to adjust the consistency when you are ready to roll it out.
Preserving the Ornaments
Salt dough ornaments can last years. If you want your ornaments to last, be sure to dry them completely and it is advised to add a sealer or top coat. You can spray them with a product like Rust-Oleum Matte Clear or paint on a coat of Mod Podge.
Craft with me! If you try this tutorial, tag me on Instagram or use the hashtag #BellewoodCottageCrafts. Watch my videos on YouTube and follow along on Pinterest for more ideas like this one!
Salt Dough Recipe
Supplies
- 2 cups flour (all-purpose)
- 1 cup salt
- 3/4 cup warm water
Instructions
Mix Dry Ingredients
- In a medium bowl, mix together 2 cups of flour and 1 cup of salt.
- Slowly stir in 3/4 cup of warm water.
Adjusting the Consistency
- I like my dough to be a bit more dry, as it’s easier to work with.
- After stirring the dough together, I start kneading it with my hands. If I can get all the flour incorporated without adding extra water, great! If I need a little extra water, I add it in small amounts (about 1 tablespoon or so). Adjust consistency to your liking by either adding more flour or water as needed.
Rolling the Dough
- Sprinkle a work surface with flour and roll out the dough to a 1/4" thickness. If the dough sticks to the surface, add more flour and rotate the dough quarter-turns as you roll to help prevent sticky spots.
Cutting the Dough
- Use cookie cutters to cut shapes from the dough. Place these on a parchment-lined cookie sheet to dry. Don't forget to add holes for hanging the ornaments with a toothpick or straw.
How to Air Dry Salt Dough Ornaments
- To air dry the ornaments, leave them on the parchment-lined sheets to air-dry overnight. Flip the ornaments the next day to dry out the other side. Large ornaments may take quite some time to dry (up to several days). Once the ornaments are relatively sturdy, you can hang them on your Christmas tree while you wait for them to finish drying.
How to Bake Salt Dough Ornaments
- Bake the ornaments for 30 minutes at 200° F, flip them over, and bake for another 30 minutes. Depending on your ornaments, they may need up to a few hours to dry, but small pieces will be done in about an hour.
Notes
Salt Dough Questions
Salt dough ornaments can last for years. The most important thing is to make sure they are thoroughly dry before packing them up. Ornaments that have decorated the tree all season are certainly dry, but freshly baked ornaments should be left out at room temp a few days before storing just in case there is any excess moisture. To ensure the ornaments survive for many years, you may wish to seal them (see notes below).
If you plan to use the salt dough ornaments for the holidays and then toss them, there’s really no need to seal. If, on the hand you’d like to keep them around for years, I’d suggest spraying them with a matte clear top coat spray paint, like Rust-Oleum Matte Clear. Clear-coating your ornaments is also a great idea if you’ve painted them to protect the painted details. Using Mod Podge (whichever gloss level you prefer) to seal the salt dough ornaments is also quick and easy.
Yes, salt dough can be stored in the fridge for later. Keep it in an air-tight container (I like a zip top bag) for up to 3-4 days. I’ve also kept mine on the counter (sealed of course) for a few days with no issues. You will find that the stored dough has become more sticky and will likely need more flour added to get it back to a workable consistency.
Actually, rather than making a complete batch of salt dough in advance (which you can certainly do), I like to mix the flour and salt together and save adding the water for later. This makes a great homemade gift idea, which you can check out here: Homemade Salt Dough Ornament Kits.
Happy Crafting! ~Ellen
More Crafts to Try
- 2-Ingredient Cinnamon Applesauce Ornaments
- DIY Christmas Window Ornament Using Chalk-Style Paint
- My Ultimate List of Christmas Books for Kids and Babies!
- Embroidered Felt House Christmas Ornaments Tutorial
- 30+ LAST MINUTE Homemade Christmas Gift Ideas
Weekly Crafting Fun!
Join my list and get a weekly email with relaxing craft ideas, freebies, sewing tutorials, and more!