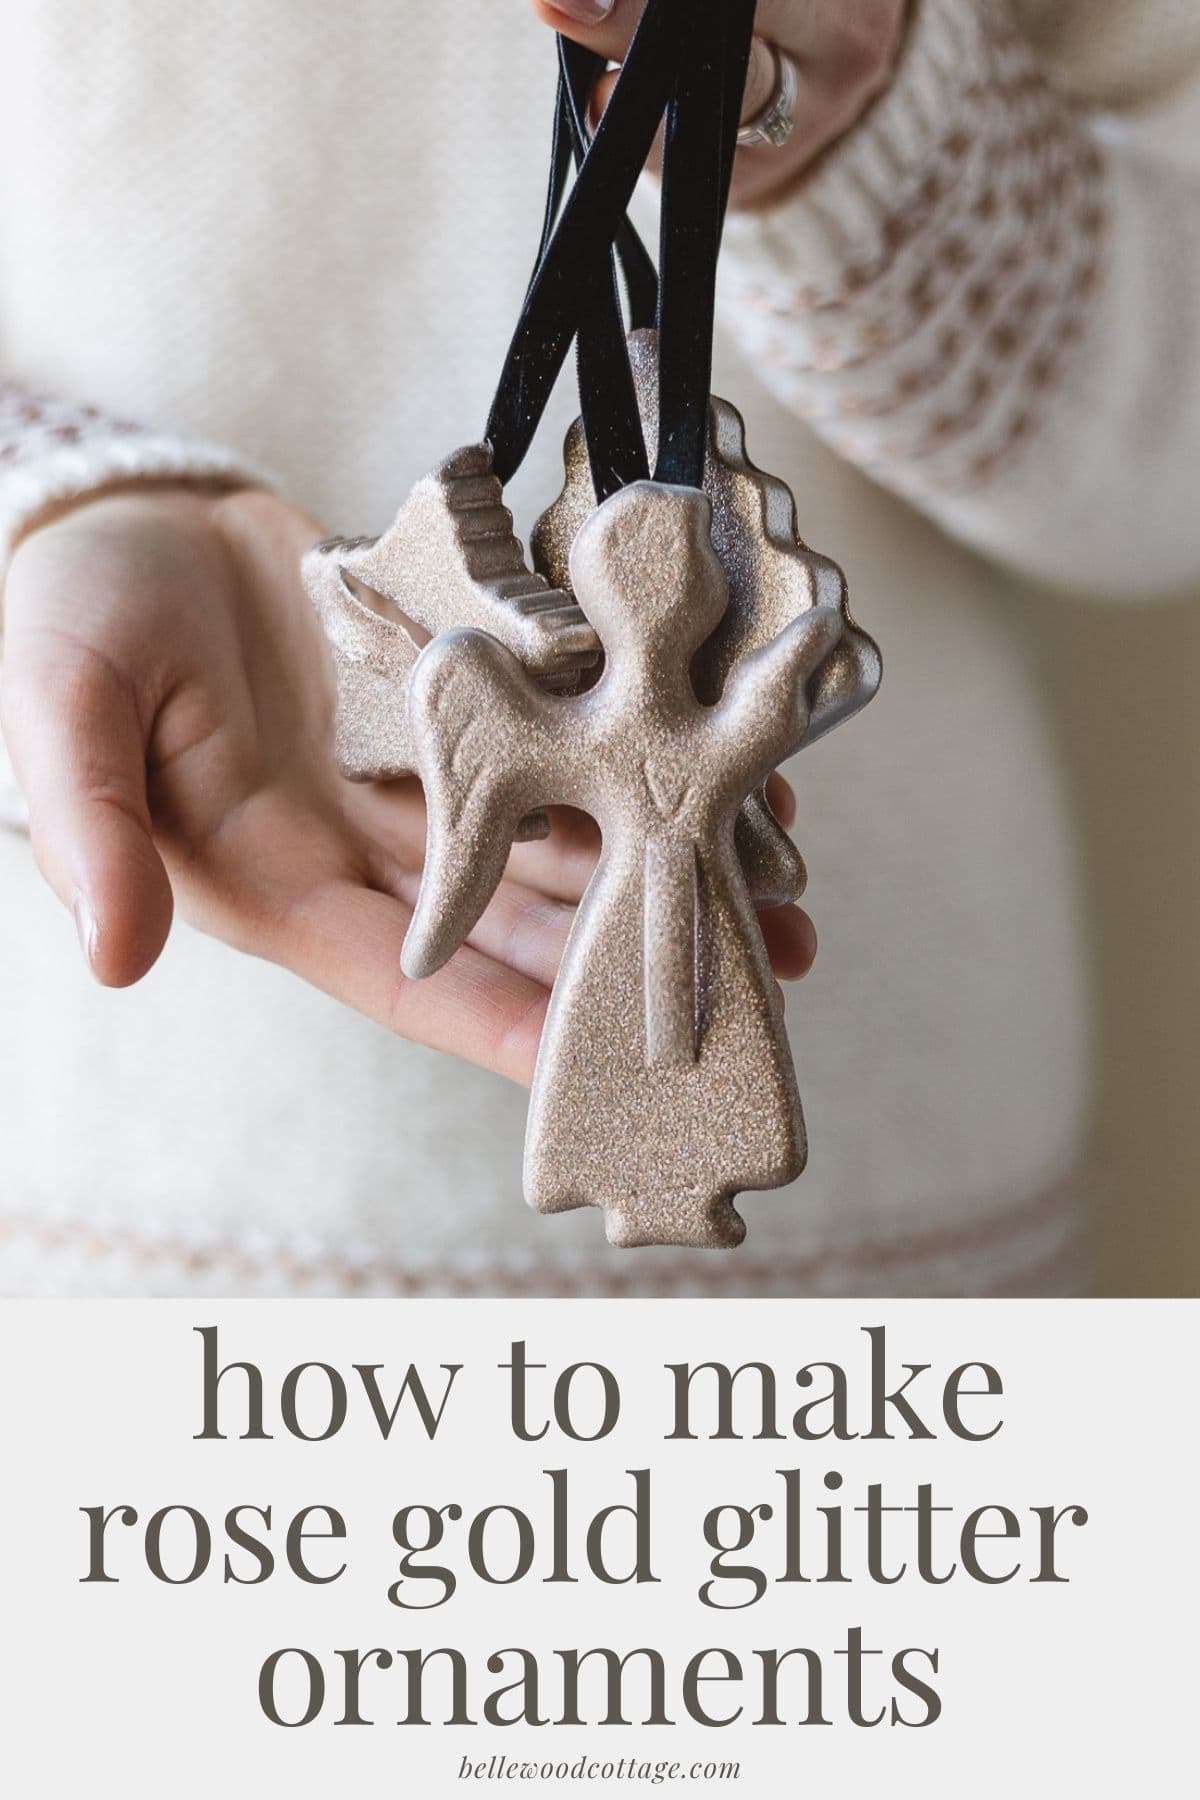
Rose Gold Glitter Cookie Cutter Ornaments
Glam up vintage aluminum cookie cutters with rose gold spray paint and velvet ribbon! These pretty DIY rose gold glitter cookie cutter ornaments are easy to make and sophisticated enough for any holiday tree.
Please note that this post contains affiliate links which allow me to earn a small commission when a purchase is made at no additional cost to you. As an Amazon Associate I earn from qualifying purchases. Read more here.
Creating your own handmade Christmas tree ornaments is a great way to customize your tree. You choose the styles, colors, finishes, even the ornament hangers.
When I discovered how easy it was to transform these vintage cookie cutters (see my chalk painted cookie cutter ornaments), I knew I wanted to try more variations on the theme.
Weekly Crafting Fun!
Join my list and get a weekly email with relaxing craft ideas, freebies, sewing tutorials, and more!
If you have some of these cookie cutters among your holiday décor or baking supplies, consider using some of them on your tree.
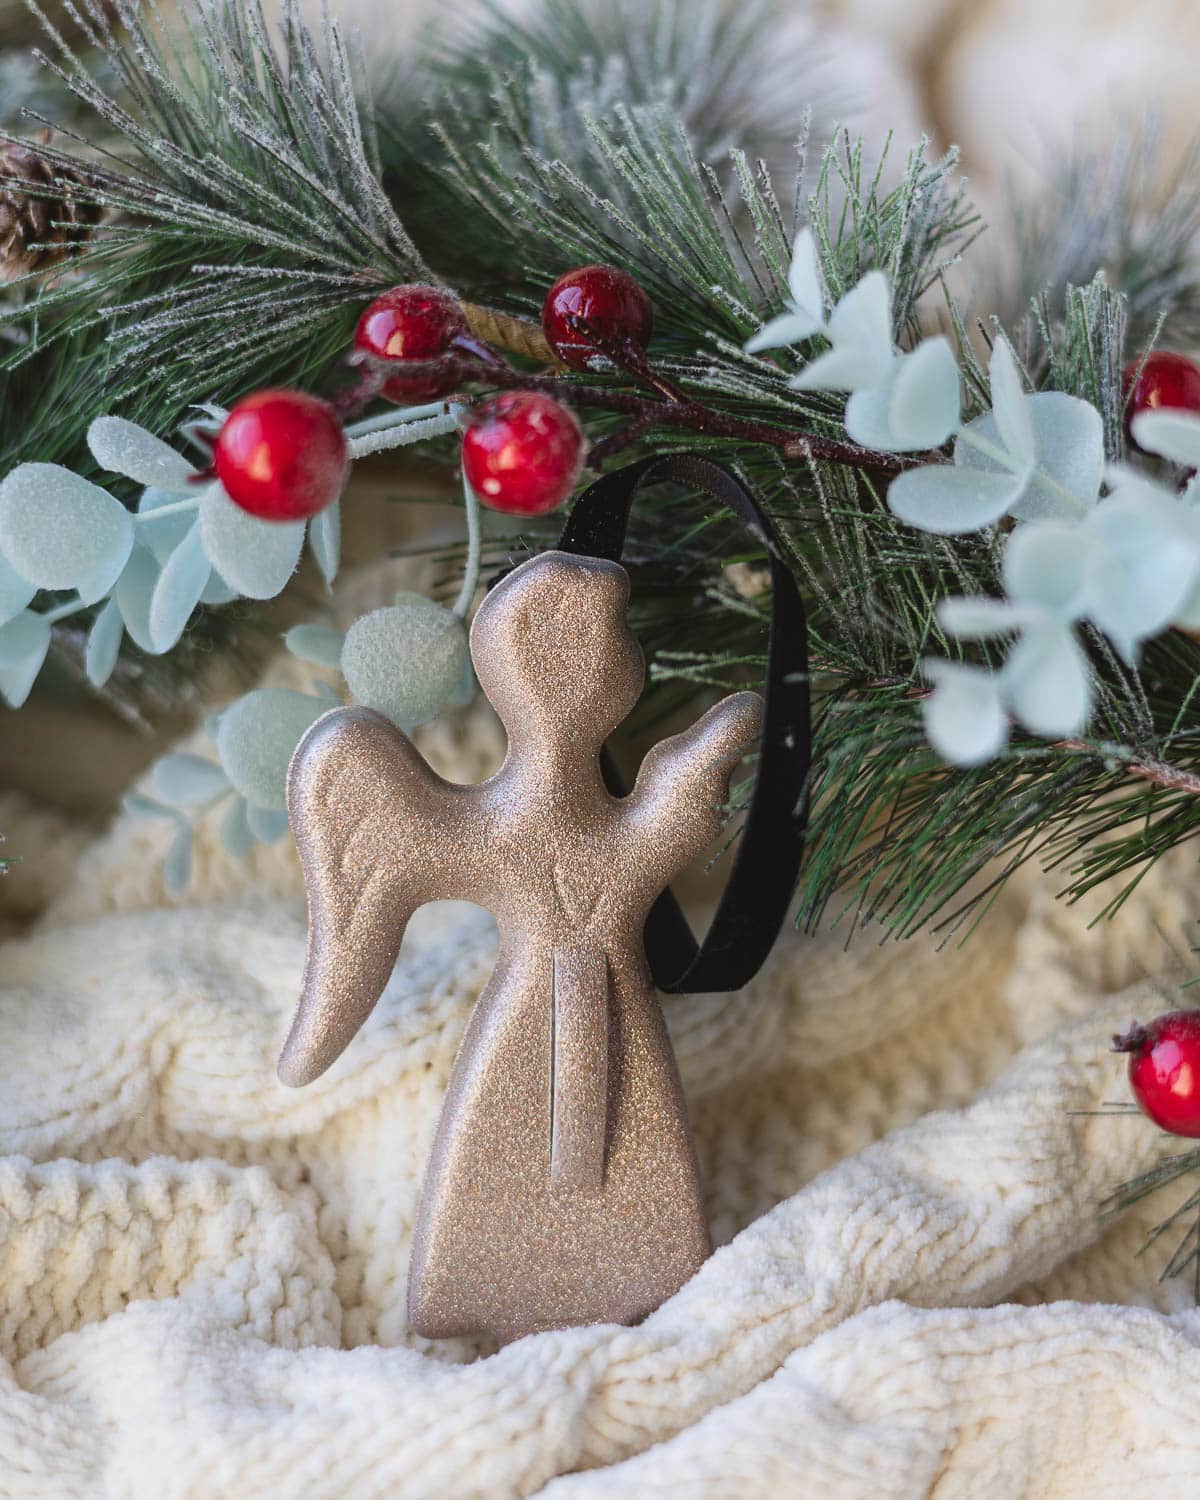
With the simple addition of rose gold glitter spray paint, vintage cookie cutters are transformed to glitzy holiday ornaments that sparkle on any Christmas tree.
Let’s get started!
Love free craft ideas? Subscribe to Bellewood Cottage for more fun and relaxing craft ideas straight to your inbox.
Supplies for Glitter Cookie Cutter Ornaments
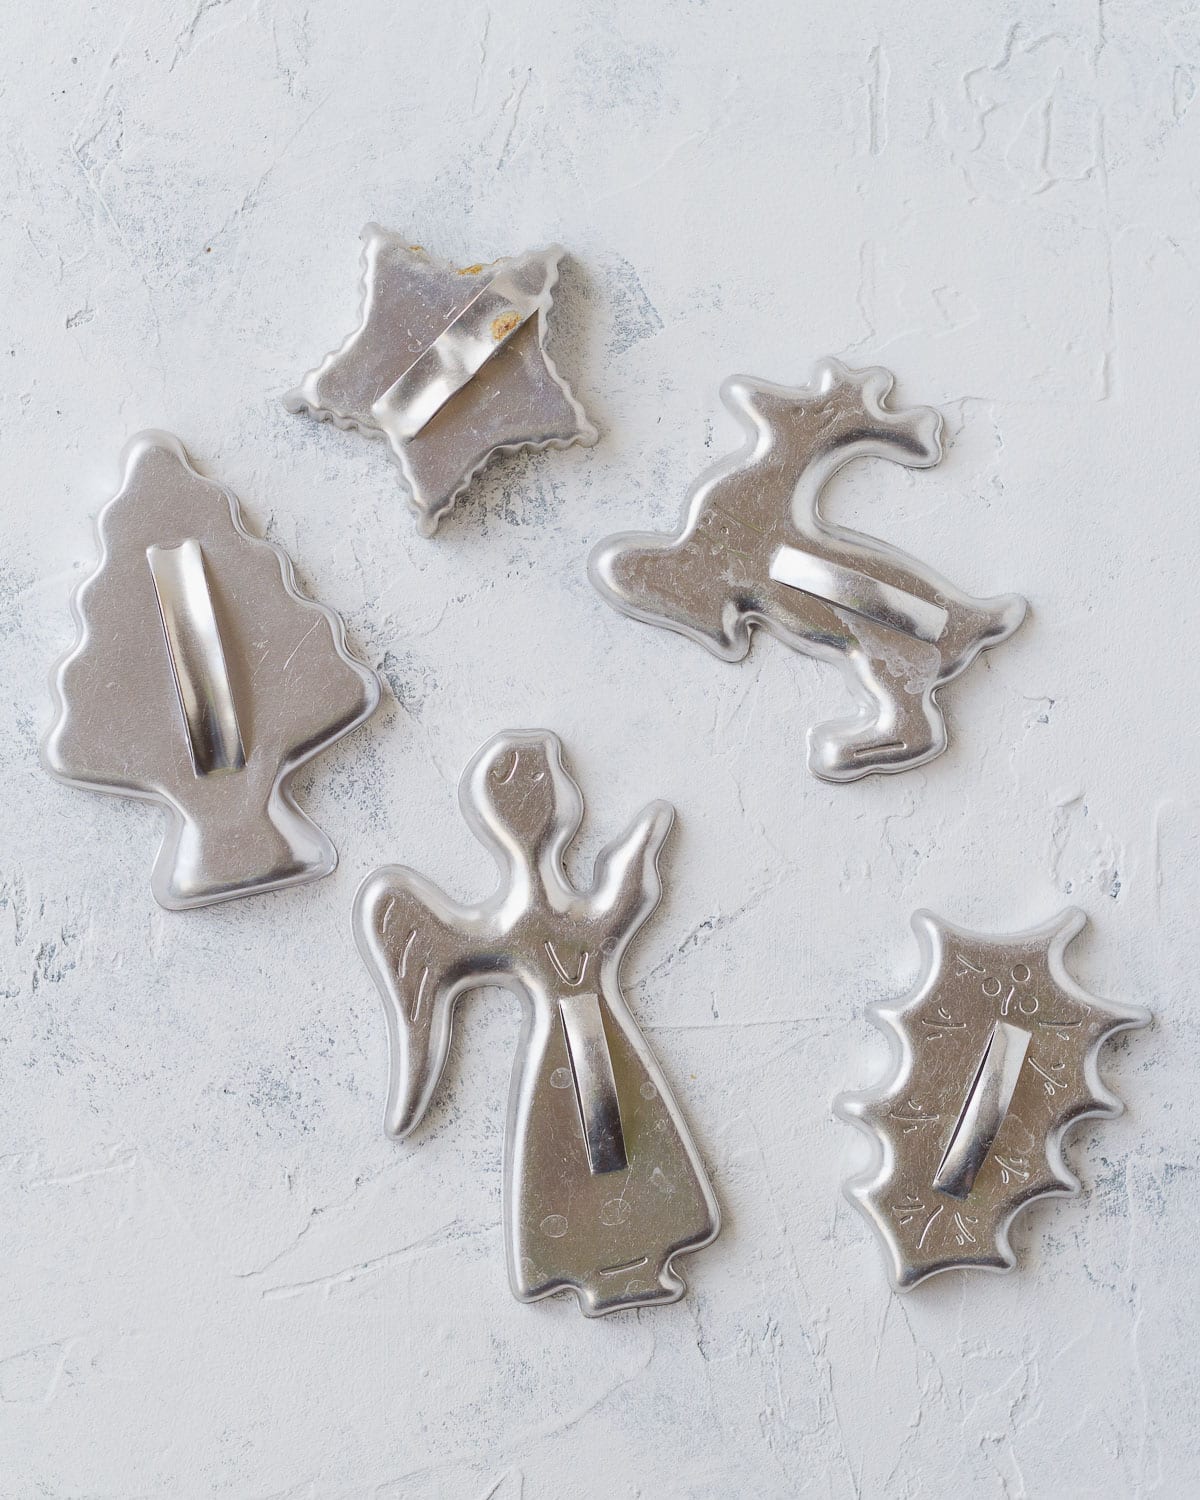
Cookie Cutters – These flat vintage aluminum cookie cutters are the starting point of the ornaments. You can also use standard “outline” cookie cutters, but obviously the finished look will be quite different.
I find the best thing to do is to ask relatives if they have any old cookie cutters they are willing to give up, or keep your eyes open at garage sales, antique stores, and flea markets. Try searching eBay for “vintage metal cookie cutters” as well as Etsy too.
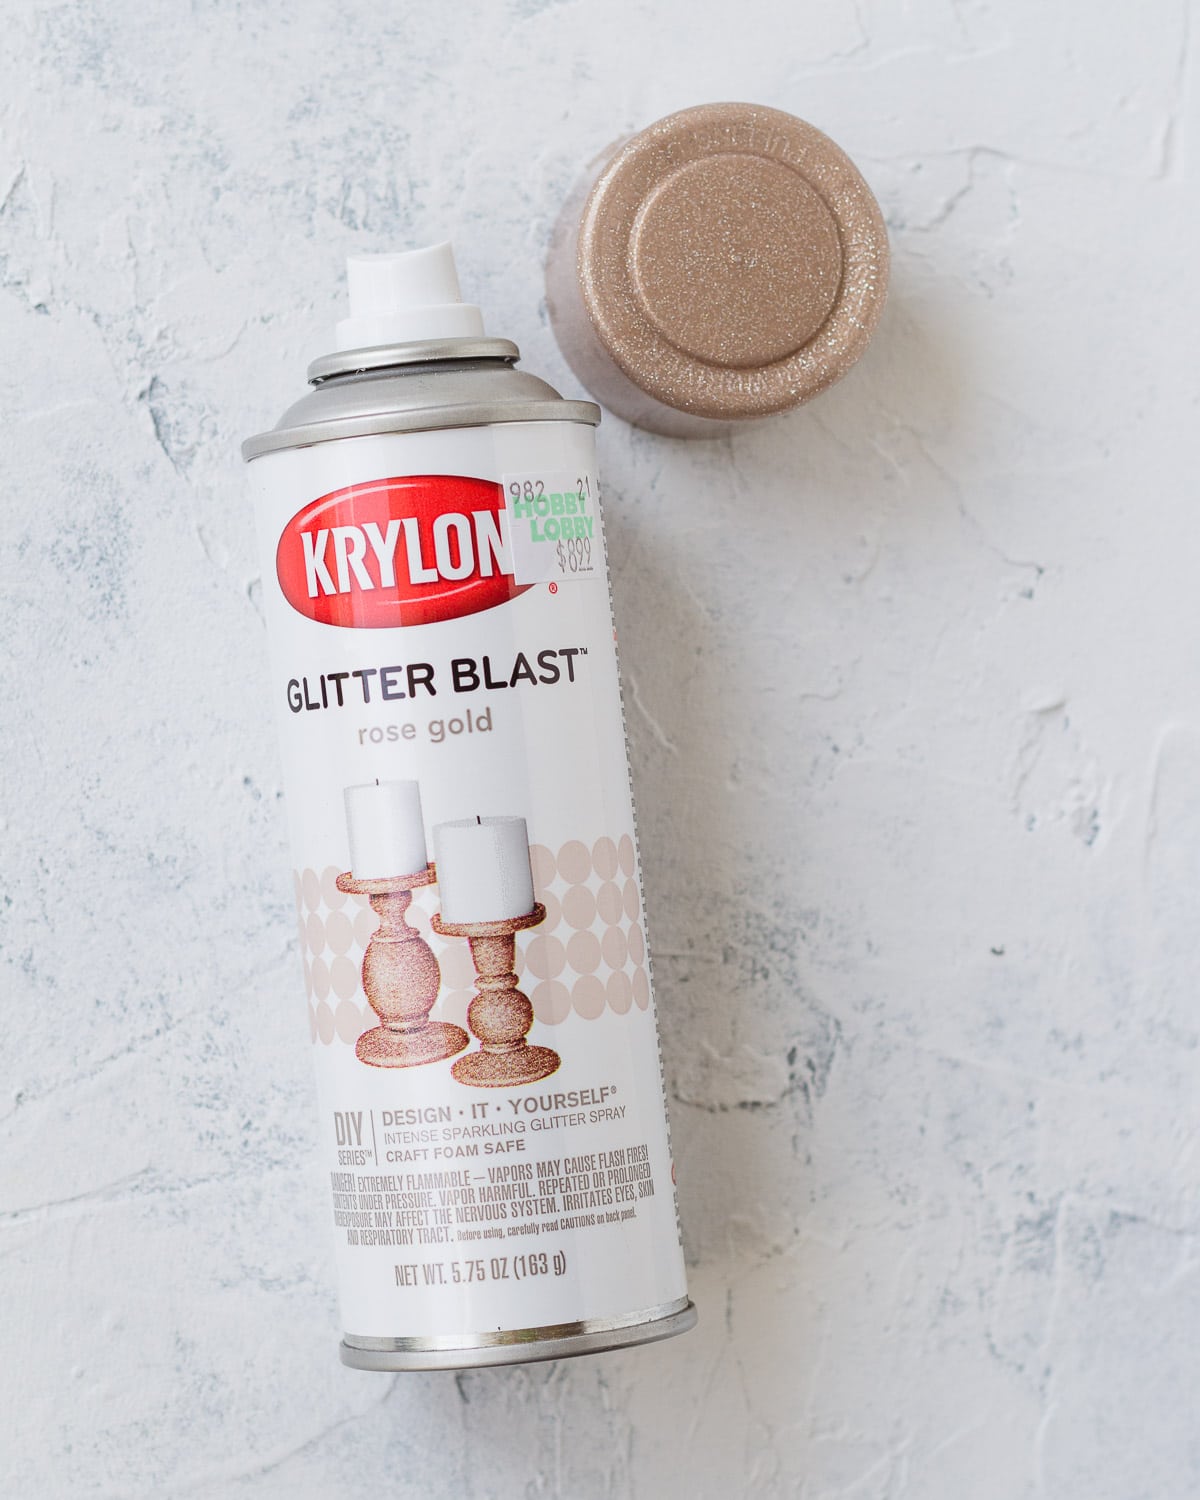
Rose Gold Glitter Blast Spray Paint – The other key to this project is the choice of spray paint. You can of course choose whatever kind you would like (be sure to choose a paint rated to cover metal), but I love the sparkle of this Krylon glitter paint!
Glittery spray paints can be challenging to work with. I’ve experienced the frustration of a brand-new can clogging and it’s no fun.
I suggest sticking with Krylon brand as I’ve found it to be better than comparable brands. The cap is annoying to remove, but once you’ve got it off, you’re ready to go. The paint sprays easily, the coverage is thick and opaque, and the nozzles tend to stay clear.
One brand of glitter spray paint suggests spraying the can upside down for five seconds after you are done painting to clear the nozzle. This might be a good hack to keep in mind to keep your can going for multiple projects.
I purchased this small 5.75 oz can and it was plenty to coat the fronts and back of seven cookie cutters, plus I got some other small projects done too.
Other Supplies – Black velvet ribbon for hanging (1/4″-3/8″ wide) and a hot glue gun.
How to Make Glittery Cookie Cutter Ornaments
These ornaments are so easy to make!
In a well-ventilated area (outside!) arrange your cookie cutters face down on a drop cloth. Spray with one coat of paint following the directions on your can. One of the most important things with glittery spray paint is to shake the can thoroughly first!
Quick Tip: Spray paint is easiest to use on days without wind and with a moderate temperature.
Another spray painting tip is always use light coats. You can add more, but once you have drips they are really hard to get rid of.
Once the backs have dried to the touch (consult your can to see how long this will take), flip them over and coat the fronts. I spray backs first because then if anything sticks or gets marred after flipping, it’ll be the back that’s imperfect, not the front.
Repeat steps with a second coat as needed, following the re-coat instructions on your can.
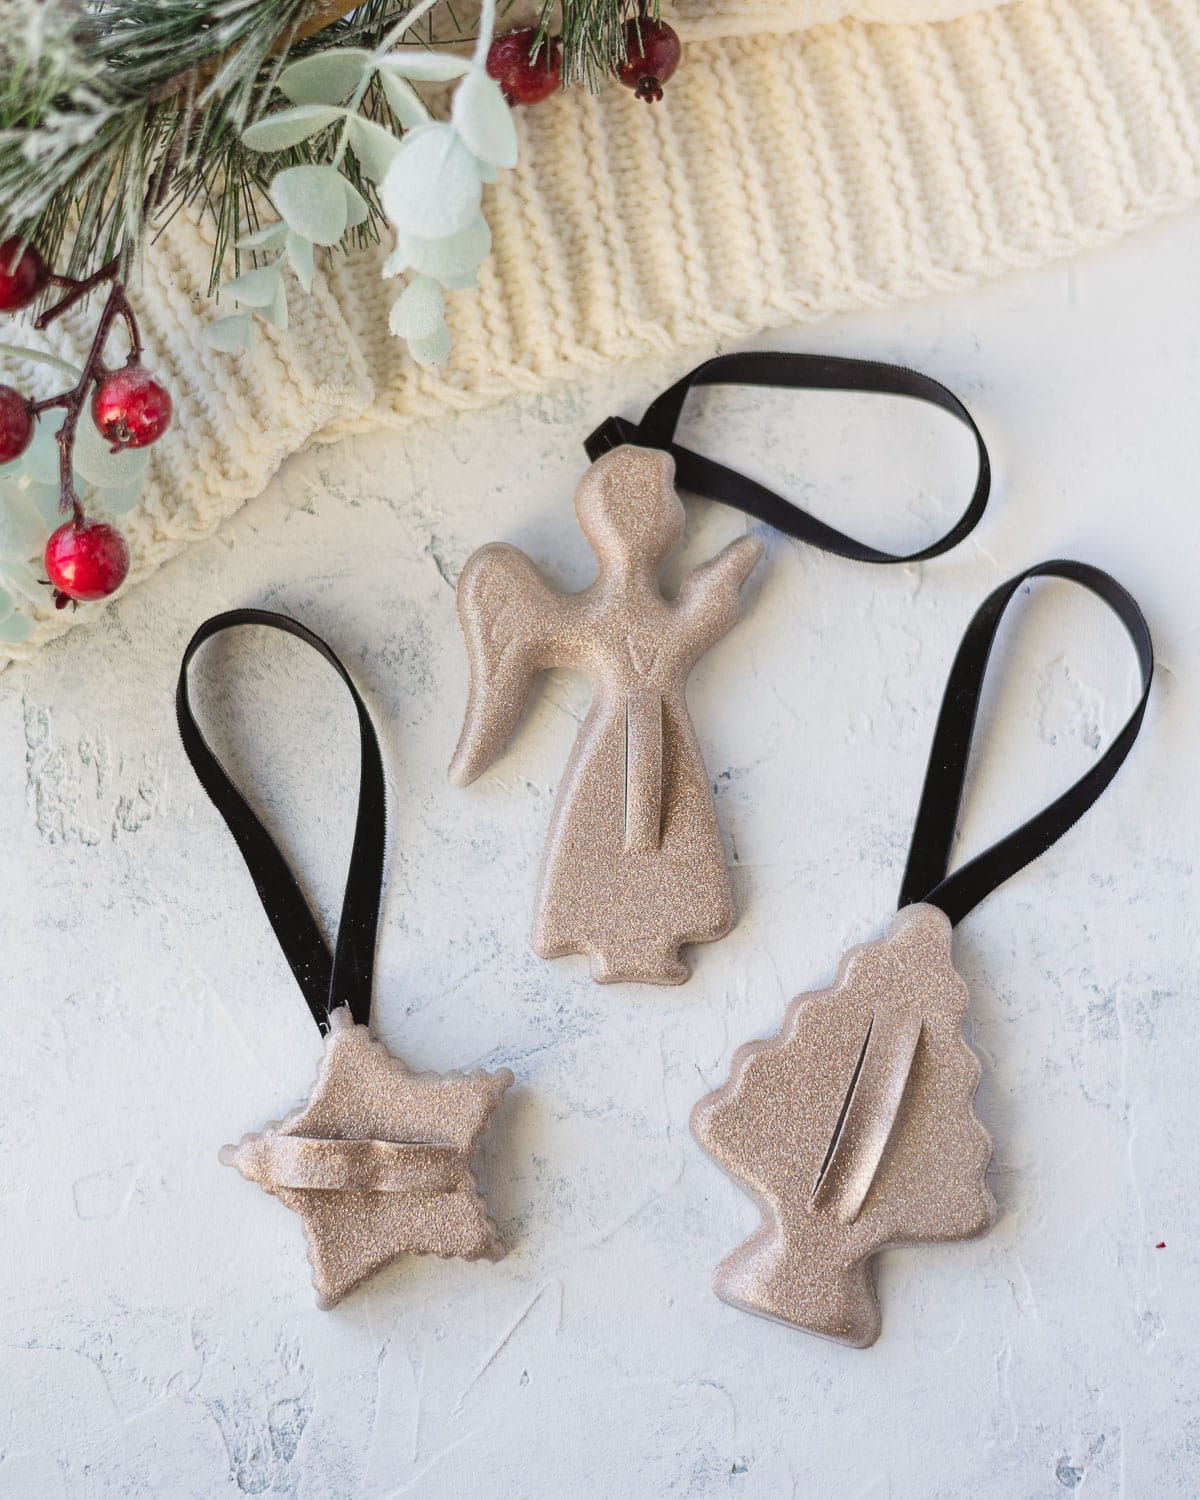
When the ornaments are completely dry, heat a glue gun to attach the hangers. I cut lengths of 3/8″ wide black velvet ribbon to about 11″ lengths. I placed a big blob of glue in the back of the ornament and overlapped and secured the ends of the ribbon. Be careful when working with your glue gun of course!
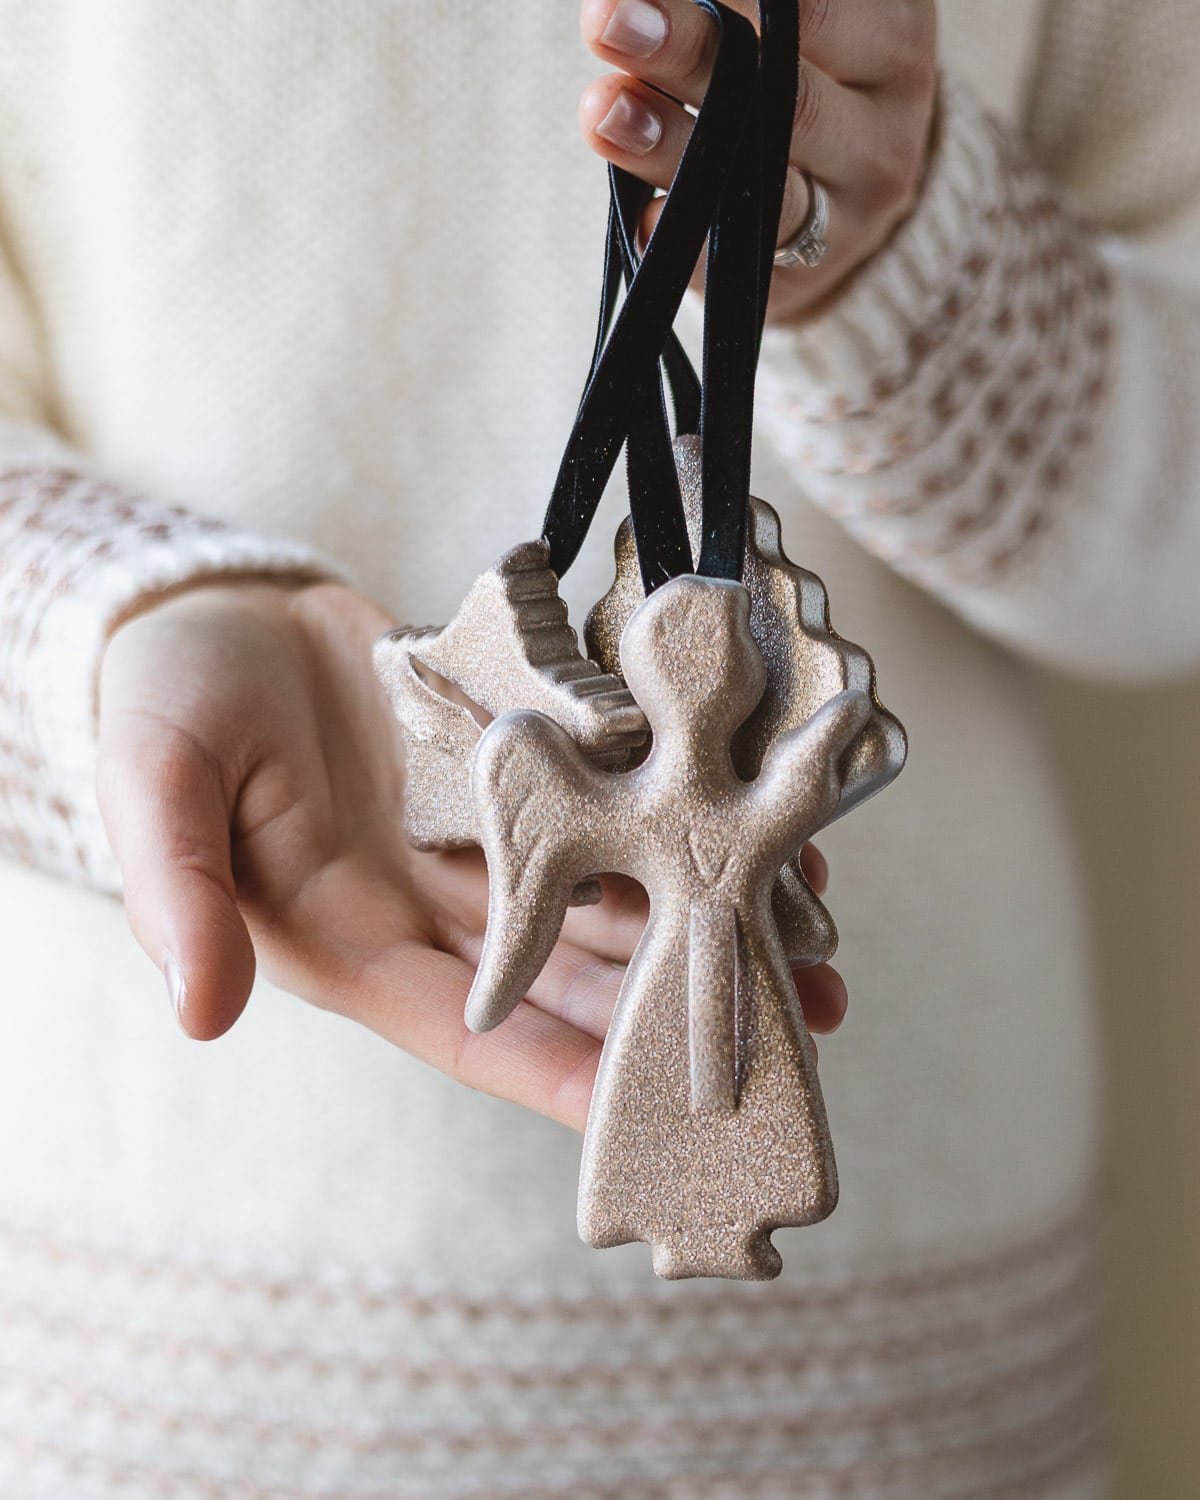
And that’s it! I hope you enjoy your beautiful custom-made glittery cookie cutter Christmas ornaments.

FAQ for Cookie Cutter Ornaments
Absolutely! There are lots of beautiful metallic paints available as well as more colors of glitter spray paint. See how the ornaments look when sprayed with Rust-Oleum Chalked Spray Paint here. Just be sure to use a paint that is meant to be sprayed over metal.
I’ve found the cookie cutters at garage sales and large church sales (find the holiday/Christmas section and search there). You can also search eBay for “vintage metal cookie cutters”, or try Etsy too. You might also ask relatives if they have any old cutters you can have.
Craft with me! If you try this tutorial, tag me on Instagram or use the hashtag #BellewoodCottageCrafts. Watch my videos on YouTube and follow along on Pinterest for more ideas like this one!
Happy crafting! ~Ellen
More Christmas Crafts
- Embroidered Felt House Christmas Ornaments
- 2-Ingredient Cinnamon Applesauce Ornaments
- 30+ LAST MINUTE Homemade Christmas Gift Ideas
- 20+ Mason Jar Christmas Décor Ideas
- DIY Christmas Window Ornament
Weekly Crafting Fun!
Join my list and get a weekly email with relaxing craft ideas, freebies, sewing tutorials, and more!