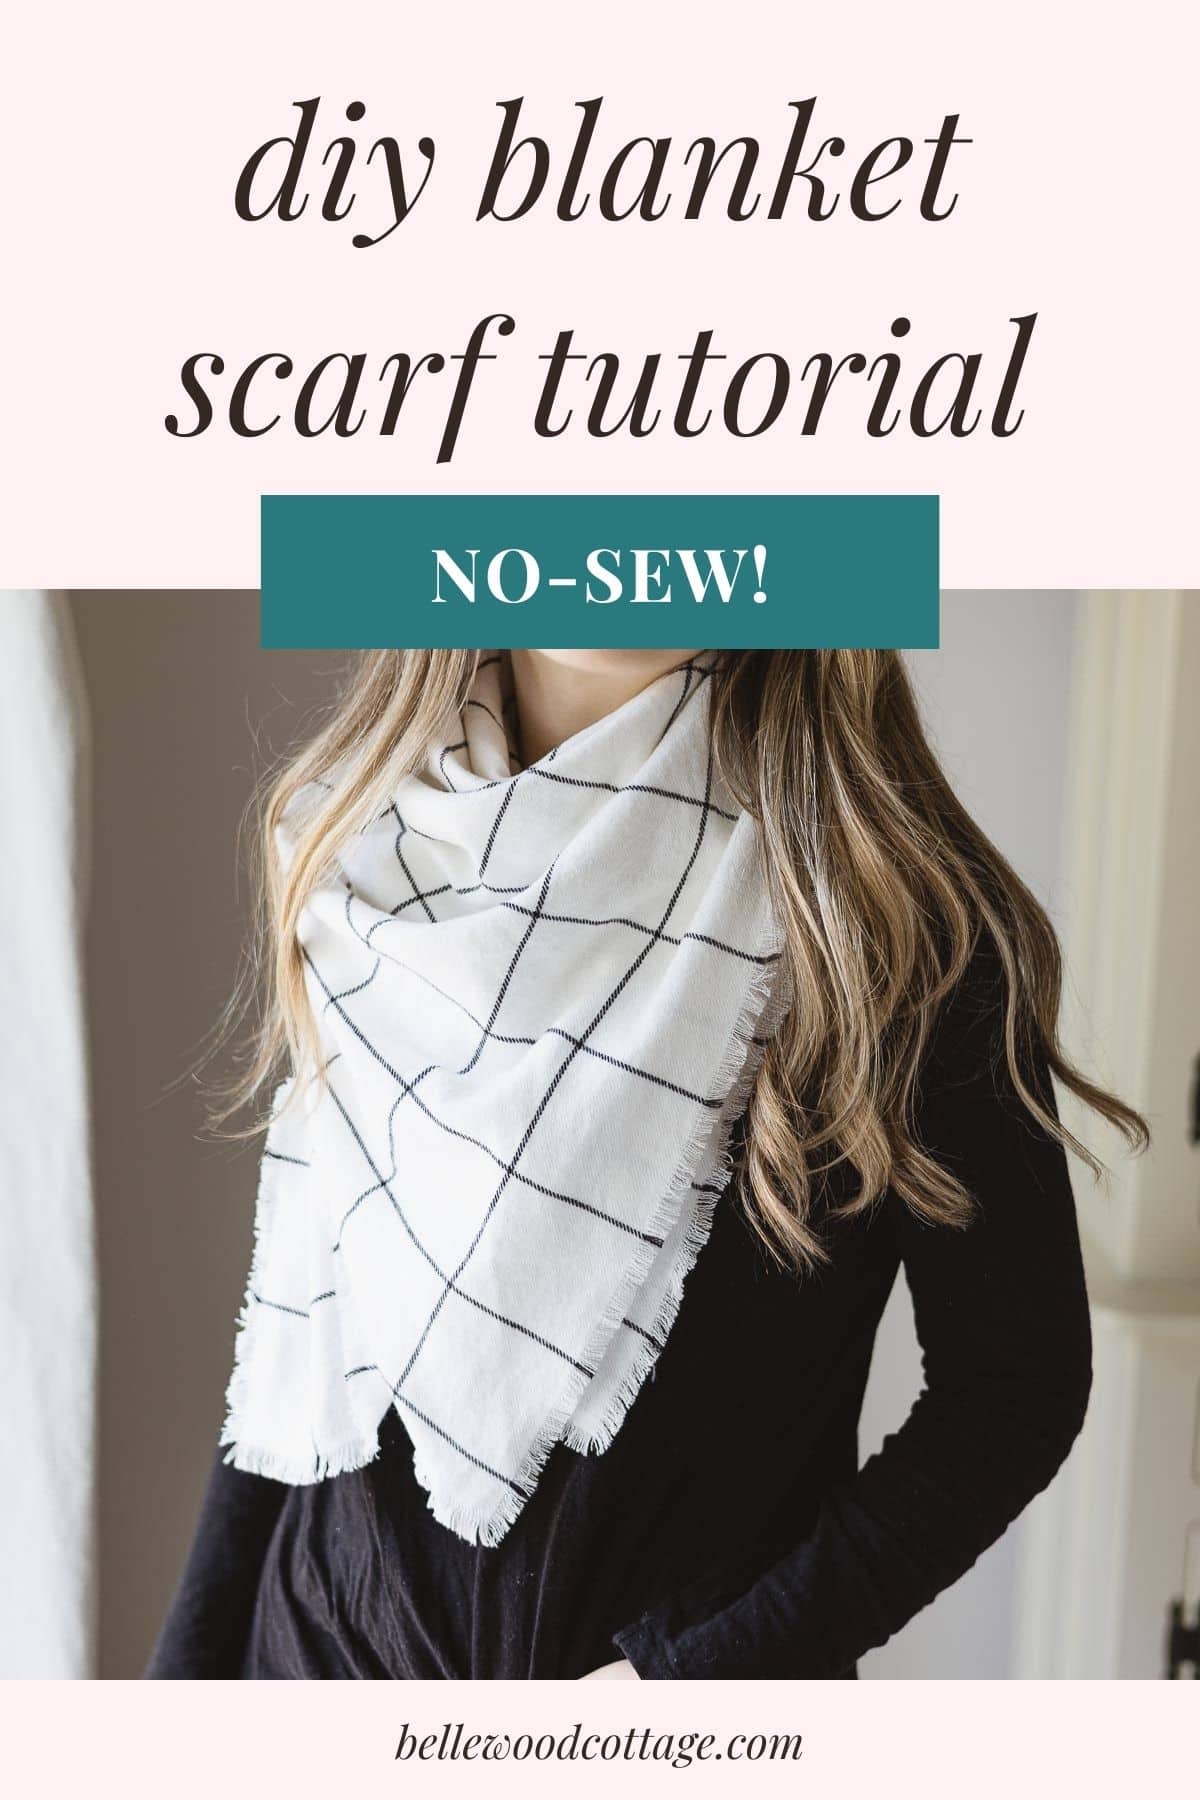
No Sew DIY Blanket Scarf
Blanket scarves are trendy and warm and making your own is both easy and fun. Plus, it’s a great handmade gift idea. This step-by-step tutorial for a no sew DIY Blanket Scarf will walk you through how to choose the right fabric, cut the scarf to the ideal dimensions, and how to wear the finished blanket scarf.
Please note that this post contains affiliate links which allow me to earn a small commission when a purchase is made at no additional cost to you. As an Amazon Associate I earn from qualifying purchases. Read more here.
I love collecting easy last-minute gift ideas. Too often I think handmade gifts are discounted in favor of cheaply made mass-produced products, simply because the shopping is so easy.
Making something handmade (even if it’s as simple as this scarf) is far more special and there’s no better way to customize a gift to a recipient.
Weekly Crafting Fun!
Join my list and get a weekly email with relaxing craft ideas, freebies, sewing tutorials, and more!
Whether you make this DIY blanket scarf for a friend or for yourself, it’s a quick and relaxing project that can be accomplished in about 1 hour or so (depending on how much fringe you opt to add to the edges).
What Kind of Fabrics to Use
The most important part of making a homemade blanket scarf is the fabric selection. This project is completely no-sew, but the fabric choice is still critical to the final look.
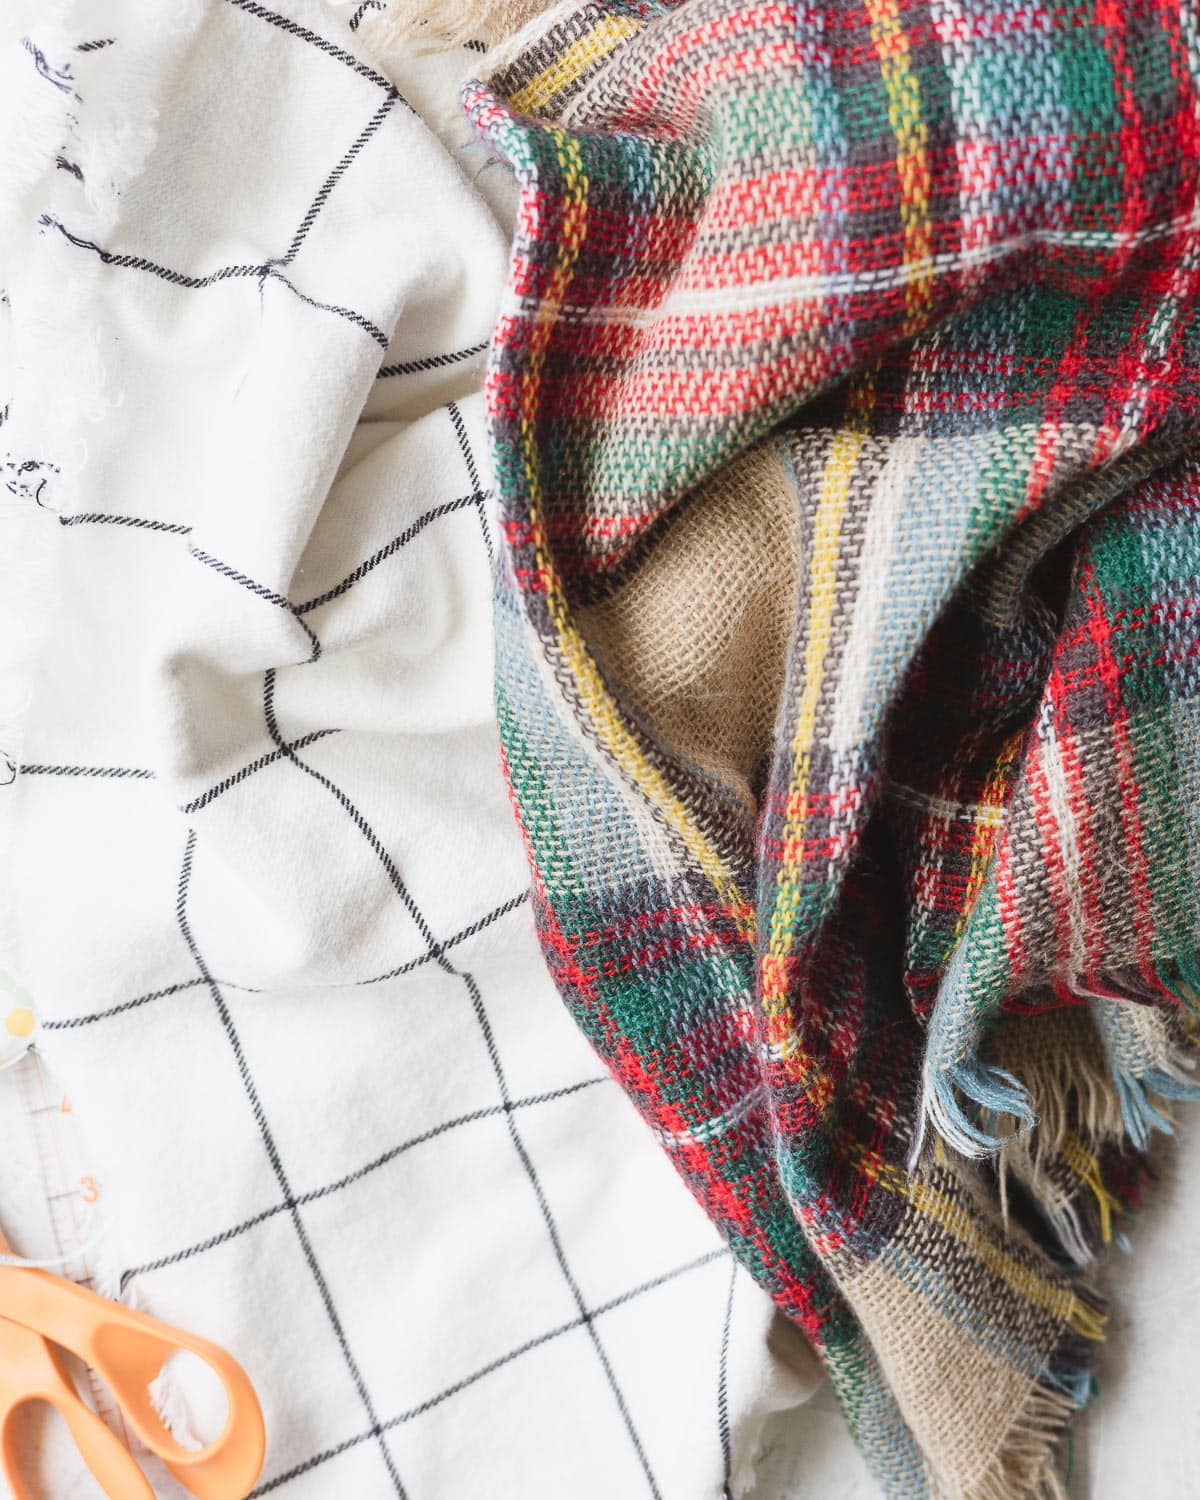
Look for a loosely woven fabric with great drape
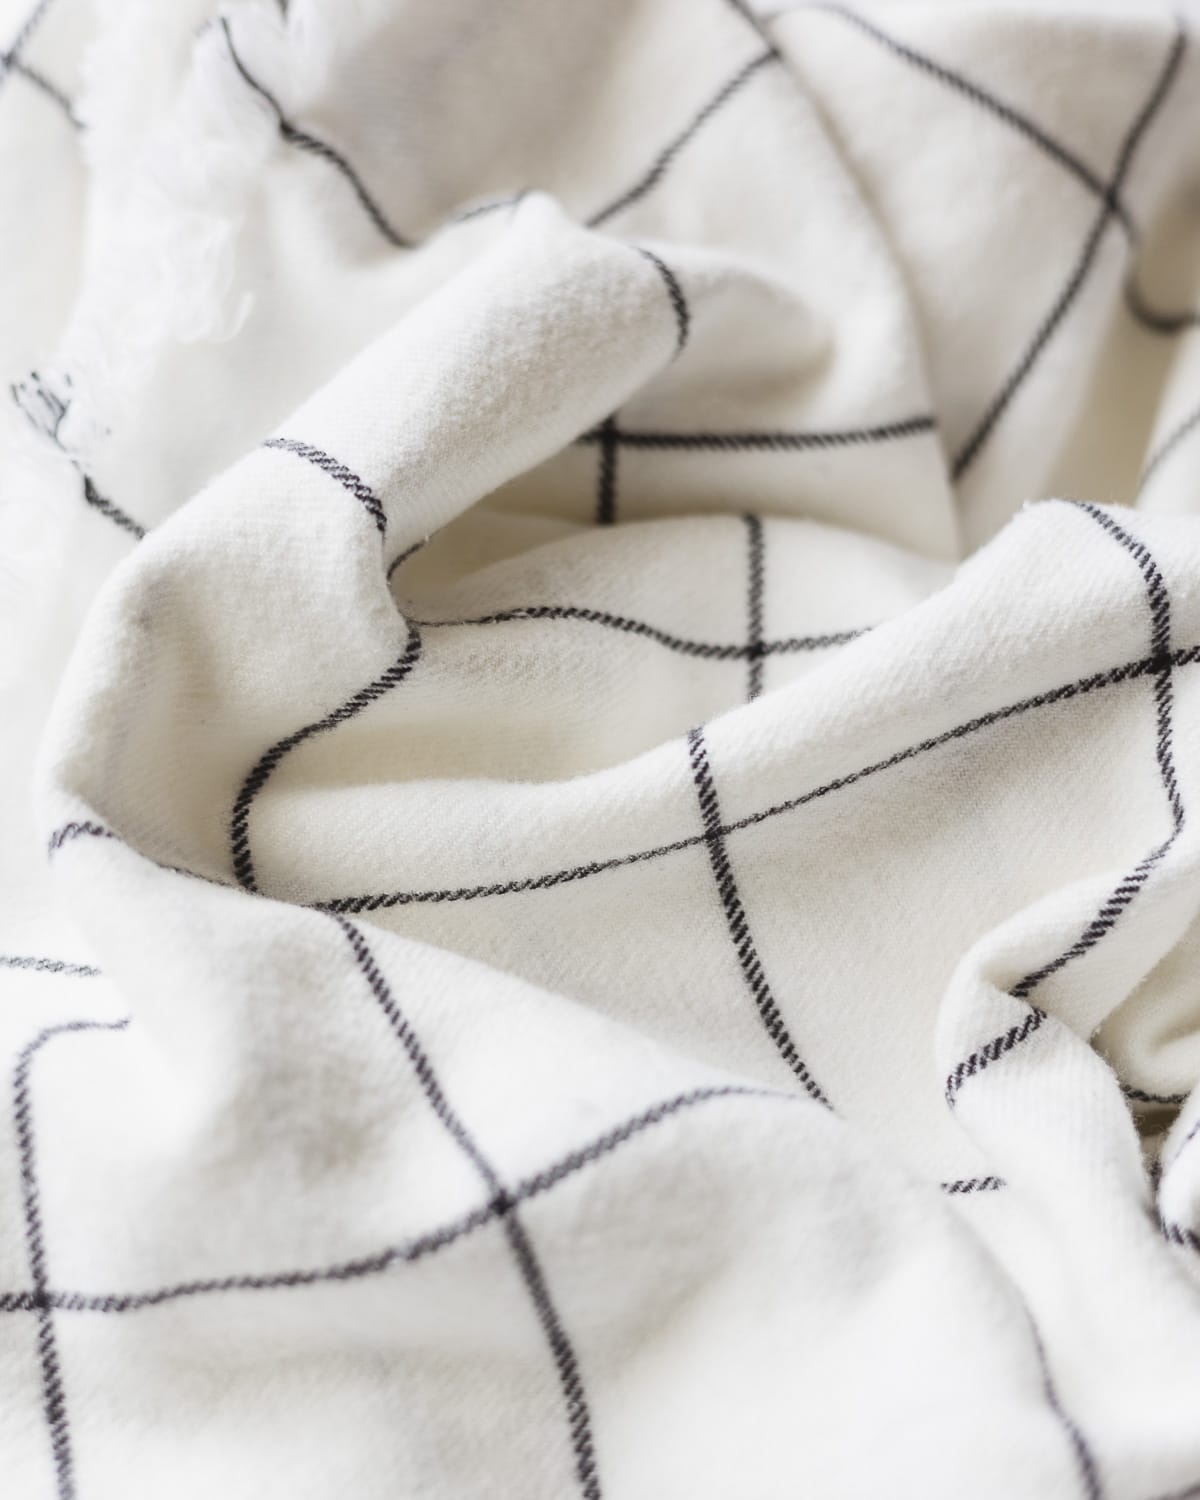
You want a fabric that is soft, medium-to-thick in weight, and loosely woven with great drape. Loosely woven really is key! You can see below in the image the fabric that I selected (white with a black grid) versus my favorite Modcloth blanket scarf (colorful plaid) that I was looking to imitate.
The fabric I chose still works, but it’s more closely woven and doesn’t drape as smoothly as the original.
While you will have more options if you shop online, it’s going to be more tricky to tell what you are getting. For this project, I suggest stopping by your local fabric store and checking out the selection.
To check drape you can grab a length of the fabric and pinch the middle between your fingers allowing the fabric to fall. If it’s totally stiff, skip it. If it drapes down nicely, but still has some heft to it (this is a scarf after all), go for it.
Note: Any fabric you purchase should be at least 44″ wide–wider is better. More details on how much fabric you will need follow below.
Where to start at the fabric store
Here are some ideas of the fabrics to look at while you search.
Fall Fabrics – Most fabric stores start putting out their fall fabrics fairly early (you might start checking as soon as July or August). Check this seasonal section first to see what offerings are available. Stick to looking at “apparel fabrics” as you shop. You don’t want to find yourself in the home décor or quilting cotton sections for this project!
Flannel Shirtings – According to Cotton, flannel is soft, medium weight, and “fuzzy” or “brushed” on at least one side. Think of a thick & cozy flannel shirt. These fabrics are lovely for scarves, but watch out because many will be too thick/tightly woven to have enough drape for a scarf.
Wool and Wool Blends – This category encompasses a lot of possibilities, but wool is a great choice for durability and warmth. Again, look for a loosely woven fabric and check the care instructions before you buy. Some wool fabrics are treated to be washable, but many require handwashing.
Acrylics – The fabric I picked up for this project was from Joann and I believe it was an acrylic or acrylic blend. It’s a bit on the stiff side, but it works.
Other fabrics
You can get quite creative with this project. You could use thrifted fabrics, linens, gauze/double gauze, or anything that catches your fancy. Just be sure to choose a loosely woven fabric with enough drape to function easily as a scarf.
How Much Fabric You’ll Need
You’ll need a large enough piece of fabric. I suggest choosing a fabric that is at least 44″ wide, but more is better. If you are selecting a fabric that is a bit more on the stiff side, you’ll want to be sure it’s wider (50″ or more) to compensate and make sure it’s still easy to wrap around your neck.
44″ Width Fabric
Then, you’ll need enough fabric to make it a square. So, for a 44″ width fabric, opt to purchase 1 and 1/3 of yard (all one cut) which is 48″ and should account for any shrinkage. Or, purchase 1 and 1/2 yards and make a slightly larger (but rectangle-shape) scarf if you like.
60″ Width Fabric
For 60″ width fabric I like to purchase 2 yards for 72″ (or you can purchase 1 and 3/4 yards, which is 63″).
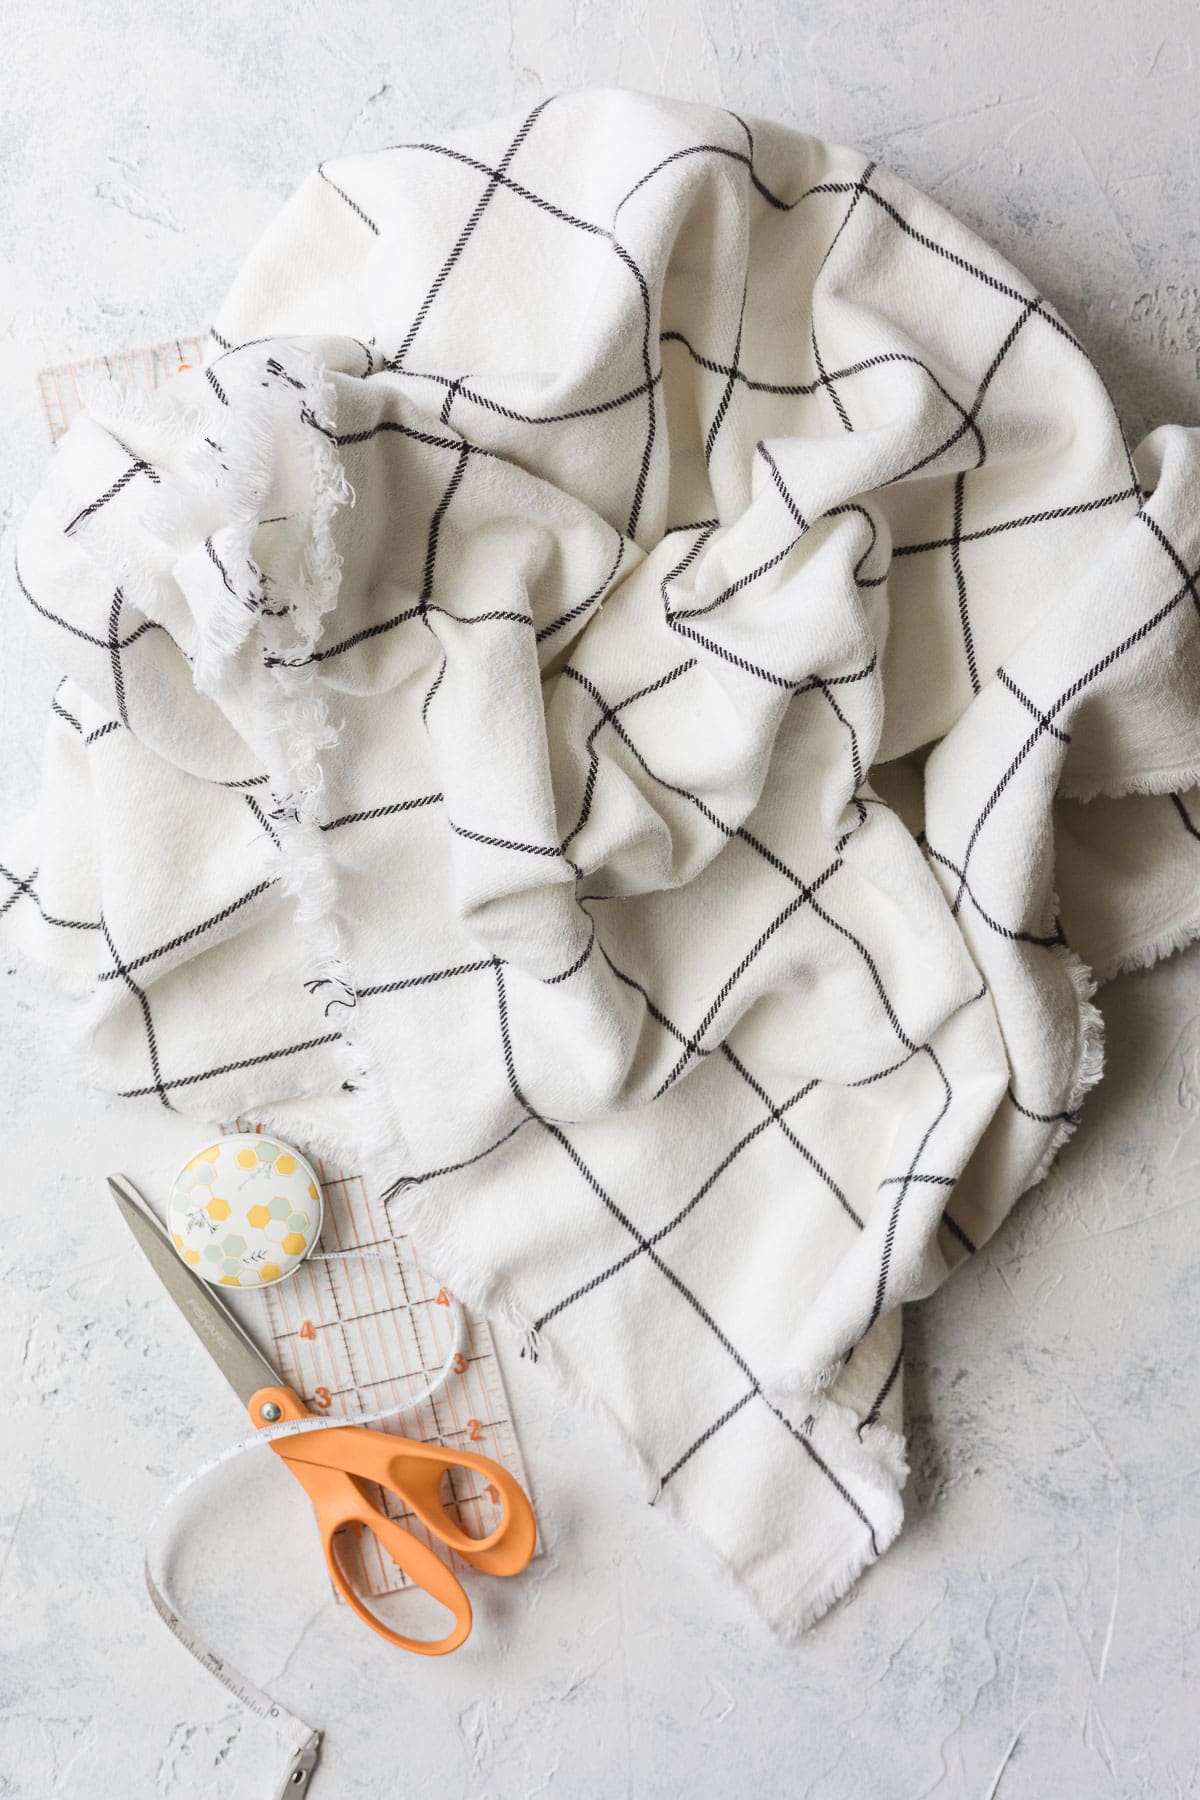
Other Supplies
You’ll also want a tape measure, scissors, and a seam ripper if you have one to help fray the edges.
Here’s How to Make a Blanket Scarf
Wash and Dry
Prewash and dry your fabric following the directions on the bolt of fabric. Note that some wools/wools blends may be handwash/air-dry only so it’s worth checking before you wash–otherwise you will have a piece of felted fabric on your hands!
Lay out the fabric on a large flat surface. Note the two selvage edges. These are the factory-finished edges of the fabric. They will have a bit of “fringe”, but will not be able to fray like the cut edges of the fabric. We’ll cut off the selvage edges too to make our own fringe.
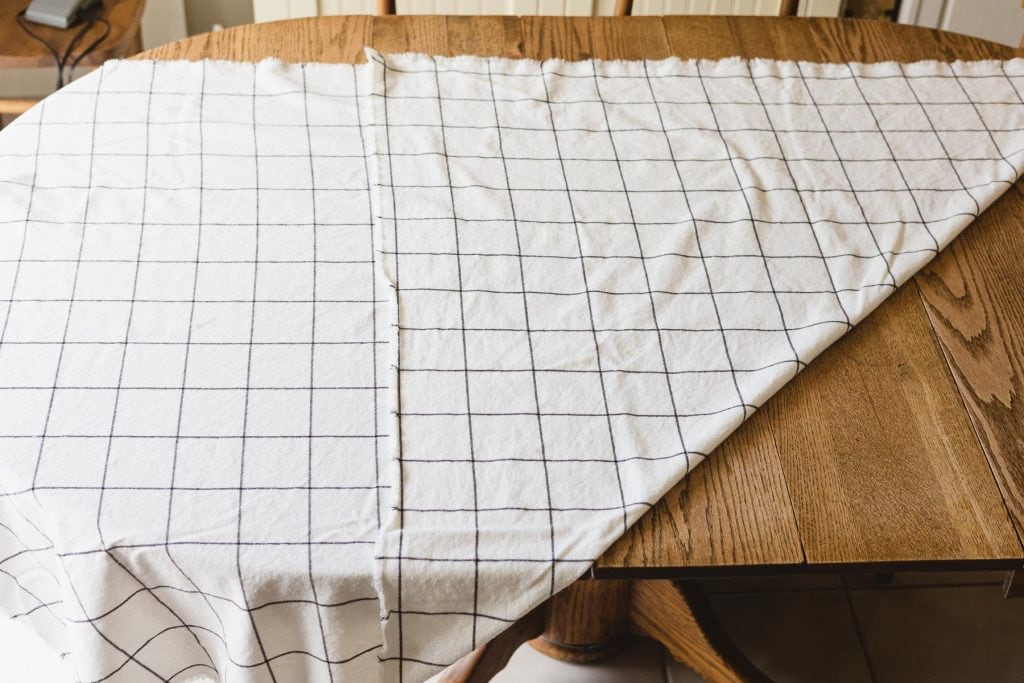
Cut a Square
Grab the corner of the fabric and fold up to make a triangle shape (which will become a square). Trim away excess fabric to make a square.
My favorite store-bought blanket scarf is from Modcloth and it’s actually technically a rectangle, so you could add a few extra inches to one side if you like, but a square seems to work best for tying the scarf.
I opted to try a slight rectangle this time since my fabric was a bit on the stiffer side. The points of the scarf will not match up though–which may drive you crazy!
Cutting tip: It’s handy if you are using a plaid or checked design because as you cut you can just follow the lines on the fabric itself.
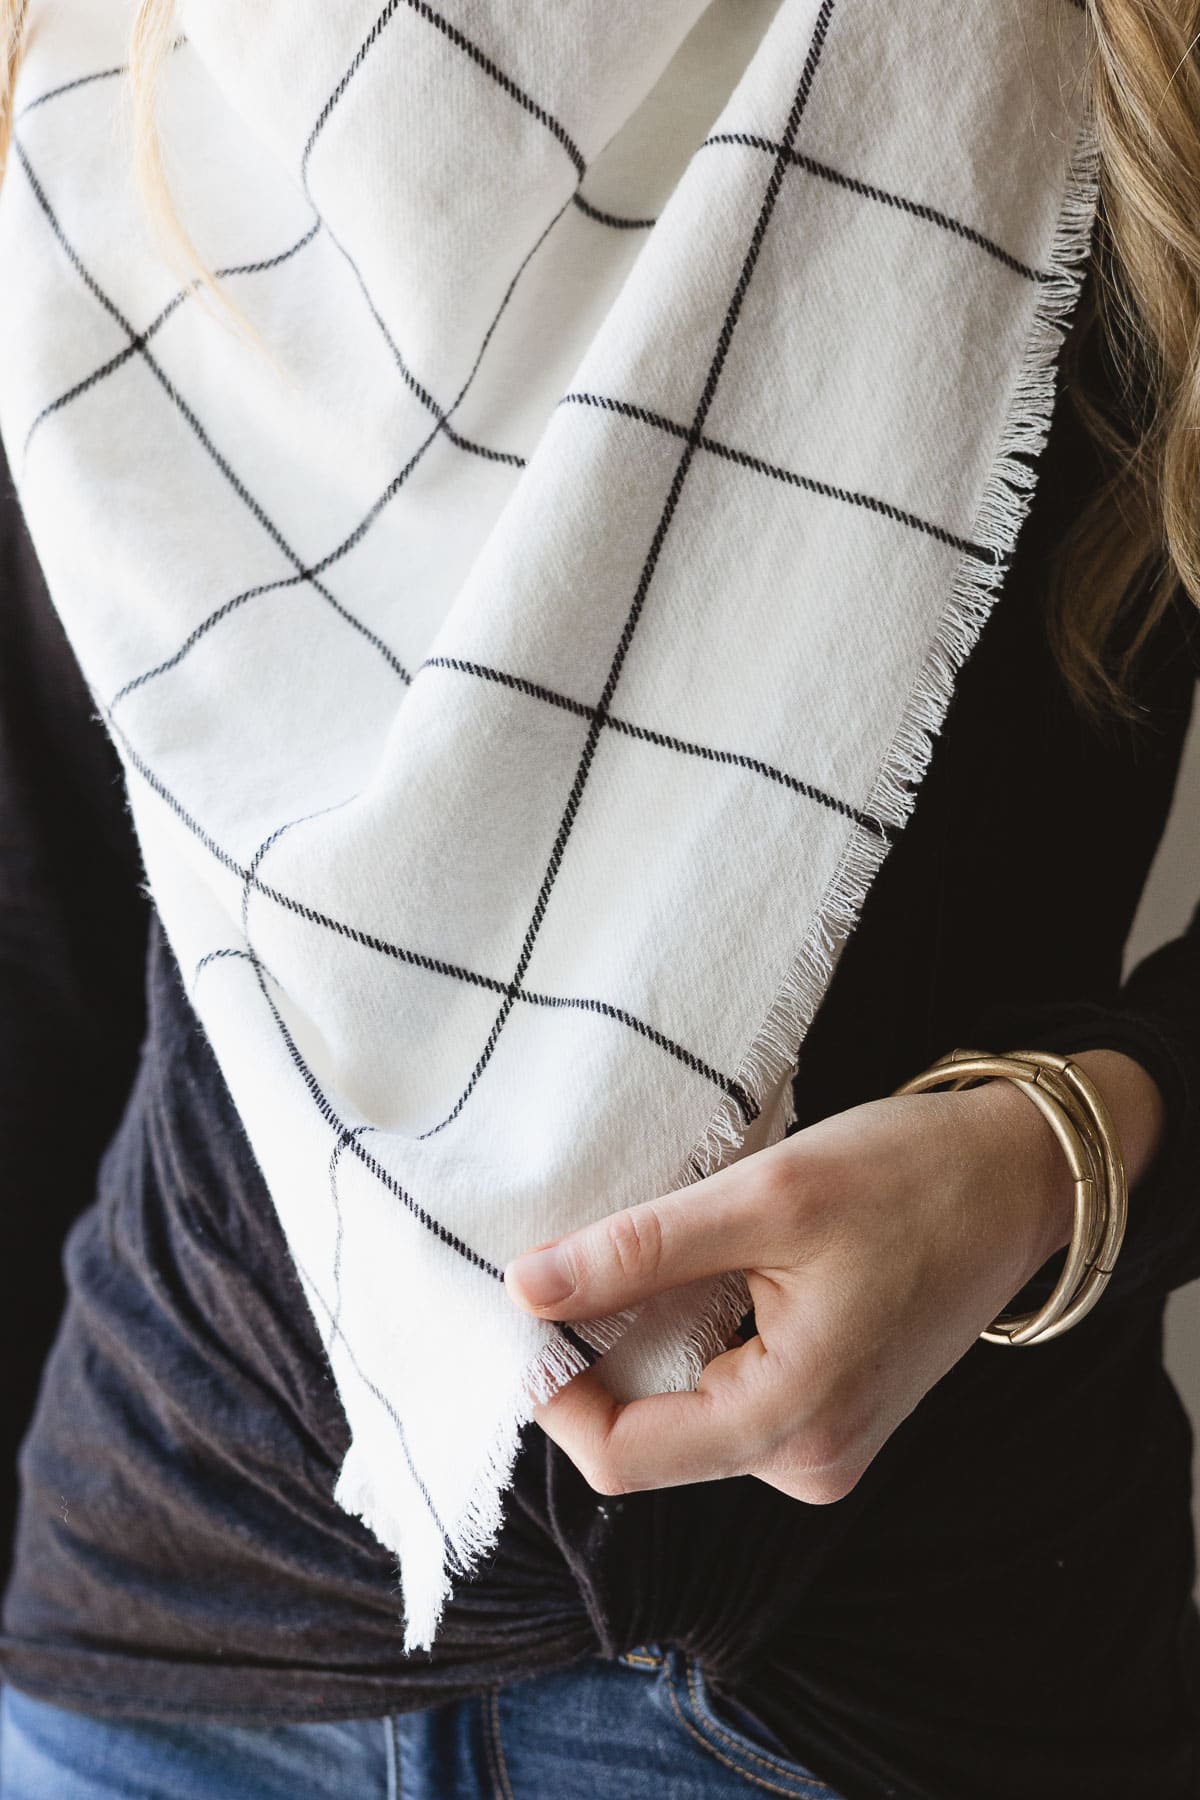
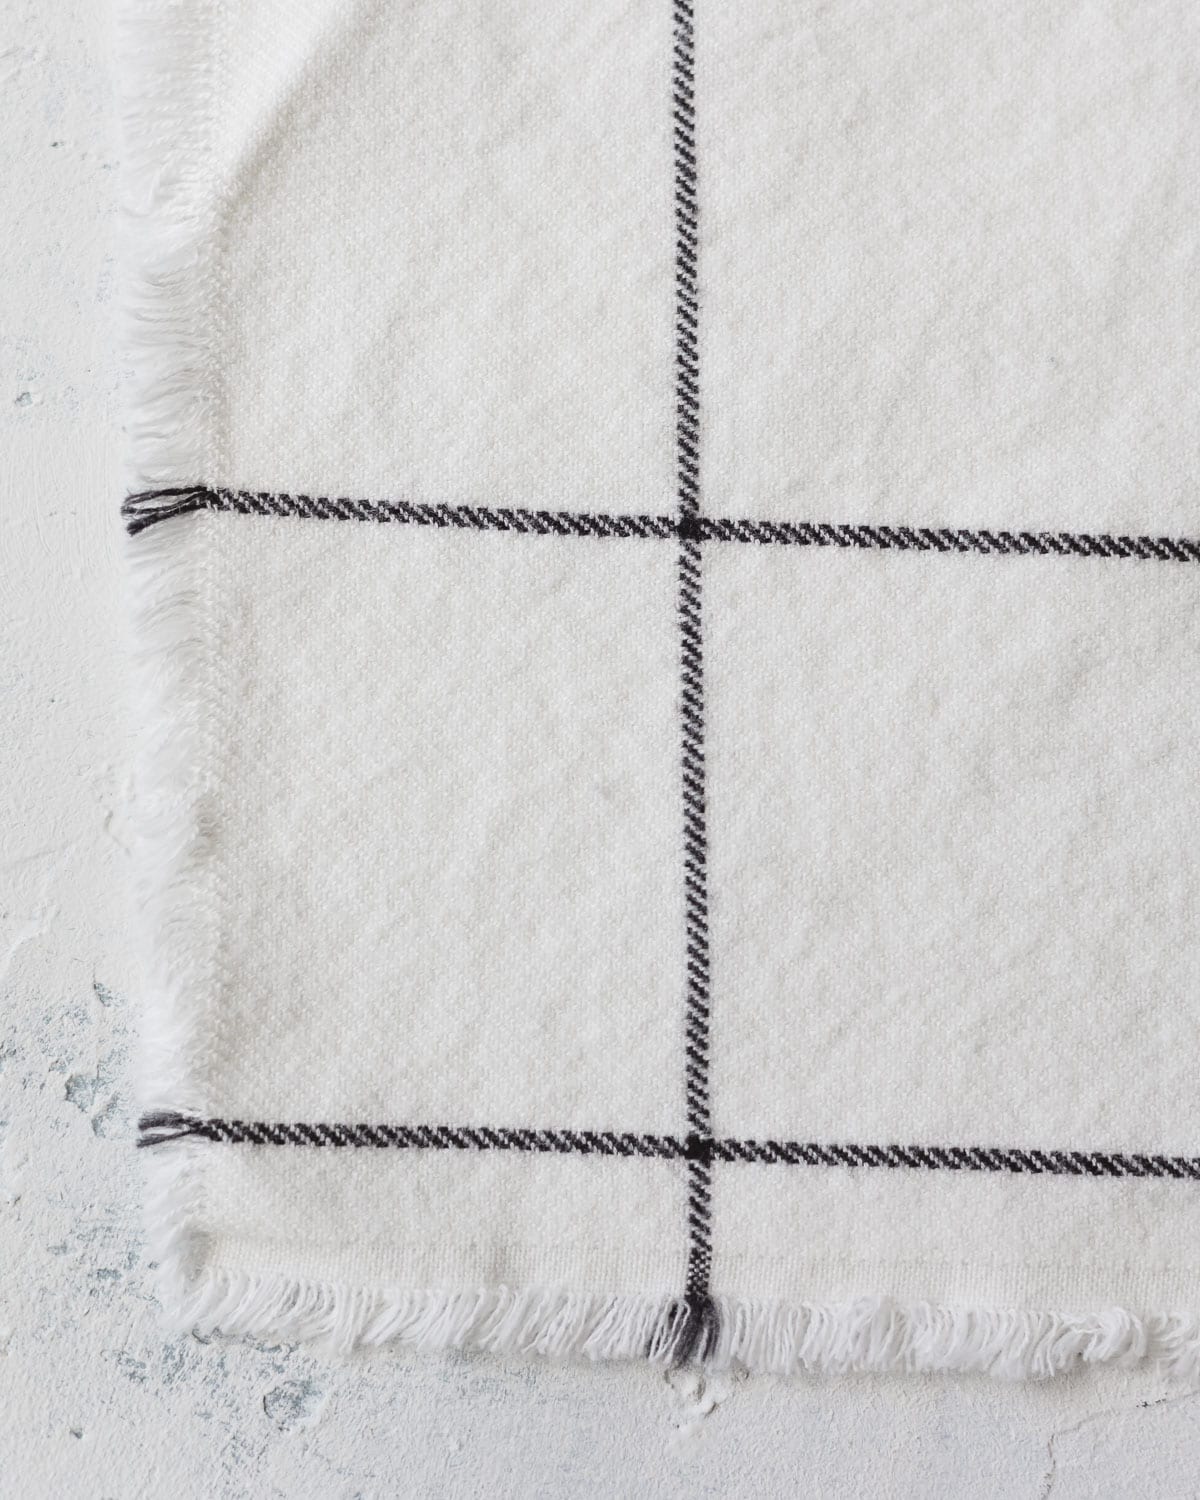
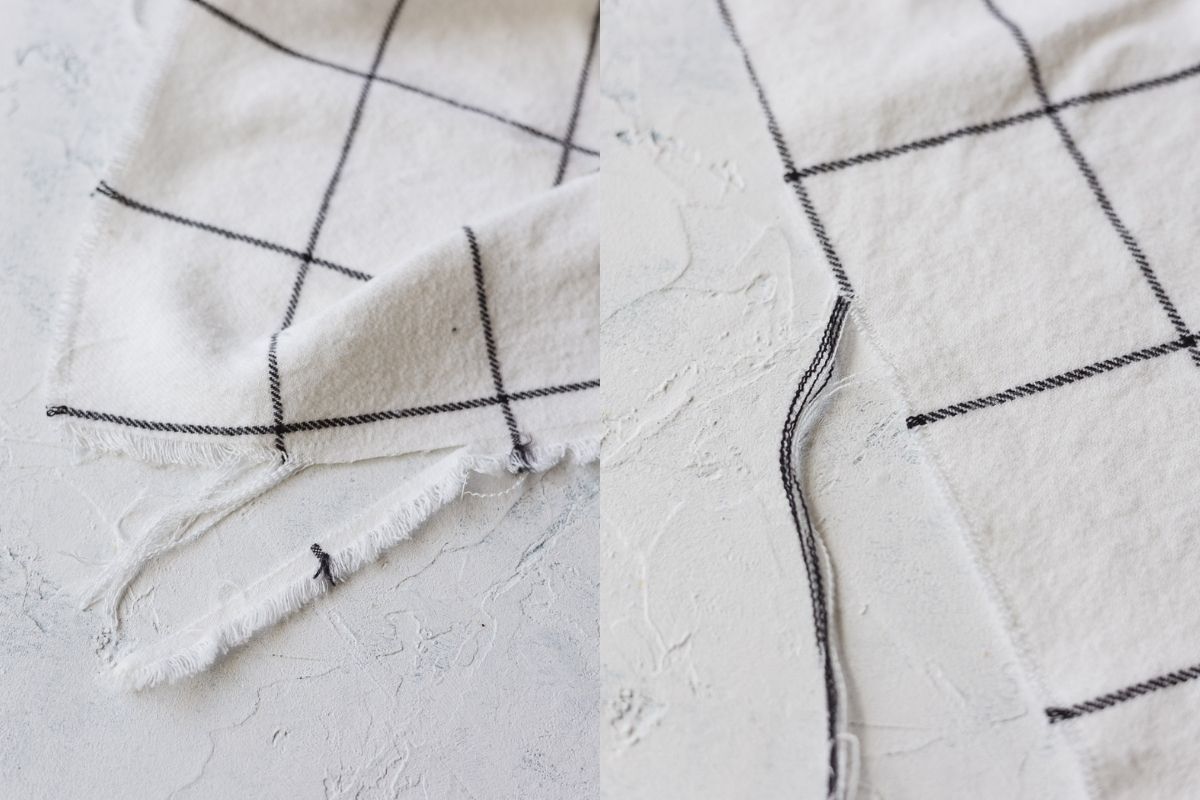
Fray Edges
After the scarf is cut, trim away selvage edges, keeping your scissors straight. Remove threads from all edges, fraying the edges and creating soft fringe all the way around the scarf. The more tightly woven your fabric is, the longer this will take. Put on a good movie or an audio book while you work on it.
Note: fraying the edges actually takes a surprisingly long time! Plan for an evening (or two if you are easily bored) of fringing the edges in front of a good movie. It took me a little over an hour to completely fringe my scarf.
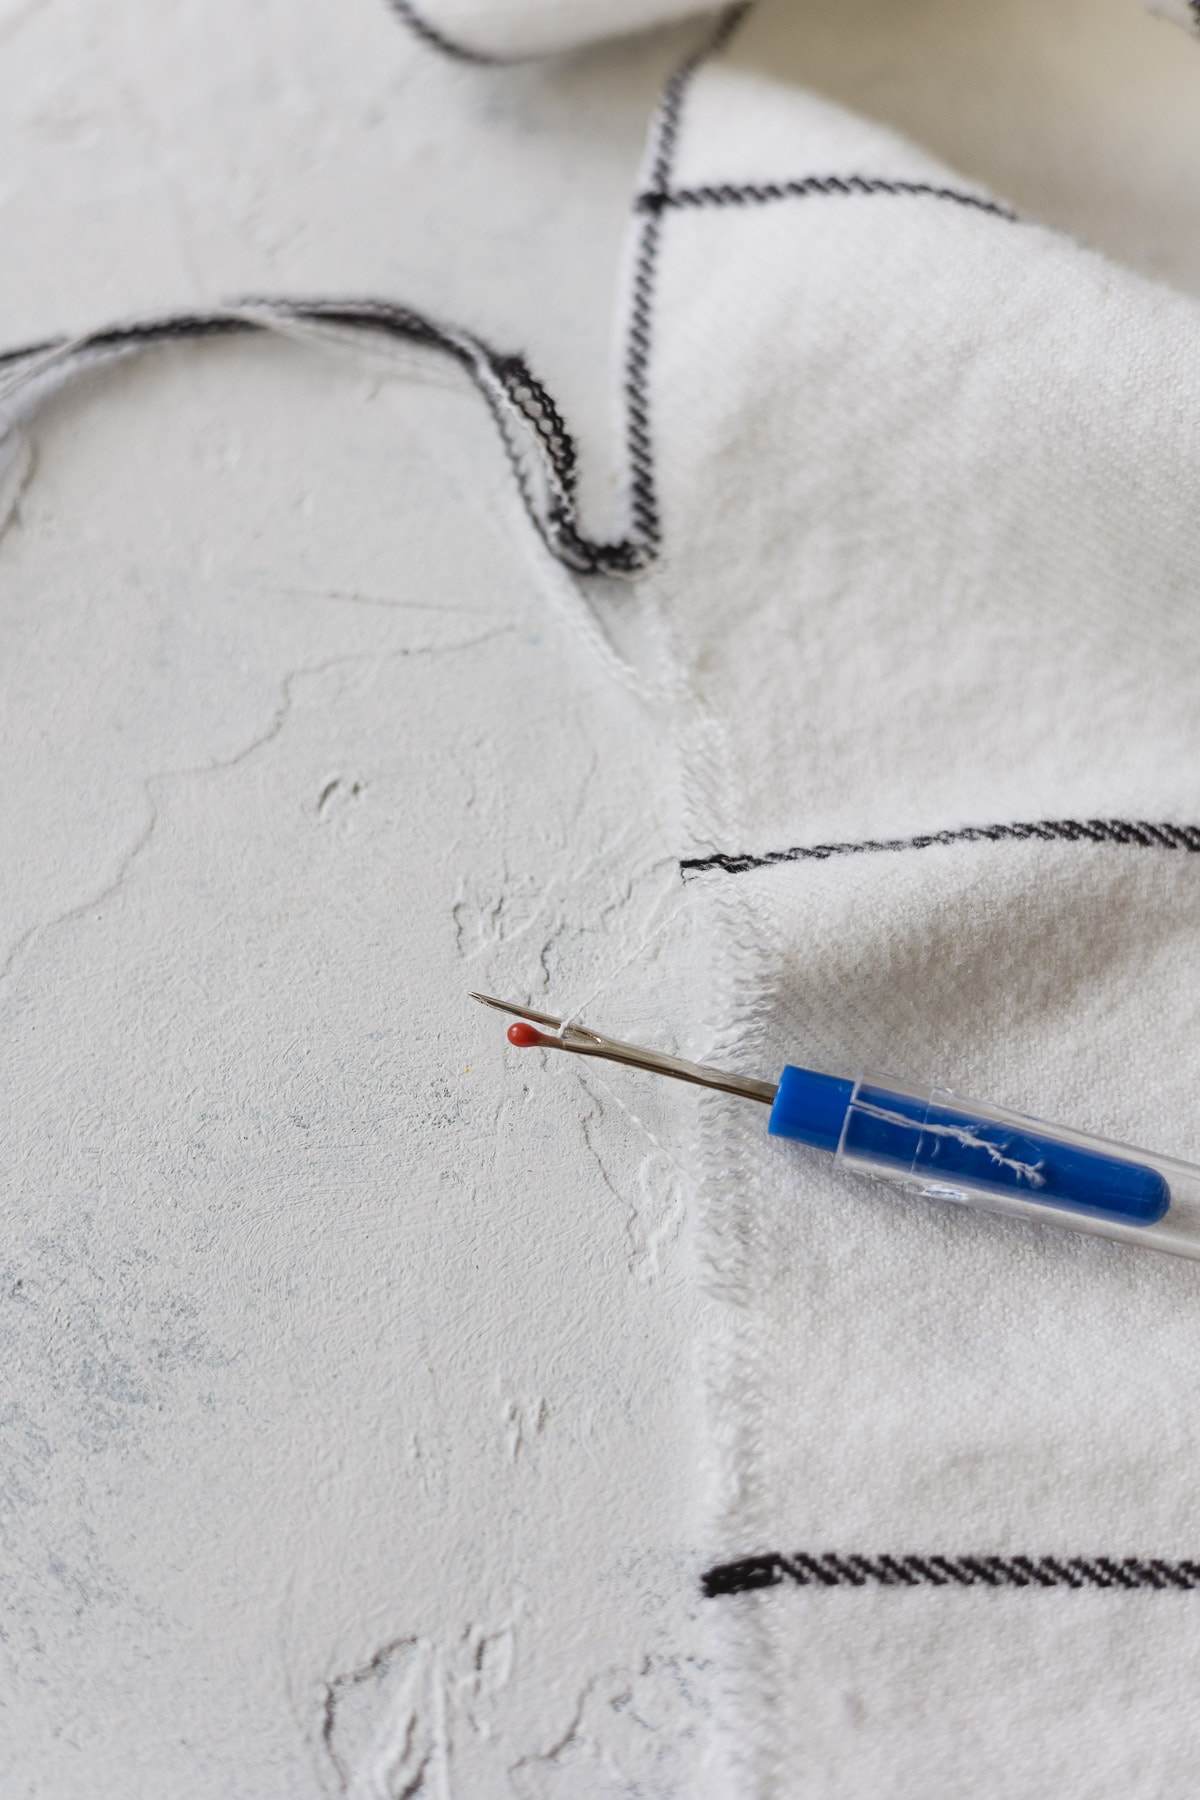
If you are having trouble picking the threads out, grab a seam ripper or very tiny crochet hook to aid in pulling out the threads. I found this to be absolutely essential in fringing my scarf!
Once you’ve added the desired amount of fringe, shake the excess threads away from the scarf and it’s ready to wear!
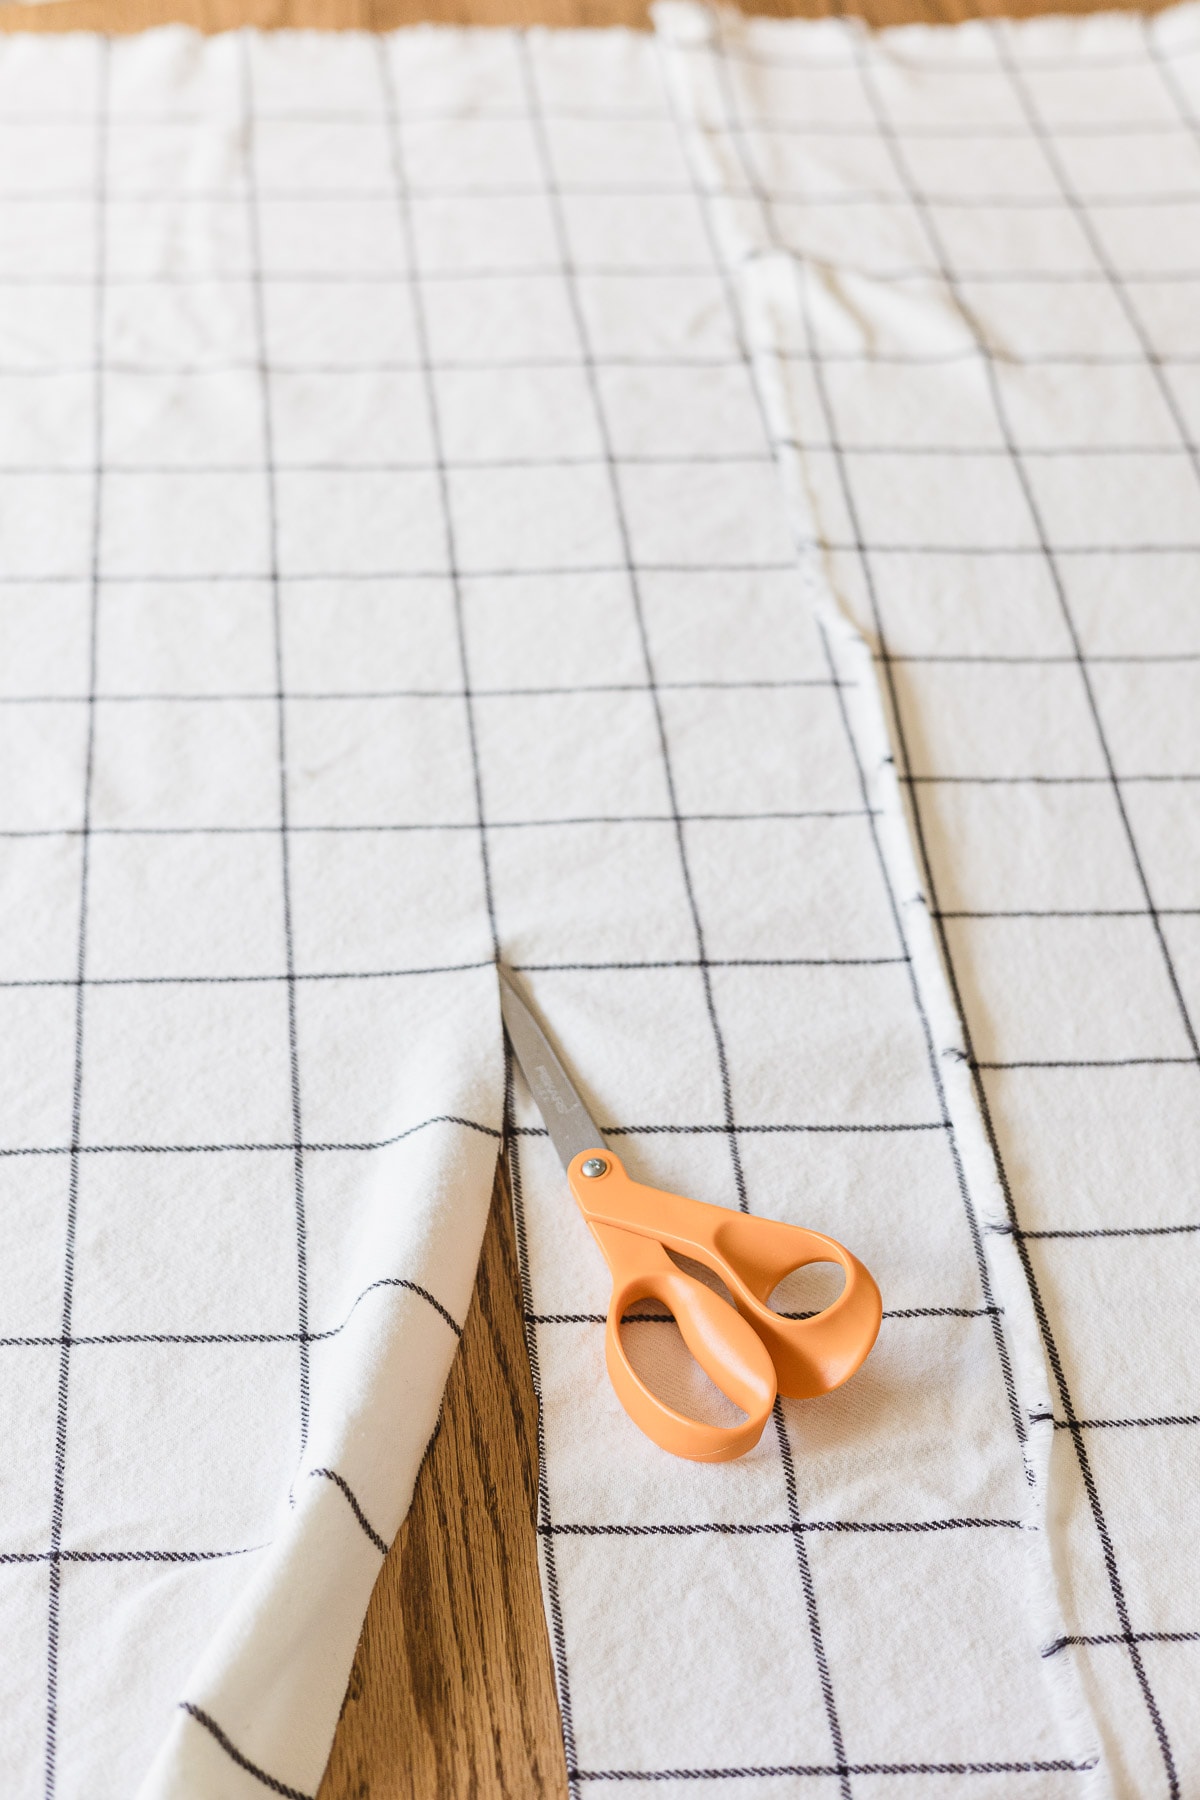
Quick Tip for Reducing Bulk
To wear the scarf, the square of fabric is folded over in half diagonally and then wrapped around the neck. If you are petite, or just not a fan of bulky scarves, here’s a quick tip for you. After cutting the fabric square, leave the scarf folded in the triangle shape. Cut along the diagonal. This will make two scarves.
The diagonal edge won’t fray beyond the threads loosening up just a bit. As one of my good friends noted, this is also a great trick for gifting scarves as you get two scarves from one cut of fabric. These blanket scarves make excellent last-minute gifts.
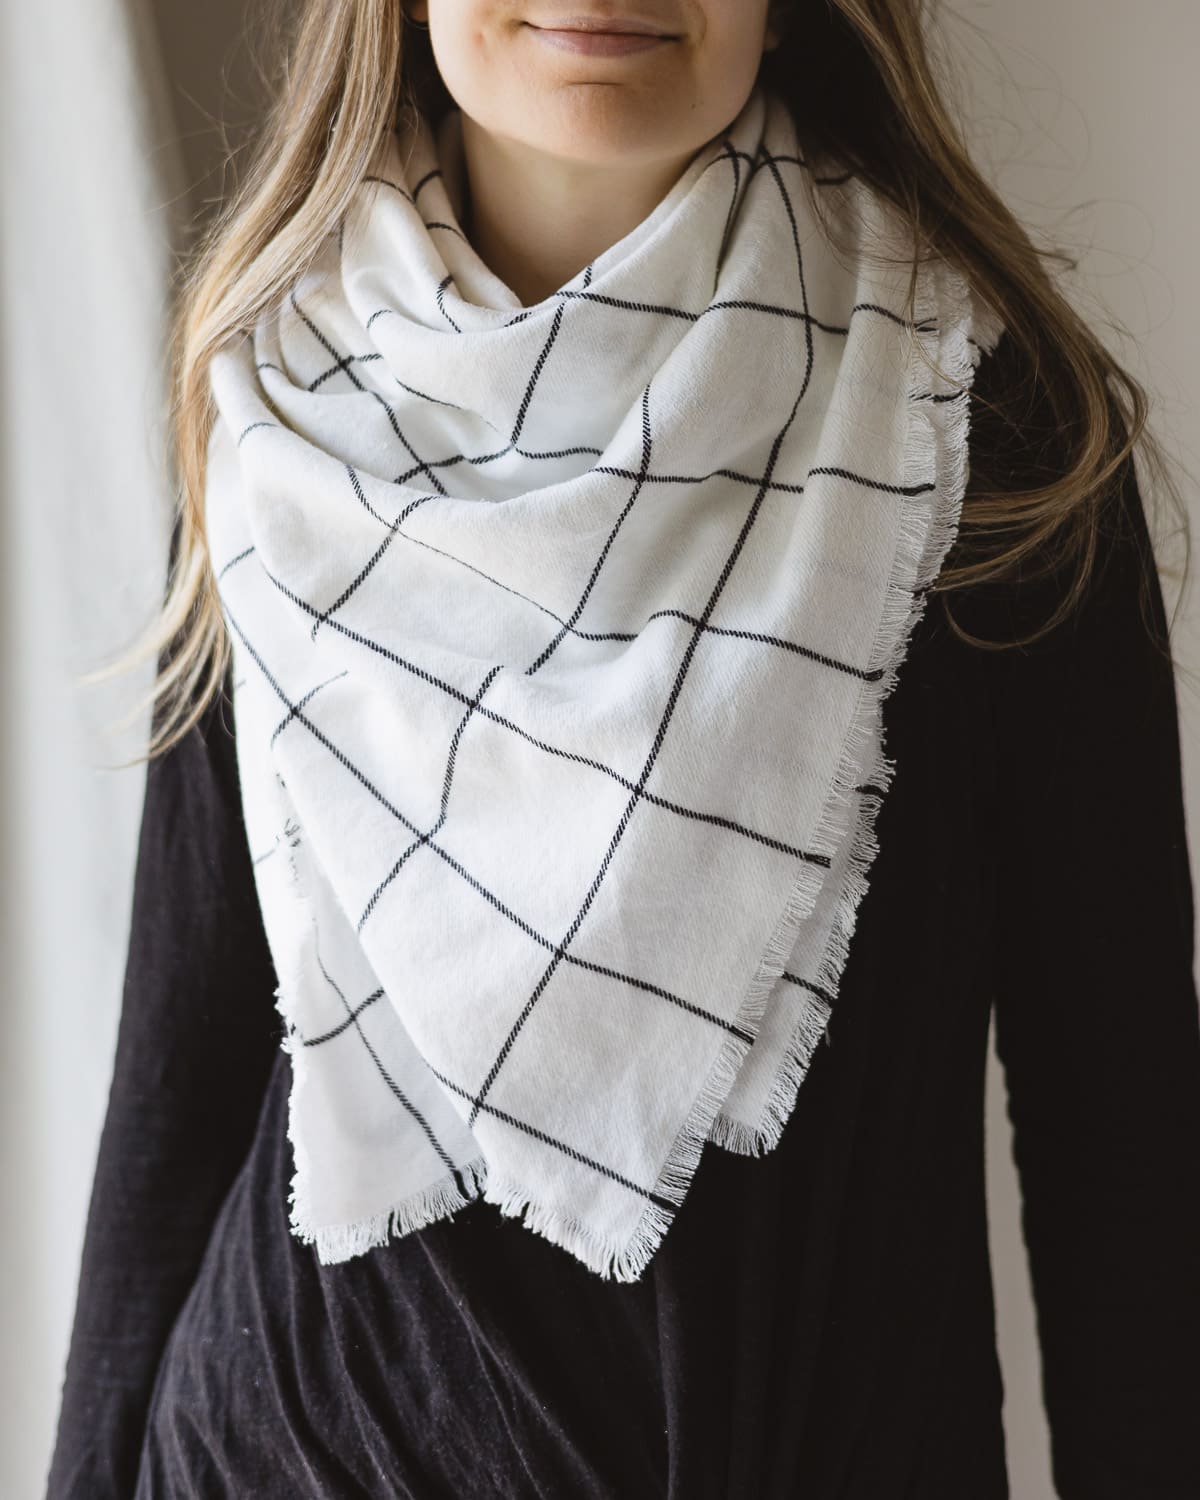
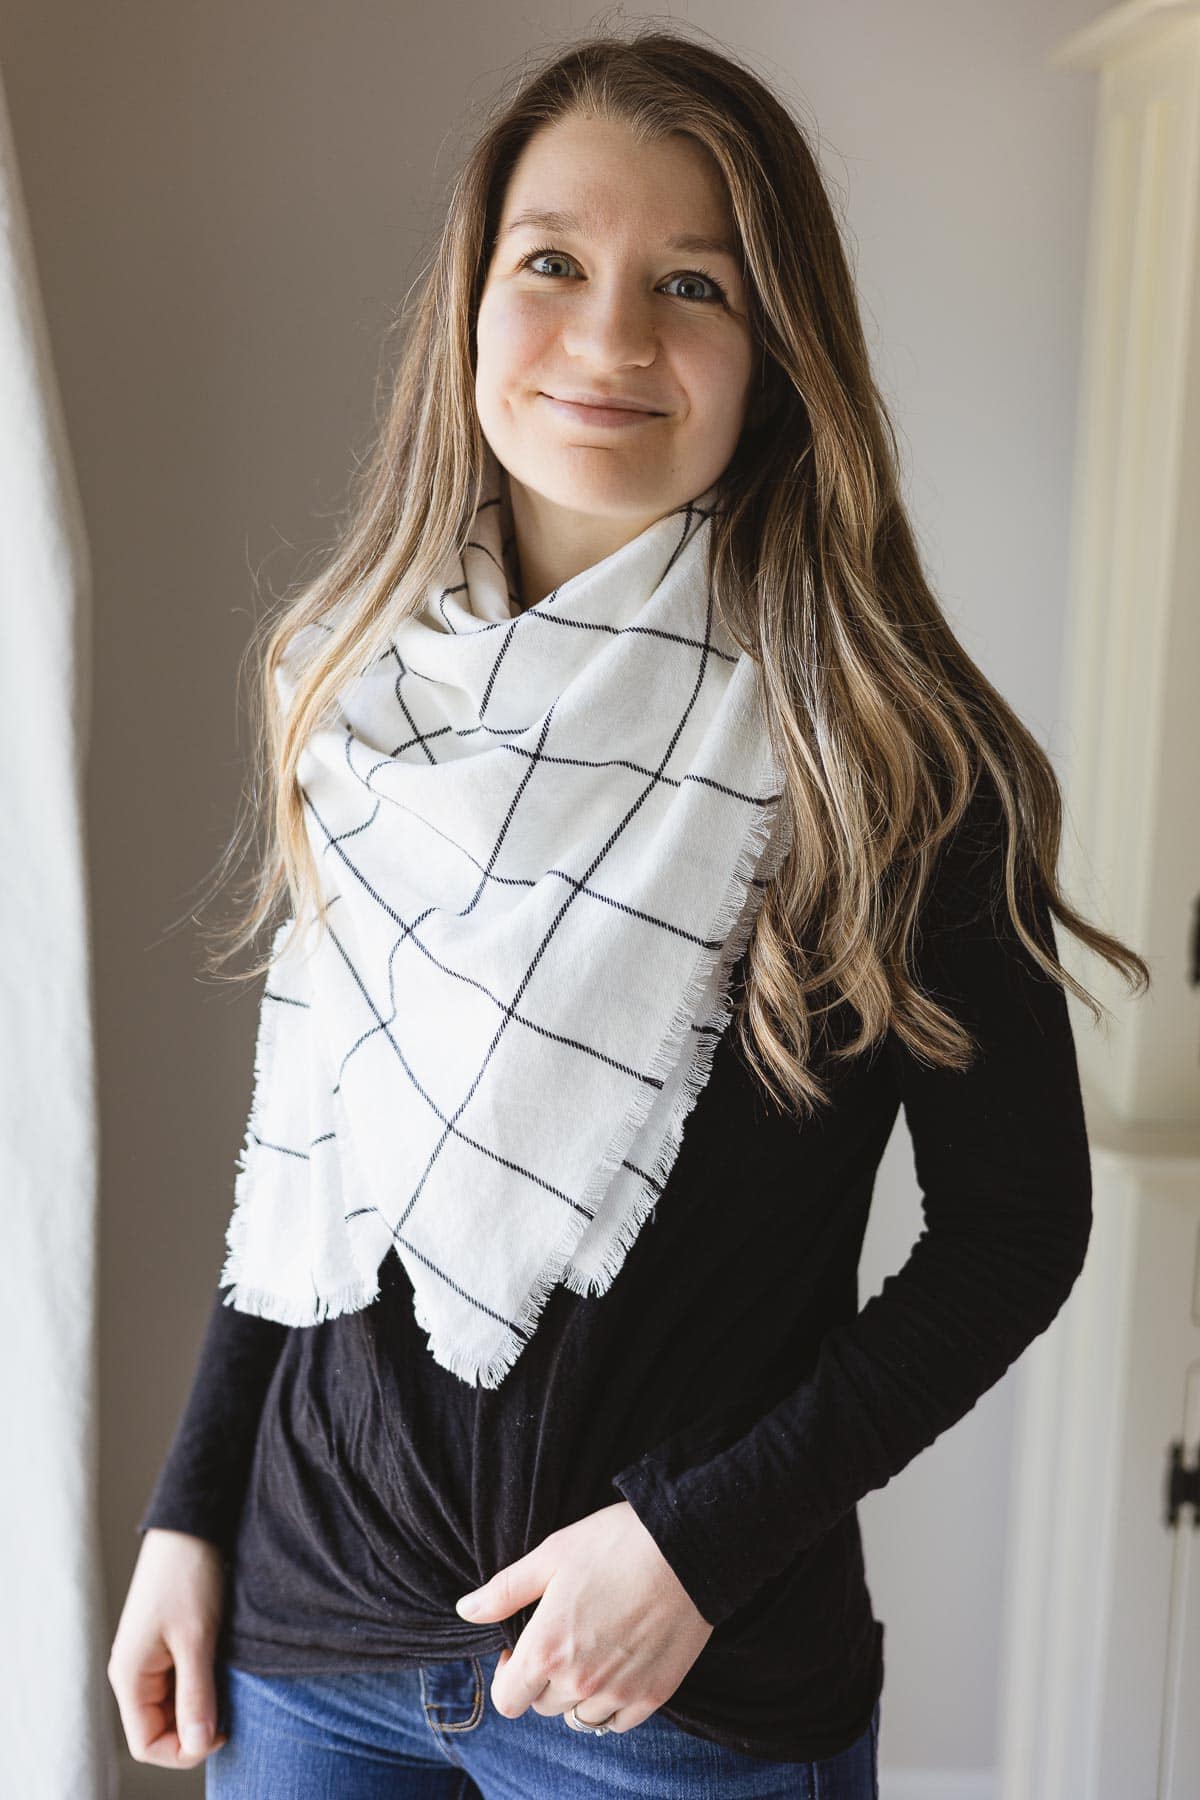
How to Tie a Blanket Scarf
There’s all kinds of fancy ways to tie a blanket scarf, but I usually opt to keep it simple. Fold the scarf diagonally in half and bring the middle of the long edge up to your neck. Holding each corner of the scarf, cross your hands behind your neck wrapping the ends back around to the front of your neck.
Tuck the ends under the scarf. Or, arrange the ends to show on each side for a different look.
And that’s it!
More Handmade Gift Ideas
- DIY Dish Towels (Beginner Sewing Project)
- The Best Handmade Mason Jar Gift Ideas!
- Sew Drawstring Bags – With French Seams!
- 30+ LAST MINUTE Homemade Christmas Gift Ideas
- 12+ Homemade Mother’s Day Gifts
Weekly Crafting Fun!
Join my list and get a weekly email with relaxing craft ideas, freebies, sewing tutorials, and more!